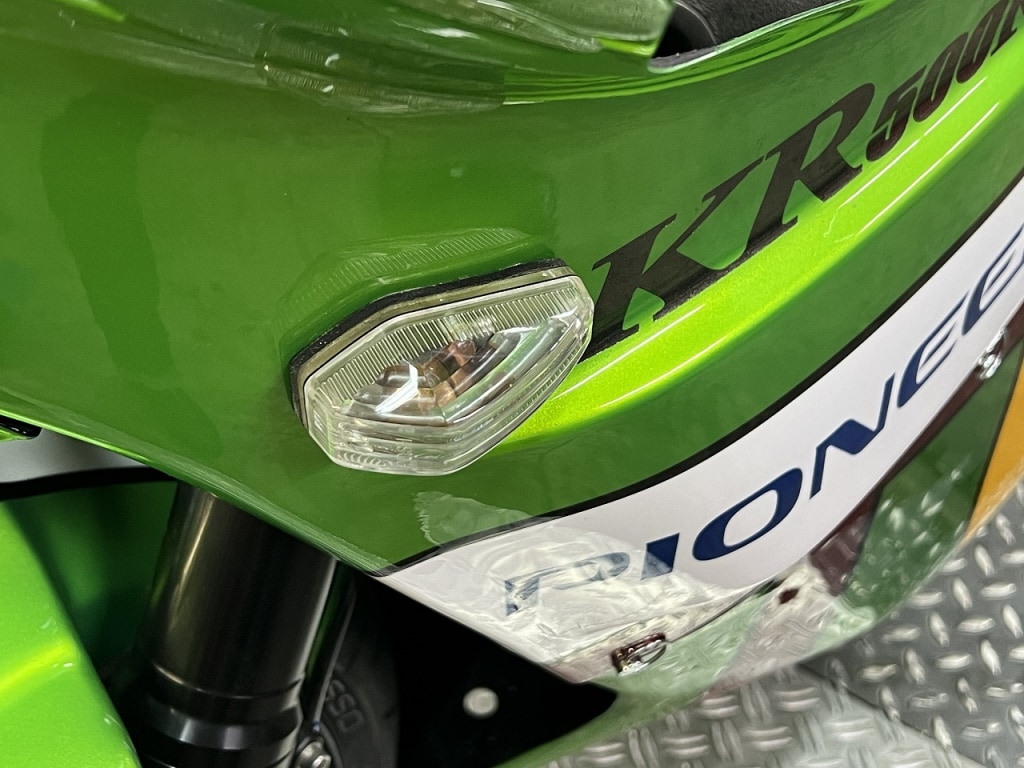
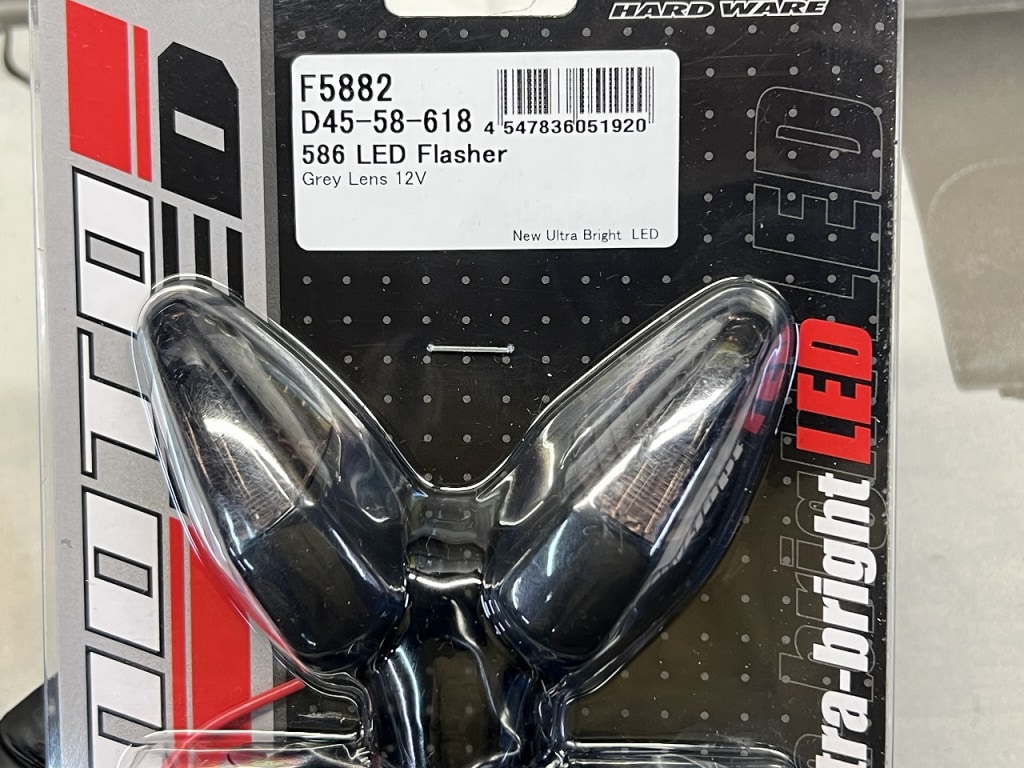
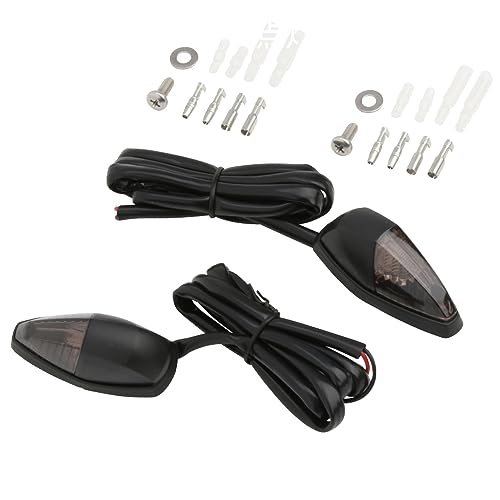
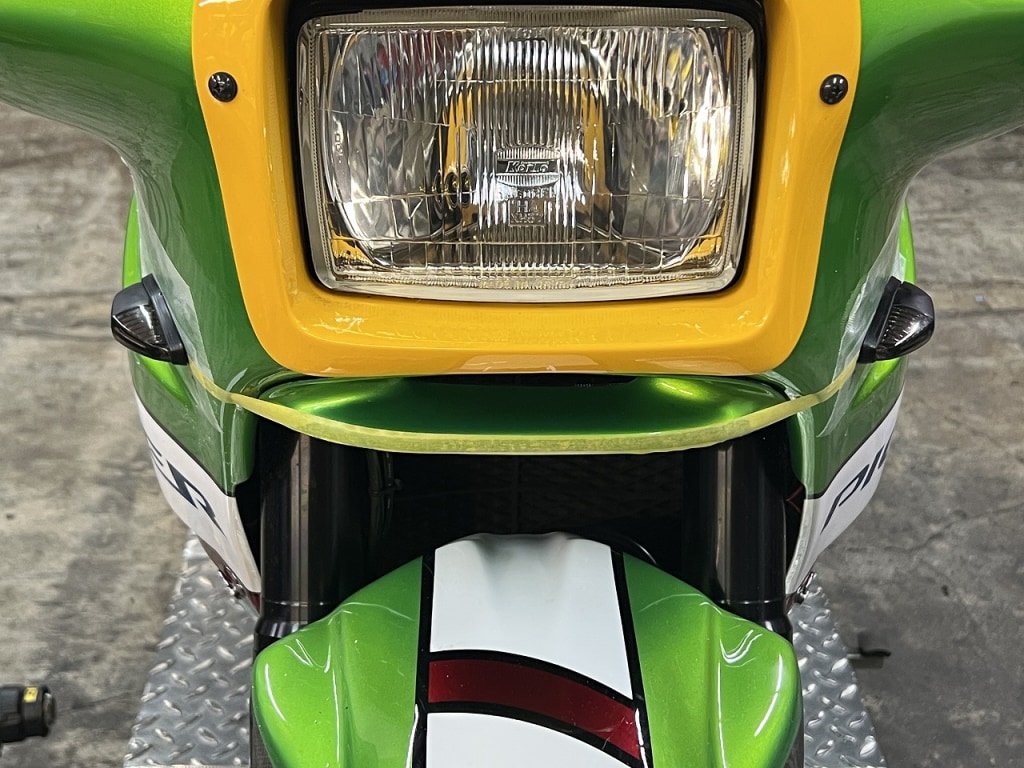
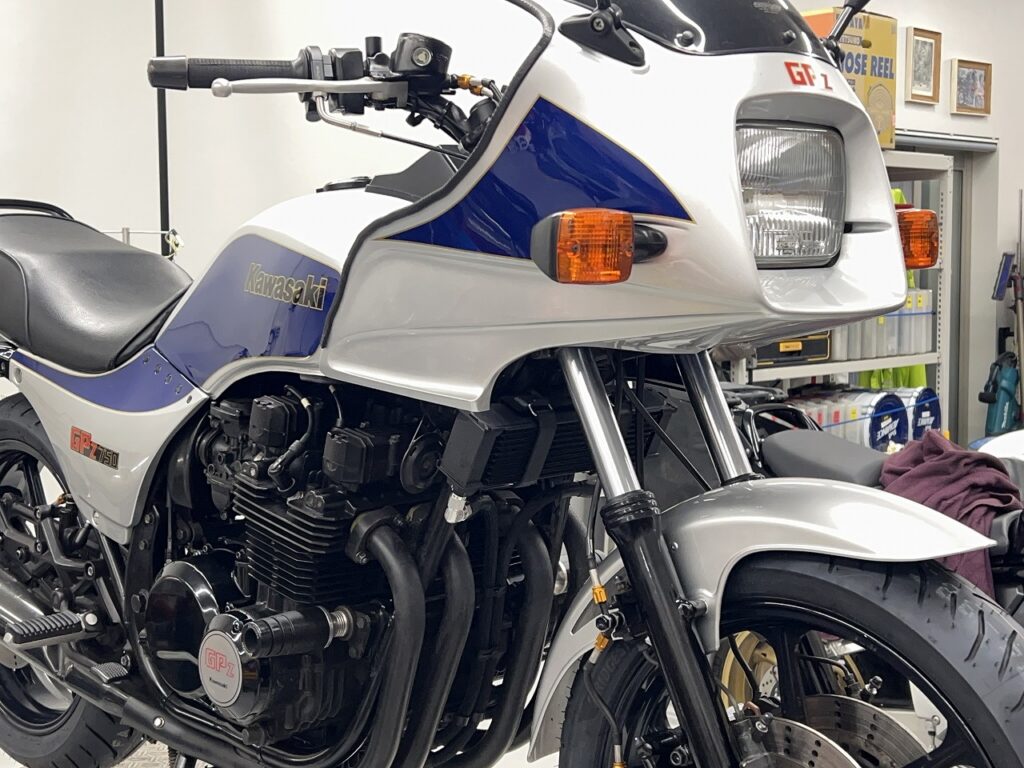
First, we’ll swap in the turn signals you specified.
On inspection-certified motorcycles, turn signals cannot be adhered with tape. It rarely gets caught, but I’ve been called out on it once, so be aware.
Especially with turn signals where bolts aren’t visible from the back—that could be problematic.
We need a hole for the wiring and a hole for mounting.
I would’ve liked to use the existing holes if the left and right positions were spot-on, but they were pretty far off… Double-sided tape mounting sure is convenient.
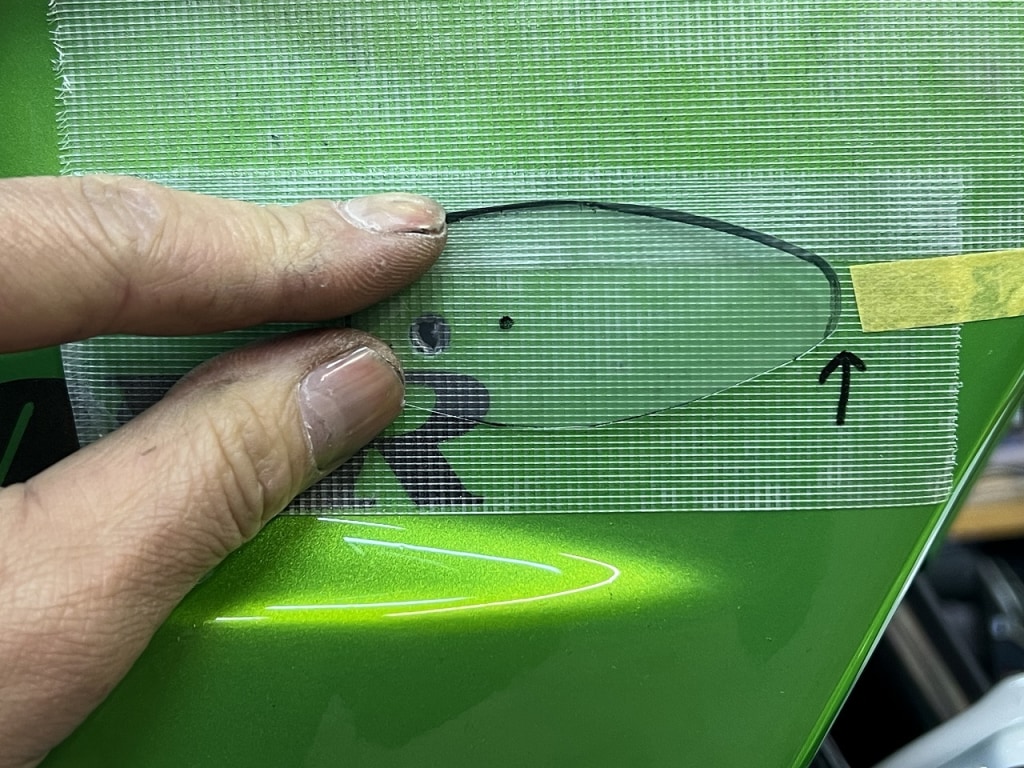
I positioned it carefully, balancing the left-right alignment while also using the existing holes.
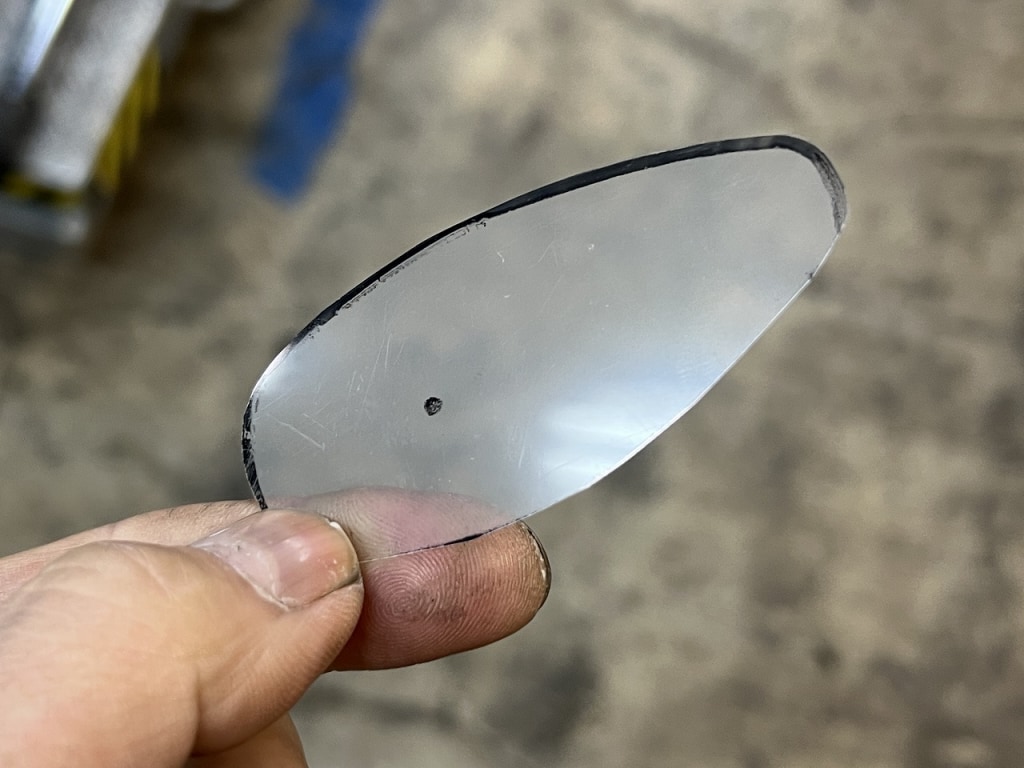
Going by feel alone is risky, so I cut up a clear file to visualize and confirm the position.
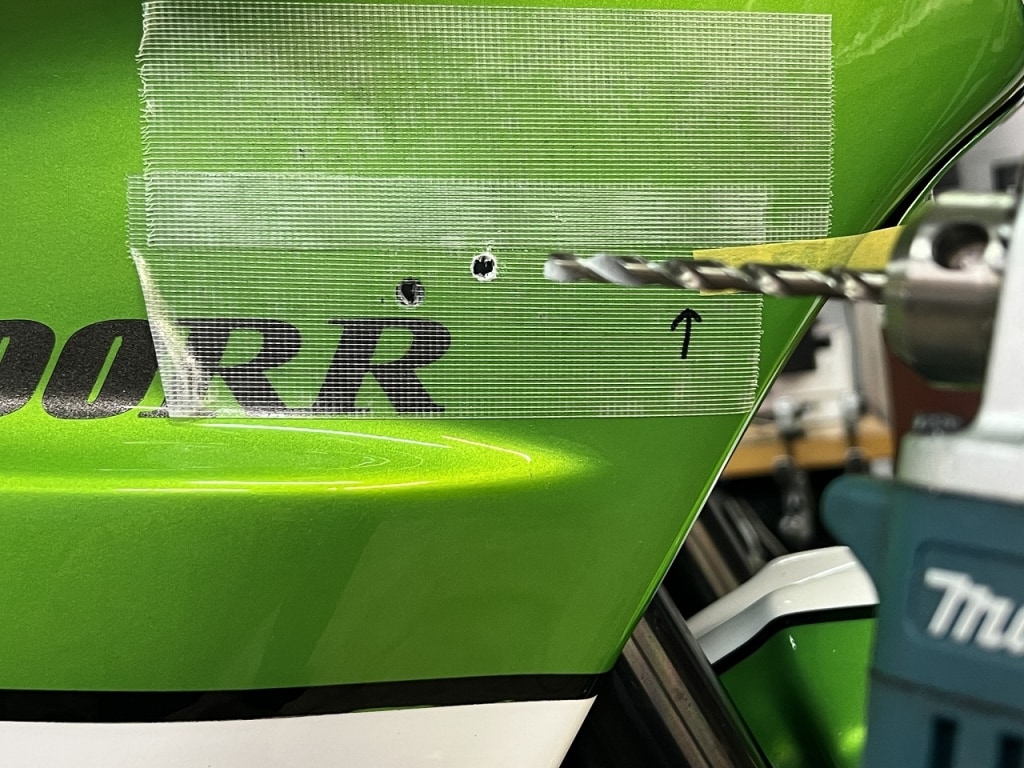
With painted bodywork, you really need to focus—I’ll drill in reverse.
After masking, the 2mm pilot hole goes in forward. Then I enlarge it in reverse, stepping up 0.5mm at a time. That way the drill won’t get pulled away, and the paint won’t crack.
I don’t think many people stare intently at the turn signal positions from the front, but I’m confident the positioning is solid.
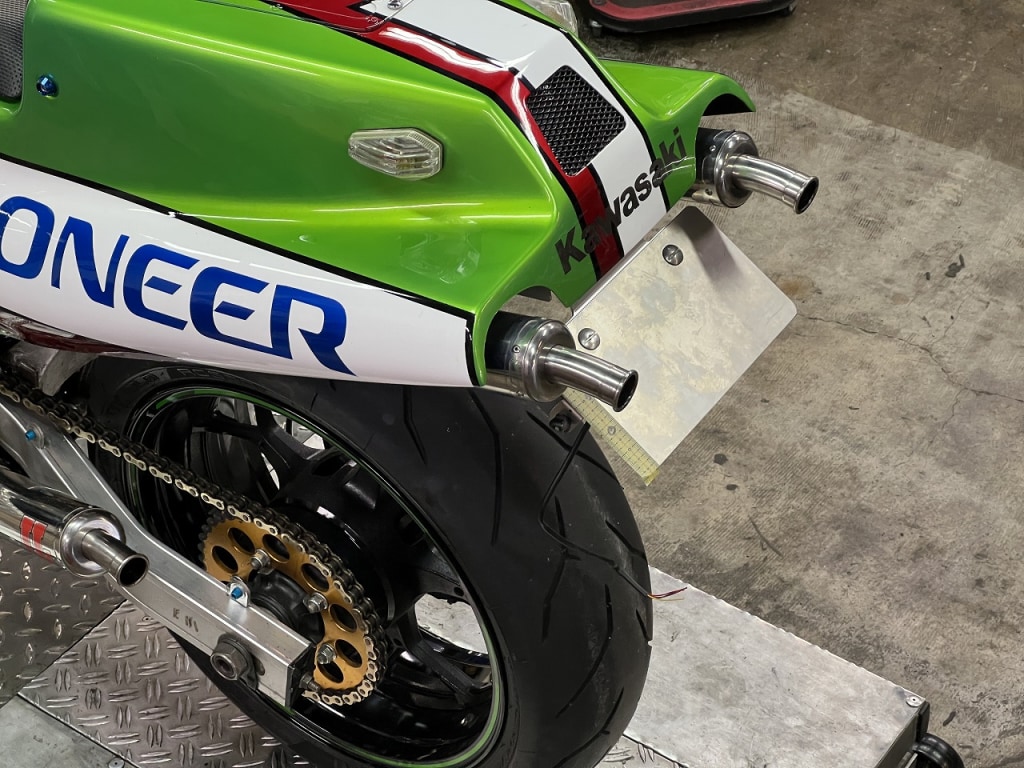
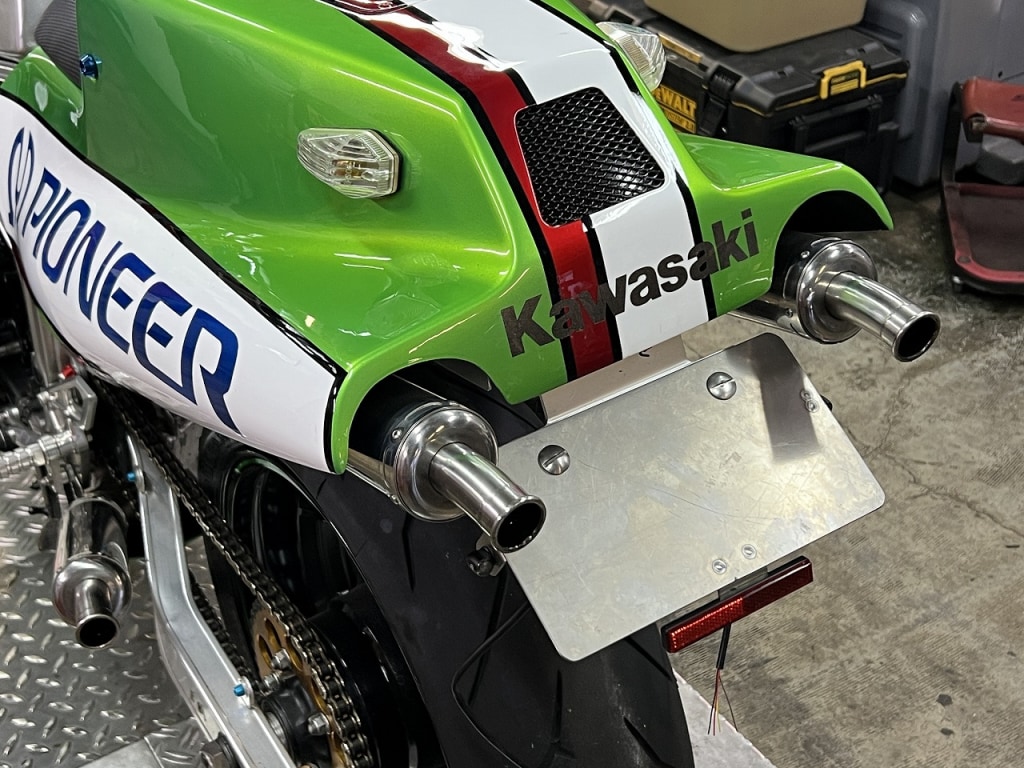
Now we’re modifying the rear turn signal and taillight area.
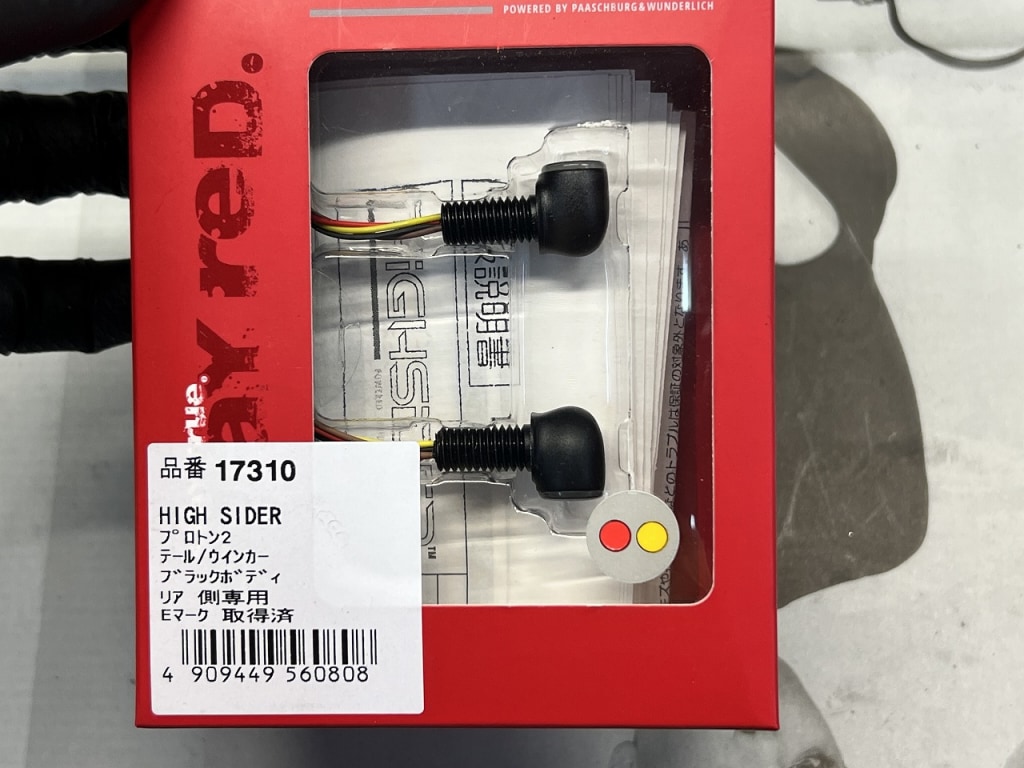
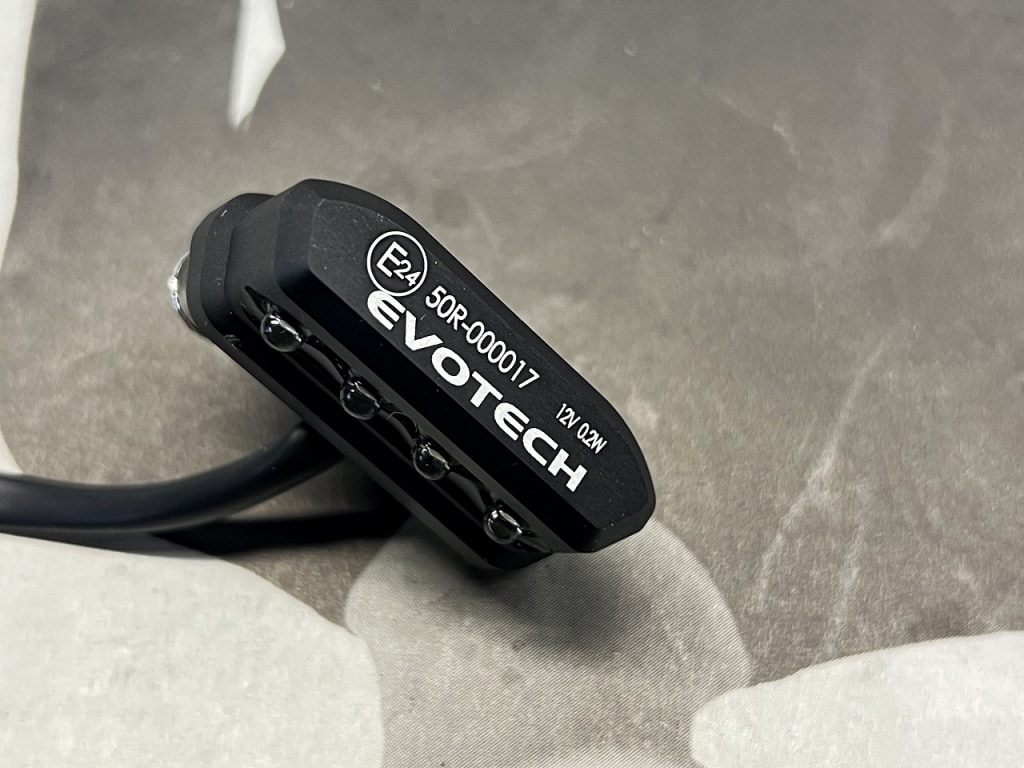
The turn signal and taillight are integrated—a Highsider 17310 (discontinued). For the license plate light, I’m using my go-to EVOTECH.
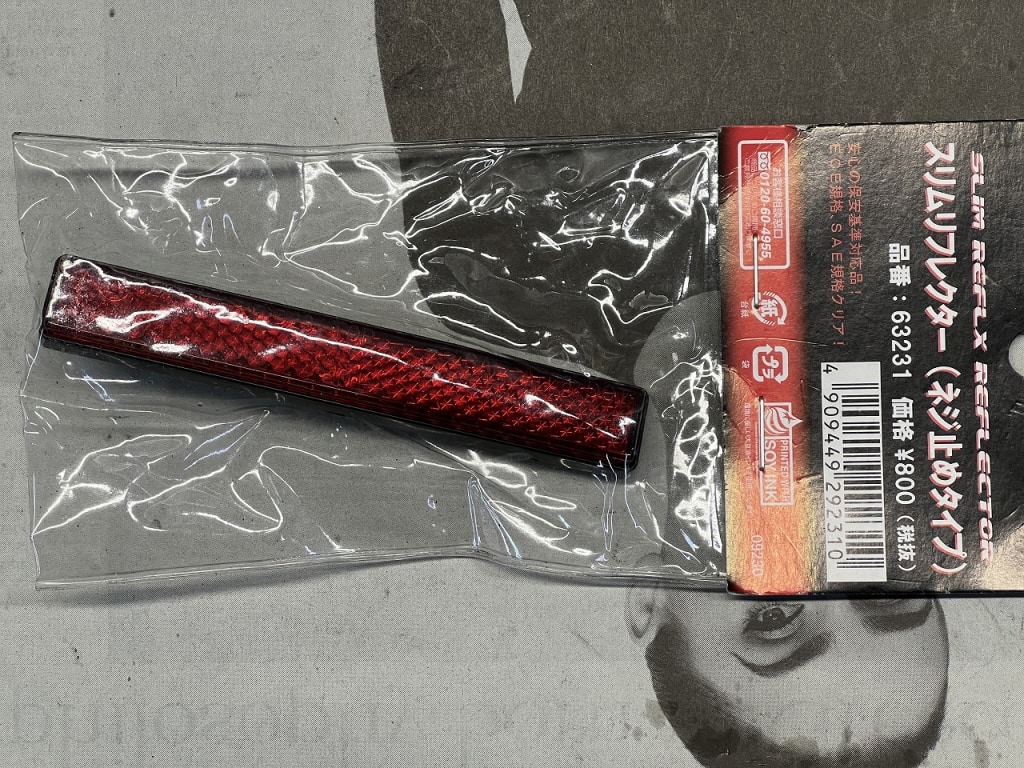
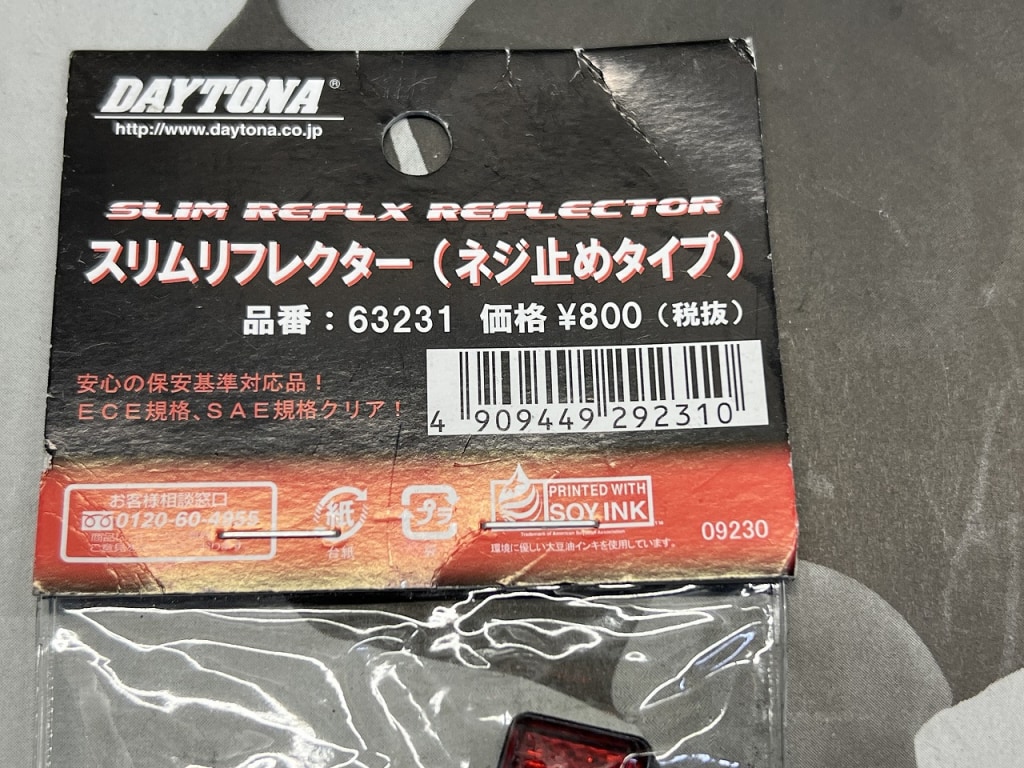
For the reflector, I’m using my favorite Daytona bolt-on type.
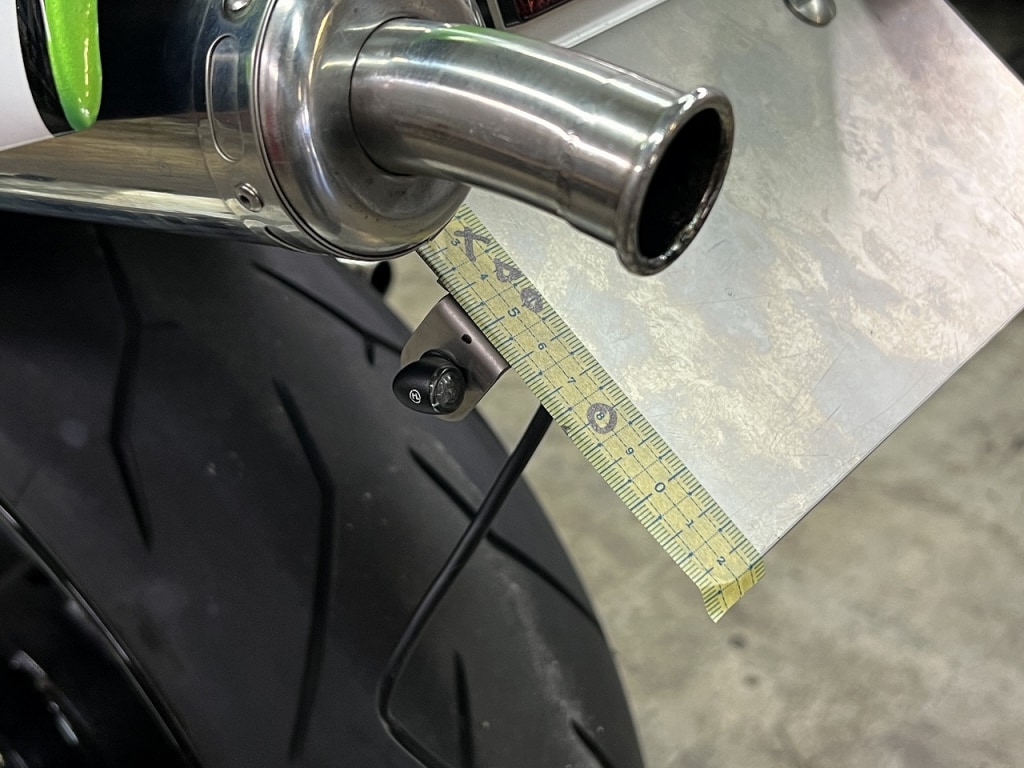
Positioning is basically process of elimination—inspection compliance and safety first.
A position visible from directly behind, from the side, and even from a truck driver’s seat is what I consider safe.
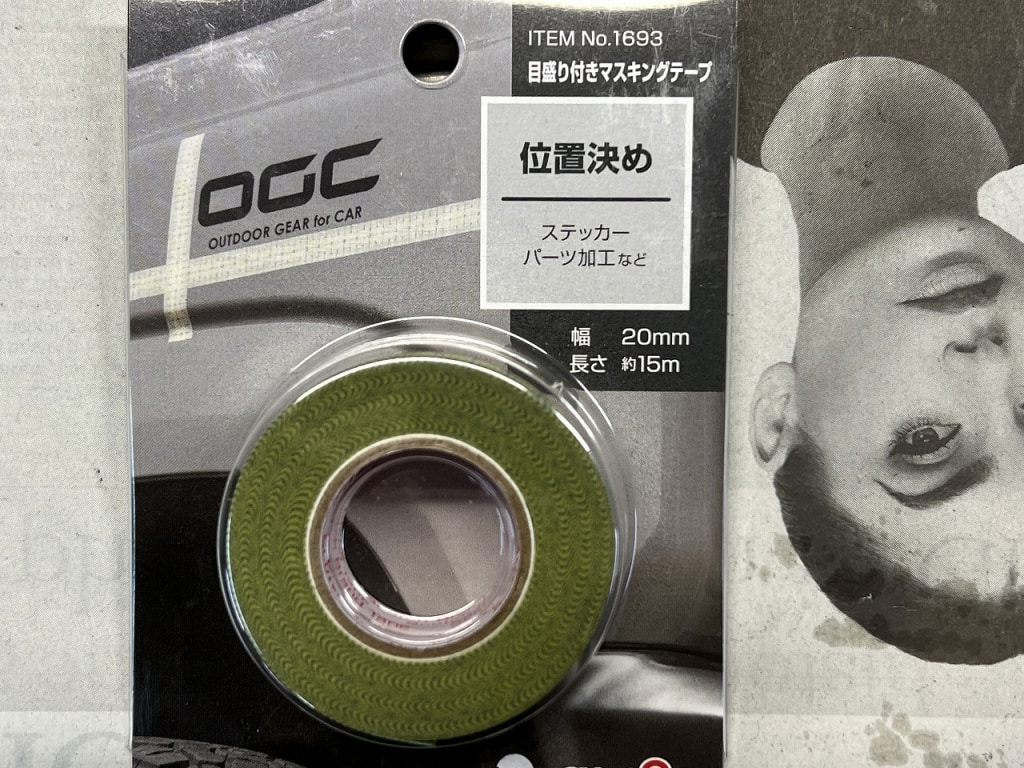
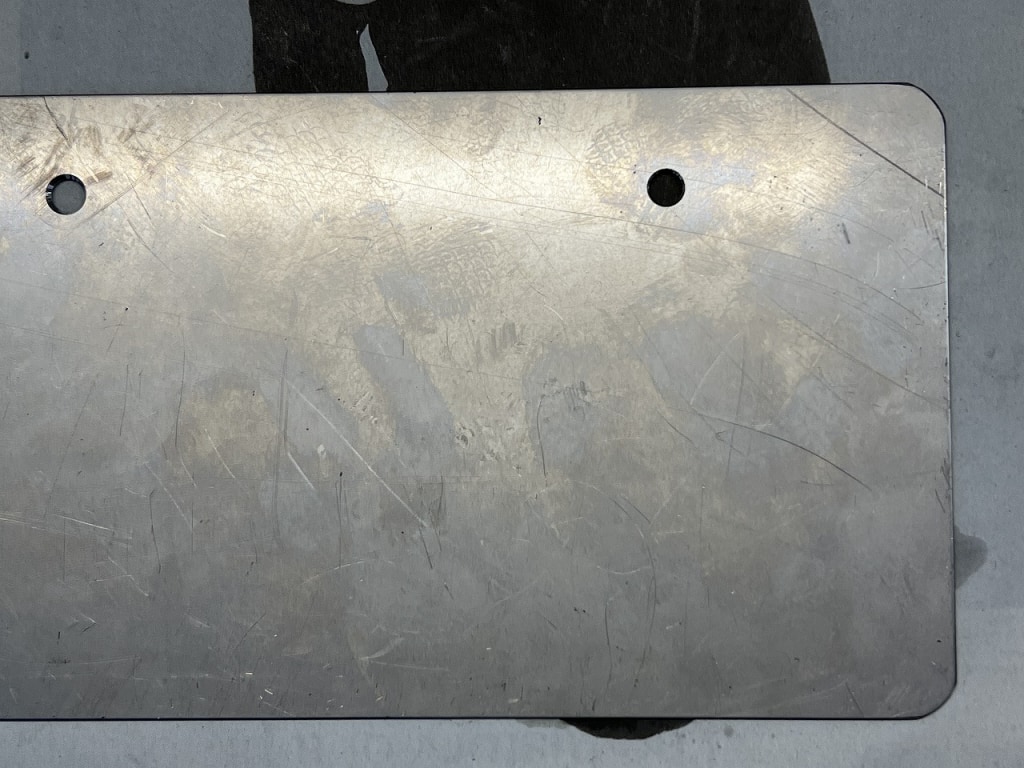
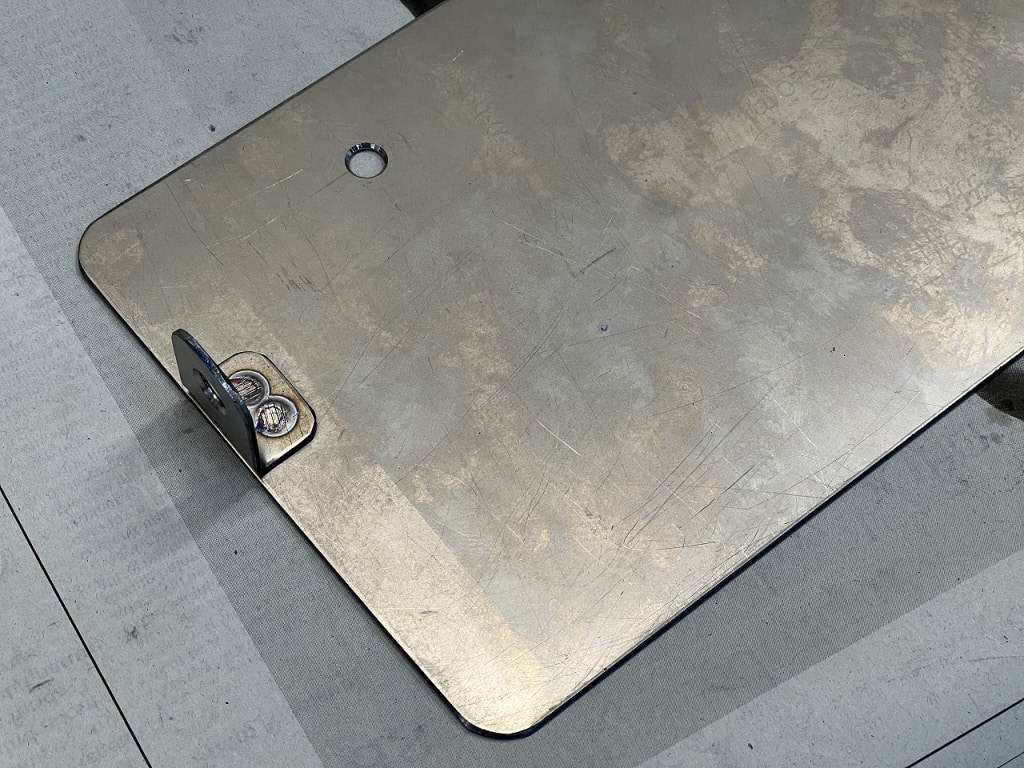
Lately, there are masking tapes with measurement markings, so I stick one to the bracket I made with double-sided tape, move it around, and mark yes or no to tentatively decide the position.



 ポチップ
ポチップ