To be honest, I tested a fuel tuning kit on a different vehicle in the past. At that time, I had a very bad impression, so I’ve been keeping my distance.
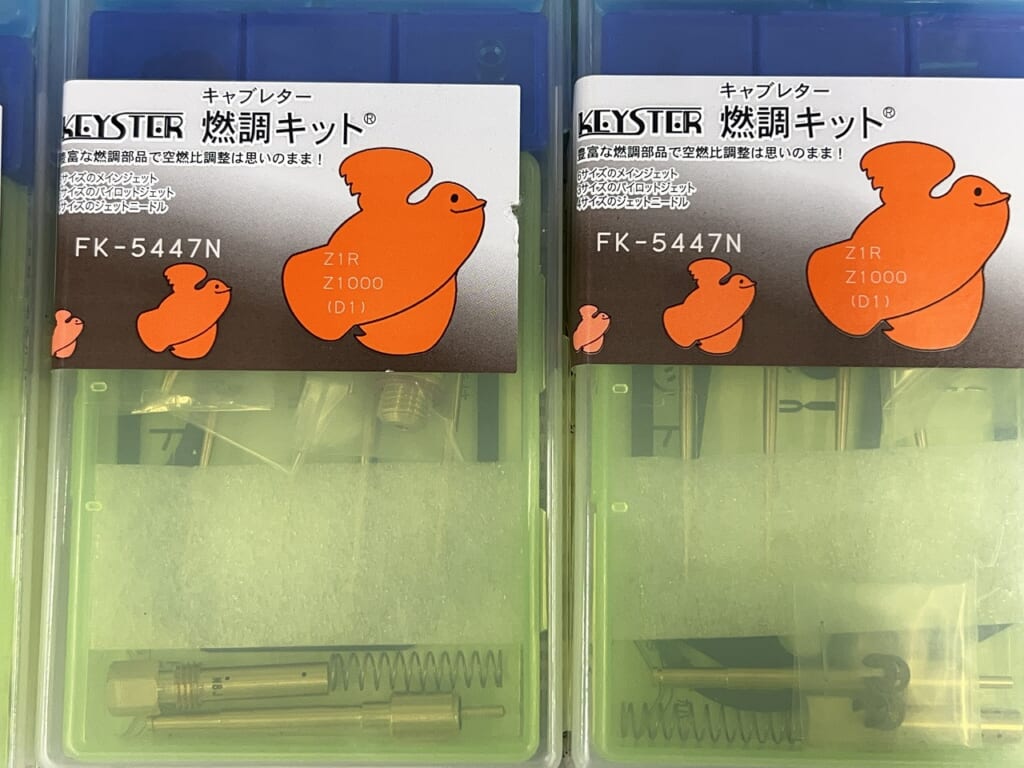
However, in this case, all the inner parts have been replaced with overseas-made components, so I can’t reuse the originals to make it work. I have no choice but to rely on a fuel tuning kit with abundant inner parts.
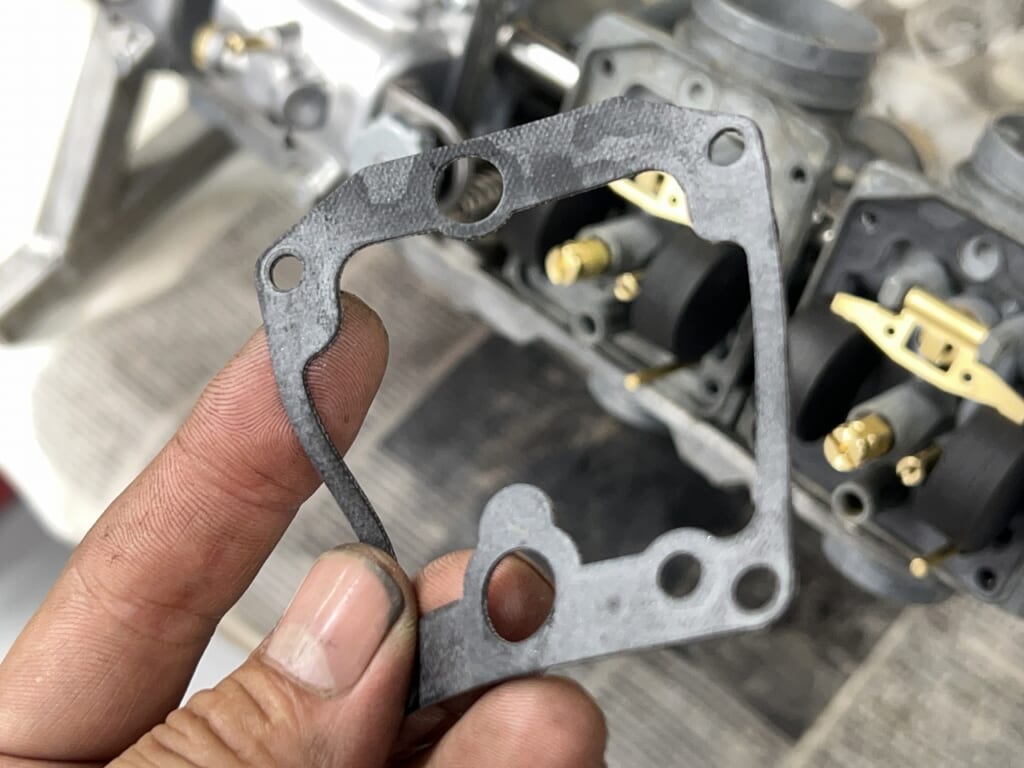
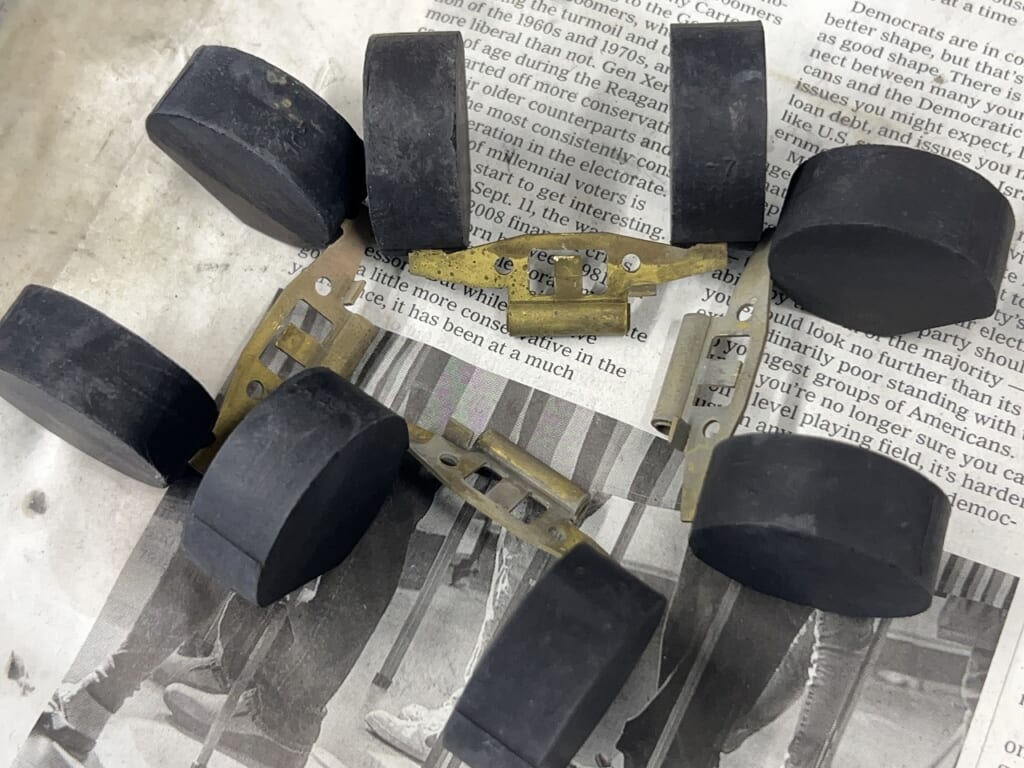
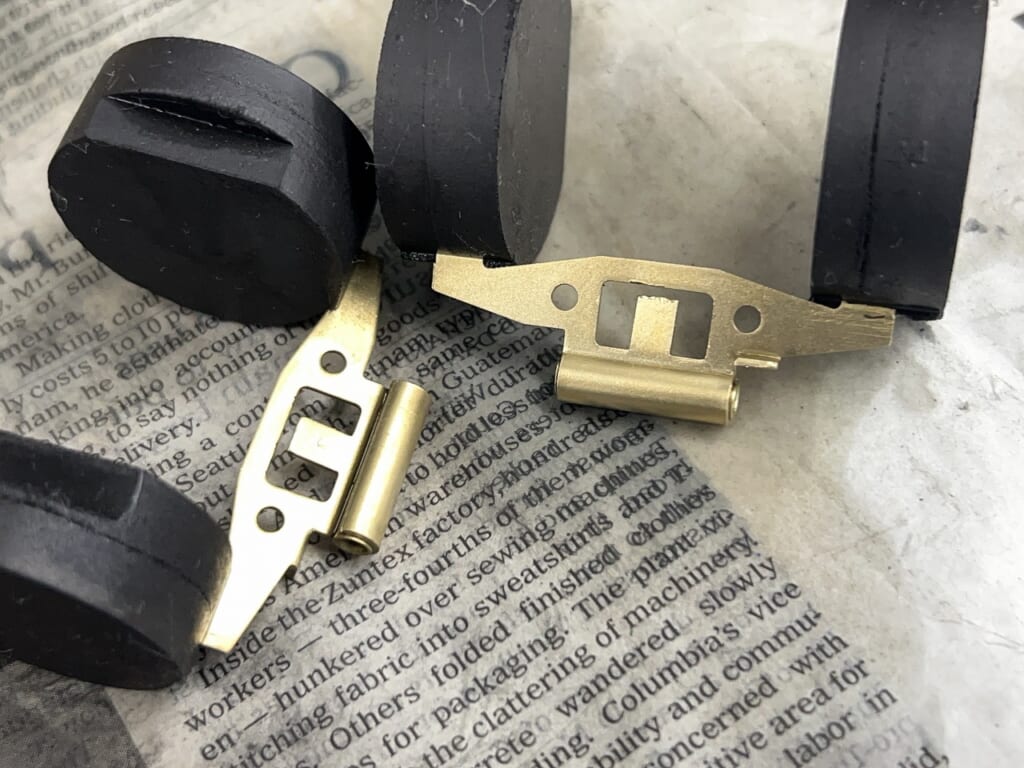
Float packing and such come with rubber-type components, which is really appreciated. I no longer need to buy them separately from PMC.
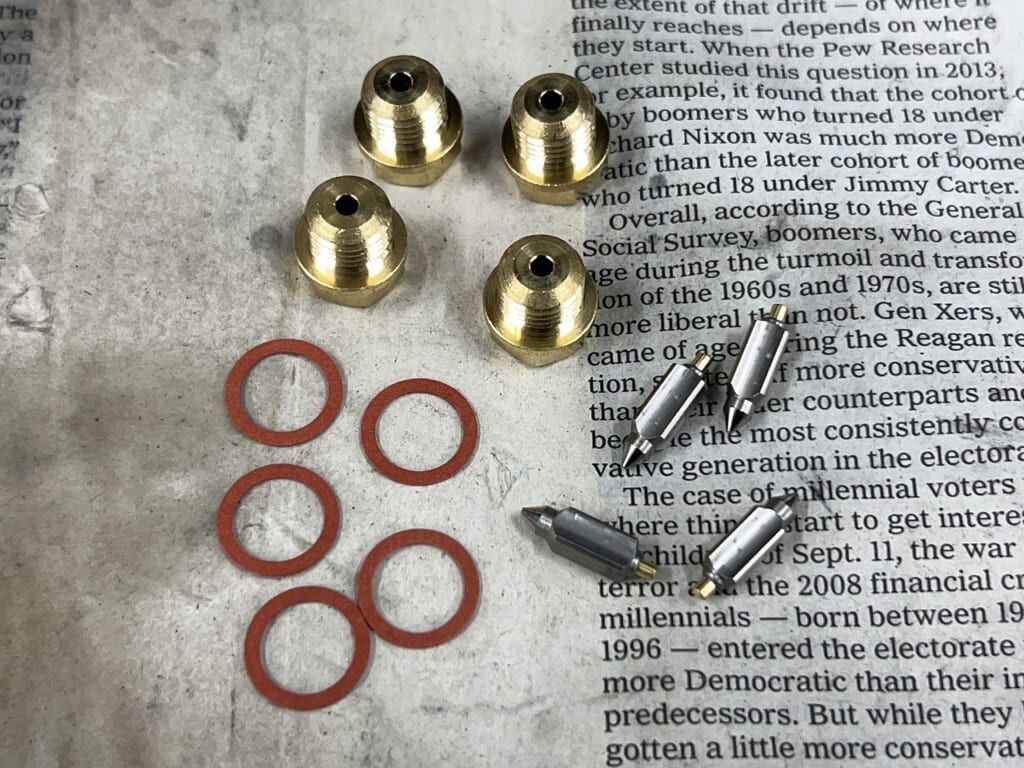
There were also plenty of needle valve gaskets included.
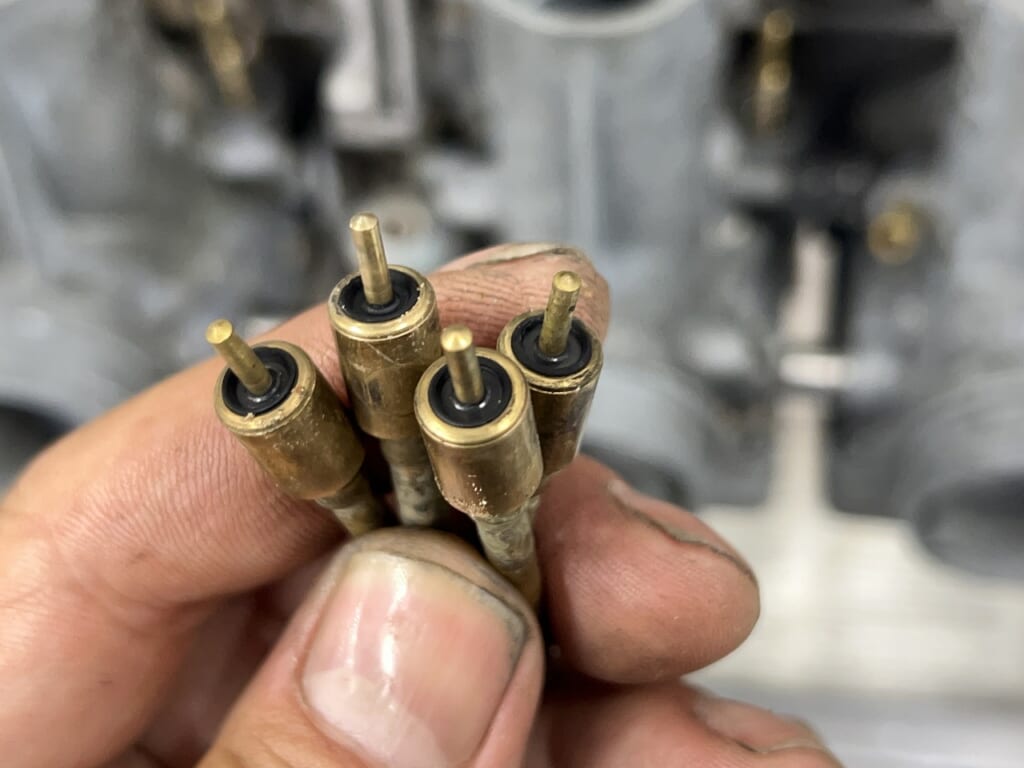
Other than that main jet/pilot jet/jet needle/jet holder/starter valve/air screw and everything else is included at this price… it’s kind of a mystery, isn’t it? I think it’s better not to dig too deep into it.
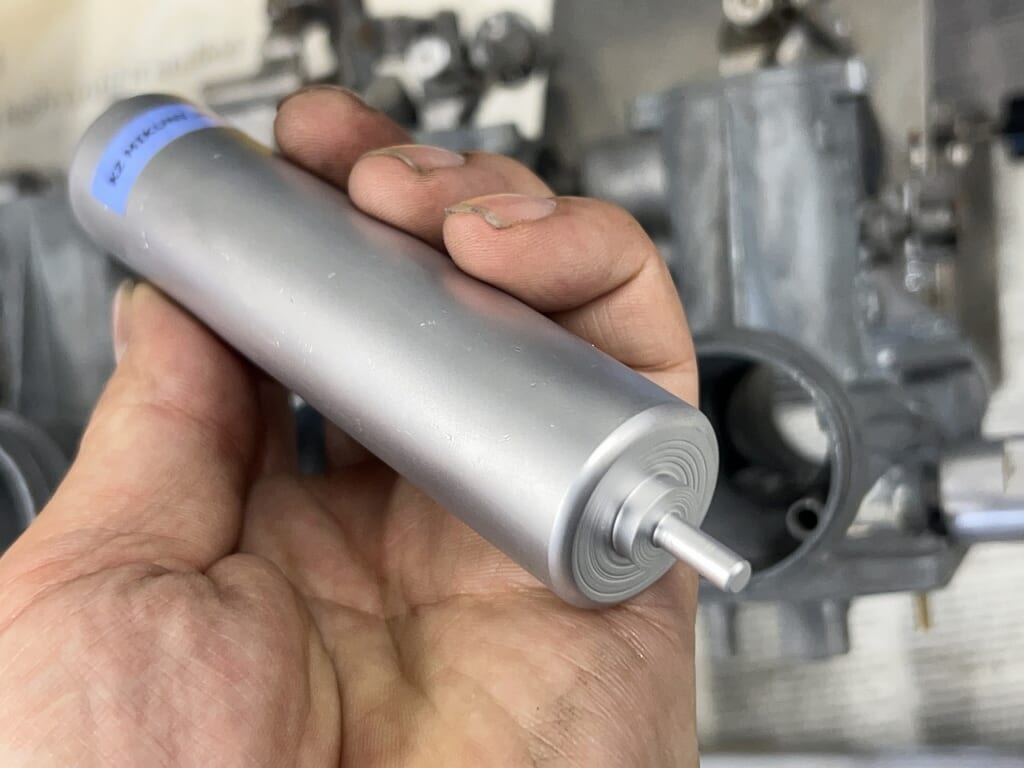
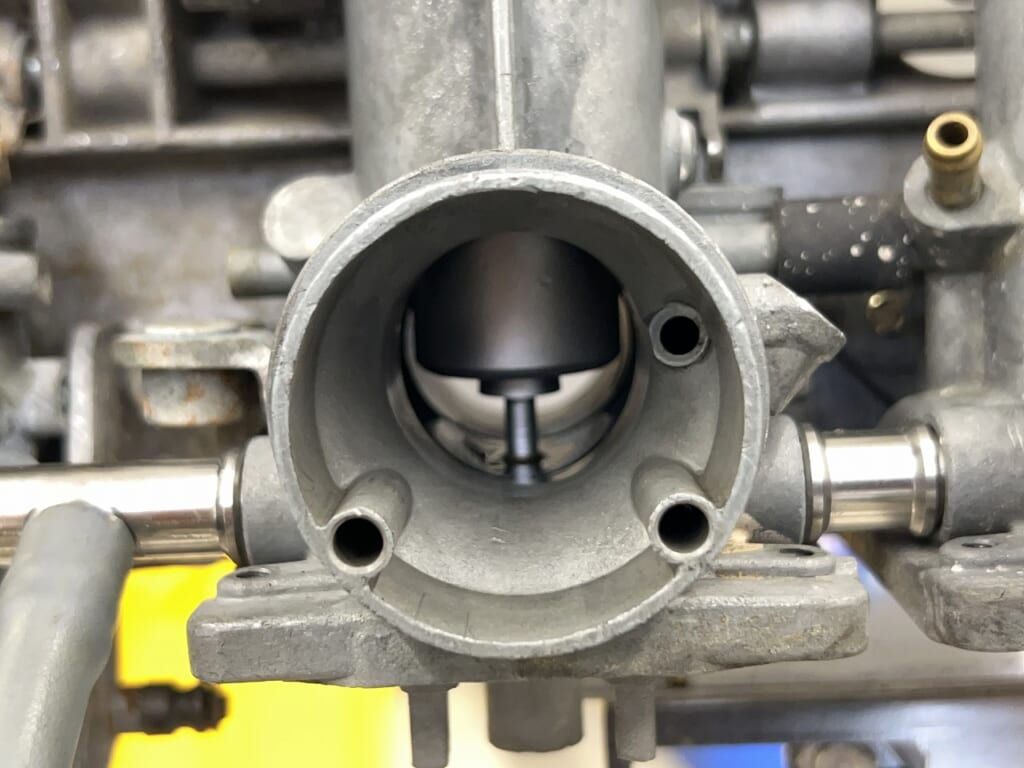
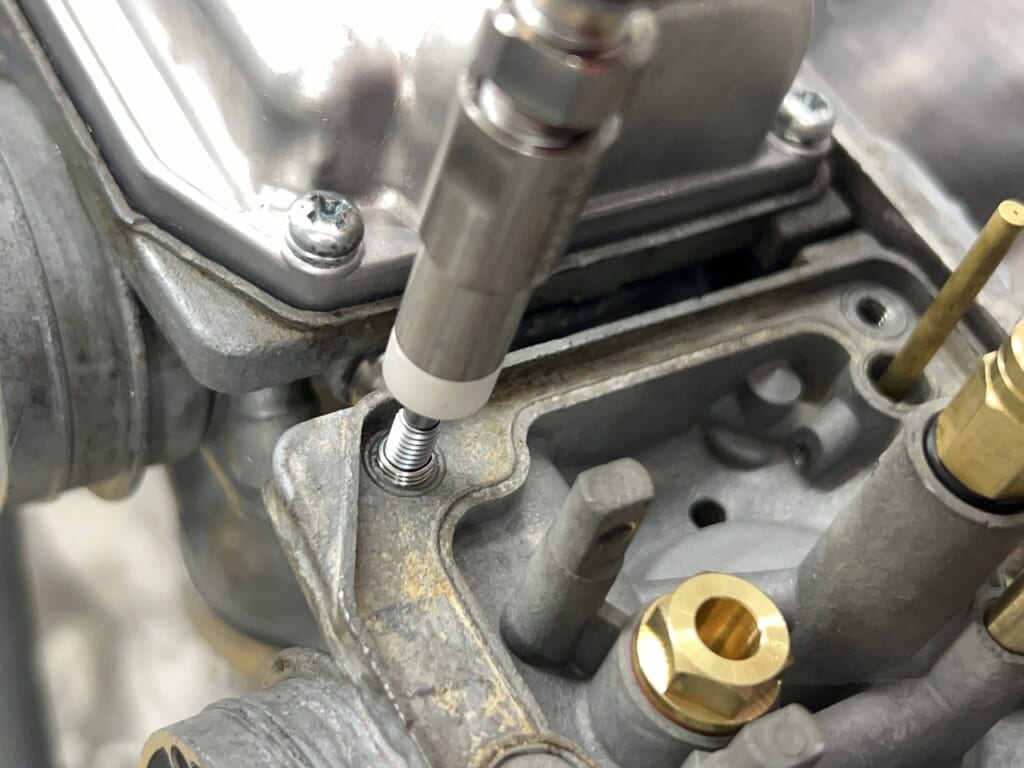
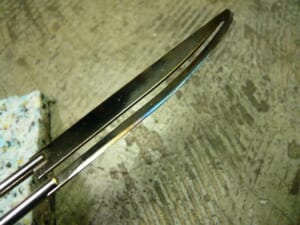
The needle jet was stuck due to light press-fit or corrosion, so it was hard to remove, and I made a tool for it. The shape doesn’t allow for brute force, does it? With any job, slow and steady wins the race! Proceeding with a reliable method is the safest approach.
The starter valve was completely crushed, so it was a fundamental issue from the start. It might even be from 50 years ago. . . . .
I’m testing various things at times like this
I’m testing to see what distance I should process at. Since it hits softly, I don’t need to be as nervous as I was with wet blasting before.
Once assembly is complete, I’ll check the actual fuel level
Just checking the actual fuel level significantly reduces the anxiety before assembling the carburetor. Being able to see how the gasoline enters the float chamber and its state is really important.
Even if it overflows after assembly, I can quickly judge if something foreign has gotten stuck.
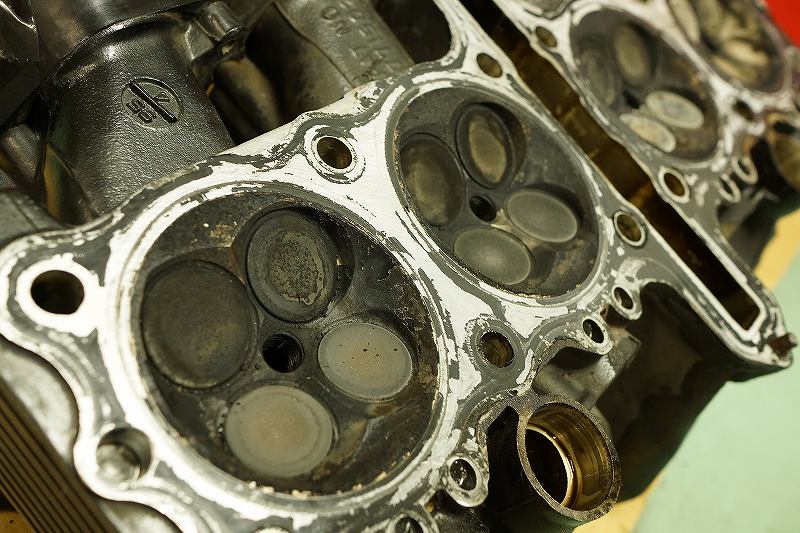
It’s just so old! Anything could happen
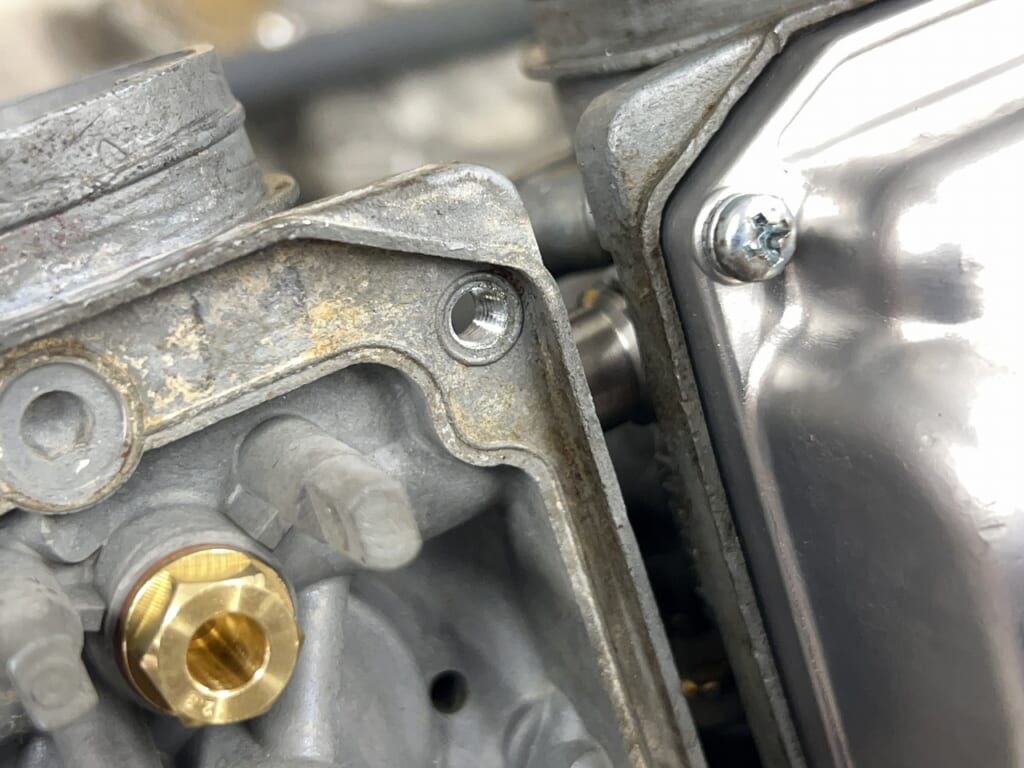
This time, when tightening, there was one spot where torque wouldn’t apply. It’s a common issue with old aluminum. Anything could happen in this situation.
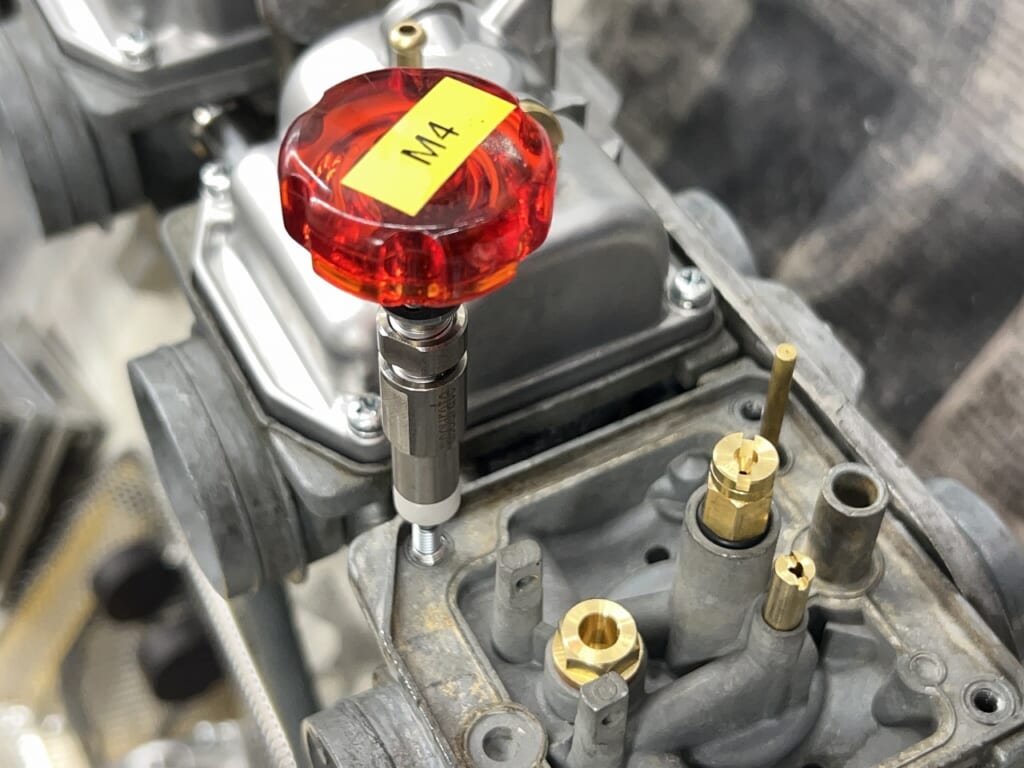
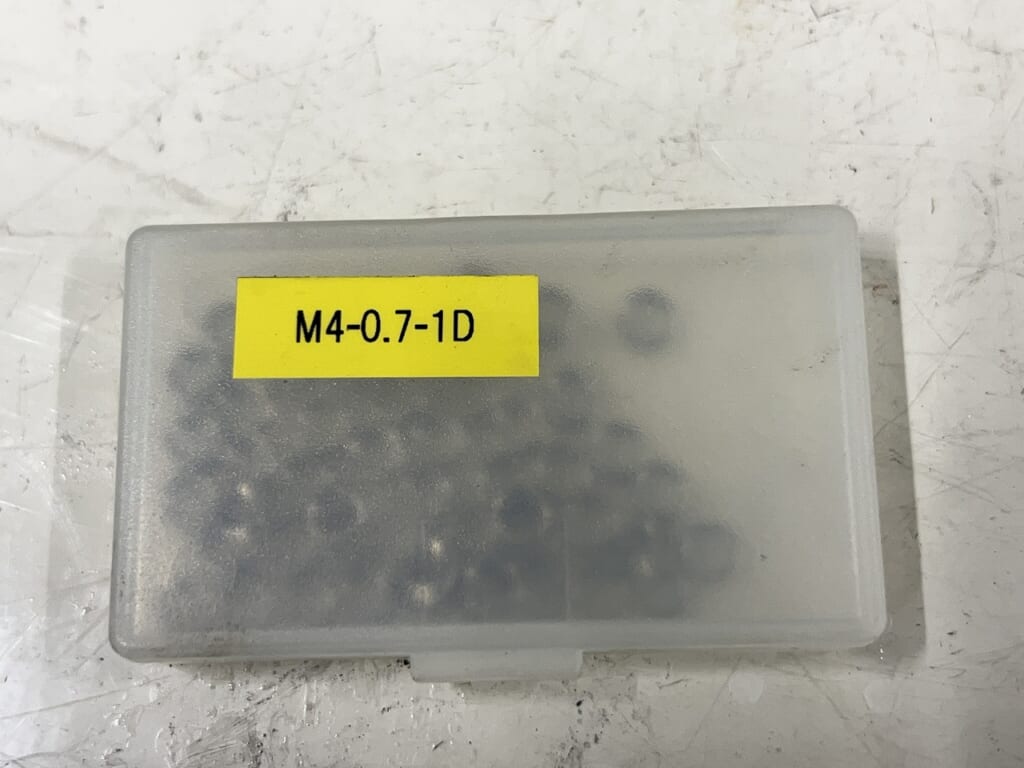
Since it’s M4-0.7, I’ll be installing a helicoil here.
M4 is something I often use when carburetor problems occur, so I have helicoils on hand.
Of course, I use tangless ones. I’ve stopped using tanged ones at this point. They install surprisingly easily, so if you’re interested, I’d recommend purchasing one.
M4-0.7 1D
Working on old bikes like this, all sorts of things happen, but I’m not easily surprised anymore. If you don’t have tools like these you might end up oversizing or unable to recover, so caution is needed. Even if I warn them… customers don’t notice, so there’s not much I can do.
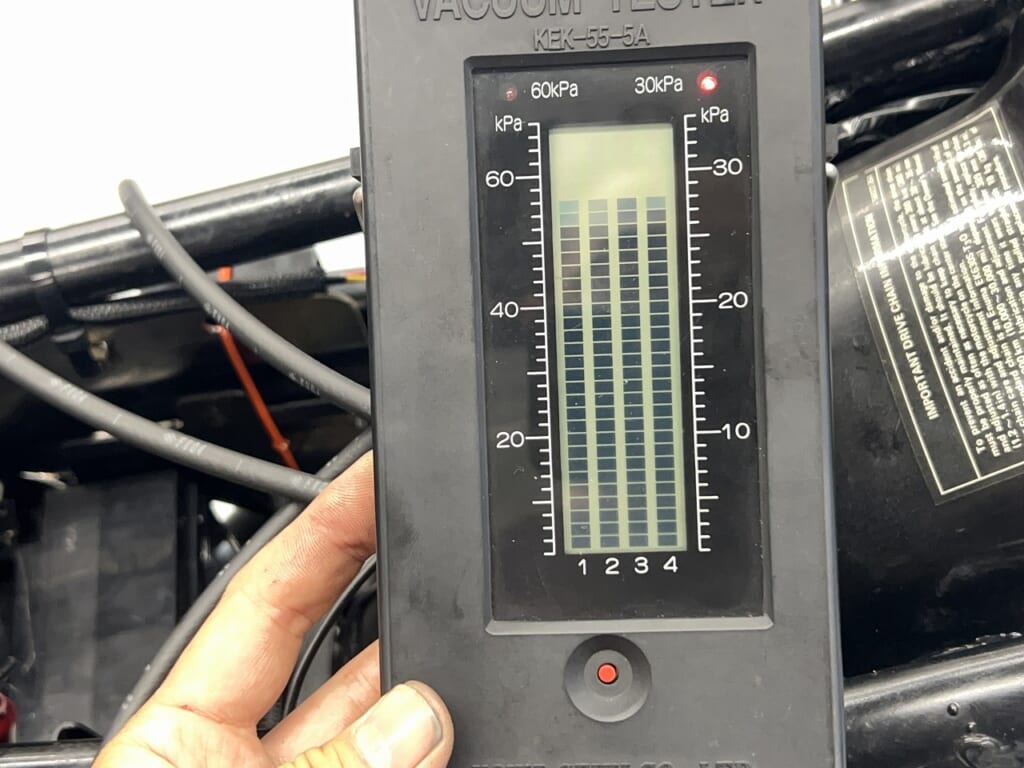
Oh~ the engine started normally~
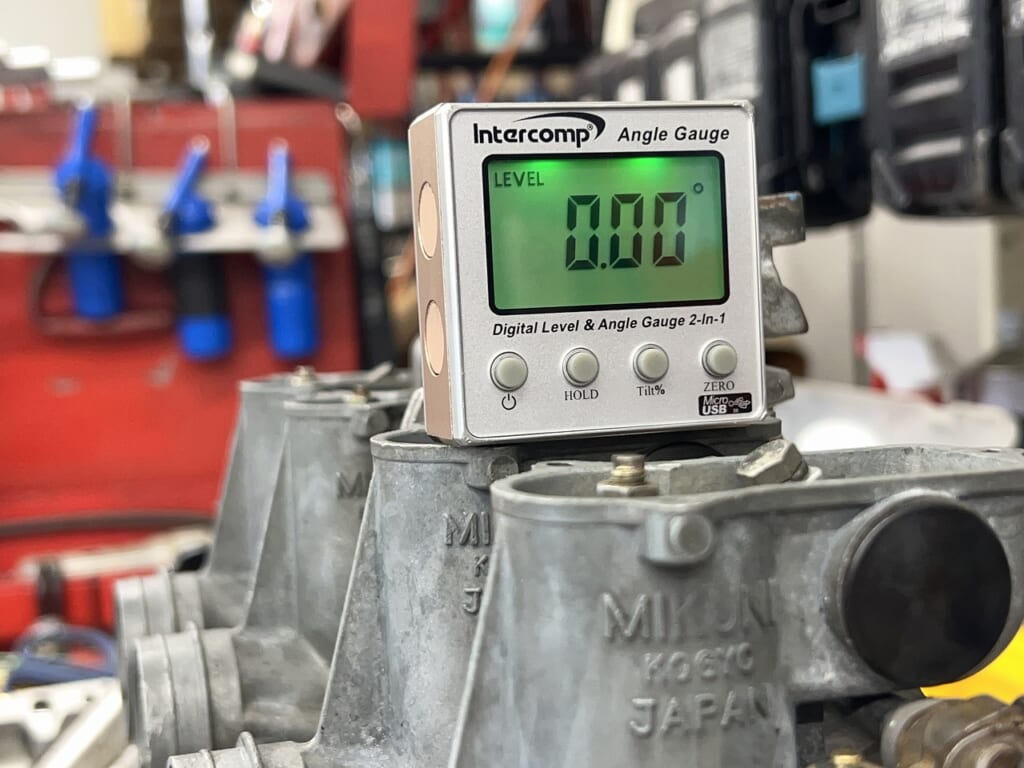
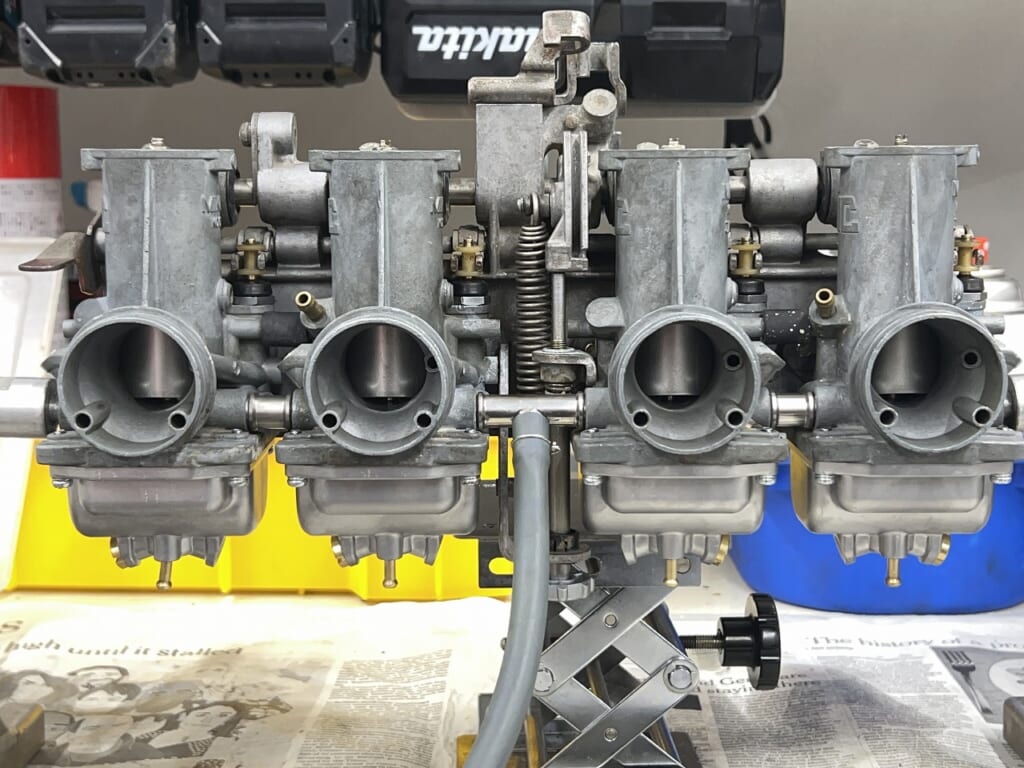
So first, I’ll adjust the carburetor synchronization. Then I’ll adjust the air screw and take it for a test ride when the timing is right.







 ポチップ
ポチップ