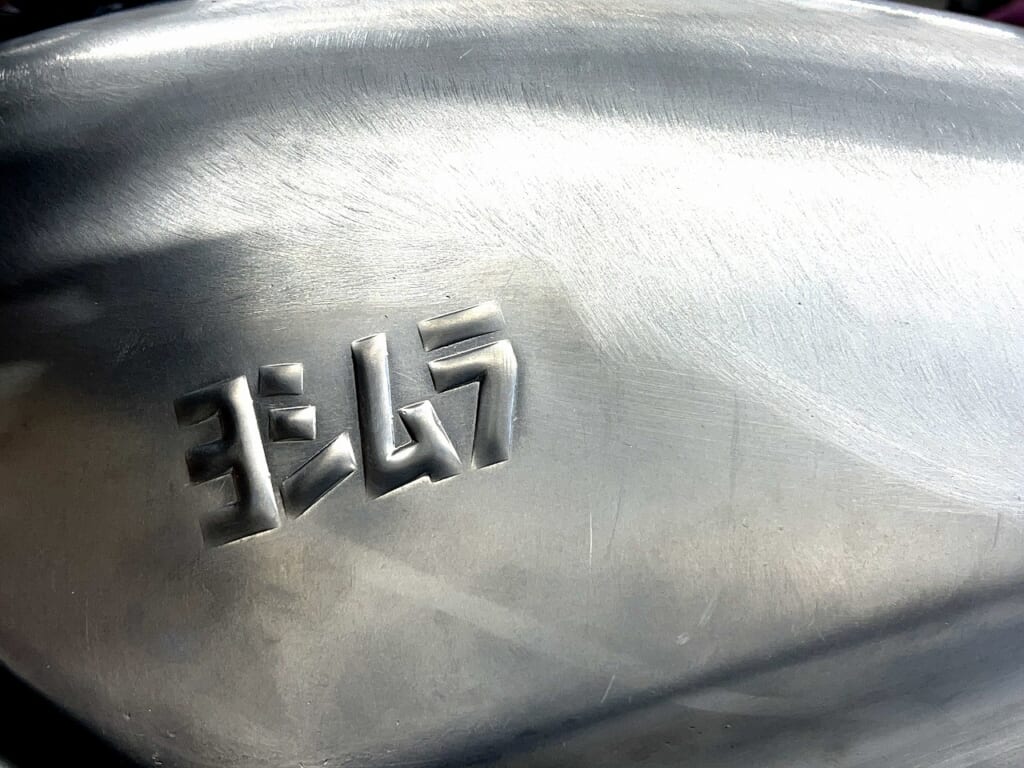
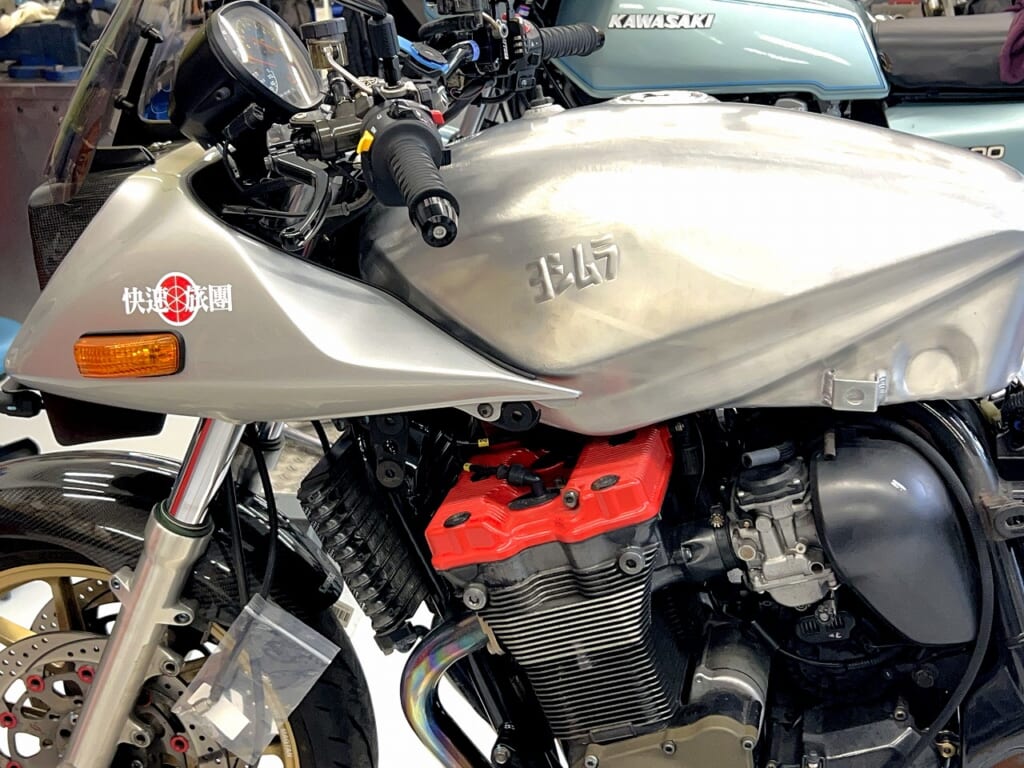
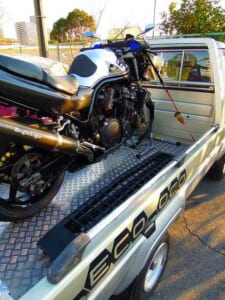
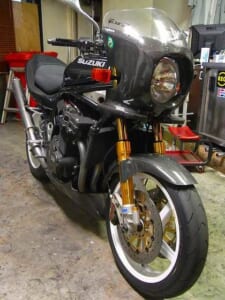
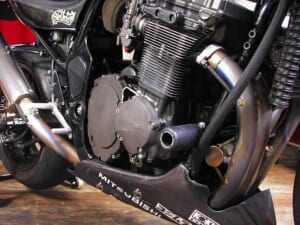
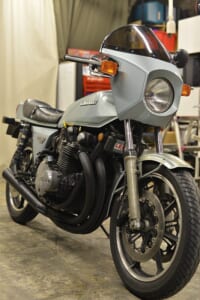
Masterpiece! Gem! Yoshimura Aluminum Tank for GSX1100S
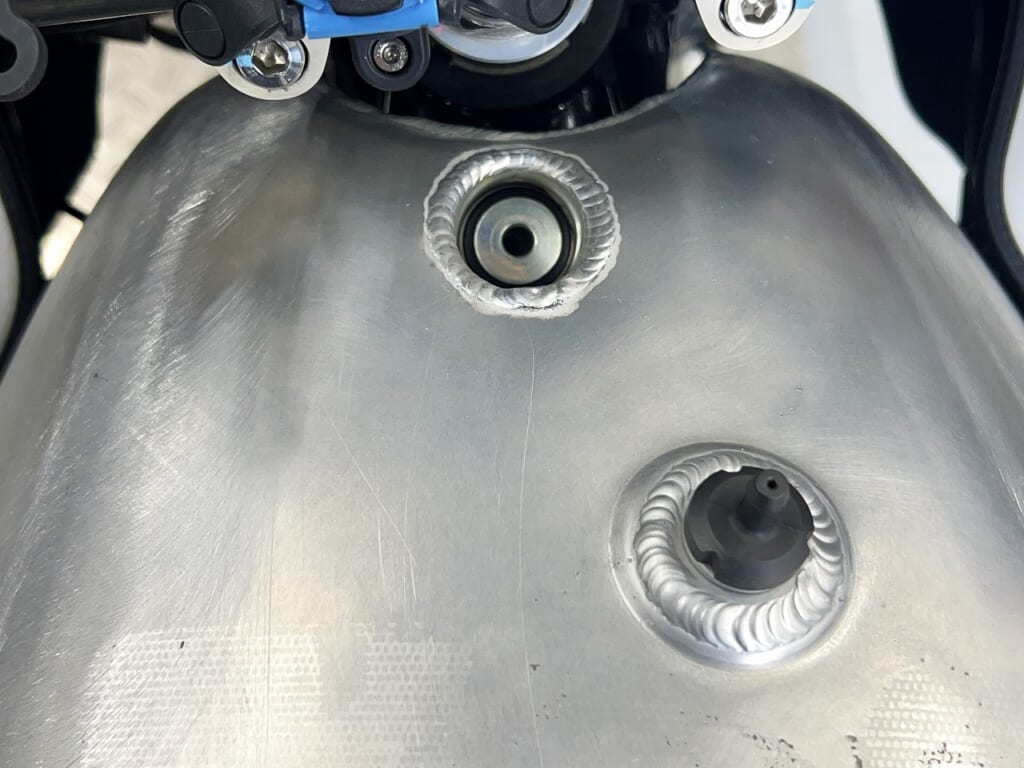
We’ve been holding onto this for quite a while. The fuel tank mounting on the oil-cooled Inazuma 1200 Katana is a bit tricky. I think all owners know this, but basically “Two M6 bolts at the rear of the tank” and the front side is just resting on it. If it were a steel tank, it might be okay, but doing the same mounting method with an aluminum tank made me a bit uneasy.
So this time we’re doing the work that’s been on hold since then.
When it looks like it’ll be difficult, we call on the divine hands of “Fujitake Metal”
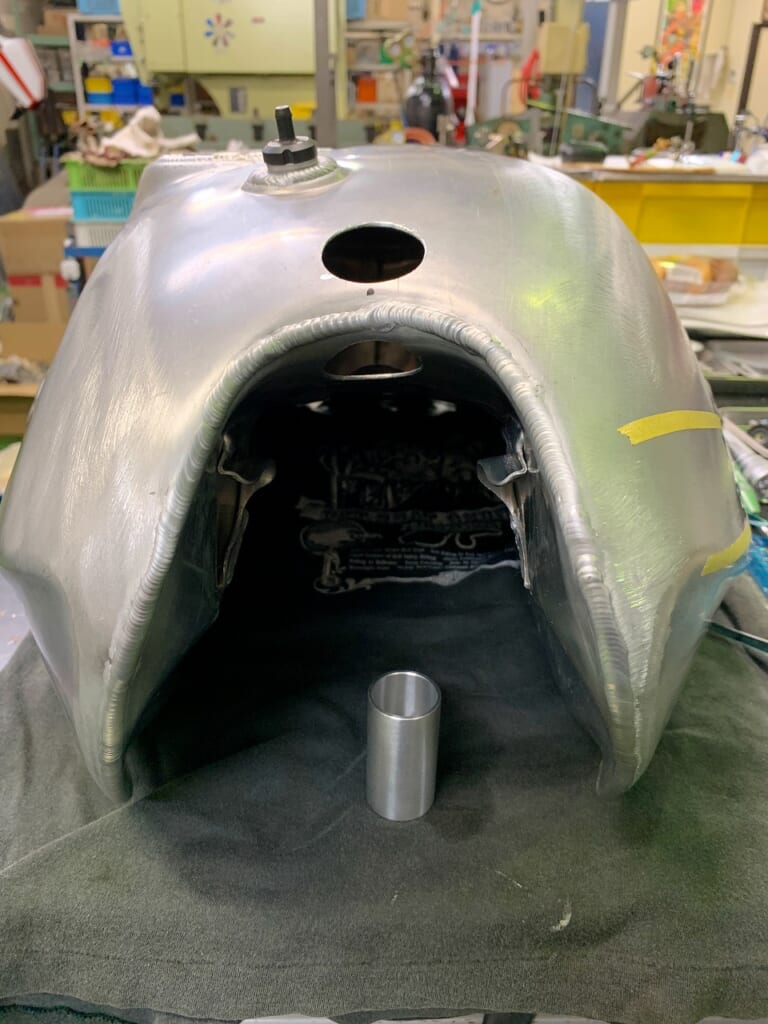
The handmade aluminum tank is slightly asymmetrical left and right. It was a good call not to do it myself as expected (*´ω`*)
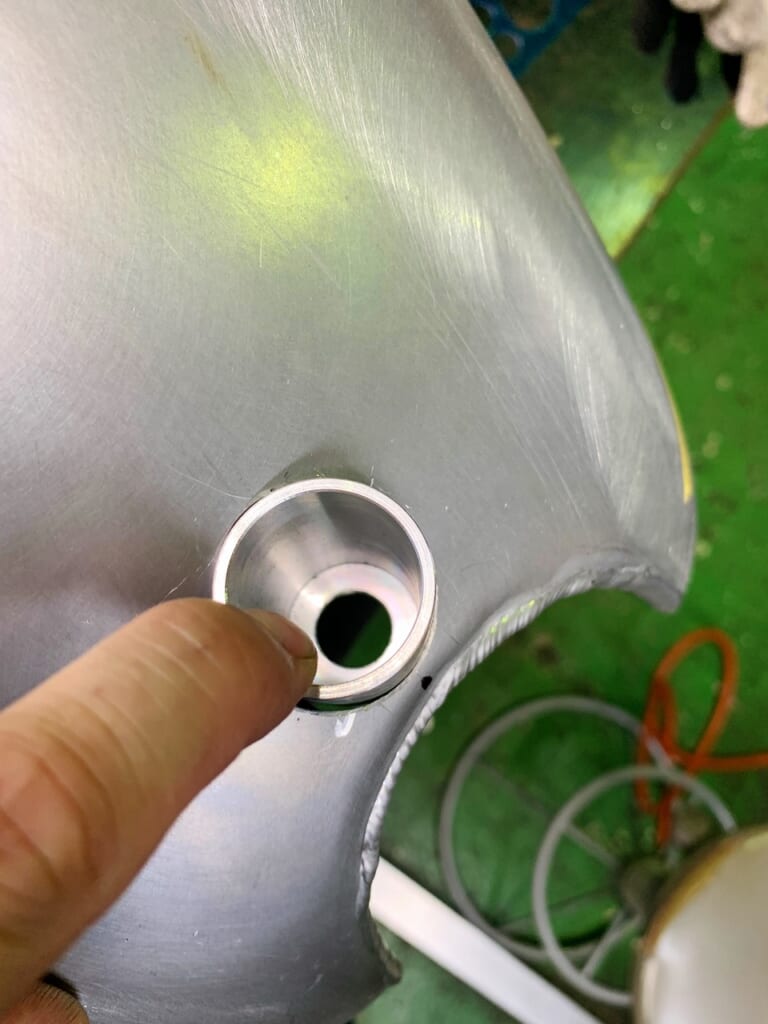
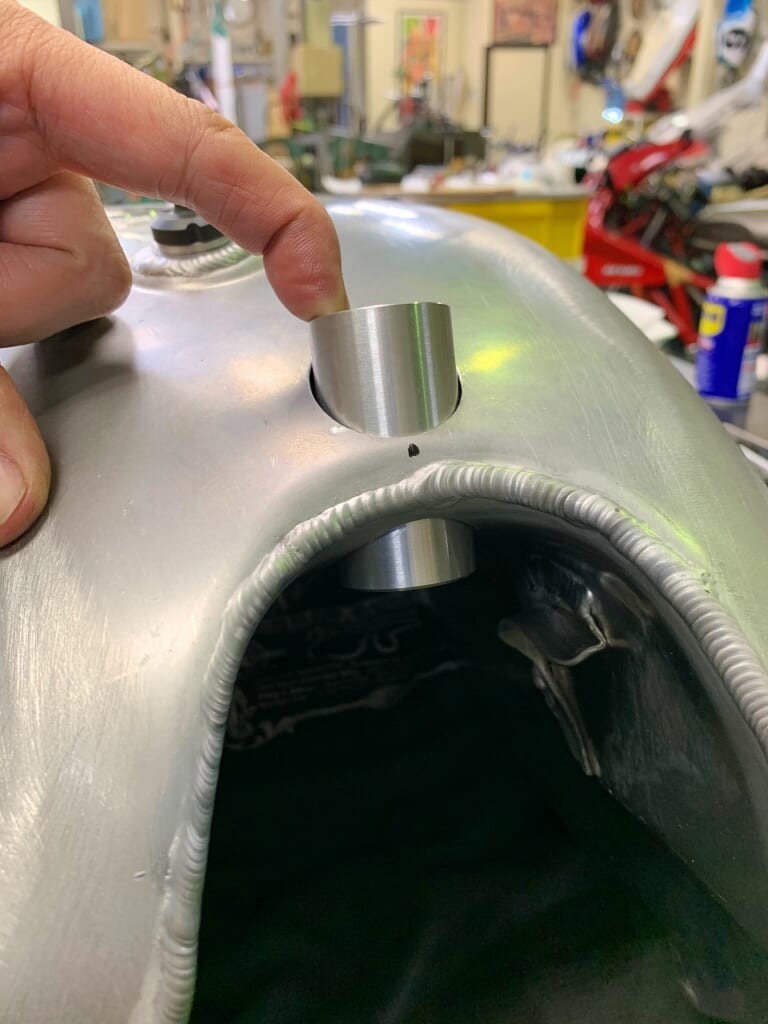
If we were to fix it like the original with rubber grommet, it would take a lot of work, so we went with a top-mounting method instead. Fujitake Metal *Blog updates have stopped, but it seems we’ve accumulated too many topics.
We’ve completed the mounting like this. We’ve also fabricated and welded a base plate on the frame side. The existing tank can also be mounted. *Looks like it’s being sold. If you’re looking at an oil-cooled Inazuma 1200 Katana, check it out one-two.
Did we pump air in before Fujitake came out?? I got so worried it might be a flat tire, it’s so heavy.
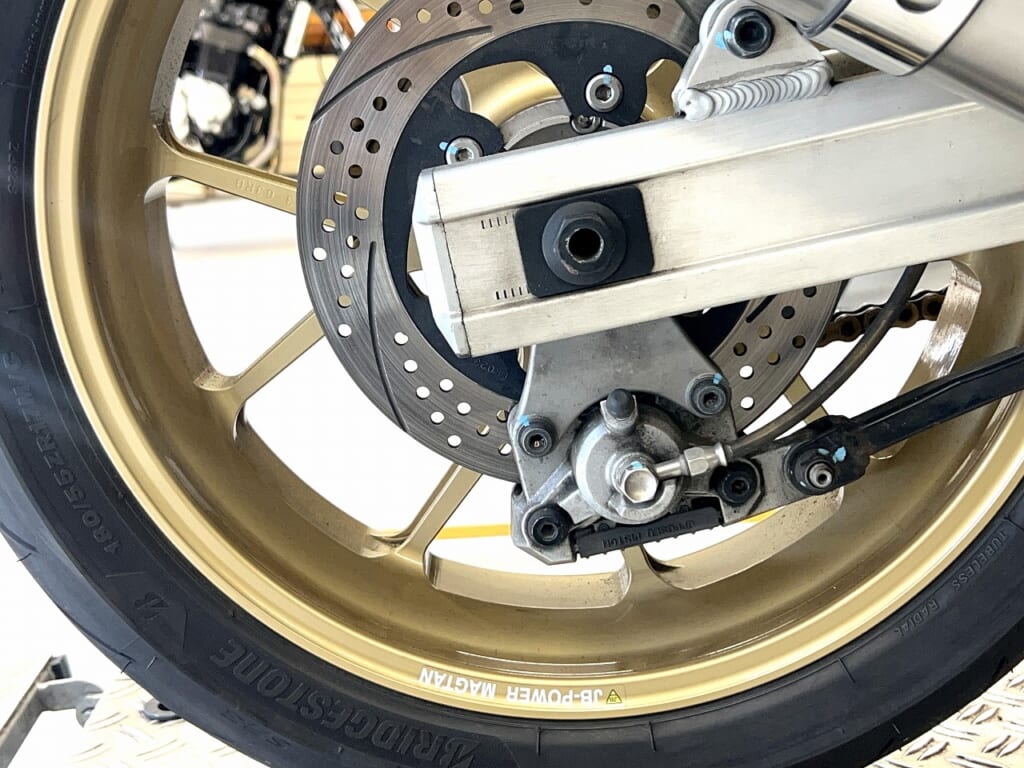
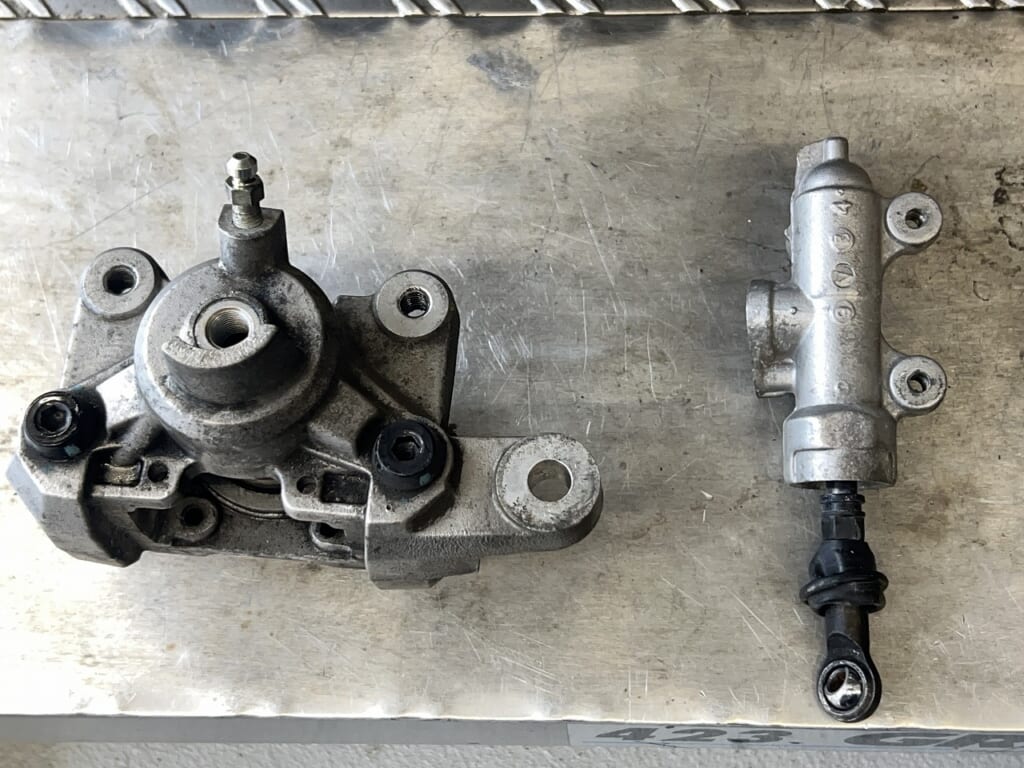
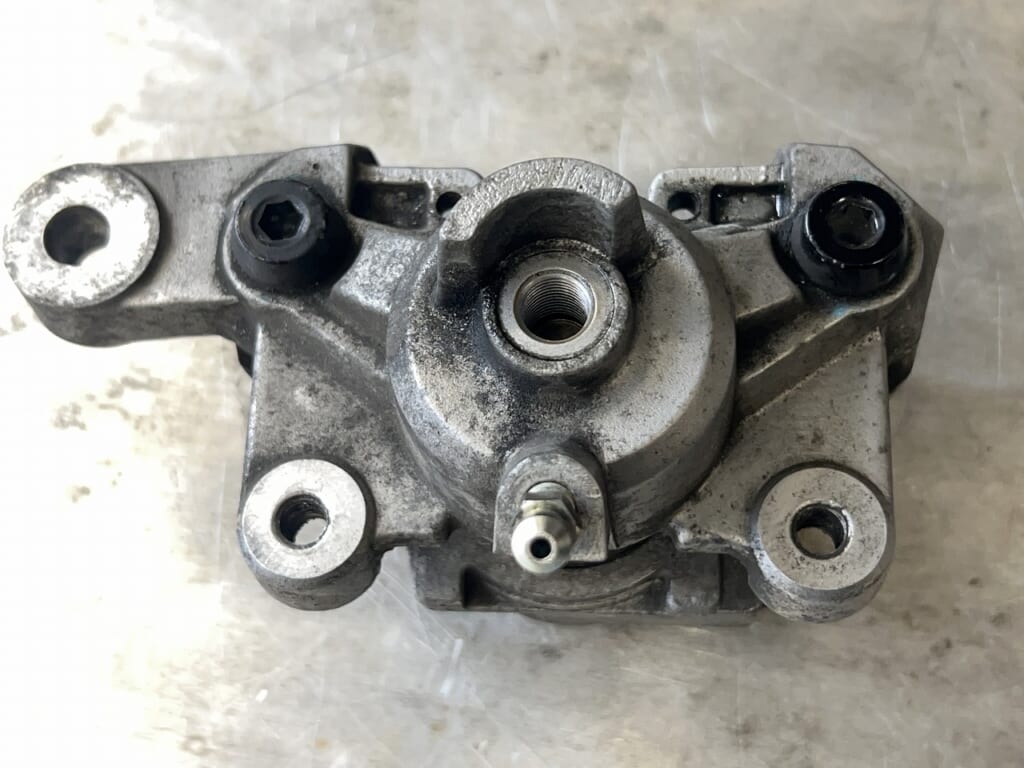
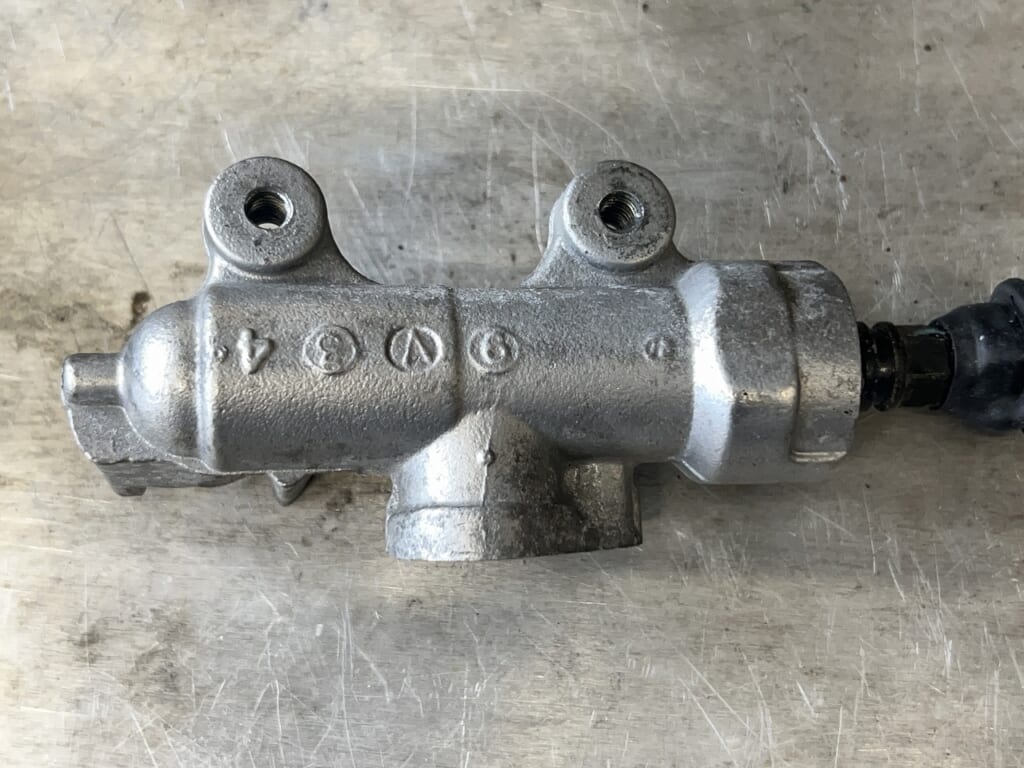
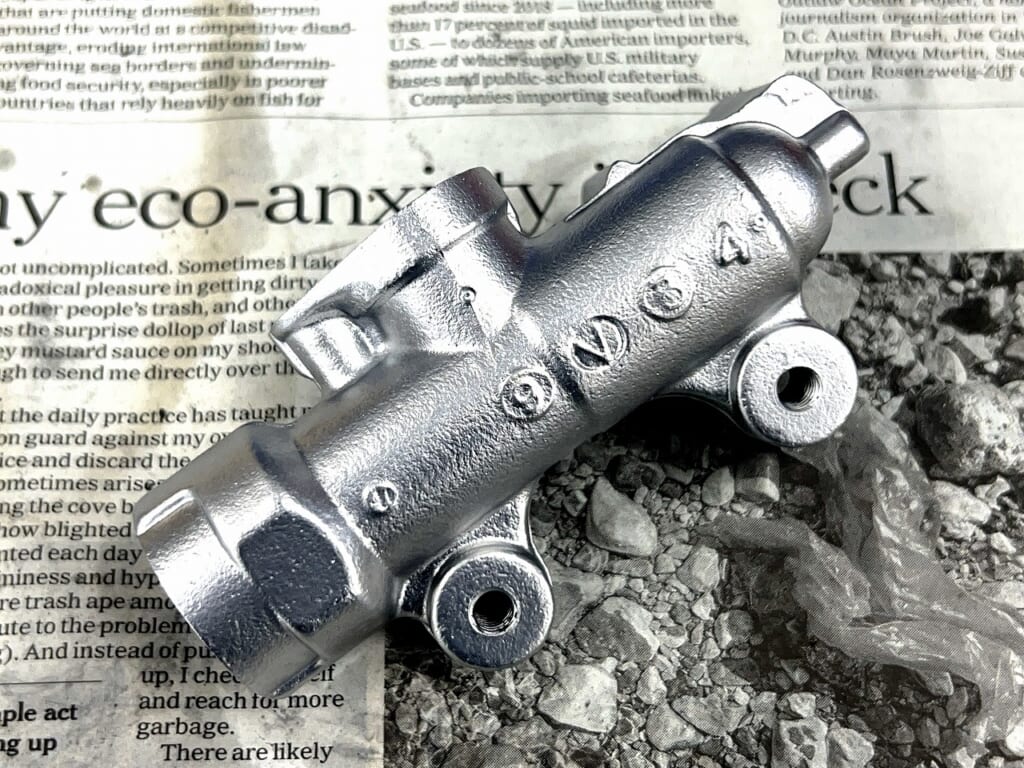
Thinking something was wrong, I put the center stand down and the rear won’t spin at all. Did the rear brake master get stuck? I was worried about that, but it wasn’t the case—it seems the rear caliper just got into bad shape.
We ride it pretty hard, so it got a bit tired.
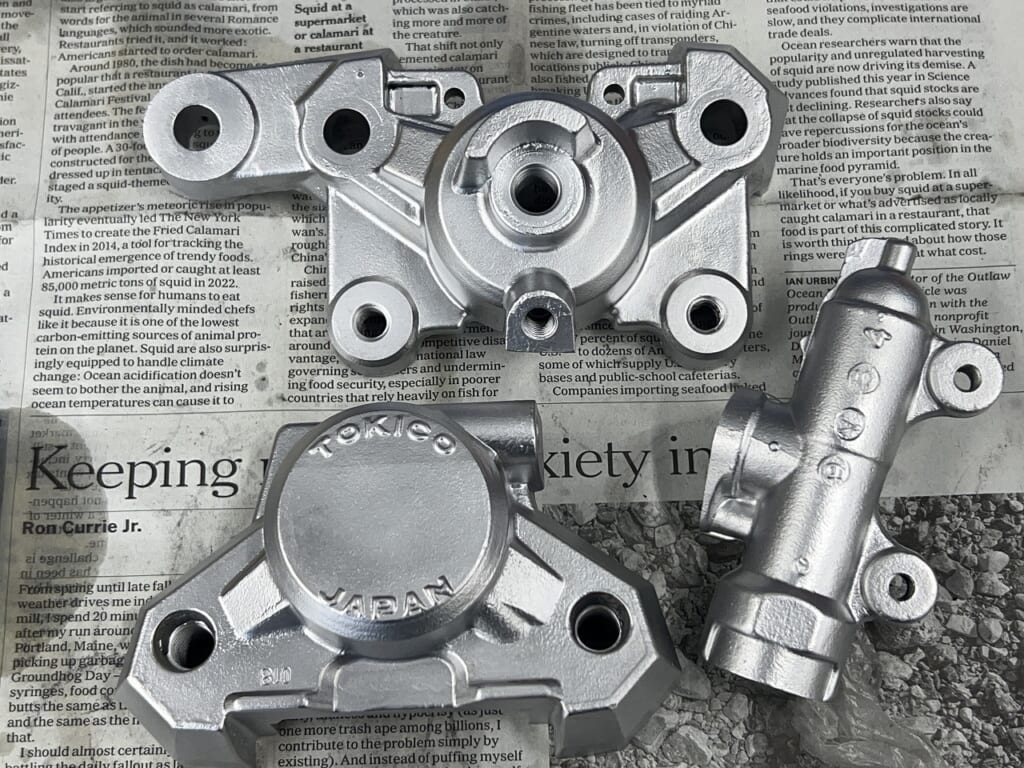
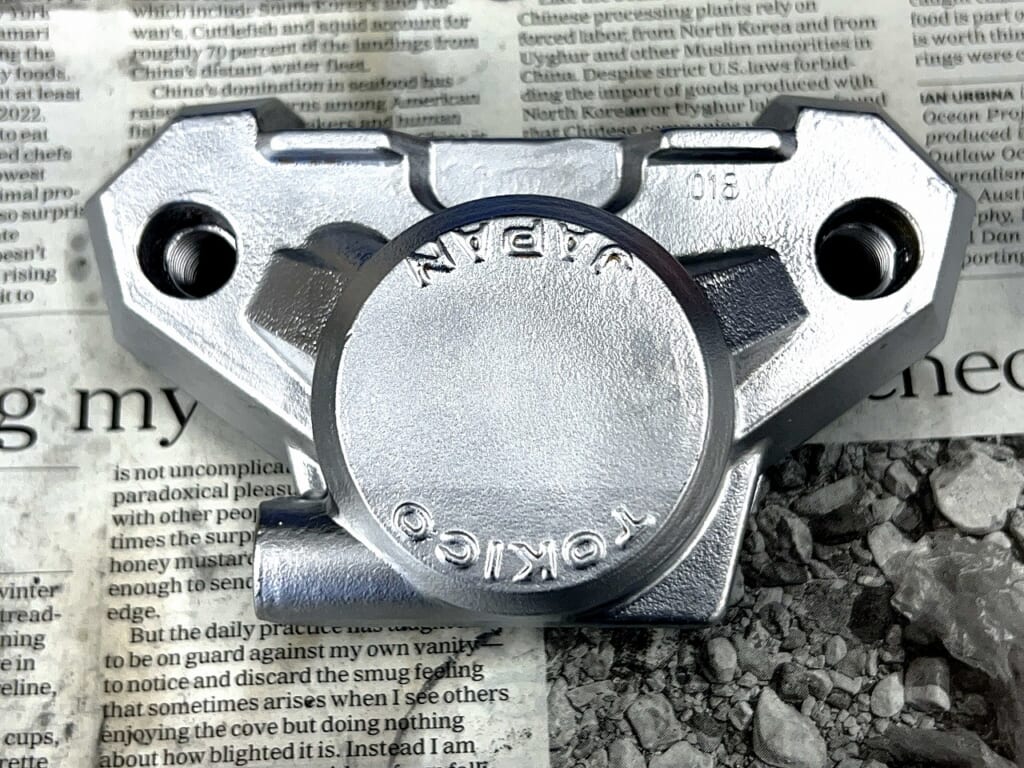
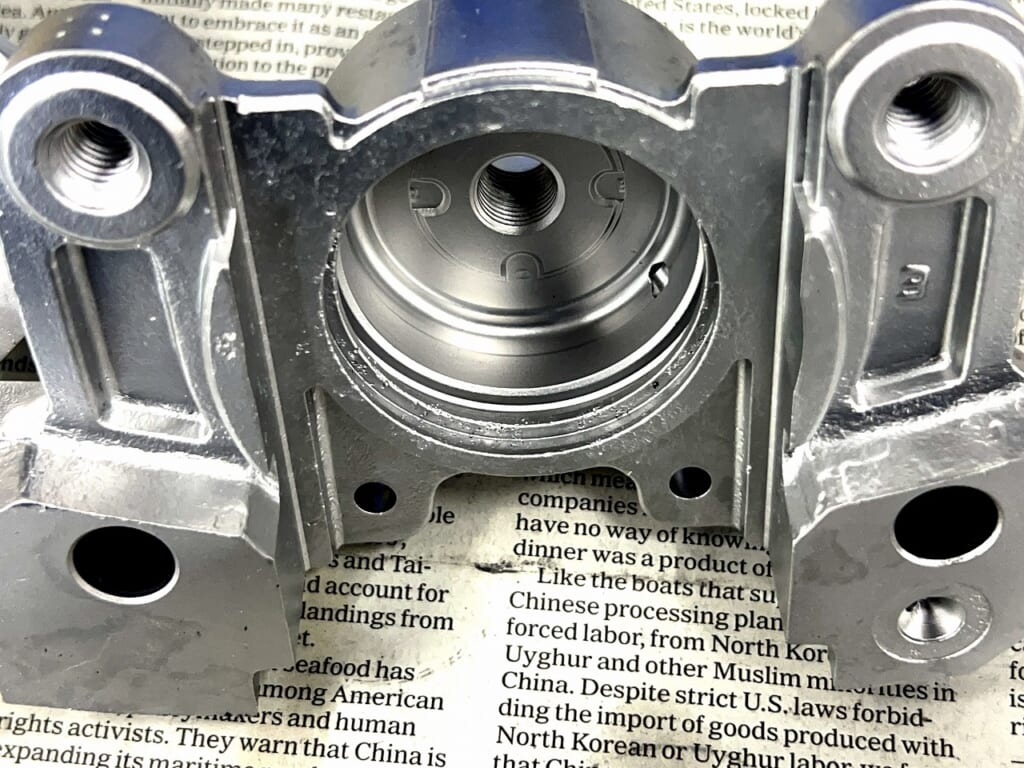
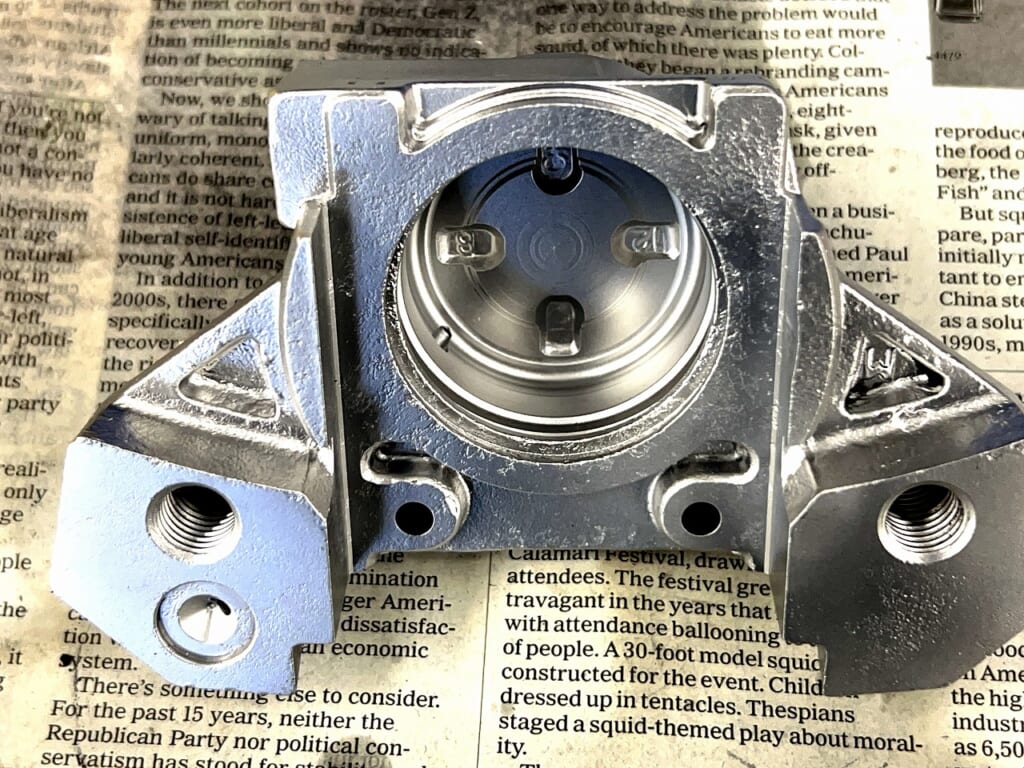
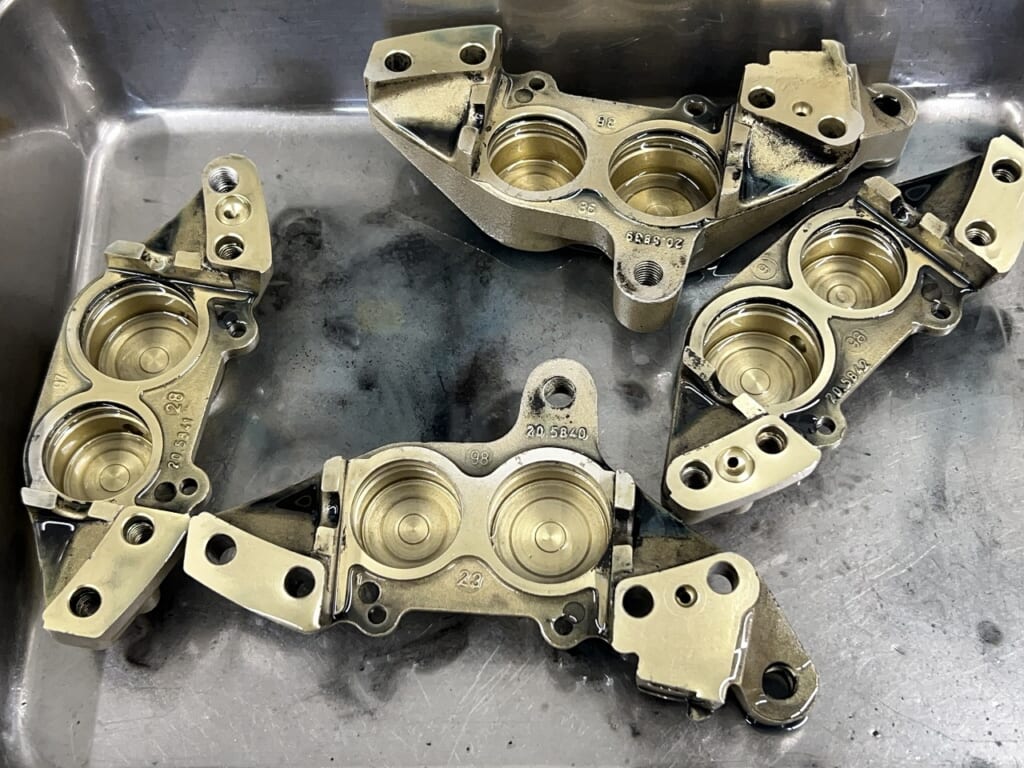
This time the secret is a caliper overhaul
We’ve been using it hard—going to Hokkaido, camping, and all that—so it’s gotten a bit corroded. I’m not too happy about it being unpainted.
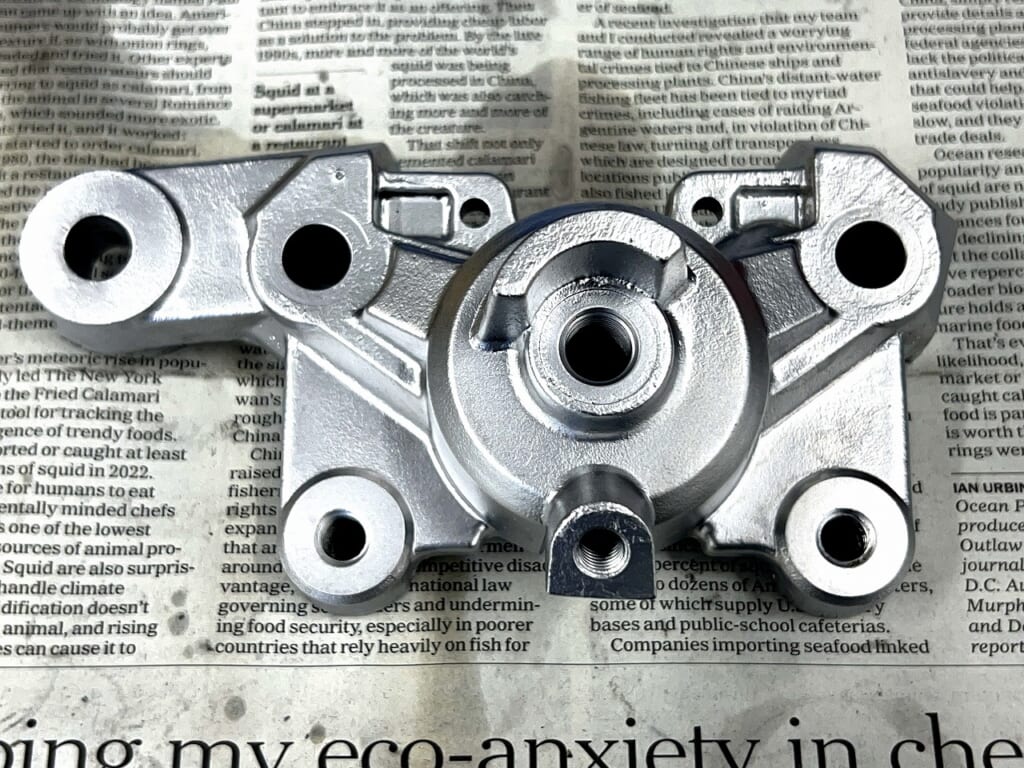
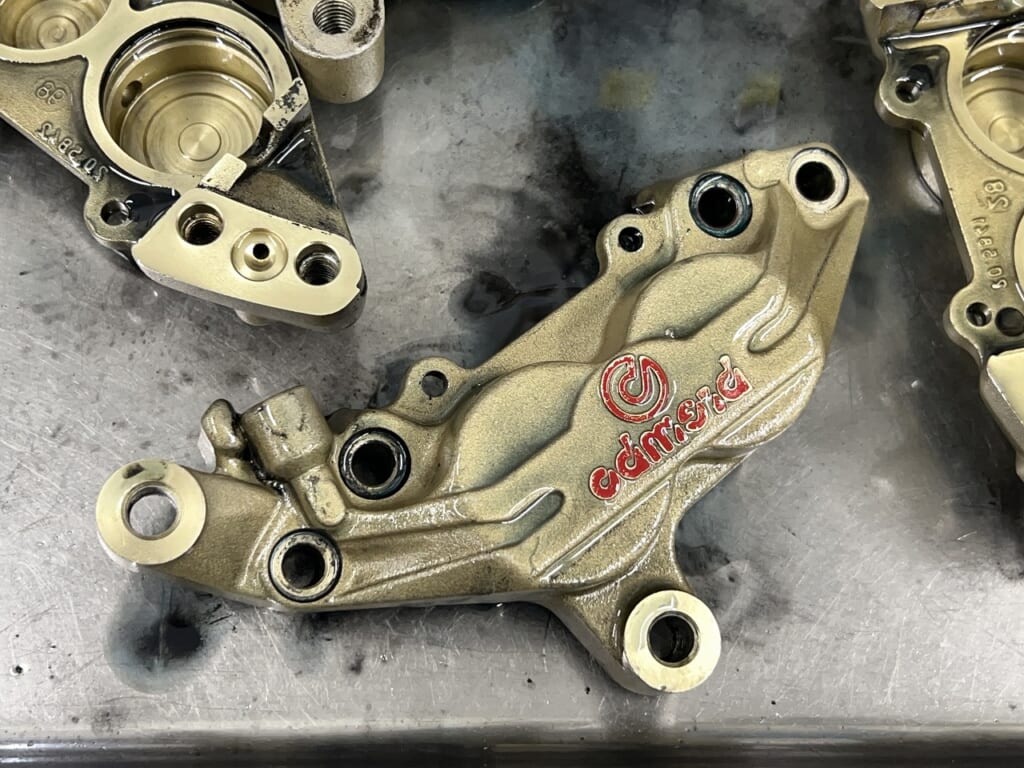
With a wet blasting setup like ours, it peels a layer each time, so it comes out clean. Once you paint it, the hurdle goes up a bit. So I really love wet blasted finishes.
Also, unlike buffing, it seems less prone to corrosion. *Of course, anything corrodes if it gets wet.
We use Reborn Wet Blast all the time (*´ω`*)
It’s incredibly fast! It shines! Terrifyingly good. Using it, I think I should have bought it sooner.
But mine is 2025 model, the latest = newer is stronger trend. If you’re going to buy, now is your chance with the upgraded version! Considering raw material costs and all, prices keep going up. Reborn Wet Blast Square Type
You should budget around 2 million yen for the wet blaster, compressor, and tank. I do almost everything for self-satisfaction anyway, so that’s fine.
Working with high self-satisfaction increases motivation, and as a result the owner is happy too—that flow feels better for both of us. And if the condition stays good longer, that feels even better.
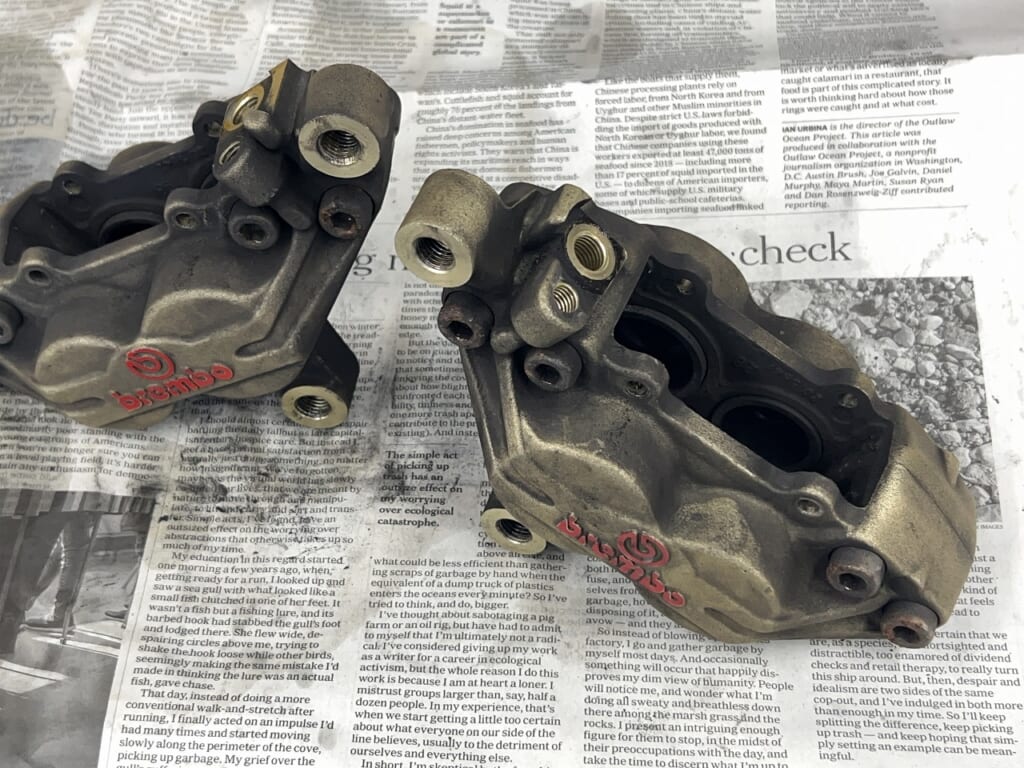
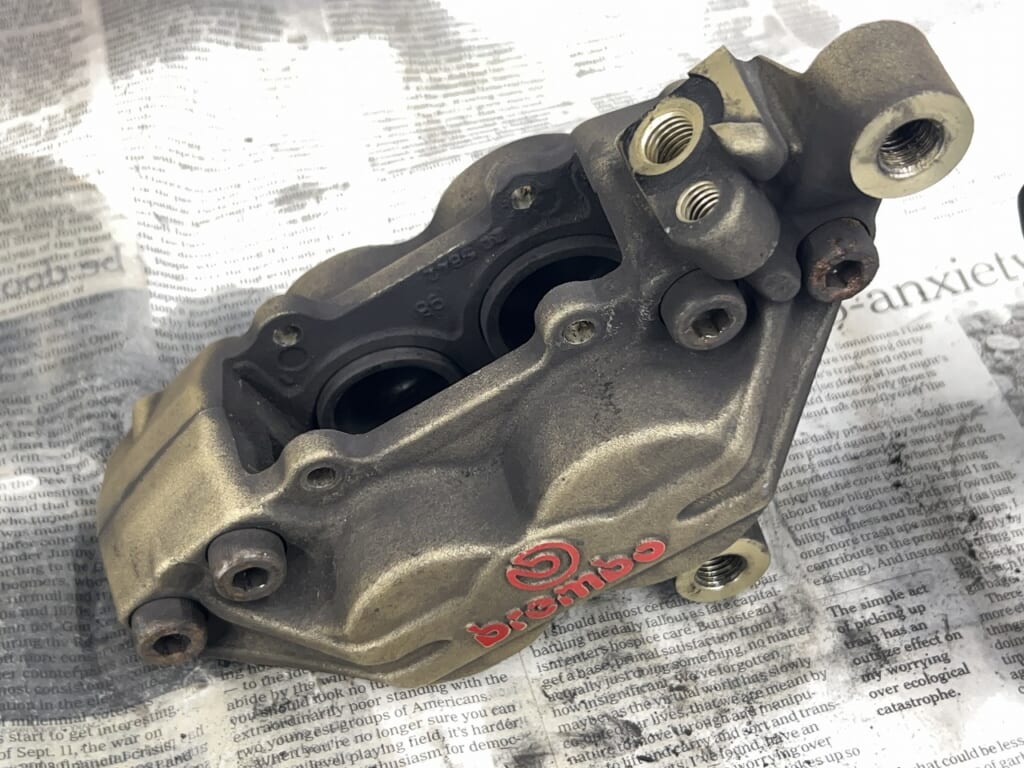
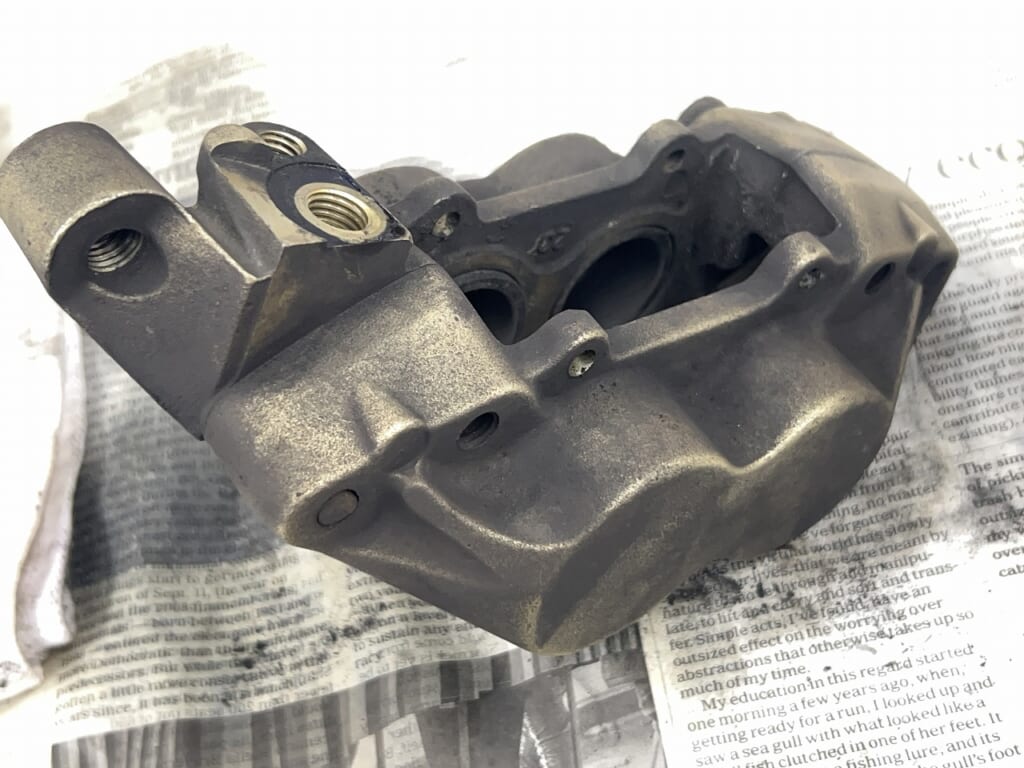
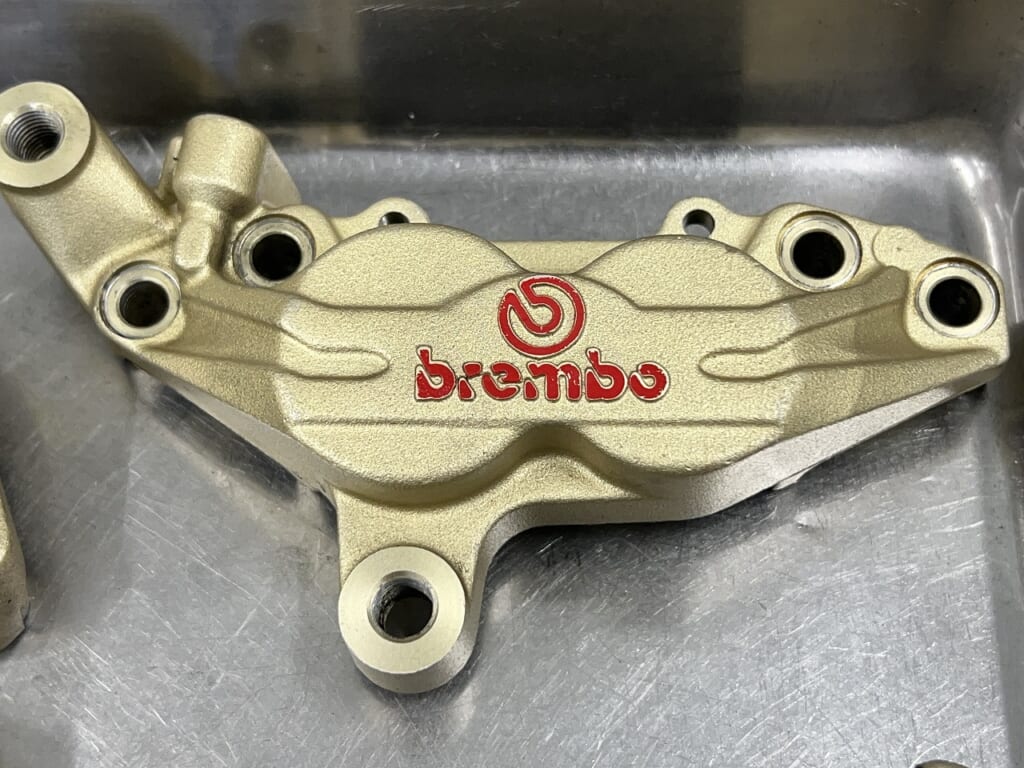
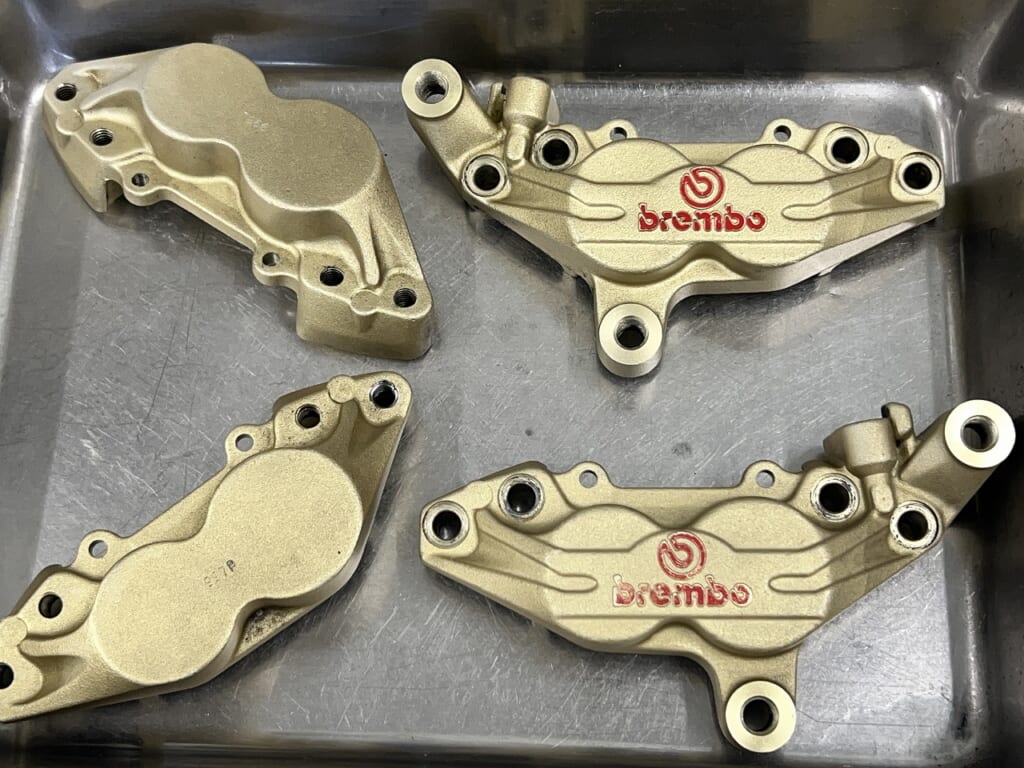
Original Brembo calipers get dirty really easily
We’ll overhaul the front caliper too while we’re at it. Of course, this is also included as a secret perk.
When it gets this dirty, dust gets into the casting and is hard to remove. We disassemble it, hit it with a high-pressure washer first, then lightly wet blast it from a distance.
If you get the wet blaster too close, the anodizing peels off, so we keep it quite far and do it gently. Since I used to work with older wet blasters, I’m pretty skilled at controlling the intensity of wet blasting.
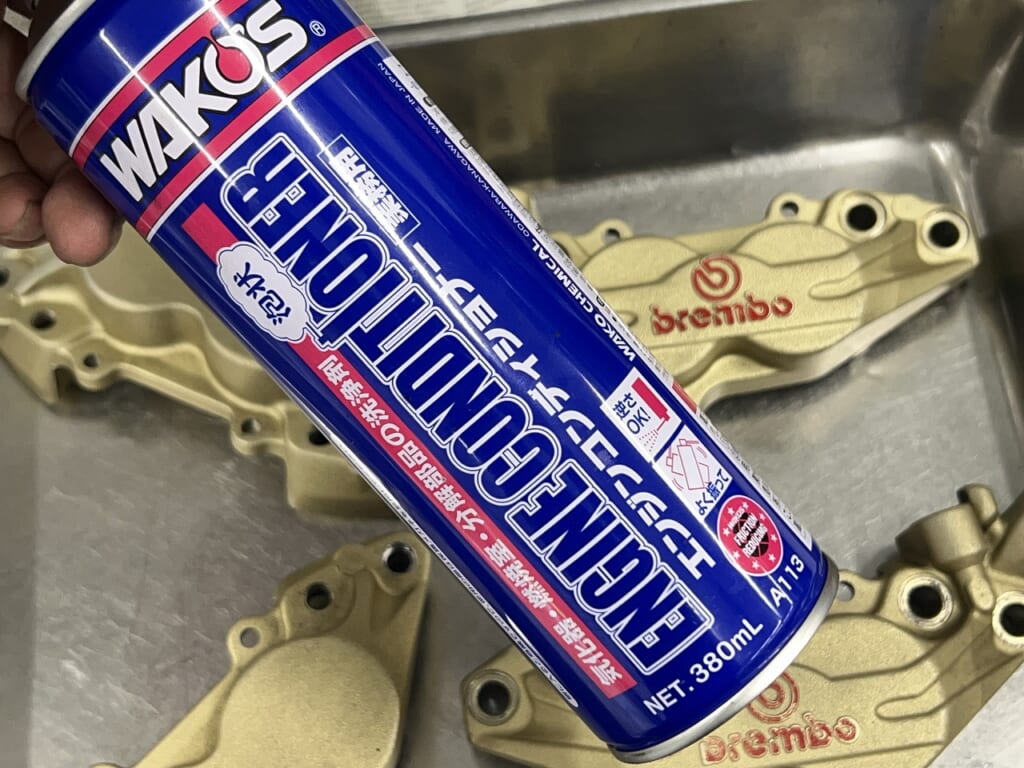
Brake dust is almost like carbon. Engine conditioner and carburetor cleaner do a great job removing dirt.
Of course, you shouldn’t use them while assembled. It’s a powerful solvent that really harms rubber. Use it when disassembled, and after use, wash it thoroughly so no residue remains before using it—it’s dangerous otherwise. *Please take this as reference only.
There’s still some dust in the gaps, but it’s gotten pretty clean, hasn’t it? Rather than fiddling with it while mounted, taking it off and working on it separately gives better looks and performance.
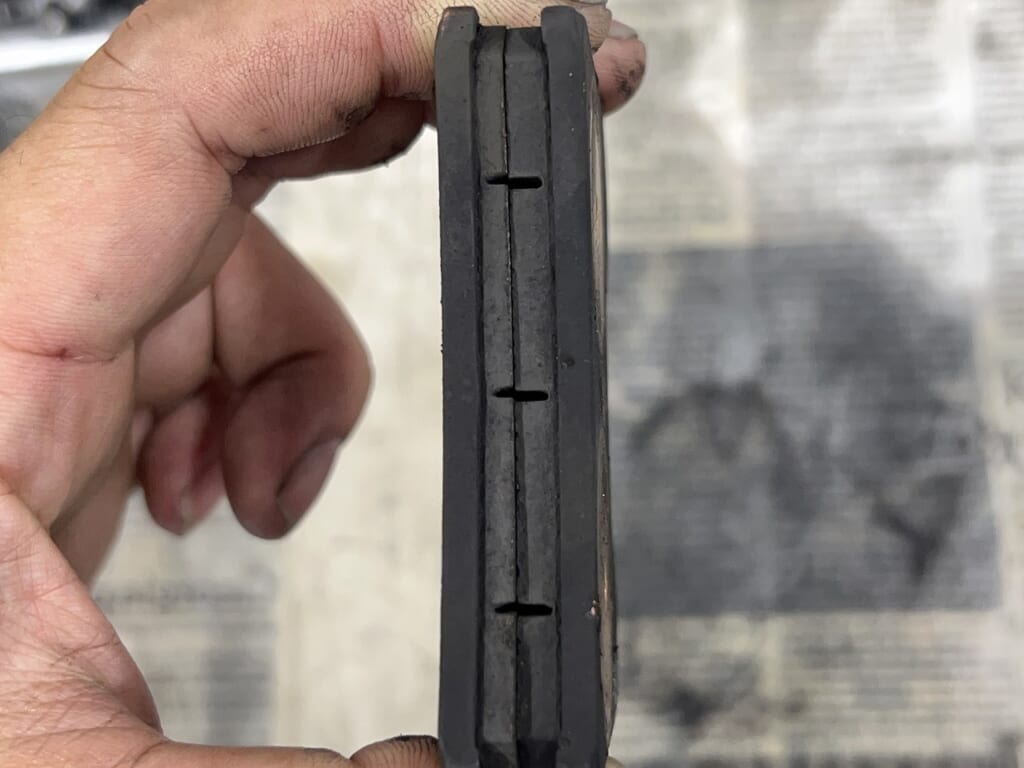
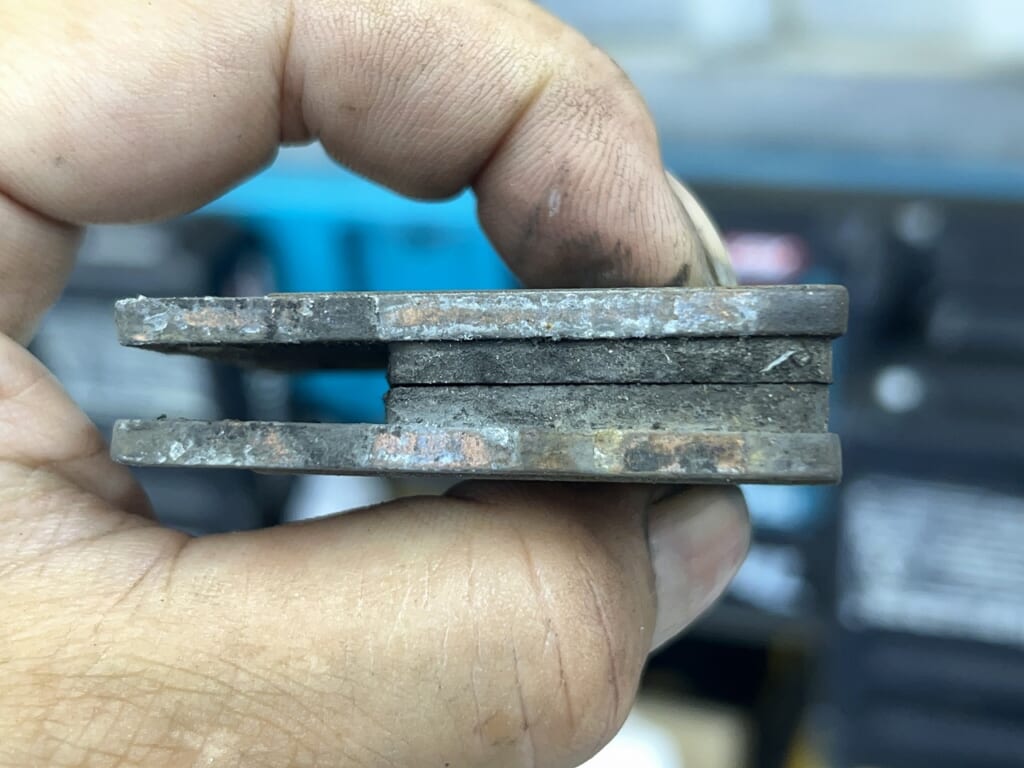
We’ll replace the brake pads too. There seems to be quite a bit of uneven wear, so we’ll check other things as well.
So happy we end up wet blasting other parts too
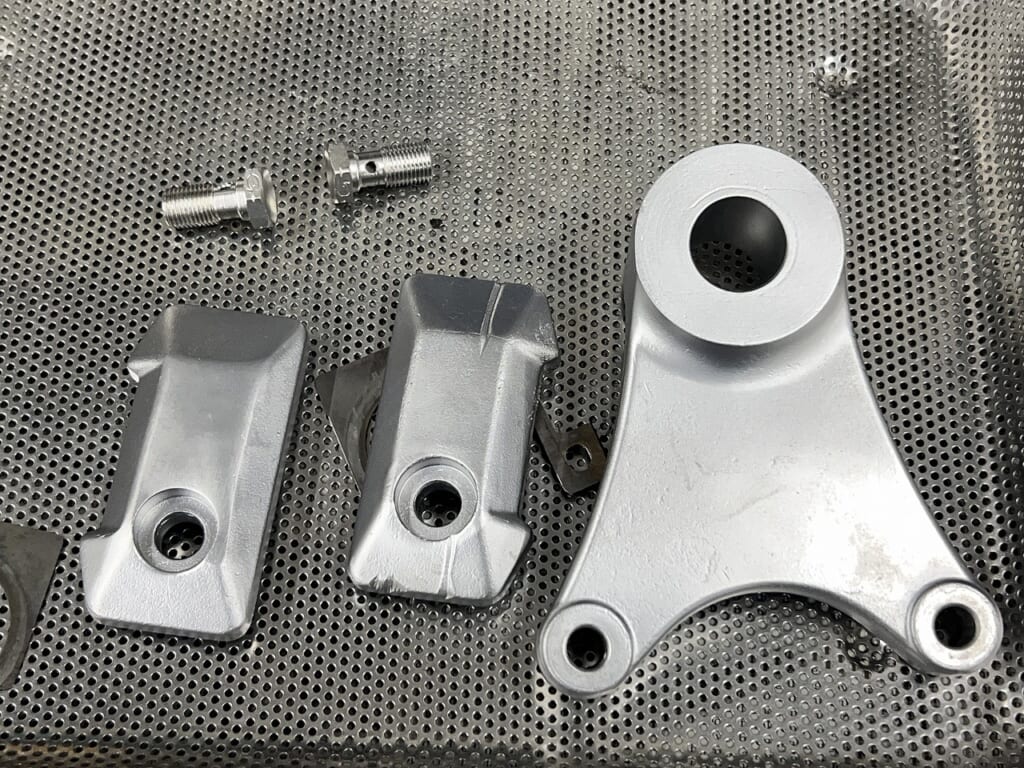
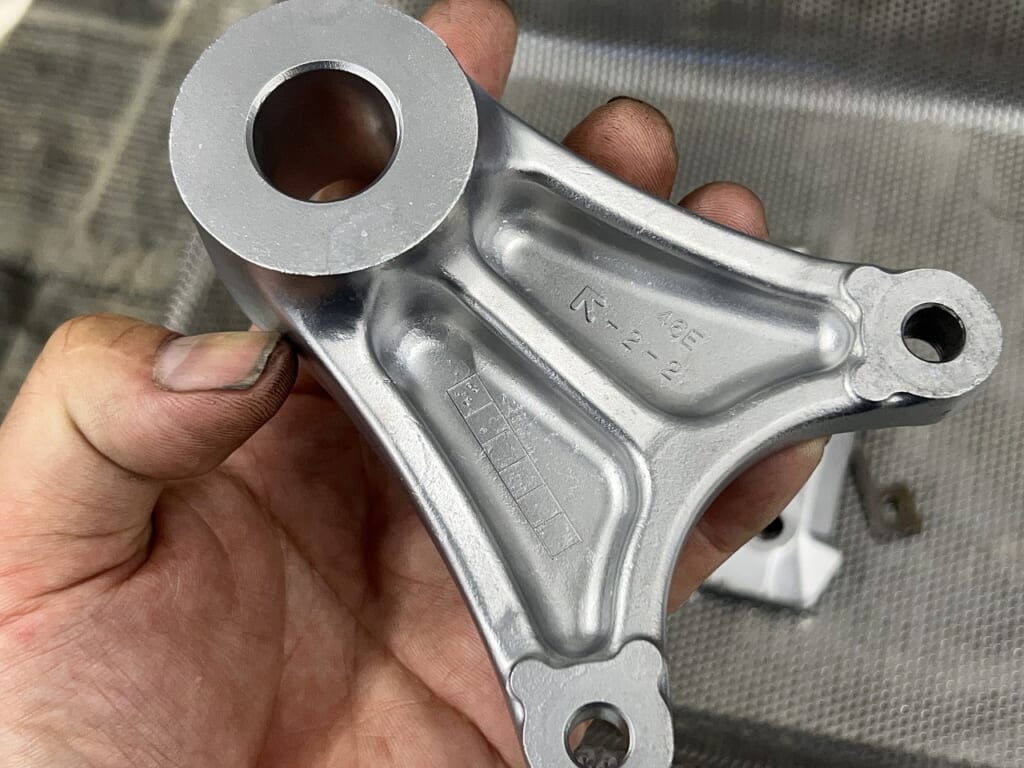
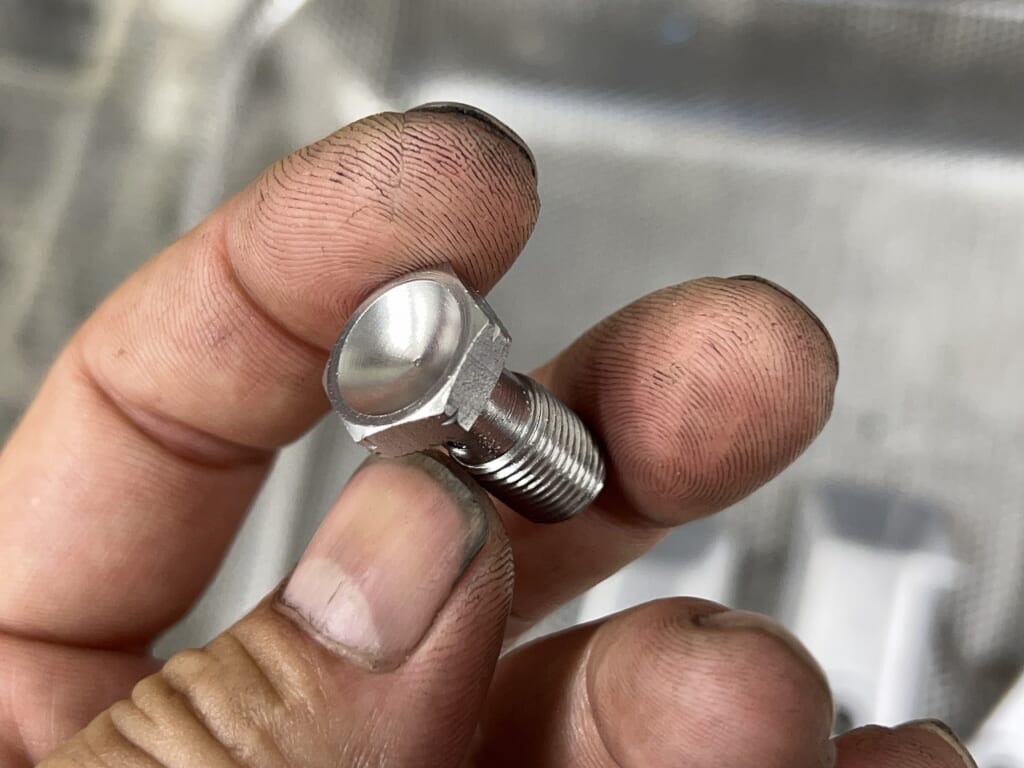
The rear caliper support we did the other day, but things like banjo bolts come out cleaner than new. Just being able to clean parts this easily makes a huge difference in work flow and finish quality.
It’s self-satisfaction, but I really feel the importance of equipment investment.
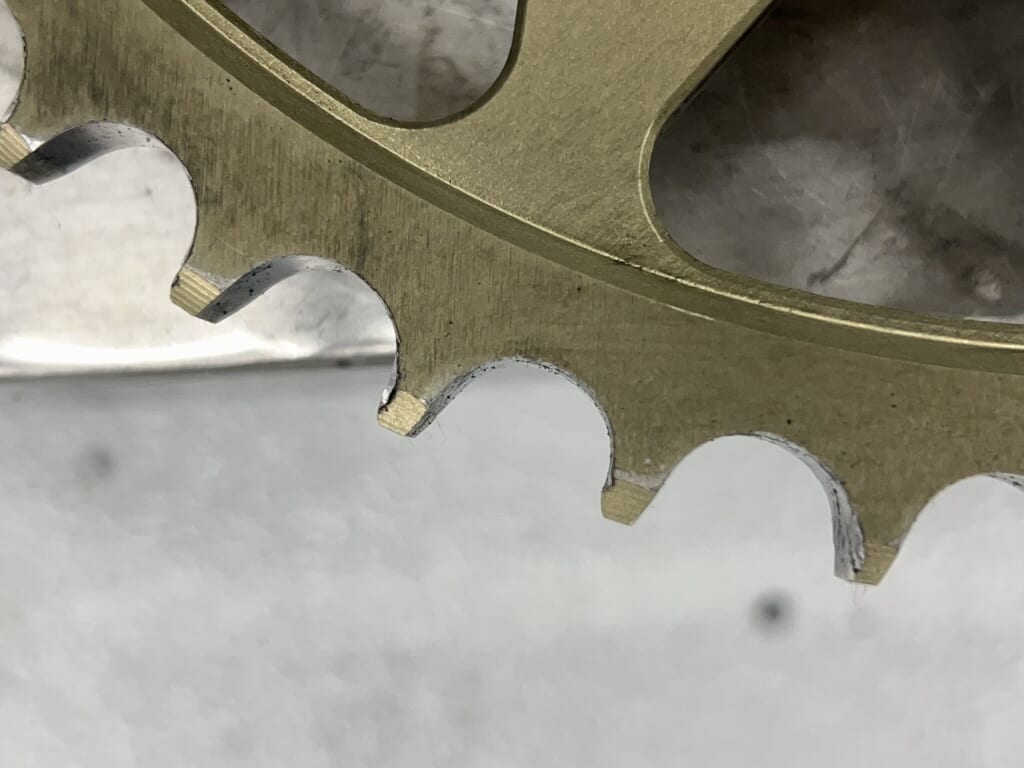
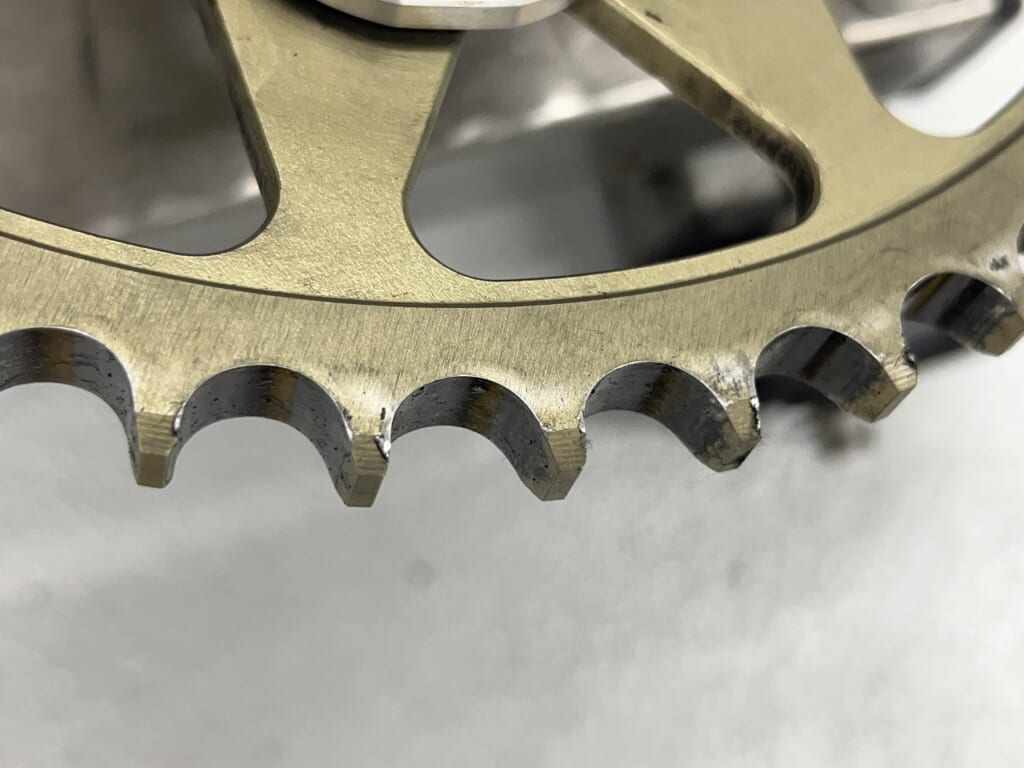
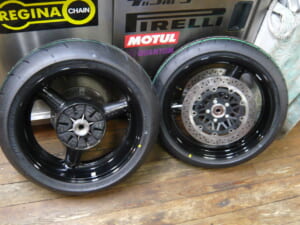
The sprocket was already starting to curl up. We proposed a chain and sprocket replacement, and we’re going to do that too.
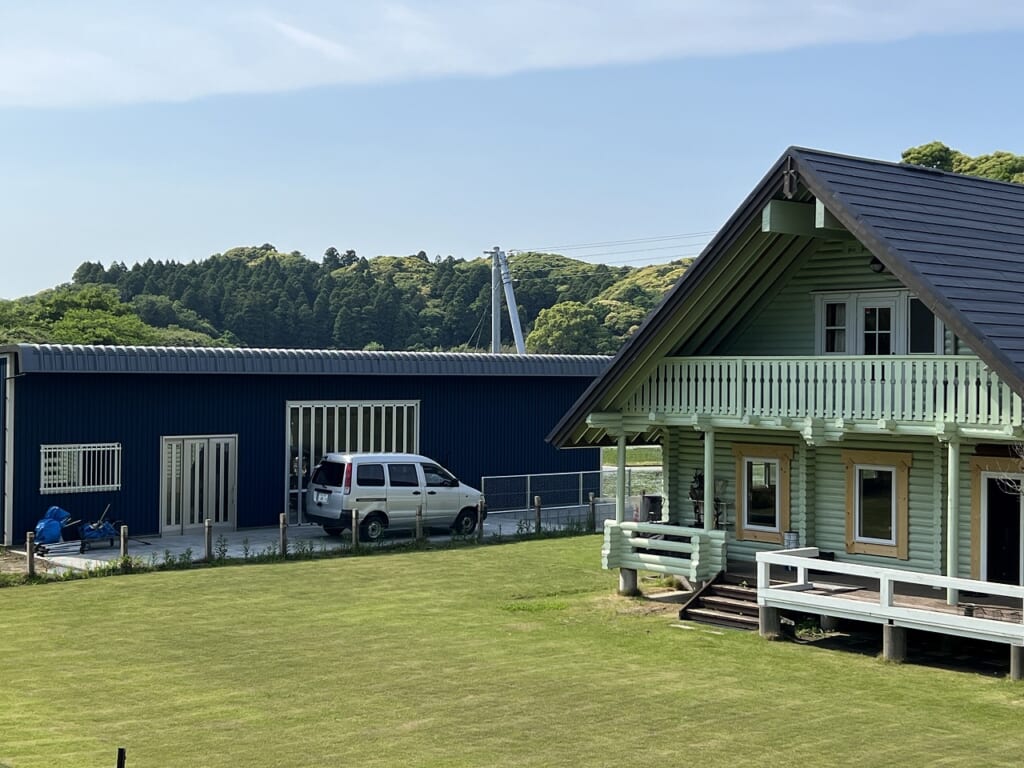
After moving to Chiba, we can take our time, work carefully and thoroughly on the work, and I’m very satisfied. Even simple polishing work becomes relaxing when you’re outside looking at greenery and scotching away (*´ω`*)




 ポチップ
ポチップ