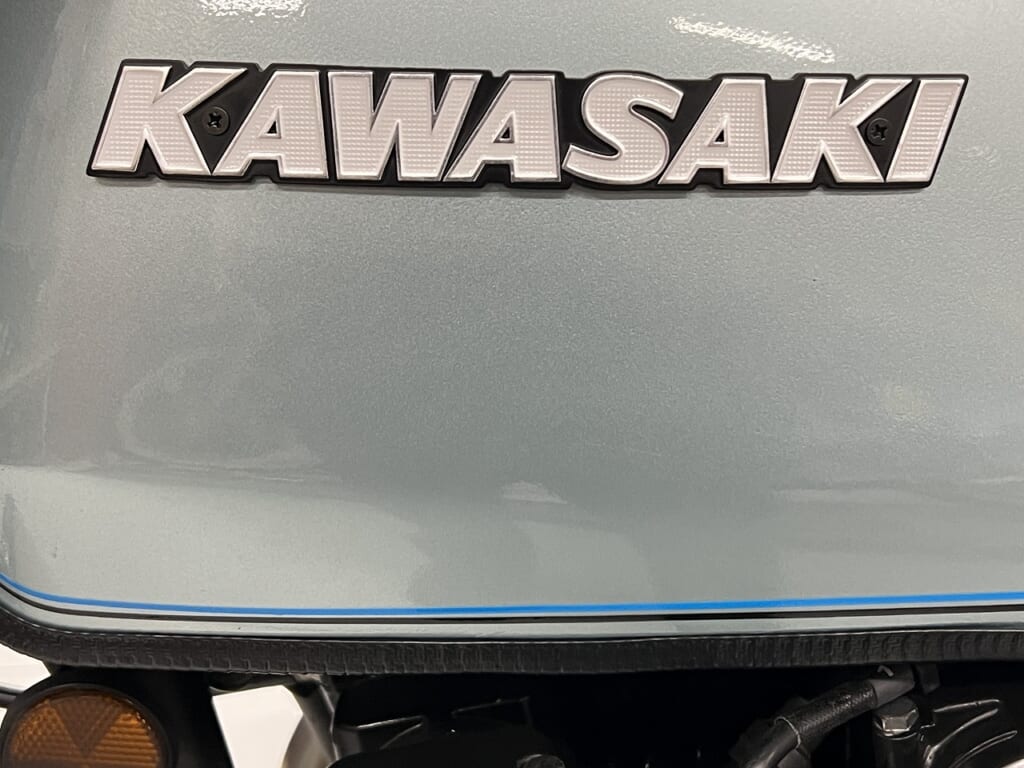
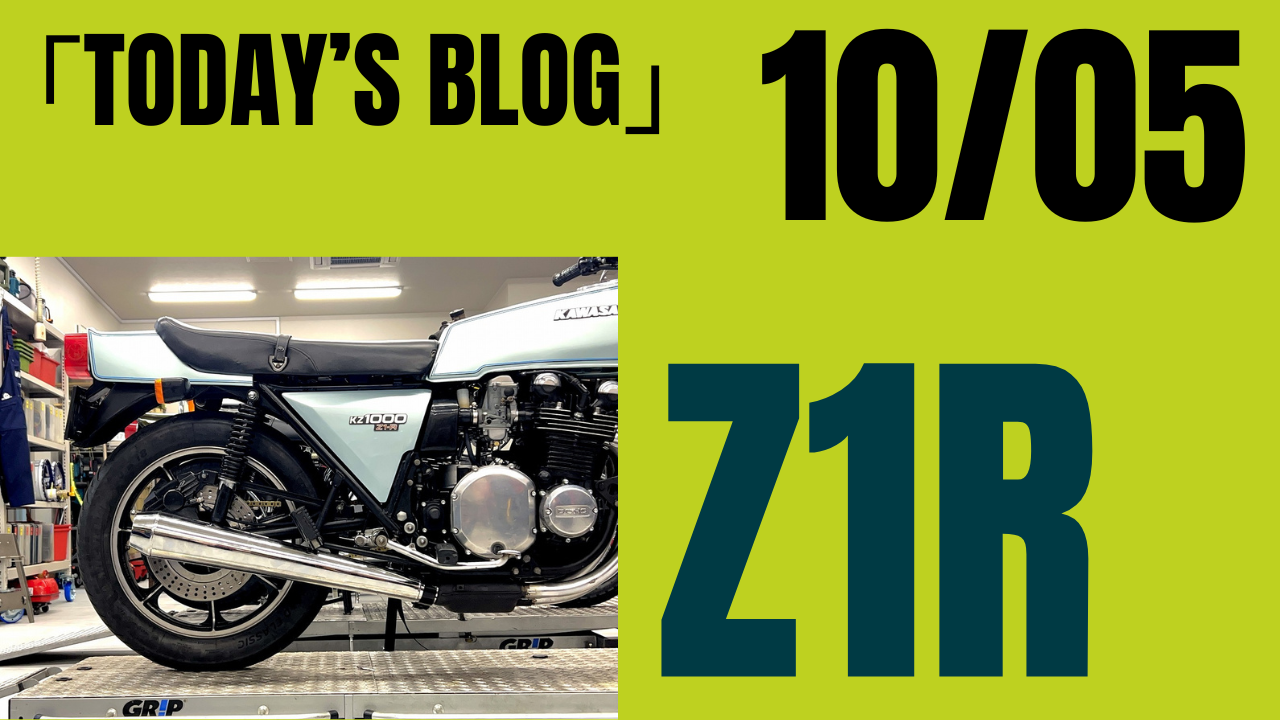
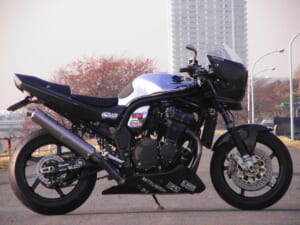
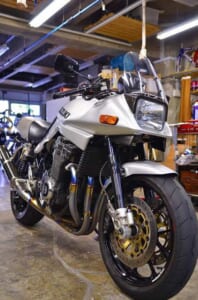
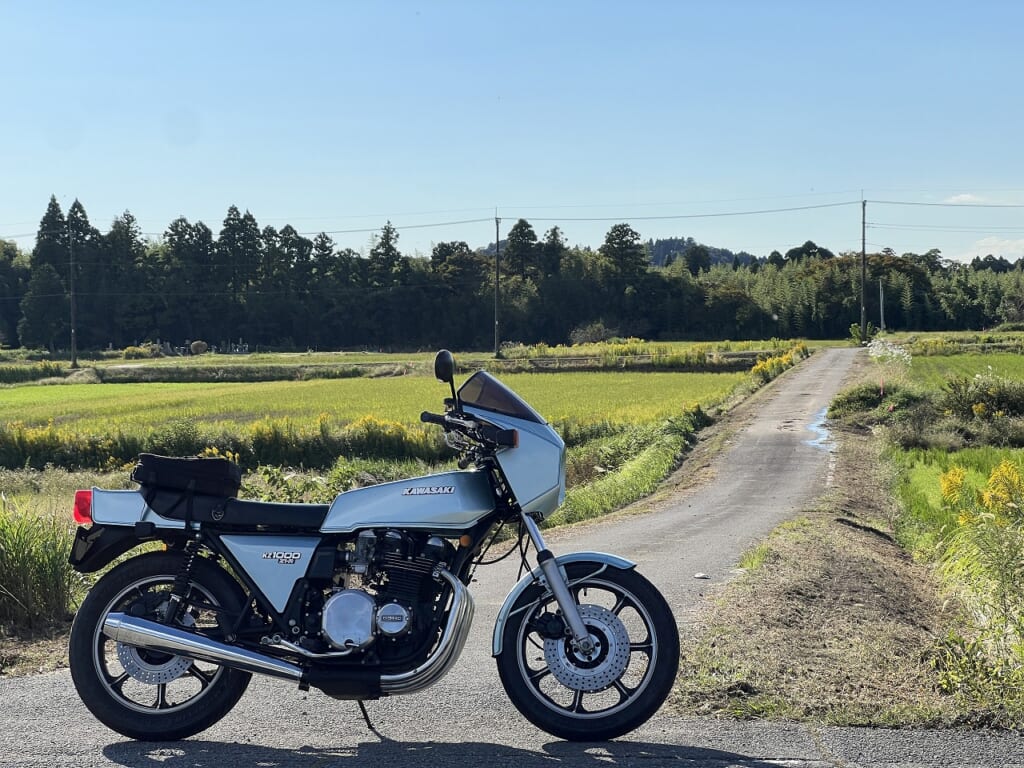
After some twists and turns, it’s finally complete. We started from a Z1R that looked good on the surface but was basically a restoration base.
I spent quite a bit of time on the final touches with the original VM carburetor, air cleaner, and original muffler, but now it’s finally become a spec I can enjoy riding anywhere (*´ω`*)
So that’s the final episode. After riding 200 kilometers, it’s become an excellent bike.
Decoboco’s other BLOG. “RURAL GARAGE ”
A hidden room for things other than bikes. Convenient everyday items, relocation, delicious food, life philosophy and more. ←click
I’m really glad I purchased the Reborn Wet Blast. The finish quality and speed are completely different.
Good work starts with good equipment… it’s absolutely essential. If you’re thinking of running a bike shop a bit longer, it’s a must-have item to adopt early.
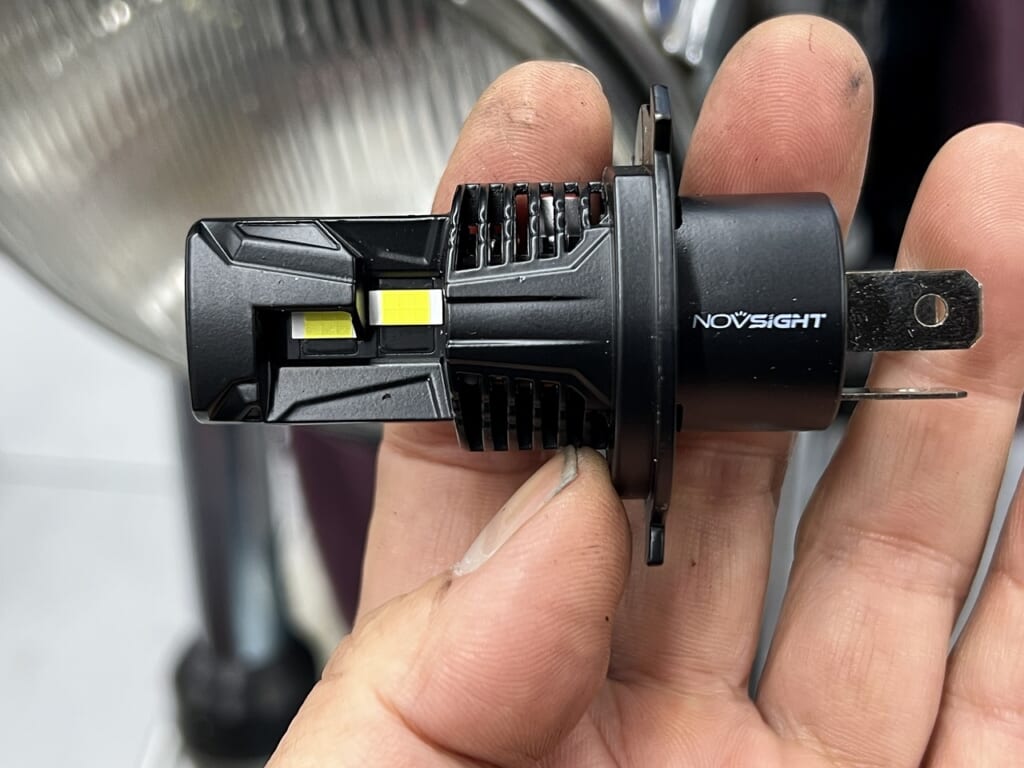
I have great confidence in them. So far, I haven’t had any units fail inspection. The HI/LO difference is solid, so you can use them with confidence like a regular bulb. Or so I thought…
No light output… left and right adjustment is beyond the adjustment range… Seriously?
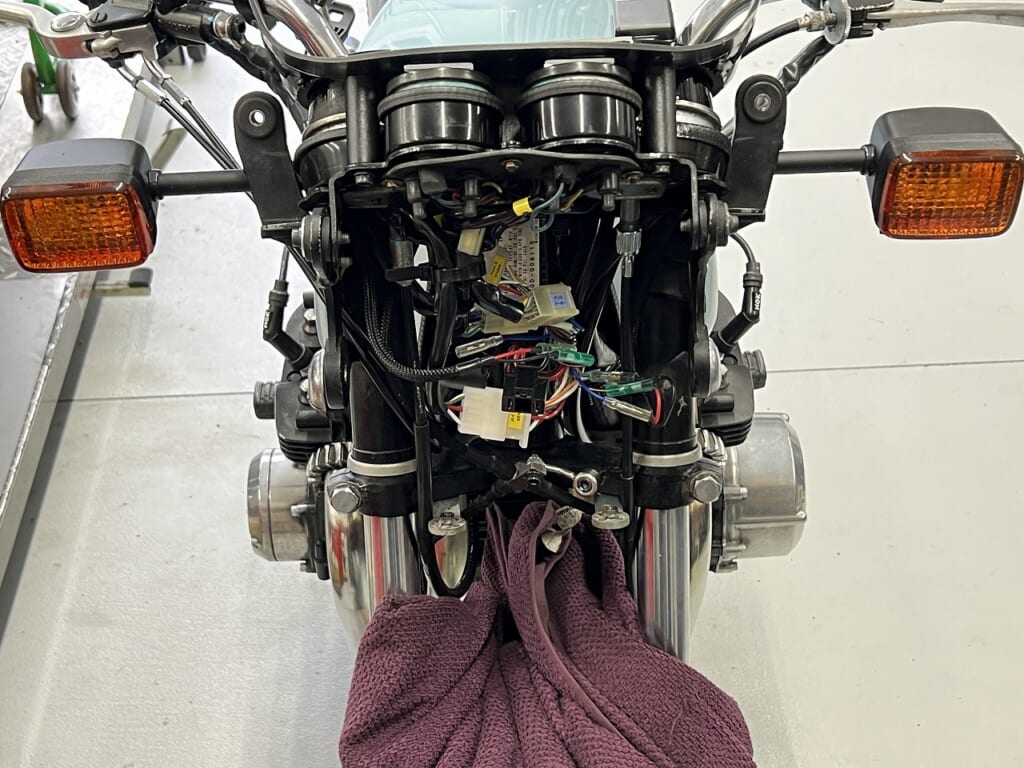
After investigating, the bulb socket on the headlight side was deformed, so the bulb wasn’t going in all the way and was tilted. Good thing. This kind of thing happens, so it’s best to check with a headlight tester when replacing bulbs.
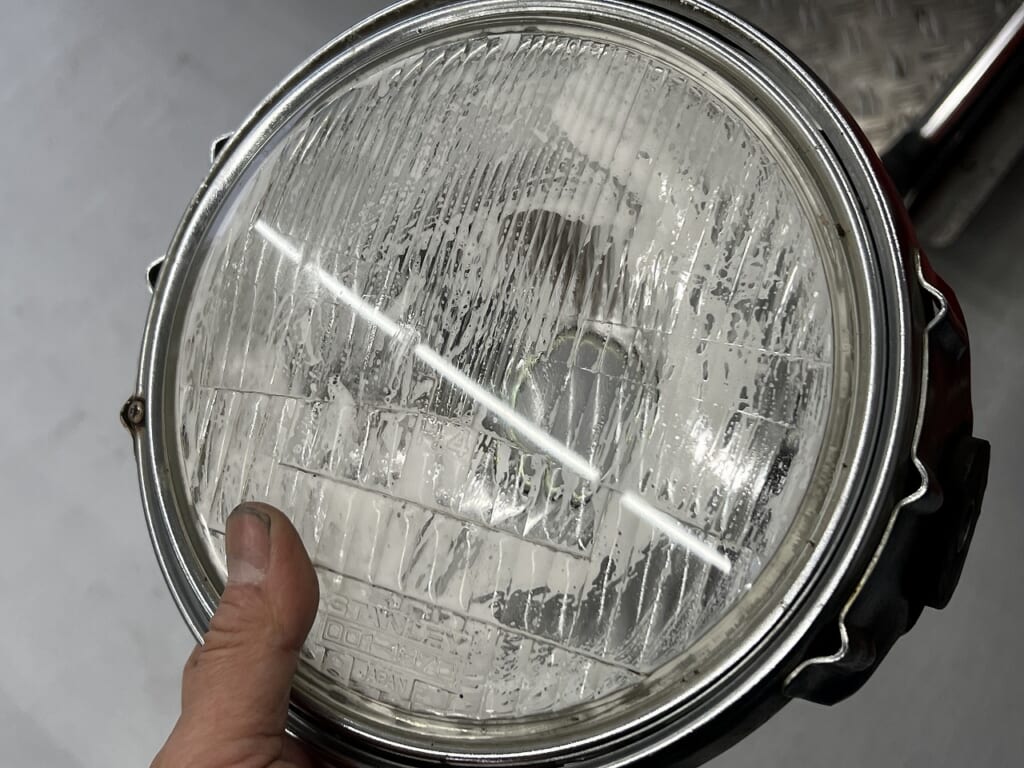
Let’s remove 50 years of grime while we’re at it! Just a little? If 50 years of grime comes off in 30 minutes to an hour, I have to do it!
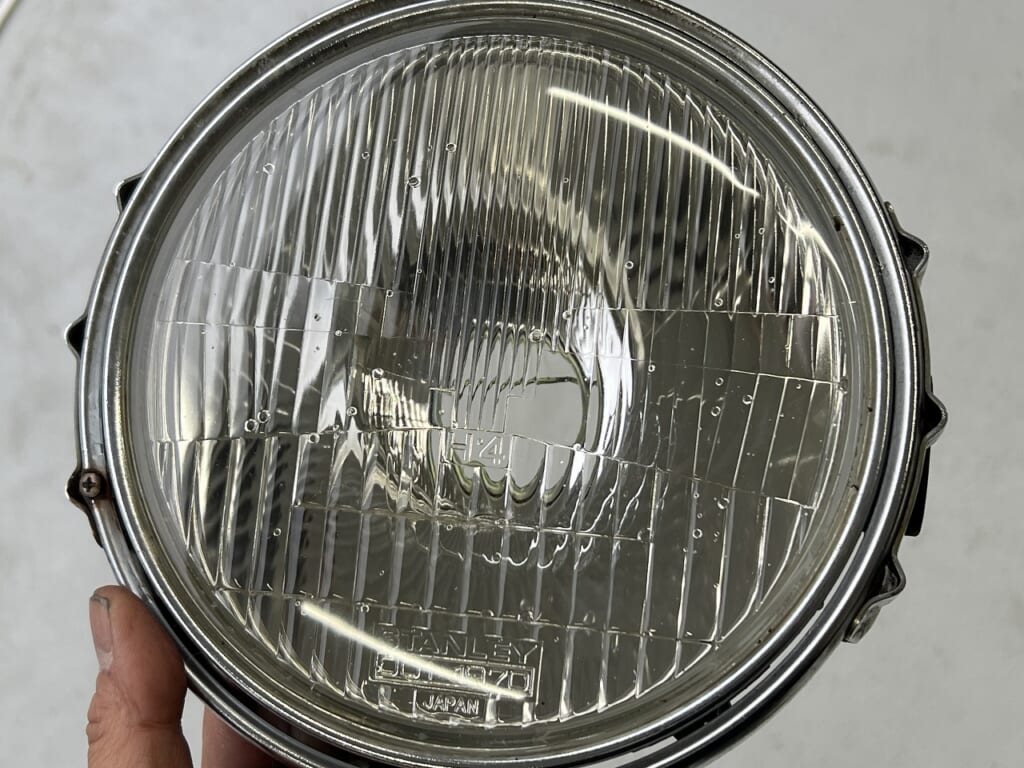
I really felt that old chrome is durable.
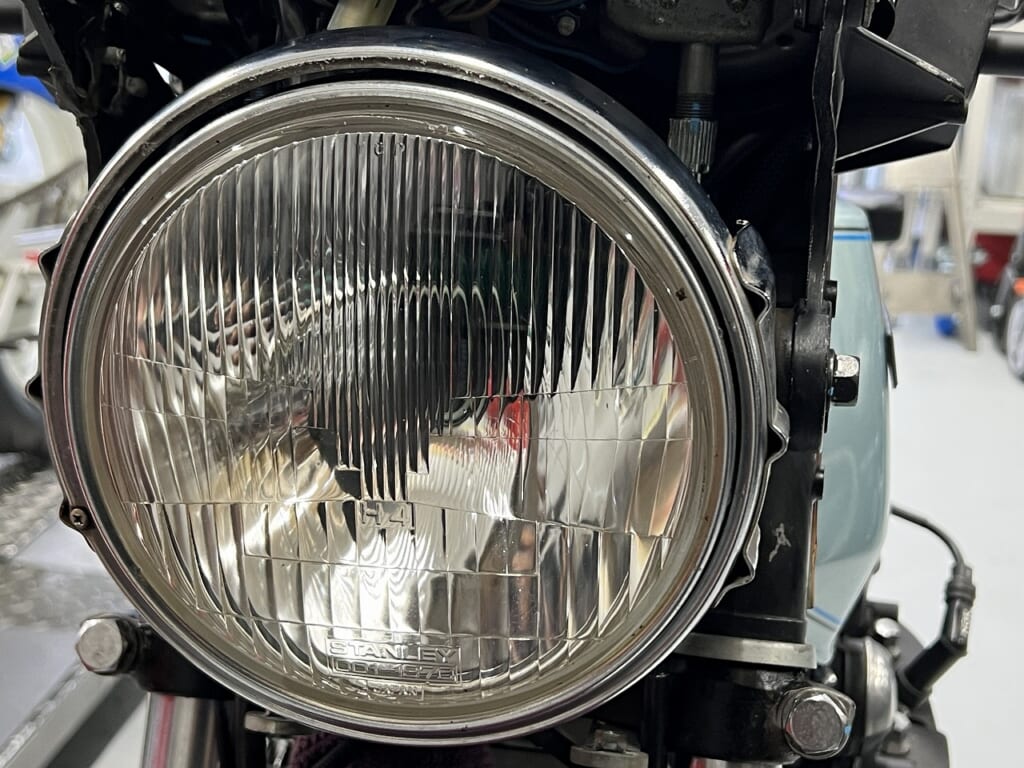
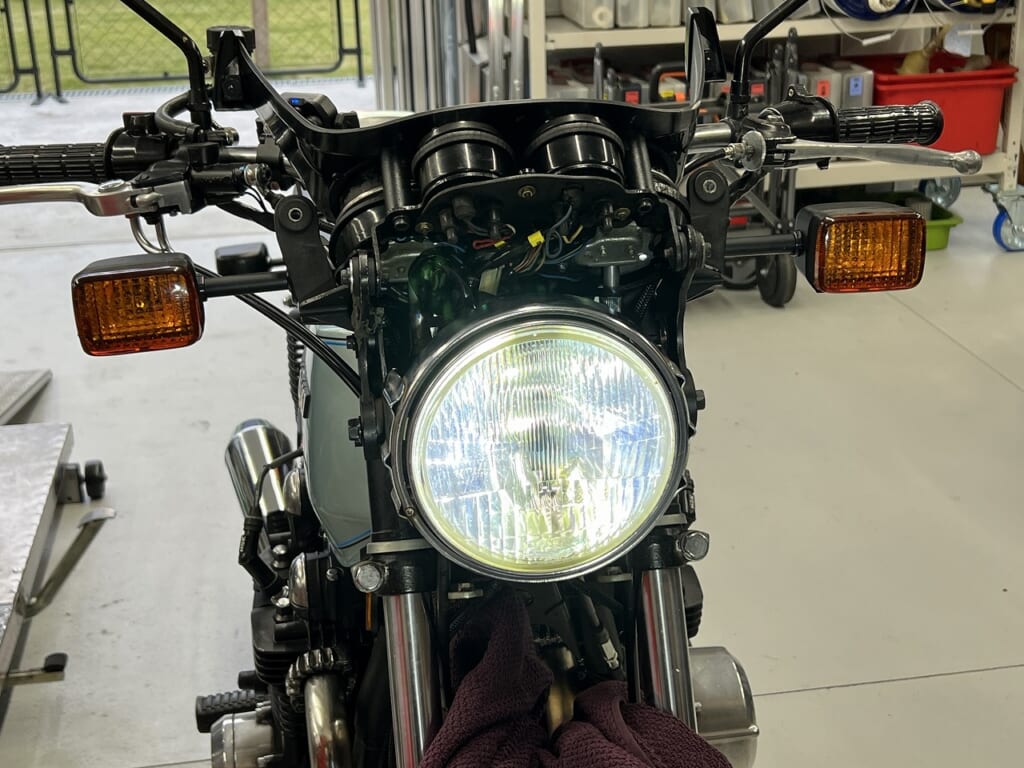
The brightness is completely different. It looks sharp (*´ω`*)
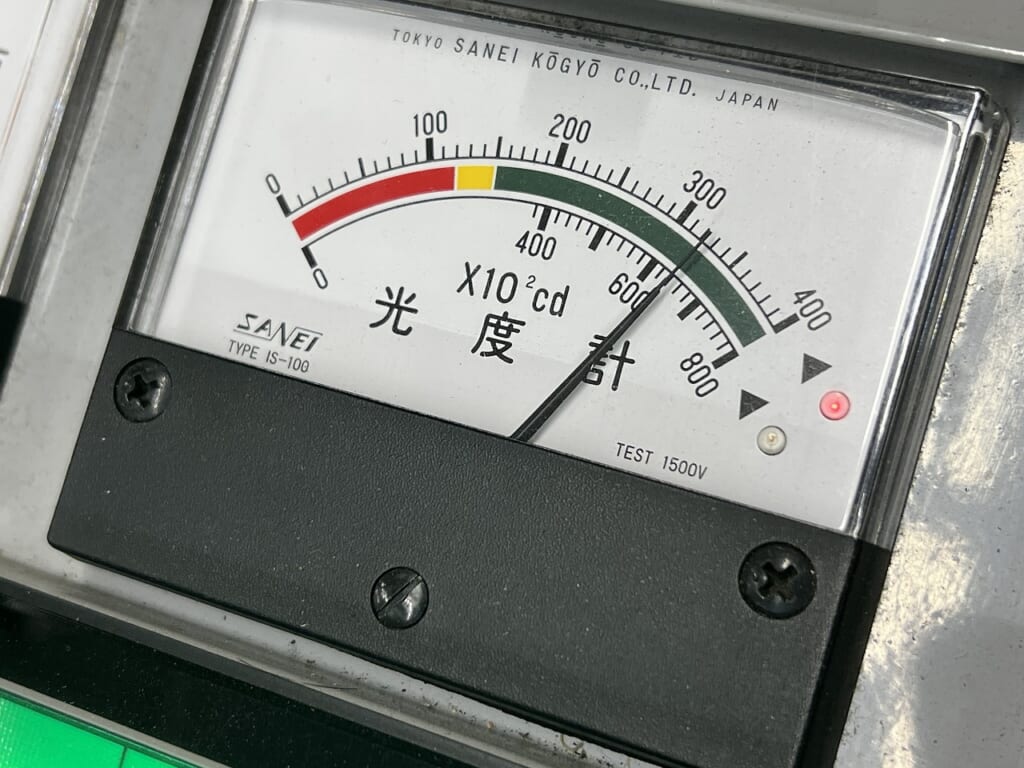
And the result is…
Our old headlight tester shows 32,000, so I think it’s actually putting out close to 40,000.
No more inspection failures, and night riding is now safe and enjoyable.
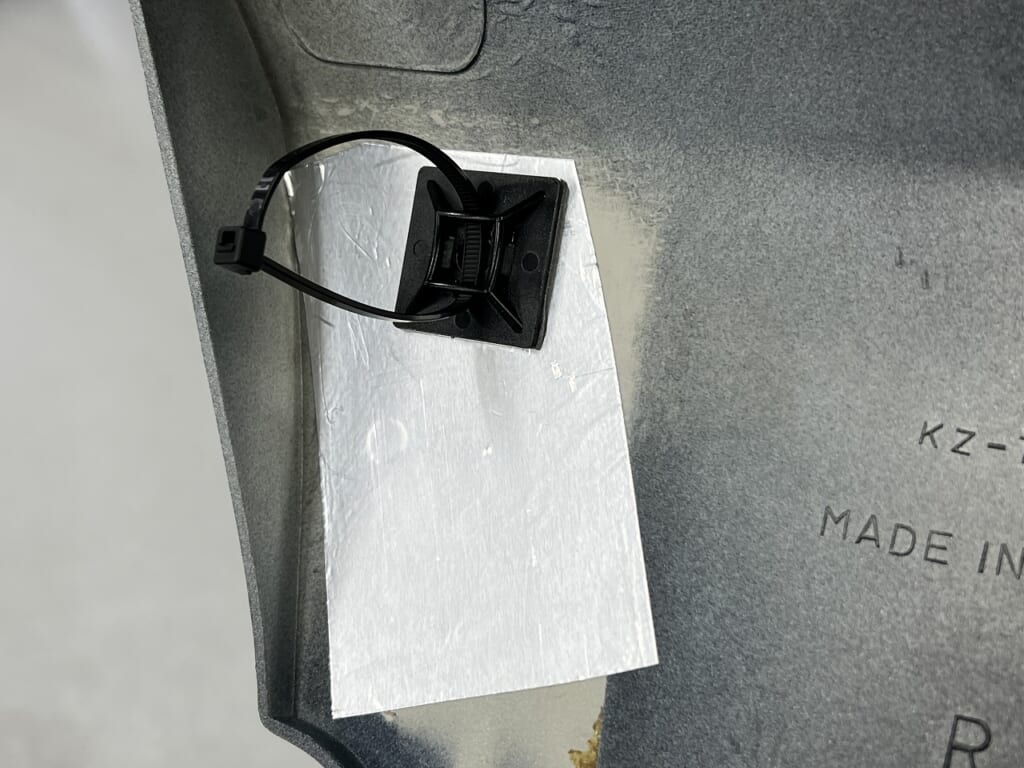
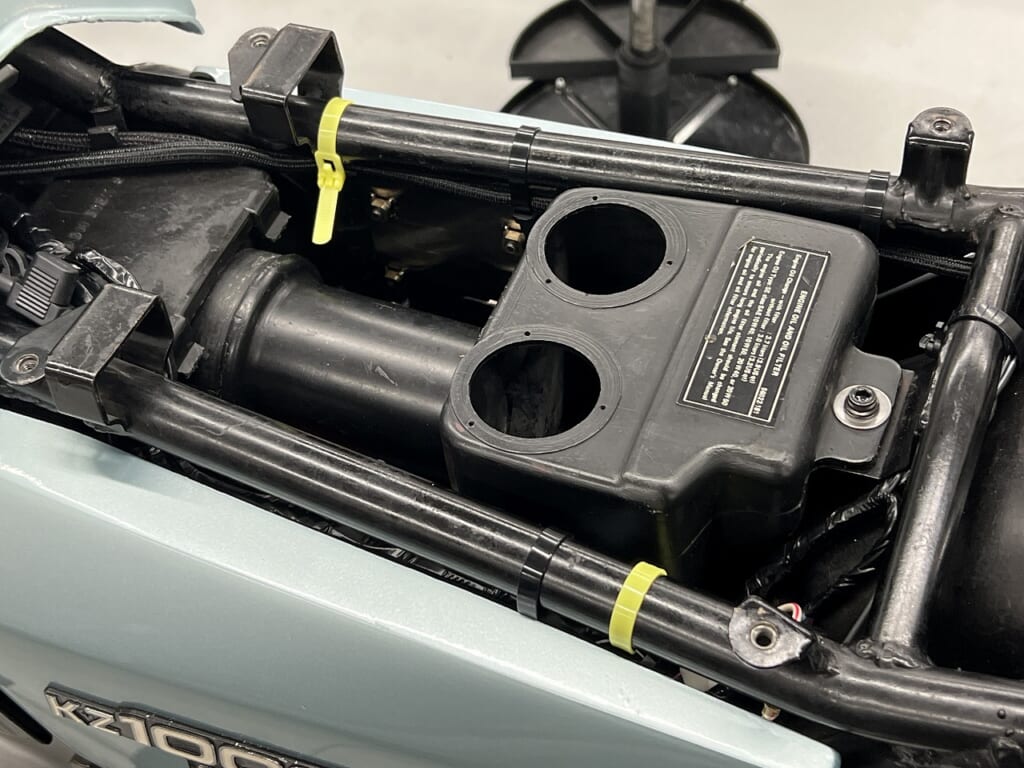
Thinking about side cover retention in a versatile way
This is a plan that minimizes modification, has high versatility, and keeps costs down.
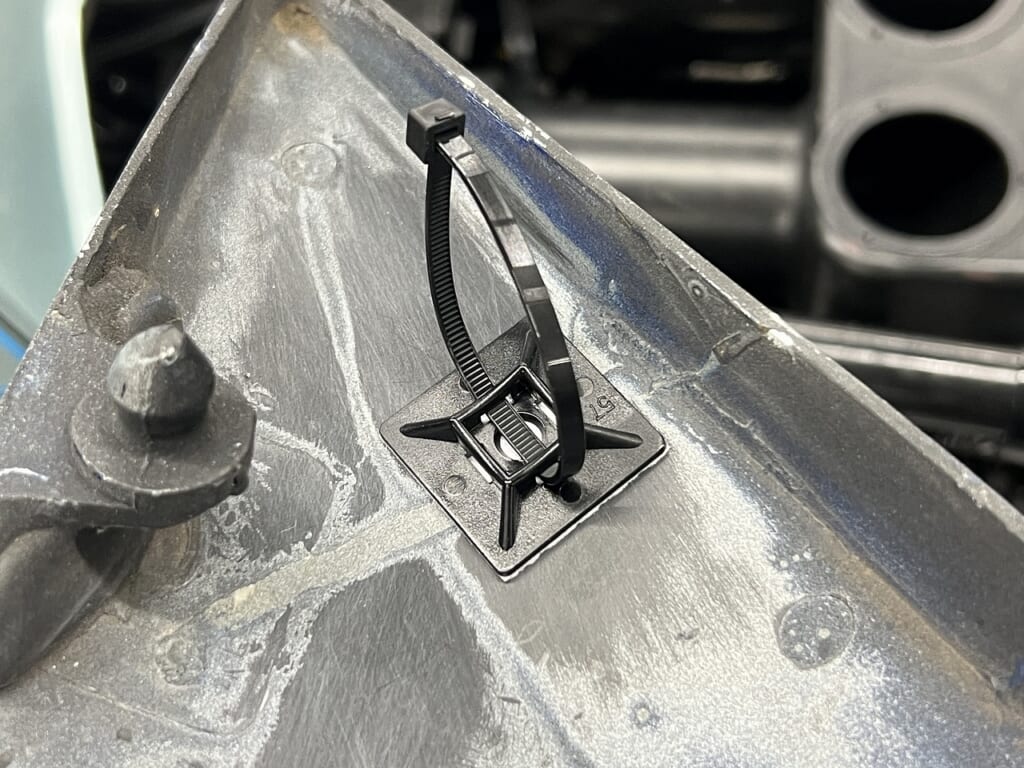
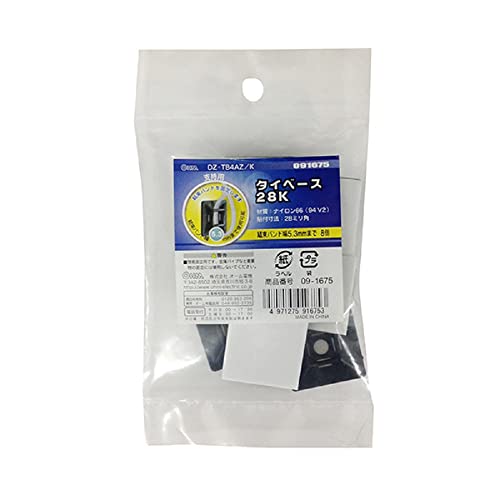
I’ll use a fairly large tie base. The wider the surface, the better. Lightly sand the adhesive surface with Scotch tape or similar, then degrease thoroughly for reliability.
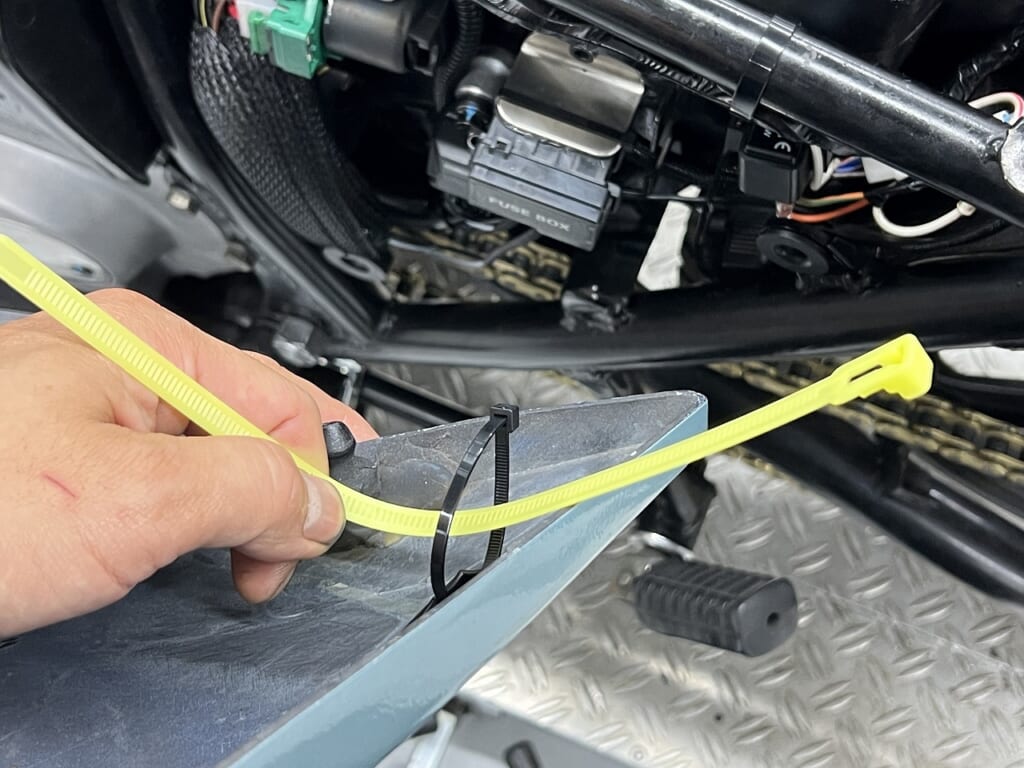
VR2 is the one with aluminum tape applied. Use aluminum tape to gain surface area and fix the tie base to the tape. This way, when you want to remove it, you won’t get frustrated peeling off both sides. For VR2, I use 3M double-sided tape like what’s used on ETCs.
Fix it securely, and if you want to remove it, do it smartly. “There’s nothing more futile than spending time peeling off double-sided tape…”
I fix it with a yellow repeat tie so it’s easy to tell them apart.
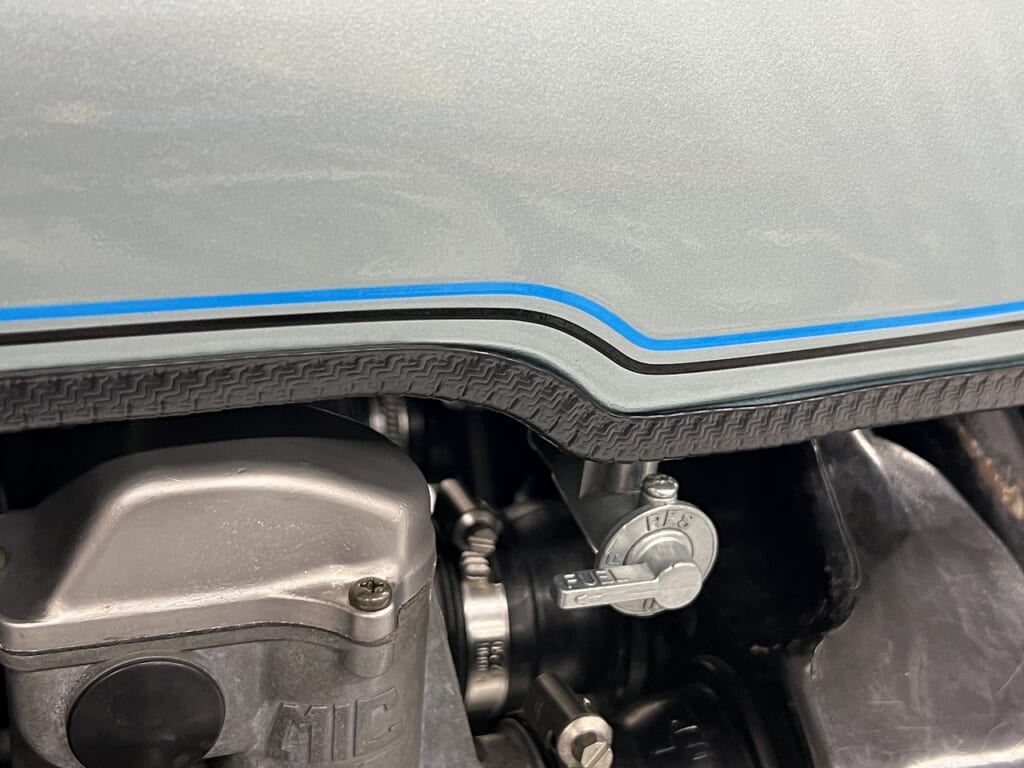
I always install a tank moulding!
Amazon’s metal-reinforced moulding is sufficient. Since it has metal reinforcement, it fixes very smartly with good tension.
Even with repeated fuel tank removal and installation, the paint won’t chip. And if it does chip, it hides it well, which is nice.
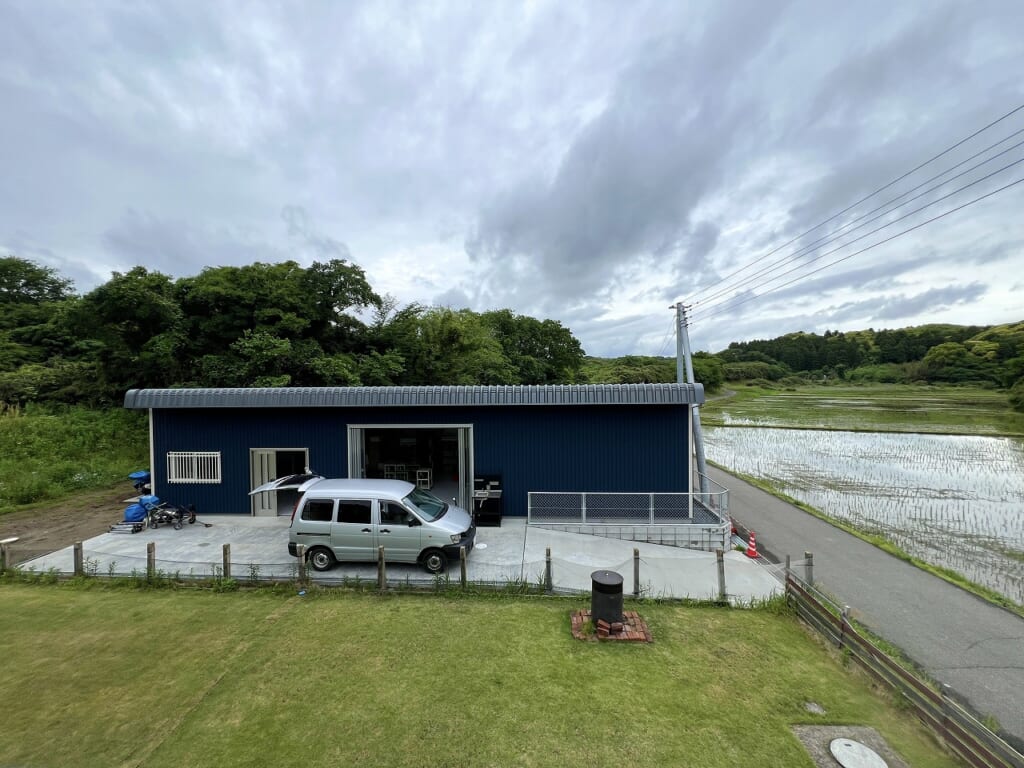
I brought it from Kakikizaka mid-work, so there was a period of work in progress, but I think it turned out great. Now I can go camping with confidence.


 ポチップ
ポチップ