Maintenance log: Super Ténéré 1200 (XT1200ZE) with Brembo RCS radial master! Mastering the 4-pin switch and electronic control with precision foundation tuning
A story about the Boris Brown laying hens that came to our place. Today, the memorable first day! I nervously took them out to the spacious lawn for their first time grazing.
……So chickens really aren’t that bright, are they (laugh). They panic and run away when a human chases them from behind, but the moment you rattle the feed box they come running in seconds—so mercenary! I figured out the control method on day one: “Oh, if I guide them by sound, controlling them is actually pretty easy.”
I thought they’d be enjoying the wide lawn, but they slipped right through a small gap in the fence and escaped! …… Well, they come right back when I call (or rather, when they catch a whiff of food), but I was so worried I spent the whole day watching them like a hawk and ended up exhausted (sweat). I’ve been buying extra materials like escape nets and wire mesh from Monotaro, and both time and money are quietly being drained away.
I’d love to see the first fresh eggs soon……but today’s harvest was zero ( ;∀;) They’re probably stressed by the change of environment too, so let’s just take our time and enjoy the journey(´ω`)
Today’s big tourer brake and hydraulic tuning log
Target machine:Yamaha XT1200ZE Super Ténéré (Super Ténéré 1200 / equipped with electronic control suspension, continental-crossing flagship tourer)
Work requested:Brembo RCS radial master cylinder swap and hydraulic/electrical foundation tuning
The thick wall facing “latest adventure bike × Brembo conversion”:
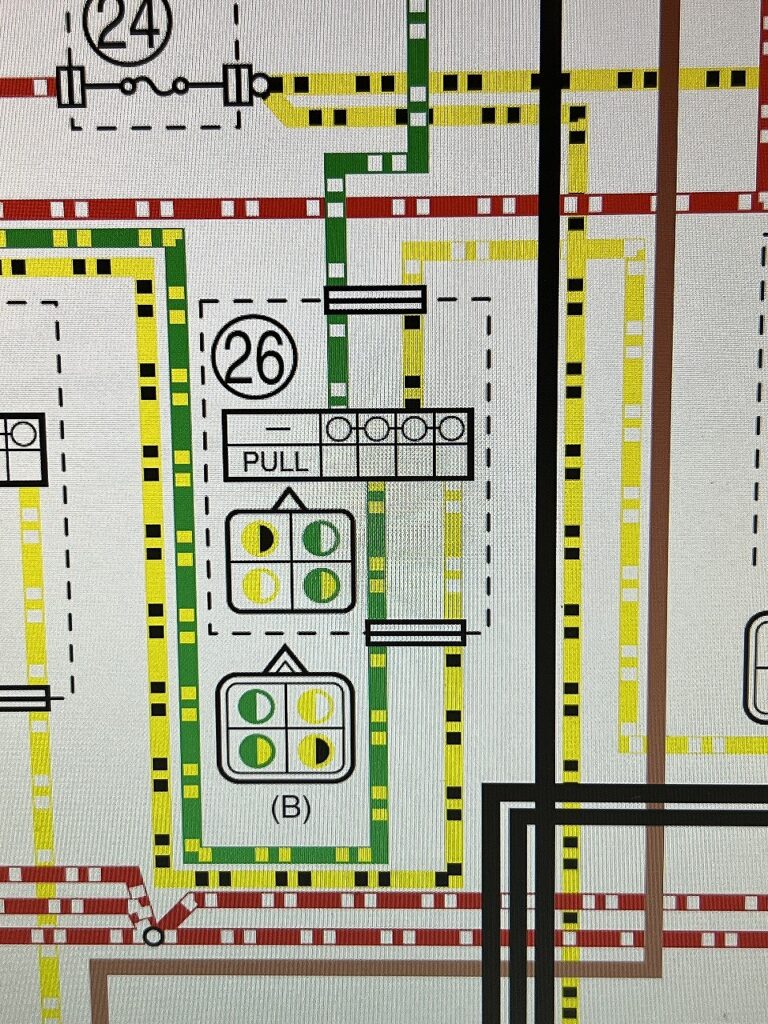
The trap of electronic control switch circuits: Especially the 4-pin connector on the clutch side (dual-circuit ON/OFF logic: starter interlock + cruise control cancel signal). Simply wiring up an off-the-shelf generic switch won’t work—cruise control goes into error mode!
Interference from massive handguards and screen: At full lock, the stock large knuckle guard, movable screen, and inner panel risk hitting the master body and reservoir hose by millimeters.
ABS line and banjo bolt pitch: Proper conversion from Yamaha stock (M10 P1.25) to Brembo spec (M10 P1.00), and stress-free connection to the rigid stock brake line.
Decoboco’s radial master foundation tuning essentials:
Thorough analysis of switch circuits with “dual-circuit microswitch/relay tuning” to maintain all electronic controls like cruise control at stock-equivalent performance.
Offset machining of the knuckle guard bracket and three-dimensional hose routing to achieve “zero full-lock interference.”
Complete air purging with a dedicated bleeder to unlock the ultimate control feel—commanding a big twin over 260 kg with just one fingertip.
Shop owner’s note: With the latest electronic control machines, “bolt-on” aftermarket parts simply won’t cut it. We deliver meticulous foundation work that perfectly harmonizes the machine’s brain (electrical logic) with mechanical beauty!
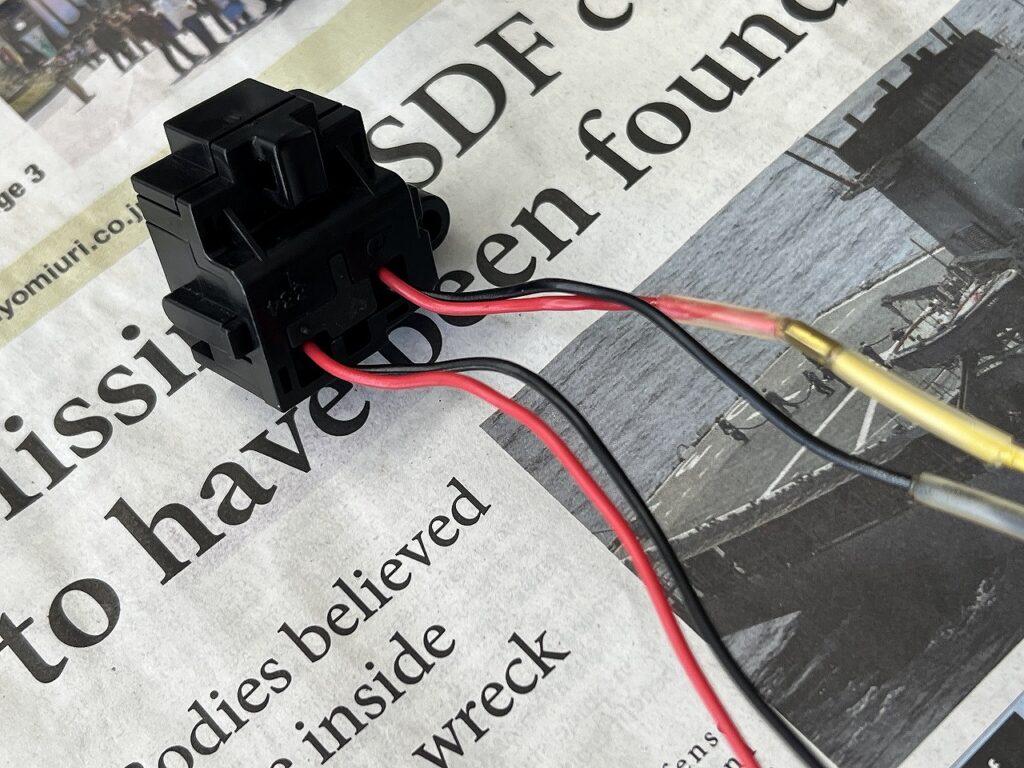
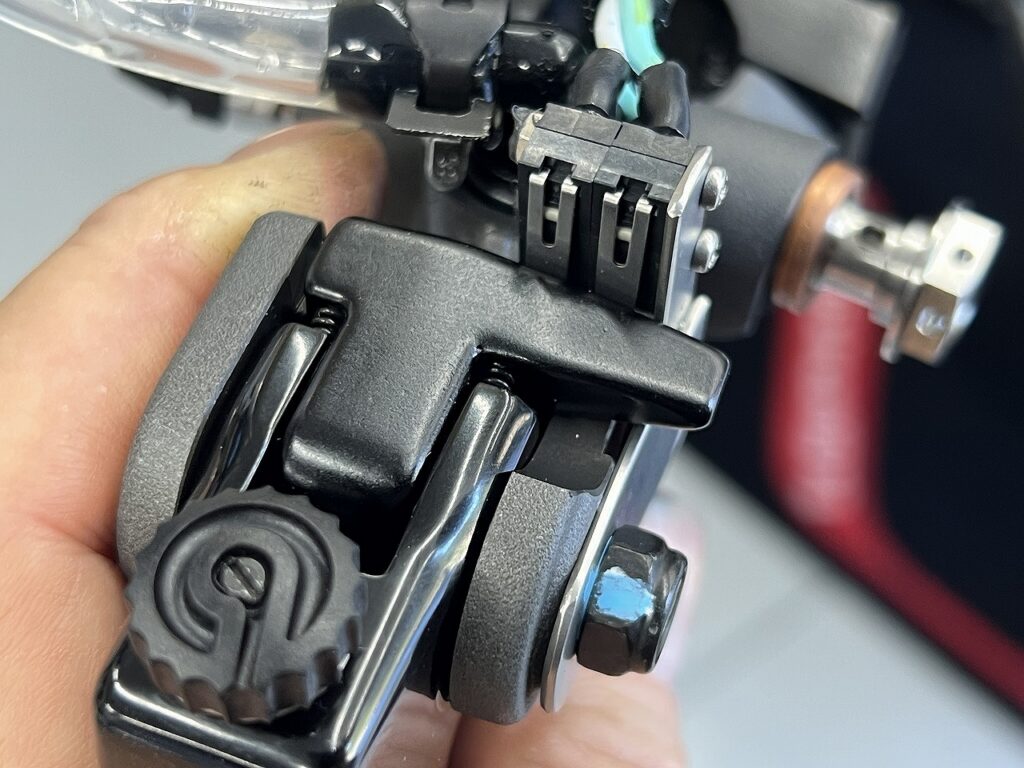
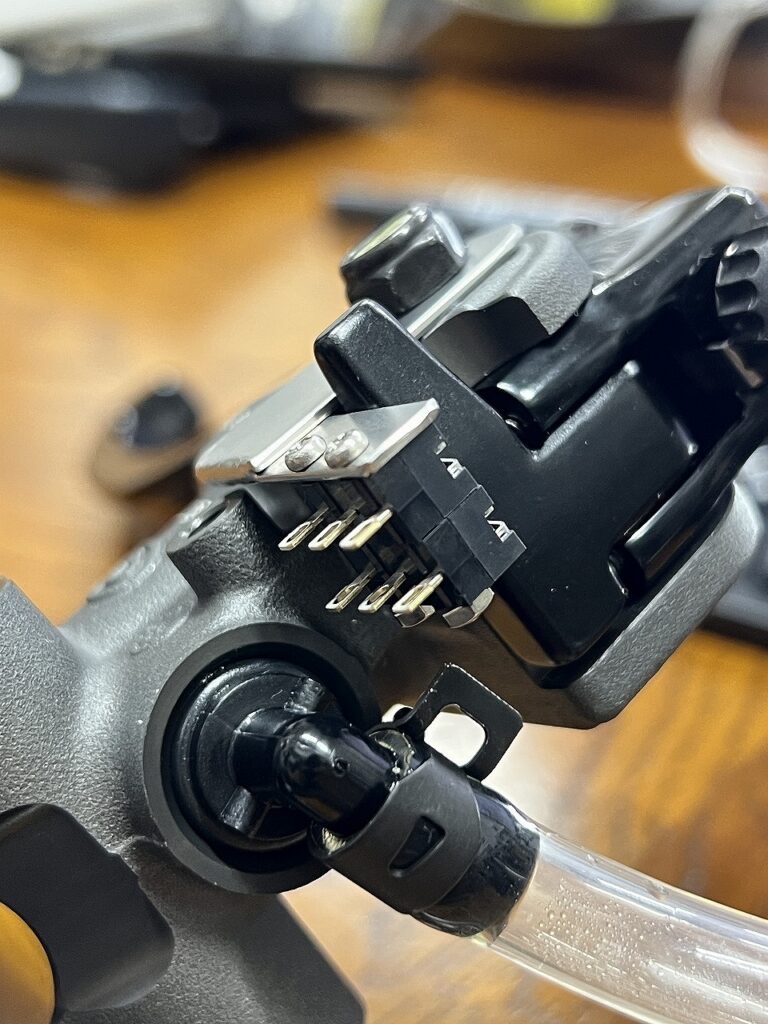
When you see a switch with four wires coming out, don’t you normally think, “Oh, this is the type where all four circuits conduct simultaneously (in parallel)”? Yeah, I completely thought the same thing……
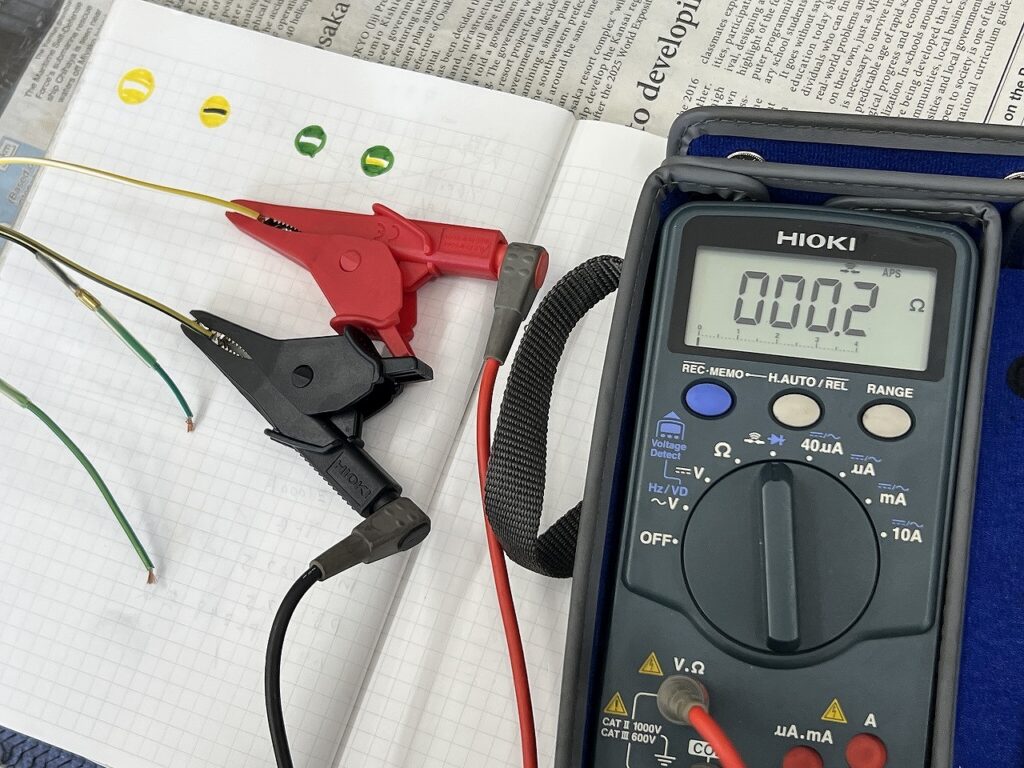
But when I put a tester on it and traced the actual circuit, it was completely different. Both brake and clutch are “independent dual circuits that turn ON/OFF simultaneously”—a compound switch structure with A-B and C-D circuits.
A three-wire (three-circuit) type that just switches ground (common line) on and off is something you see every day……but to carry two completely independent circuits? That’s a first-encounter trap in electrical systems. When you’re swapping to aftermarket masters like Brembo or relocating switches, you run into these kinds of “gotcha” electrical traps from time to time. The right move is never to wire by assumption—always use a tester to expose the circuit’s true nature before assembly ( `ー´)ノ
Being cautious and checking the stock switch paid off.
To be extra sure, I tested every terminal combination for continuity! I thought, “Surely a simple mechanical switch doesn’t have polarity built in with a diode……?” but modern vehicle electrics are unforgiving, so I tested every single path exhaustively.
With a Brembo radial master swap, the actual bolt-on work on the body takes less time than the “switch circuit analysis and wiring” part—it eats up most of the labor, and sometimes your hands just freeze (laugh). But because I didn’t cut corners and exposed the circuit’s true nature 100%, the result is flawless and worry-free ( `ー´)ノ
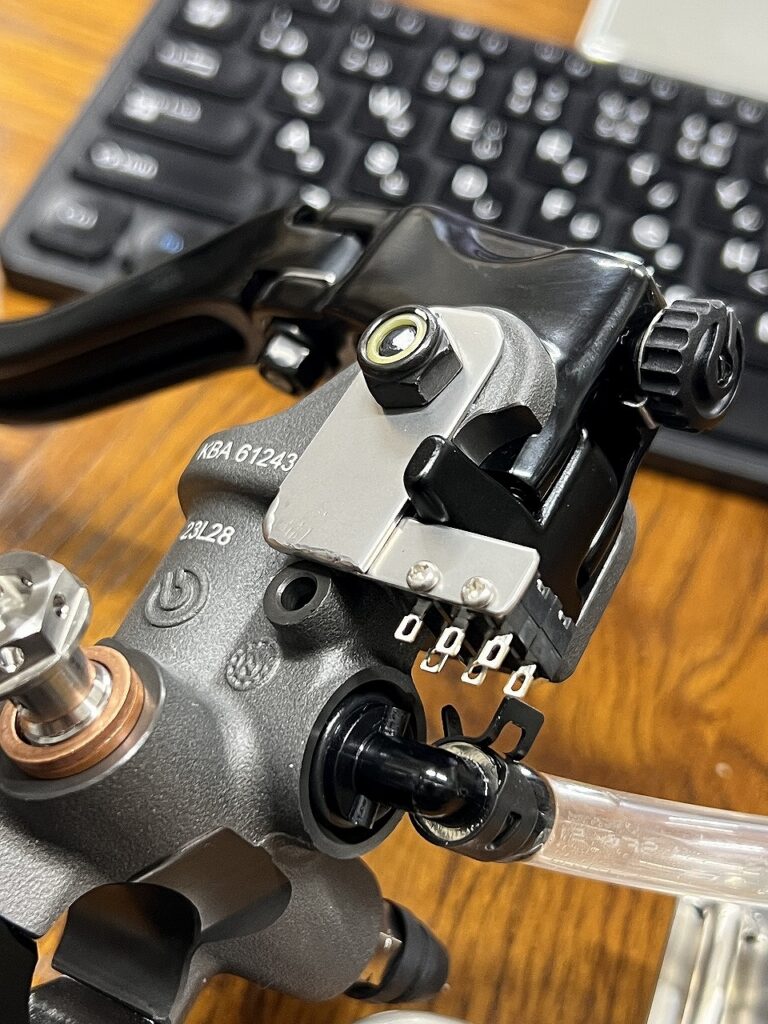
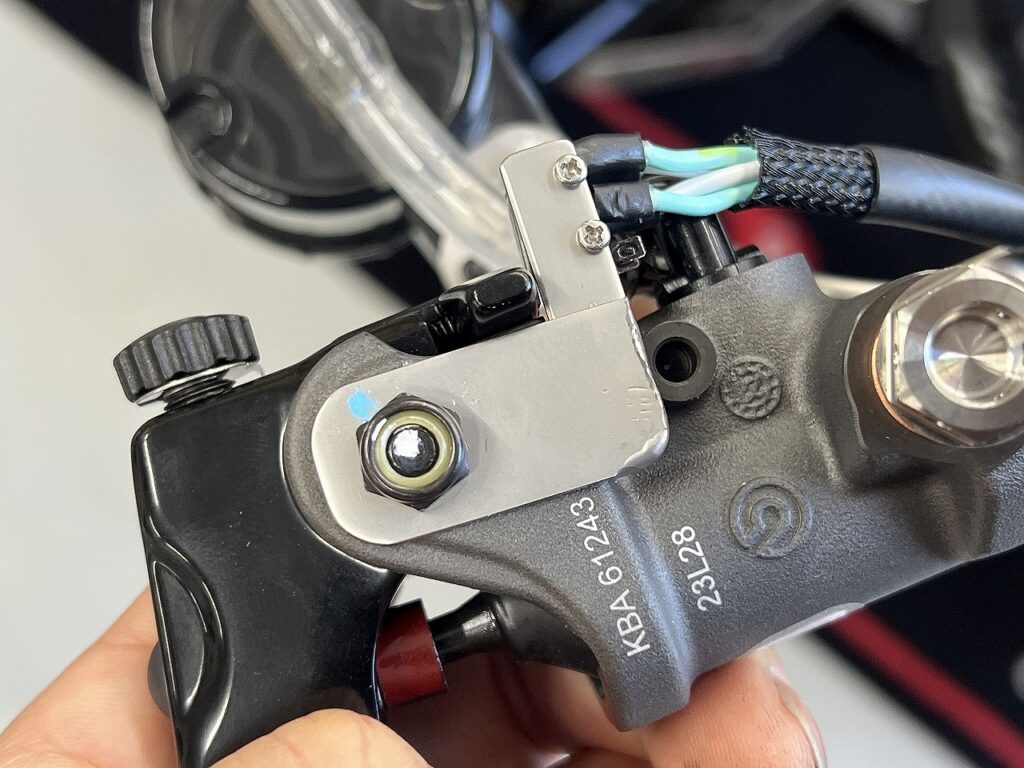
Custom-fabricated a switch bracket from stainless steel sheet!
The Brembo area had less clearance than expected—a tricky spot. The mounting holes for the switch were right up against the body wall and lever stop travel, requiring millimeter-level precision. Plus with two independent circuits, there are four wires to route, so I had to puzzle out harness clearance too.
At first I considered “just transplanting the stock switch wholesale,” but that would require a major bracket and even cutting the Brembo lever. Instead, I aimed for “the simplest possible design with good future maintenance” and fabricated it from stainless steel.
Despite the tight layout, everything cleared and fit beautifully! Glad we made it through ( `ー´)ノ
For anyone doing a master swap on a Super Ténéré 1200……please use this as reference……
Air bleeding complete and onto the lift.
Once the electrical puzzle is solved, no more worries! We’ve cleared the biggest hurdle—the switch area—perfectly, so now it’s smooth sailing through the mechanical assembly and air bleeding. With no unknowns left, we can move briskly and confidently ( `ー´)ノ
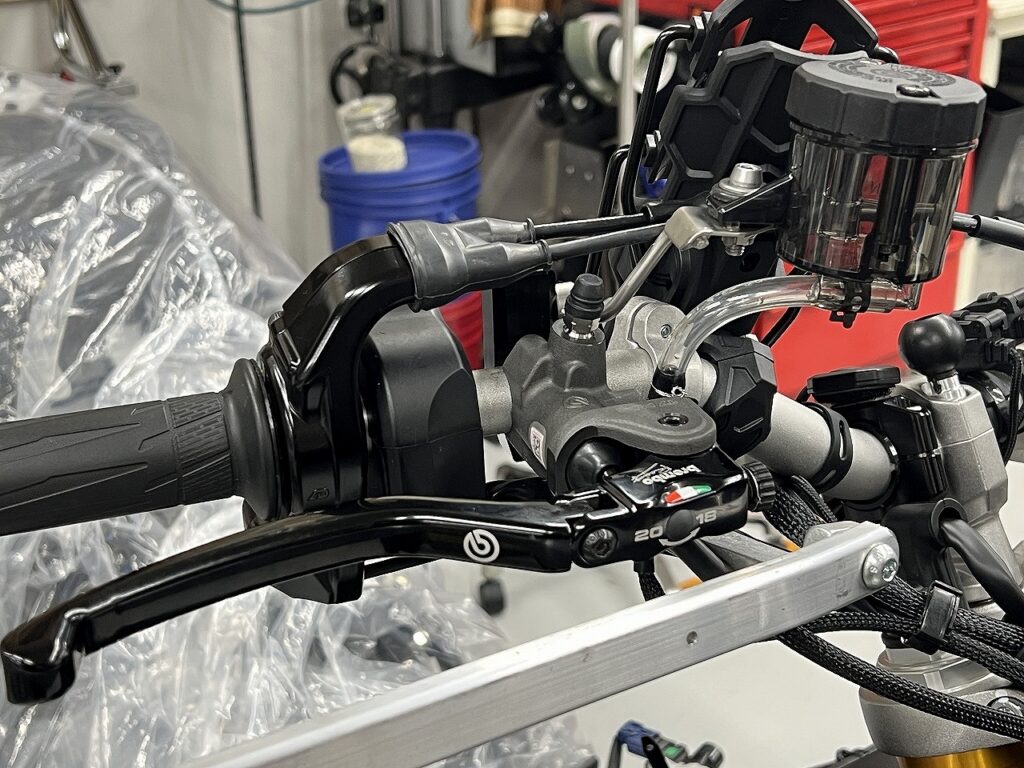
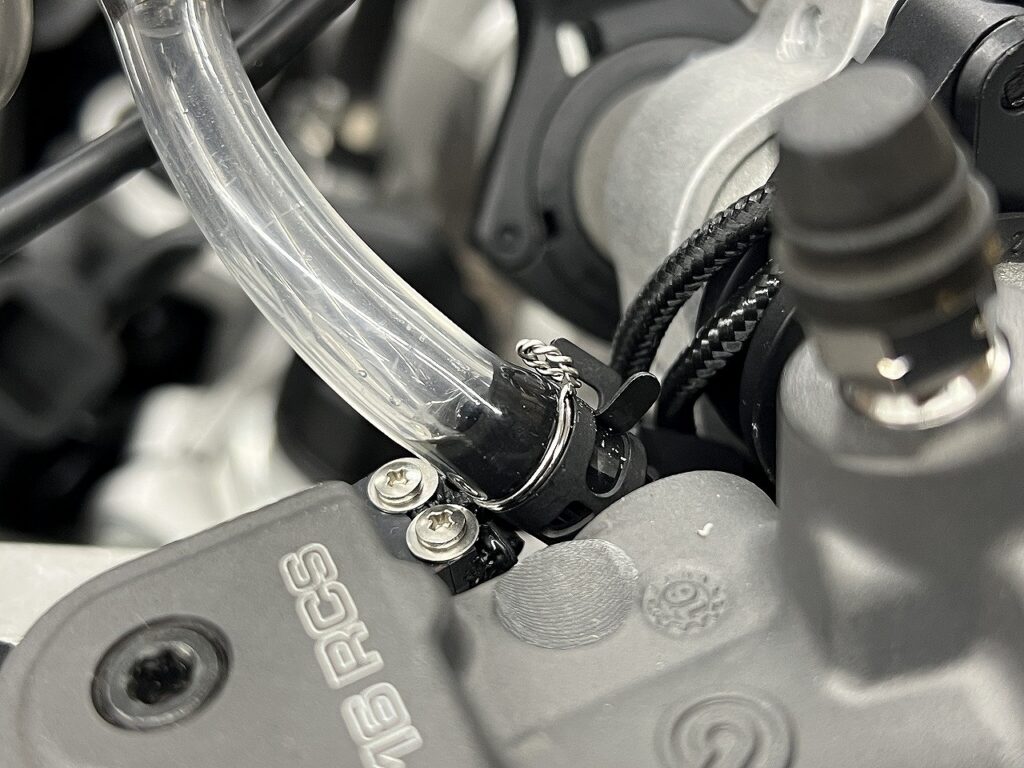
The master’s nipple (reservoir hose connection point) is surprisingly shallow—easy to overlook.
To prevent any chance of the hose pulling free while riding, fluid seeping, or vibration causing slippage, I secured it with both “wiring and clips”—a double-safety approach.
It’s an inconspicuous spot, but brake and clutch work is all about these layers of failsafe. You can squeeze with full confidence ( `ー´)ノ
Wait, now the throttle cable is in the way……!?
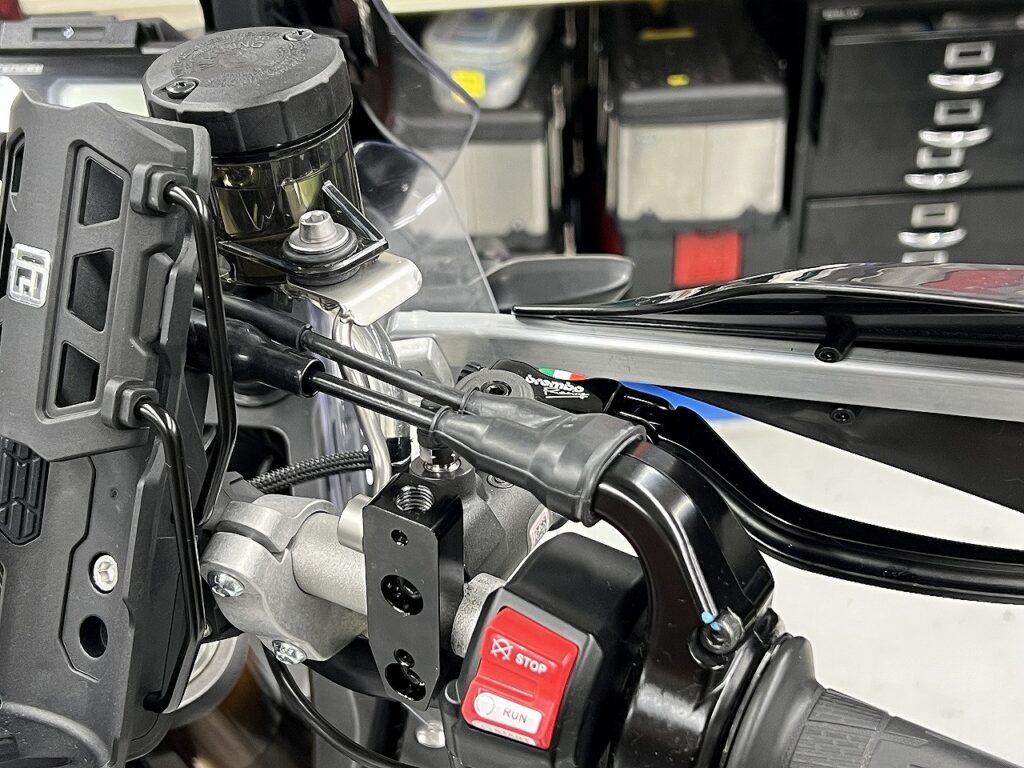
The Brembo body and brake hose routing clash hard with the guide pipe from the throttle holder—a classic custom shop “one problem solved, another appears” moment (laugh).
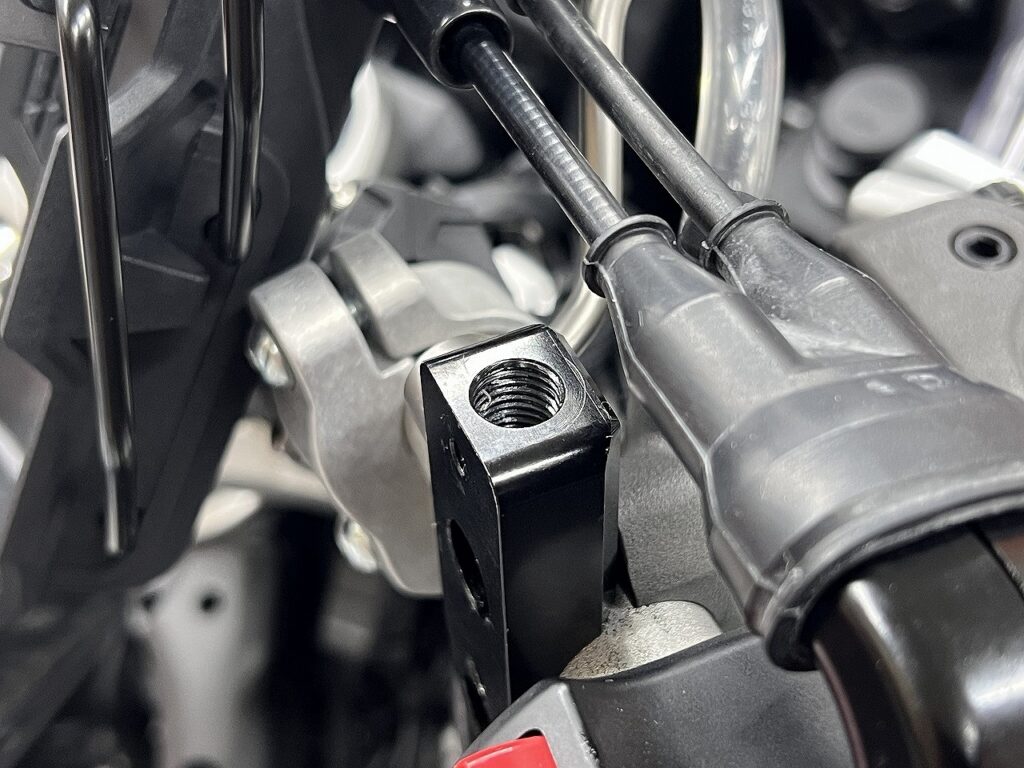
I can’t force the cable tight with a weird bend, and I can’t compromise the master angle……so I drilled new mounting holes in the handlebar and tilted the throttle holder forward slightly—a “forward rake” adjustment!
The interference cleared smoothly, and the cable pull settled into the perfect, silky-smooth position ( `ー´)ノ
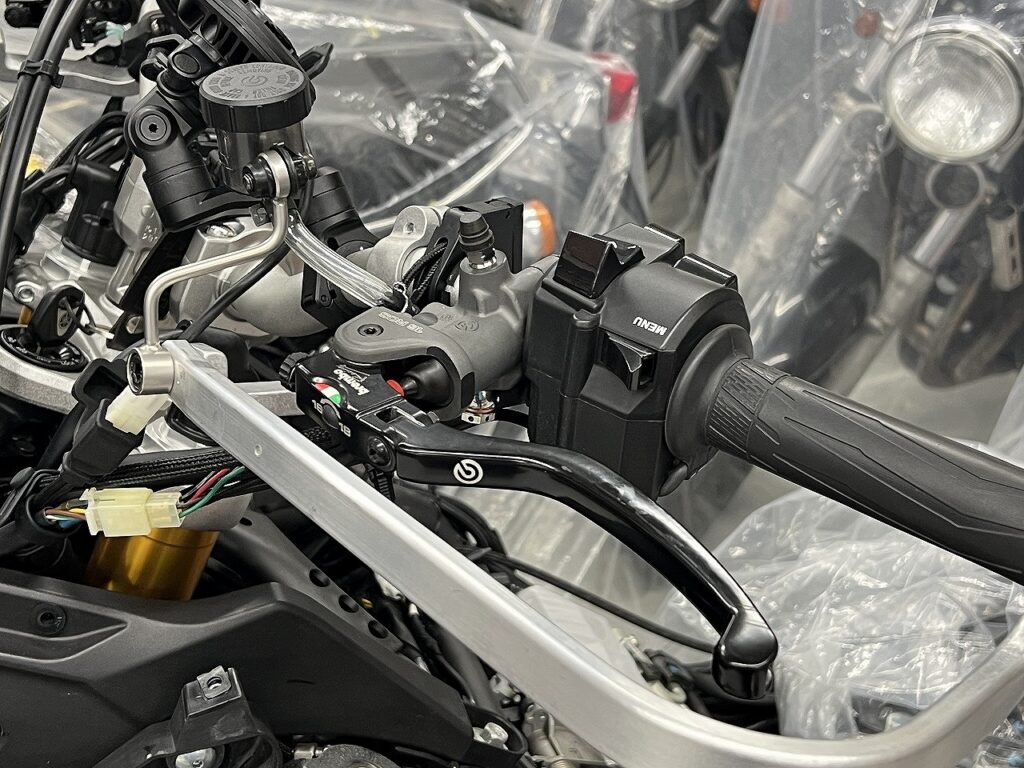
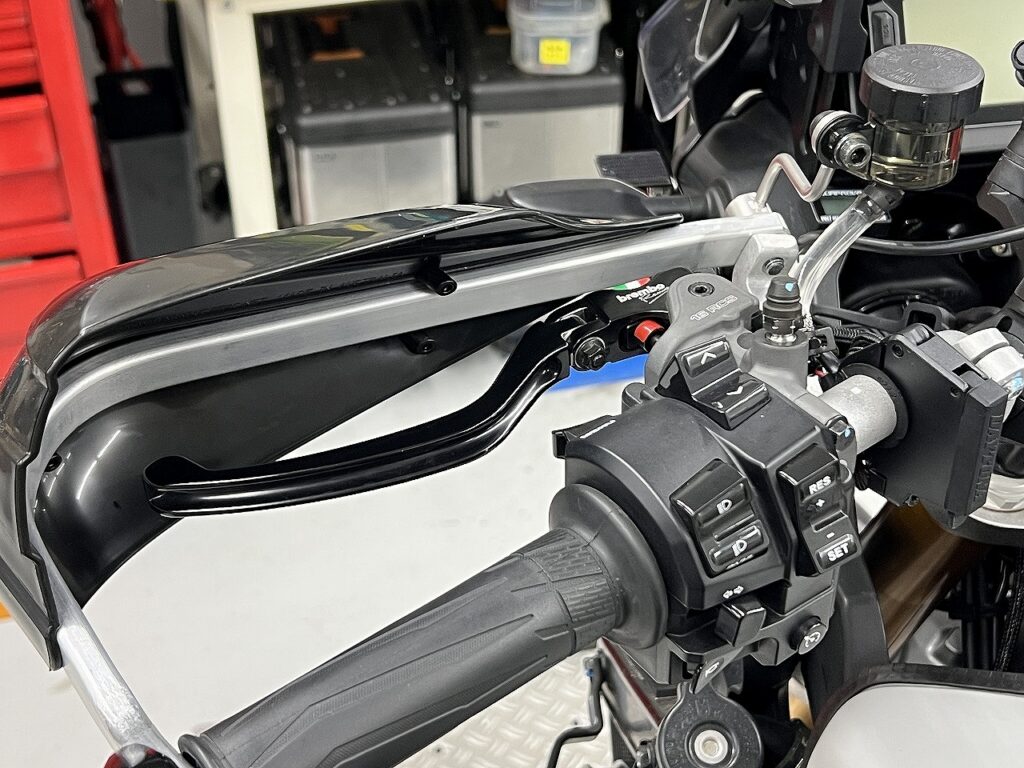
By tilting the throttle holder, the knuckle guard cleared beautifully too! The master body, lever, and guard bracket all have plenty of clearance—phew!
From electrical switch work to drilling new holes to guard clearance, we’ve solved every cockpit puzzle. The biggest challenge is completely behind us! Now it’s just finishing touches and we’re at the goal ( `ー´)ノ
Maintenance log: Super Ténéré 1200 (XT1200ZE) with Brembo RCS radial master! Mastering the 4-pin switch and electronic control with precision foundation tuning





 ポチップ