I haven’t seen the new Top Gun yet… my apologies.
Now that the outside temperature is finally dropping, night rides are really enjoyable, aren’t they?
Let’s ride while we can, little mustache.
Once it gets really cold, I probably won’t ride anymore, right?
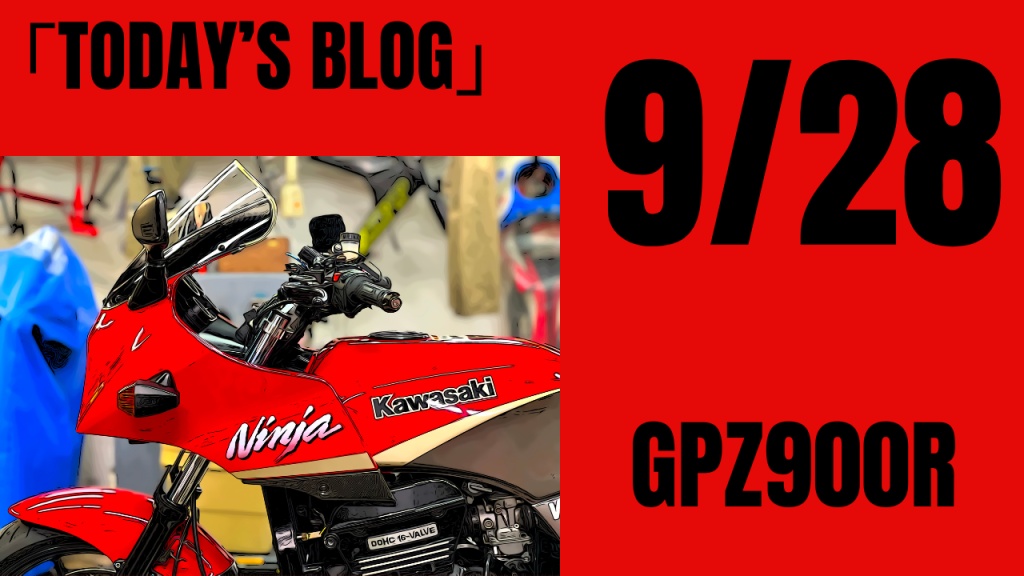
I’m going to do various maintenance work in time for the vehicle inspection.


 ポチップ
ポチップ
First, I’ll search for dashcam installation info online.
Sometimes looking at how others have installed it is the quickest way.
You see some interesting examples like “Oh, they installed it there?”
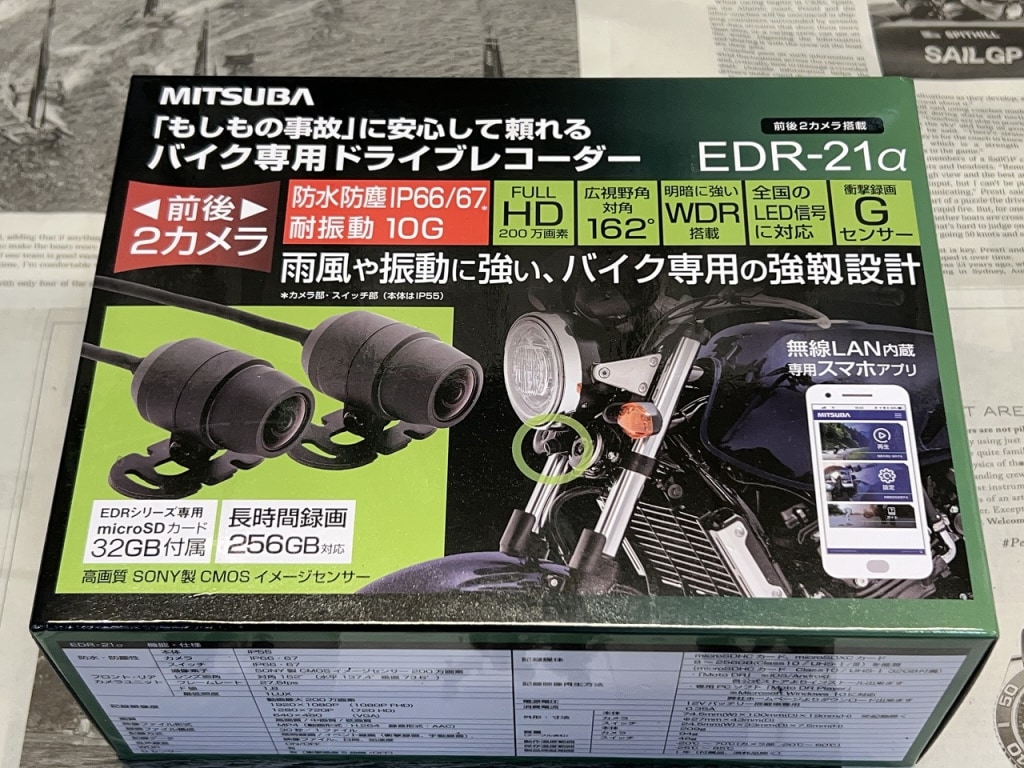
The most reliable dashcam.
Mitsuba Sankowa EDR-21α It’s a simple model without GPS functionality.
Recently I’ve been curious about Daytona’s MIO as well,
but since I don’t know anyone around me who’s installed it, I’m kind of waiting to see how it goes.
The reason I chose one without GPS is simply “no GPS antenna needed, so it looks a bit cleaner.”
If you’re not someone who wants to check speed and location later with GPS,
and nowadays there are apps that can create movement maps using GPS anyway.
I decide on this kind of thing by discussing what you want when you request it.
ポチップ
Using the Daytona D-UNIT to check the camera’s field of view
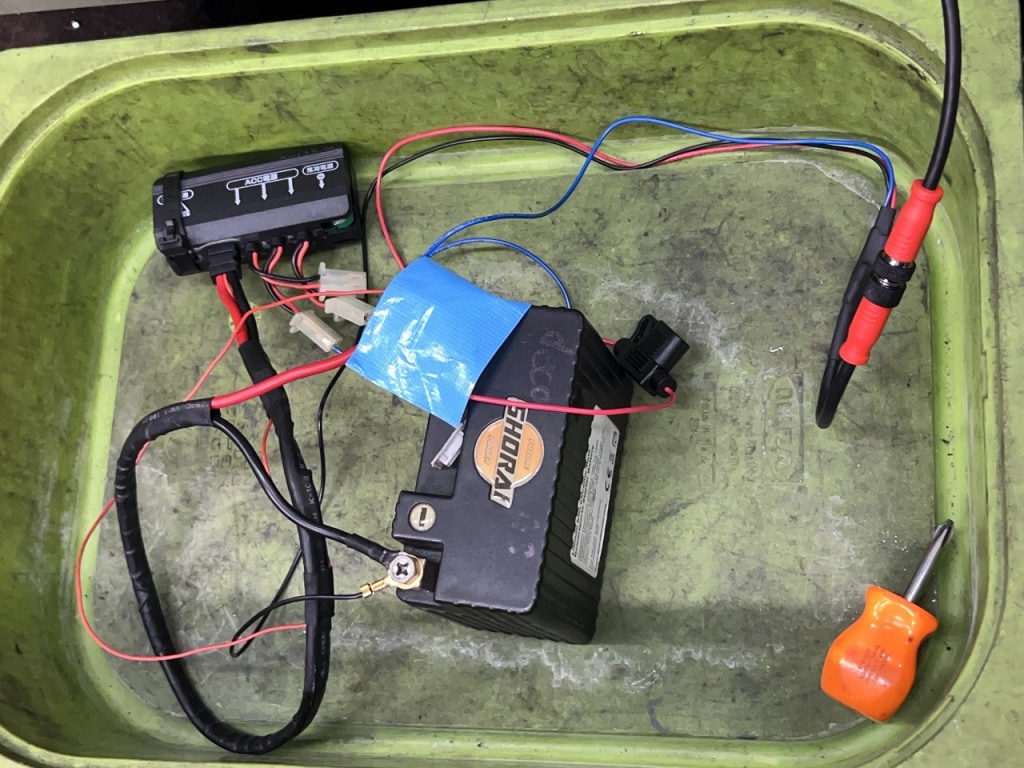
Sorry for the messy wiring.
It’s best to temporarily connect and check the camera’s field of view to be sure.
“In other words, you can optimize the camera mounting position.”
This way, nothing unwanted gets in the shot after installation.
Camera mounting position—”vertical or horizontal, it’s often a tough choice,” right?
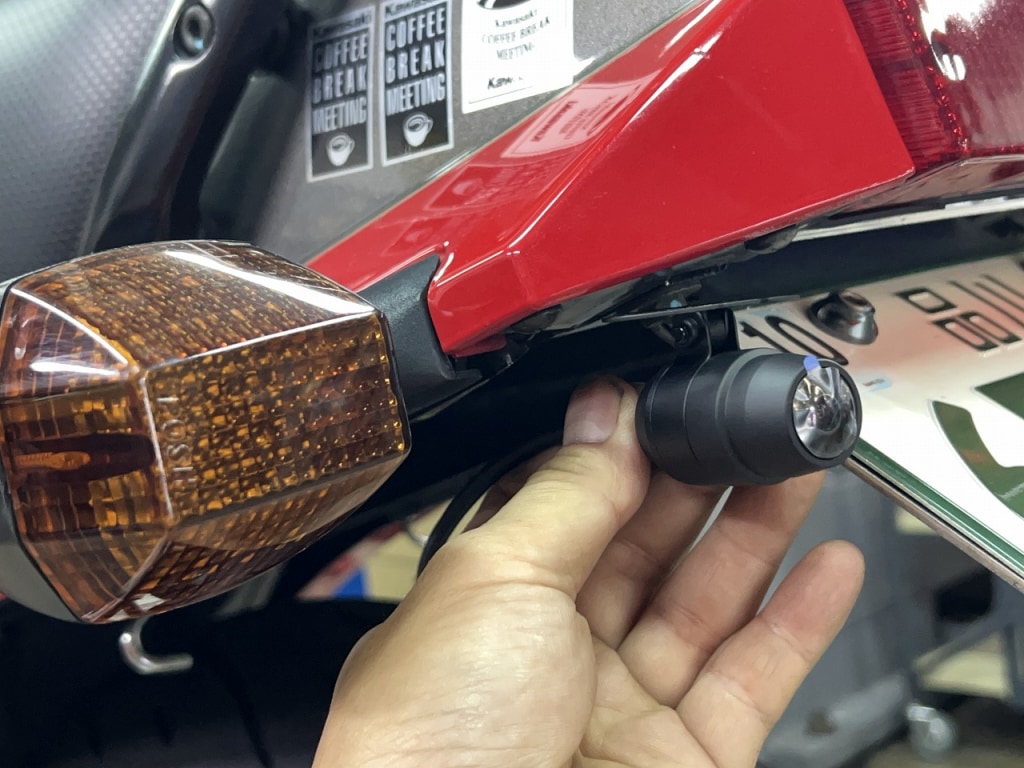
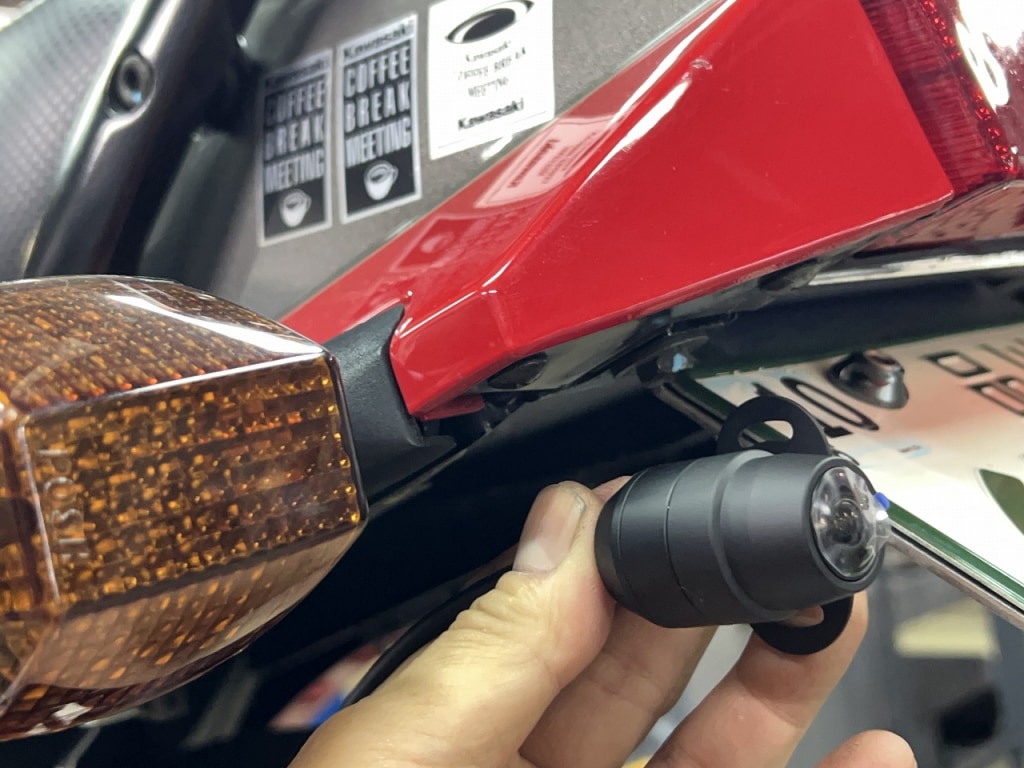
Vertical or horizontal refers to the bracket orientation.
Since the bracket can swivel, vertical or horizontal creates a difference between “up-down adjustment” and “left-right adjustment.”
In my opinion, since the camera has a pretty wide-angle lens, “up-down adjustment” gives you more freedom.
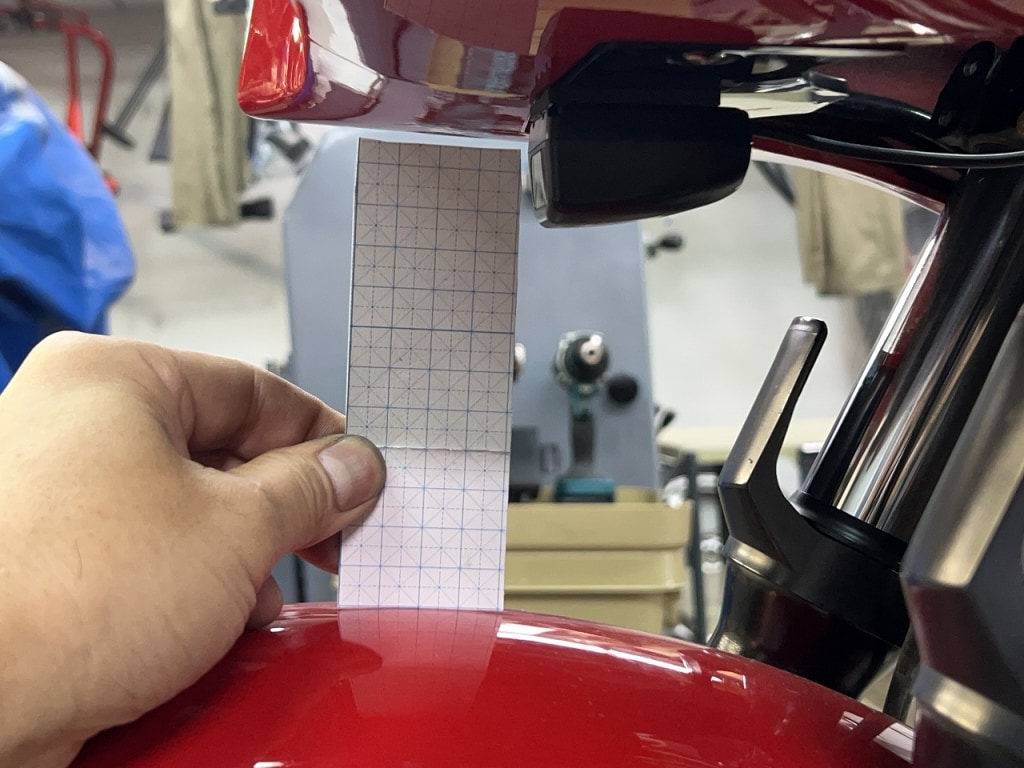
It’s good to roughly check the full stroke distance.
Motorcycle suspension moves more than you’d think.
Normally you’d loosen the fork cap and do a full stroke,
but that’s a bit tricky, so I figured it out roughly with craft paper.
Time passes… and I’ve roughly decided ( *´艸`)
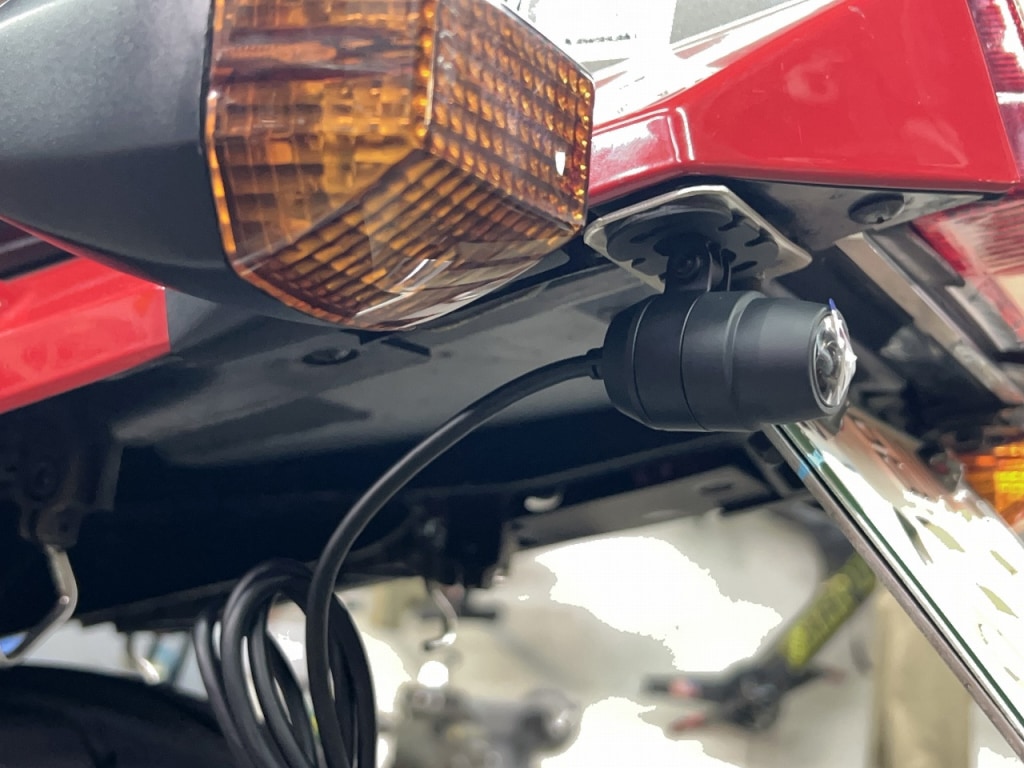
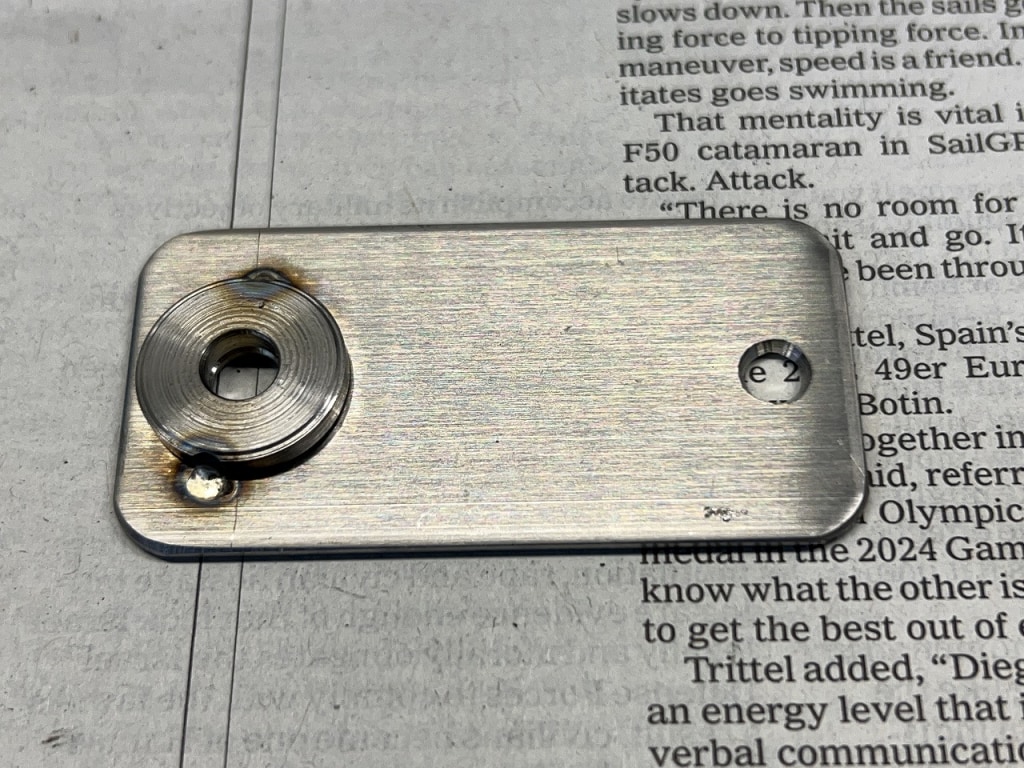
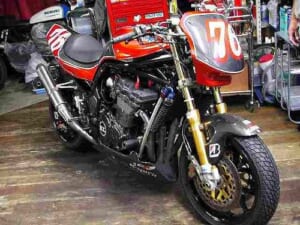
This seems to be the standard rear camera position for the Ninja.
If you don’t install a spacer, it’ll contact the bolt. Since it’s a pain if it keeps falling off, I spot-welded it.
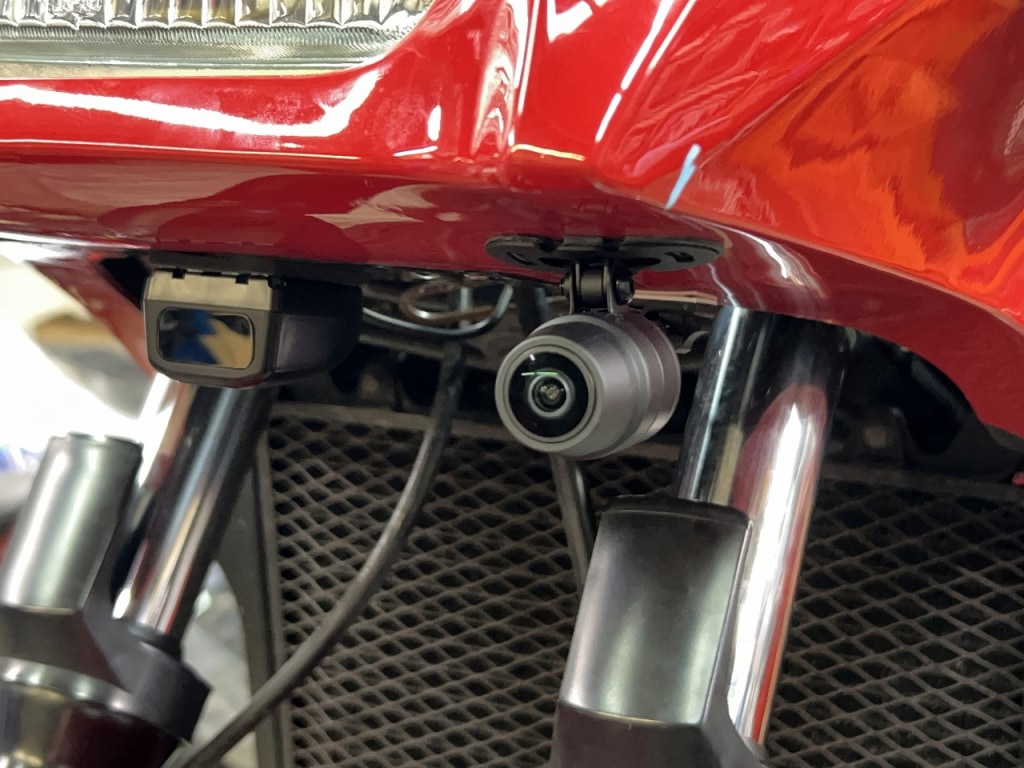
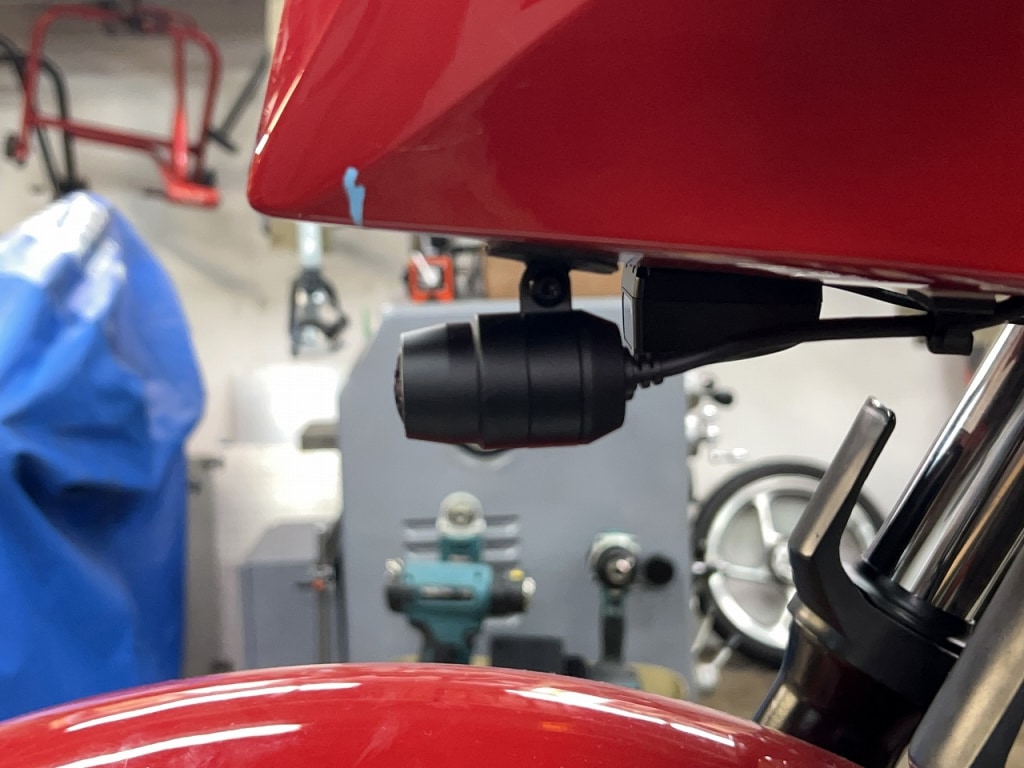
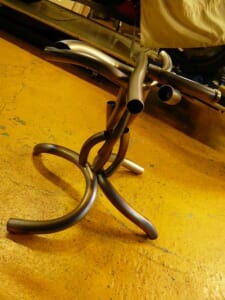
I bent the front camera bracket in 3D and attached it with double-sided tape.
I usually don’t directly mount to the cowl since it requires drilling holes and modifications,
so this time I decided to just install it as is.
It’s helpful later to mark both the bracket and camera so you can remove the camera.
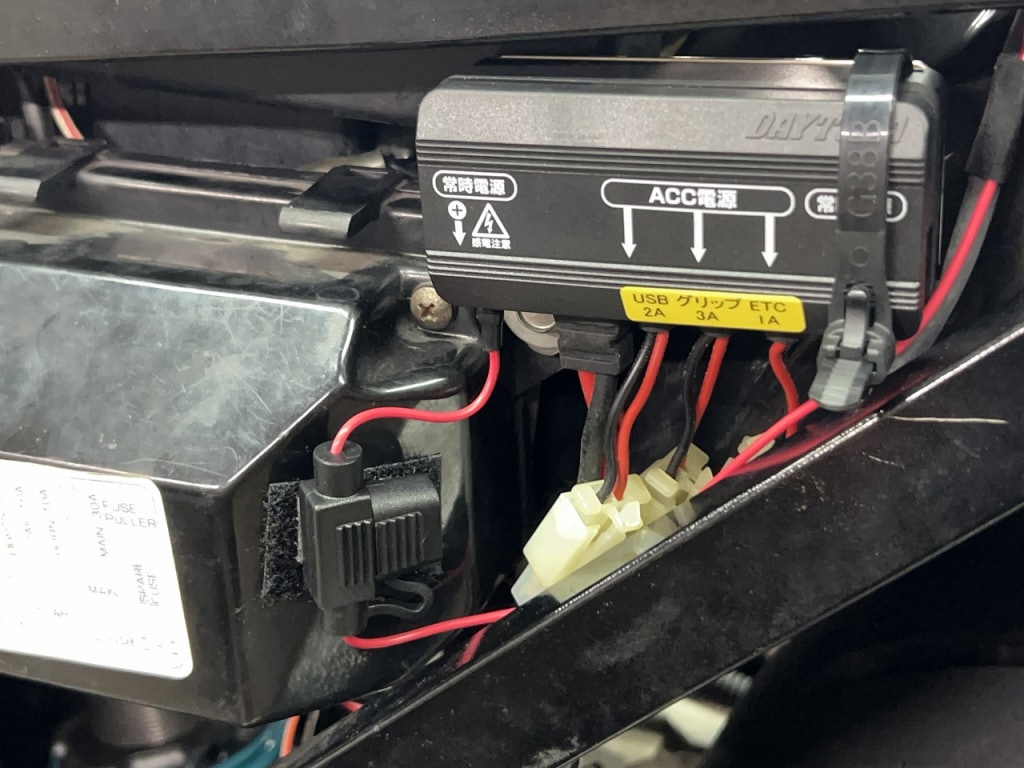
Since I happened to have the D-Unit, I branched off and installed it.
Having the D-Unit really makes installing electrical components easier, doesn’t it? ♪
I’ve made a bit more progress on the work, but the blog continues tomorrow.
ポチップ
 ポチップ
ポチップ
 ポチップ
ポチップ