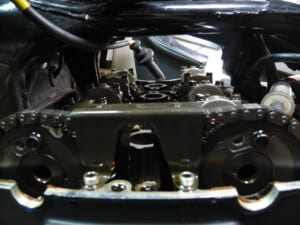
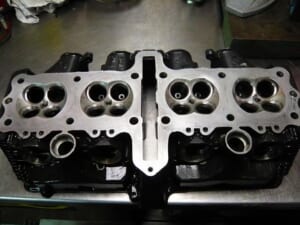
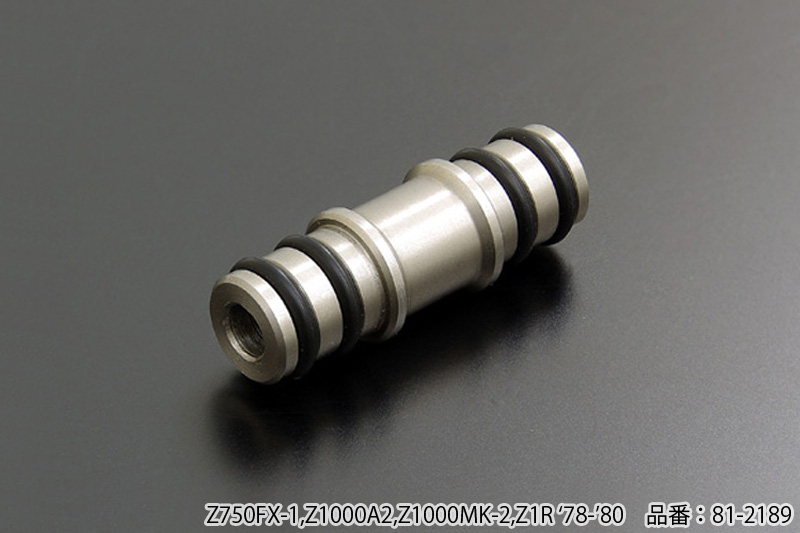
*See image – PMC compatibility: Z750FX-1, Z1000Mk2, Z1R ’78-’80 only, so be careful.
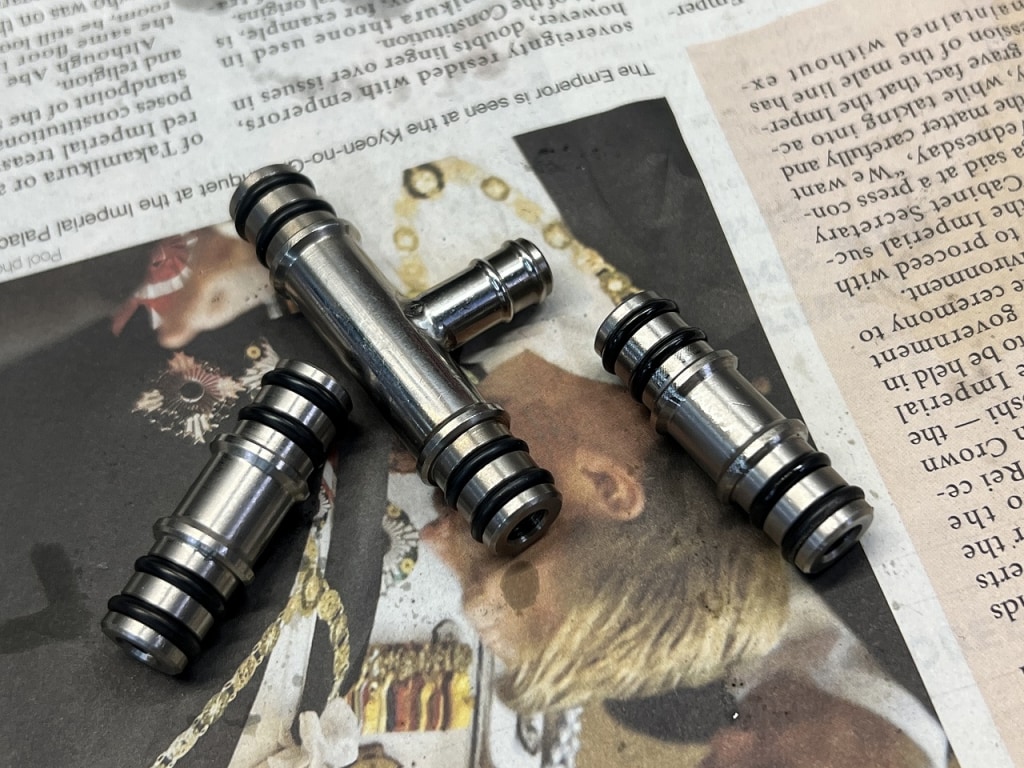
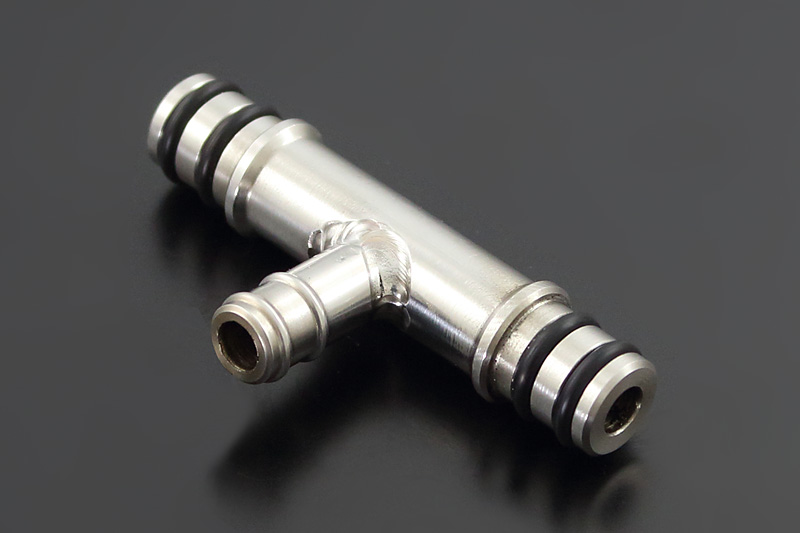
It’s made of stainless steel, so if you replace the O-ring, you can handle it in the future. It’s turned out to be a really nice piece.
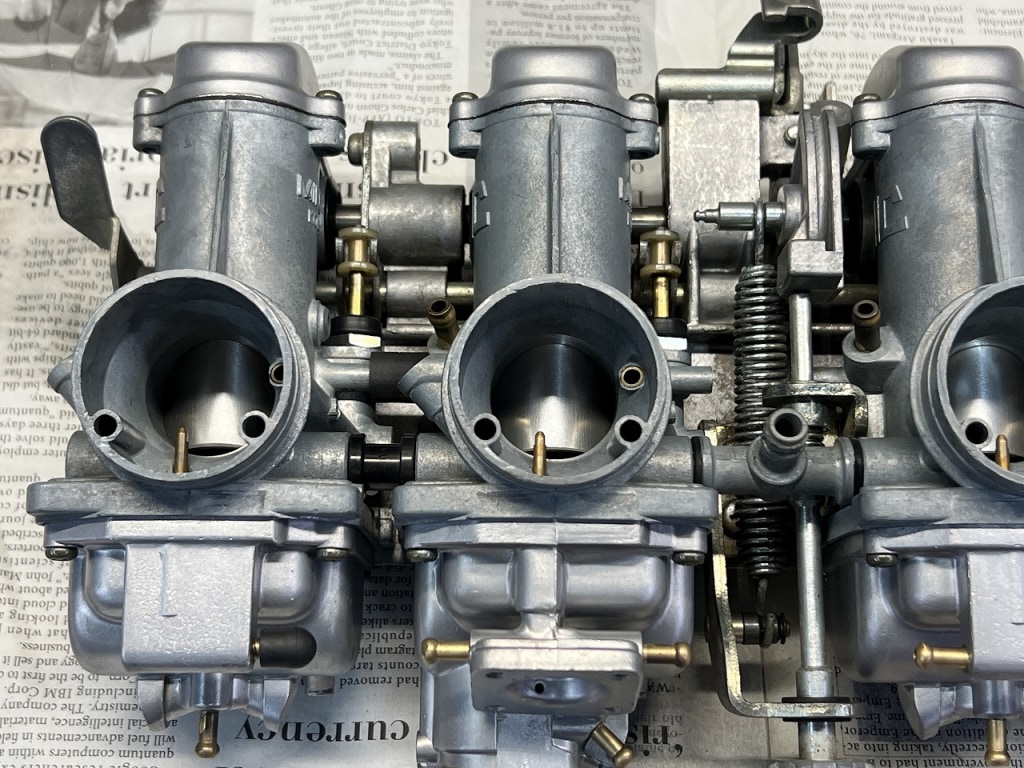
The OEM is a common Mikuni type“integrated double convex type” It feels solid, but when it’s discontinued, it’s tough. That said, it’s been over 40 years now, so of course it’s discontinued.
VM28SS – I’ll check this carefully as I go
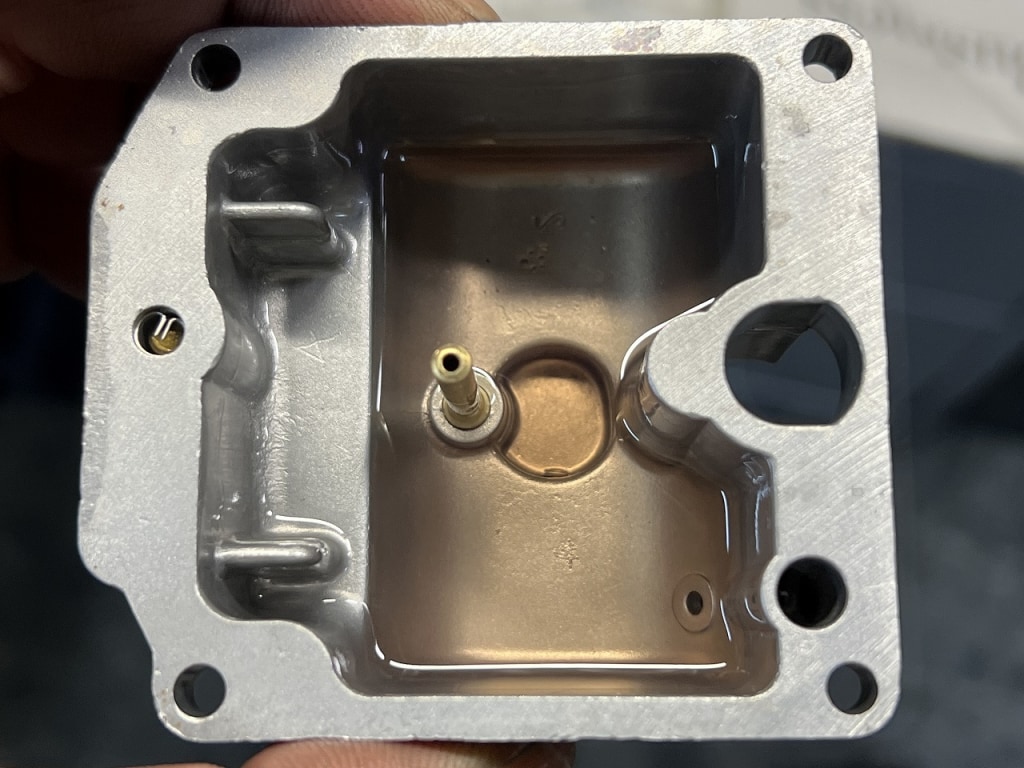
It’s designed to be disassembled, so disassembly is possible. Since this is my first time taking it apart, I’m going slowly and carefully to watch for any traps.
You know how it usually goes“a ball and spring”go flying out! After that, I’ll just power through with the “no way, no how” spirit~
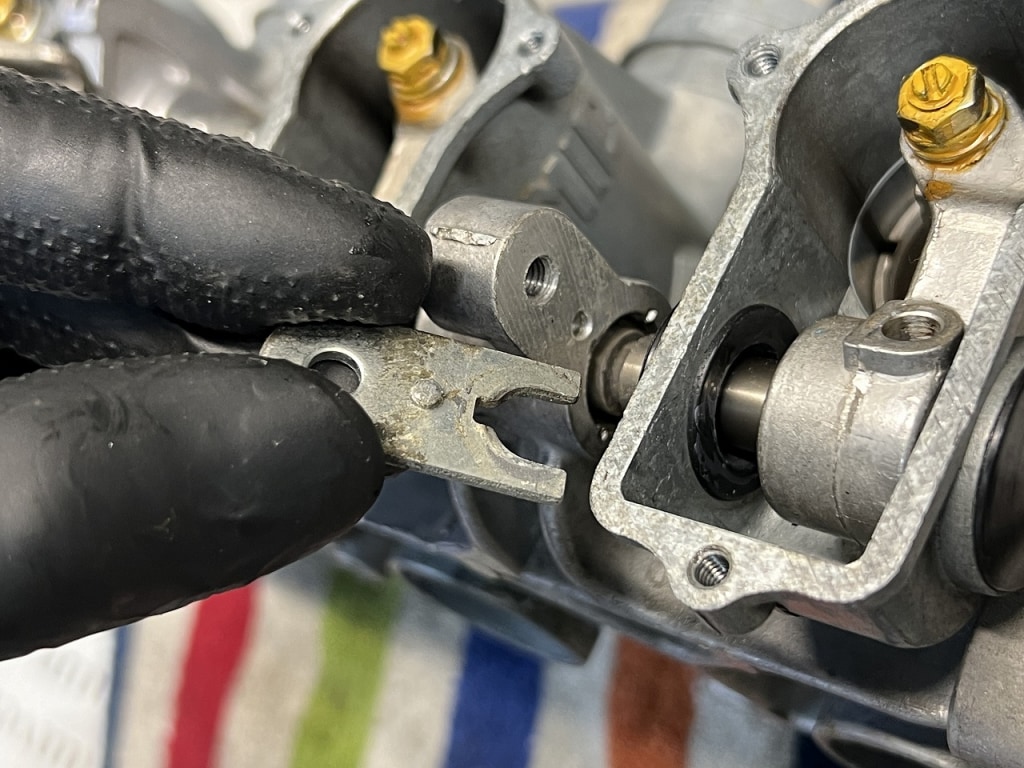
The shaft stopper plate is also intricately designed – I’m impressed (*´ω`*) The disassembly is really well thought out. The “dimple” anti-rotation feature to prevent friction is also nice.
Disassembly went smoother than expected, but it takes a bit of practice
There are no press-fit pins or anything like that, so it’s relatively easy. Assembly is a bit tedious, I’d say.
Inspection, cleaning, and replacement complete (*´ω`*) Now let’s check for leaks
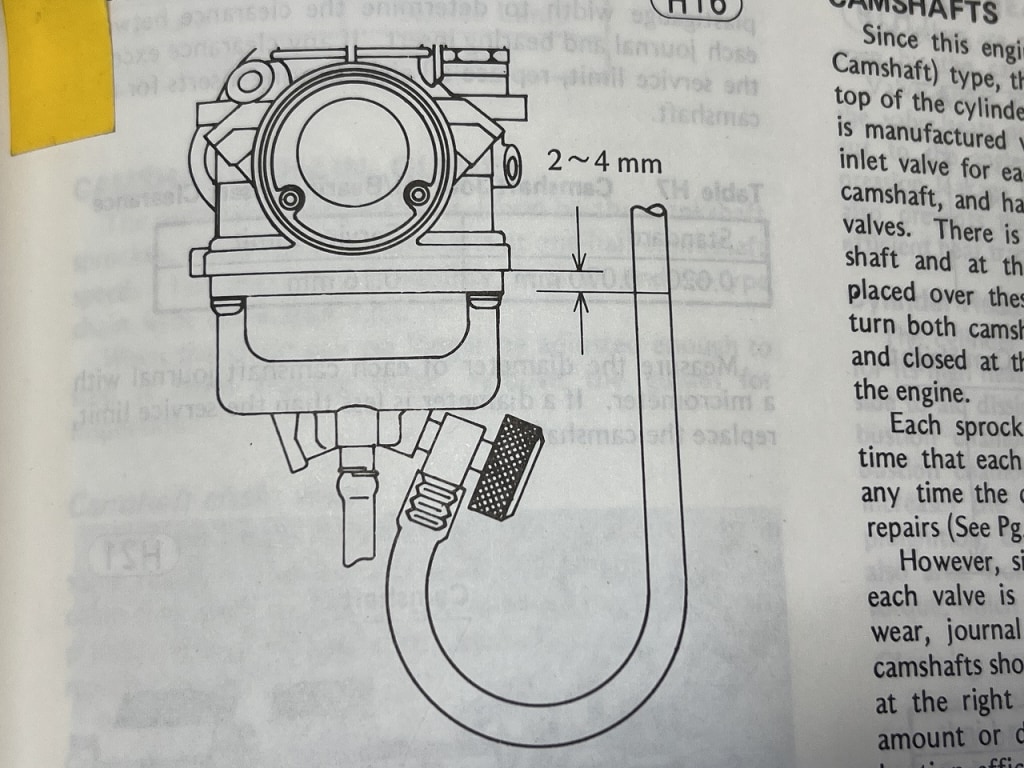
According to the manual, the Z1000MK2 carb fuel level should be 2-4mm from the joint. I’ll aim for 4mm to be safe.
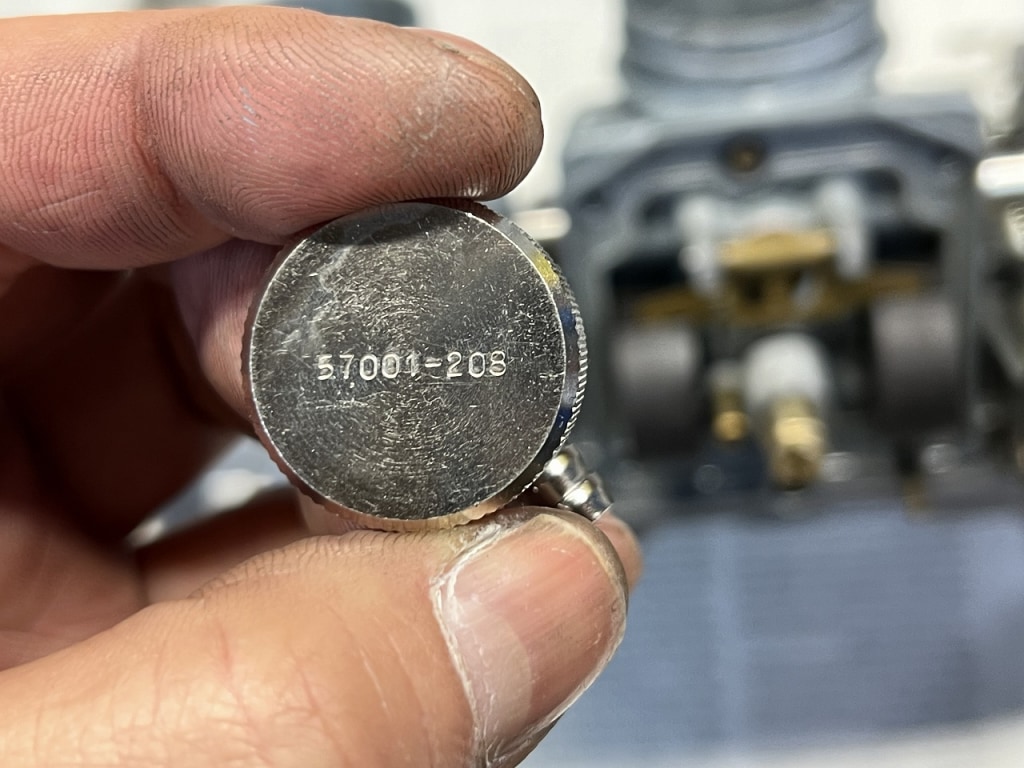
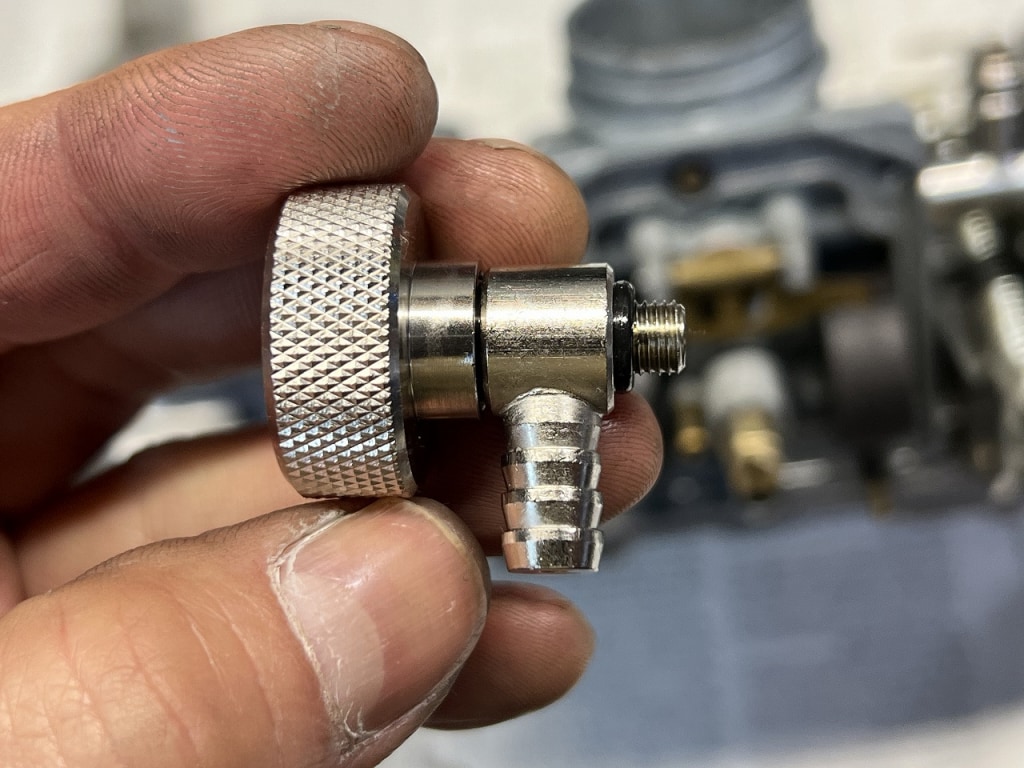
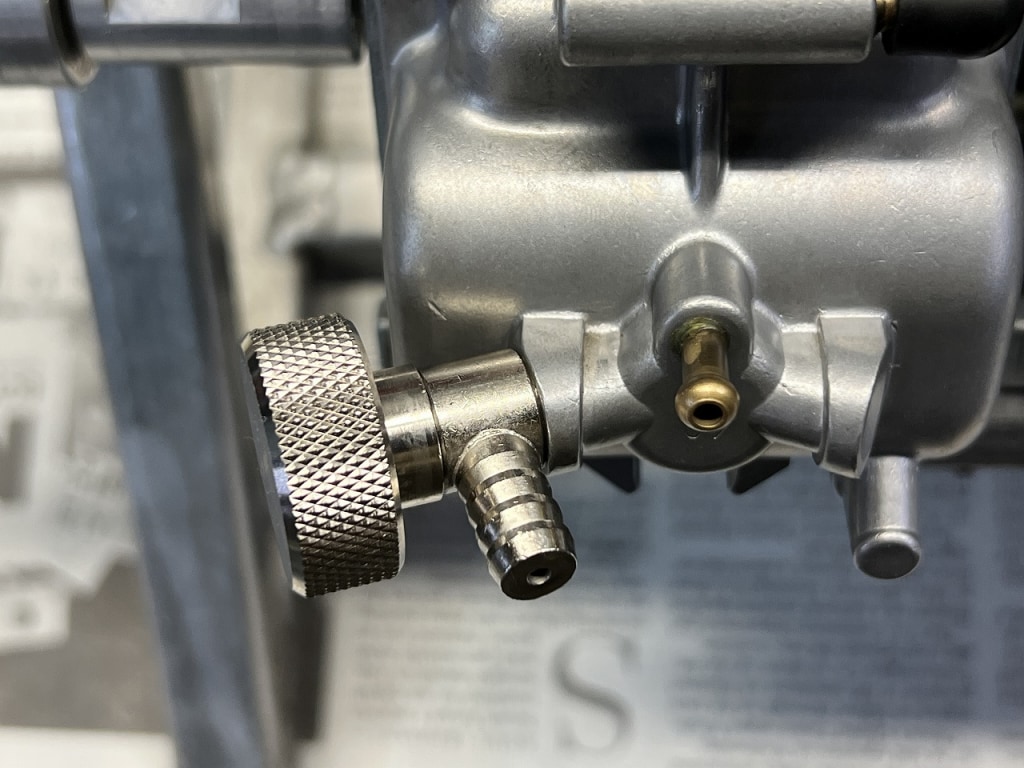
Fuel level tool is Kawasaki OEM 57001-208 – perfect for Mikuni
It’s beautifully made and converts to “90 degrees”. The hassle of hose layout when checking fuel level is greatly reduced.
Once you run gasoline through it once, you’re good to go
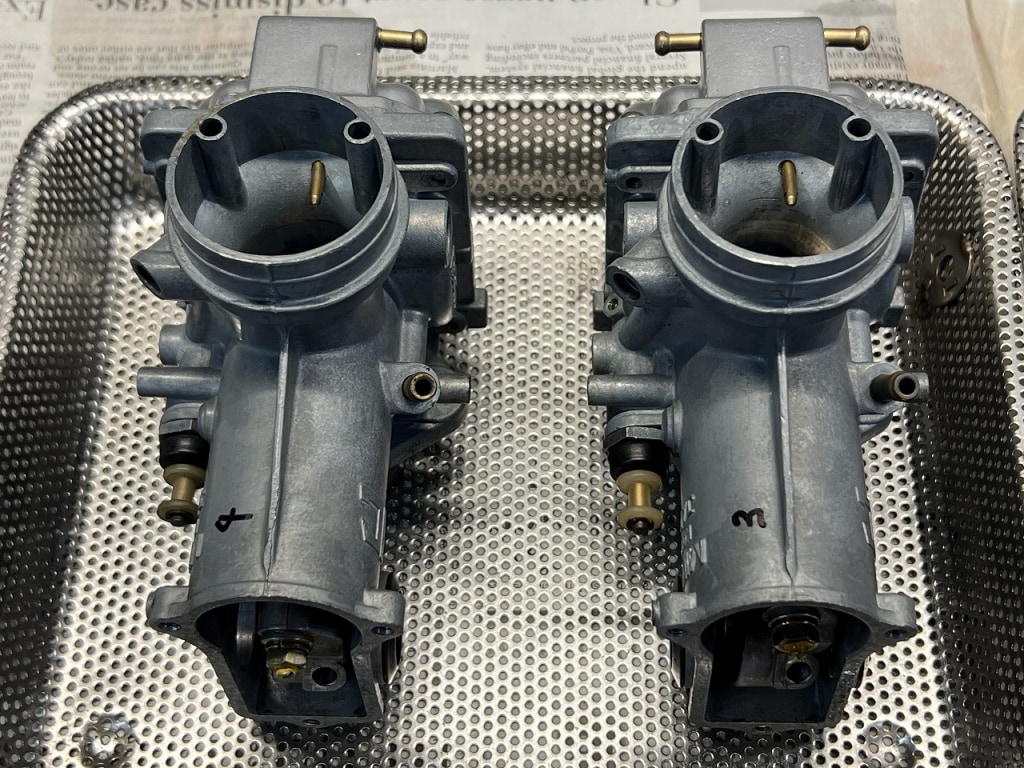
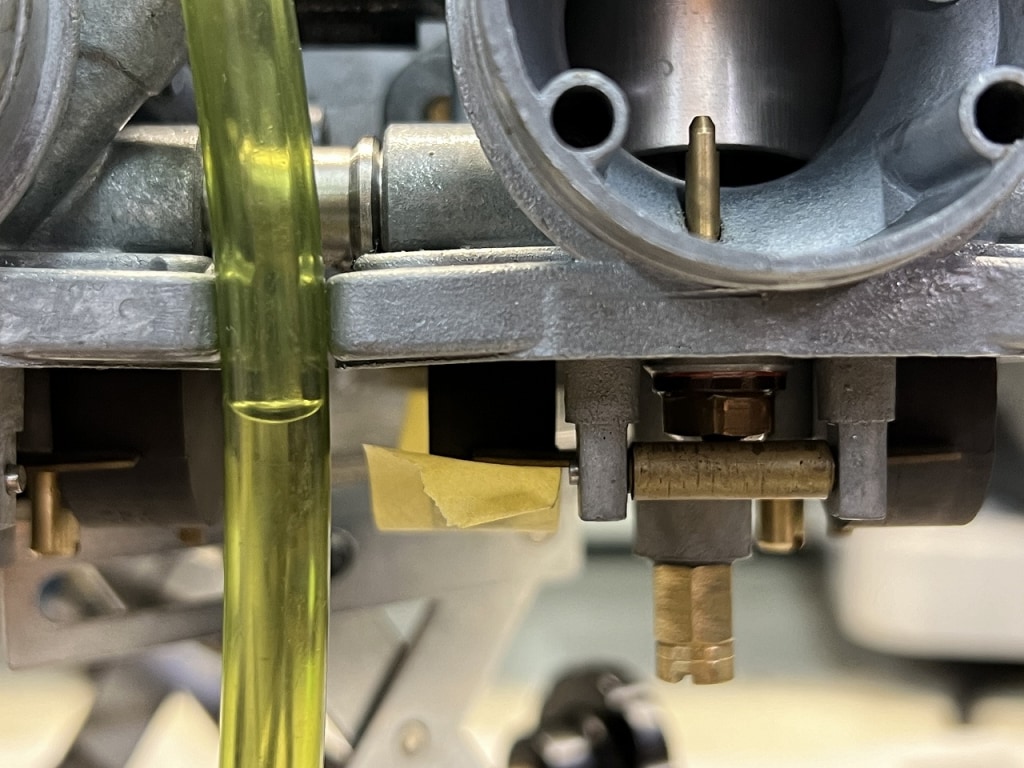
Checking one cylinder at a time prevents wasting gasoline. Hold the floatwith tape to turn it OFF, and doing this for cylinders 1-4 is faster. *If you run gasoline through all cylinders, fuel level adjustment becomes a real pain.
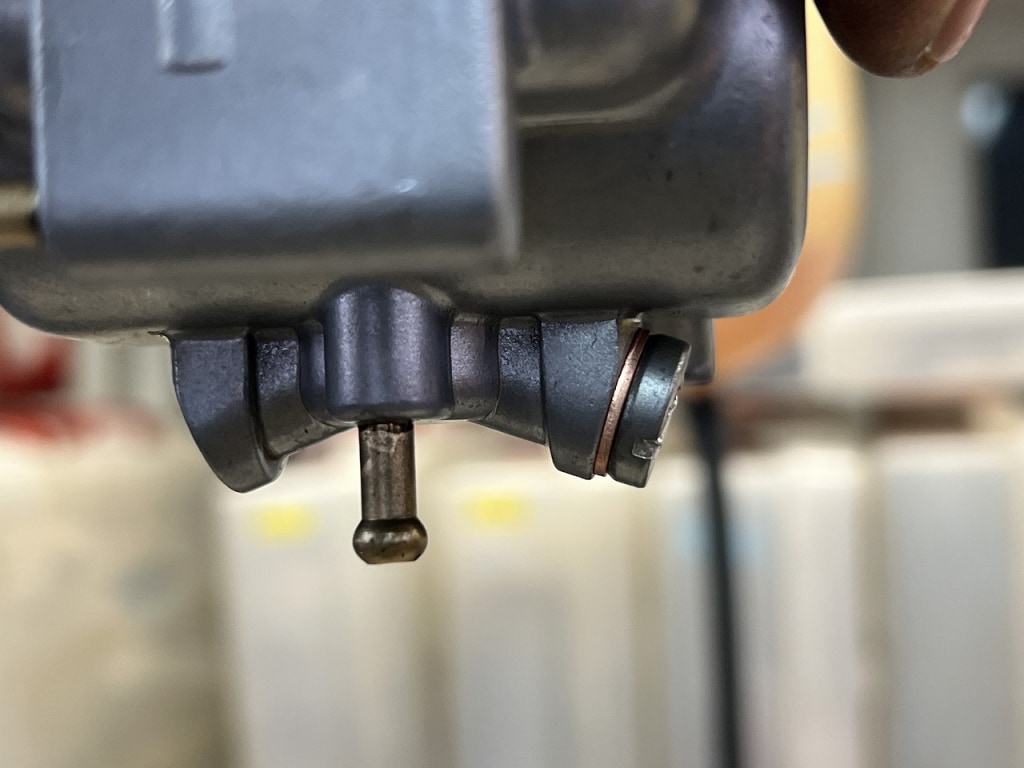
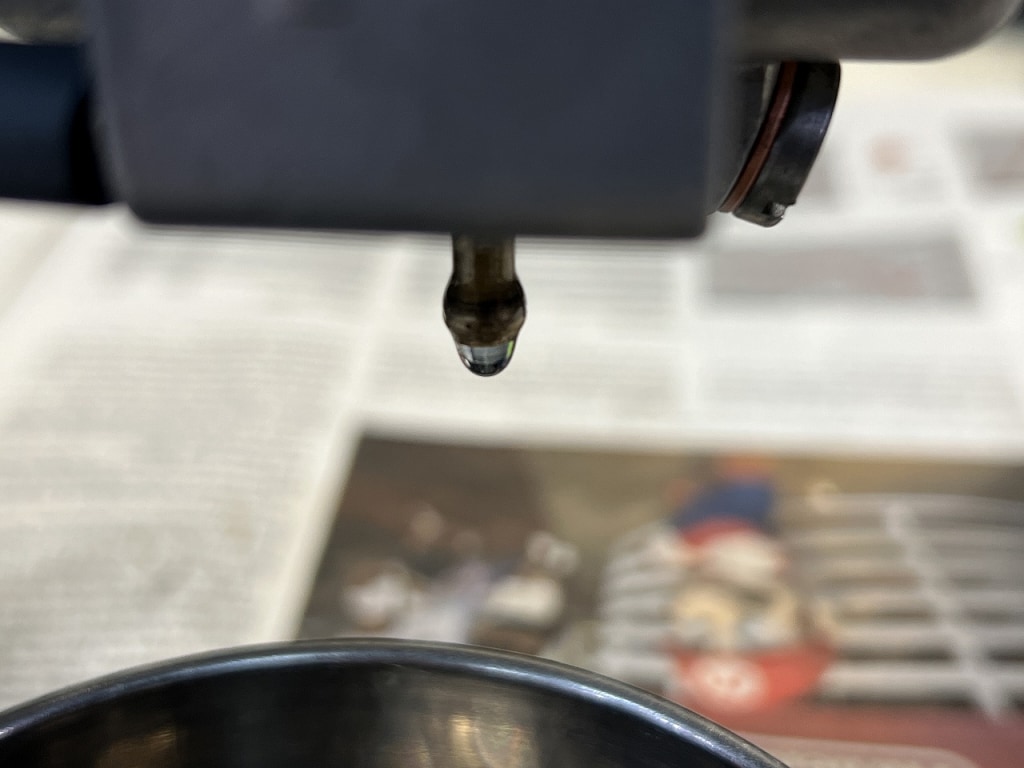
It’s seeping slowly from the drain??
The O-ring isn’t compressing enough, orcylinders 3-4 just keep dripping. I just dealt with it using a regular copper washer.
#4 just seeping slowly… whoosh (*´ω`*)
The fuel level slowly rises and then “whoosh” Sometimes it stops, sometimes it flows – it’s a pain.
It’s different from the usual non-stop overflow problem.
There’s no debris, so there’s only one cause“the float valve” You’d think it wasn’t replaced, but based on my assessment, it should be reusable. I’ll order a float valve and replace it.
Today I ended up stumbling and putting things on hold again… that’s how it goes with old stuff(*´ω`*) To be continued





 ポチップ
ポチップ