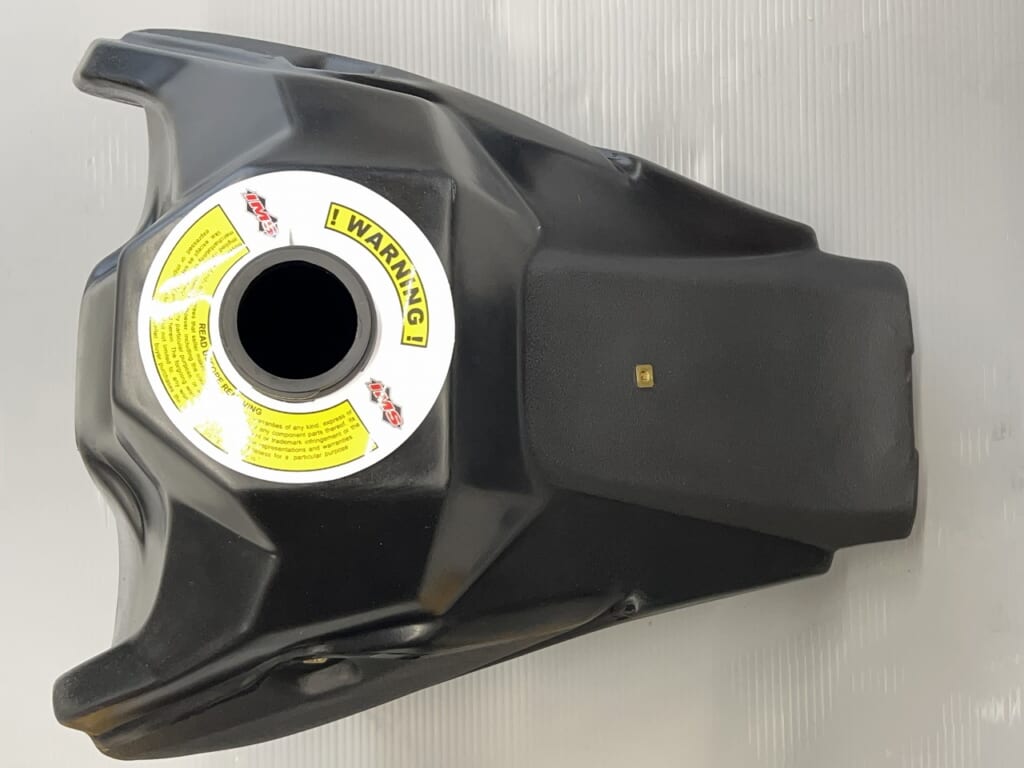
I wanted to increase the fuel tank capacity, so an IMS large-capacity resin fuel tank arrived. It won’t fit at all? I’d heard it was going to be a struggle, but “it’s surprisingly tedious.”
Since everything on the tank side is plastic, “you can force it on,” but the hole positions are somewhat off. I installed it so the fairings could be removed as smoothly as possible.
If I were a user working on this at home, I absolutely couldn’t install it…
Today’s Custom Maintenance Log
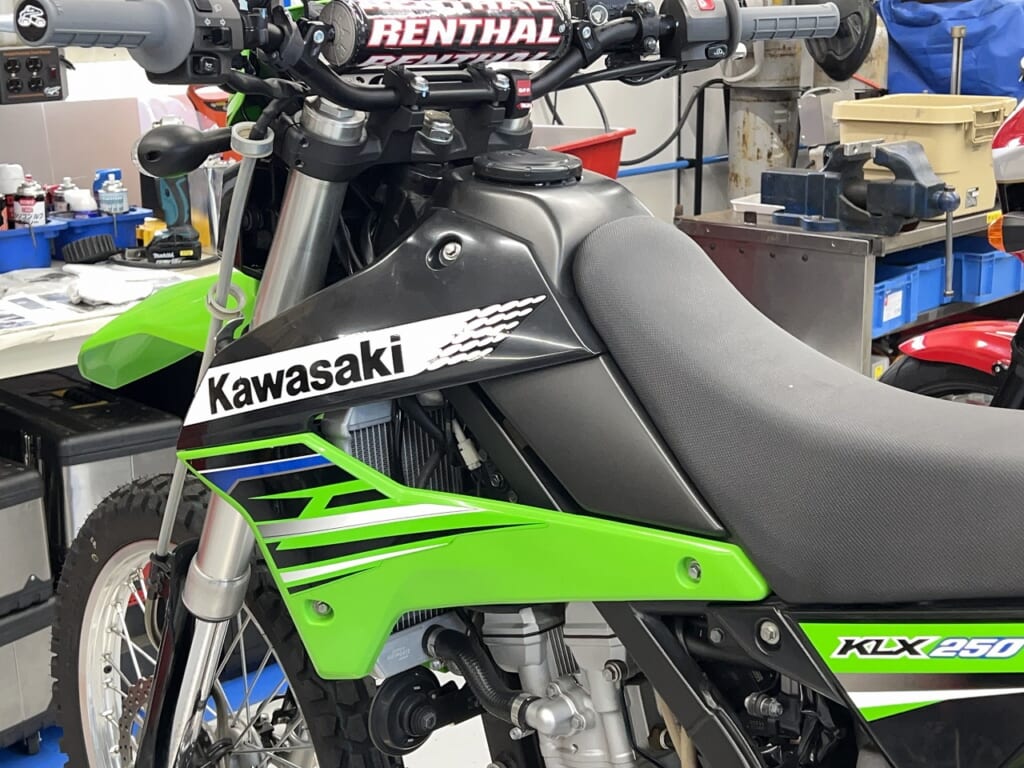
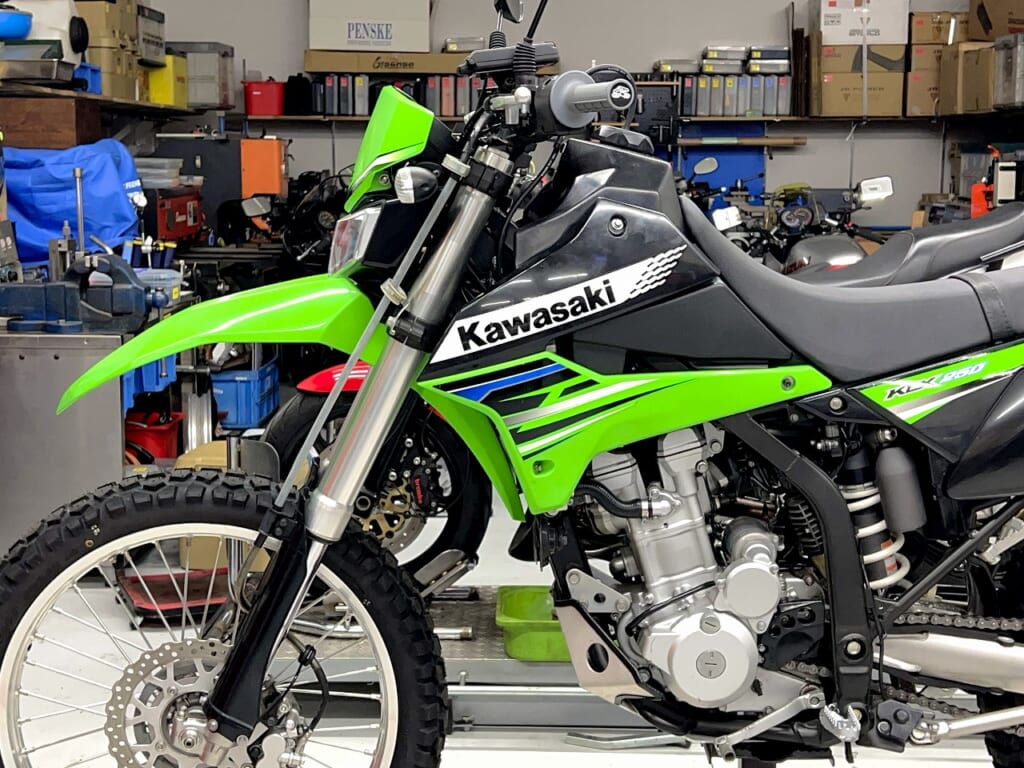
Vehicle: Kawasaki KLX250 (LX250S / FI Model)
Custom Part: IMS Large-Capacity Resin Gasoline Tank (Natural or Black)
Today’s Challenge: This is a standard part for extending off-road range, but it’s American-quality overseas merchandise. Misaligned bolt holes, fuel pump transplantation specific to FI models, and other complications forced us into an “unexpectedly tough battle.”
Our Approach: To avoid cracking the plastic by over-tightening or causing fuel leaks, we employed precise slot-hole machining and heat-gun micro-adjustments. With professional fitting techniques, we achieved a flawless, leak-free, distortion-free result!
Another blog by Decoboco. “RURAL GARAGE ”
A hidden space beyond bikes. Daily convenience items, relocation, delicious food, life philosophy and more. ←click
They’re selling these things now. It looks pretty wild and raises expectations.
With the Suzuki Djebel 250XC, it comes big from the start, so no worries?
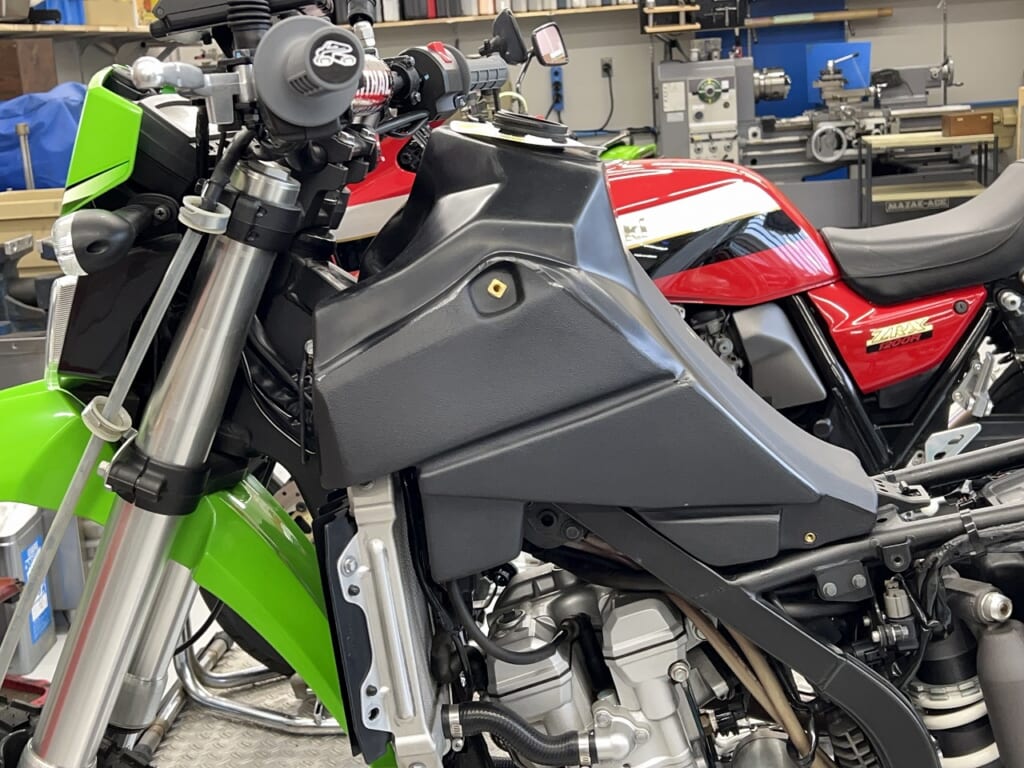
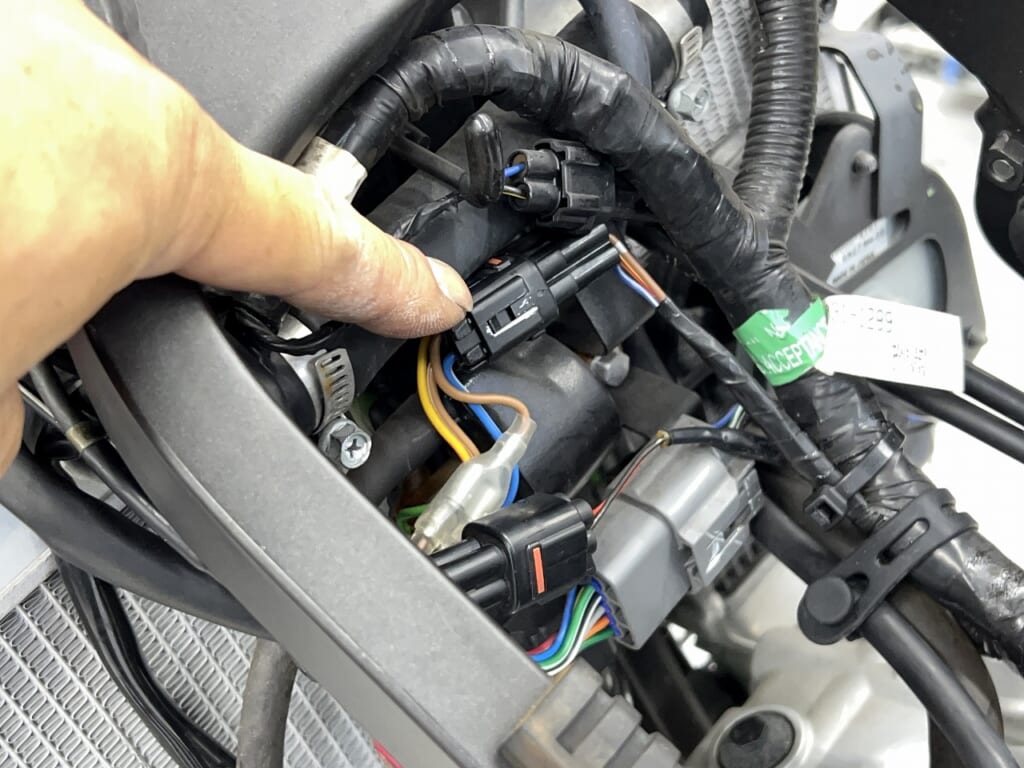
I test-fitted it… it does fit, but the fit is pretty poor. The tank’s front connector group makes contact and feels bad, and the left, right, and rear mounting plates don’t line up at all. The key will be deciding which reference point to use going forward.
Extracting contact points for future reference
The connector mounts in this area make contact, so we push and adjust.
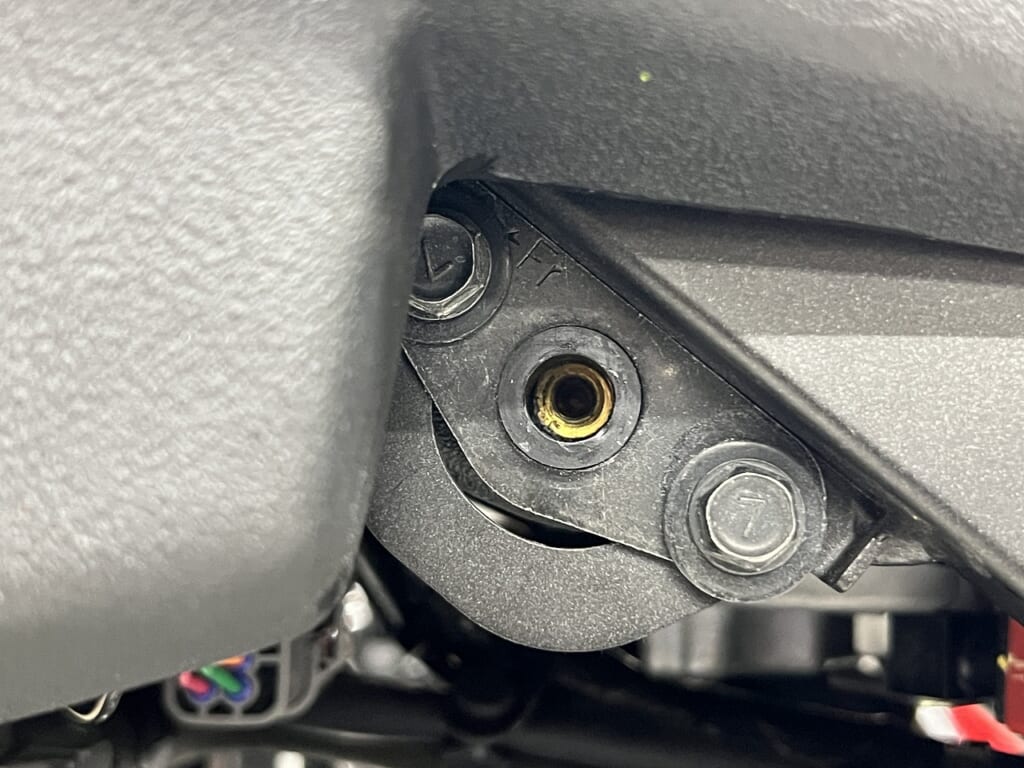
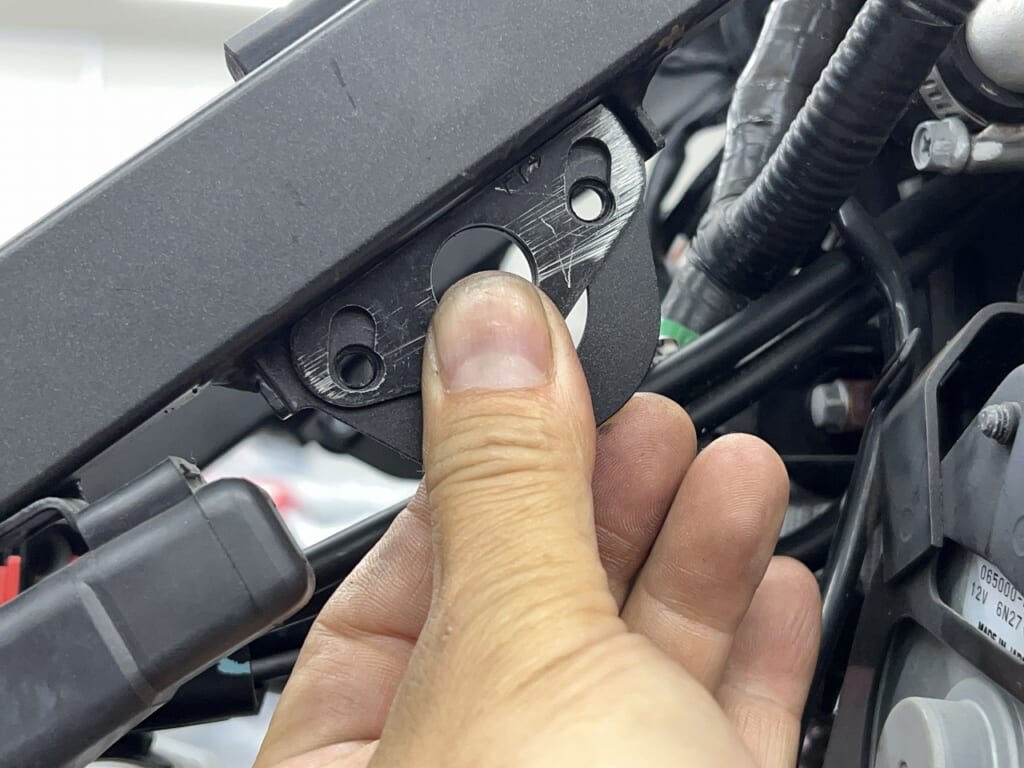
Once the tank is free, we adjust the left and right mounts. From the rear the left and right don’t have much flexibility, so locking them in makes things easier.
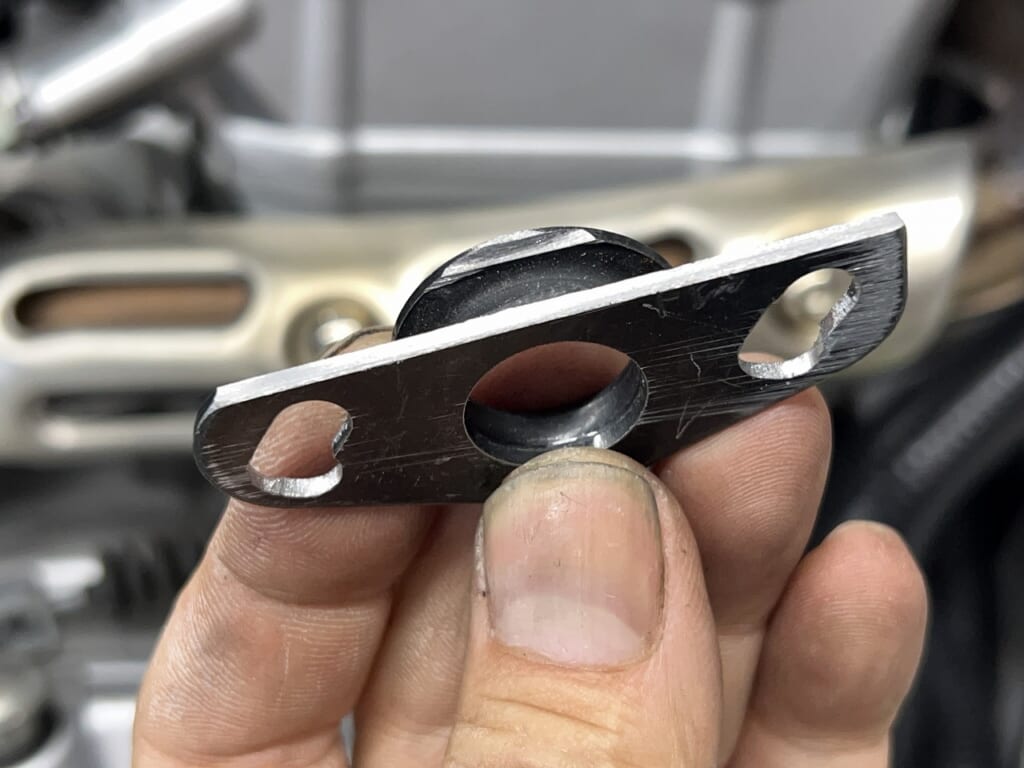
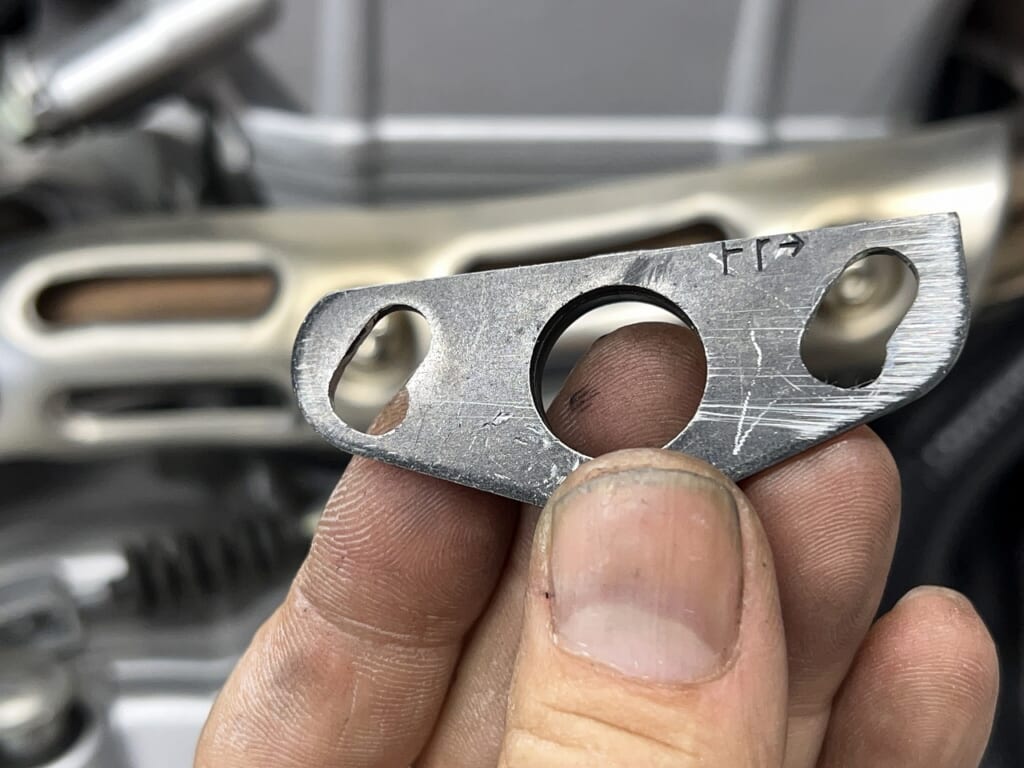
We grind away aggressively. This image really shows how misaligned the holes are.
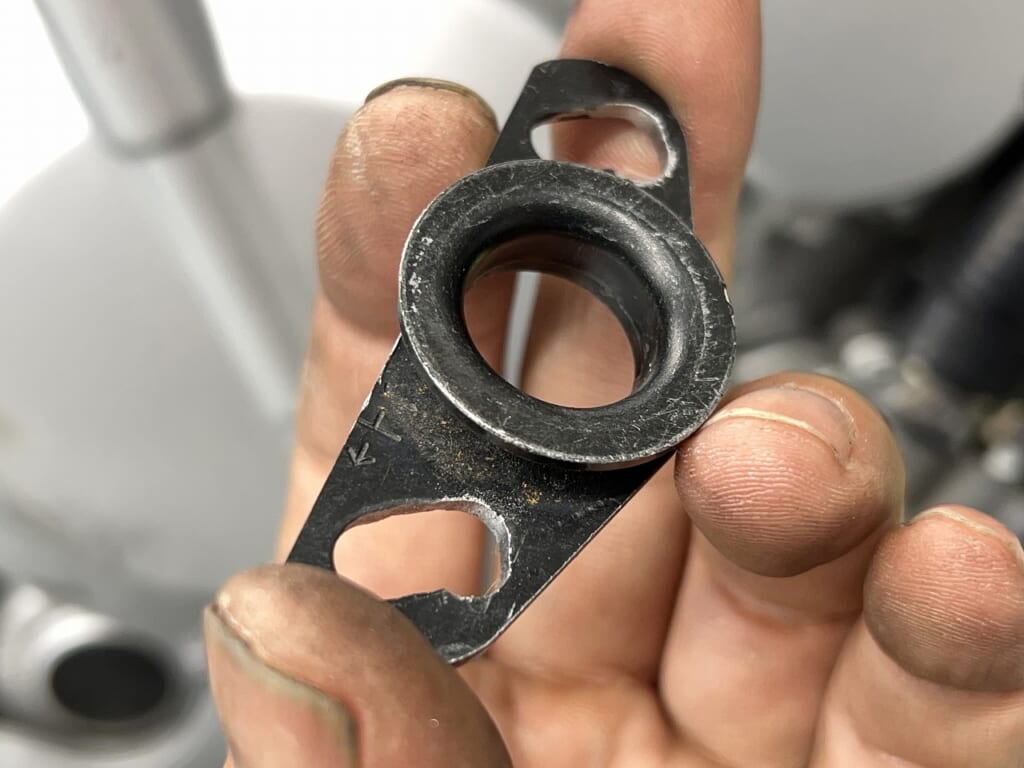
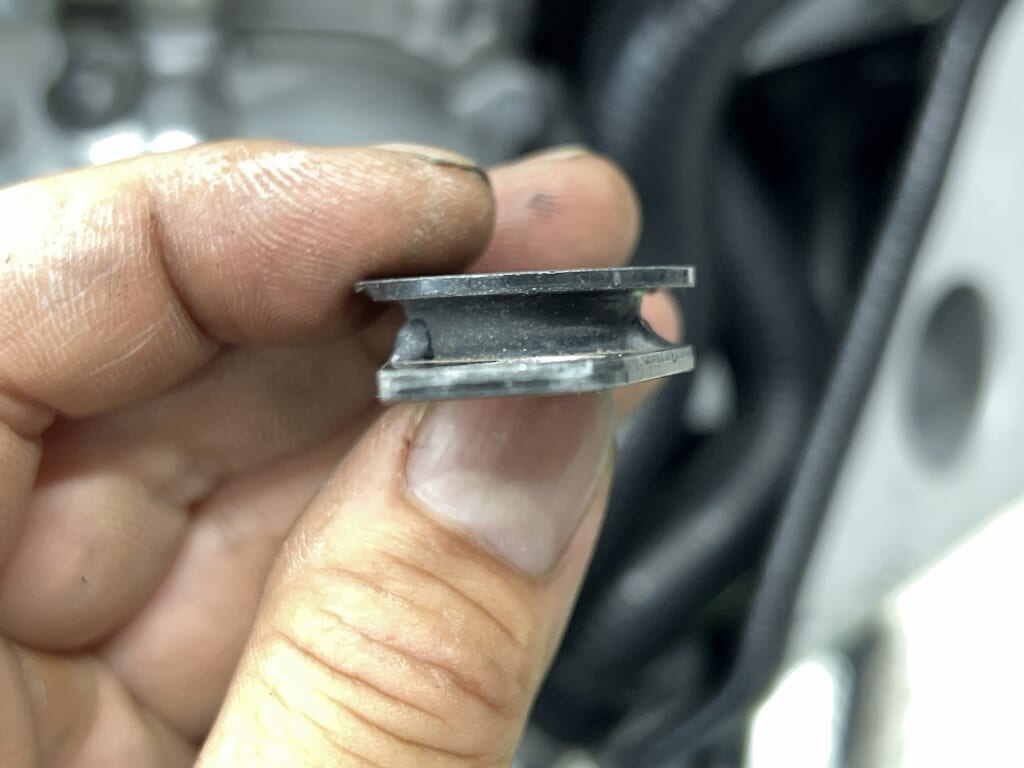
It has an odd shape to fit the damper. The key decision is whether to grind or fabricate. We went with grinding.
This awkward tank mount that contacts everywhere gave us trouble.
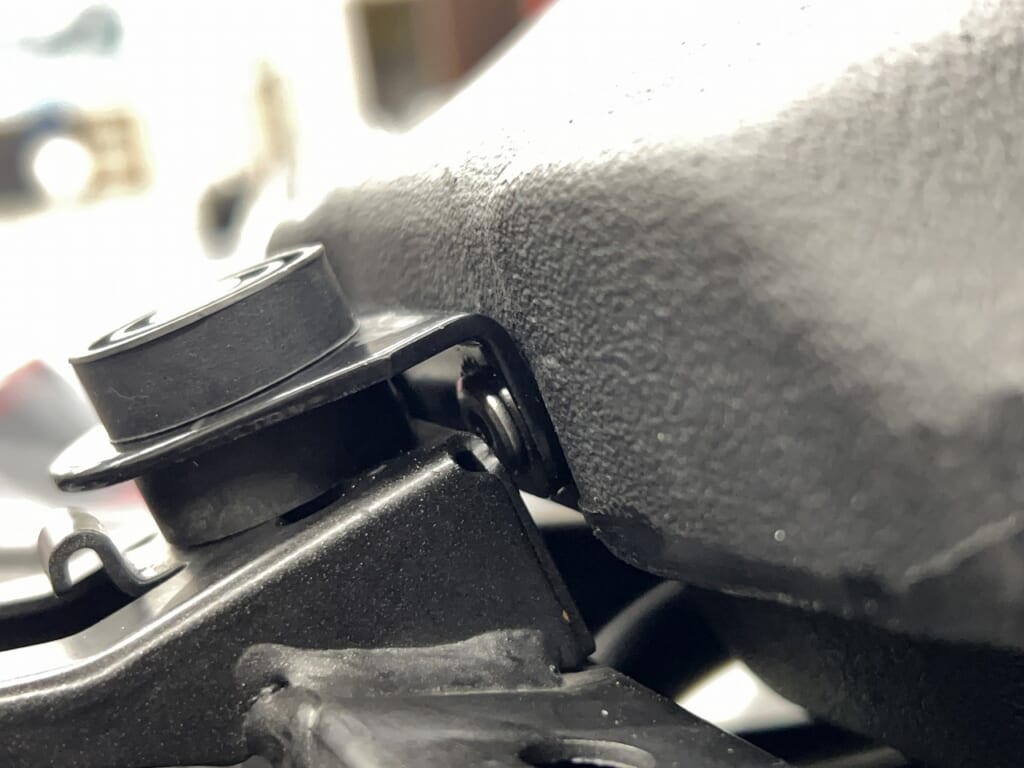
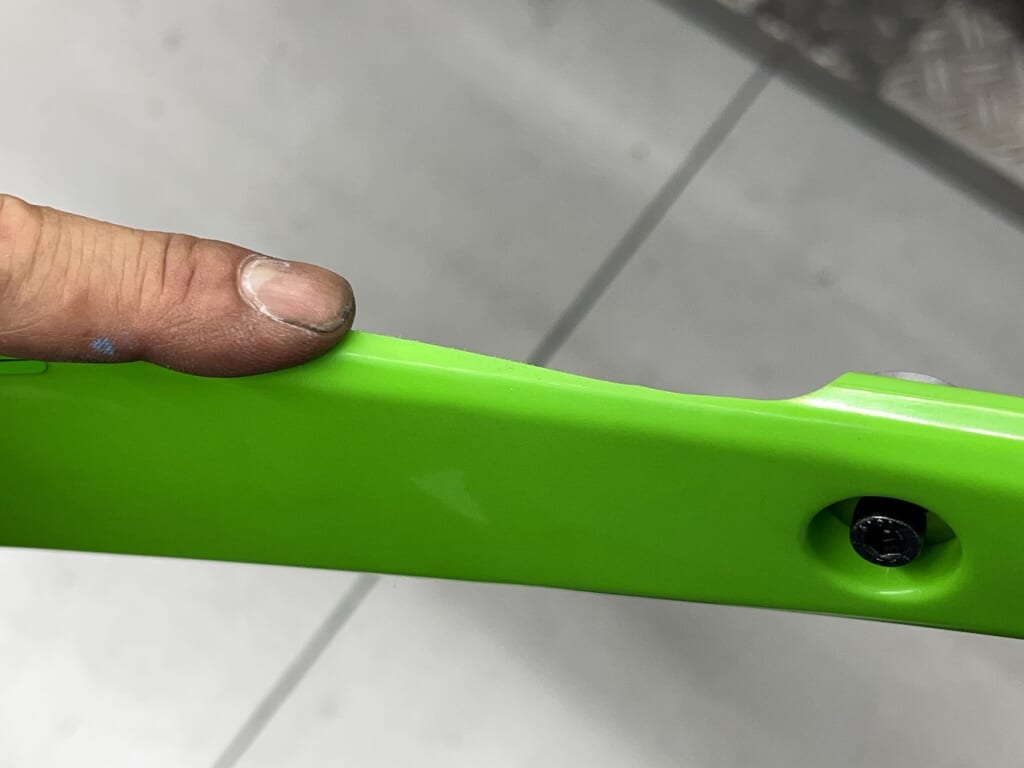
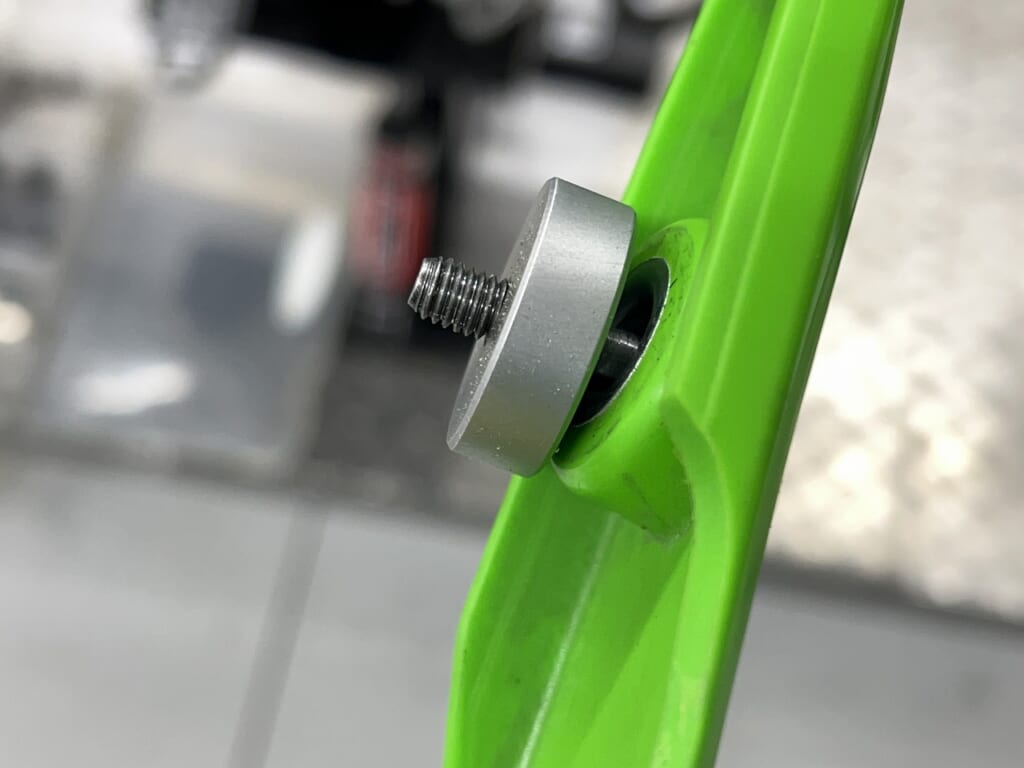
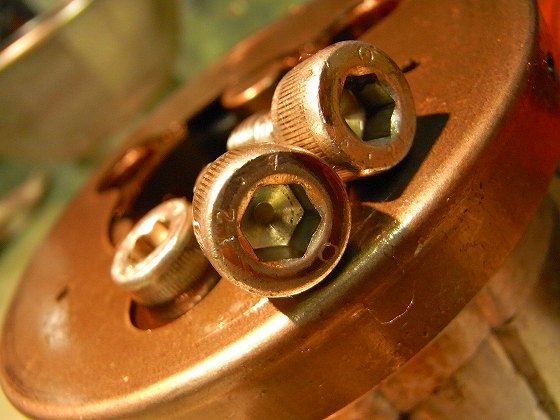
We used ultra-low-profile bolts on the rear mount to clear it. The included button caps probably won’t fit…
This tank has too much freedom—if you lift the rear, the sides won’t fit even more. The tank is constrained by the frame position, so it’s quite a demanding product.
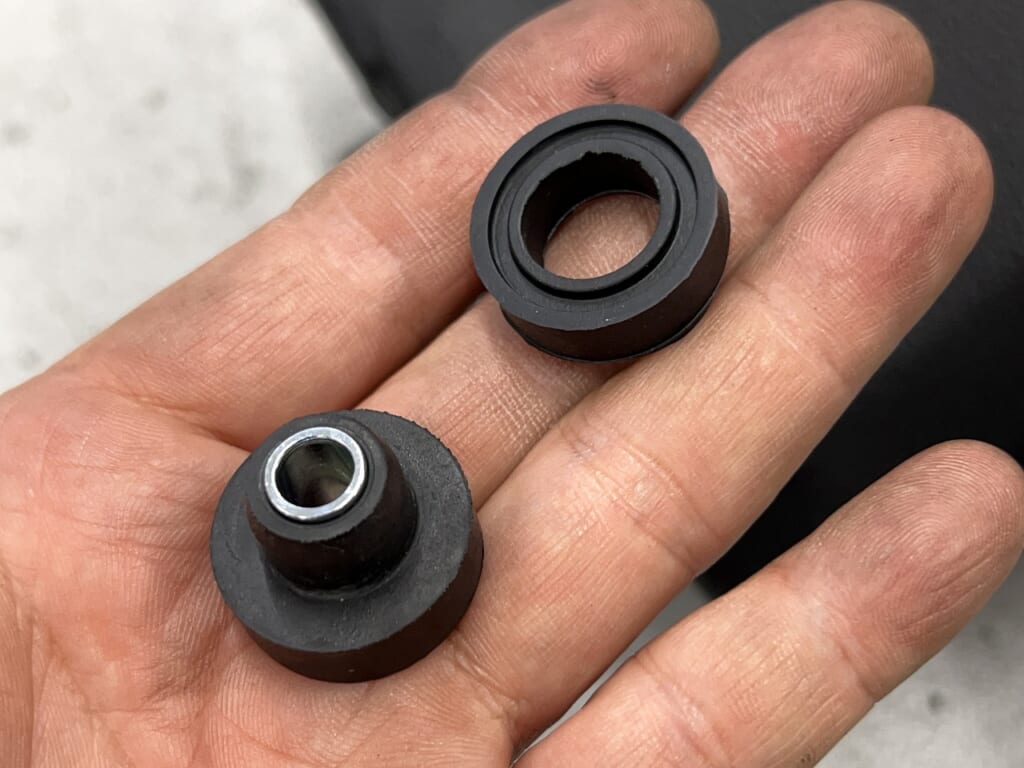
The included damper wouldn’t accept the sleeve, so we borrowed a Suzuki three-piece damper set. All parts need proper floating to work right.
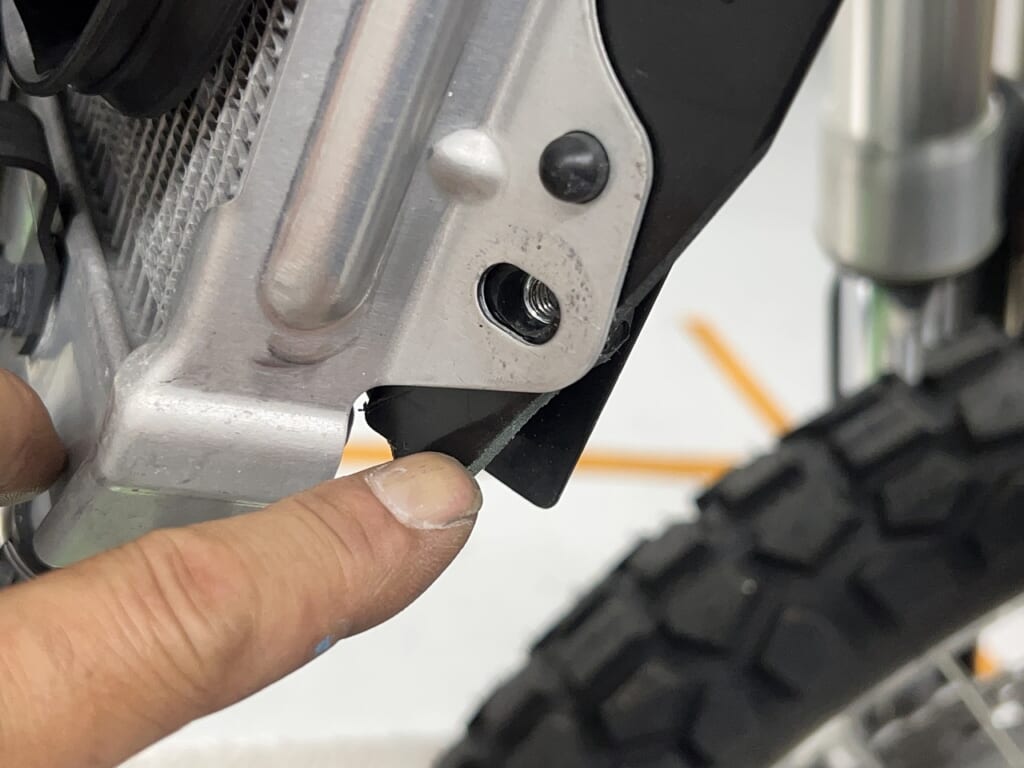
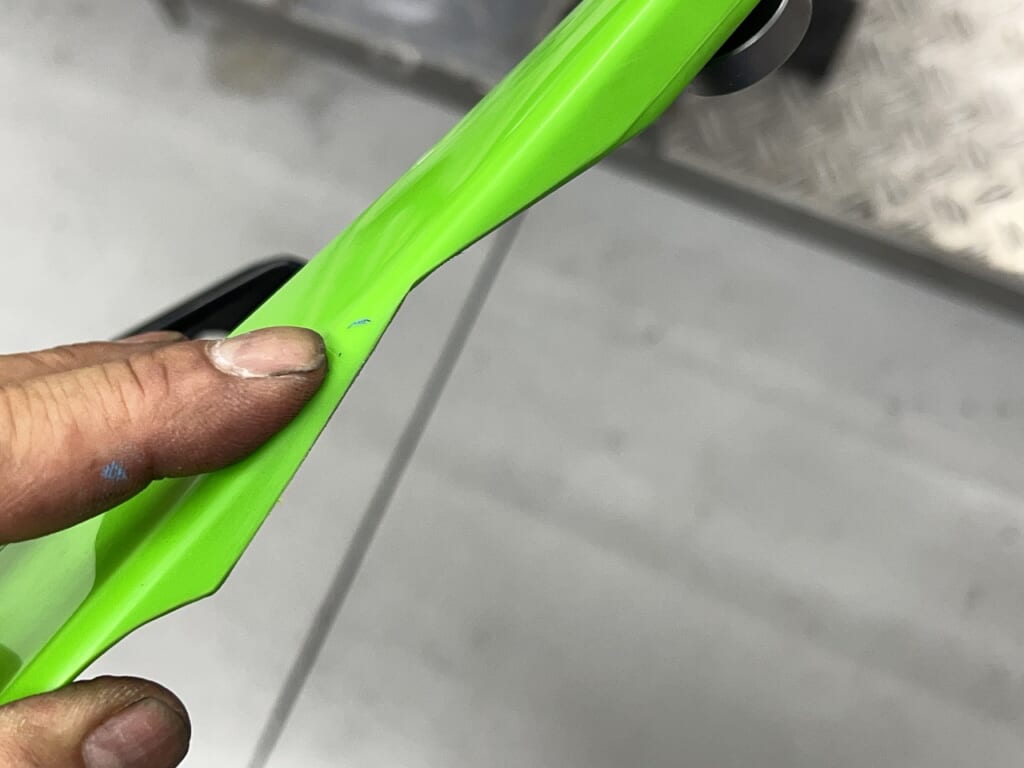
The plastic fins in front of the radiator make contact, so we grind them.
We ground the shrouds using the tank mounting area as reference. You can force it on by stretching, but it contacts everywhere and feels terrible.
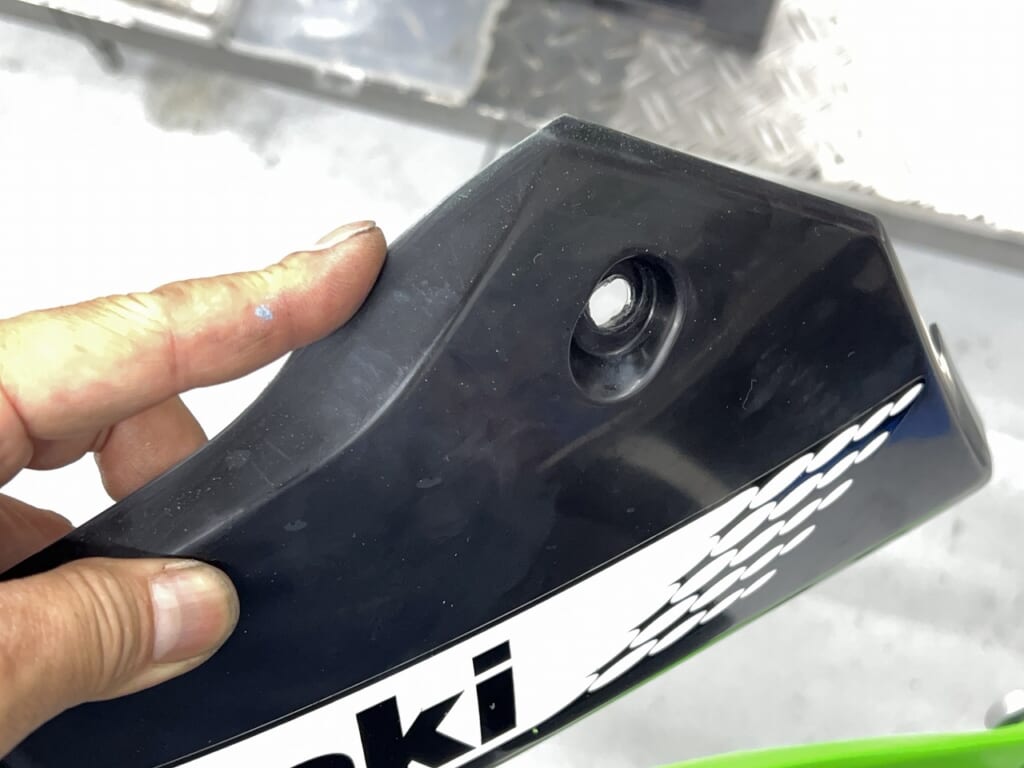
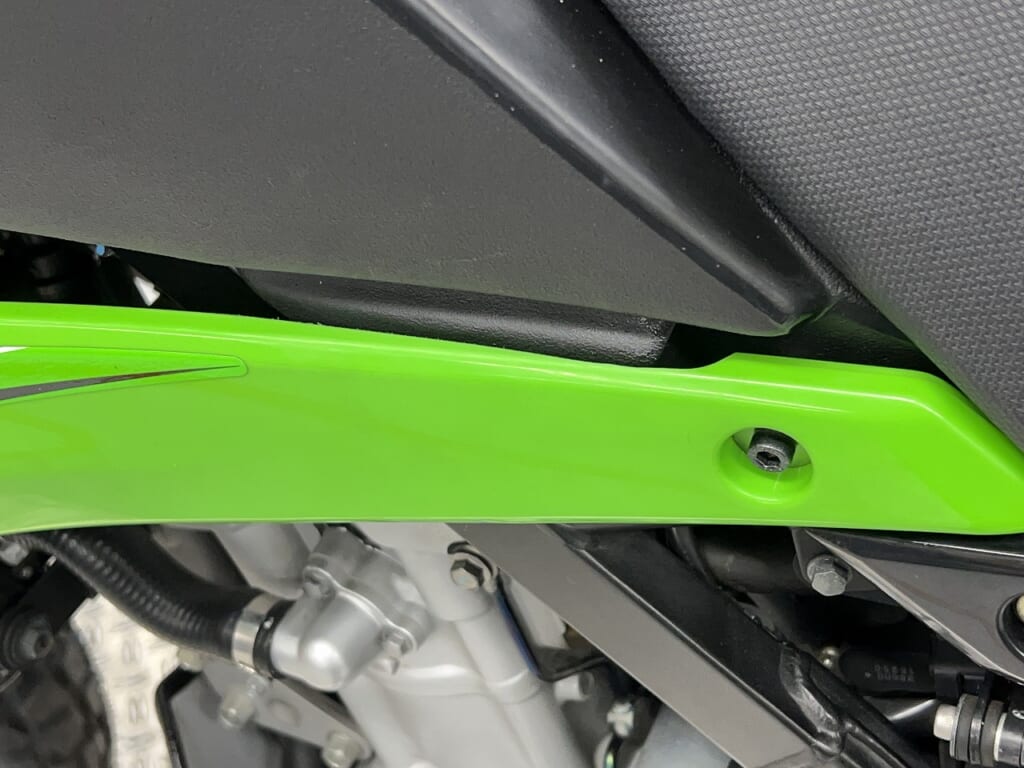
We ground it down without mercy. One spot near the seat still contacts, so we machined a relief inside and installed a spacer. The spacer won’t fall out when removed, so maintenance is easy.
Does gasoline really leak?
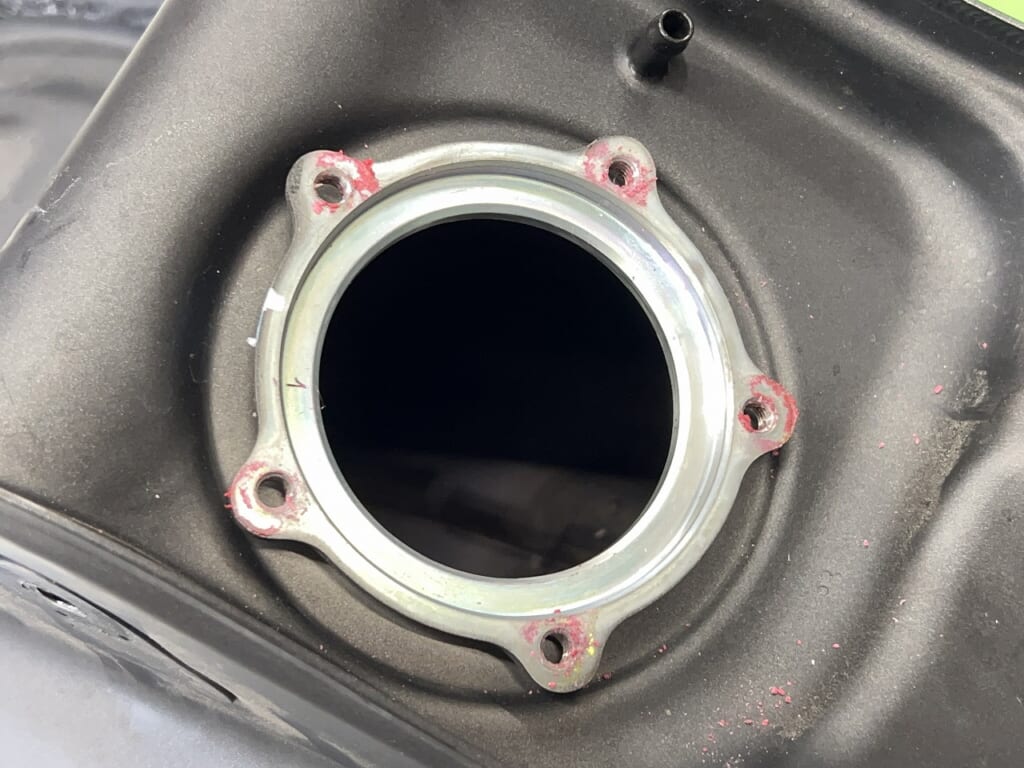
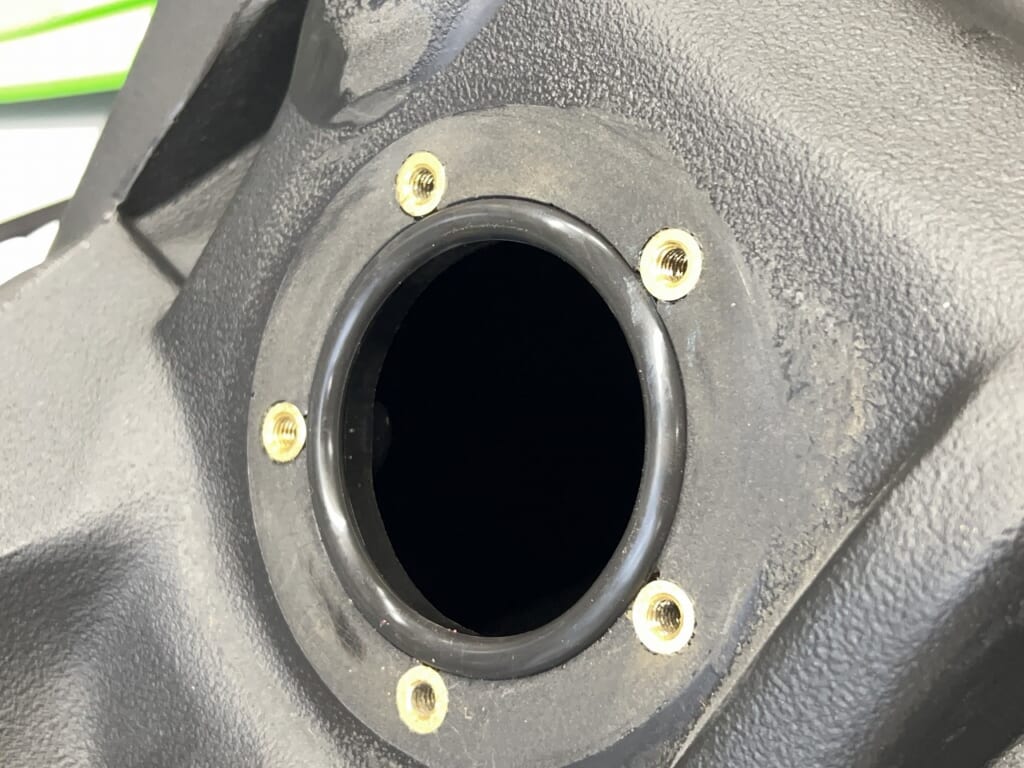
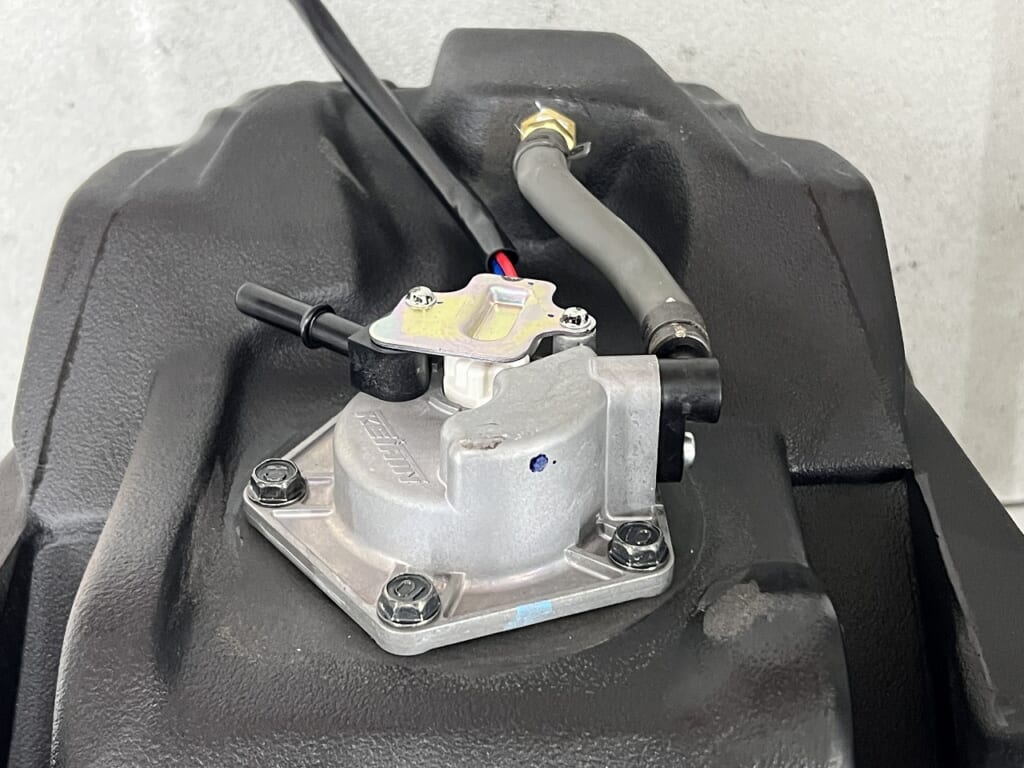
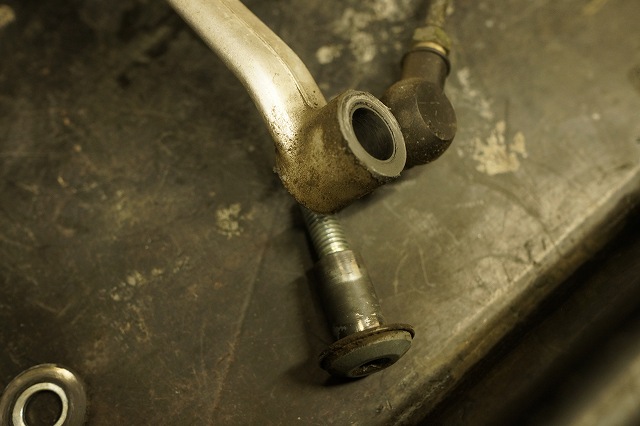
Since it’s fuel-injected, we transplant the fuel pump. The OEM one is installed with plenty of threadlocker.
I’d recommend not using threadlocker on the plastic tank. If you need to remove it later, the plastic threads could get damaged. If you skip the threadlocker, use fast-set epoxy on the bolt head as a backup.
The O-ring has a thick cross-section, so surface finish doesn’t matter much.
PT threads are included, so use Threebond TB4501 seal tape properly during installation. We filled it about one-third with gasoline and let it sit for an hour to check—zero leaks or seepage.
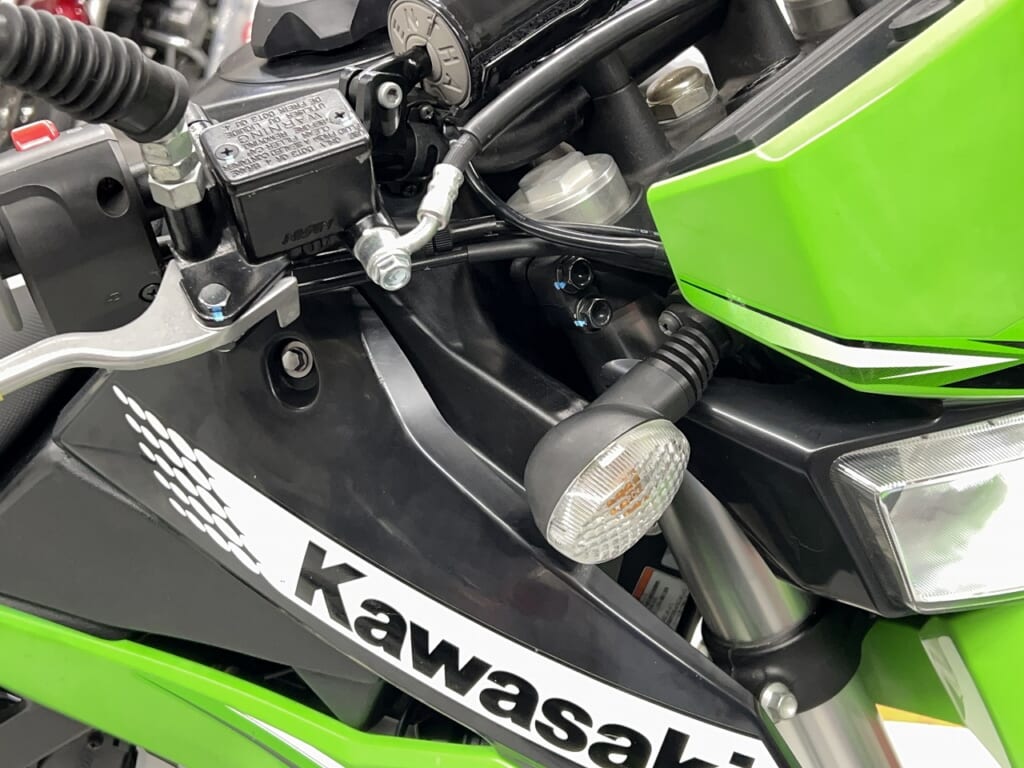
Finally it’s on! When I gently turned the handlebars… hmm… Two more spots: the brake hose guide and an aftermarket ON/OFF switch. We pushed them aside to clear. (*´ω`*)
The tank’s recess prevents the shroud from fitting—a necessary clearance
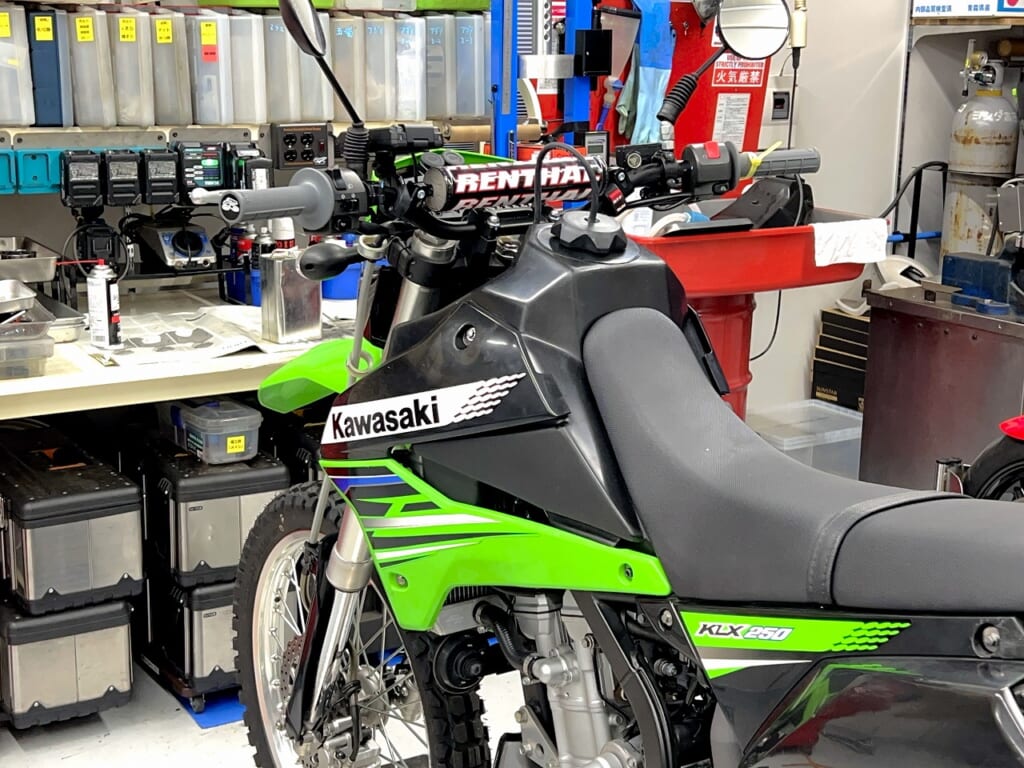
With the old KLX face, it looks pretty cool. Tank installation complete!
Fighting the Fitment: Installing a Large-Capacity IMS Resin Fuel Tank on the KLX250 (LX250S)!
Vehicle: Kawasaki KLX250 FI Model (LX250S). Topic: Overcoming the challenges of aftermarket oversized plastic fuel tanks. Details: To extend the riding range for long adventure/trail rides, we accepted a request to install an oversized IMS resin fuel tank . While a classic modification, these American-made aftermarket plastic tanks are notorious for their poor fitment due to material shrinkage and manufacturing tolerances. The mounting holes missed the frame brackets by several millimeters. Furthermore, since this is a Fuel-Injected (FI) model, we had to transplant the delicate OEM fuel pump into the plastic base. Ensuring a perfect, leak-free seal on an uneven resin surface required meticulous shaving of burs and careful, incremental torque sequencing on the sealing O-ring. Verdict: By custom-shaving brackets and utilizing a heat gun to relieve plastic tension, we lined up the tank and original shrouds flawlessly. Tested overnight with zero fuel leaks! Custom work rarely means a simple “bolt-on” process, but the extra effort delivers absolute reliability on the trails.




 ポチップ
ポチップ