Even though I’m cutting back on work quite a bit… somehow it never seems to end. I feel that vibe.
Well, never mind.
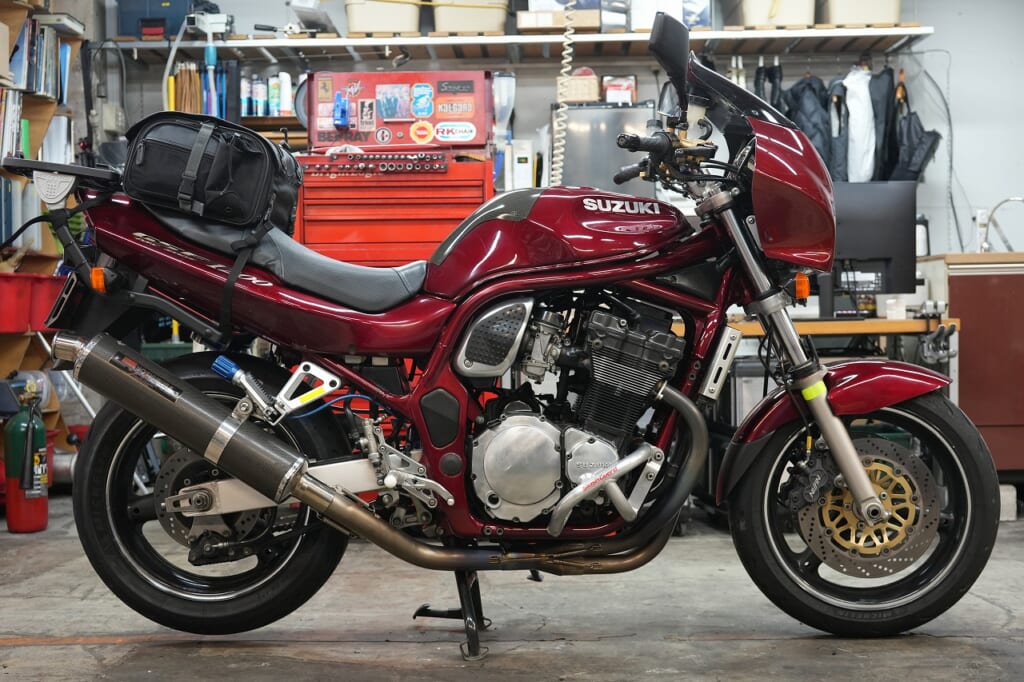
A beautiful GSF1200 that’s been ridden since it was new, loaded with work requests.
*Even with this, we’ve reduced the scope of work (*’▽’)
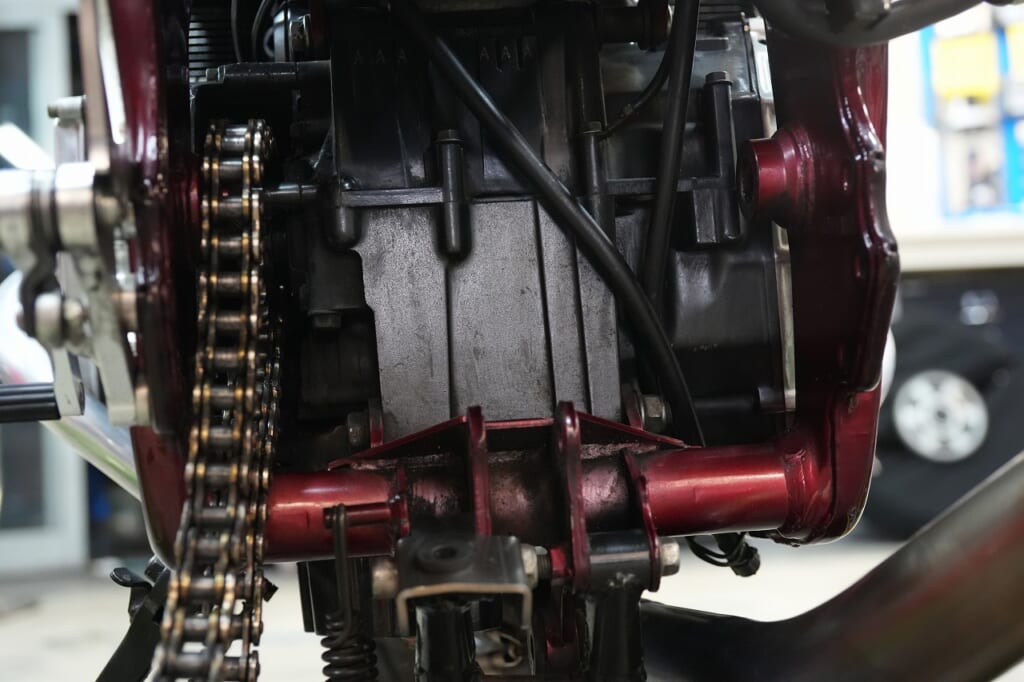
Sorry, the photos are a bit crooked.
Lately I haven’t even been checking the preview, so I’m being pretty sloppy… I need to be more careful.
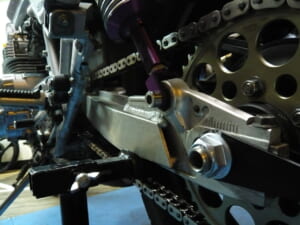
I’ll quickly remove the swingarm and clean it.
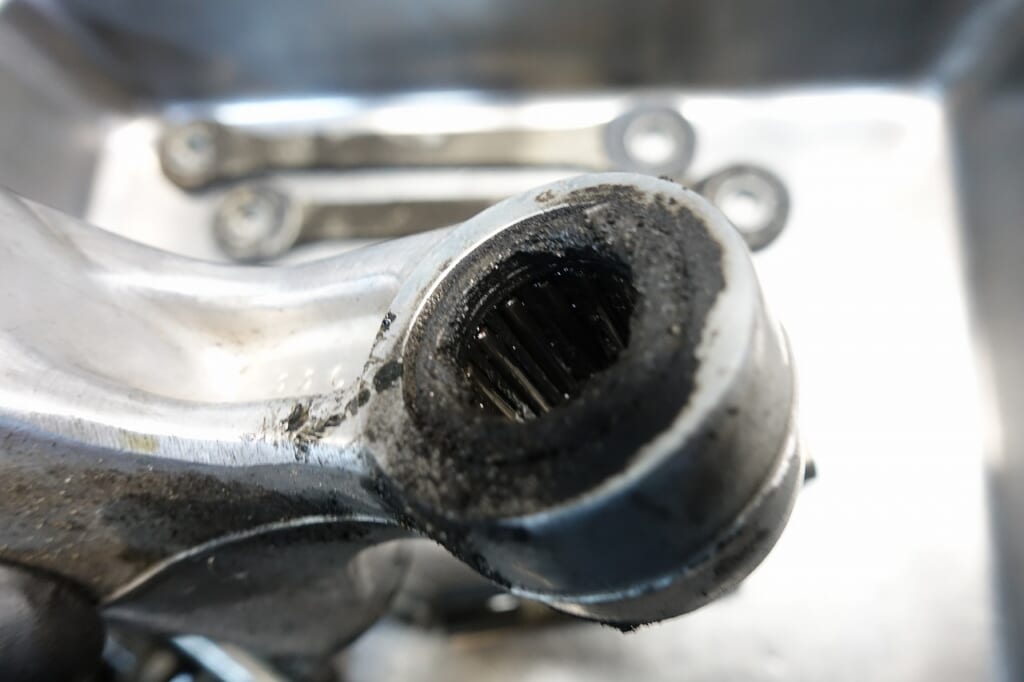
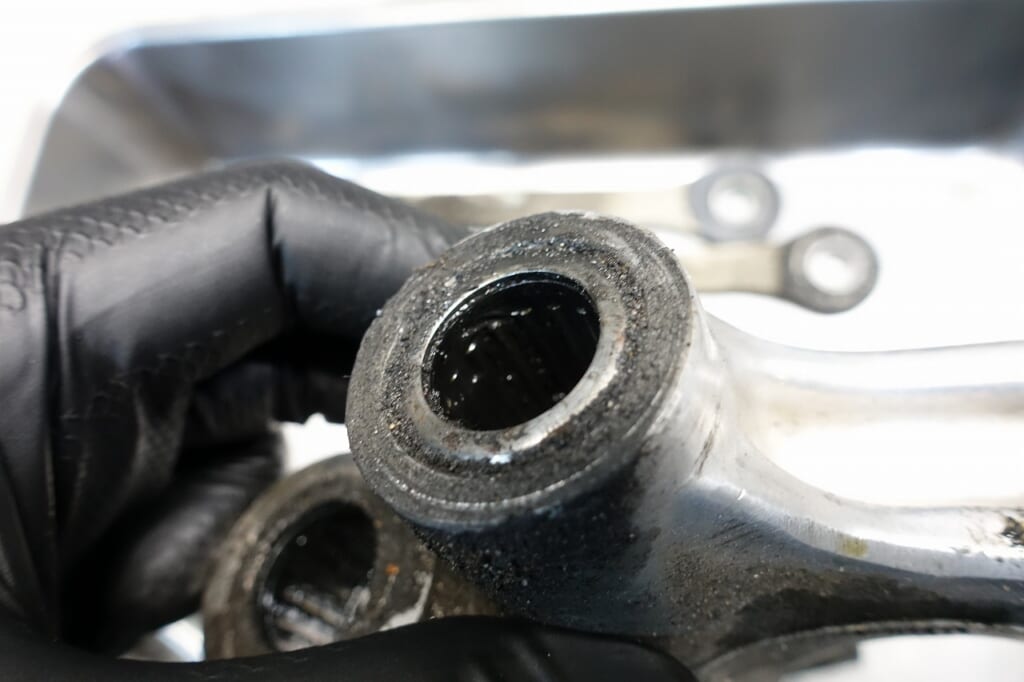
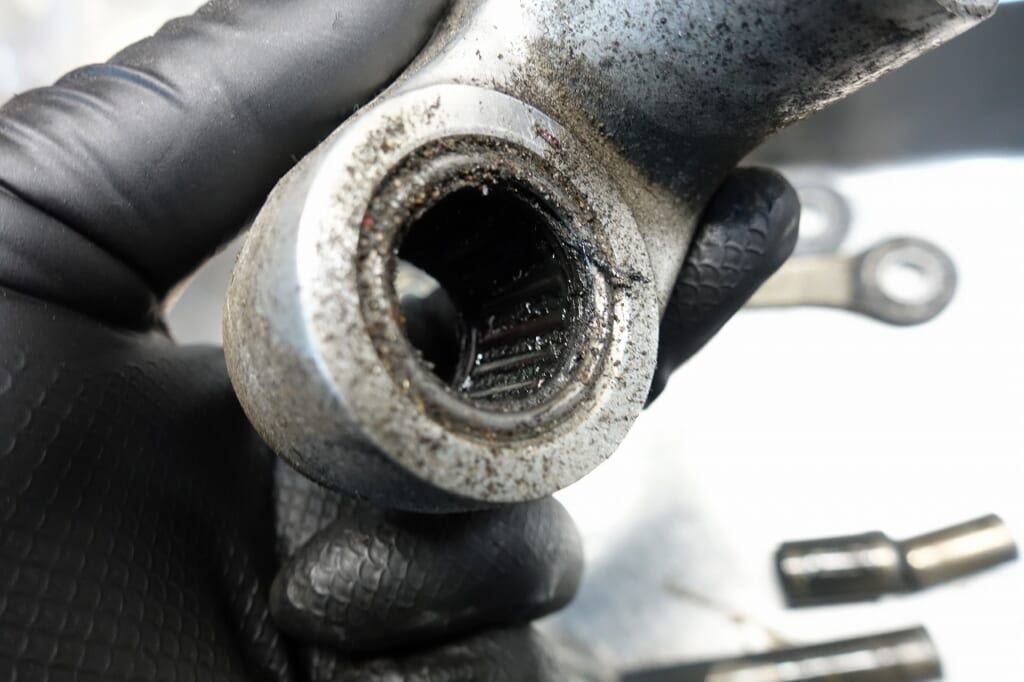
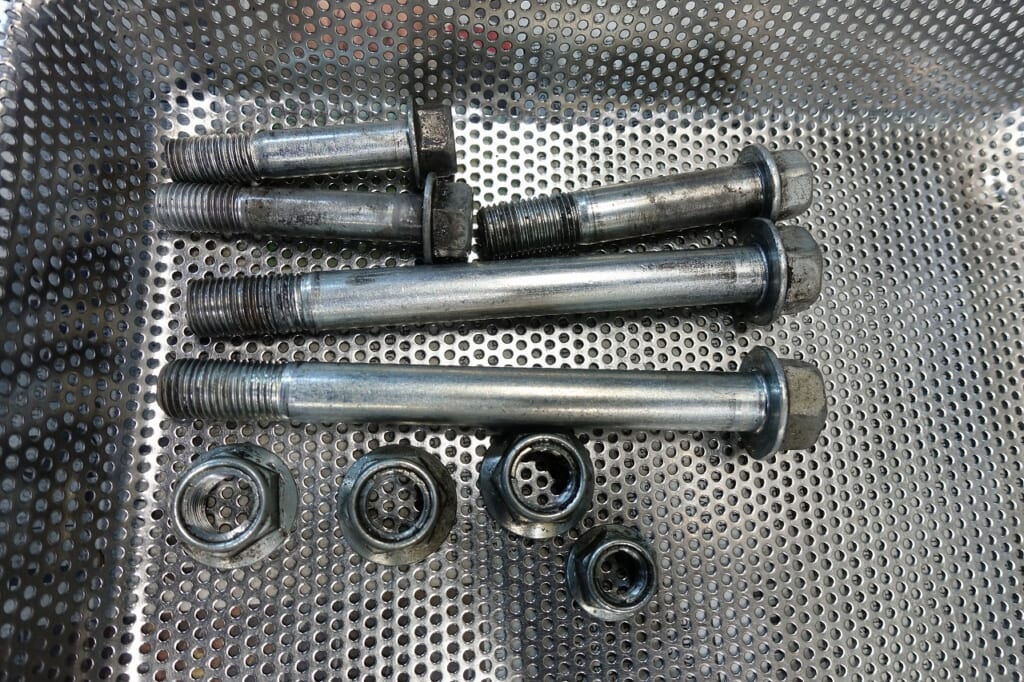
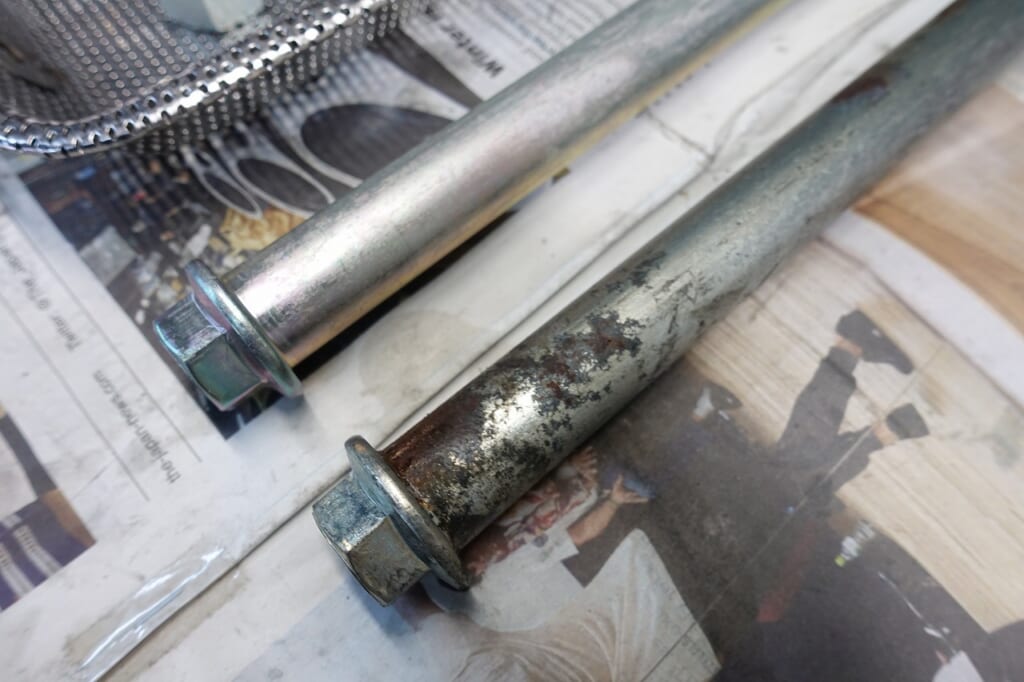
This time it’s just cleaning and lubrication, so the work is pretty quick.
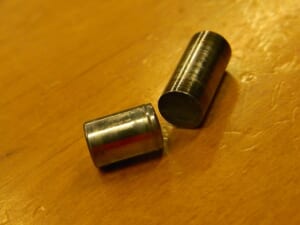
I replace all shafts and bolts and nuts with new ones.
This isn’t a spot we disassemble frequently. Bolts and nuts don’t cost much, so replacing them during disassembly gives a really nice finish when you peek inside.
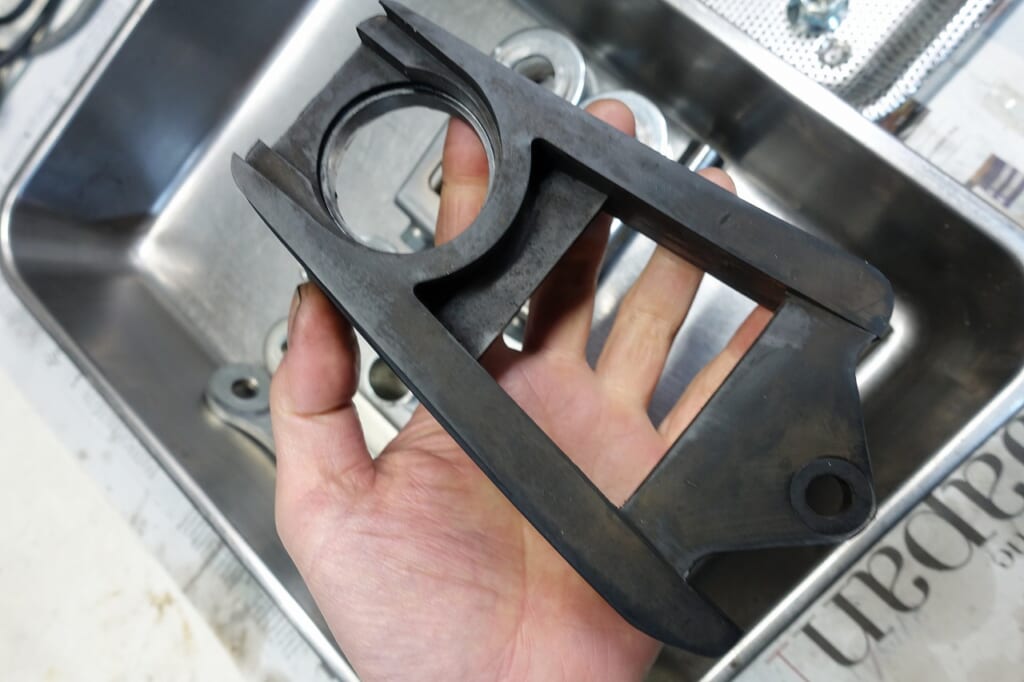
Unfortunately, the chain slider is discontinued ( ;∀;)
I tried ordering a Bandit one, but it turned out to be slightly different in shape.
We’ll figure it out when it falls apart.
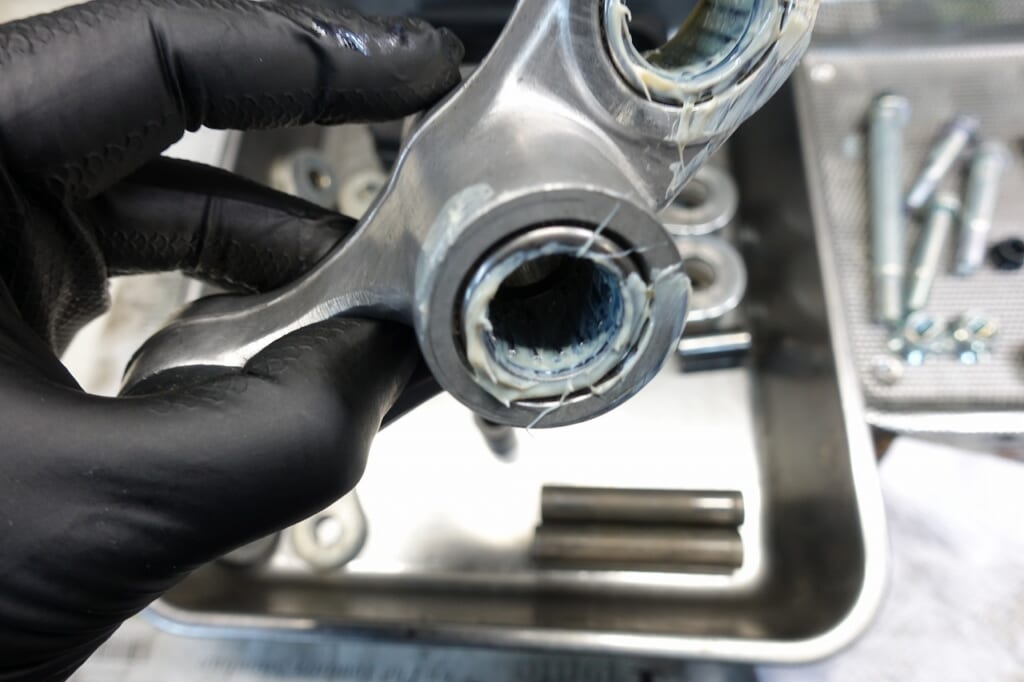
I packed it with Newtech NC100 grease and assembled it (^_-)-☆
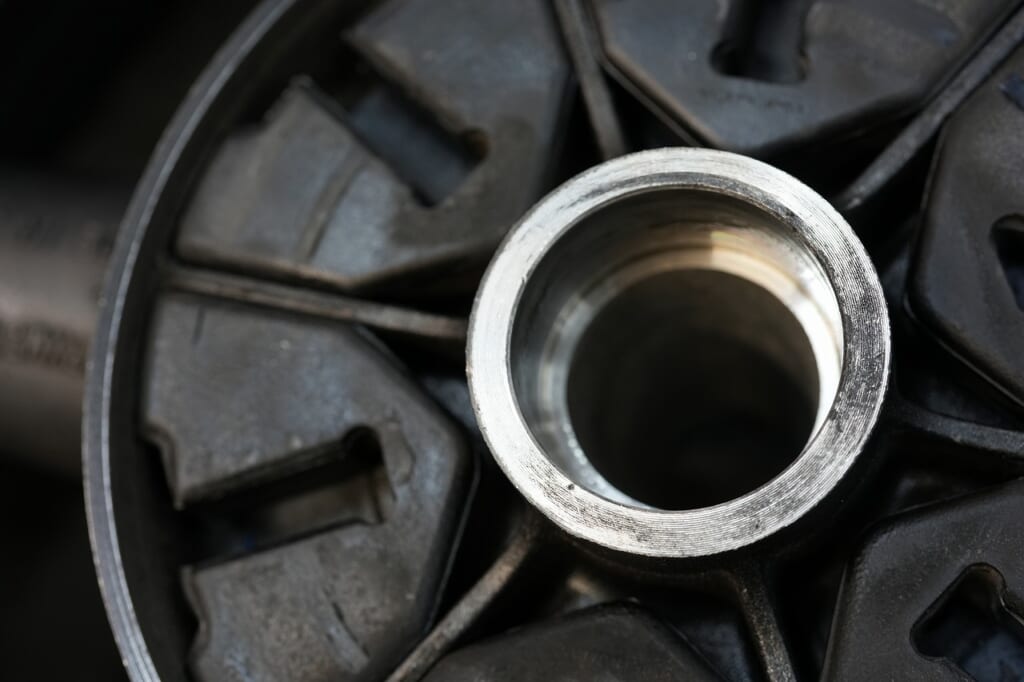
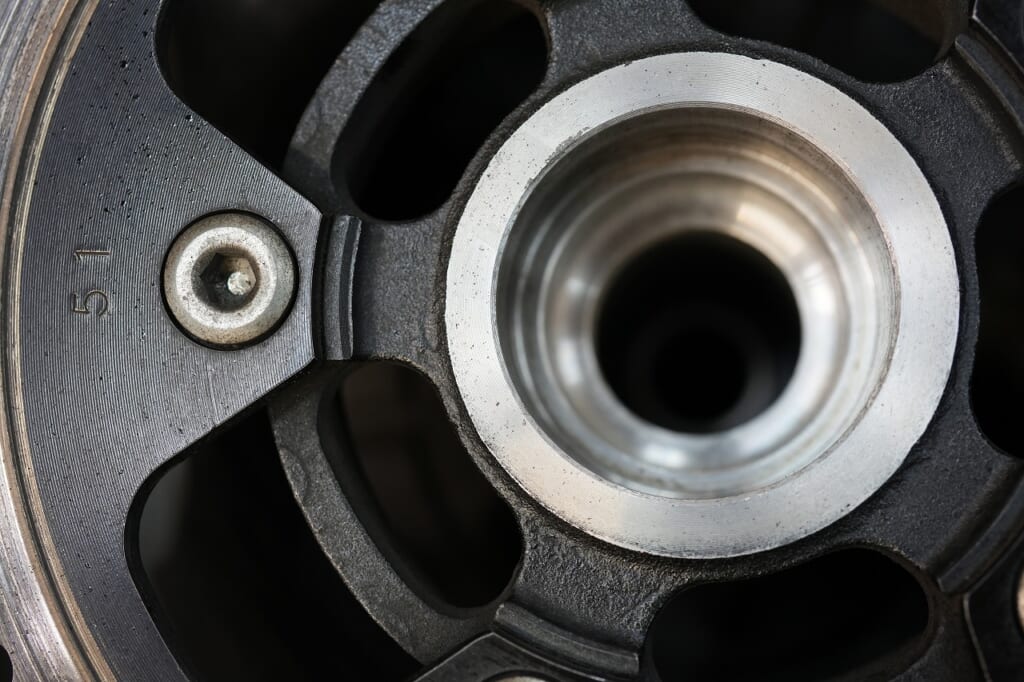
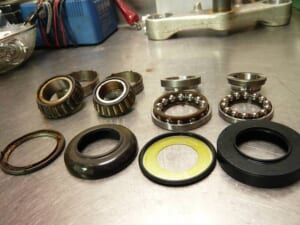
I’m replacing the three bearings on the rear wheel.
Lately I get nervous about bearing removal and installation too. What if it’s loose?
As bikes get older, all sorts of things happen. Everything, including myself, is getting old.
If you don’t have a system in place to recover from worst-case scenarios, you’ll have a rough time.
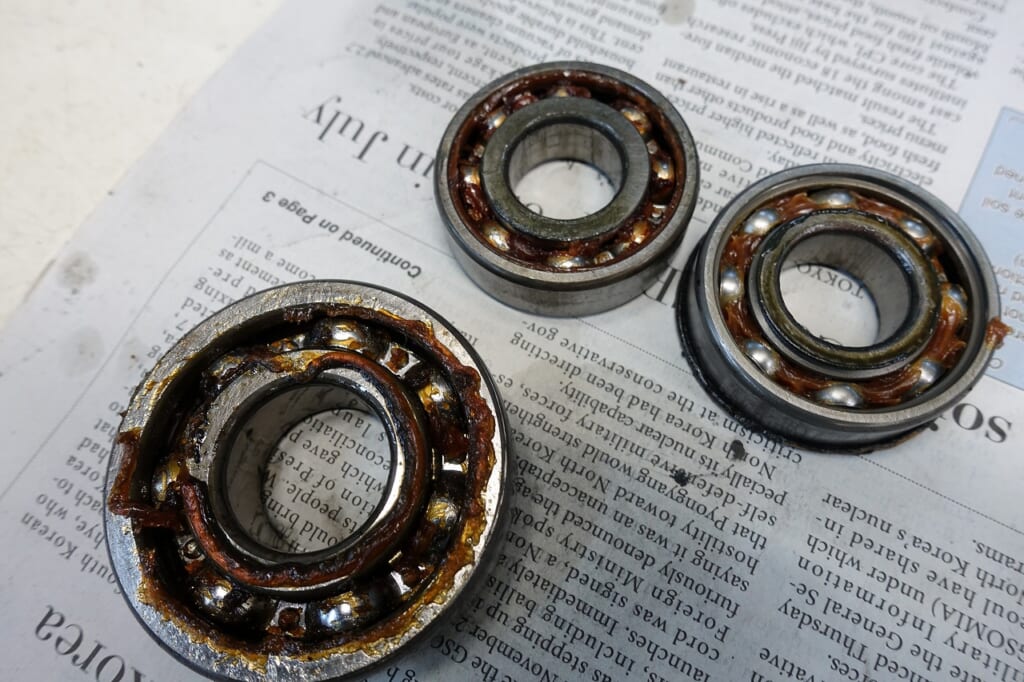
I replaced both the wheel side and hub side bearings.
The grease was pretty degraded.
By the way, if the grease doesn’t run out, bearing durability is extremely high.
But if you think about riding 100,000 kilometers, replacing them every 20,000 to 30,000 kilometers is a good idea for this part.
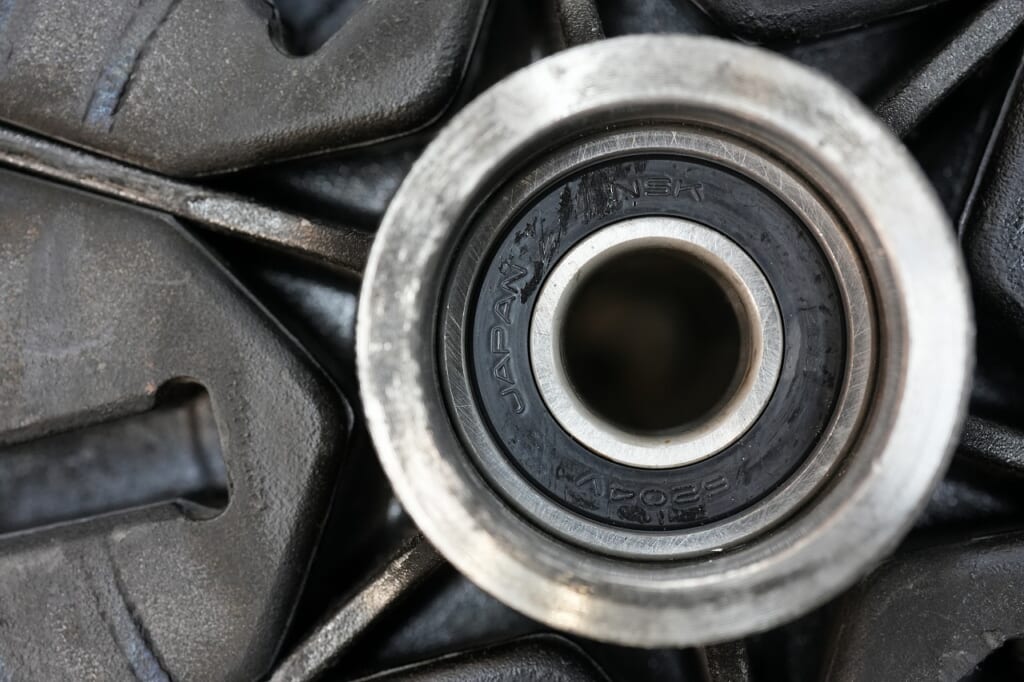
I always use double-sided seals.
The “contact camp” that doesn’t want any oil at all
The “non-contact camp” that just wants it light
The “no-seal camp” that just wants grease in there ← I guess that one doesn’t exist…
I think different technicians have different ideas. I’m in the “non-contact camp.”
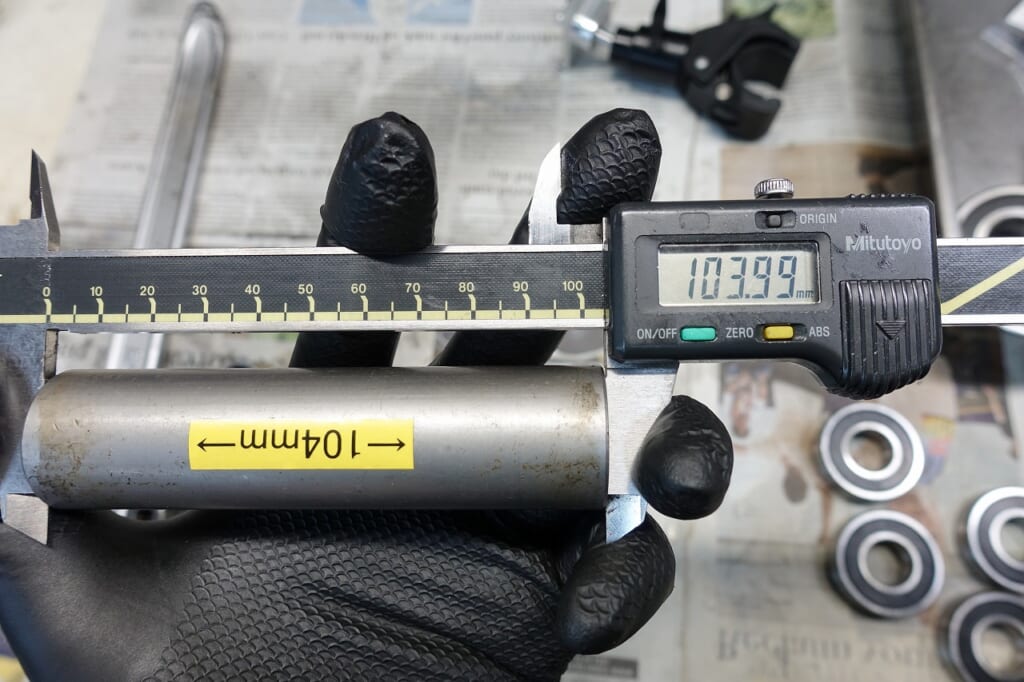
The dimensions don’t change, but I’ll note them anyway in case it helps the next person.
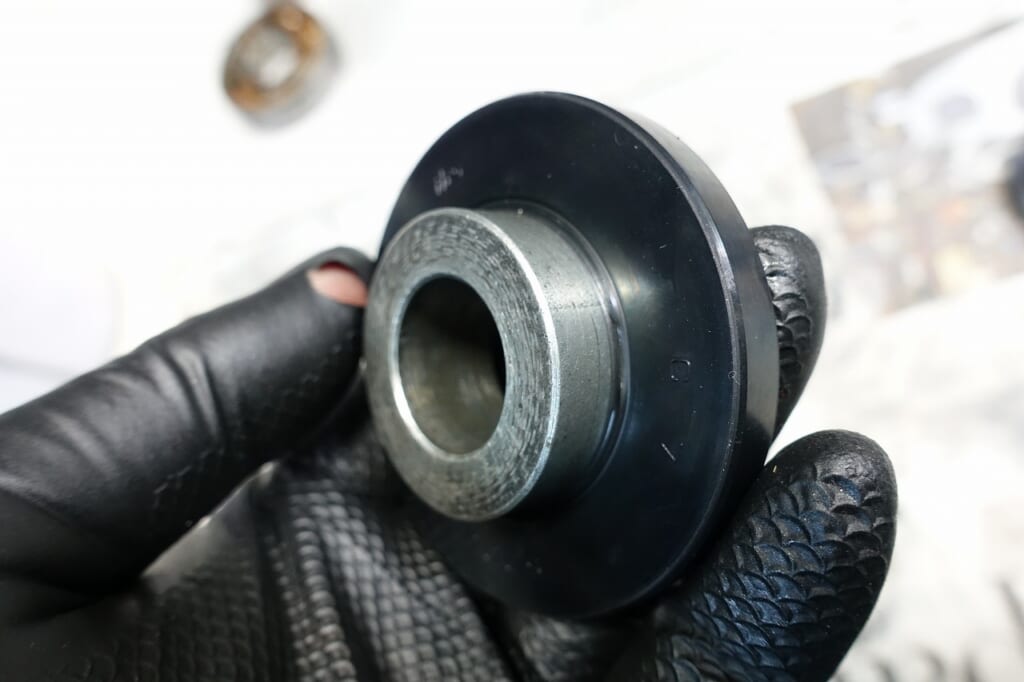
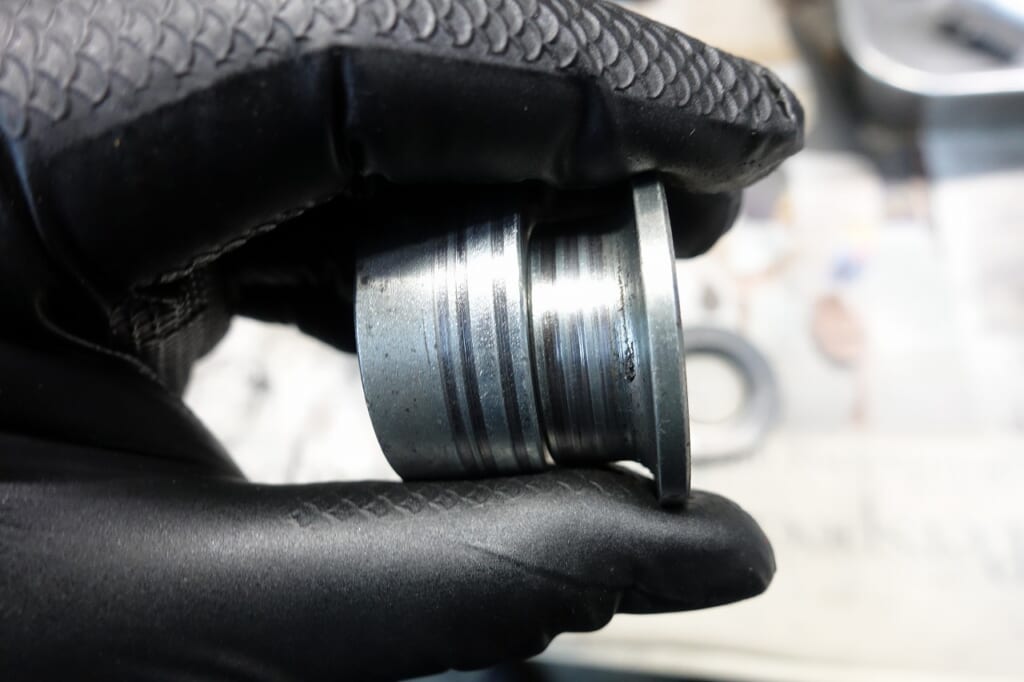
Suzuki’s oil seal is really effective.
It wears down the iron collar so much.
Other manufacturers use single-lip and soft ones…
I use a rubber stone to break in the initial contact and set the seating.
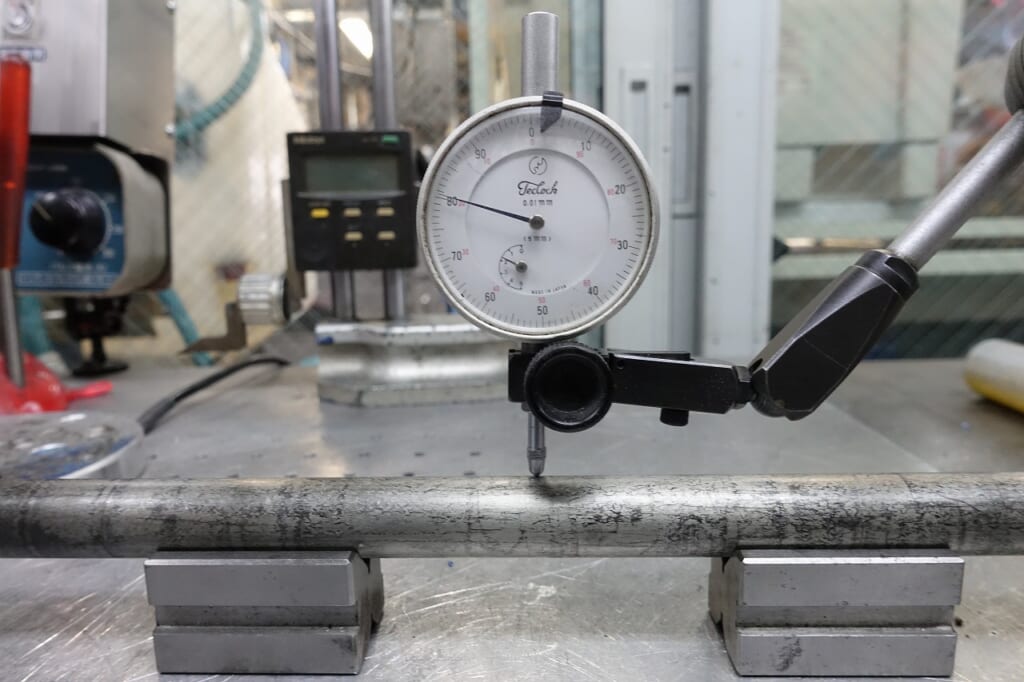
The rear axle was fine.
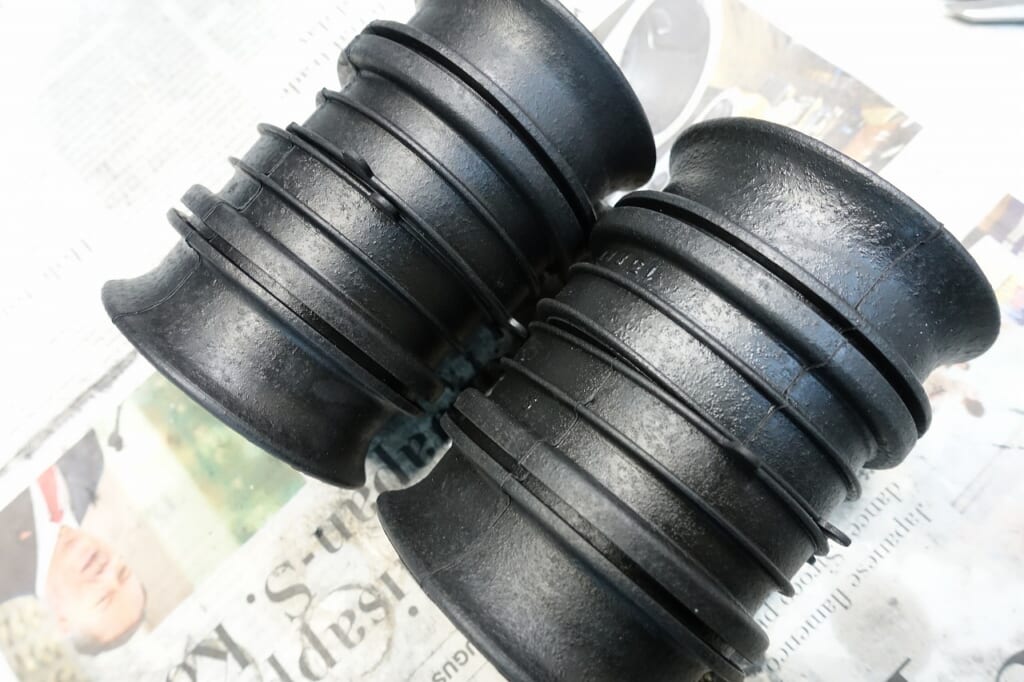
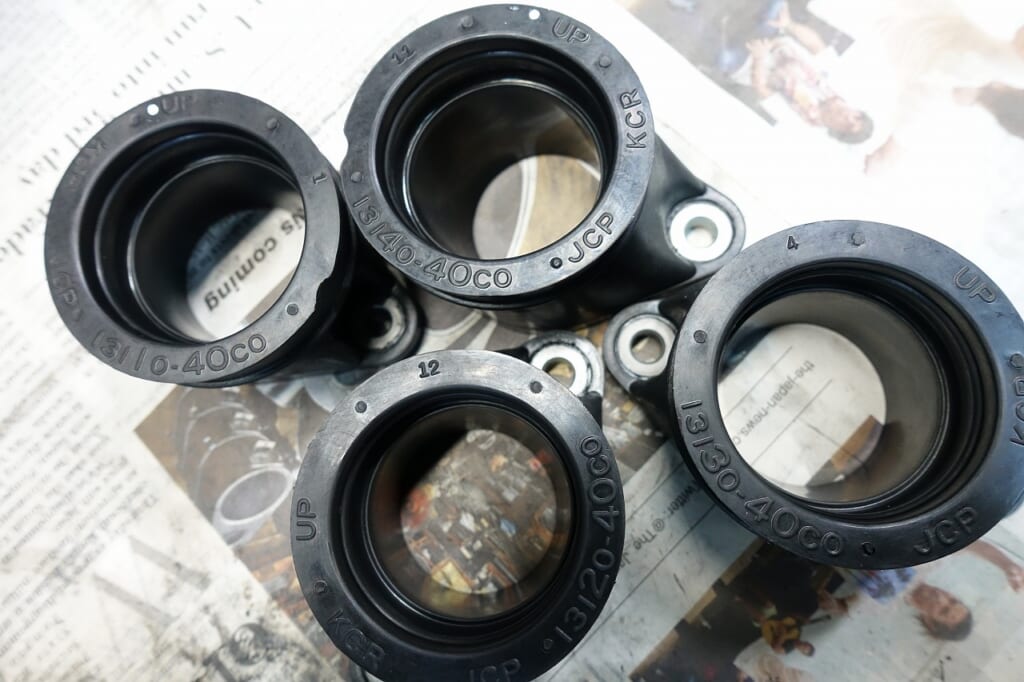
Next. Let me get organized.
I’m doing a carburetor OH, so I want to replace the rubber parts while they’re being delivered.
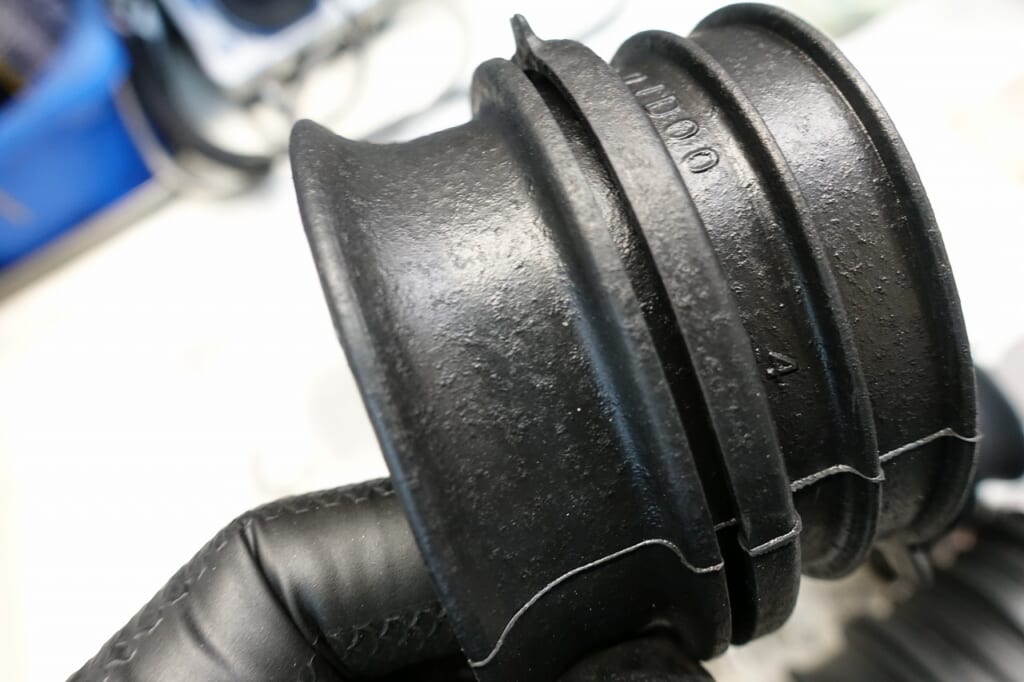
Really… Suzuki’s been pretty rough lately… I guess as long as it runs, that’s good enough… ( ;∀;)
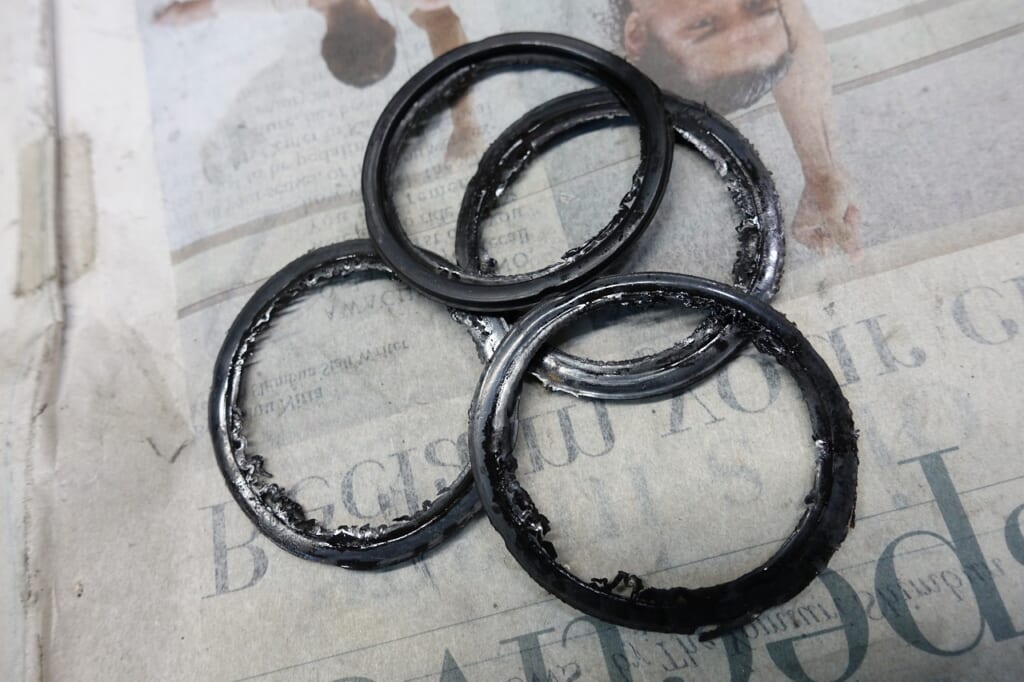
The intake manifold O-ring has been reborn as a washer?
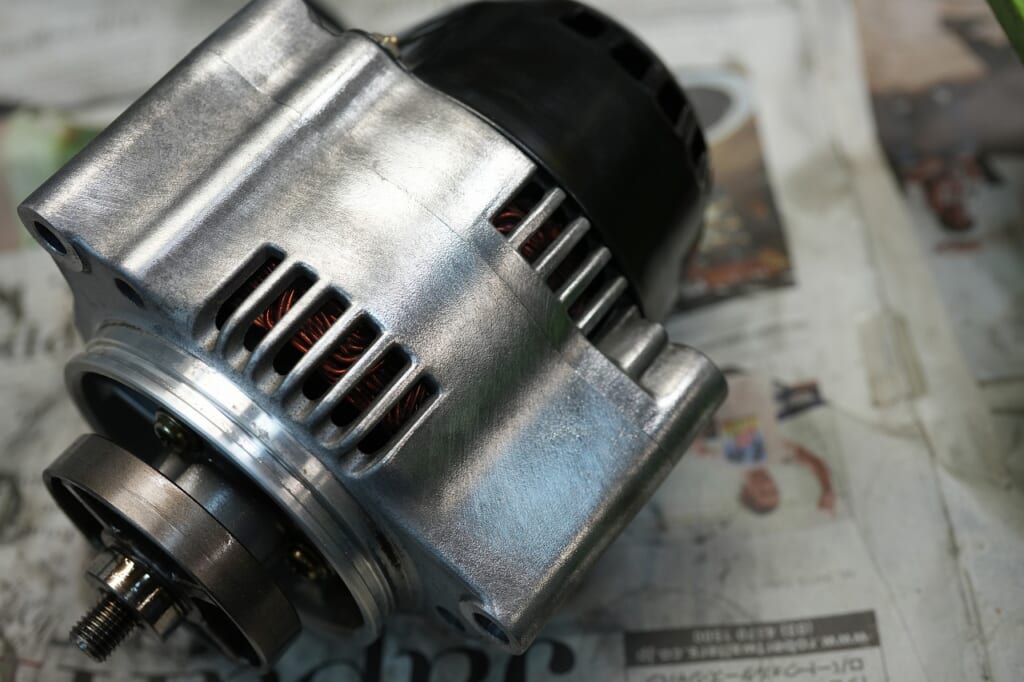
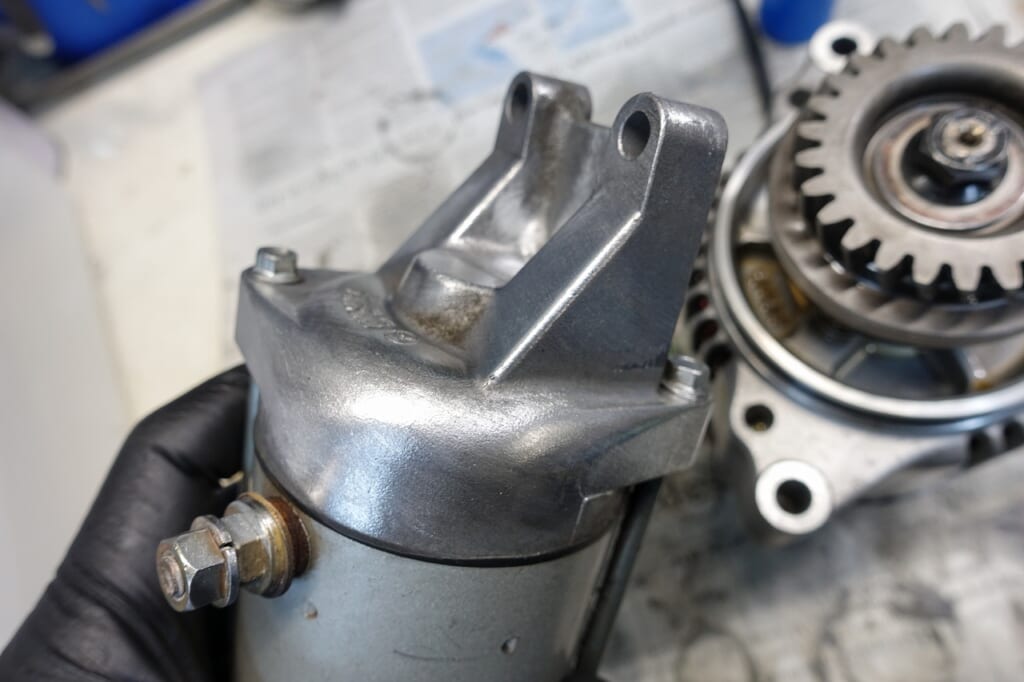
I’ll proceed partway with the oil-cooled maintenance setup.
I’ve polished the corroded areas.
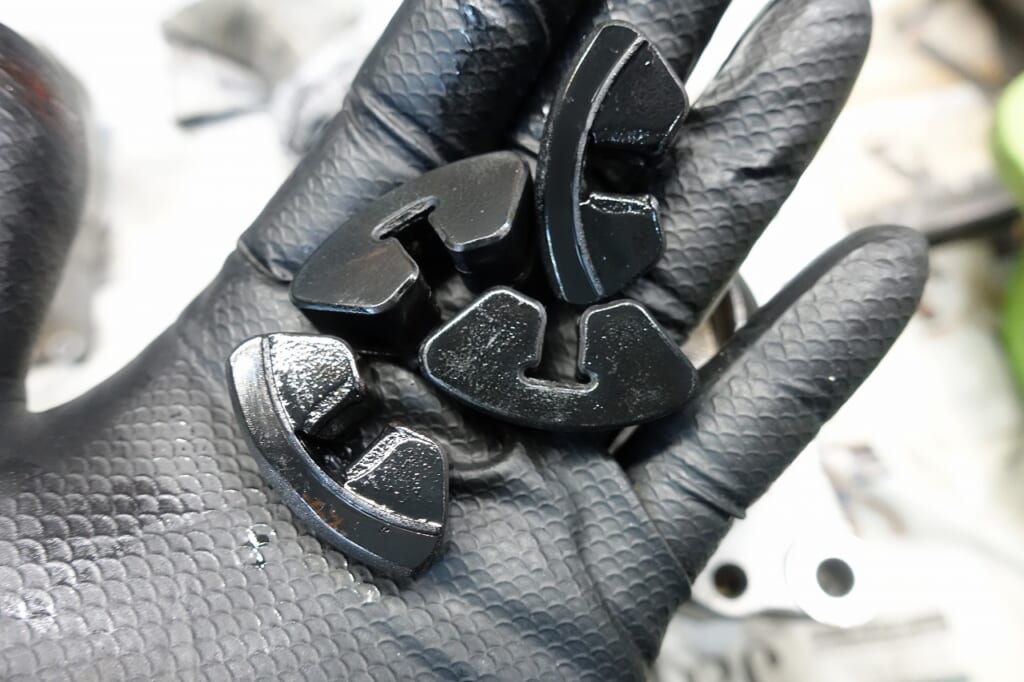
The damper was stiff, but it wasn’t in bad shape (^_-)-☆
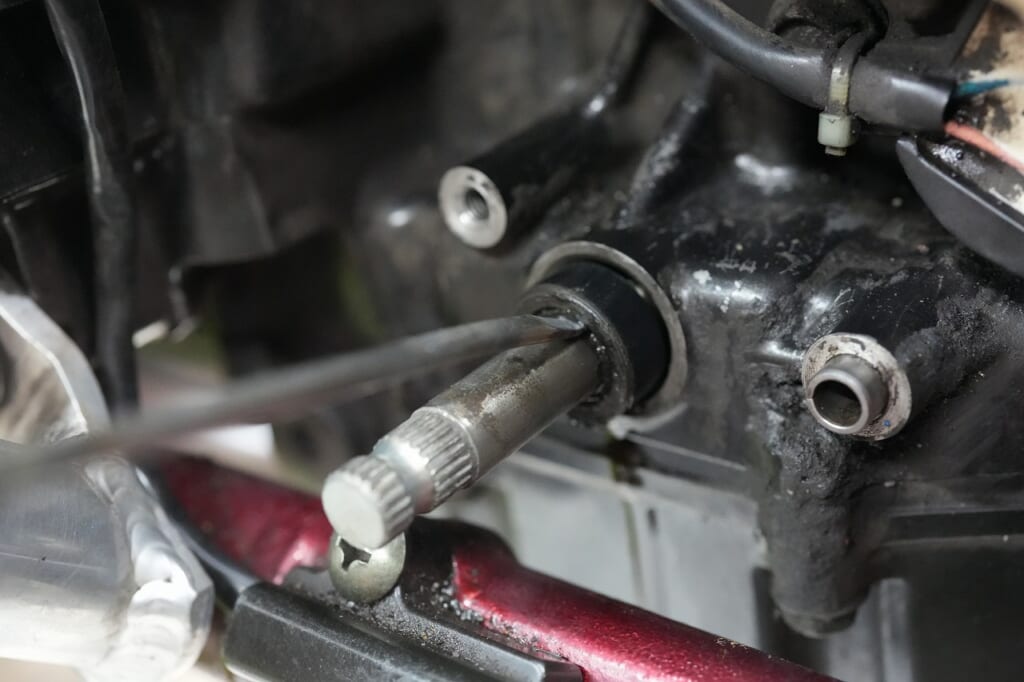
I’ve been hearing about leaks lately, so I’ll replace it while the timing is right.
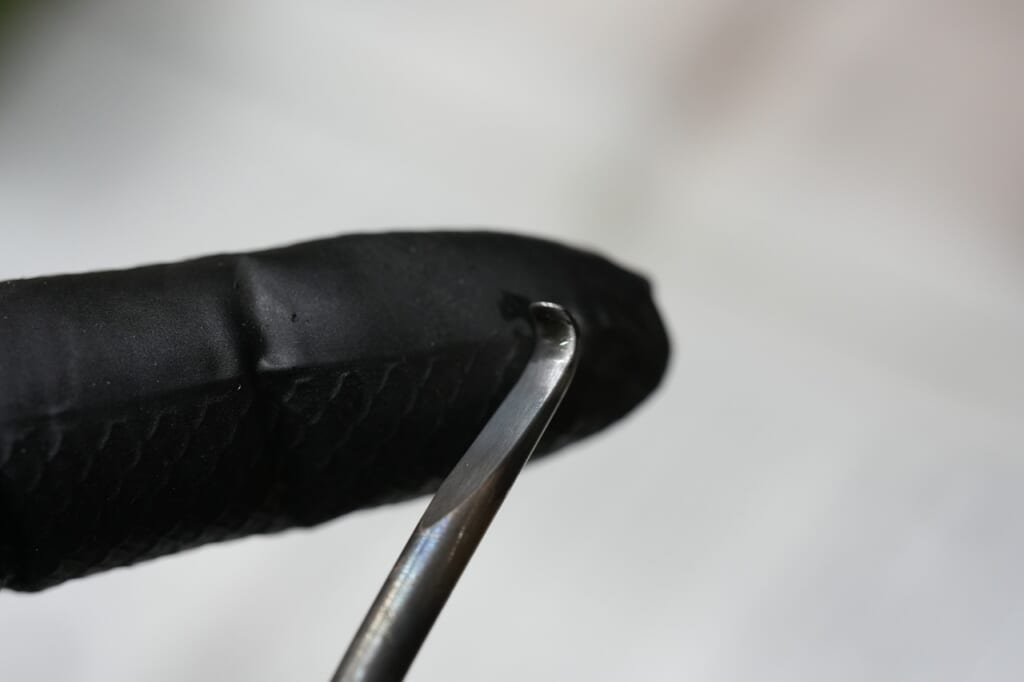
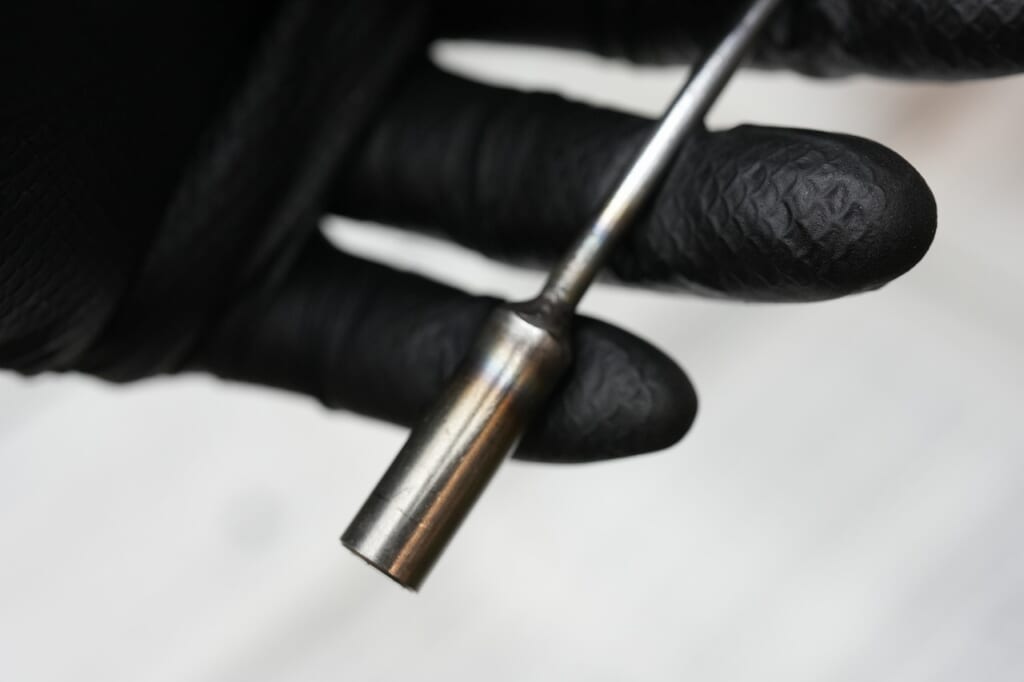
If you make something like this, you can remove it in a snap.
It’s all about tools. If you have the right tools, you don’t need technique. That’s what I think.
Take some thin scrap minus screwdriver, sharpen it, polish it until it shines, then heat it and bend it, and keep it at room temperature.
Rapid cooling makes it brittle.
TIG weld an M6 boss that you’ve machined onto the tip and you’re done.
With a sliding hammer made from a threaded rod, a couple of taps and it’s done instantly.
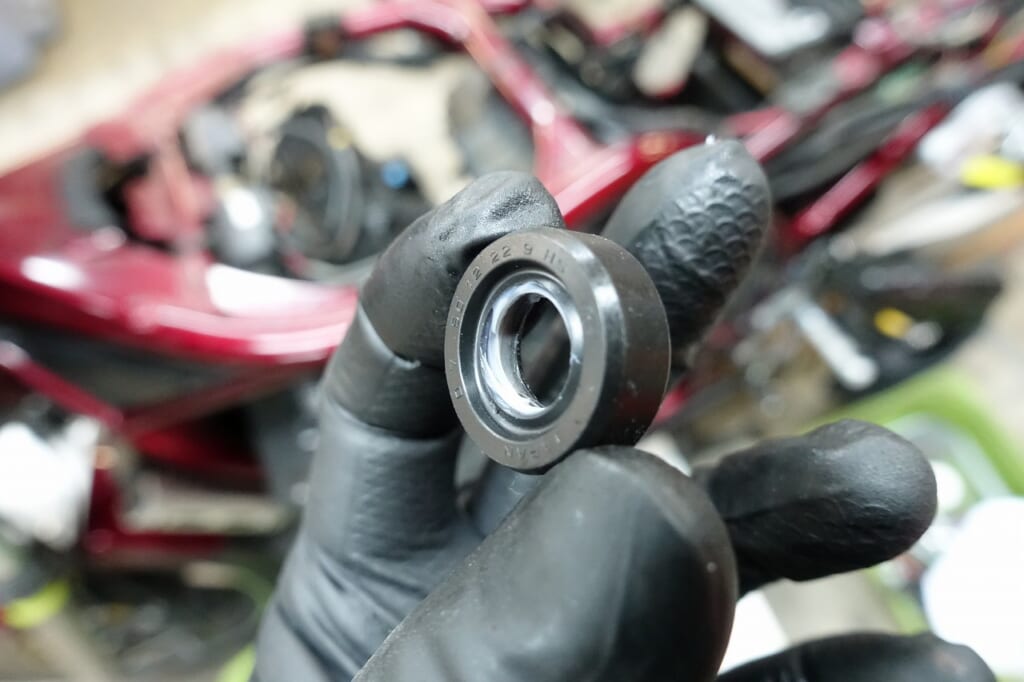
I put fluorine grease inside the oil seal lip.
It should help with lubrication and leak prevention (*^-^*)
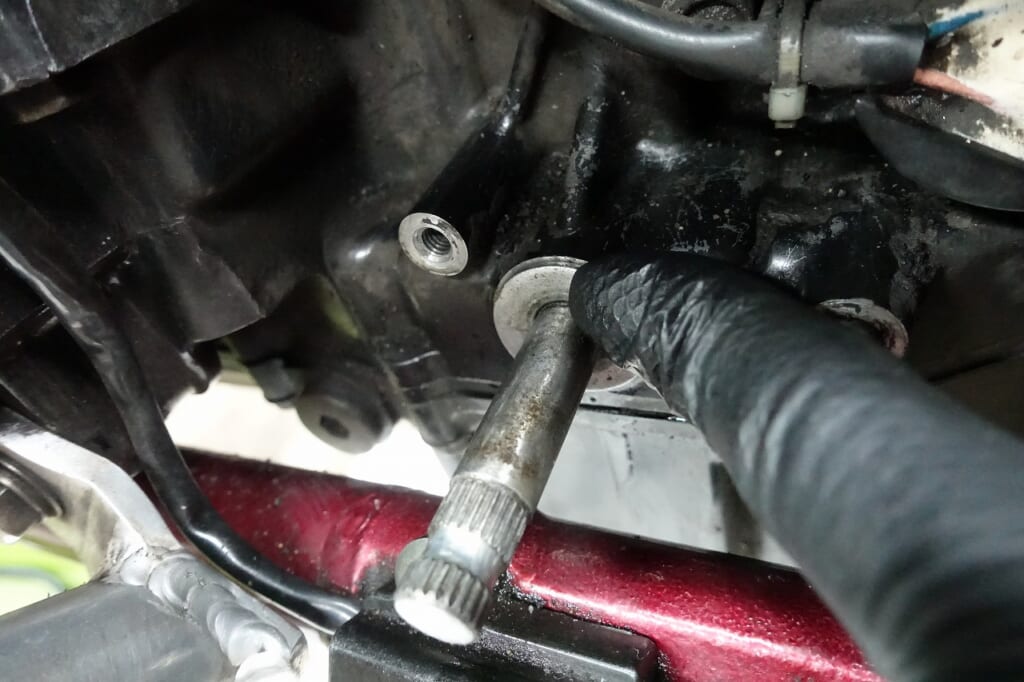
This oil seal also goes in with your finger.
If it’s been thoroughly cleaned and the mating surface is in good condition, you don’t need to tap it.
That’s it for now (ΦωΦ)