Here we go!
Harleys vibrate a lot, so if I follow the approach used on Japanese four-cylinder bikes, the bracket will probably break.
…
Too much vibration is no good either. It’s a tricky balance.
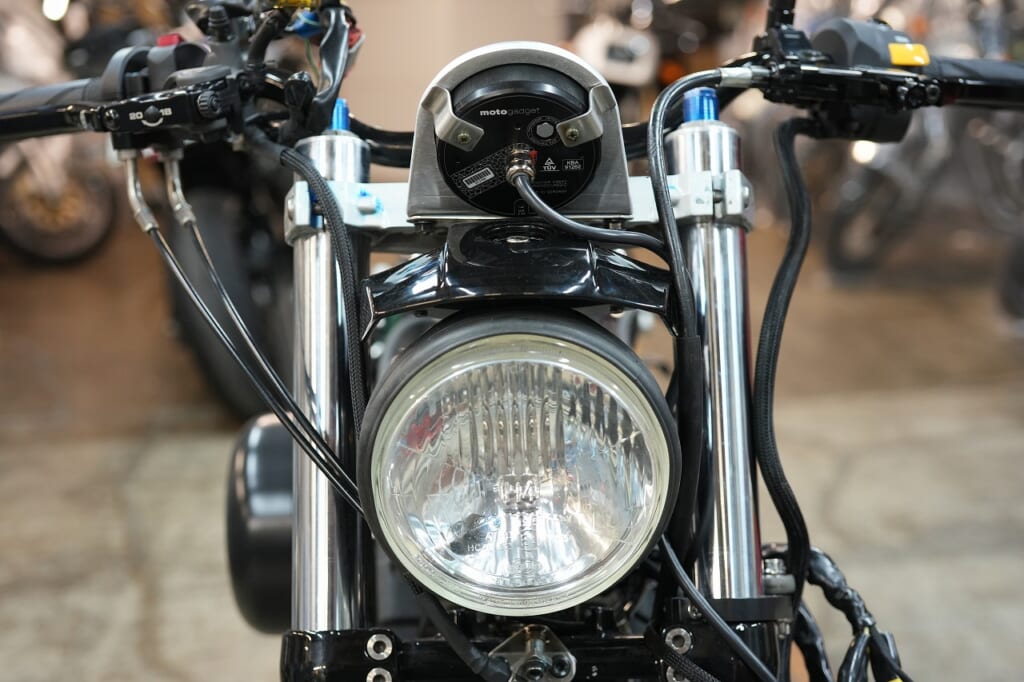
I’ve pretty much finished mounting the meter.
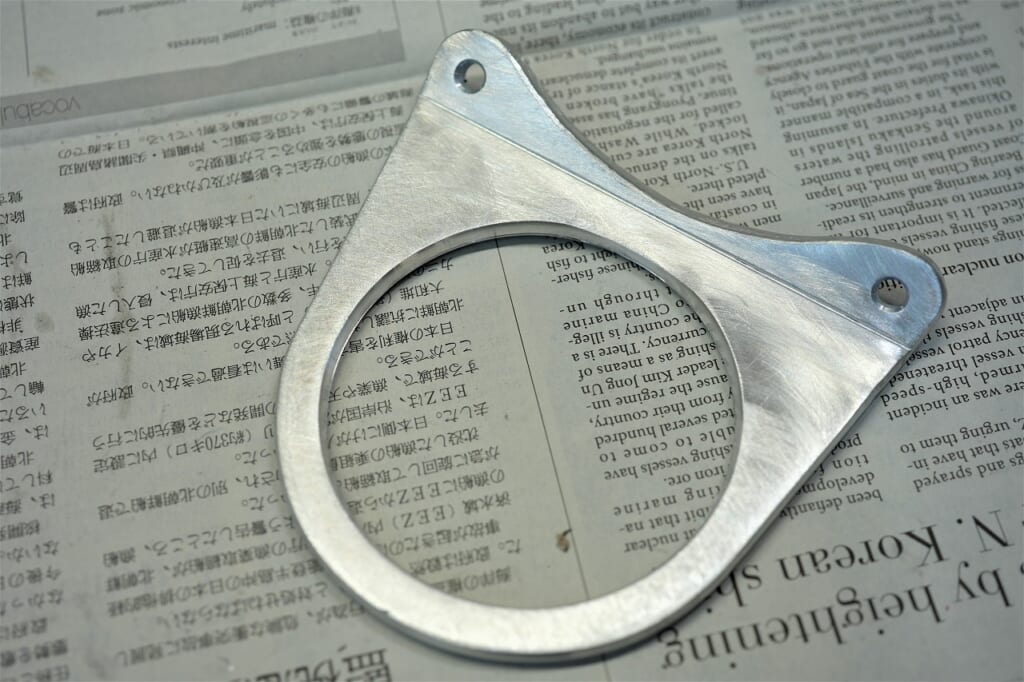
The Motogadget meter case is 80 mm in diameter.
It’s thick aluminum, so a punch won’t work. I went ahead and bought my favorite Bahco holesaw and drilled and shaped the hole.
BAHCO (Bahco) Holesaw Bi-Metal 3830-79-VIP
Even using a 79 mm holesaw leaves a sloppy hole. Well, it’s within acceptable range.
This time it’s 5052 aluminum, 6 mm thick.
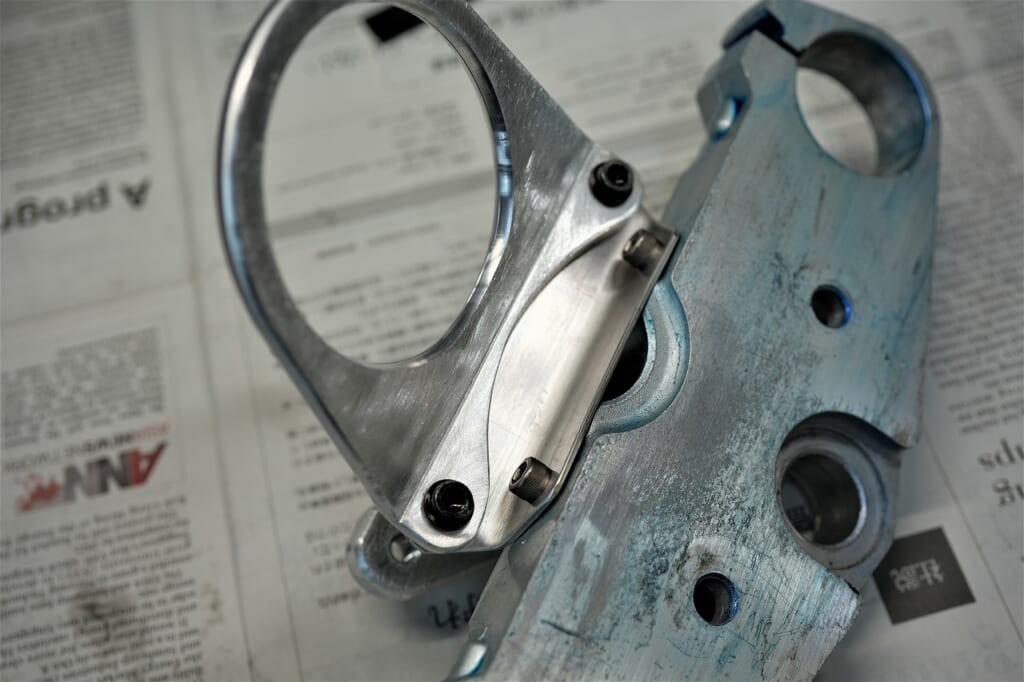
The top bridge had plenty of nice thick material, so I borrowed some M6 threads from there.
The stainless steel plate on the top bridge side is reversible.
The meter can be moved up or down by about 10 mm.
If the meter becomes hard to see in sunlight, I can remake this plate to adjust it.
And if vibration makes it completely invisible, I can remake this plate as a floating type and it should be fine. It’s all about playing it safe and keeping options open.
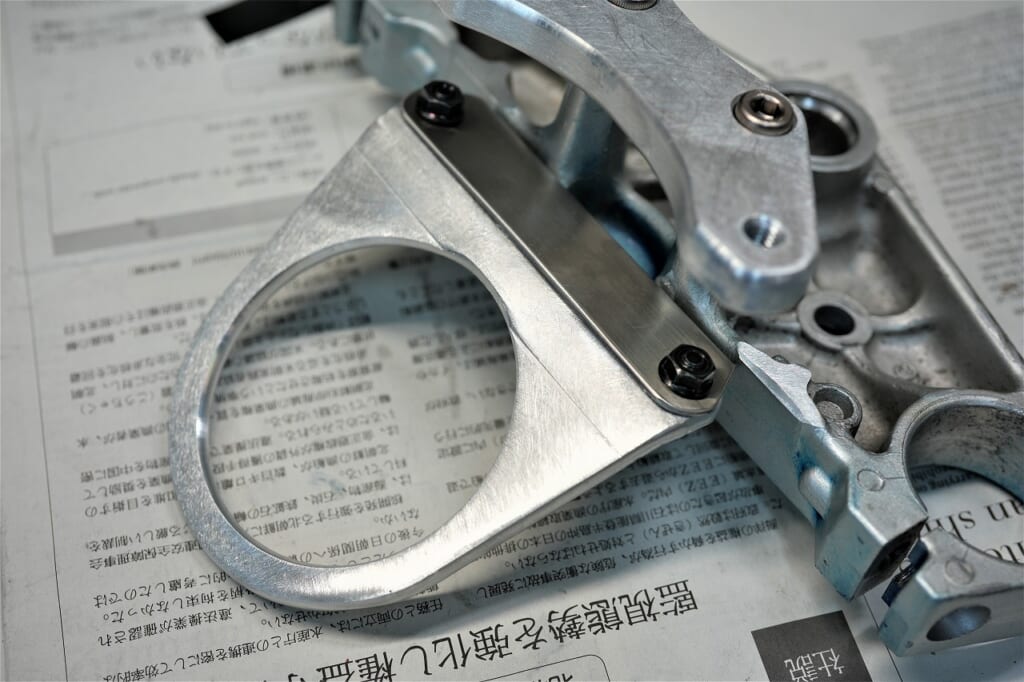
The final version will use a lock nut.
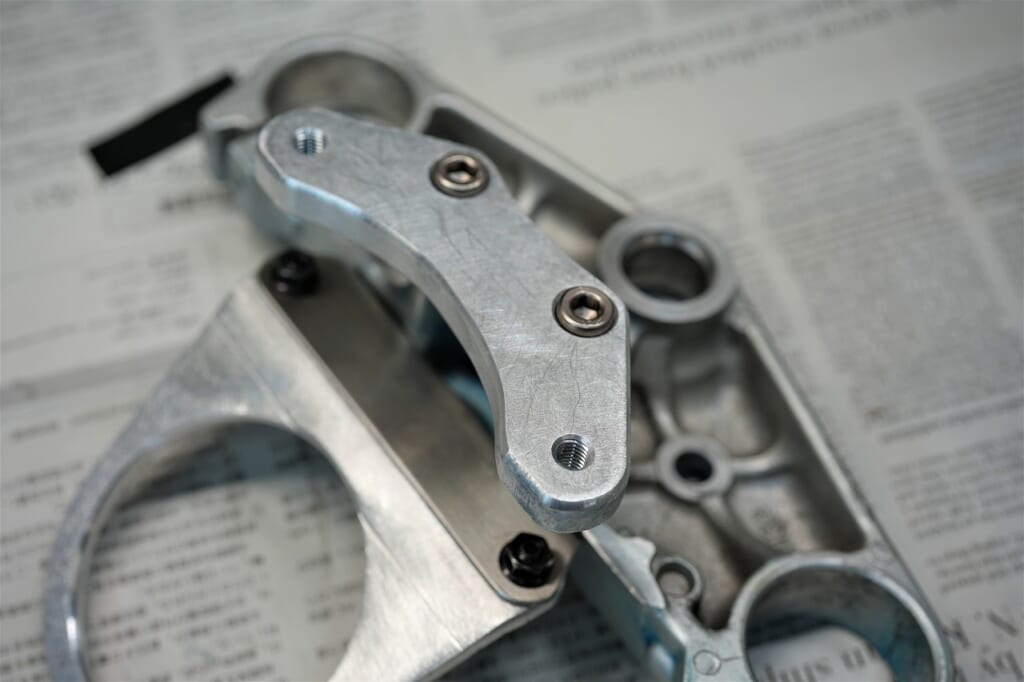
This is the bracket that activates when the headlight turns on.
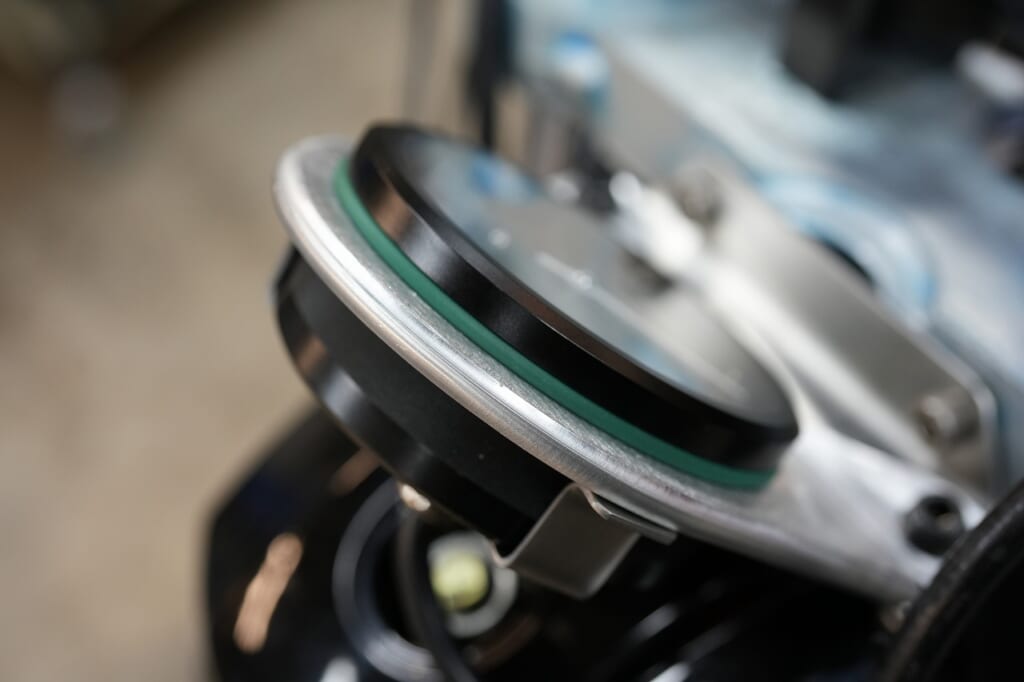
I fixed it using a stacked approach.
O-rings —rather than sourcing them one by one, I use Habasit R3.
This welded round belt is incredibly useful.
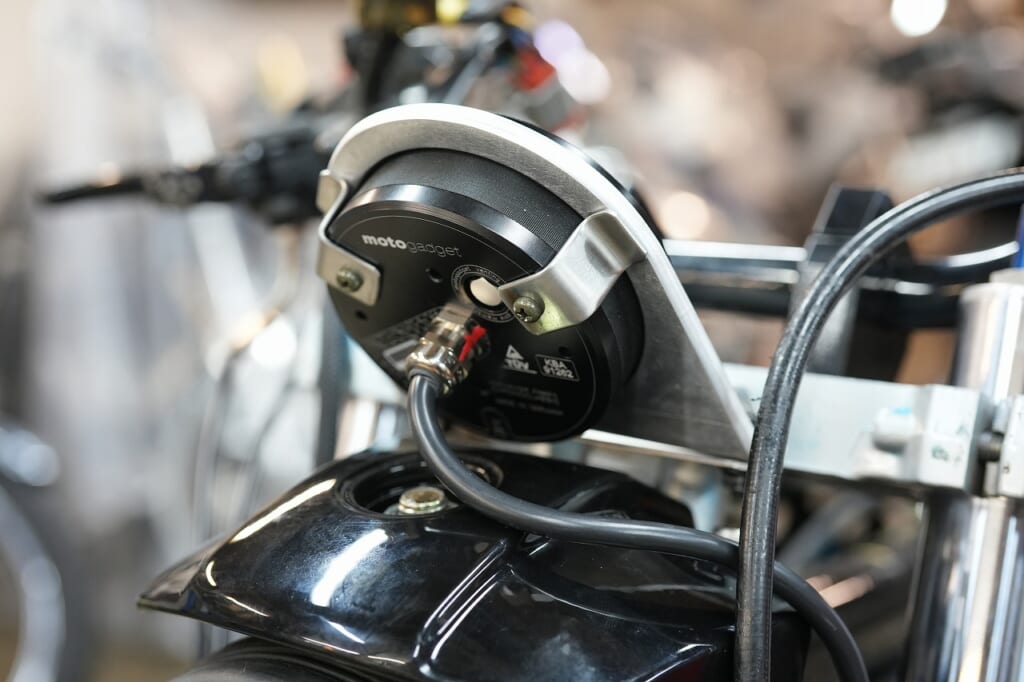
The back is bent stainless steel plate fixed using a stacked approach.
I wonder how commercial meter brackets for Motogadget are actually mounted…
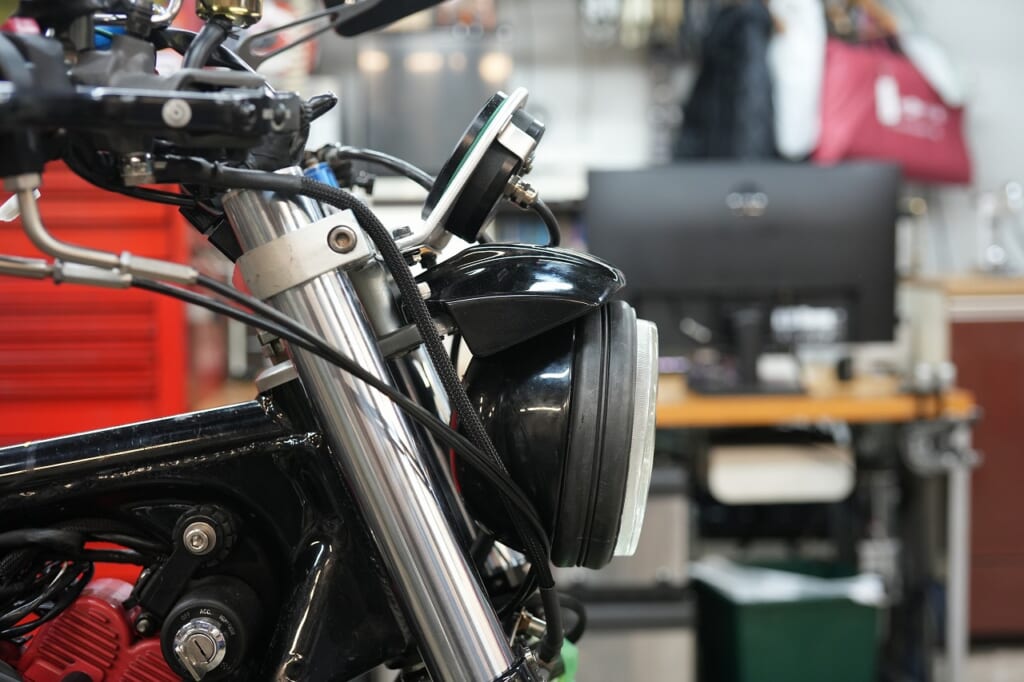
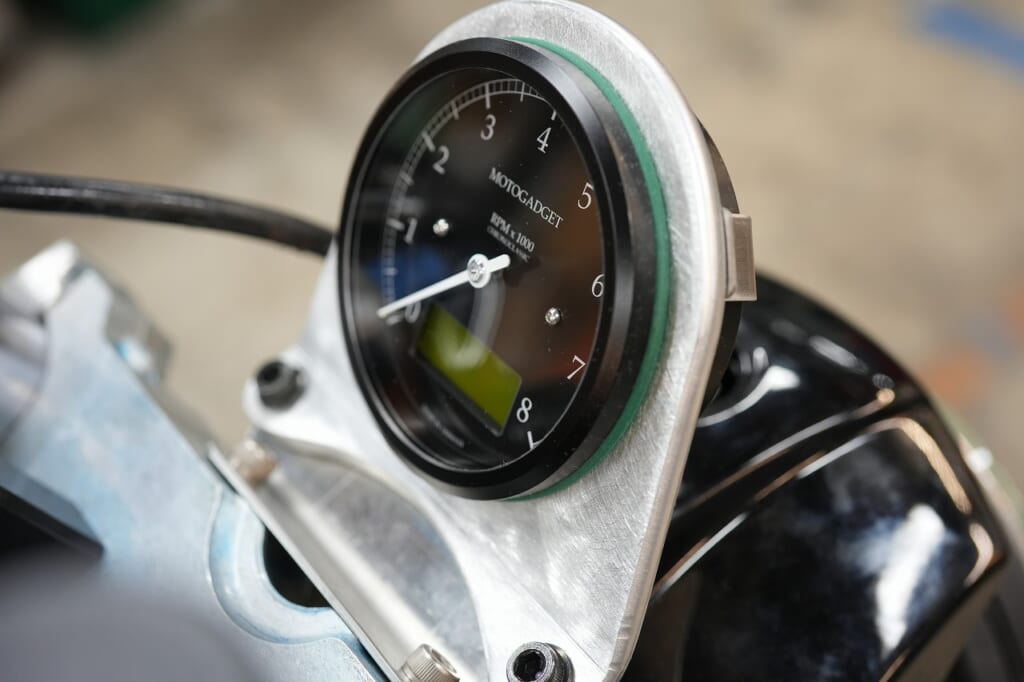
So that’s how I managed to secure the meter.
Next up is the speed sensor and wiring.
Just to be clear, we’re not a custom shop. Please note.