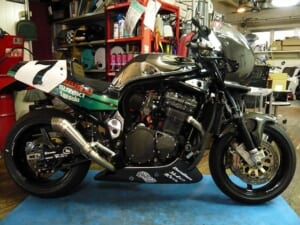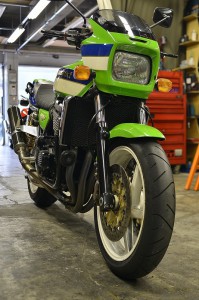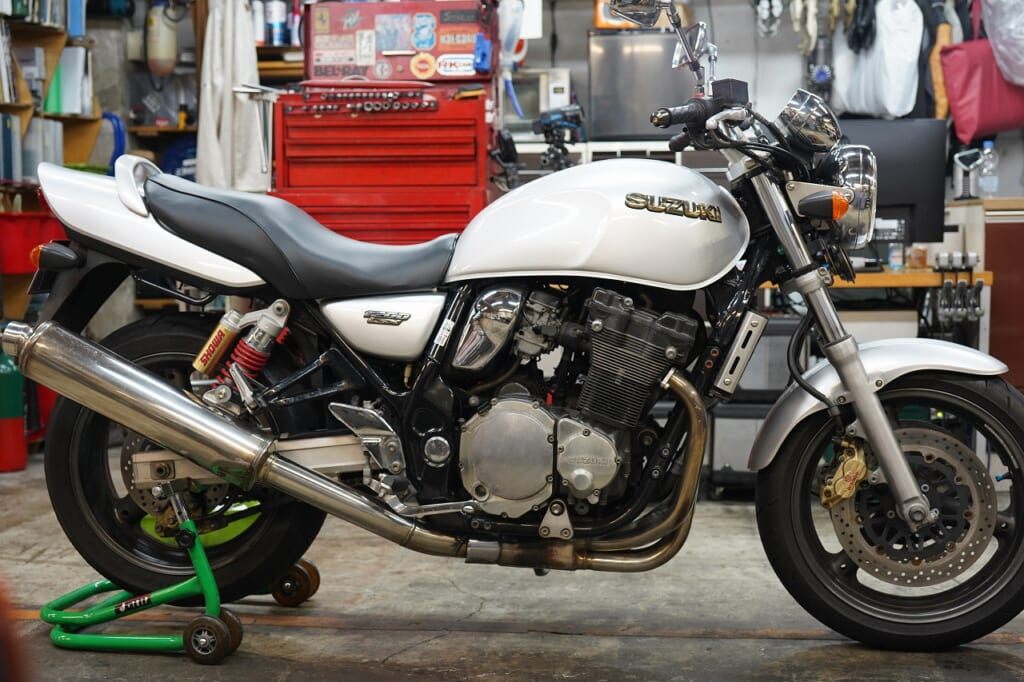
The Inazuma 1200 is famous for being able to customize into all sorts of bikes by swapping out the bodywork.
It’s quietly gaining popularity—though prices haven’t skyrocketed quite that much yet (; ・`д・´)
Since it was just purchased used, we’re doing a full once-over inspection.
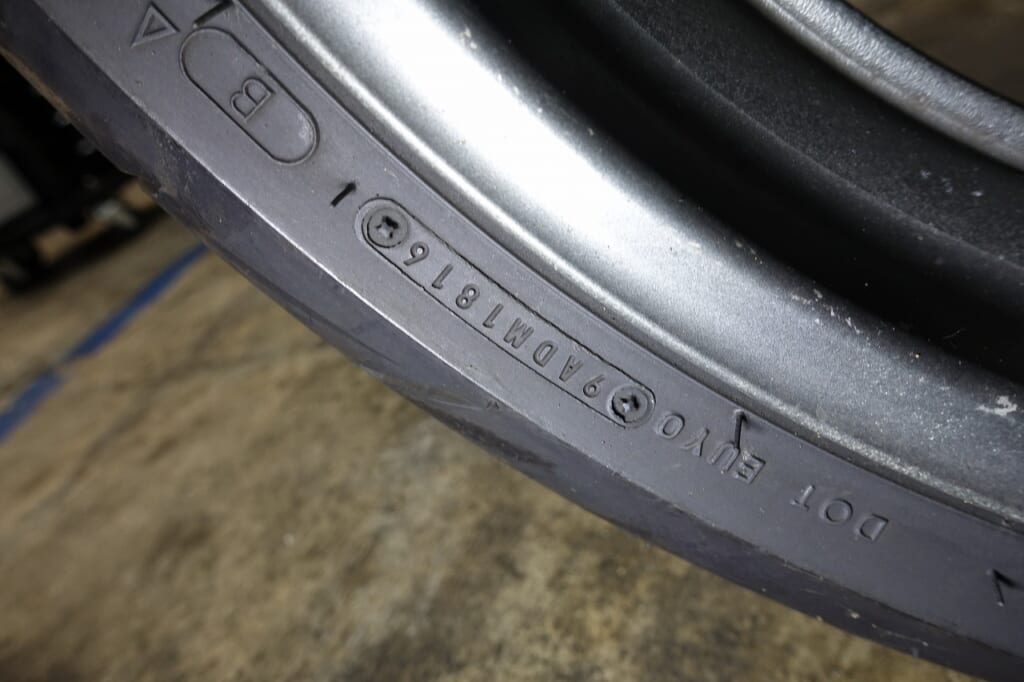
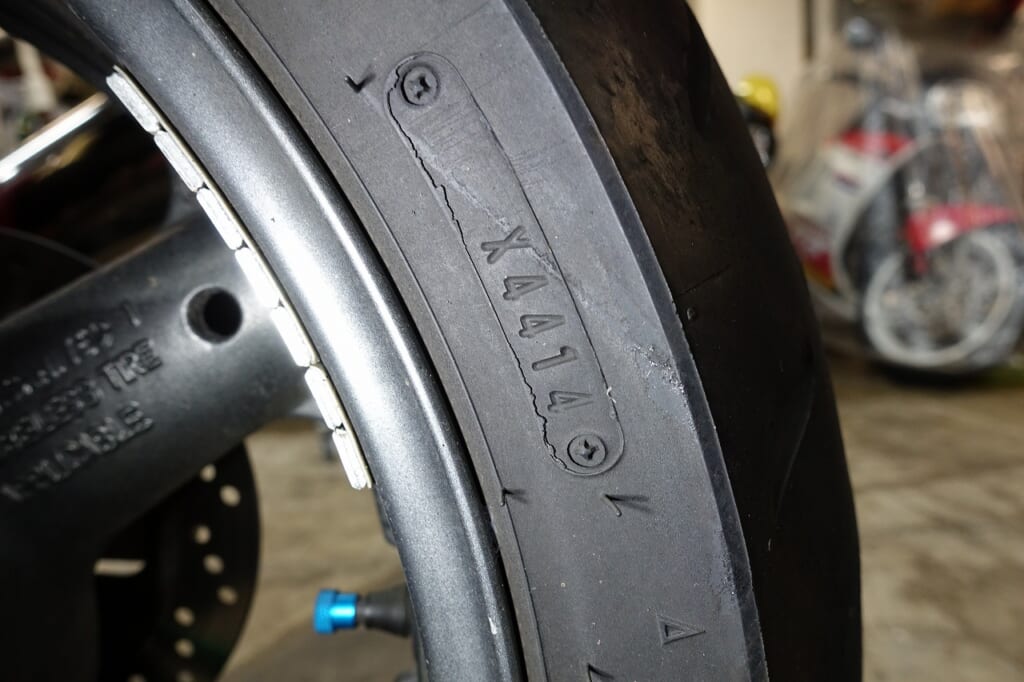
The tires are Dunlop front and rear, but different models.
Front 2016 week 18, rear 2014 week 44—I’d say they’re ready for replacement.
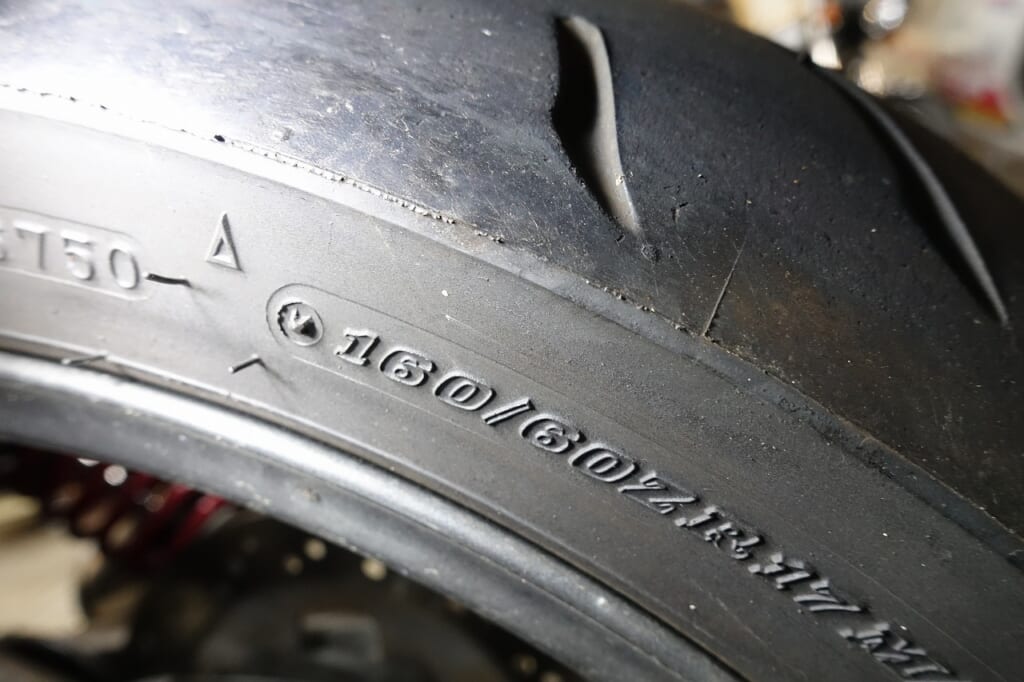
5.50-17 with 160—the previous owner had quite the niche taste.
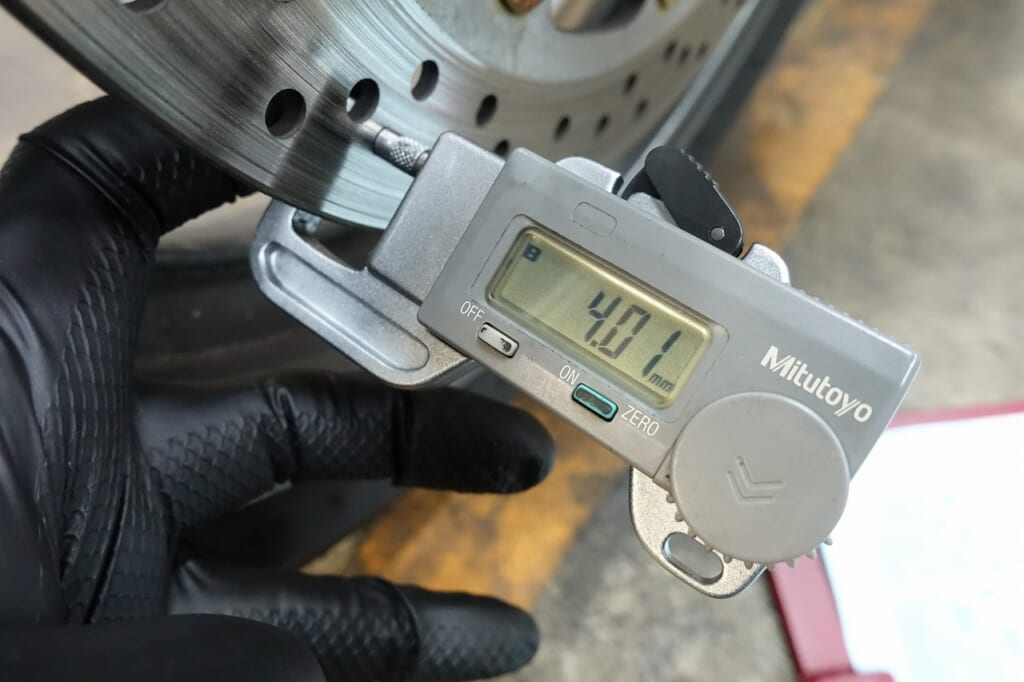
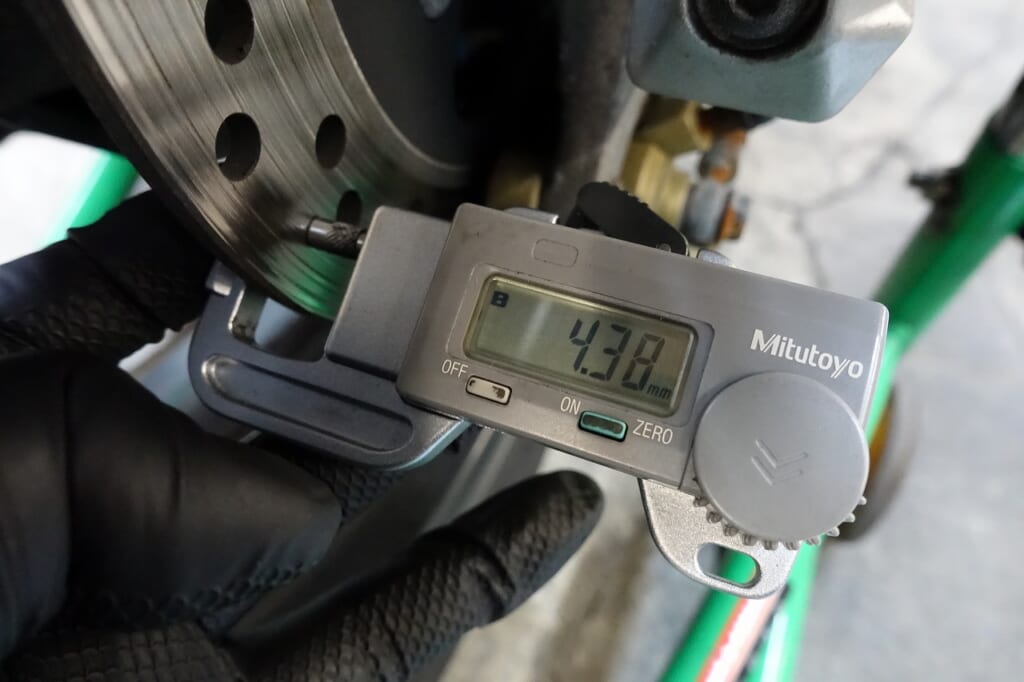
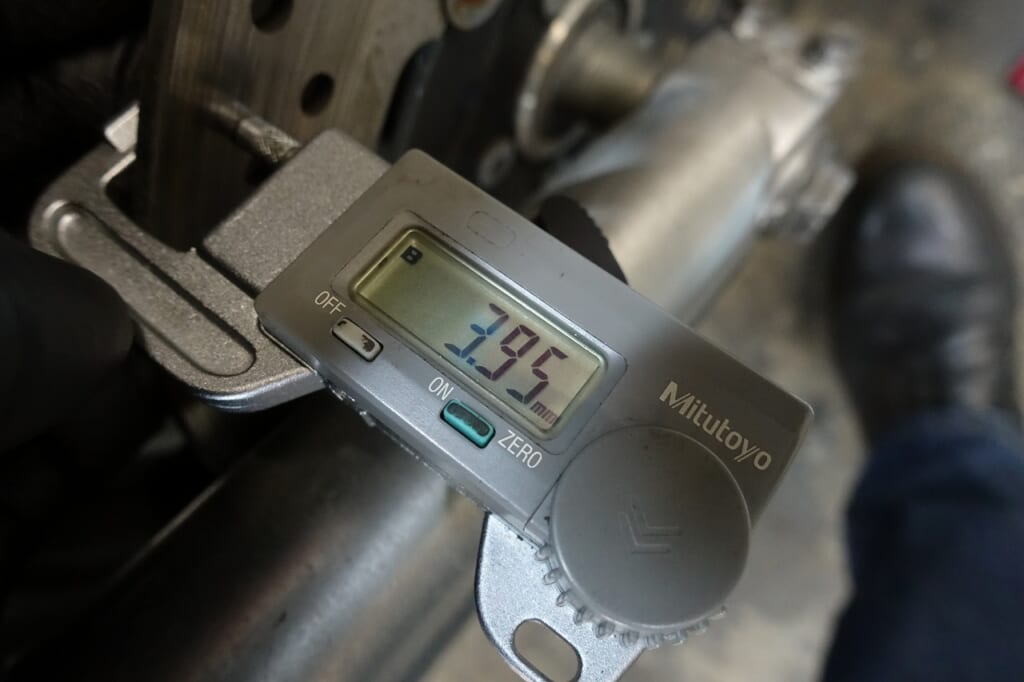
The brake disc thickness is all out—we’ll talk about that later.
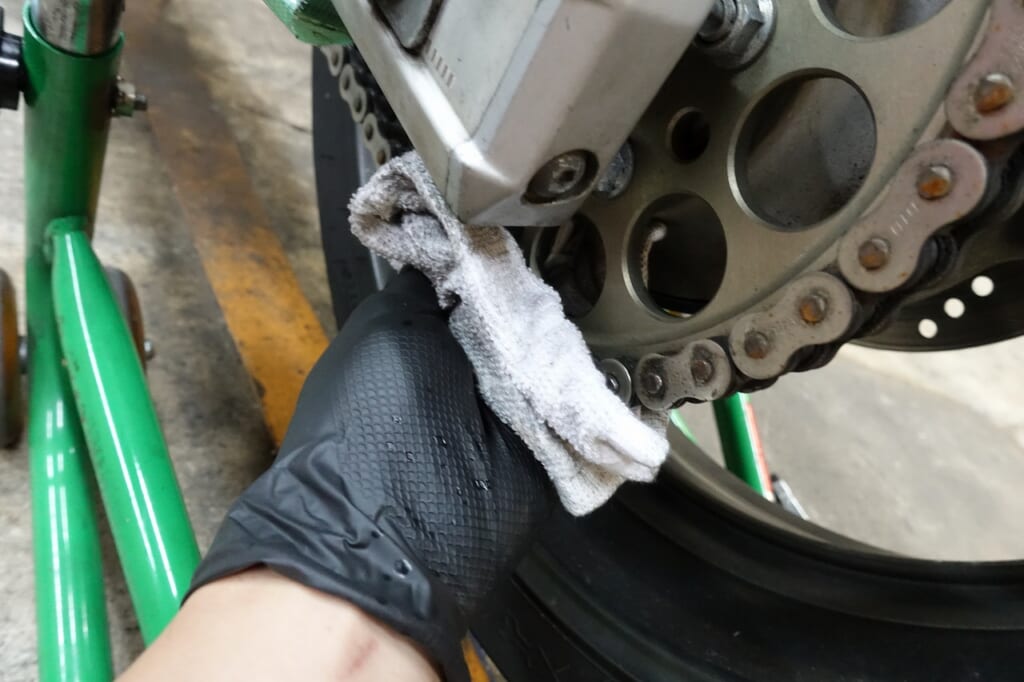
Let’s clean and lube the chain and adjust it.
With Suzuki bikes, when you spin the rear wheel and hear a weird “clunk clunk” sound, it’s often the drive sprocket nut that’s come a bit loose.
We’ll check on that clunking sound later.
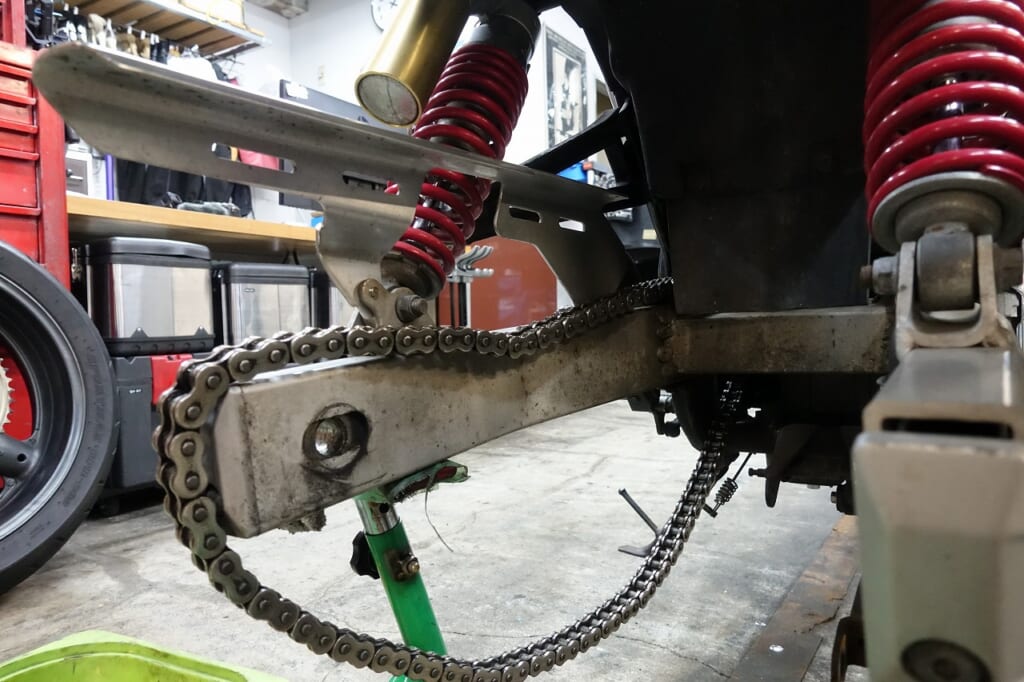
When you remove parts, cleaning the inside each time will help reduce dirt buildup.
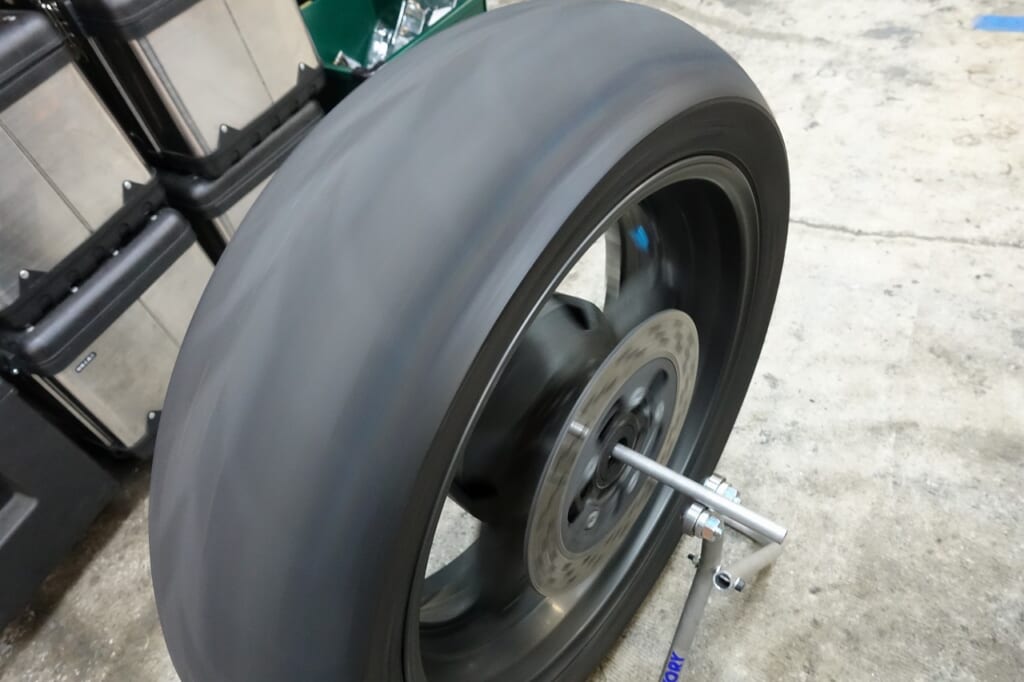
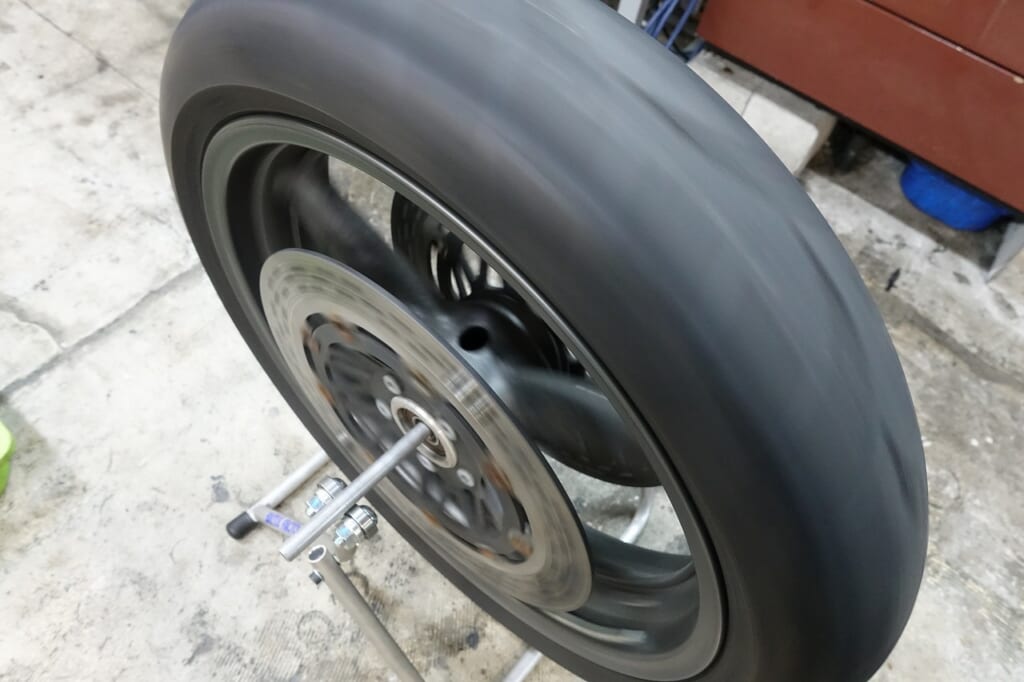
The wheel runout was fine.
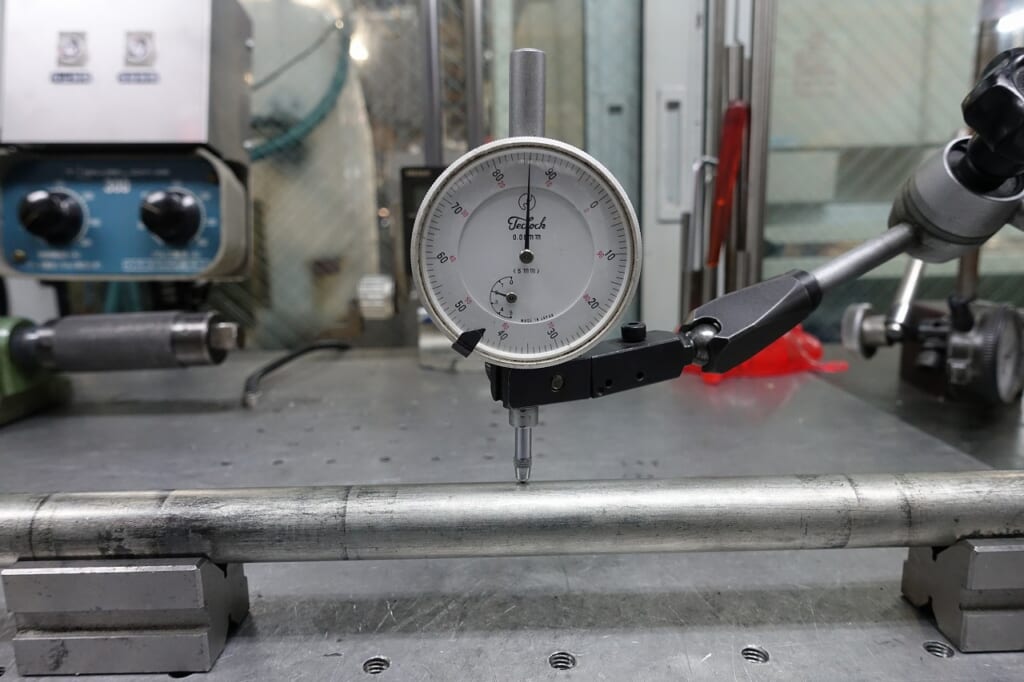
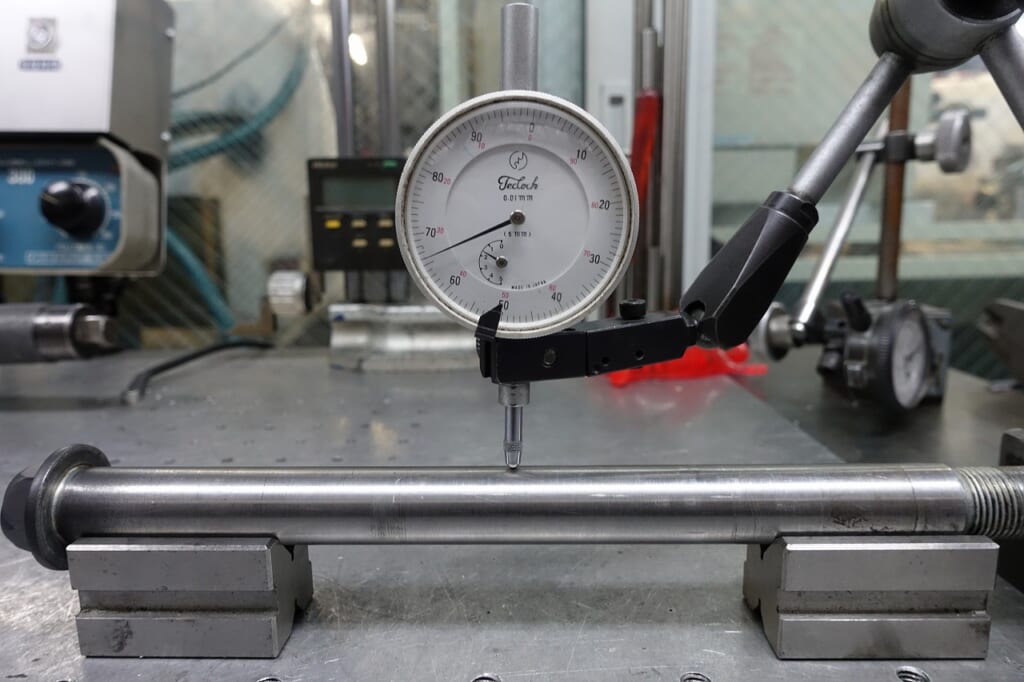
The axle shaft runout was also fine.
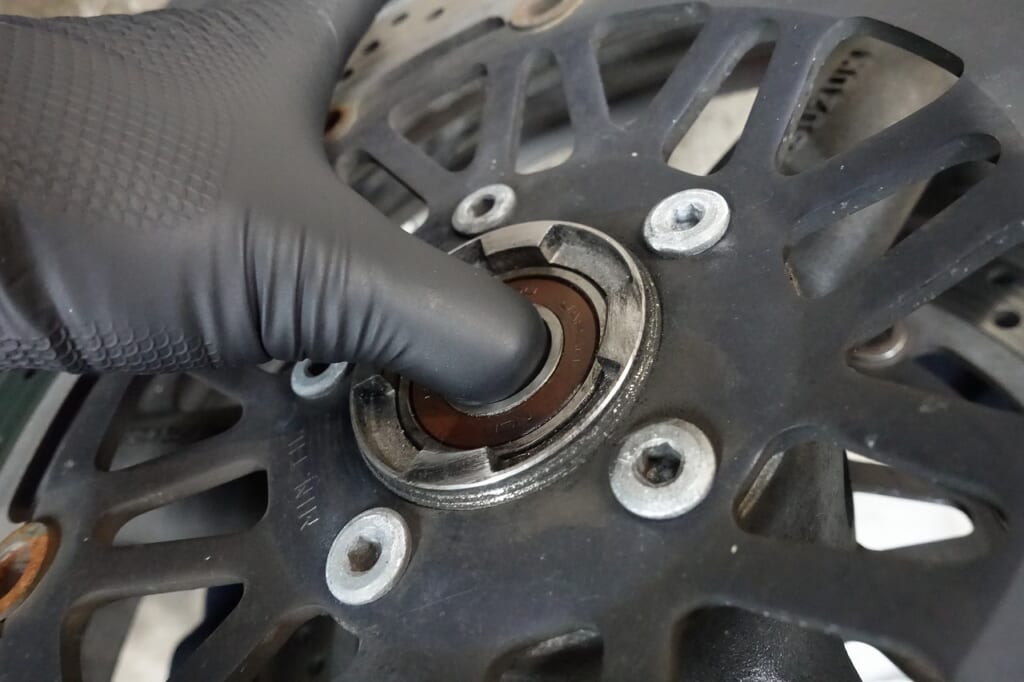
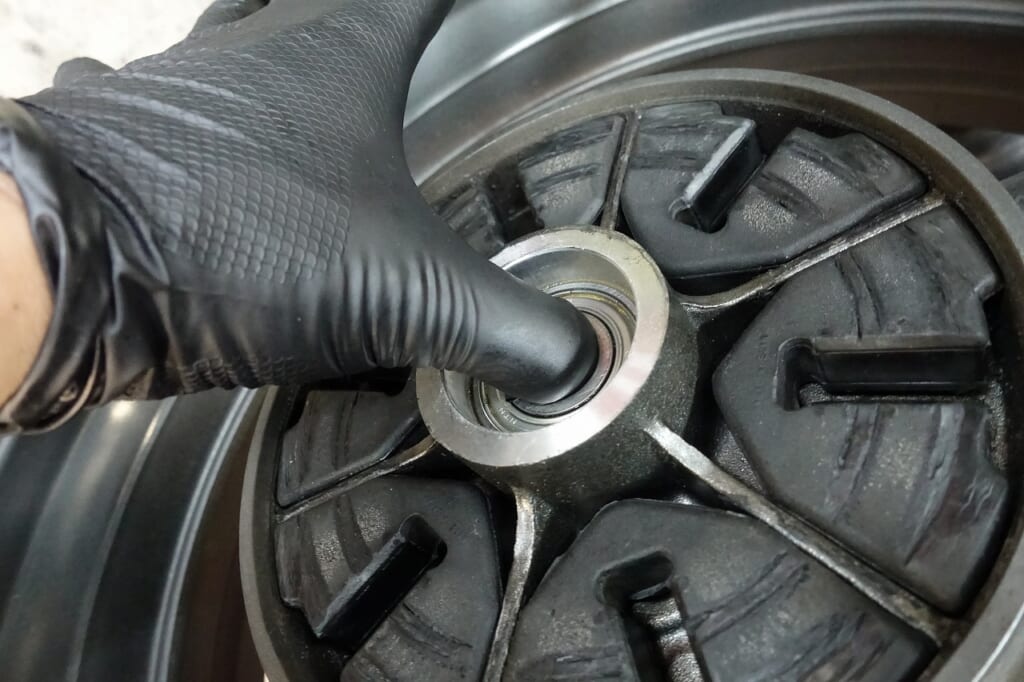
I adjusted the wheel bearings.
The condition isn’t bad, but they look original, so given the mileage, you might want to consider replacement down the road.
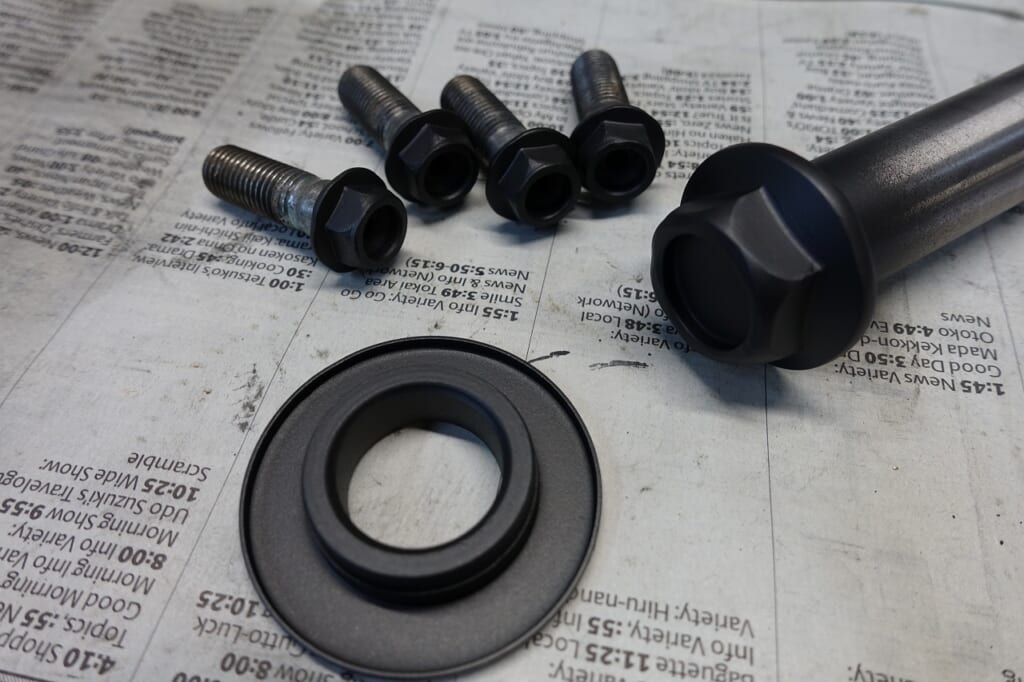
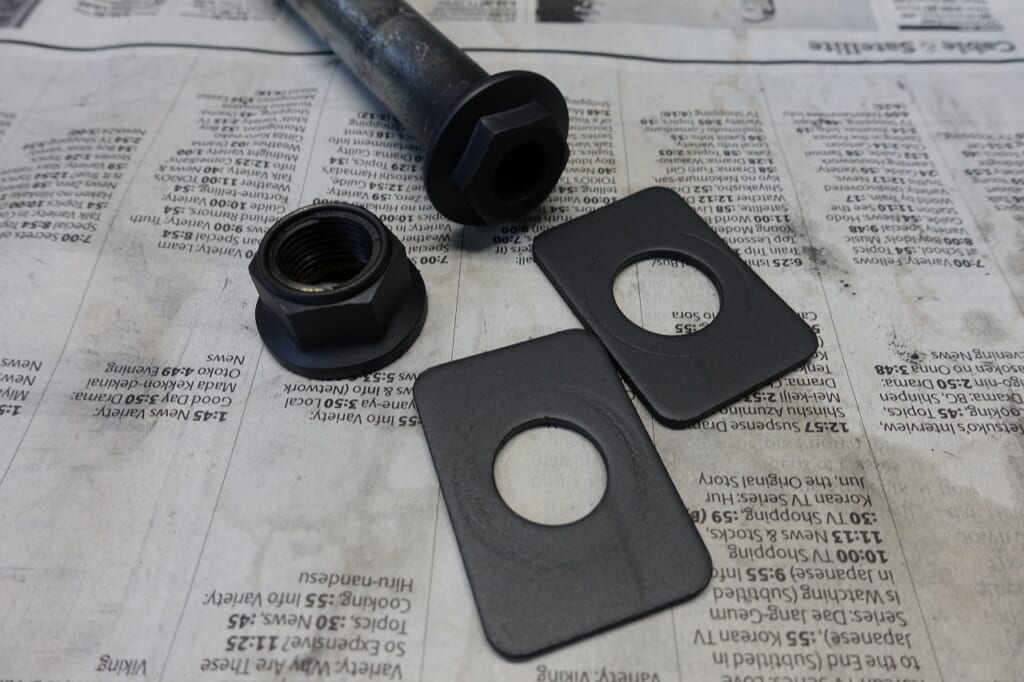
It was pretty dirty, so I polished it and applied Gun Coat.
Whether I apply Gun Coat is up to my mood, so it’s not every time. Don’t get your hopes too high, folks.
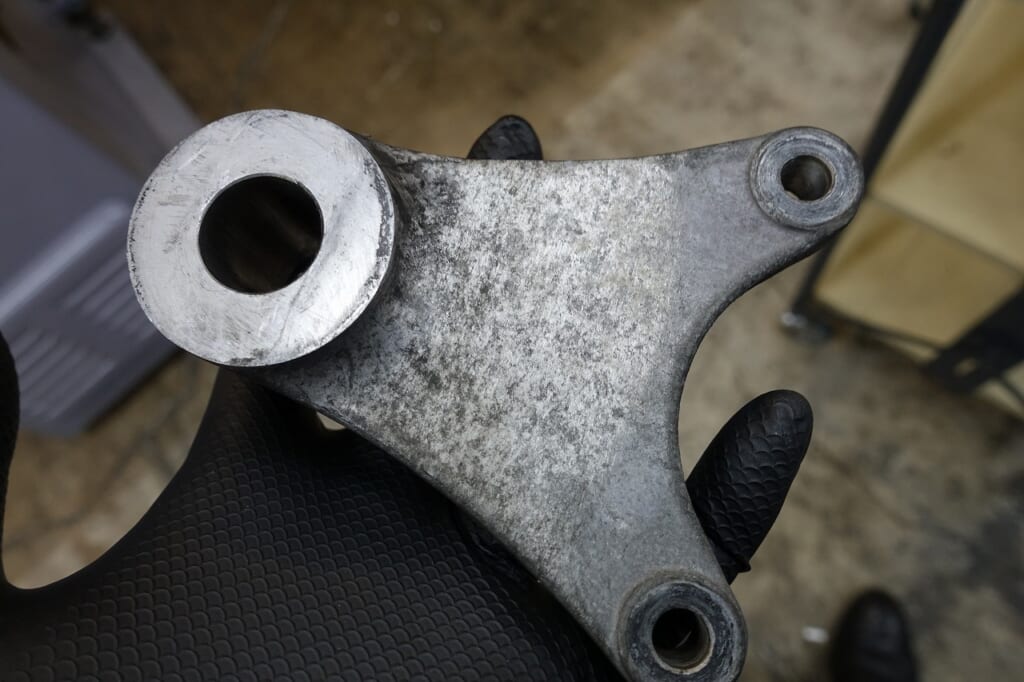
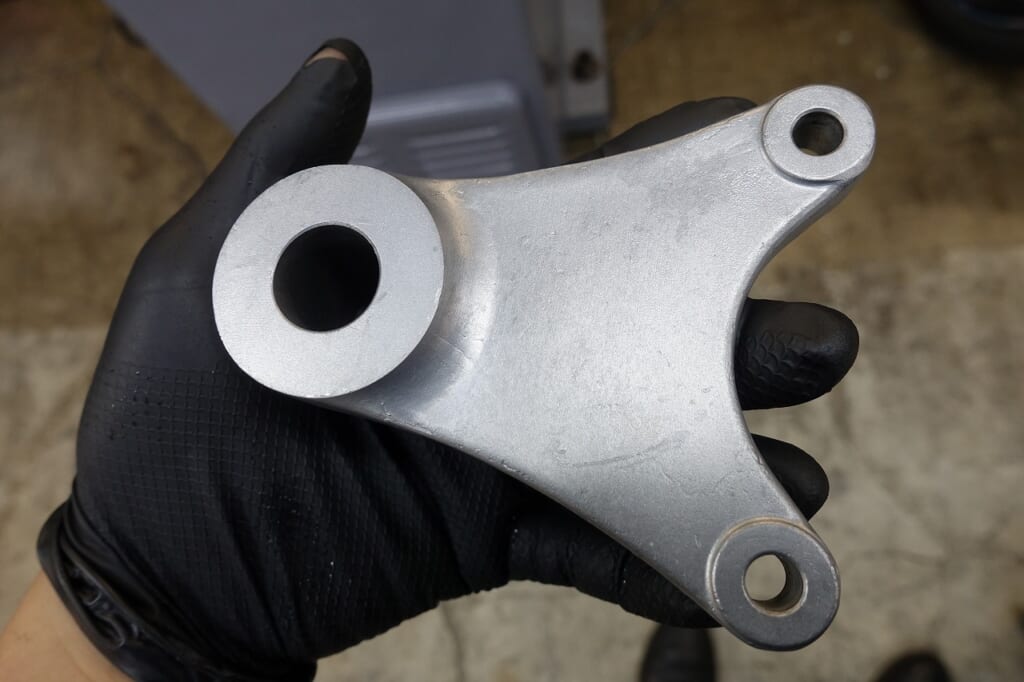
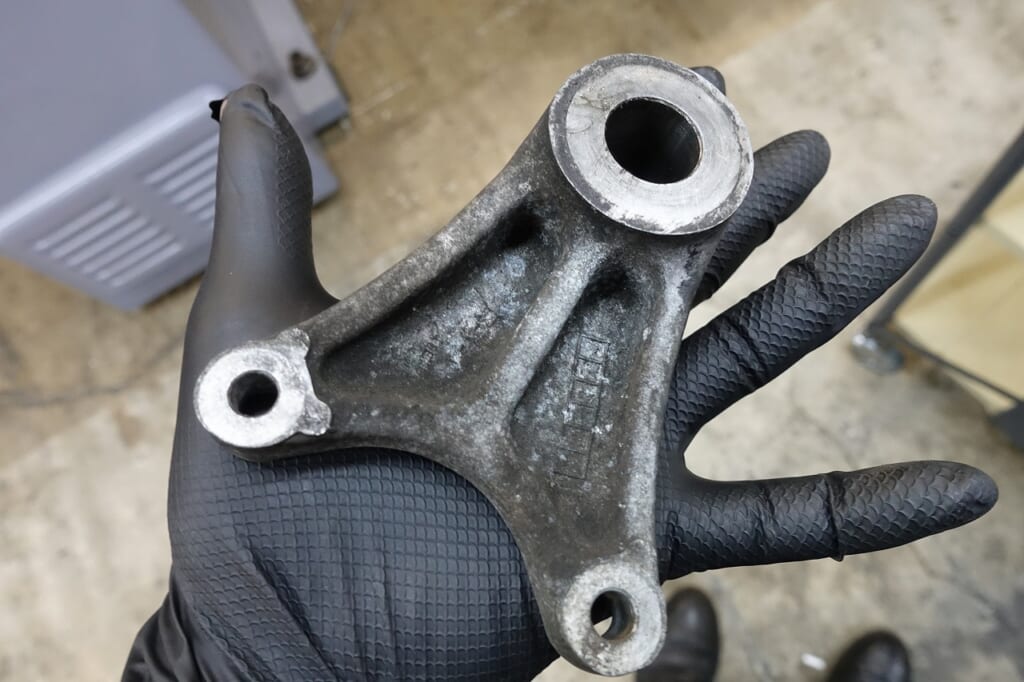
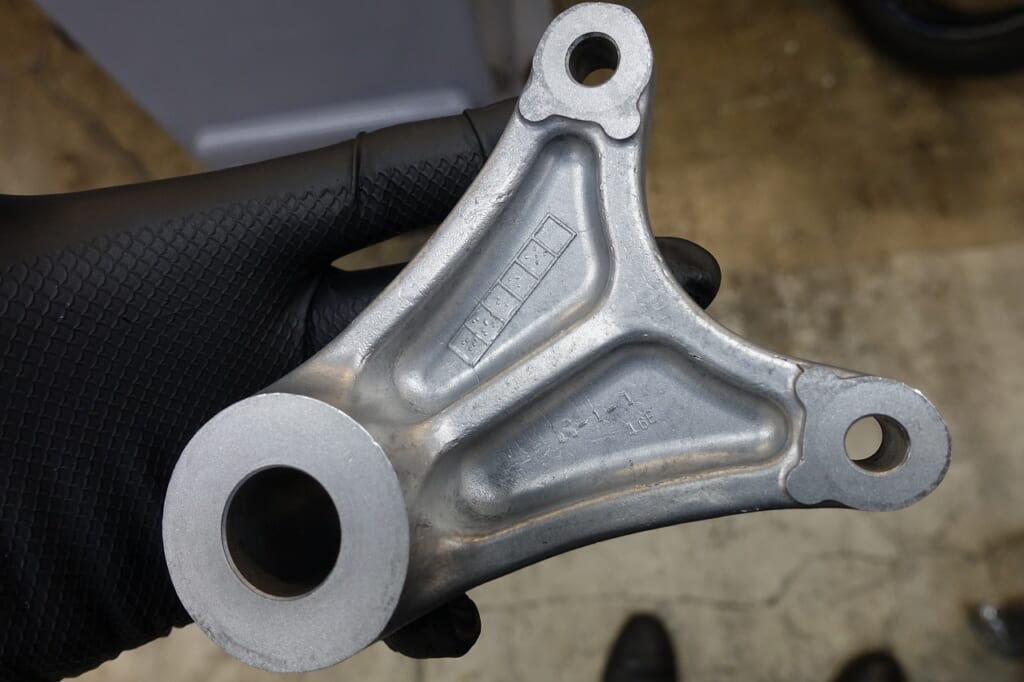
The caliper support was also dirty, so I gave it a light polish.
These little details add up and make the difference in overall condition.
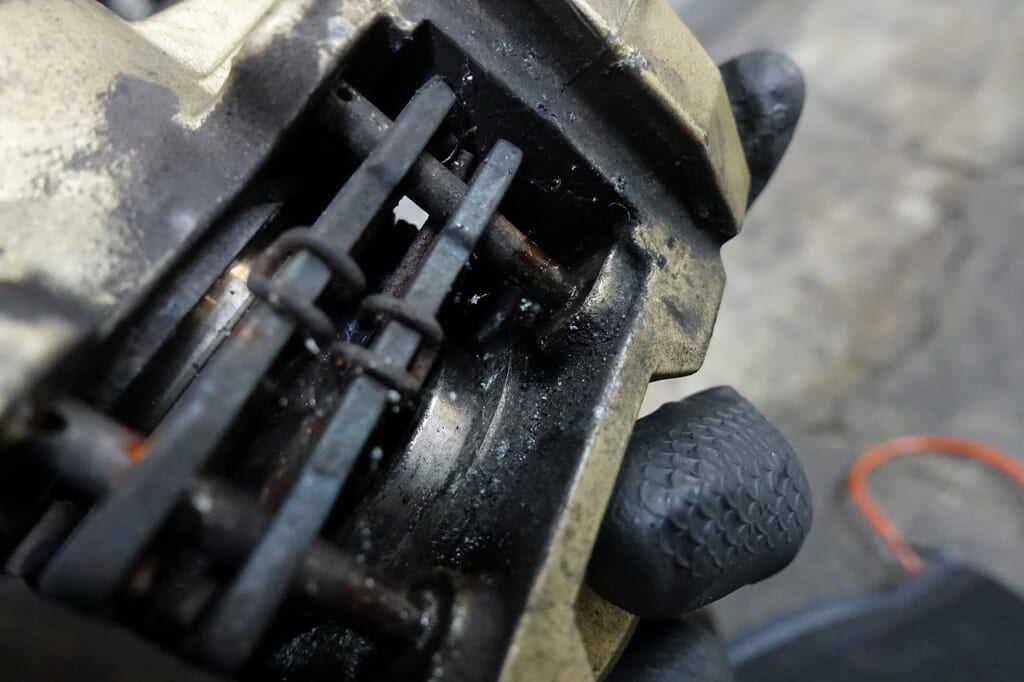
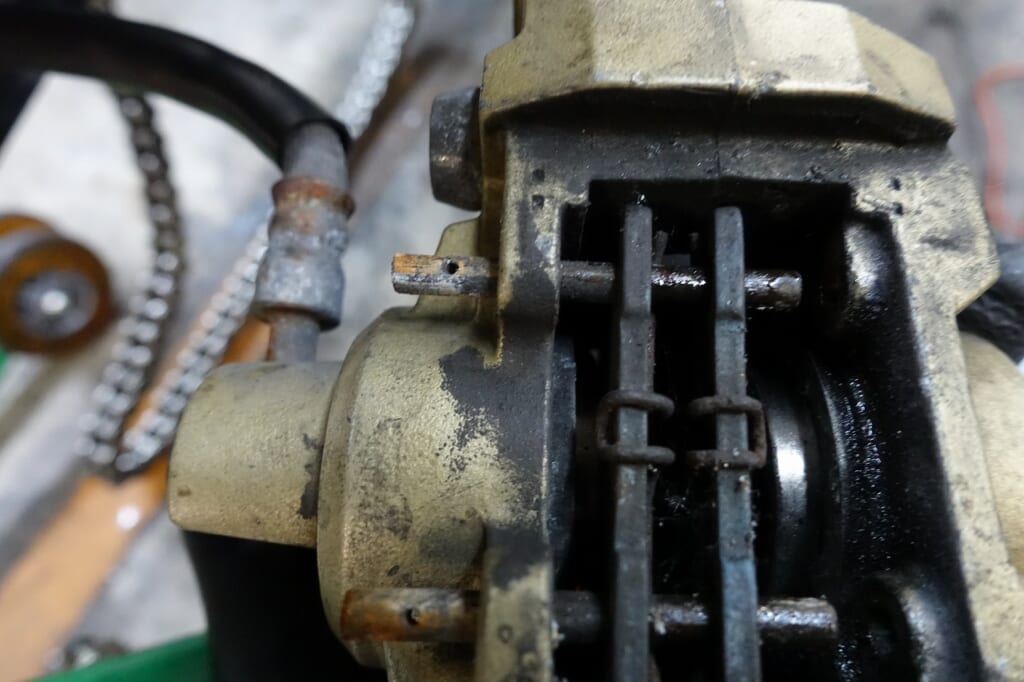
Here we go—the pad pin is rusted and won’t come out.
I could remove the caliper, but I prefer to minimize the work.
Using a nipper and a lever, I gave it a good pull and it came right out.
Did the premium lubricant Tri-Flow do the trick? I’ll replace all the pin-related parts.
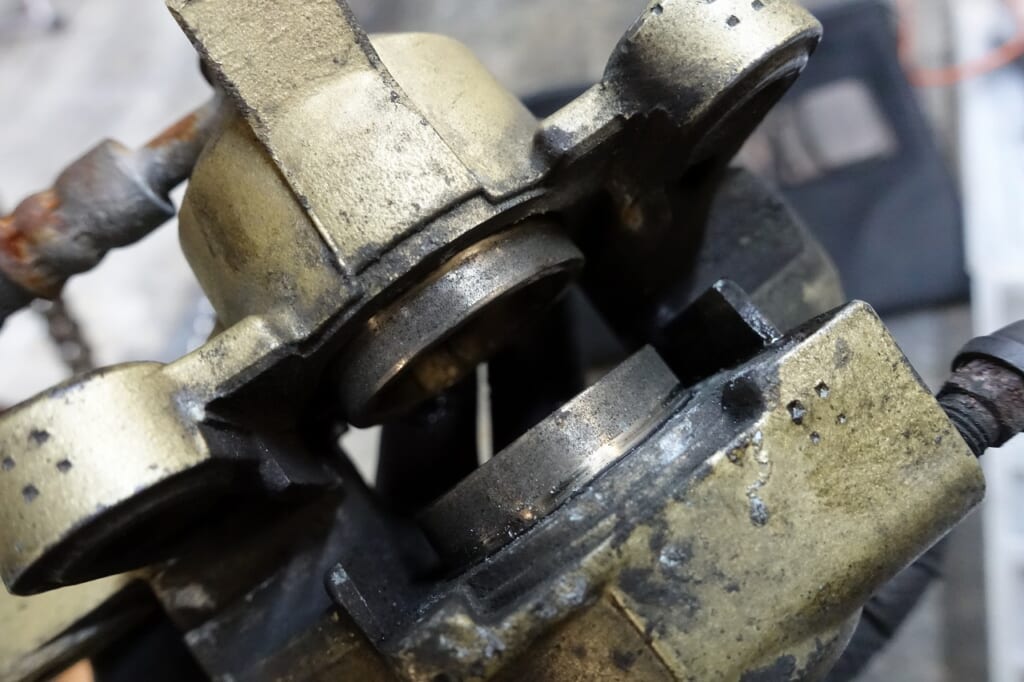
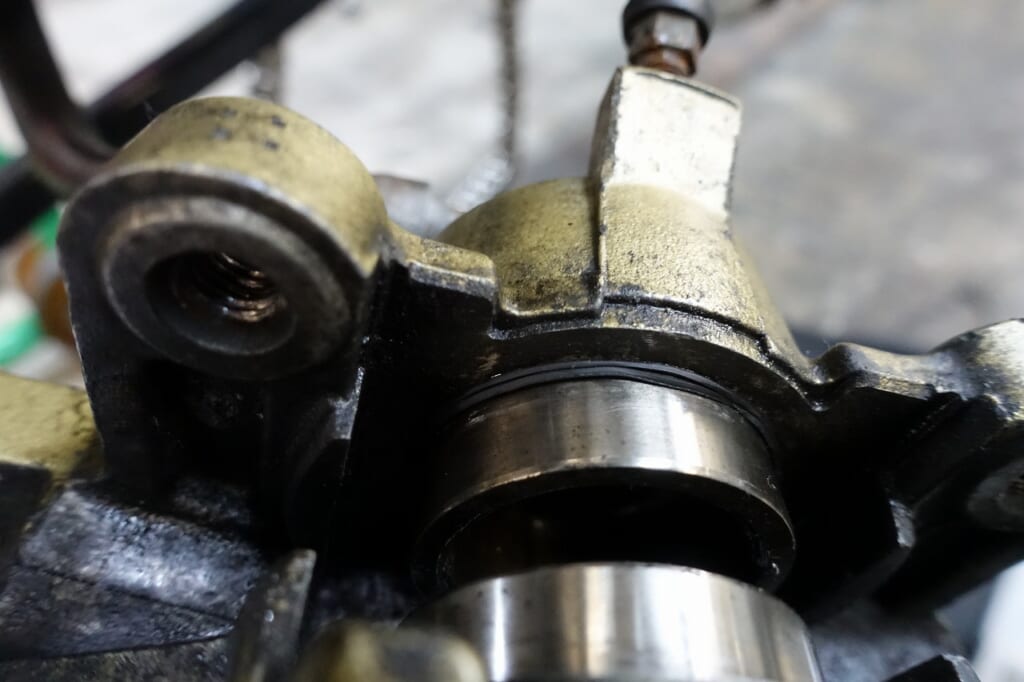
I cleaned the piston and… hmm, hmm—the piston won’t retract at all ( ;∀;)
The dust seal is coming out.
The rear needs an overhaul.
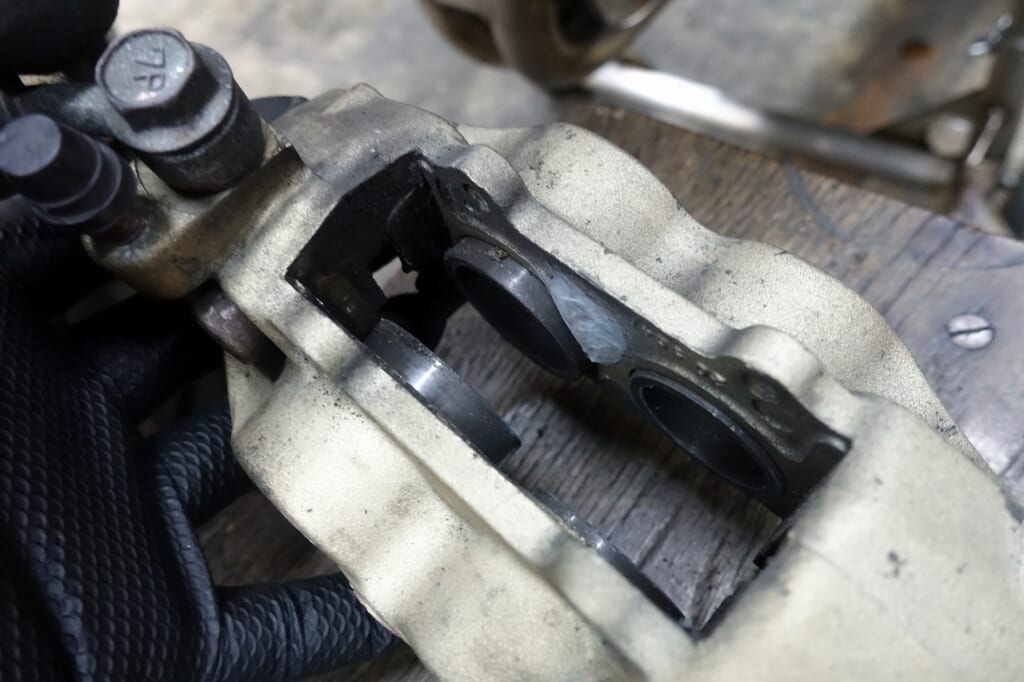
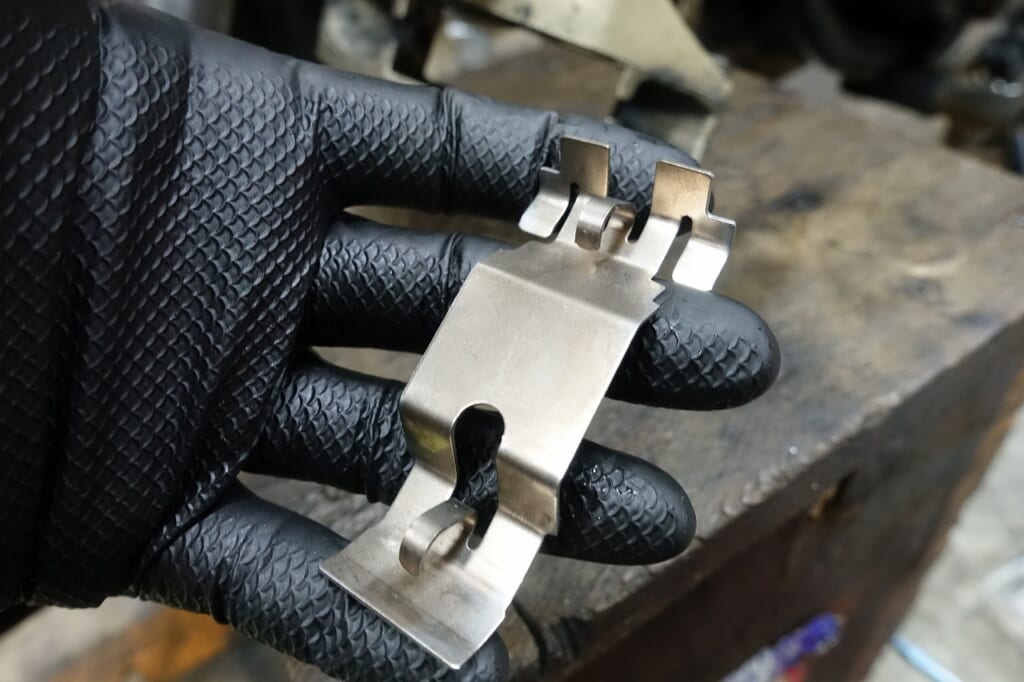
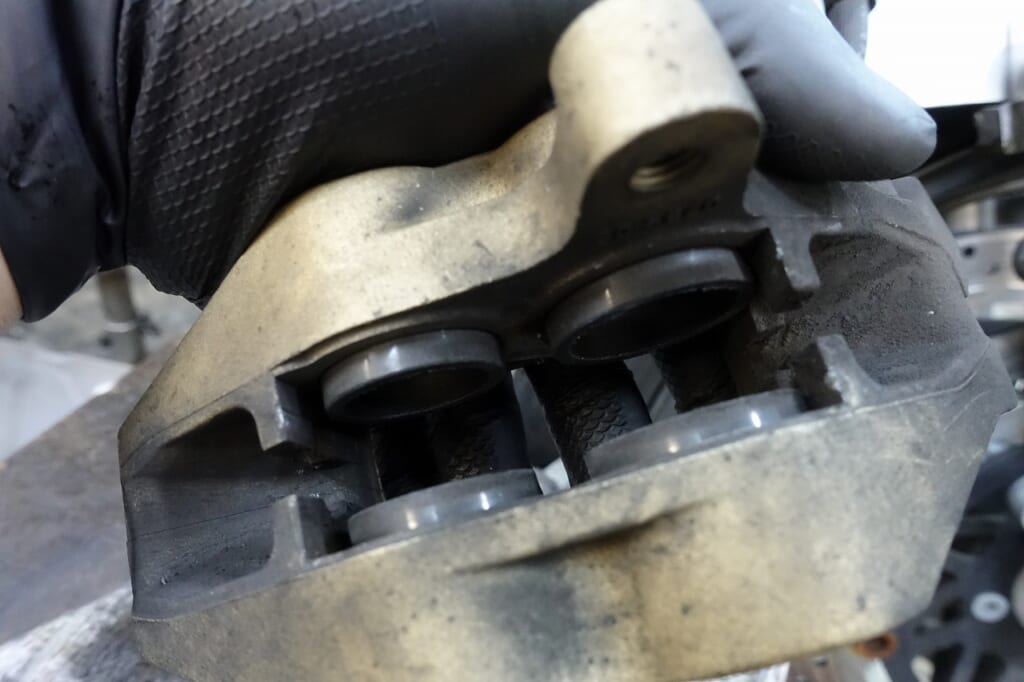
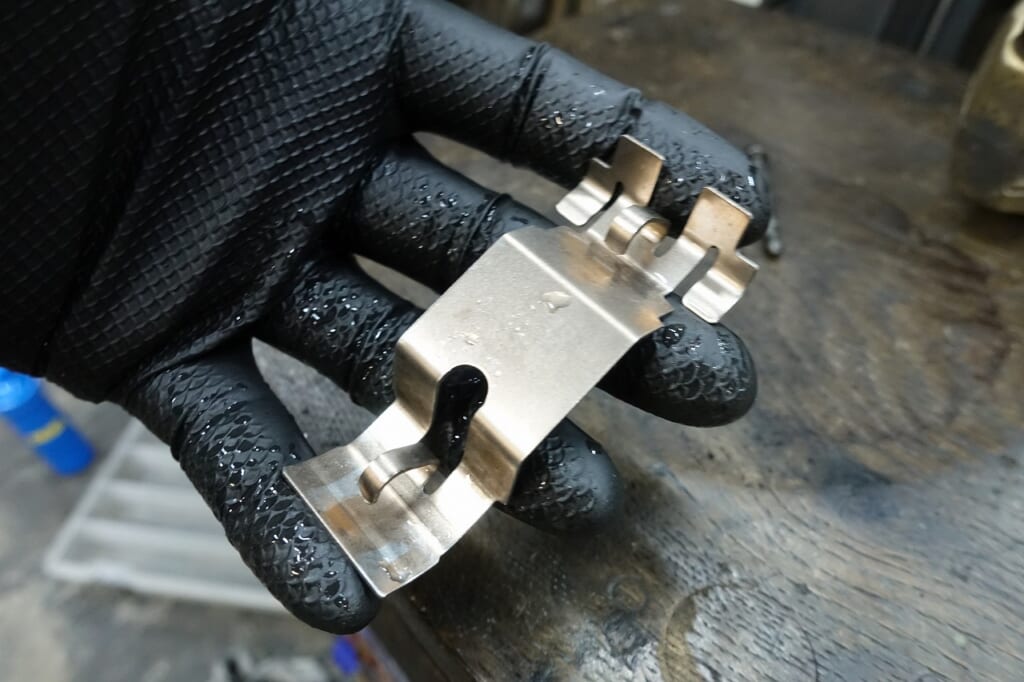
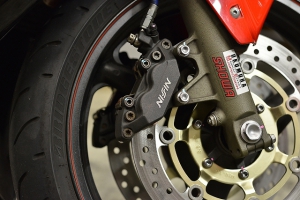
The Brembo caliper operation is excellent. (With Brembo, there’s also the possibility of leaking in reverse.)
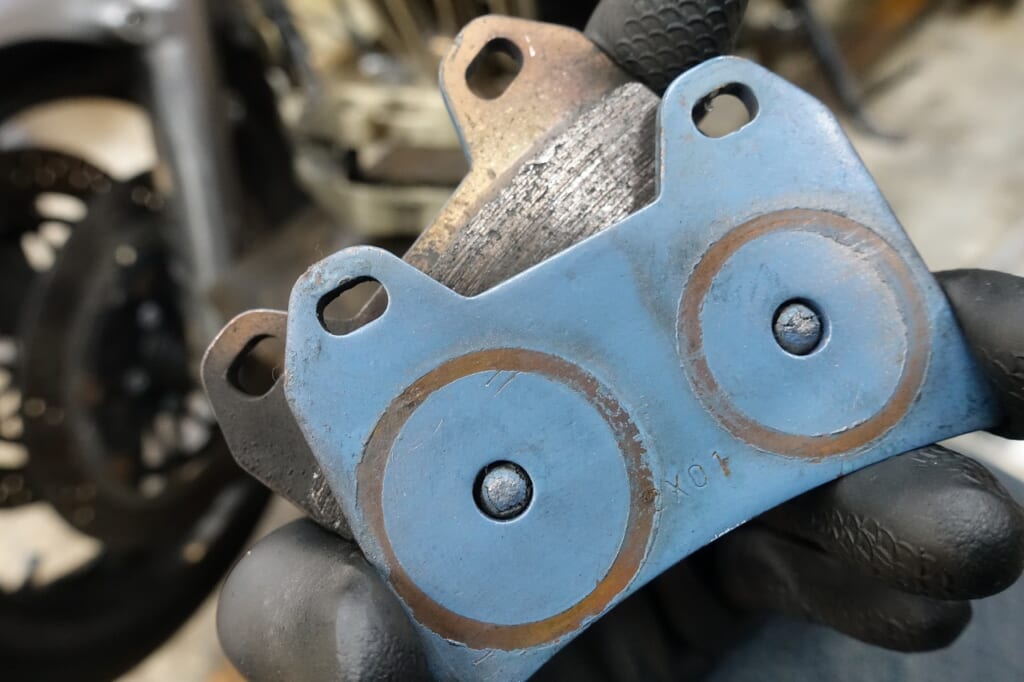
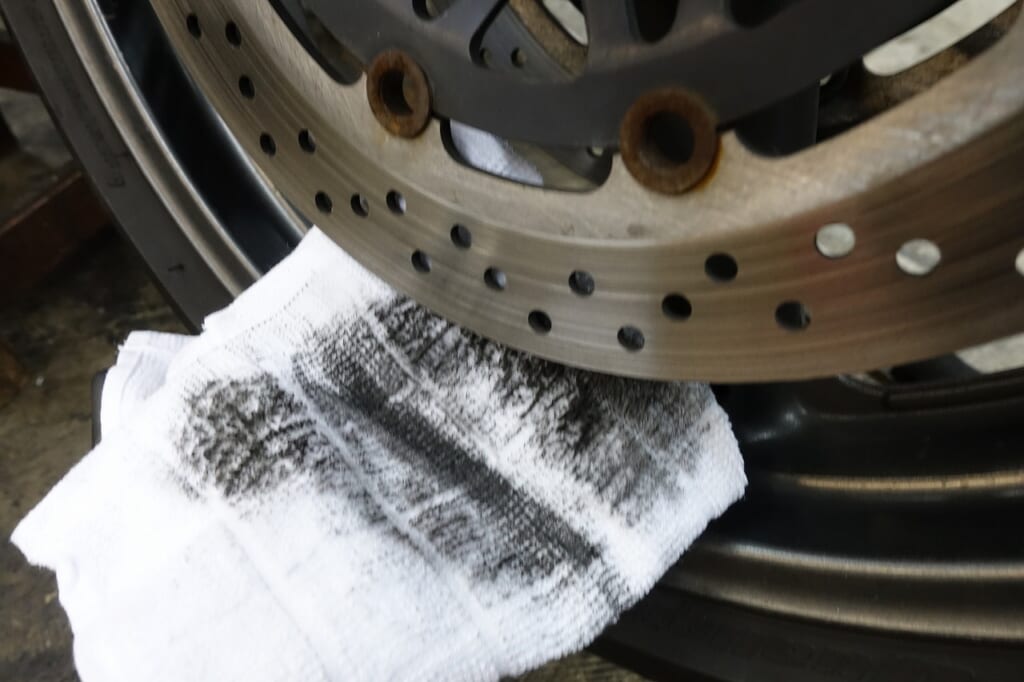
I’ve never seen that backing plate color on pads before. There’s still thickness left. I cleaned all three brake discs.
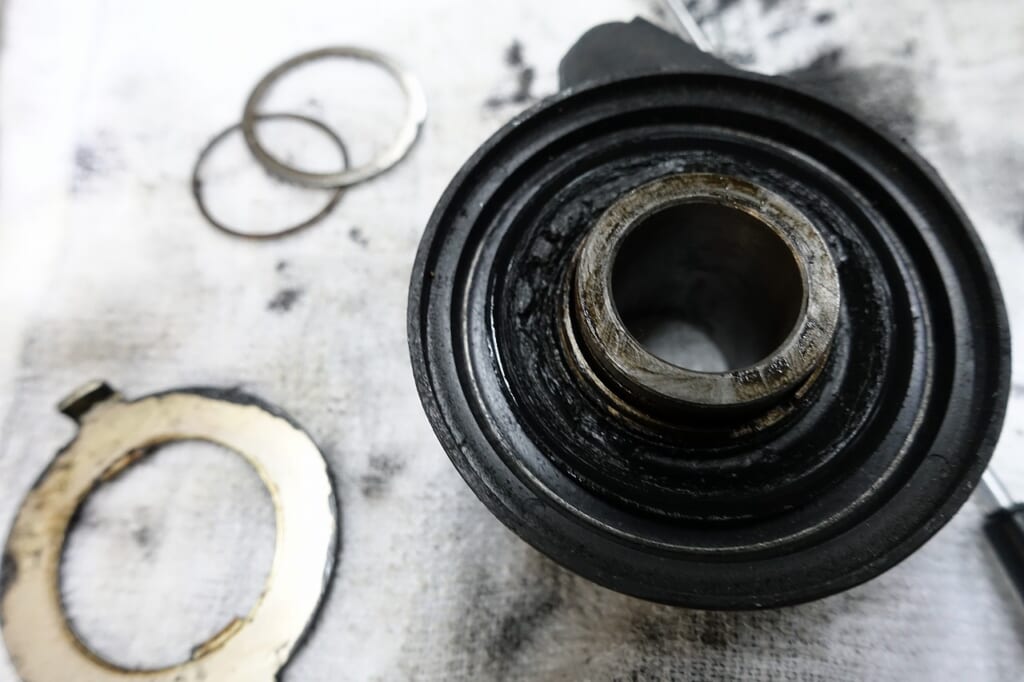
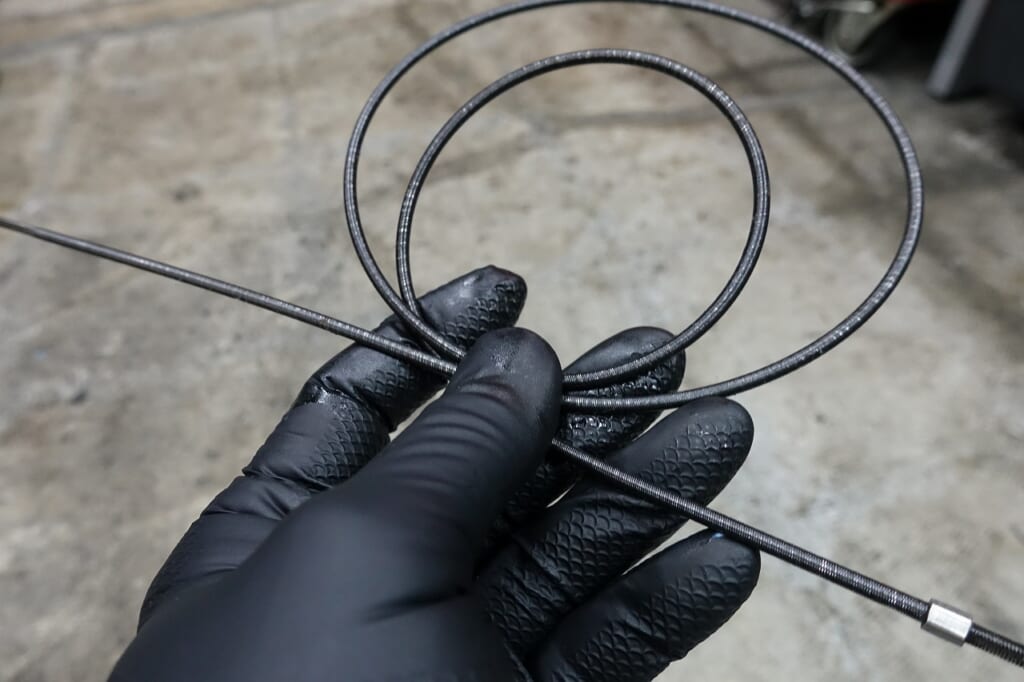
I cleaned and lubed the speedometer gear and speedometer cable.
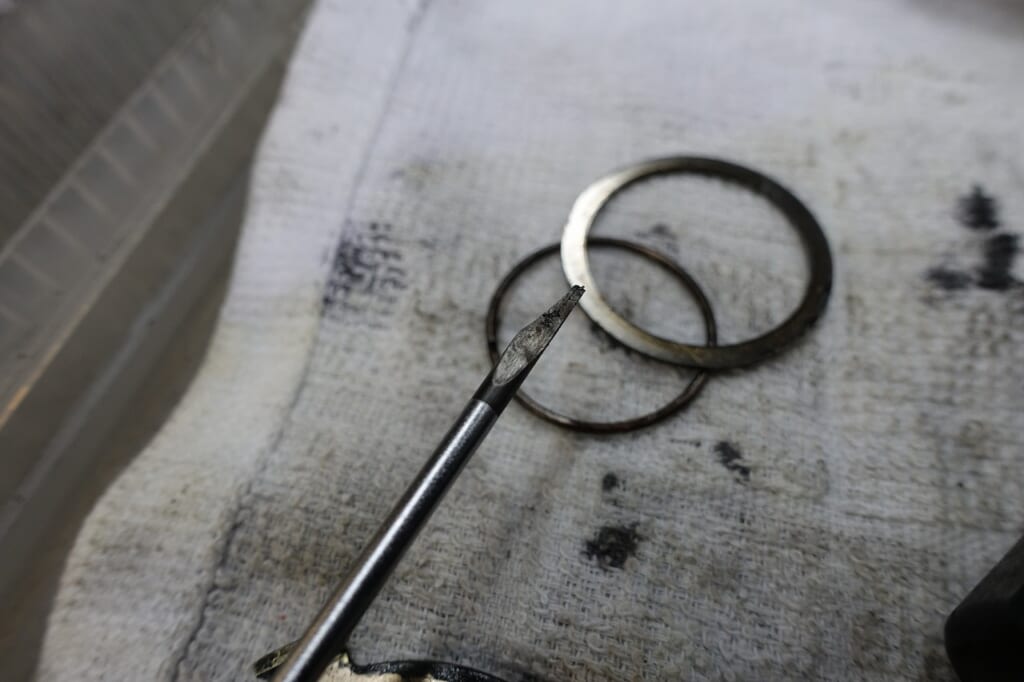
For those who find the speedometer gear C-clip hard to remove: sharpen a thin flathead screwdriver to a point, insert it inside the C-clip, and it comes right off.
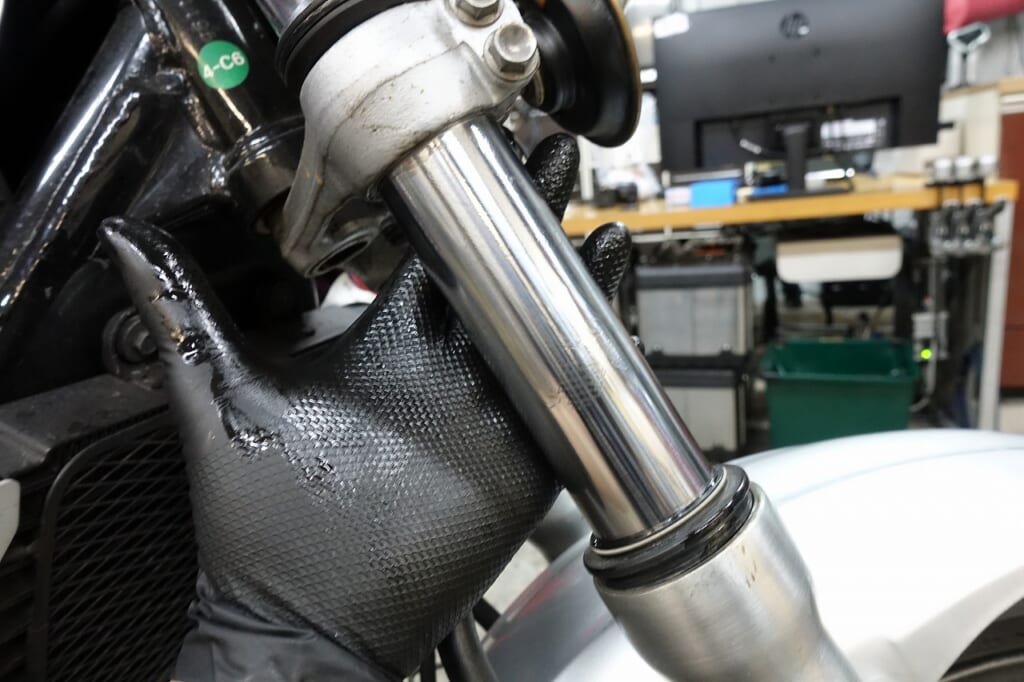
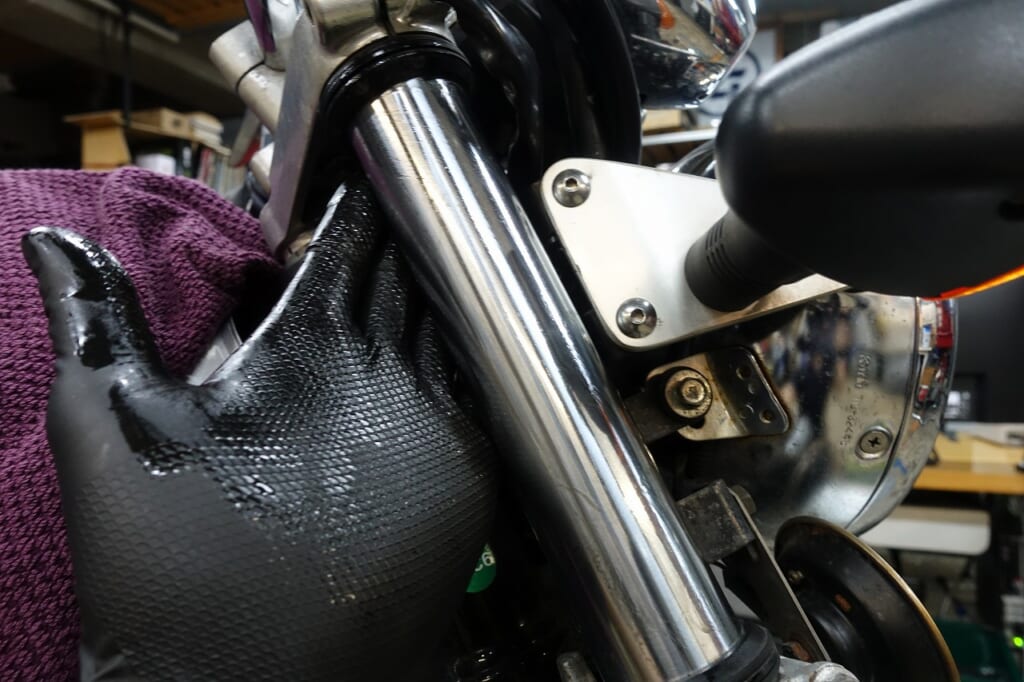
Let’s clean the front fork and apply rust prevention.
The key is not letting it rust in the first place.
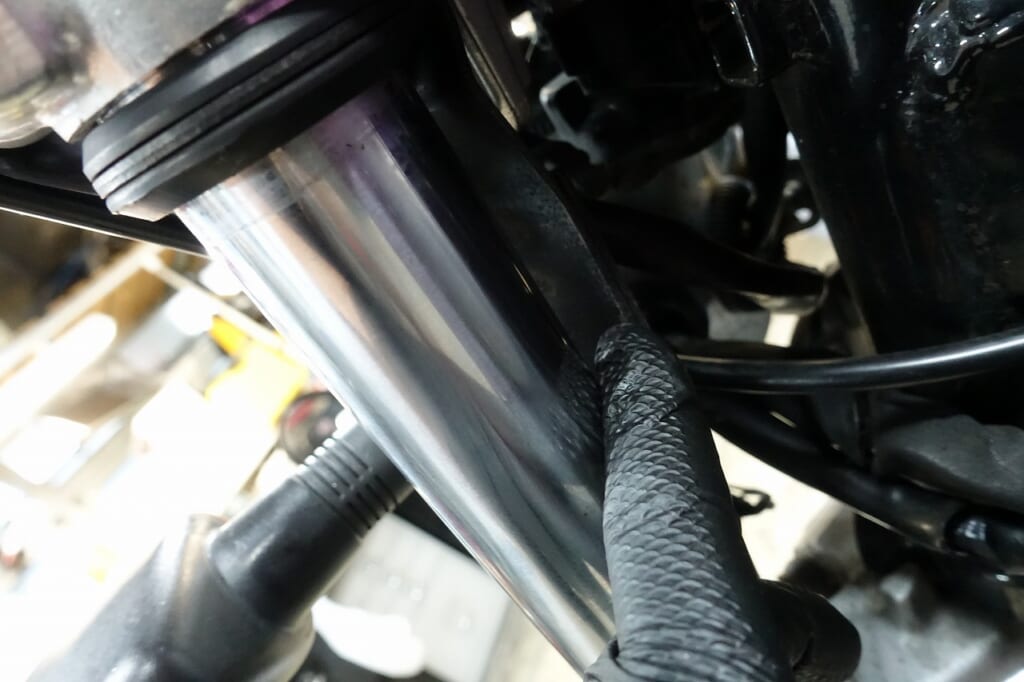
The light bracket is open, so it might be worth straightening out if needed.
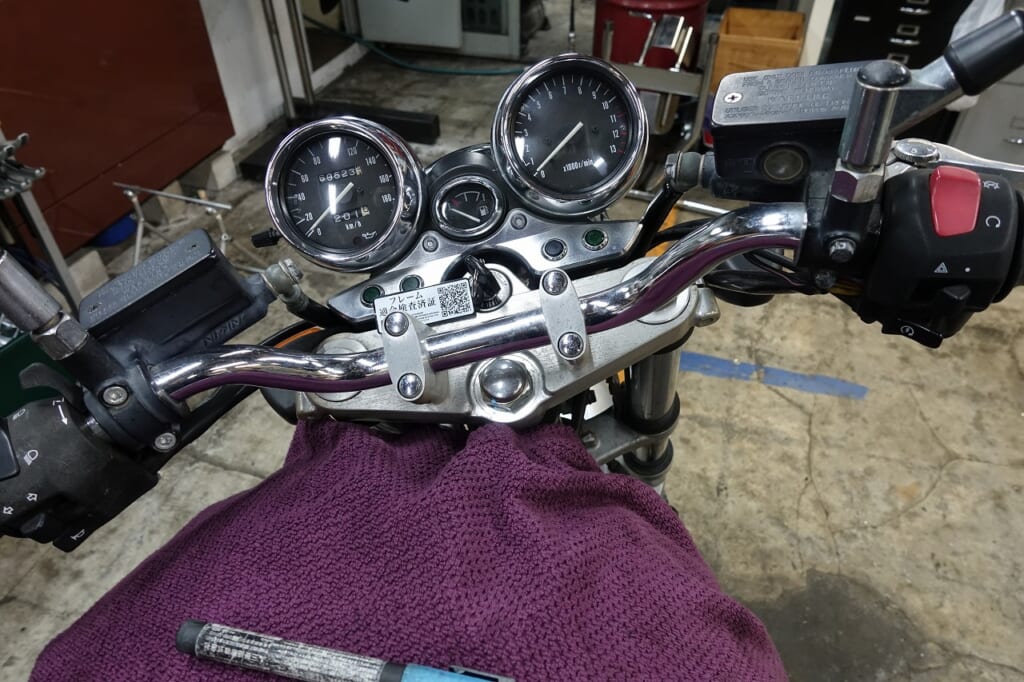
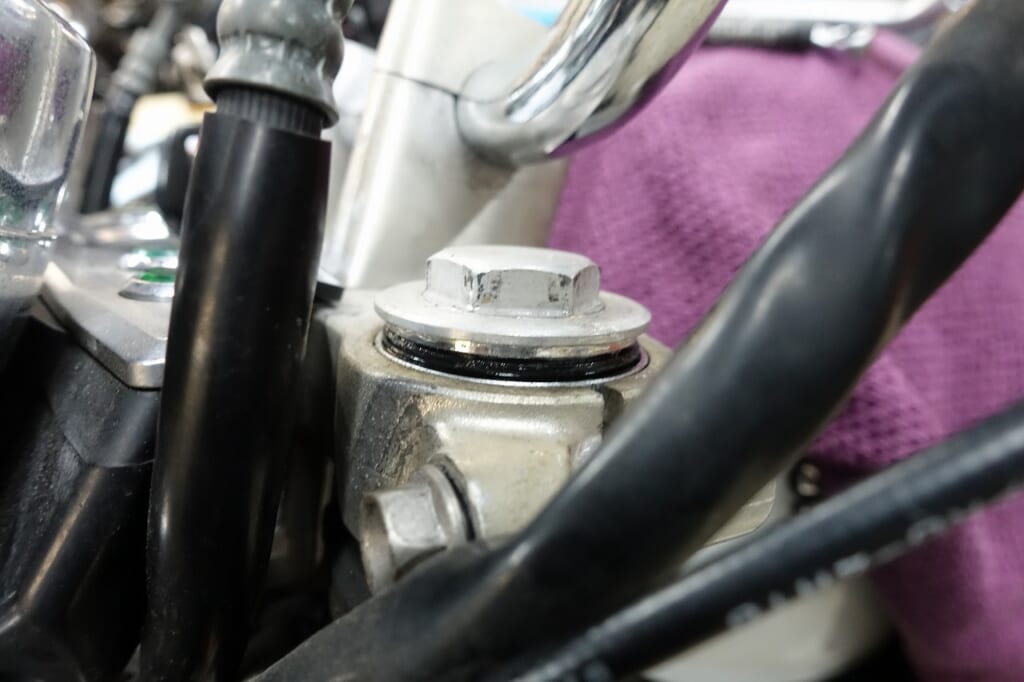
The steering is in decent condition, neither great nor bad. It was a bit stiff, so I loosened it a little. I also ventilated the fork.
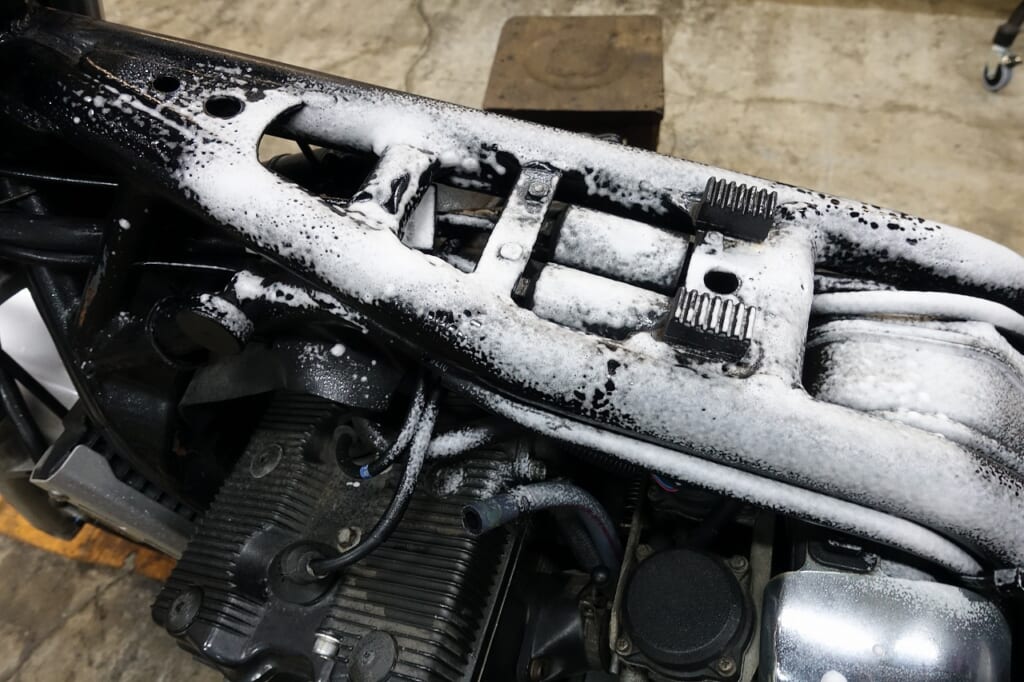
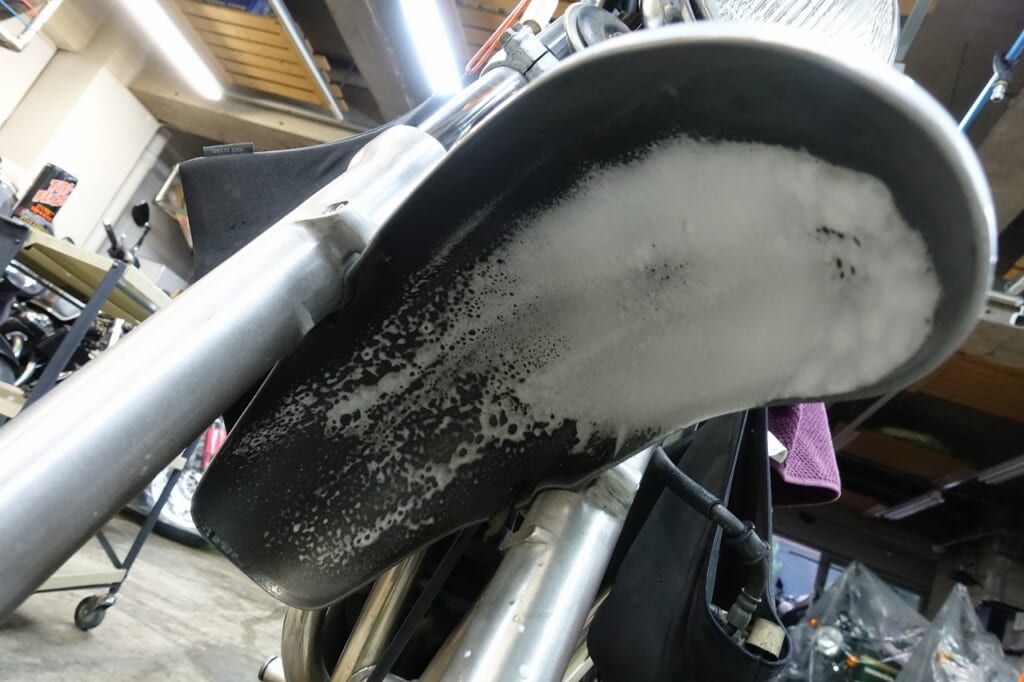
When you remove something everyone loves without touching it, clean it up.
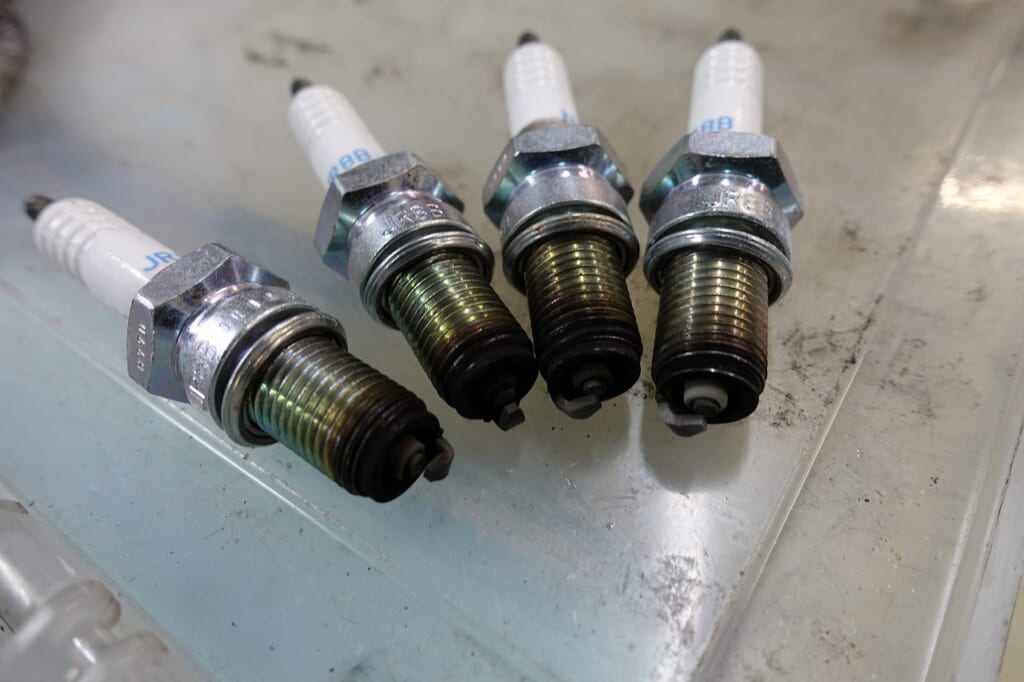
The spark plugs don’t look bad, but I’ll replace them for a fresh start.
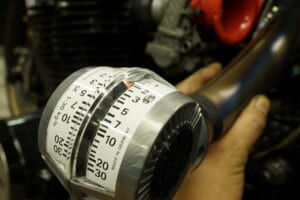
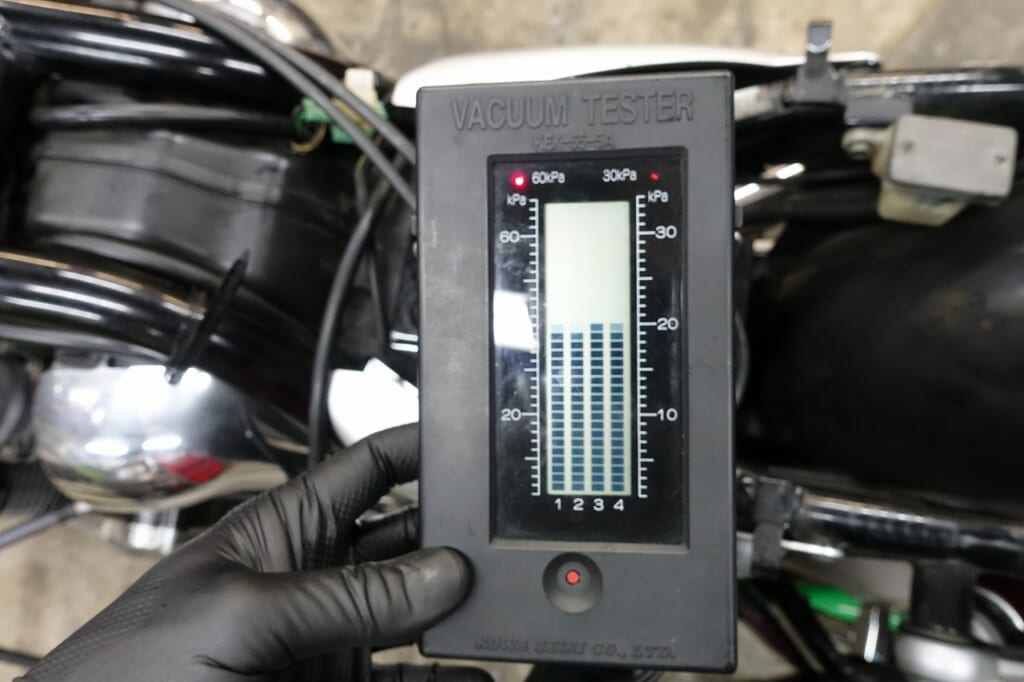
I made a slight adjustment to the carburetor synchronization.
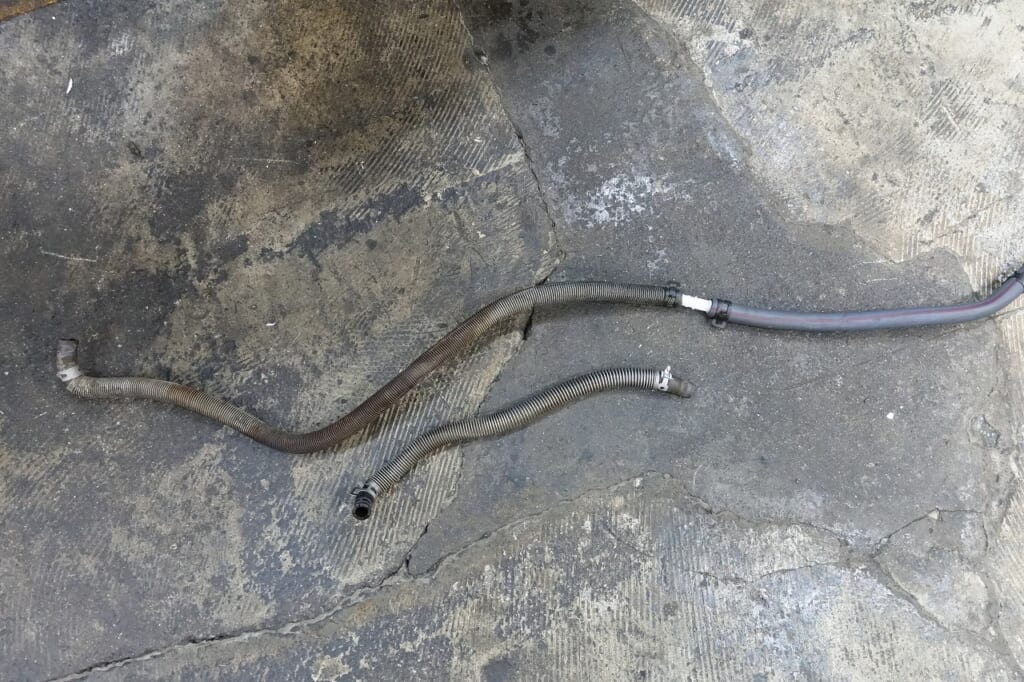
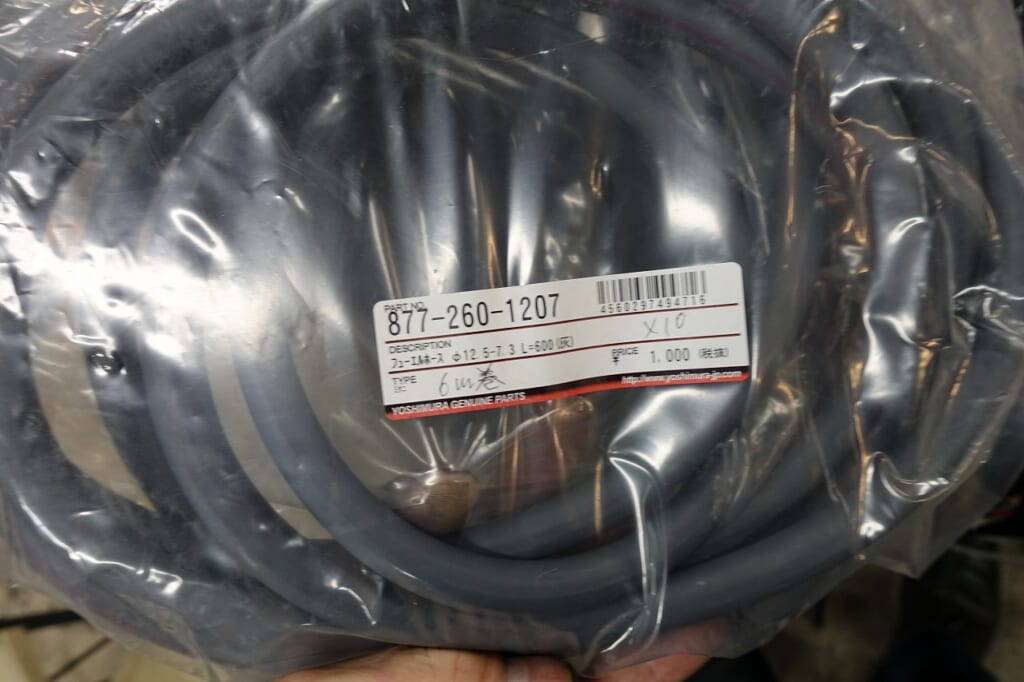
The fuel hose cracked, so we’re replacing it.
Only the Inazuma 1200 has a fuel pump. Why is that?
When using a 400 harness, everyone ends up removing it forcibly—meaning it’s not needed—so we’ll lay it out with natural gravity feed instead of the pump.
The hose is the usual Yoshimura.
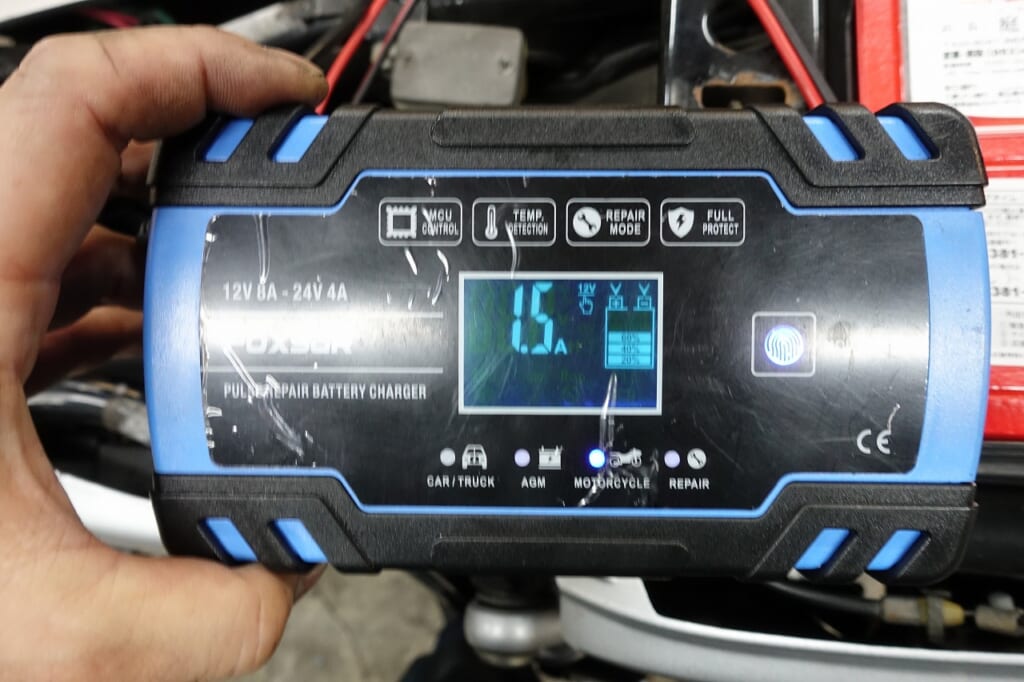
The battery is way too weak. If the battery isn’t in good shape, you’ll worry about the ignition too. If you manage it by age and replace it regularly, it should start right up.
To be continued (‘ω’)ノ