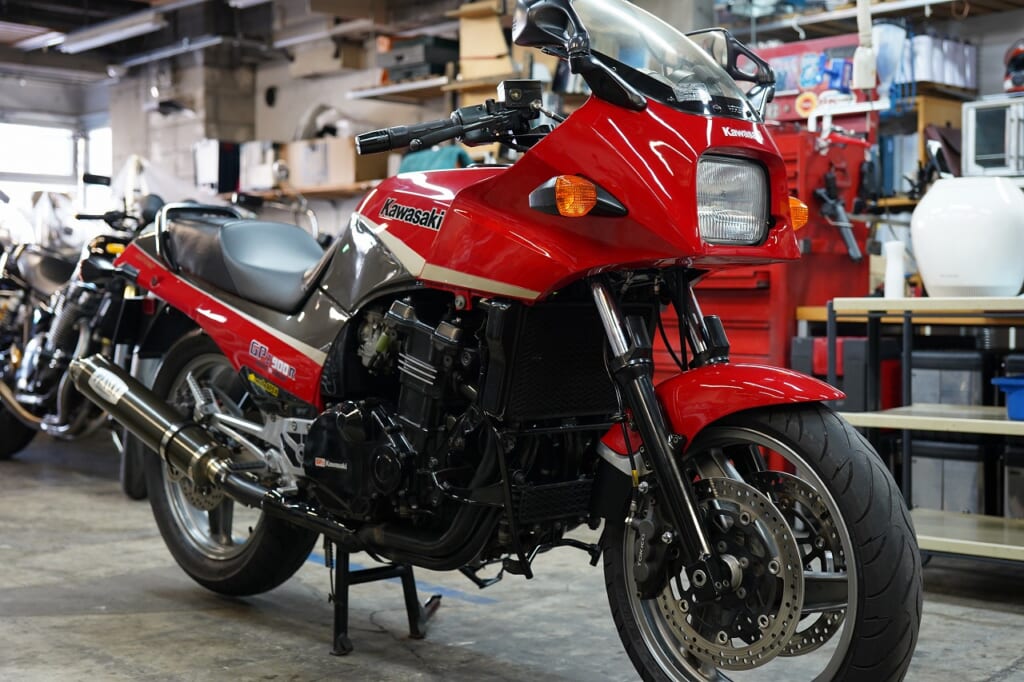
I’ve stopped using weird titles lately.
It doesn’t seem to have had much effect on boosting views… Ah, those were the days, I think wistfully.
We’re ready for your clean GPZ900R title work requests! (^^♪
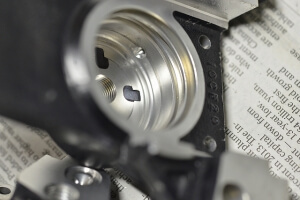
First, I’ll remove the oil seals.
I’m not sure how other shops do it, but I use the same method I always use for oil-cooled bikes.
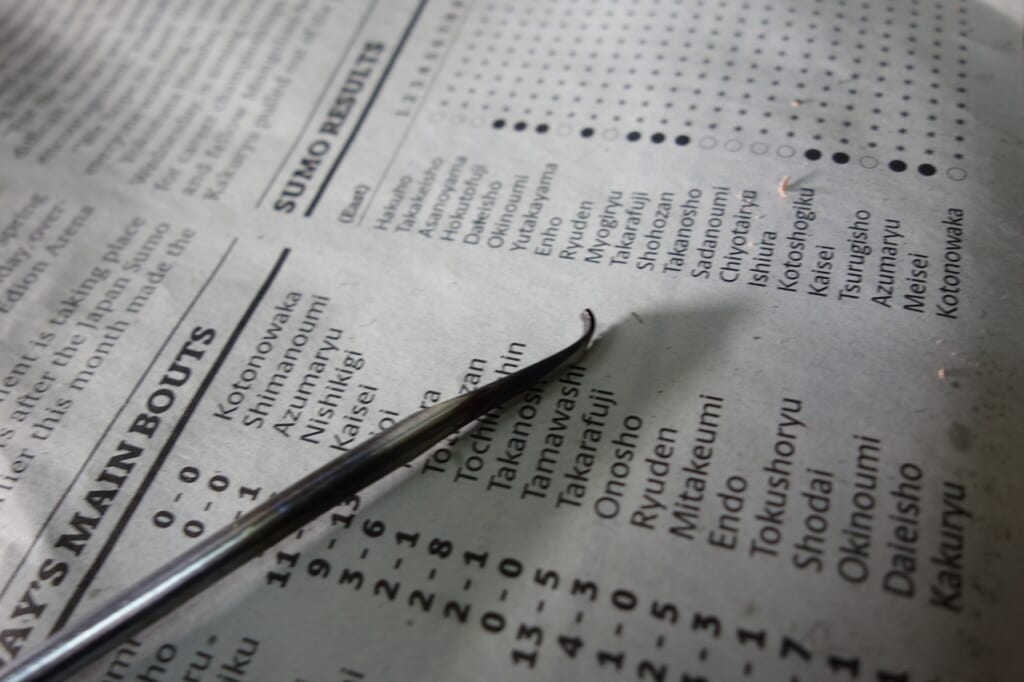
I make something like this and pry it out.
By the way, it’s made from old screwdriver scraps.
*Probably Vessel or something like that…
As you’d expect from tool steel, the balance of toughness and rigidity is excellent!
The freedom to grind and bend is limitless.
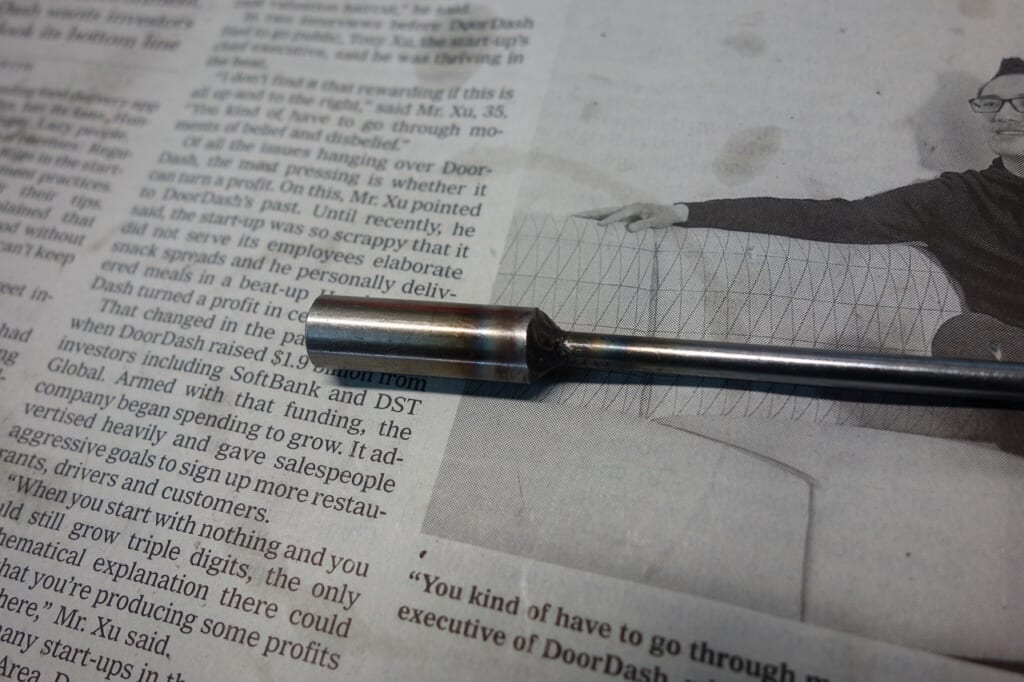
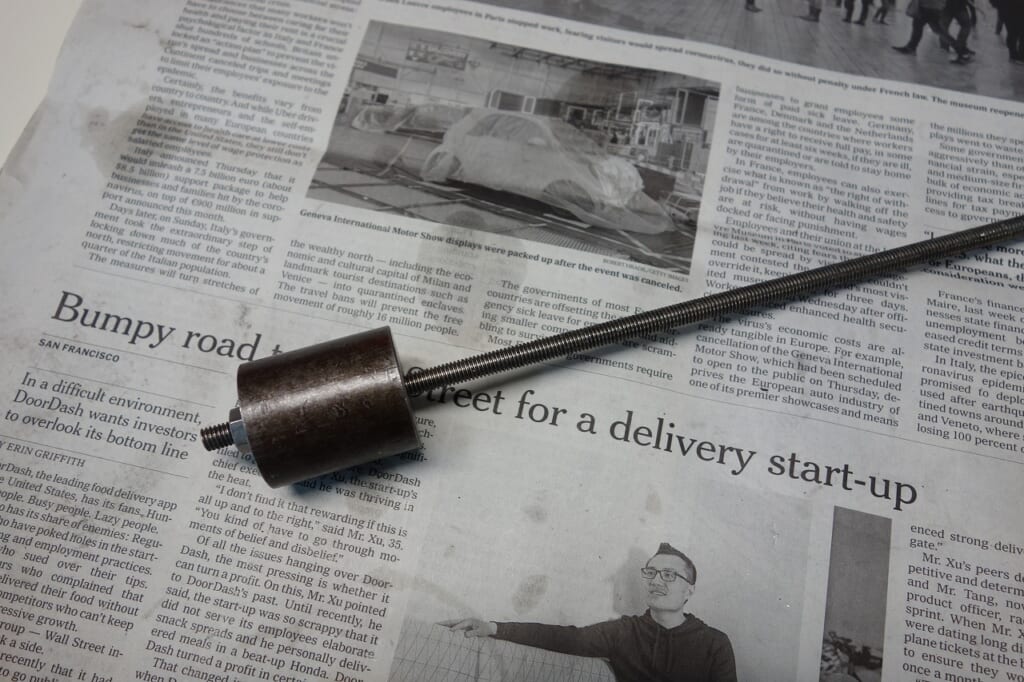
I welded it to the boss with the stripped threads, screwed in a threaded rod, and slid it out.
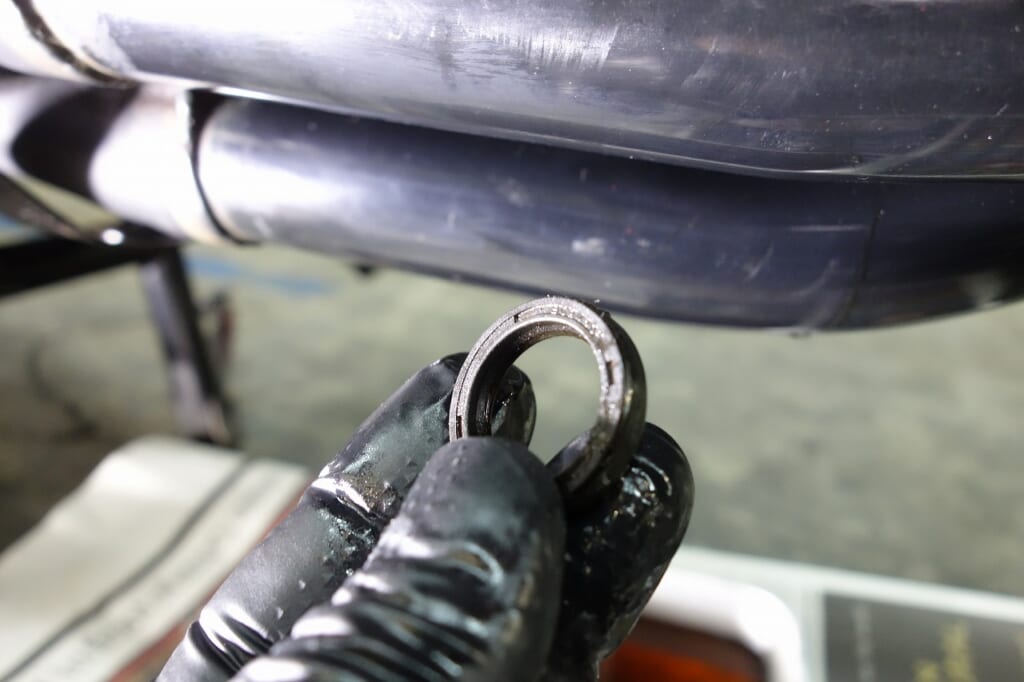
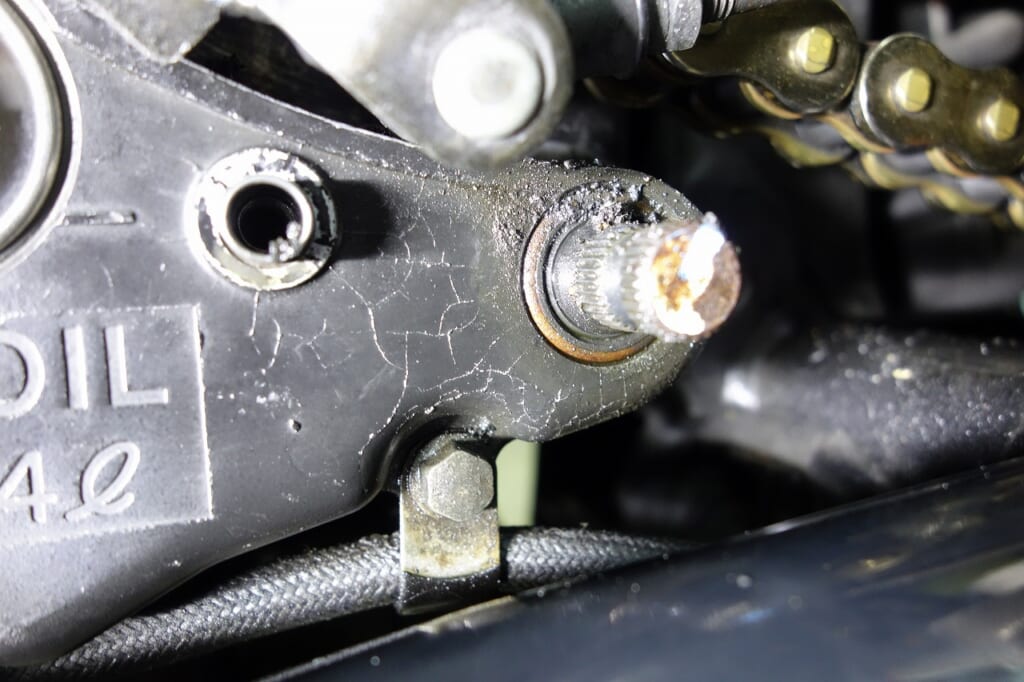
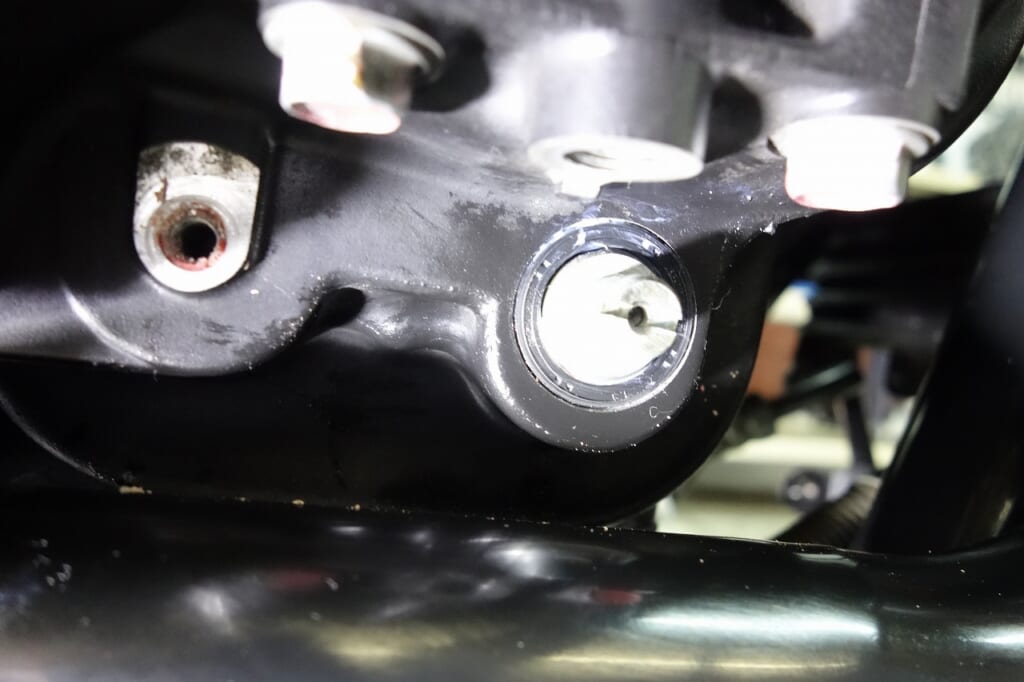
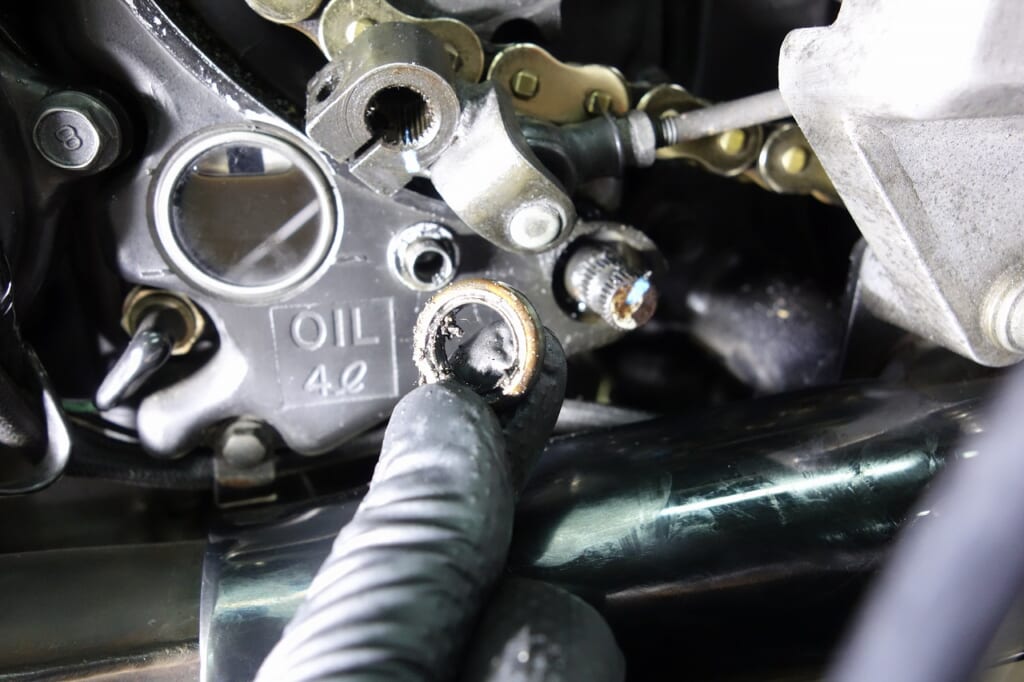
That’s how it comes out (^^♪
Oil seals don’t require much force to press in, so they come out like this.
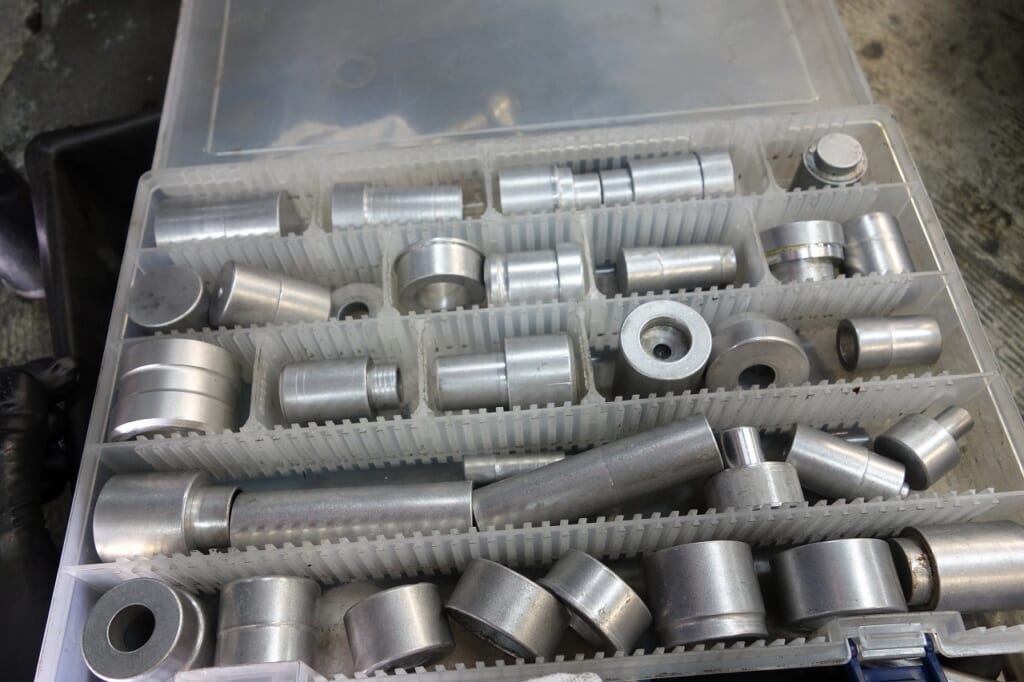
It’s good to make attachments for installing oil seals and bearings each time and keep them on hand.
Rather than making them from scraps and throwing them away, it’s better to make them properly so you can reuse them next time, which will make things easier down the road.
Well, rubber seals usually go in by hand, but the shift metal outer won’t.
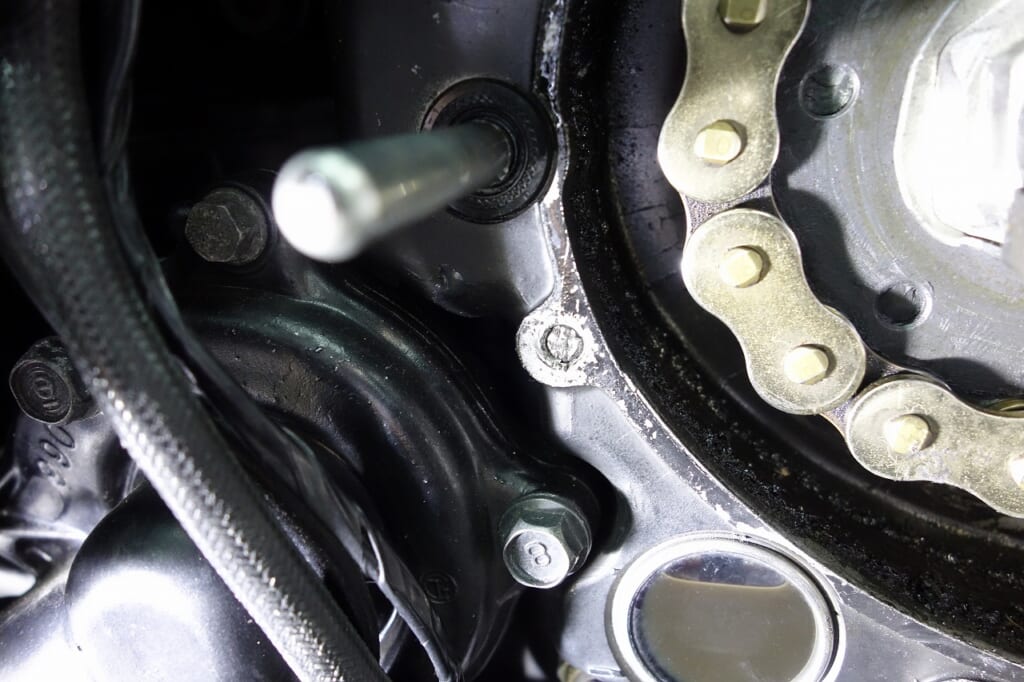
I’ll remove the broken M6 bolt.
Well, it’s quite long below the head, so it’s gripping firmly and won’t budge even with a punch.
In cases like this, slow and steady wins the race.
Save intuition and tricks for the very last resort, when there’s nothing else to do.
Don’t just eyeball it and start drilling…
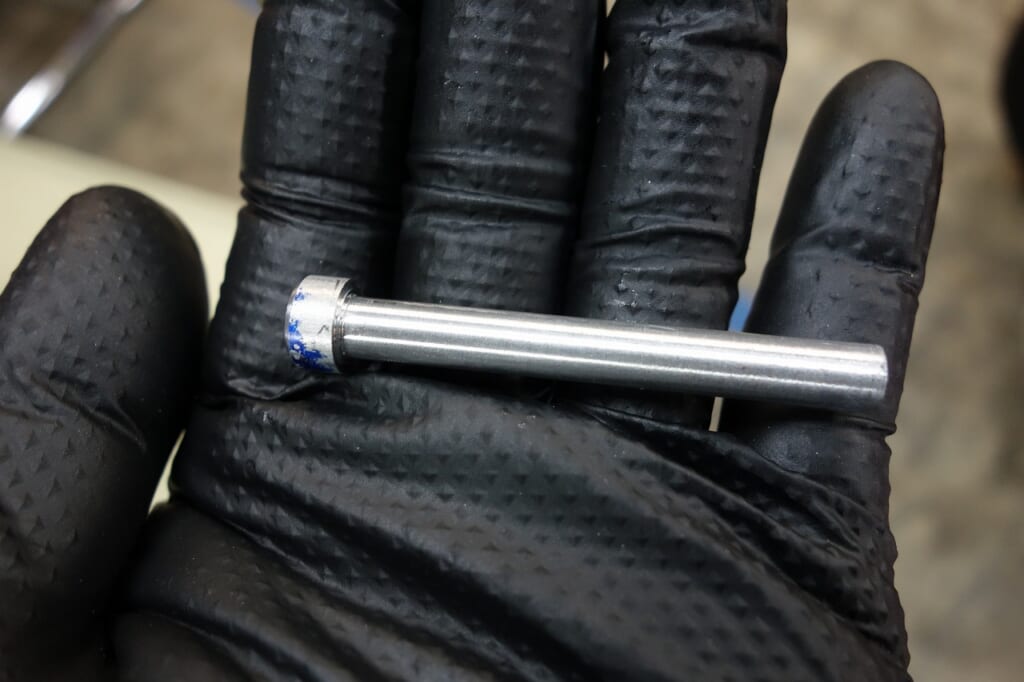
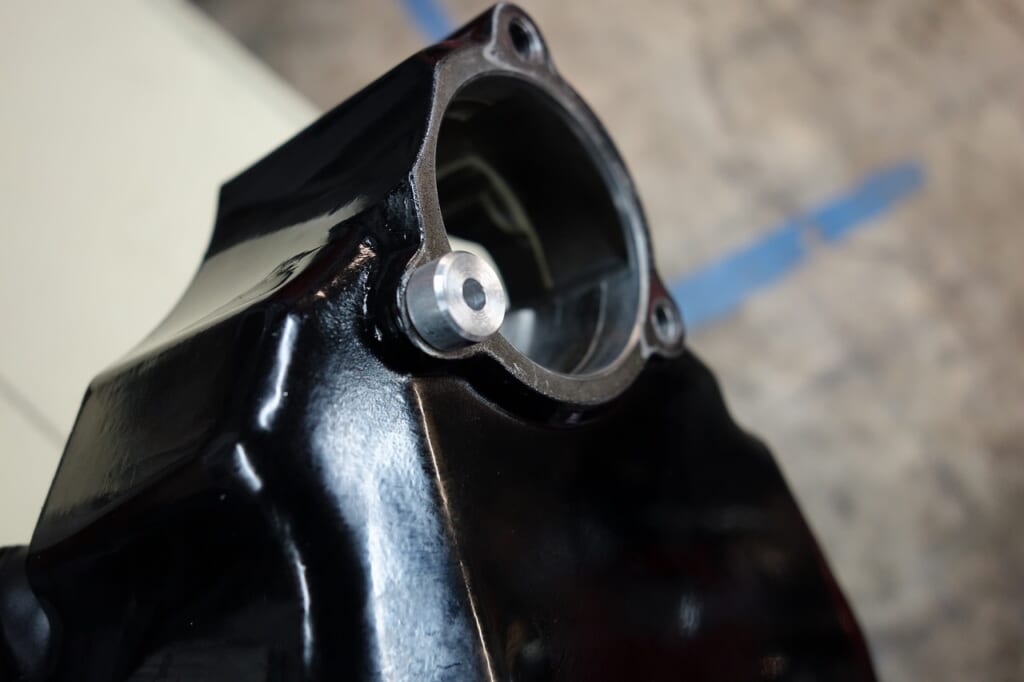
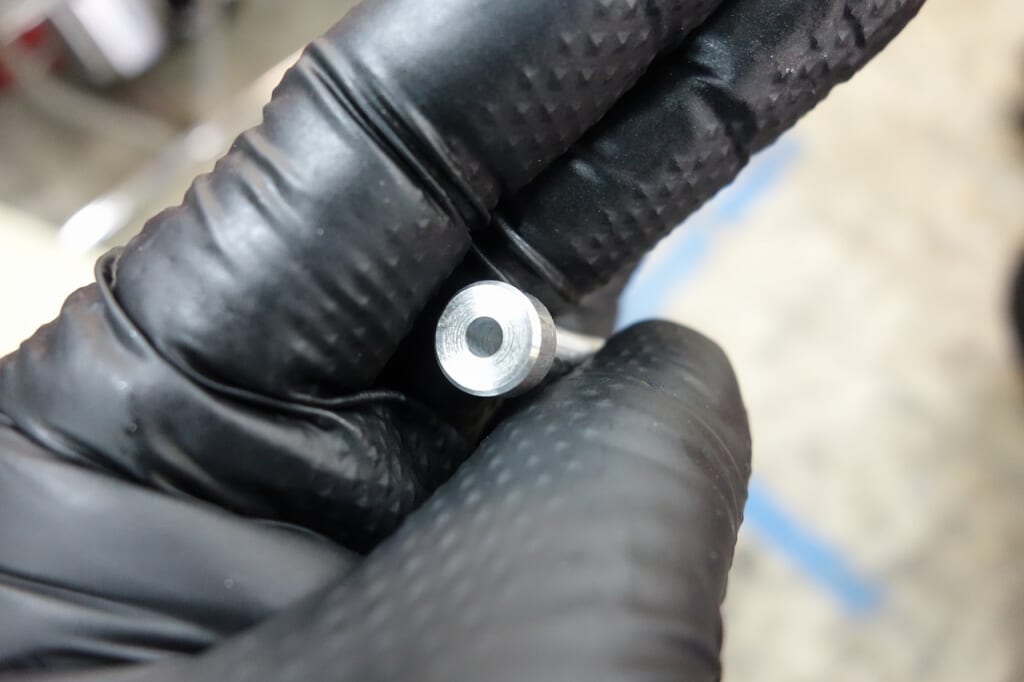
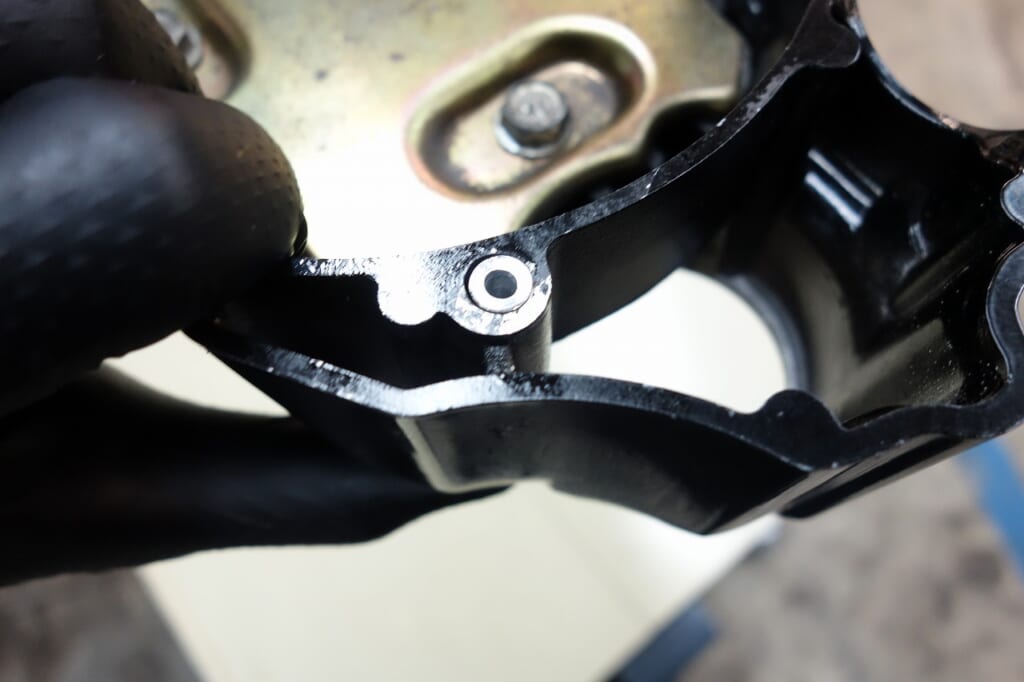
I’ll make a center-hole boss on the lathe. It’s best to keep play to a minimum.
If you can drill the center perfectly a million times no matter who does it, it feels much better.
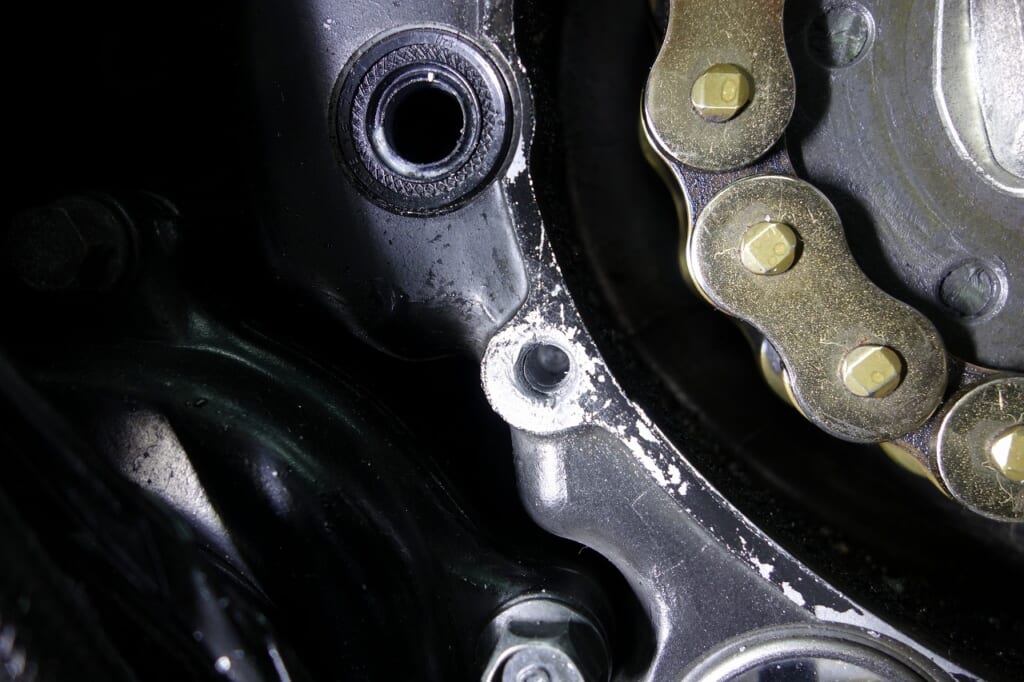
Whoosh, and the hole is drilled
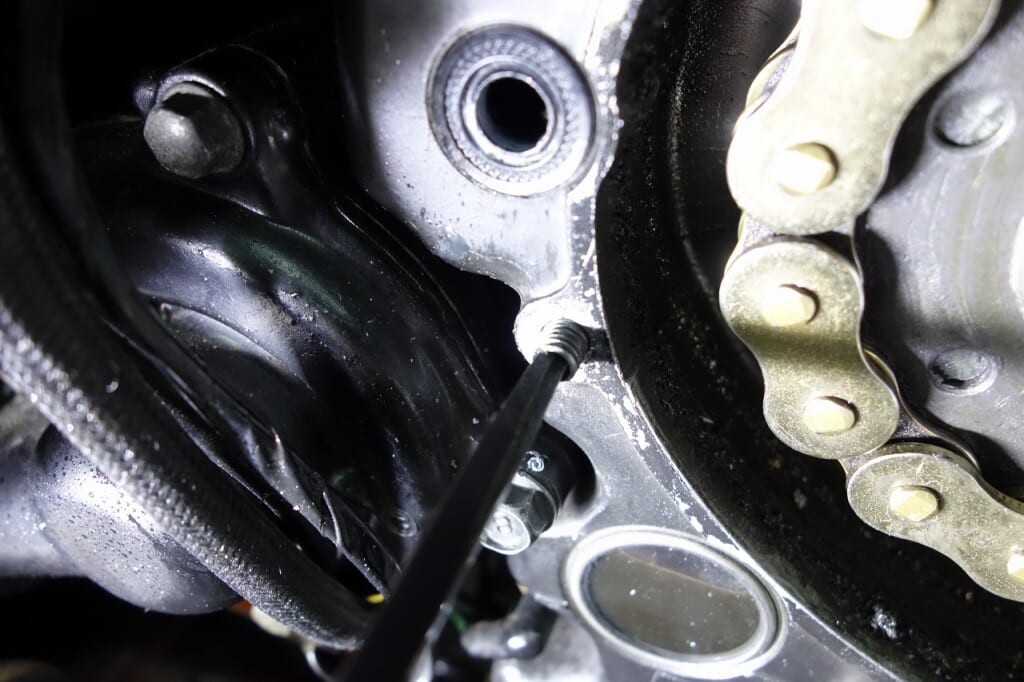
That’s how extraction is complete.
Personally, reverse taps are honestly so-so… I use KOTO but Trusco extractors seem better… Time marches on, I think wistfully.
If you can remove it with a center drill, you don’t need a helicoil either… Safe and secure.
The most important thing is to plan everything out carefully first.
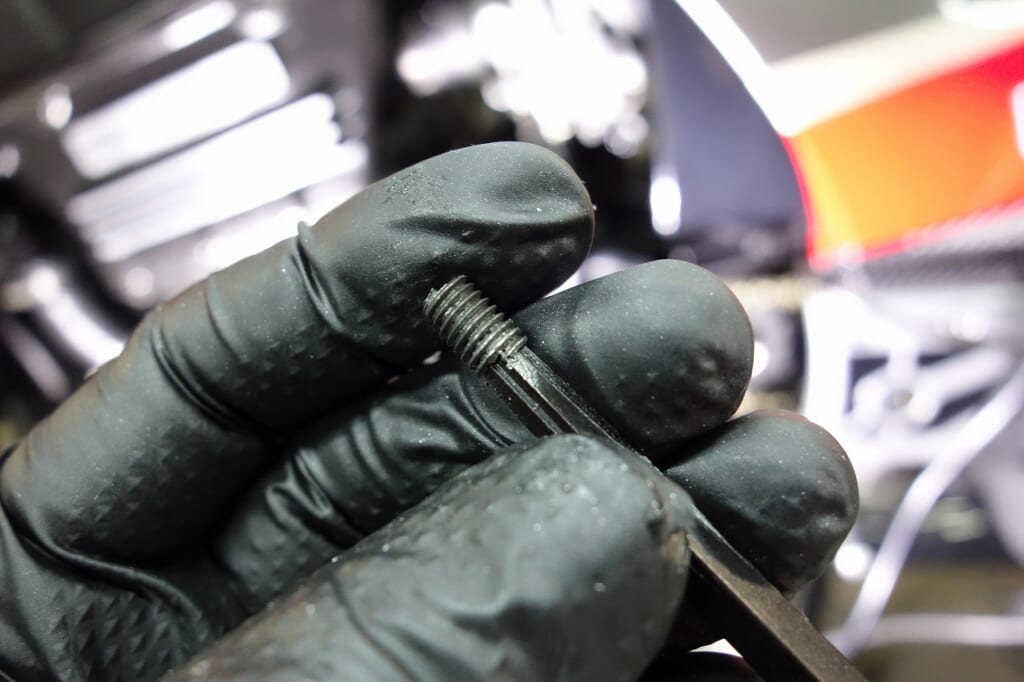
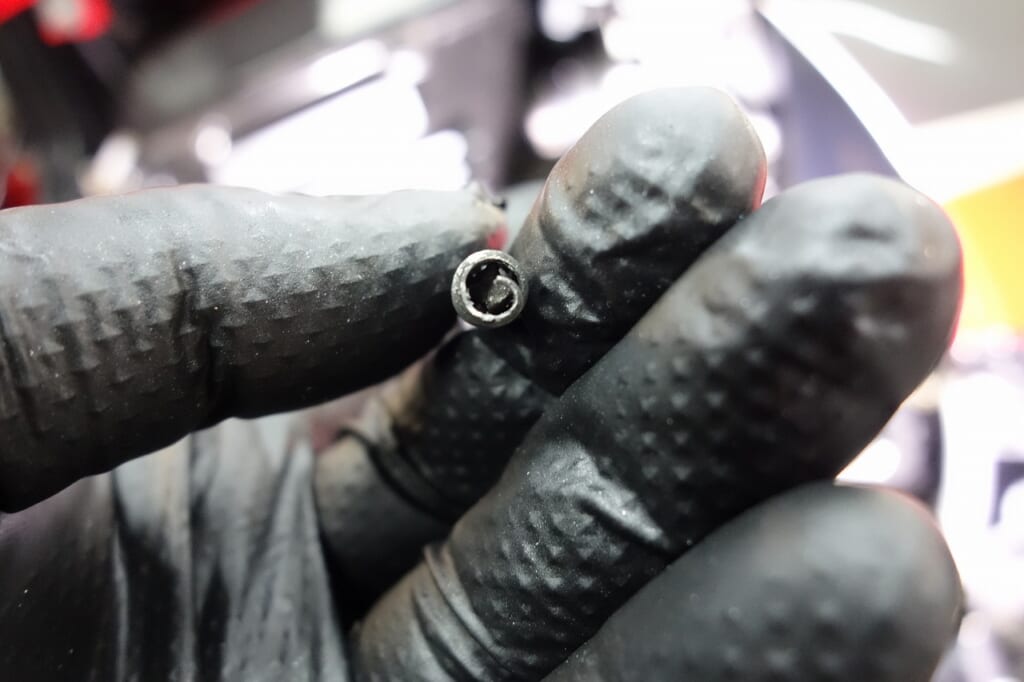
What’s good about this square type is that it “grips well”
Since you’re hammering it in, reverse taps should grip quickly, but if they don’t grip, the other side wears down, which means you risk damaging the base material.
The original hole won’t get mushy, which is good. KOTO · Trusco extractors Keep one handy and you might find yourself saying “Ah, that really saved me!” this year.
A phrase you hear often.
The caliper piston action is sluggish, so I spent time cleaning and working the caliper piston…
Hmm…
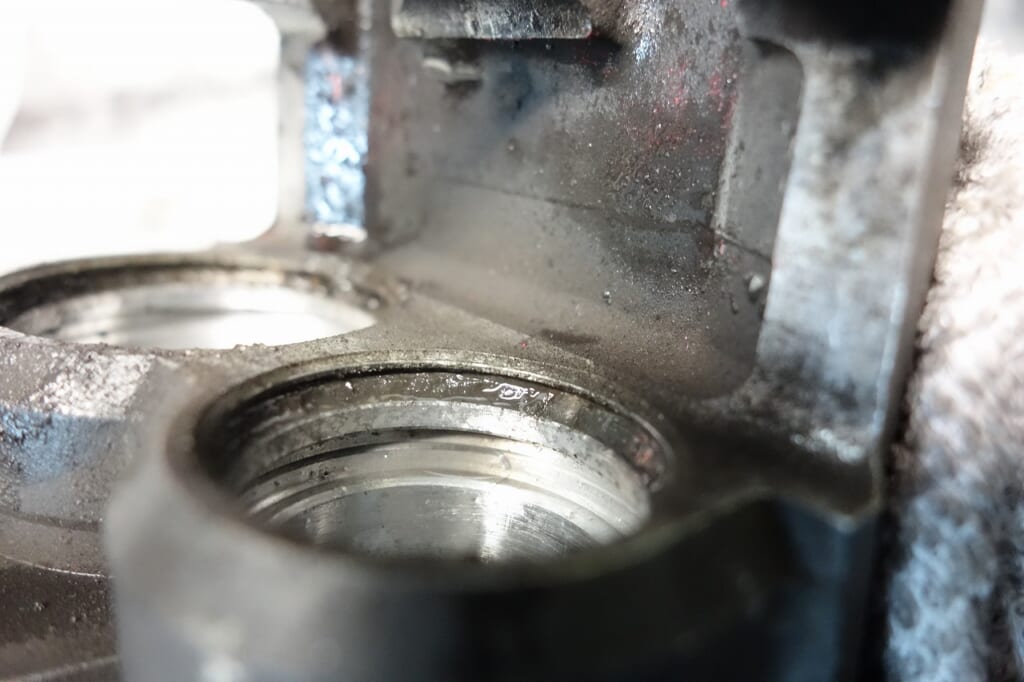
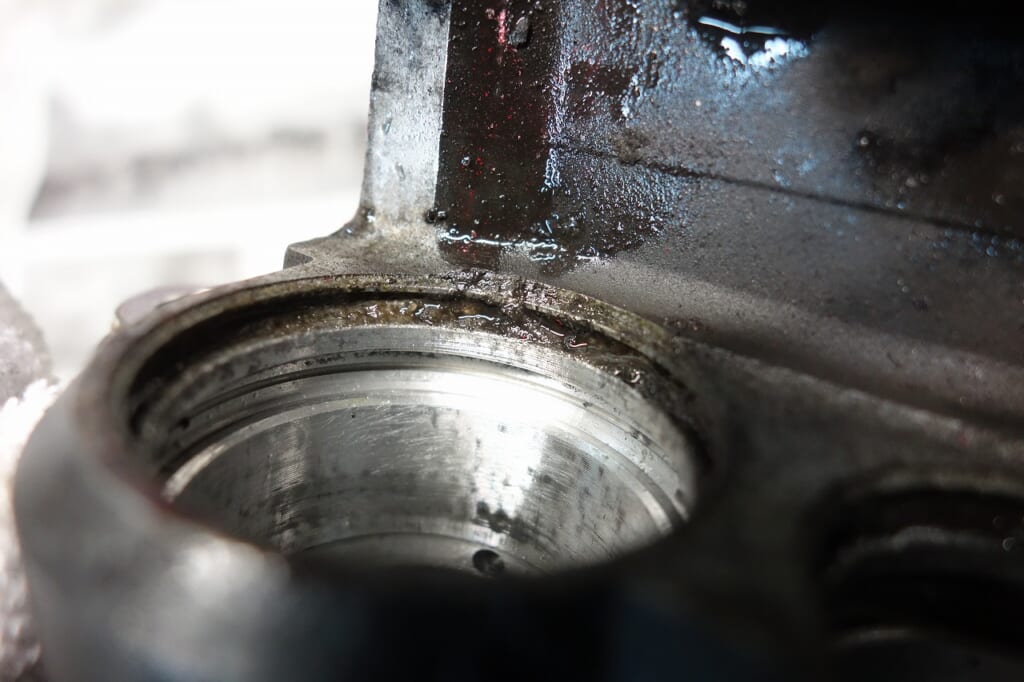
In that condition, debris has accumulated and the seal has hardened. If you’re going to spend the same amount of time, doing a full caliper OH is definitely the best option.
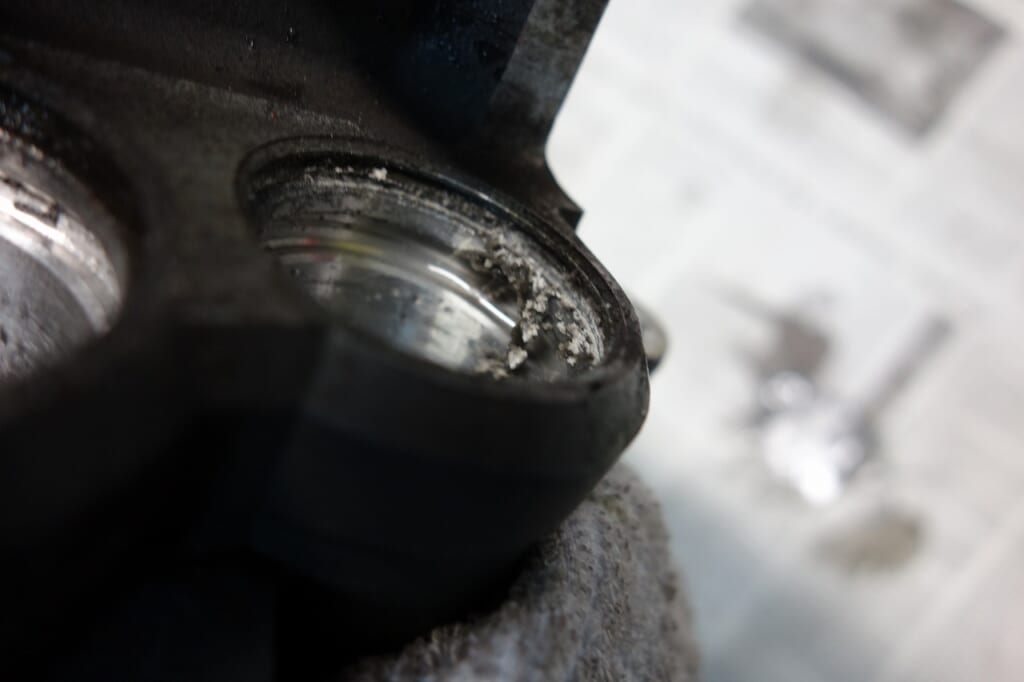
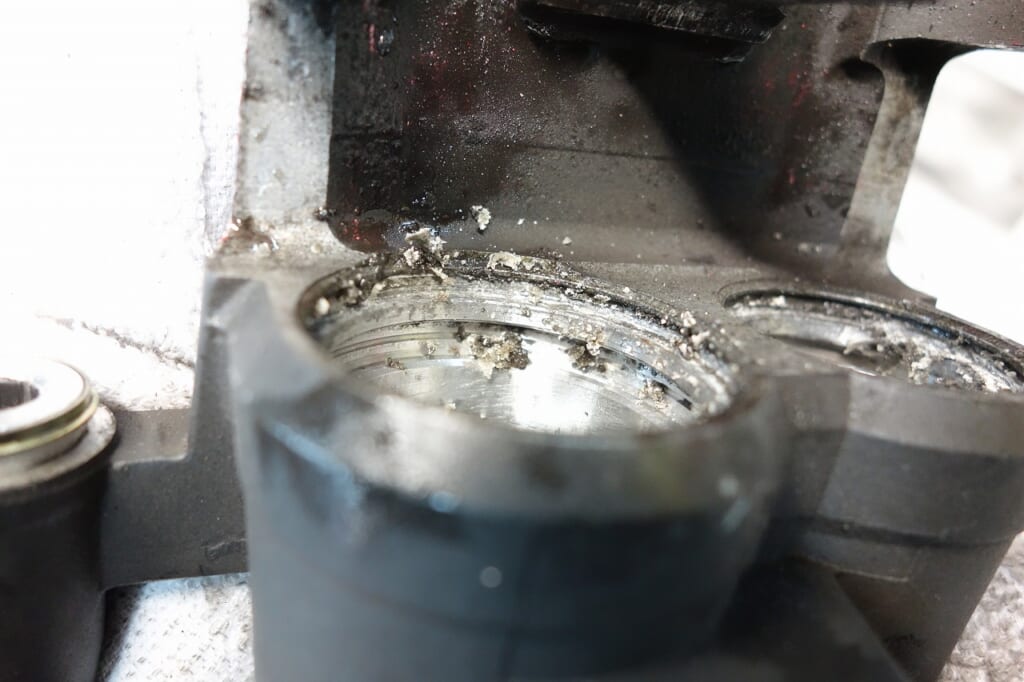
This accumulated debris is pushing the dust seal inward.
That’s why it’s stiff and the seal is eating away.
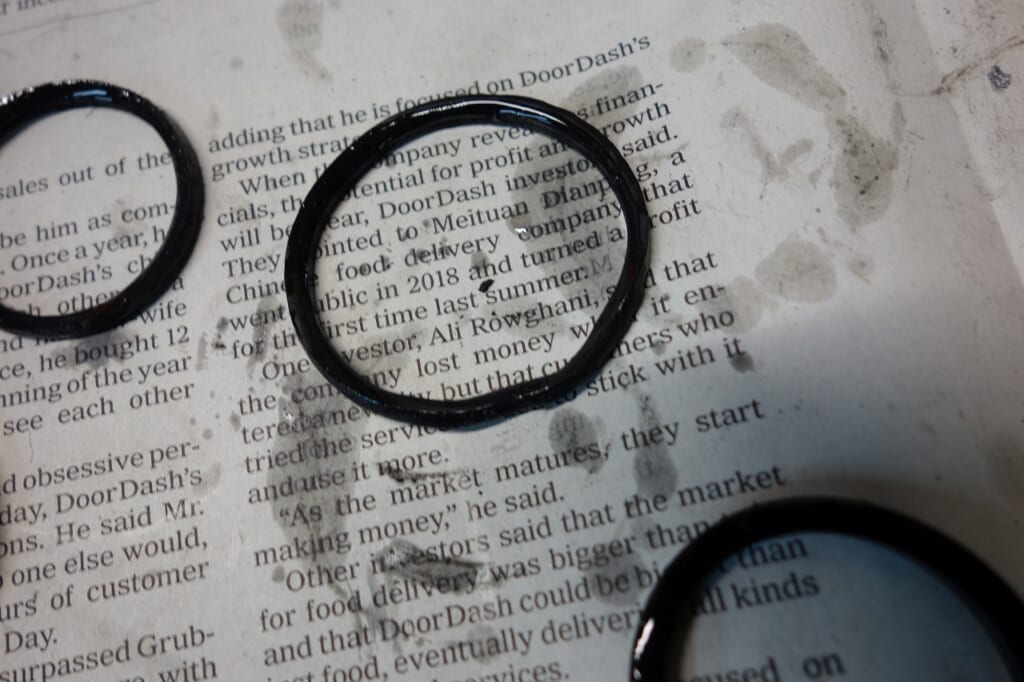
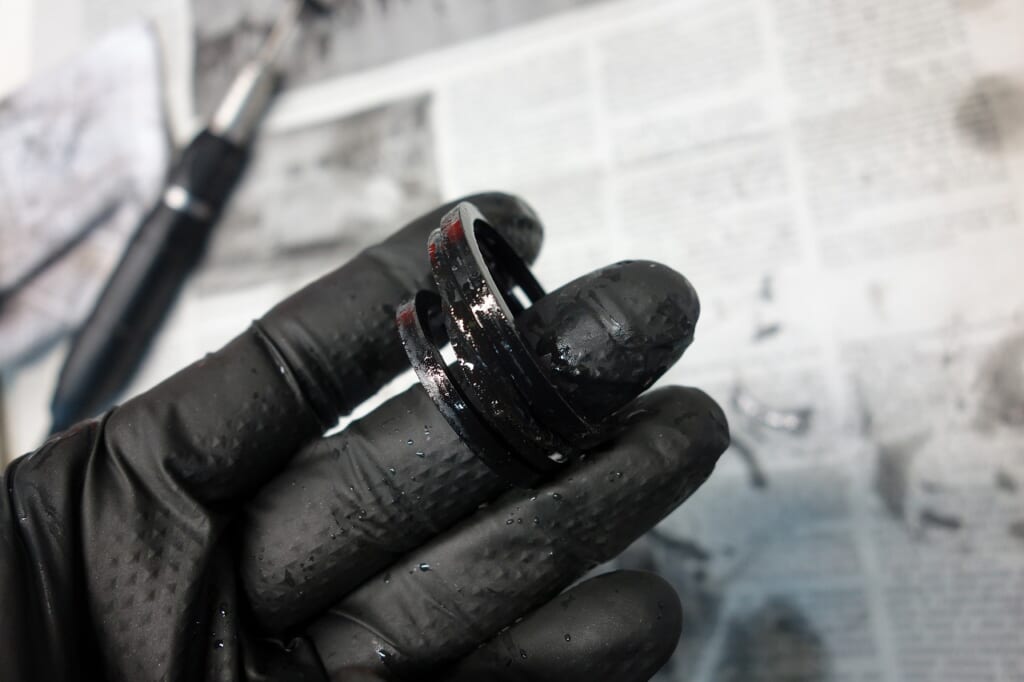
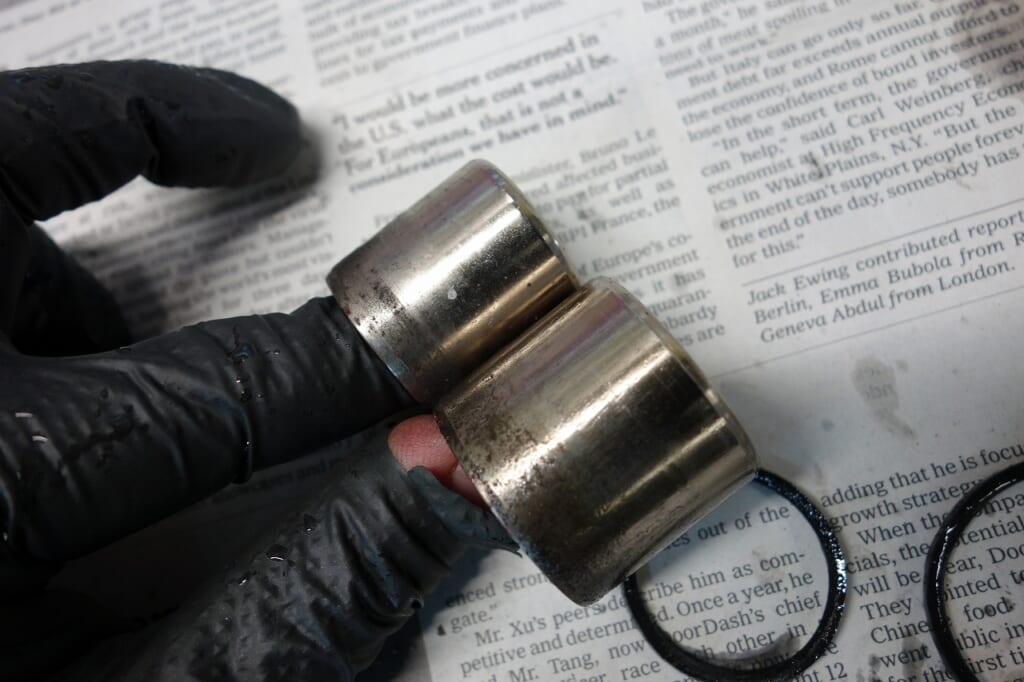
The dust seal was already deformed and the rubber feel of the seal had hardened.
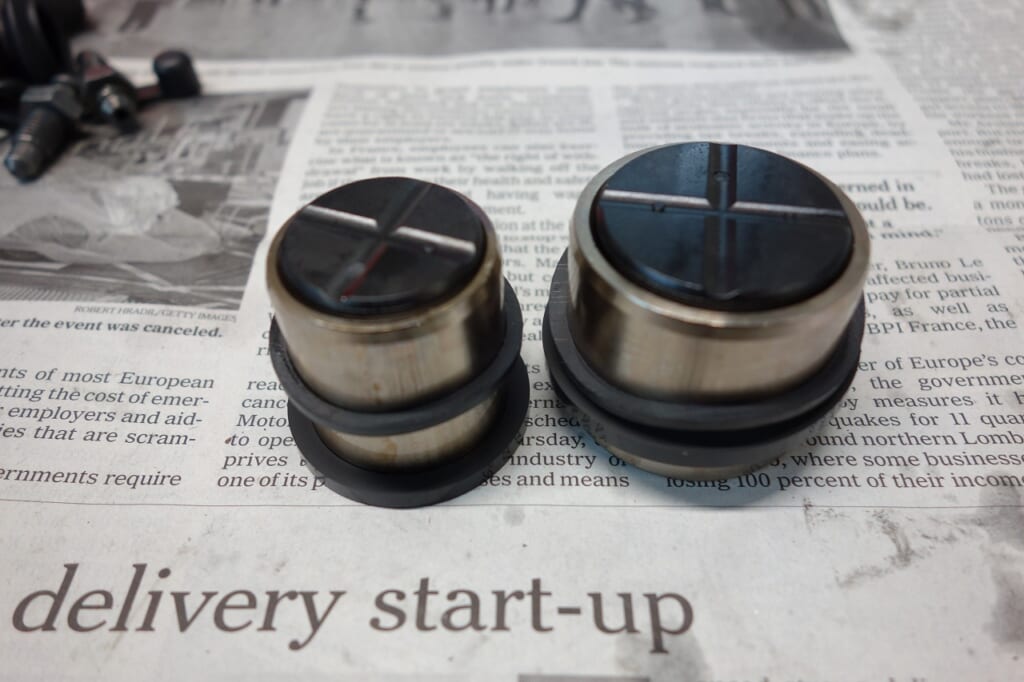
The piston has minor surface rust, but I recommend replacing it during OH.
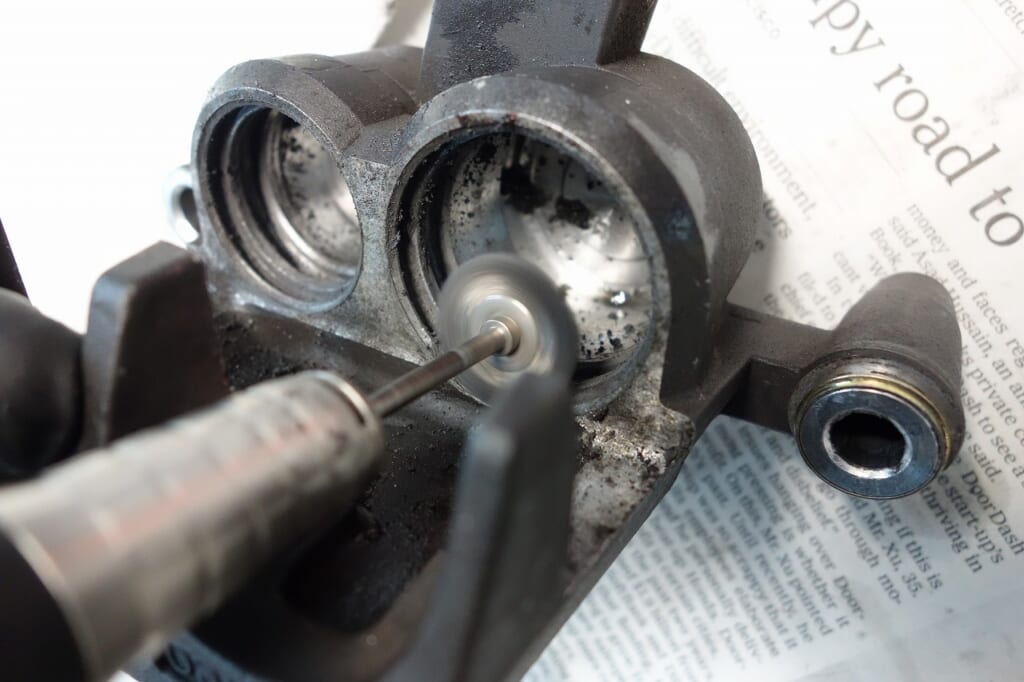
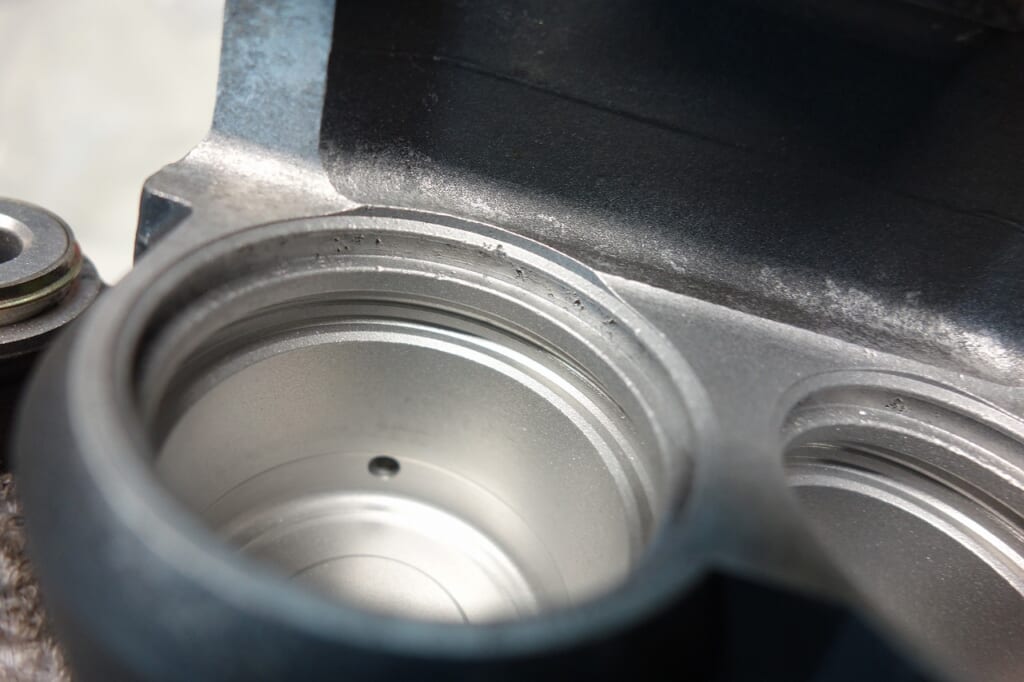
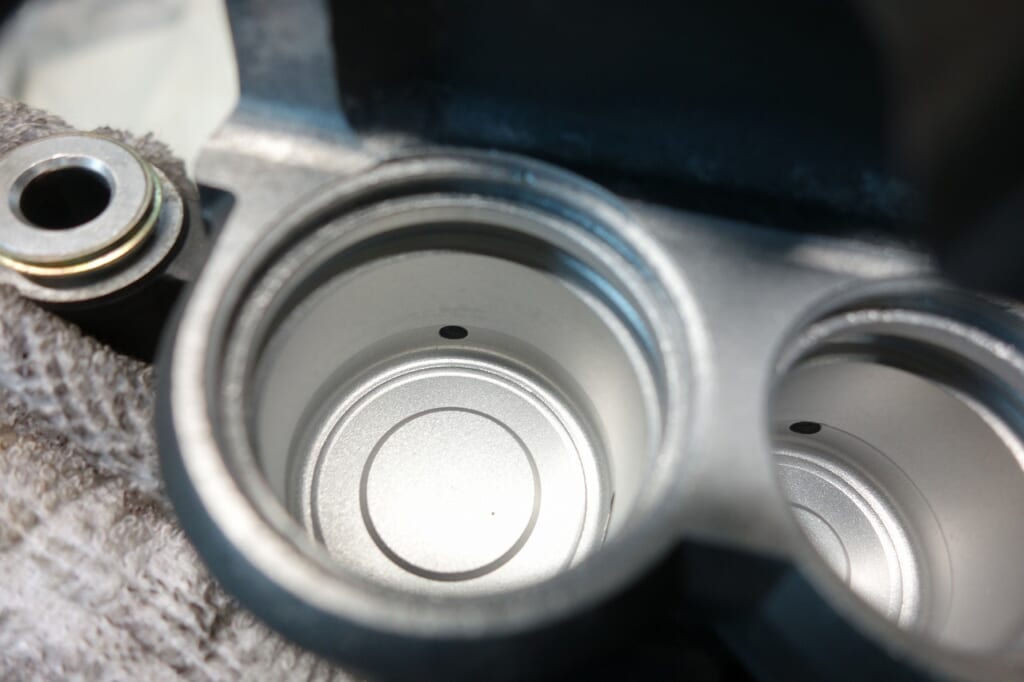
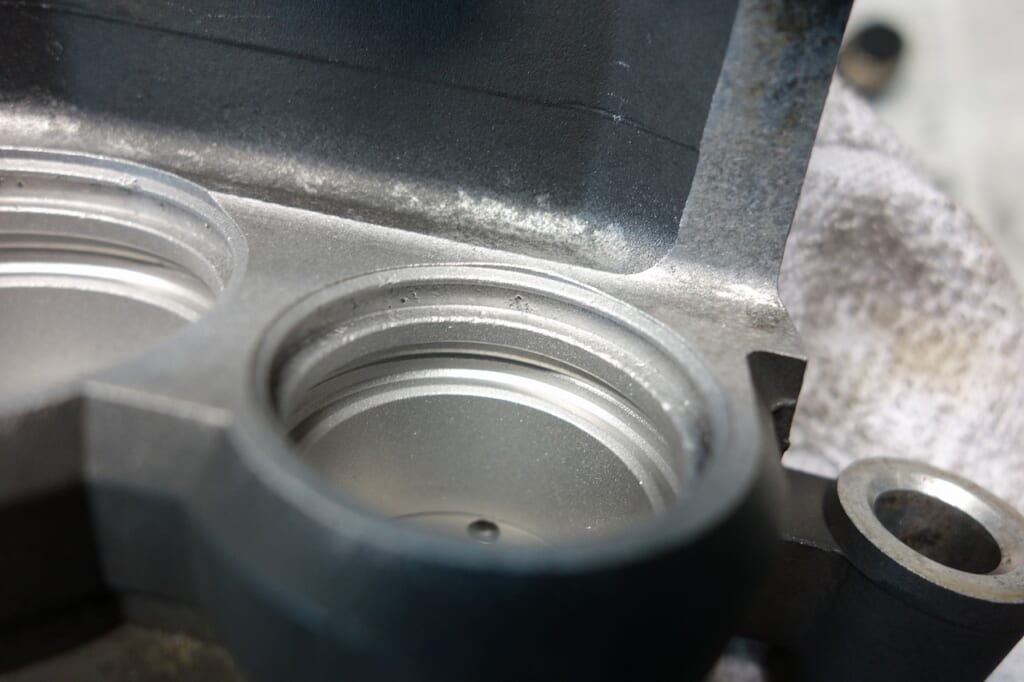
I’ll clean up the debris with a rotary tool and brush, then polish and finish.
Shot peening the finish makes it resistant to corrosion in the future.
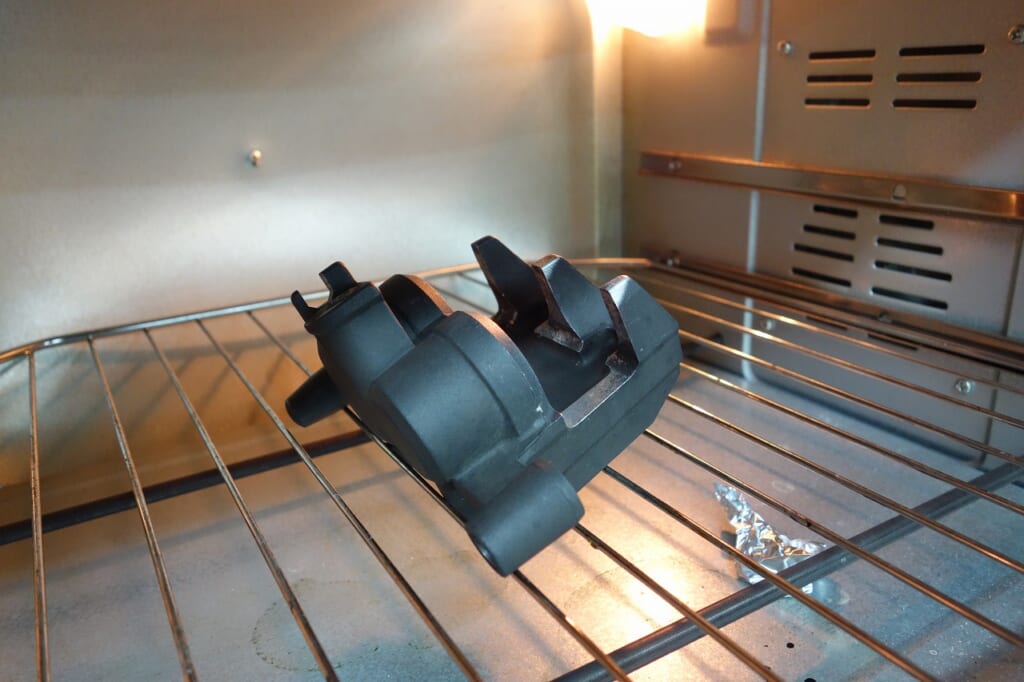
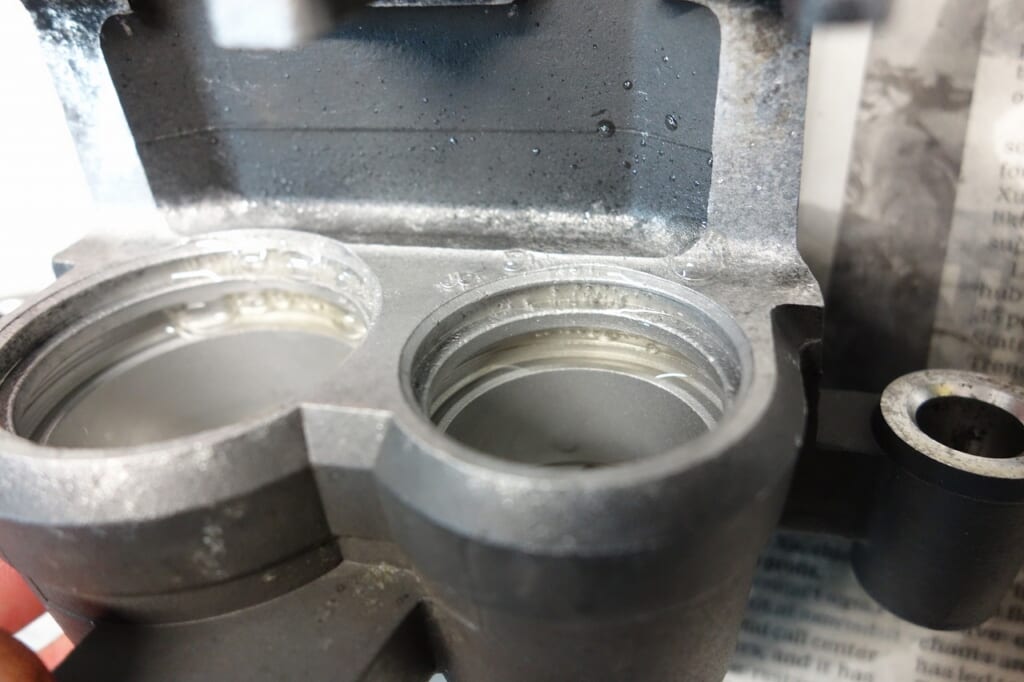
Completely drying the caliper really boosts your confidence.
It’s good to inspect all the seals carefully—you’d be surprised how often mistakes slip through.
In those cases, of course the person who did the work is responsible.
Check first, check second.
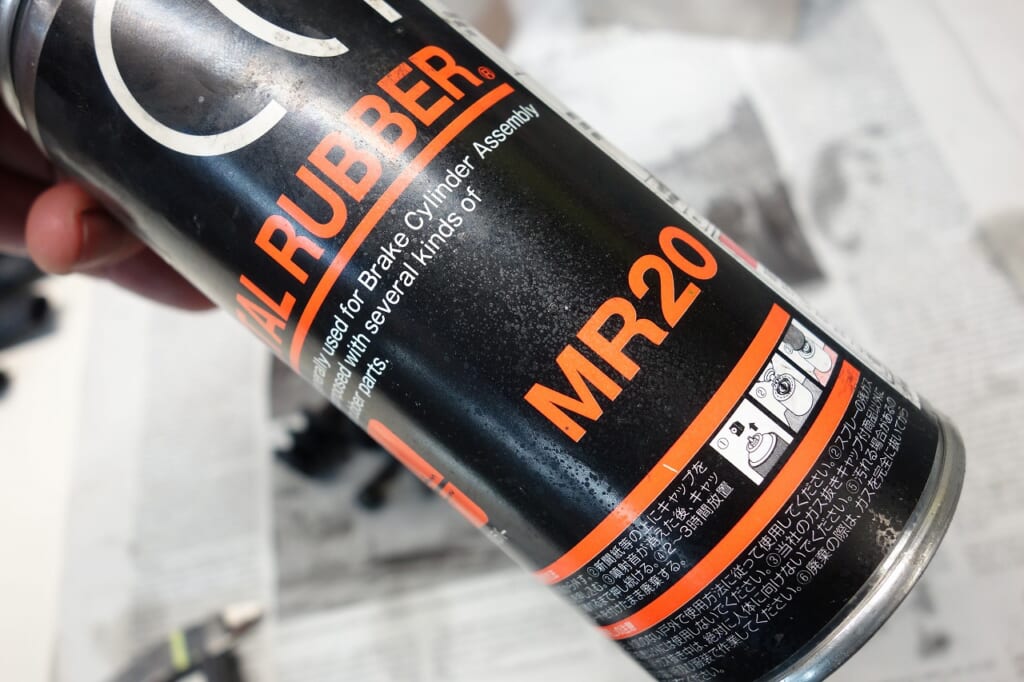
CCI MR20 Metal Rubber A gem I’d like everyone who assembles caliper OHs with grease to try at least once.
It becomes so smooth you might think you’ve gotten better at caliper OH.
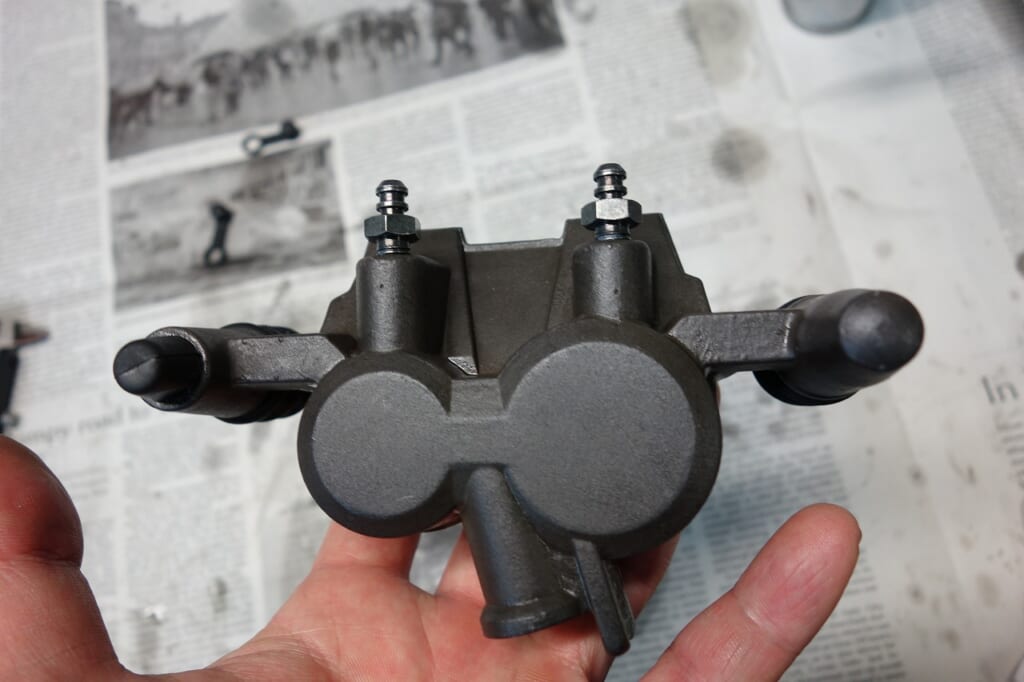
Finally, apply rust preventative oil, wipe it off, and we’re done. Don’t lick AZ oil… it’s sharp.
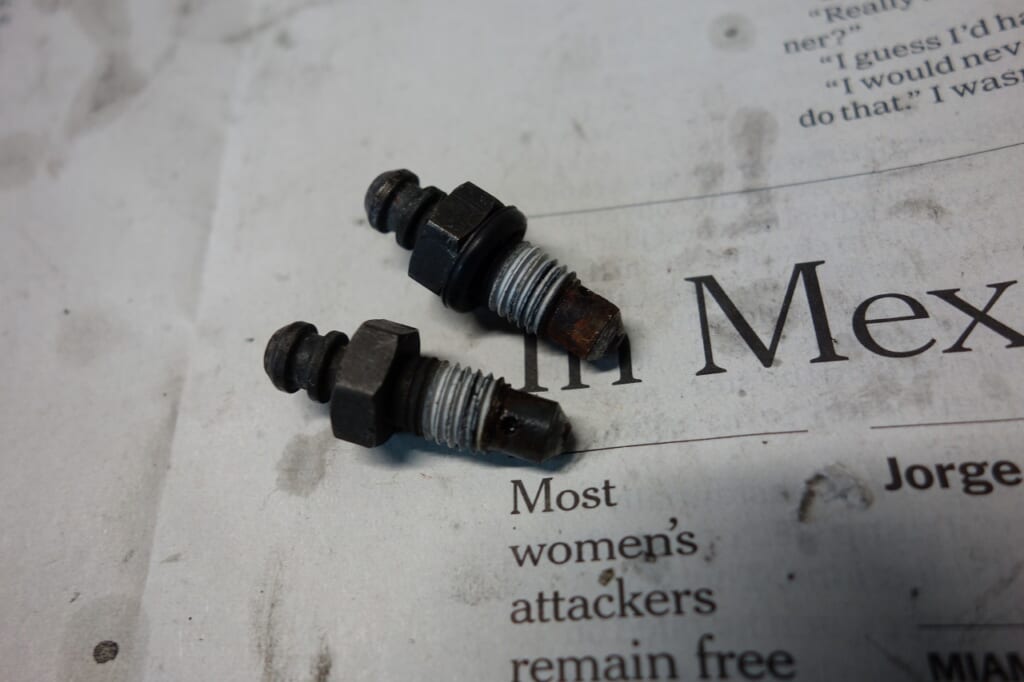
The bleeder seal is so-so.
Manufacturers are doing this lately too, but I think it’s because they absolutely don’t want it to seep. If you remove the residual fluid properly, it won’t seep.
Seeping = poor residual fluid wiping, I think.
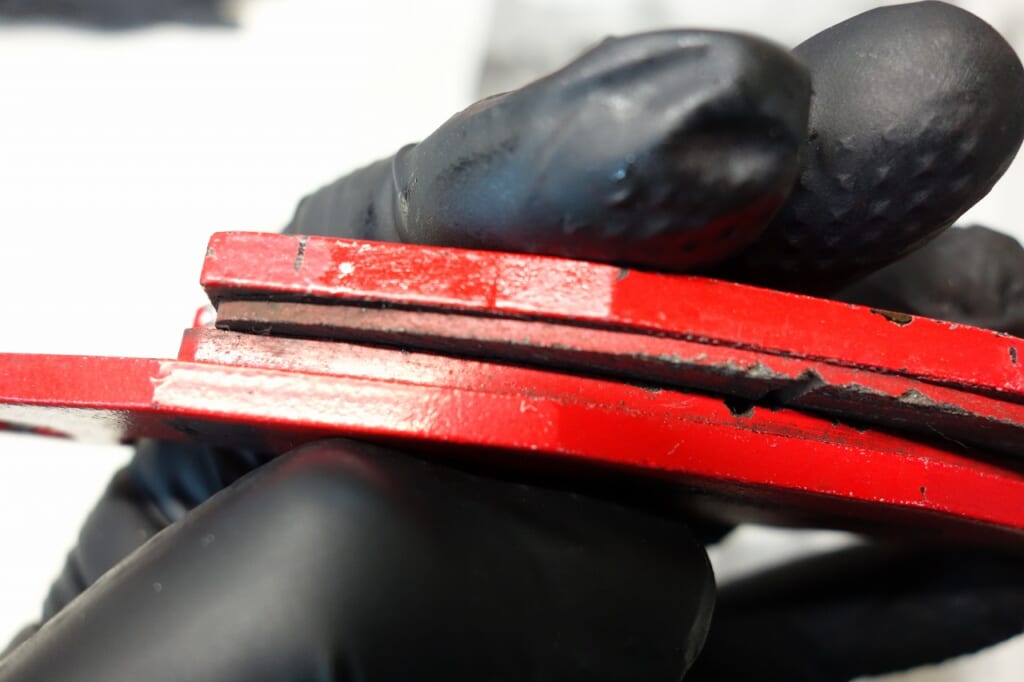
The pads might last… no, actually they won’t. Let’s replace them.
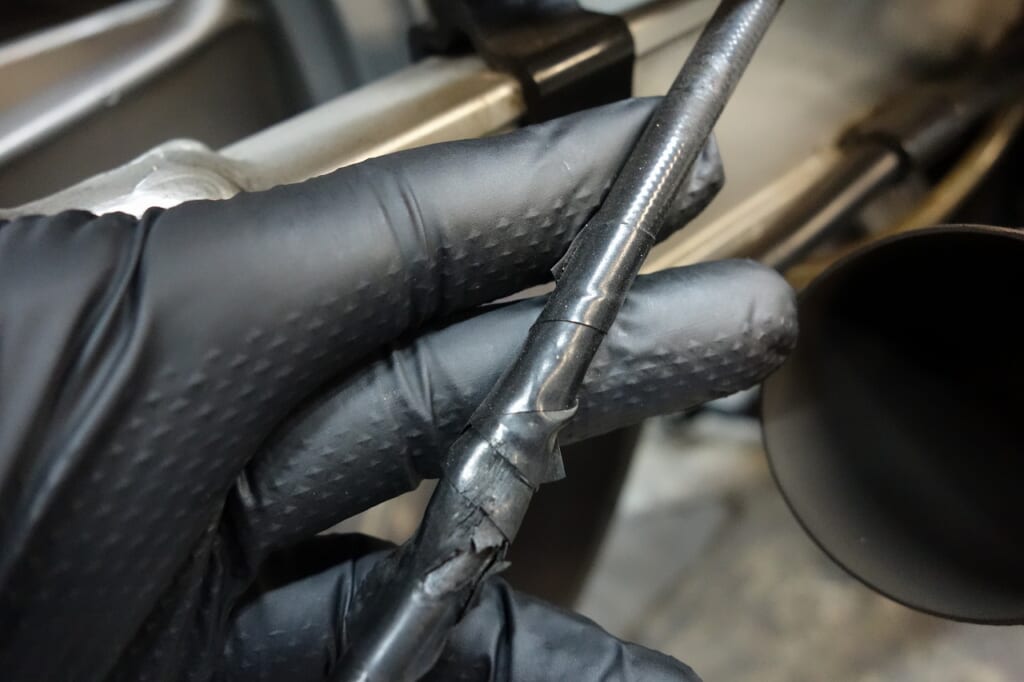
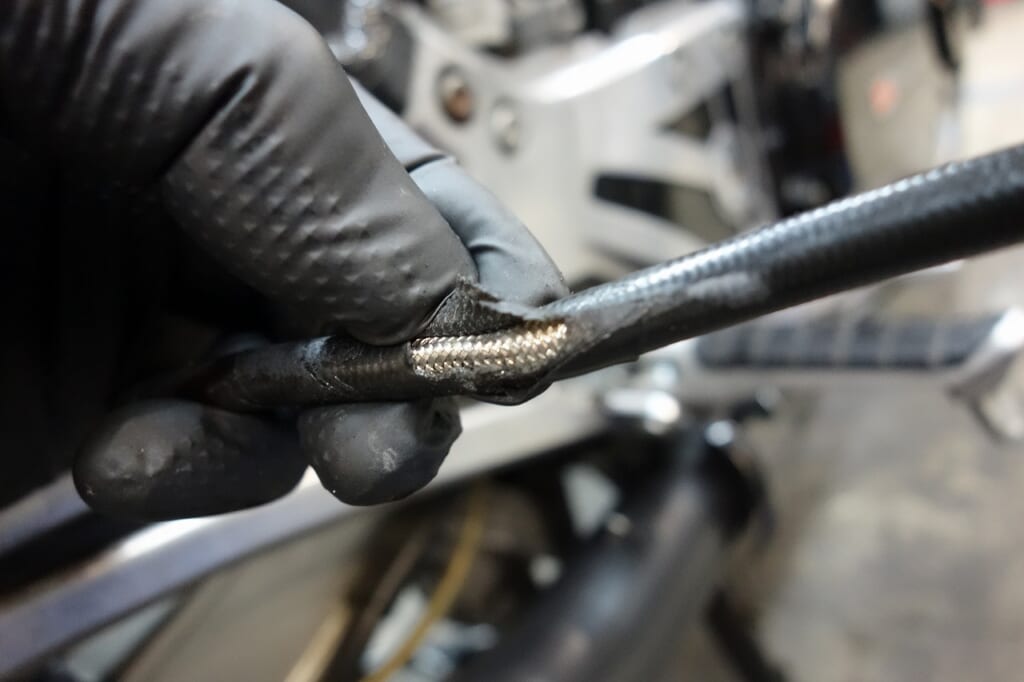
The brake hose has scary tape on it…
It looks like it got crushed by something. Good thing it was just the outer cover.
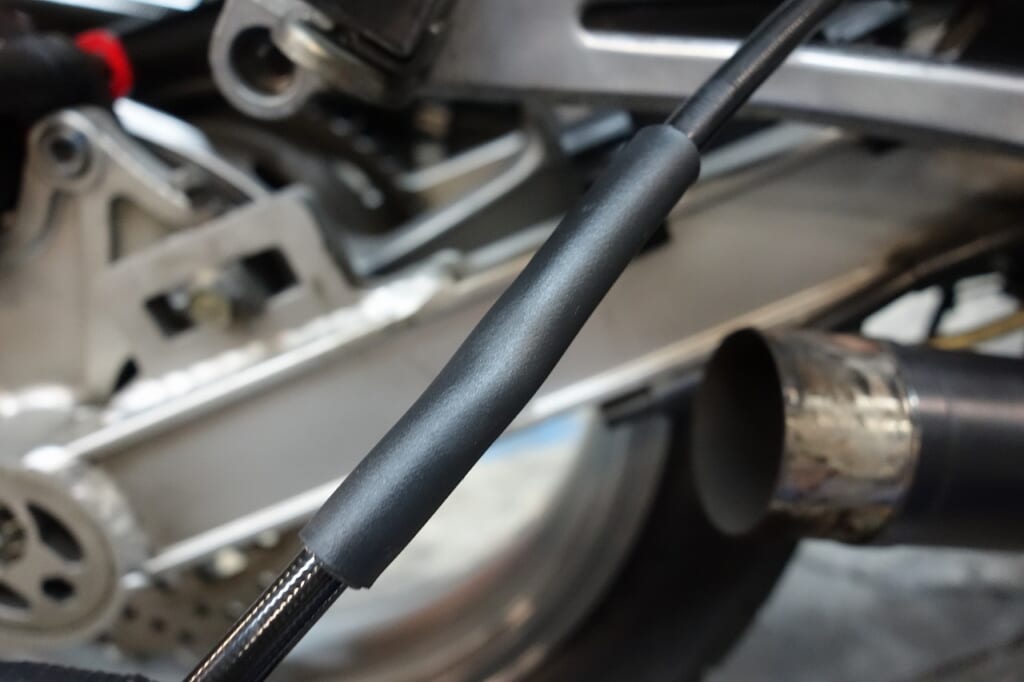
In cases like this, I reinforced it properly with 3:1 heat shrink tubing.
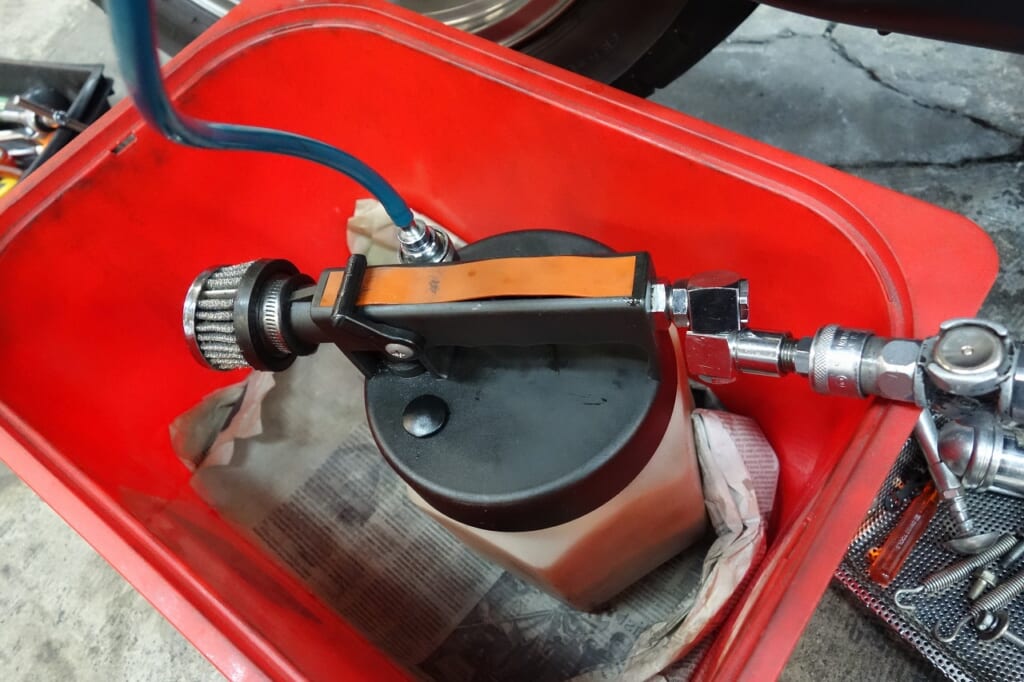
By the way, the brake fluid changer tool you all probably have
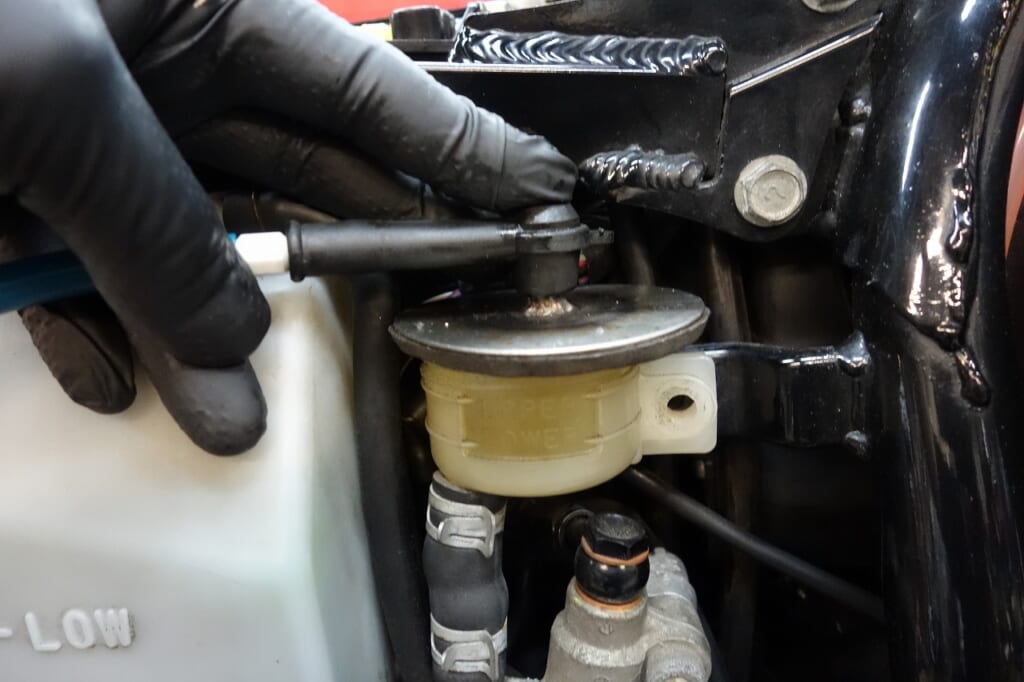
You can also use it for soft vacuum bleeding. Air purging is super fast.
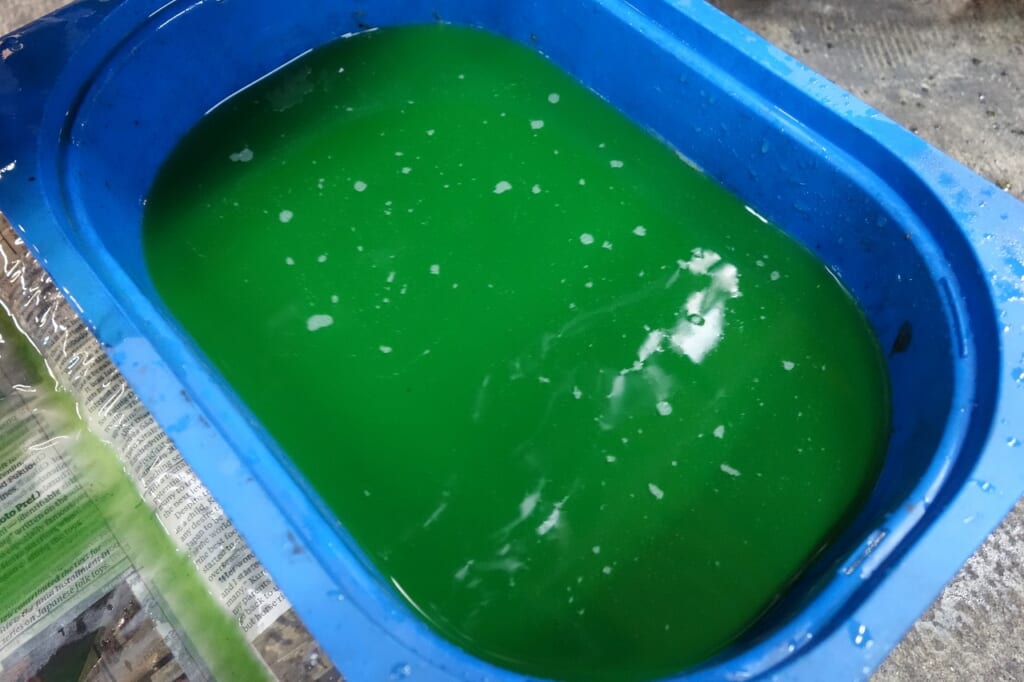
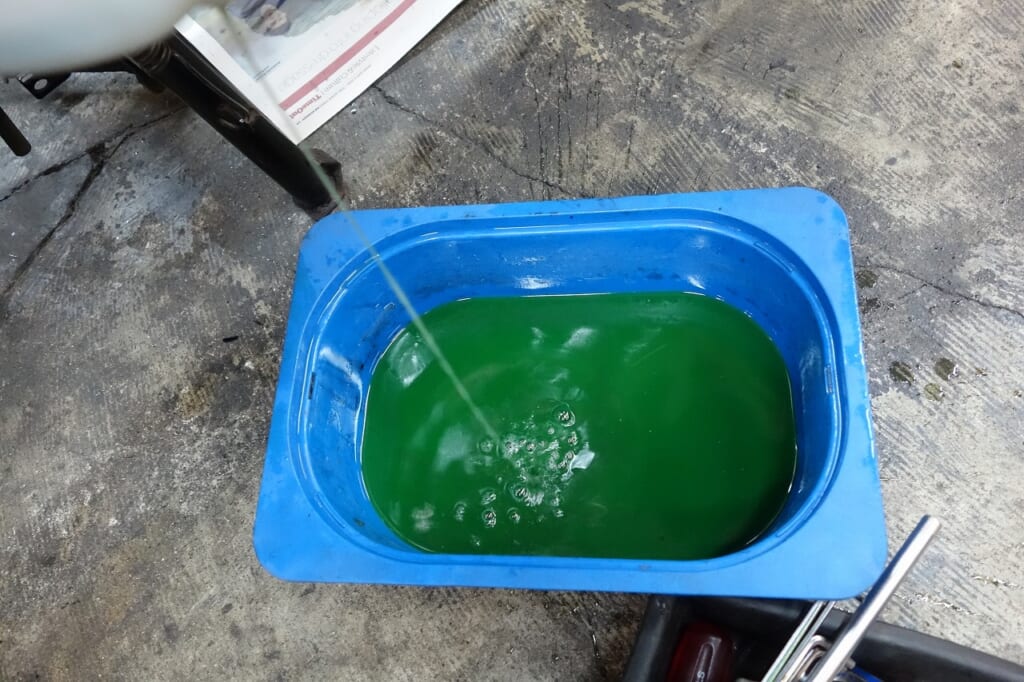
Now let’s change the coolant. The image is a bit hard to see, but it was pretty cloudy… I drained the reservoir tank completely too.
At minimum, change it every 1-2 years for best results.
Especially with iron-based pipe layouts, you really need to be careful.
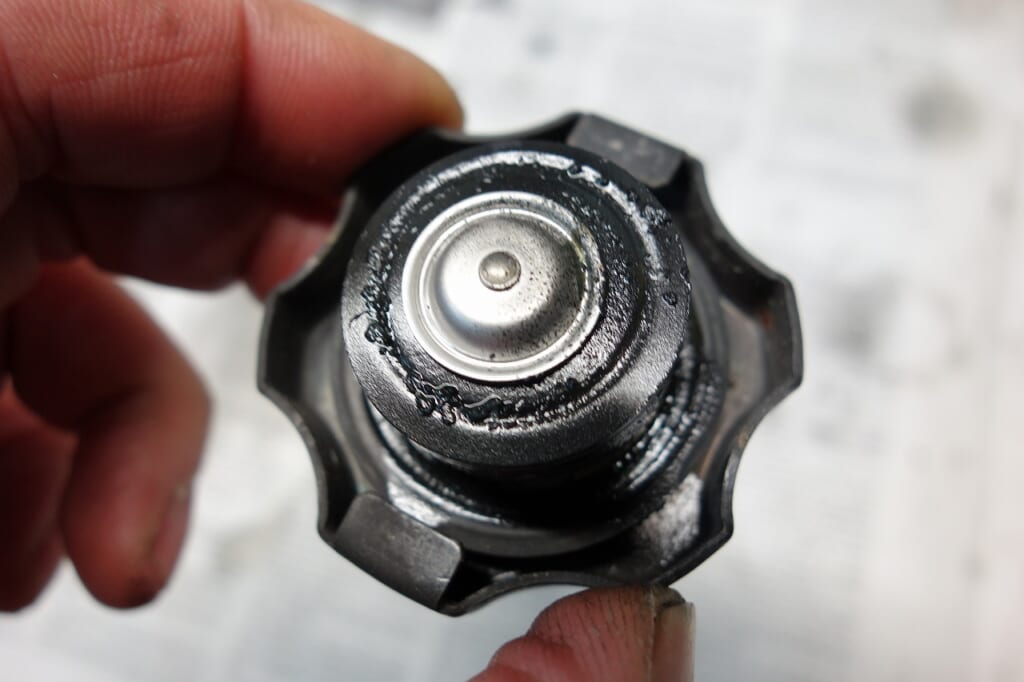
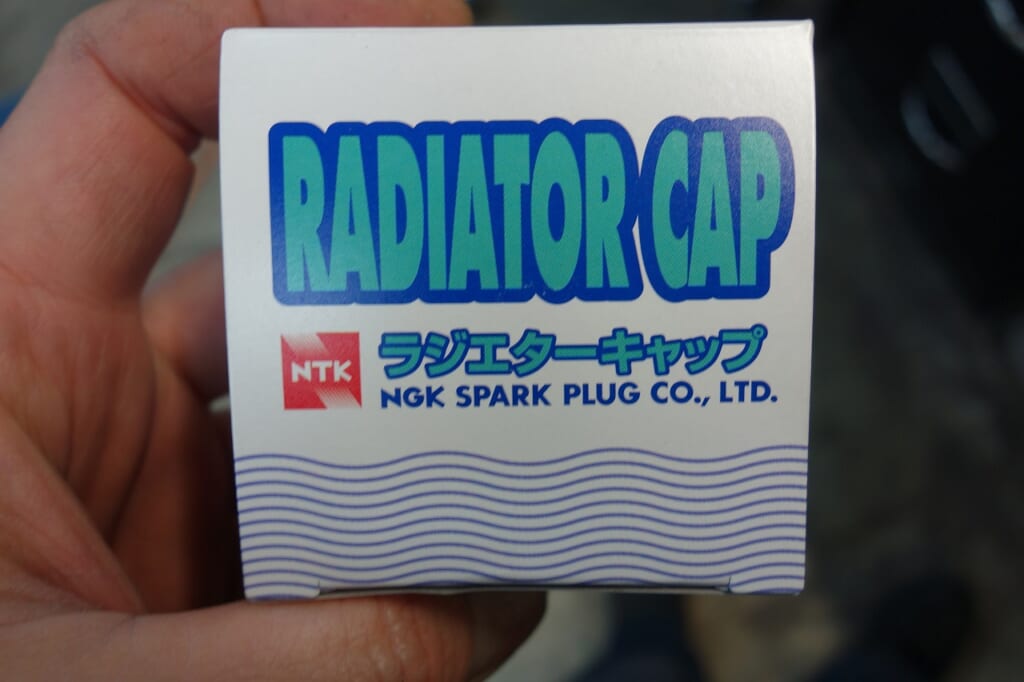
The radiator cap is due for replacement too. The rubber section has a step and has hardened.
I’ll use the usual NTK for the cap.
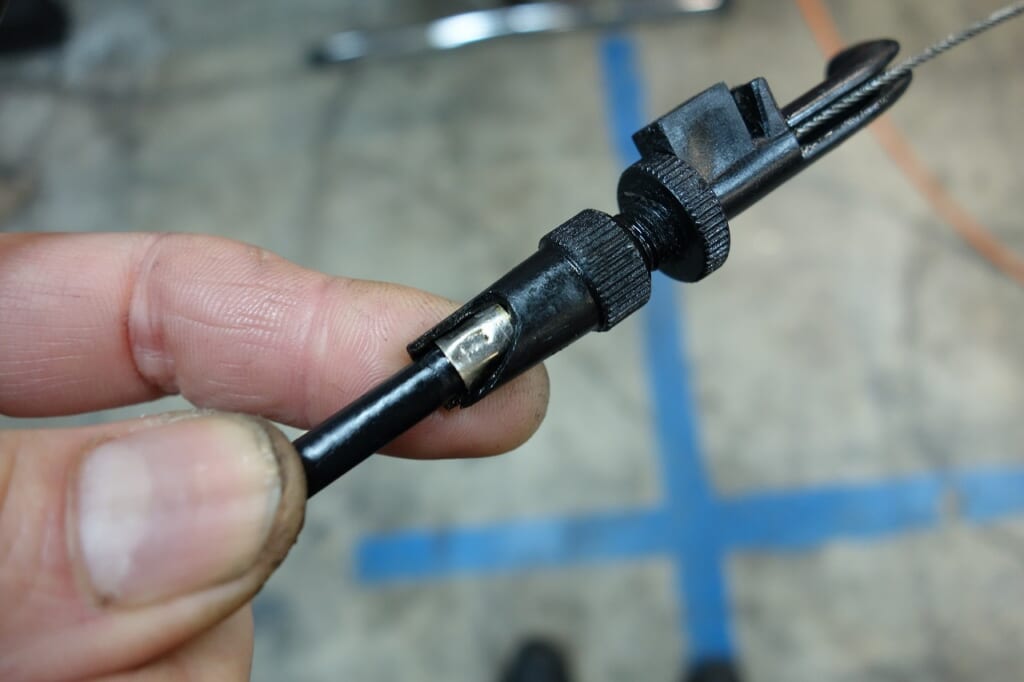
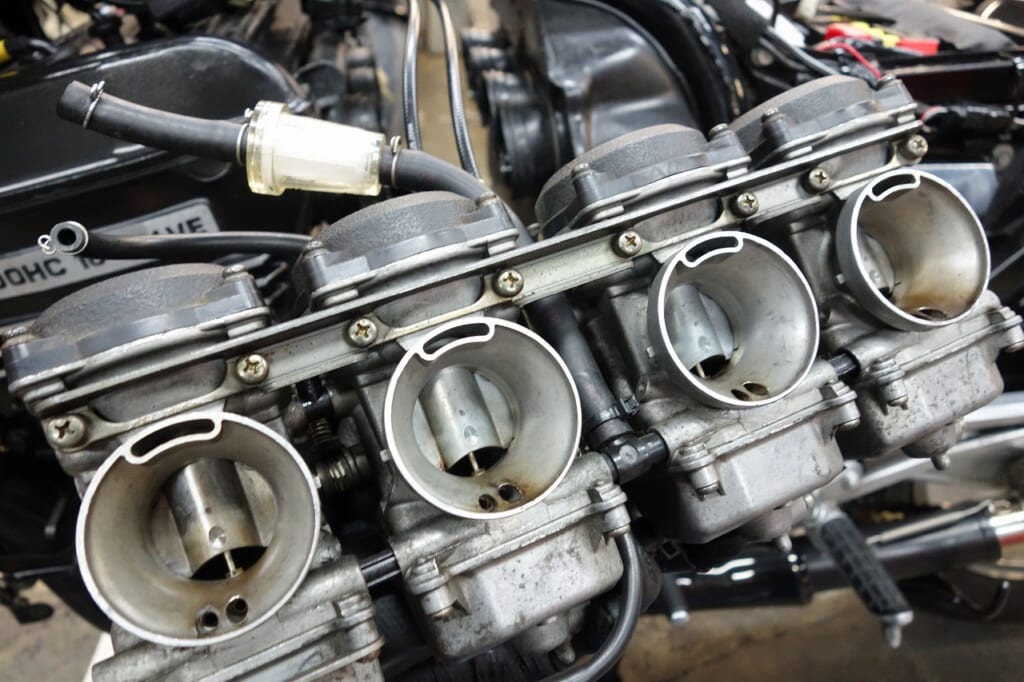
The throttle cable return issue was caused by the cable routing and a missing adjuster section.
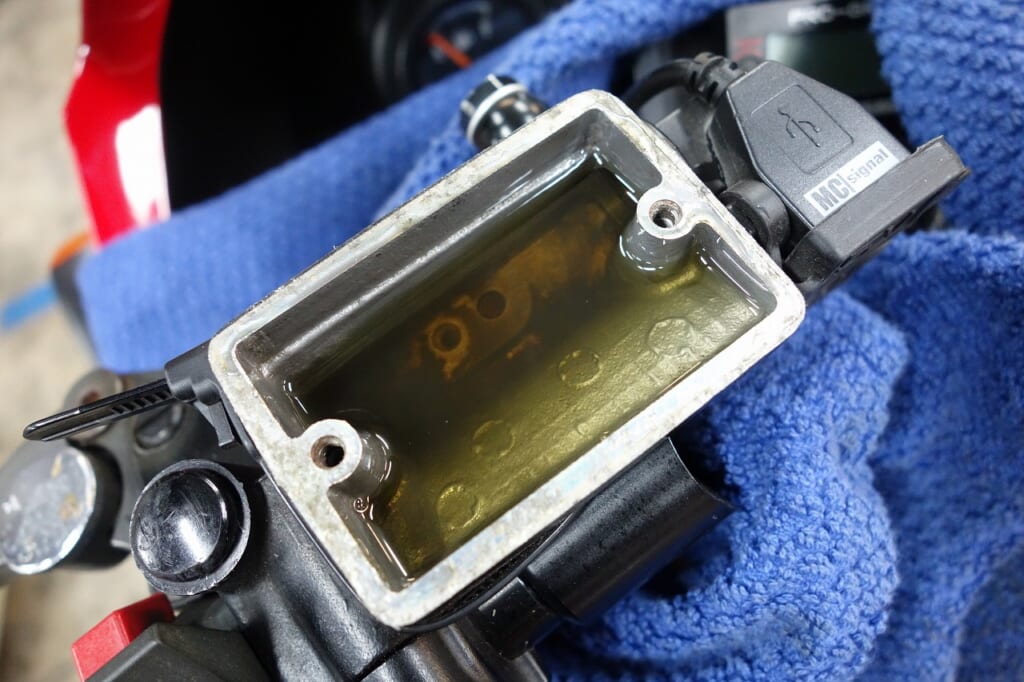
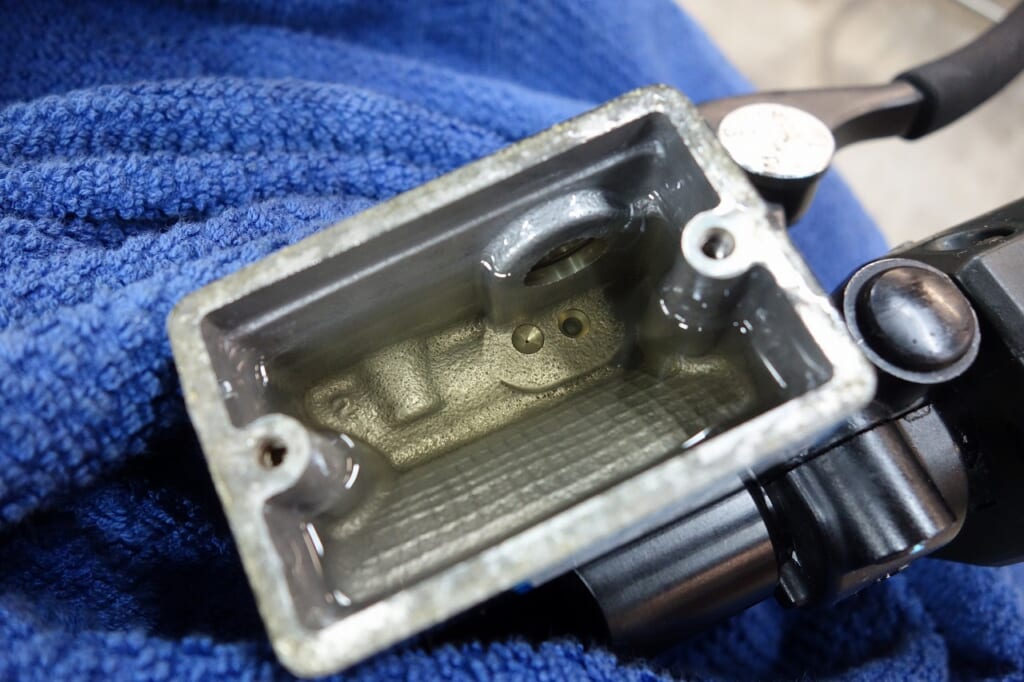
I’ve changed the brake and clutch fluid.
I think fluid is safe to use for about 2 years.
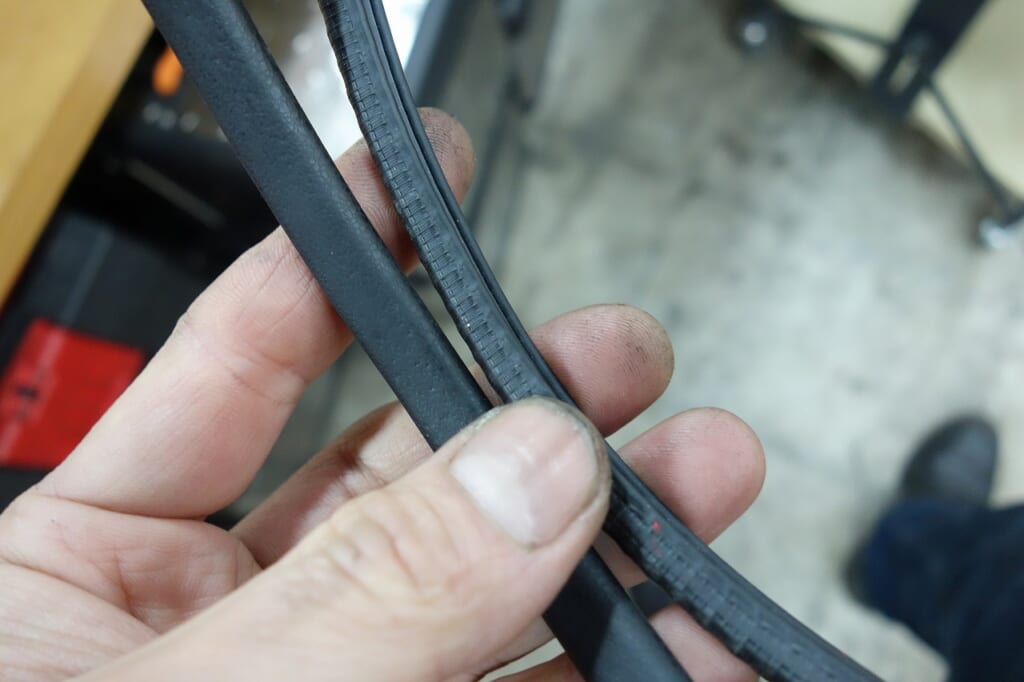
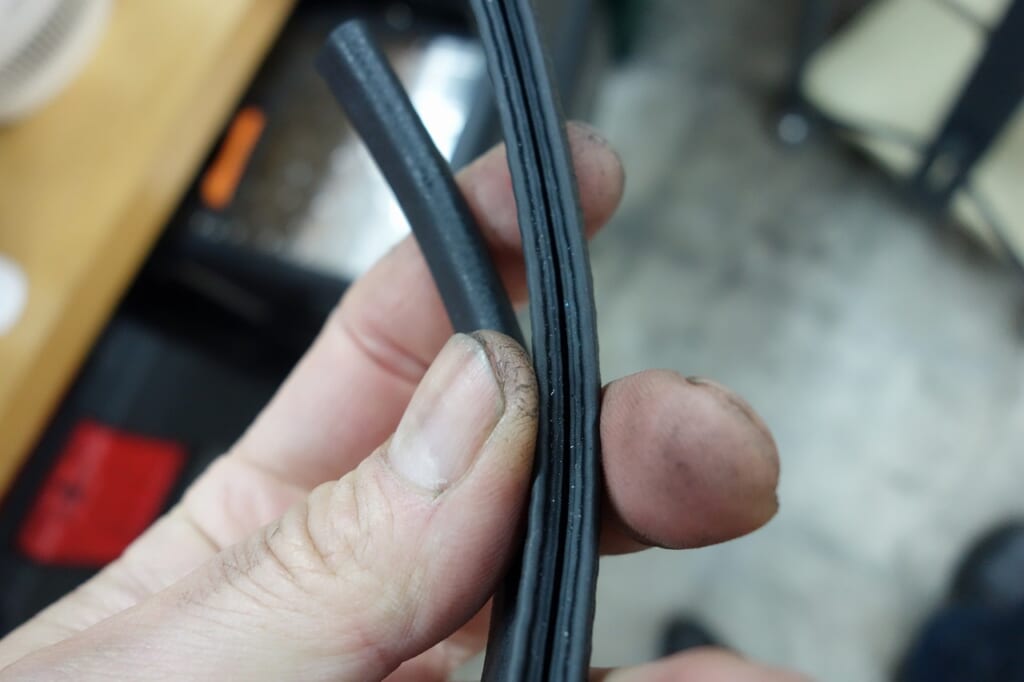
Using metal-reinforced tank moulding really cuts down on frustration.
After that, replace the rear pads and we’re done.