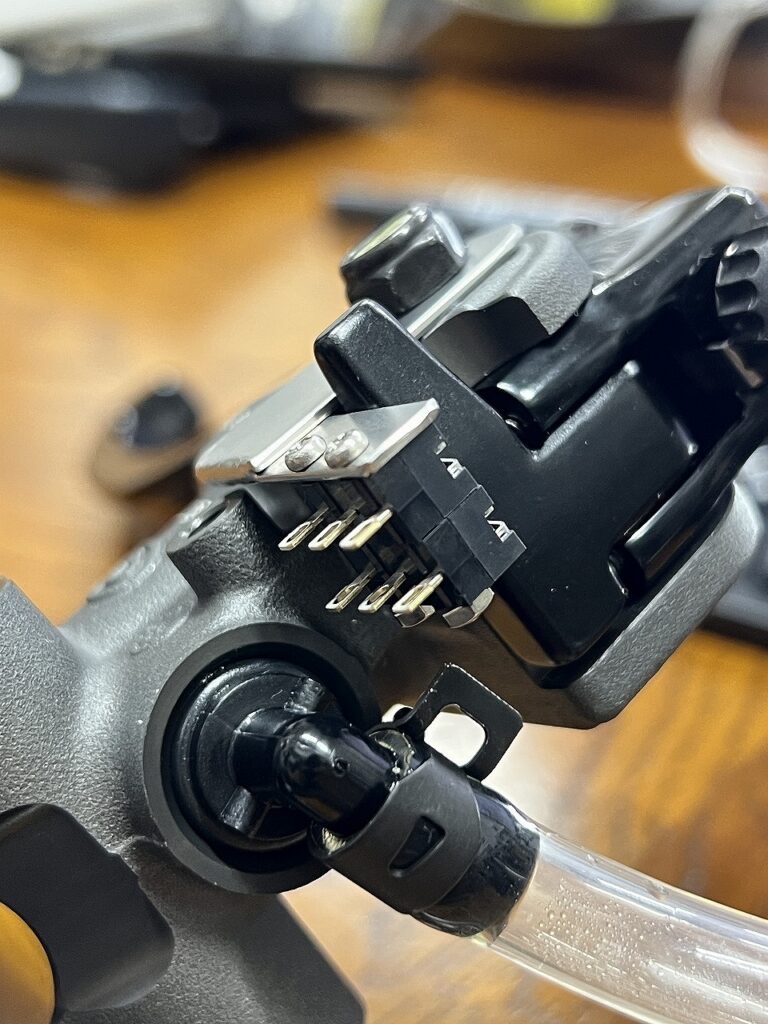
The tachometer is taking its sweet time getting back to us (;∀;) The brake pads finally arrived, so we’re continuing with the work.
Today’s maintenance & custom log
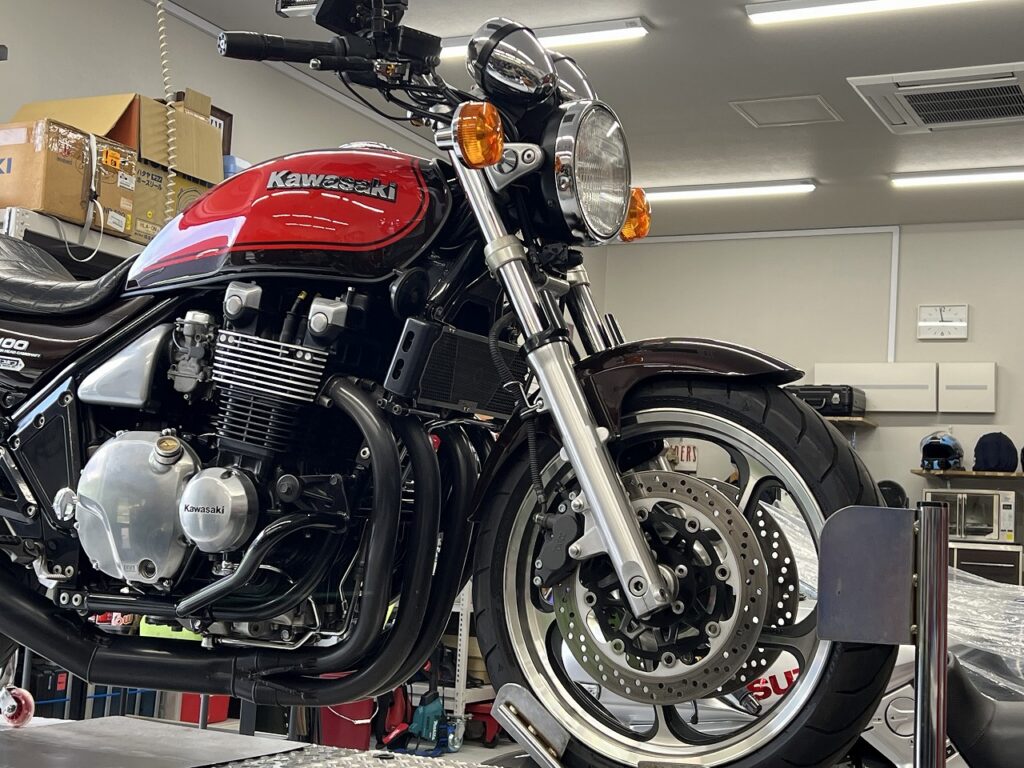
Vehicle: Kawasaki Z1-R
Progress: The long-running custom project “Season 2” is finally entering its final stages!
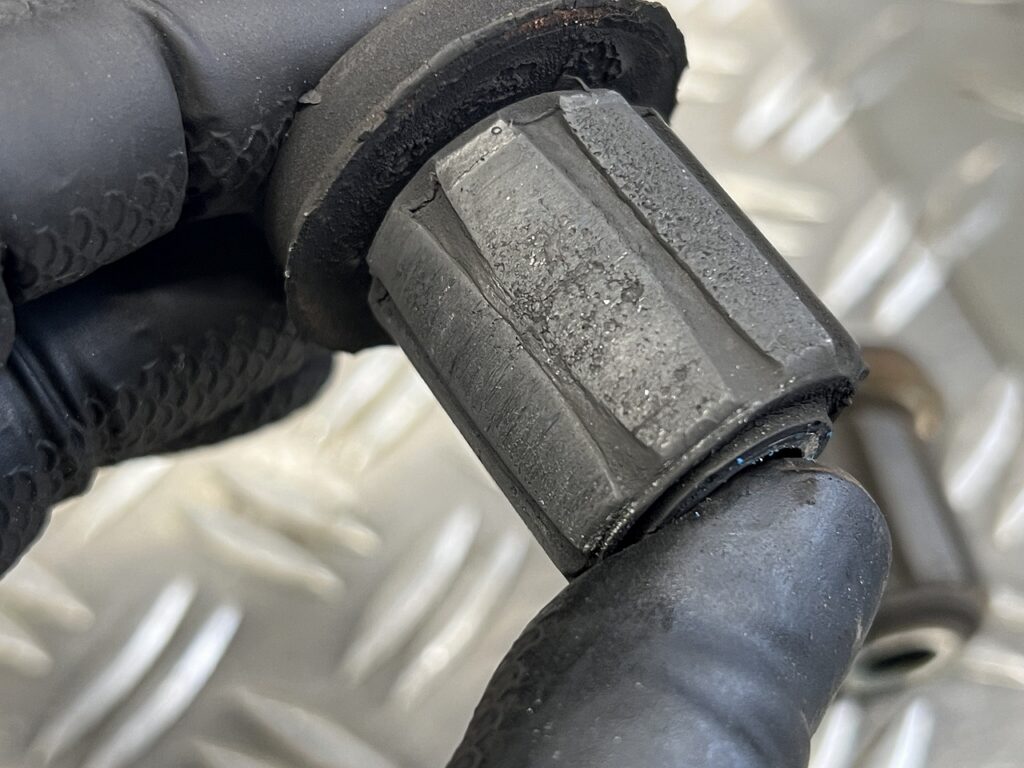
Today’s work: Shift arm replacement.
Purpose and effect:
To optimize the linkage ratio (lever principle) with the rearsets and other components.
Eliminates the vague, spongy feel and difficulty engaging gears typical of older Kawasakis, delivering a premium shift feel where even the slightest ankle movement results in a crisp, decisive “click.”
Decoboco’s other blog. “RURAL GARAGE“
A secret room for non-motorcycle topics. Convenient everyday items, relocation, delicious food, life philosophyand more. ←click
More offset is better than less—it gives you more recovery room. I sourced a shift arm from a Z900RS. I wish I’d known the offset amount and arm length. Well, it’s a small part, so they wouldn’t list those specs for adaptation purposes anyway.
As long as the tooth count and diameter match, this type of part can be adapted.
The noise has been significantly reduced, so the embarrassment factor is much better now. Pad grease is actually quite effective for this type of pad.
Now we’re just waiting on the tachometer. The gauge shop had a stuffy nose when I called. I’ll hold off on pushing them. Please bear with us a bit longer.
Kawasaki Z1-R “Season 2” Nearing Completion: Upgrading the Shift Arm.
Vehicle: Kawasaki Z1-R. The iconic, angular masterpiece of the Z series. Work: Changing the shift arm to optimize the shift linkage geometry. Details: The second major phase (“Season 2”) of customizing this legendary Z1-R is finally entering its final stages! The heavy lifting is done, and now we are focusing on the critical details. To cure the somewhat clunky shifting feel typical of classic Kawasakis, I changed the shift arm. By correcting the leverage ratio and linkage angles with the rearsets, the shifting goes from vague to a crisp, precise “click.” Verdict: The difference in operation is incredibly satisfying. “Season 2” is almost complete, and I am highly anticipating the final test ride!



 ポチップ