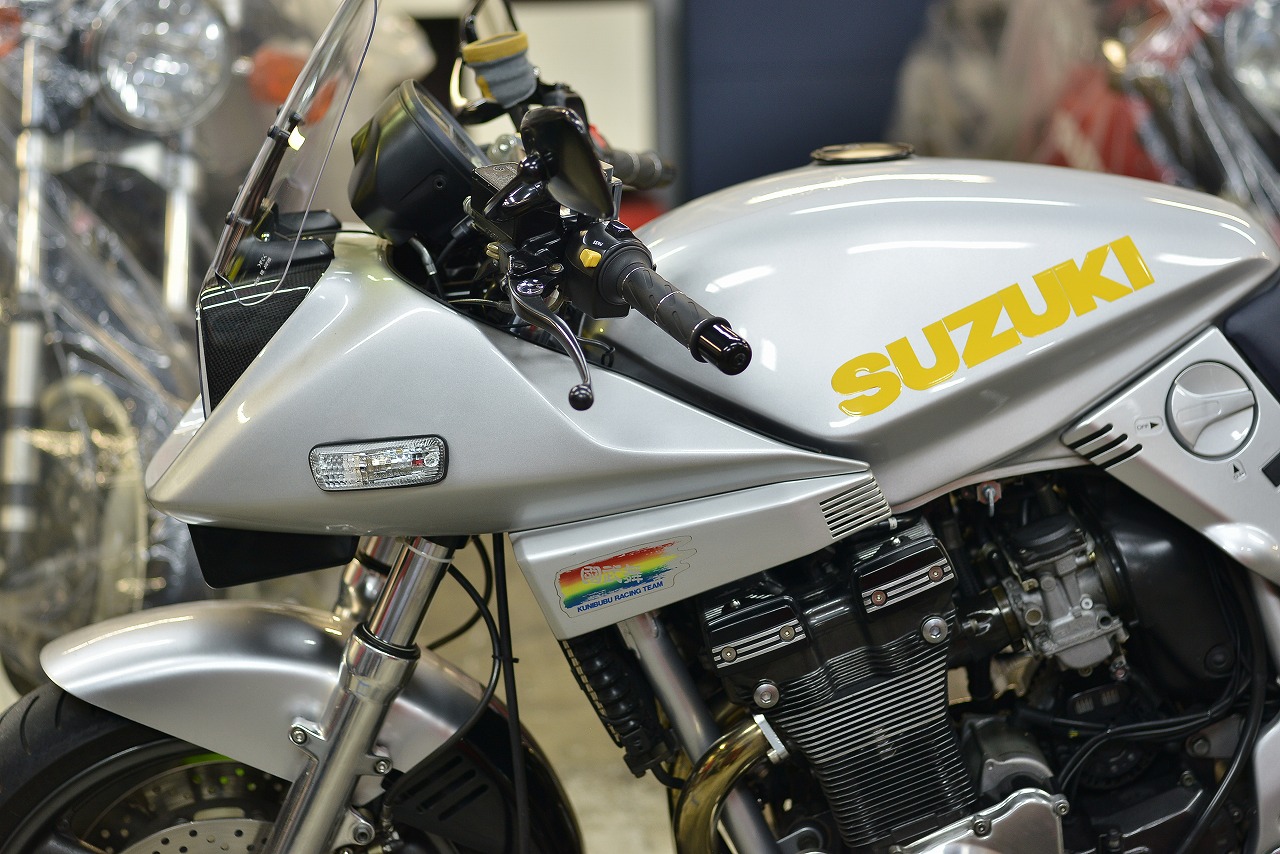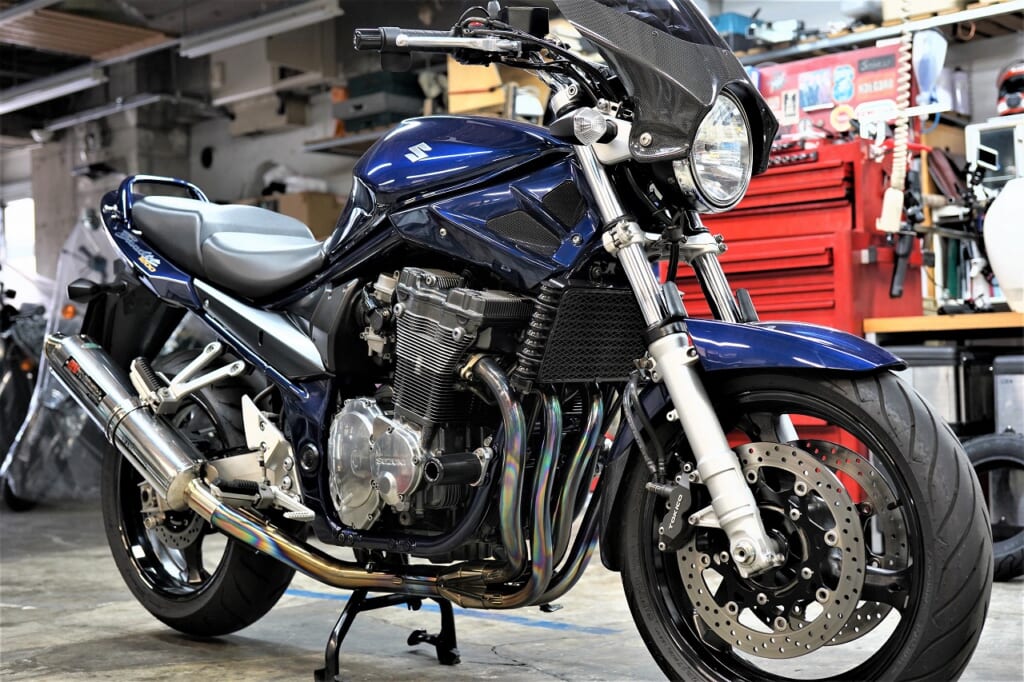
The oil-cooled four-cylinder final form Bandit 1200 K6
has a smooth ride and is set up more for touring.
The Bandit 1200 is an understated machine, but it’s definitely the longest-running model in the lineup.
Now that the mileage has hit 50,000 kilometers, let’s do a caliper OH and wheel bearing replacement.
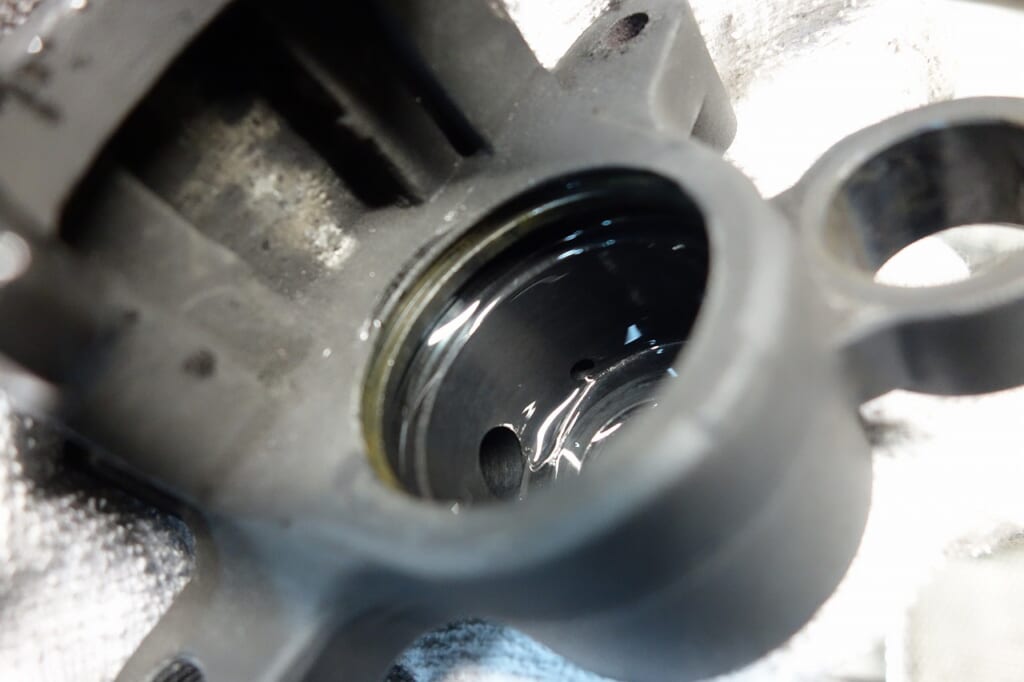
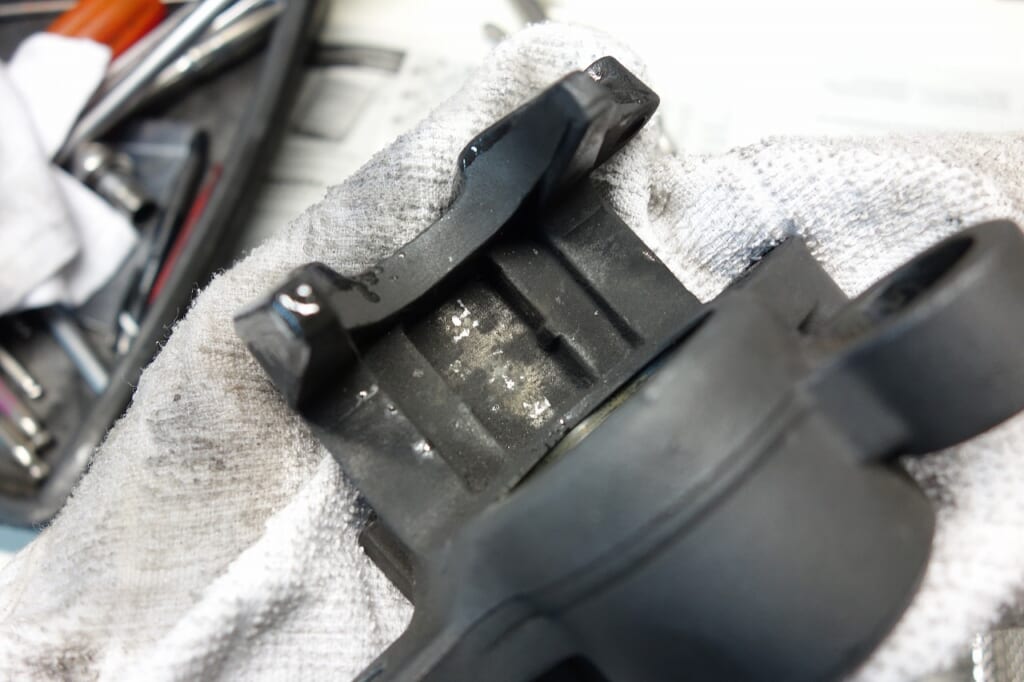
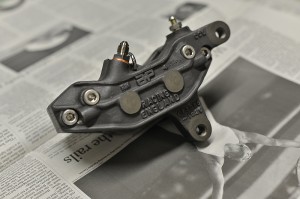
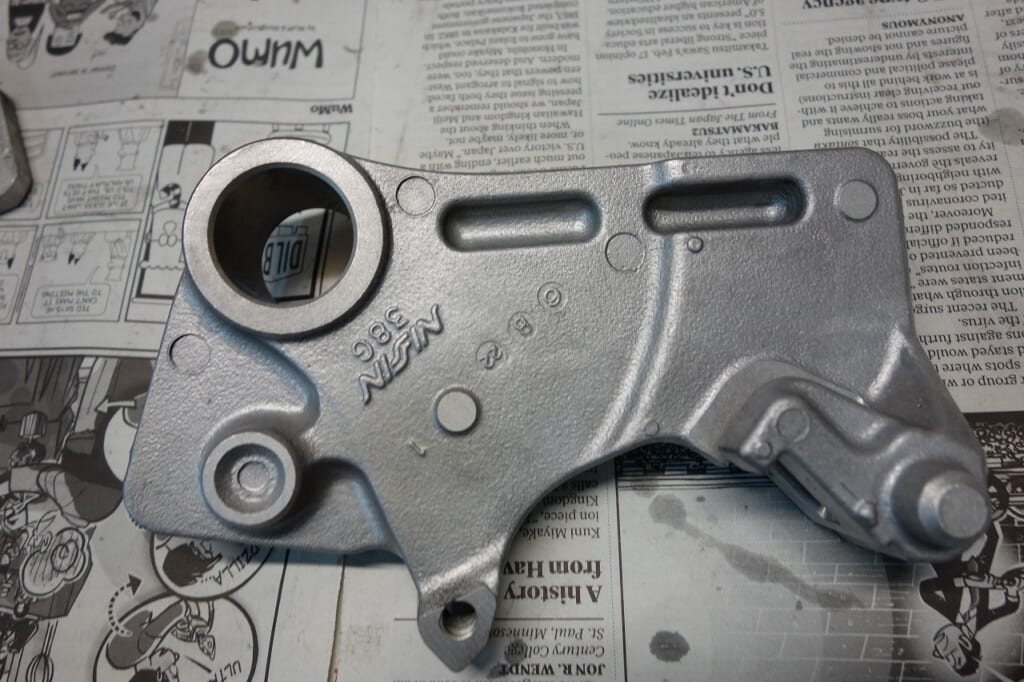
Front is Tokico, rear is Nissin.
Lately it seems like there’s a high adoption rate of this single-piston caliper design.
As you’d expect from Nissin, the aluminum caliper shows no corrosion (that’s great!).
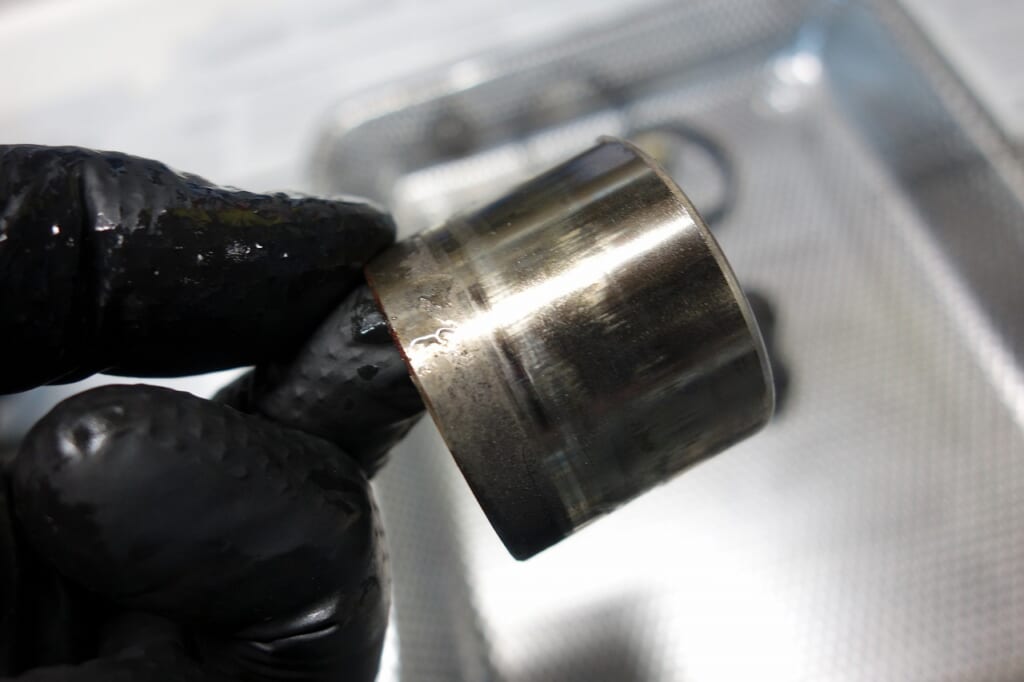
We’ll replace the piston seal set all at once.
The piston condition isn’t too bad.
Due to age and mileage, the seals were a bit stiff.
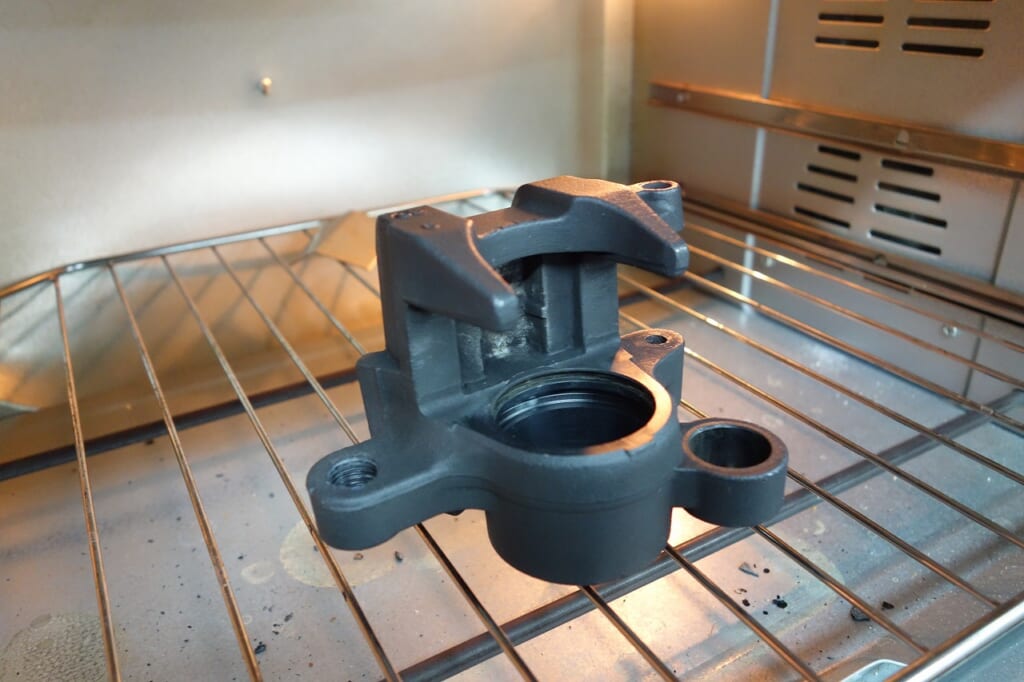
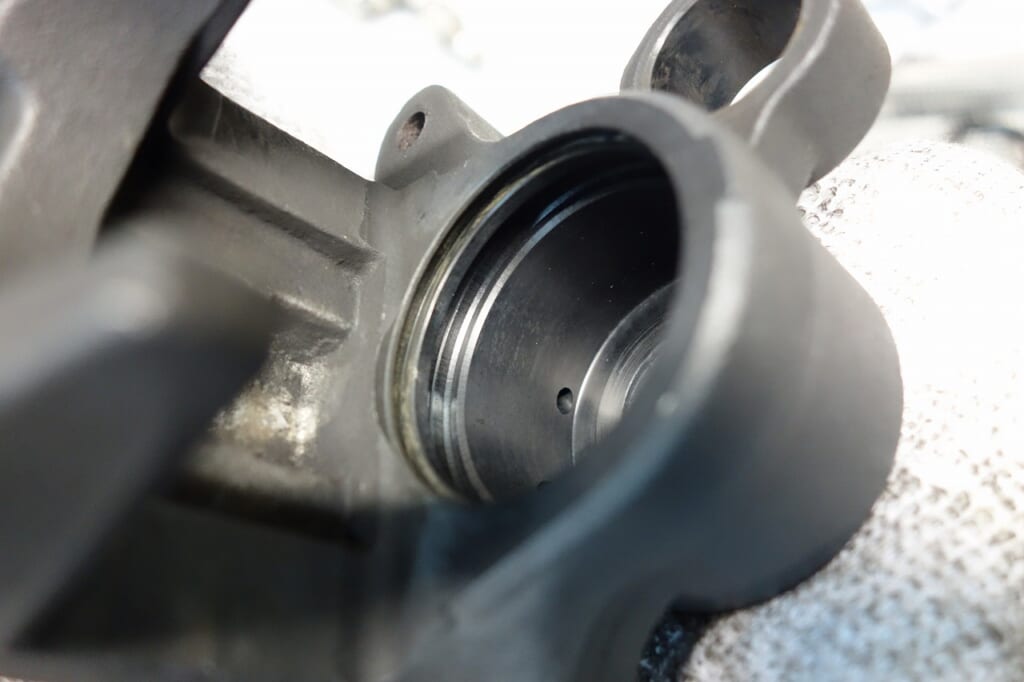
I use a high-pressure washer to clean the inside thoroughly, then air blow it, and then pop it in the oven!
I worry that just air blowing might leave moisture behind.
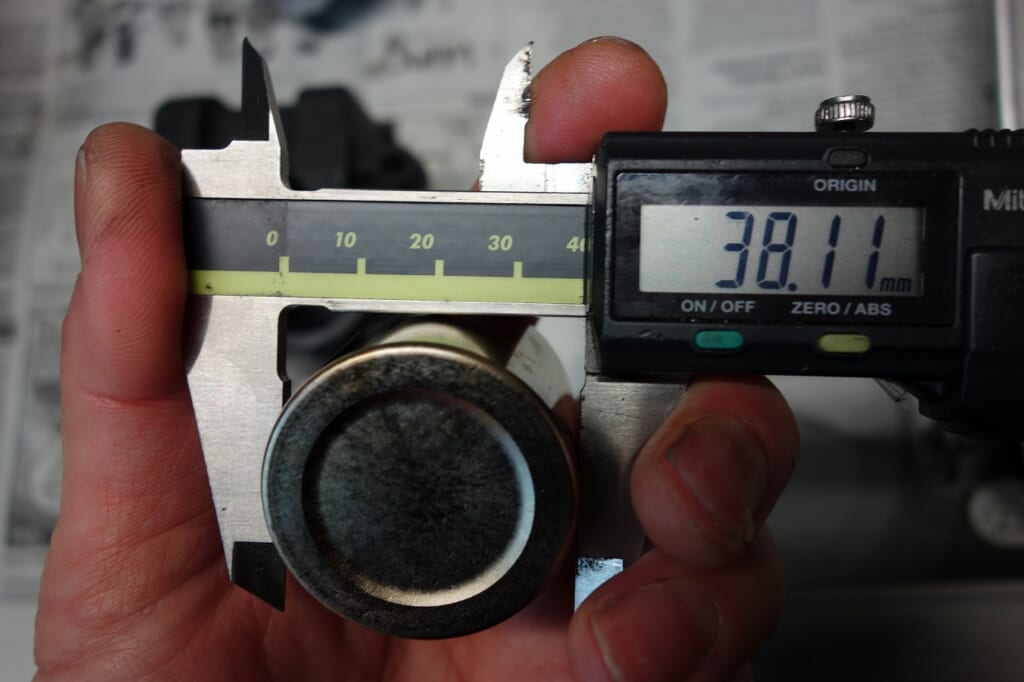
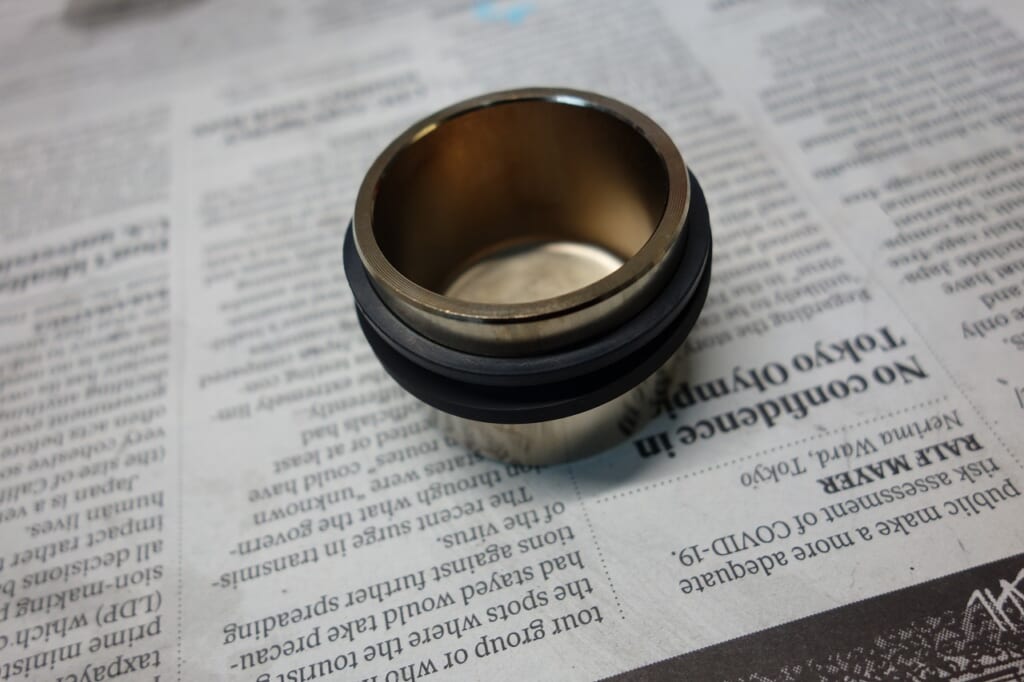
First check, second check… Safety starts with a visual inspection.
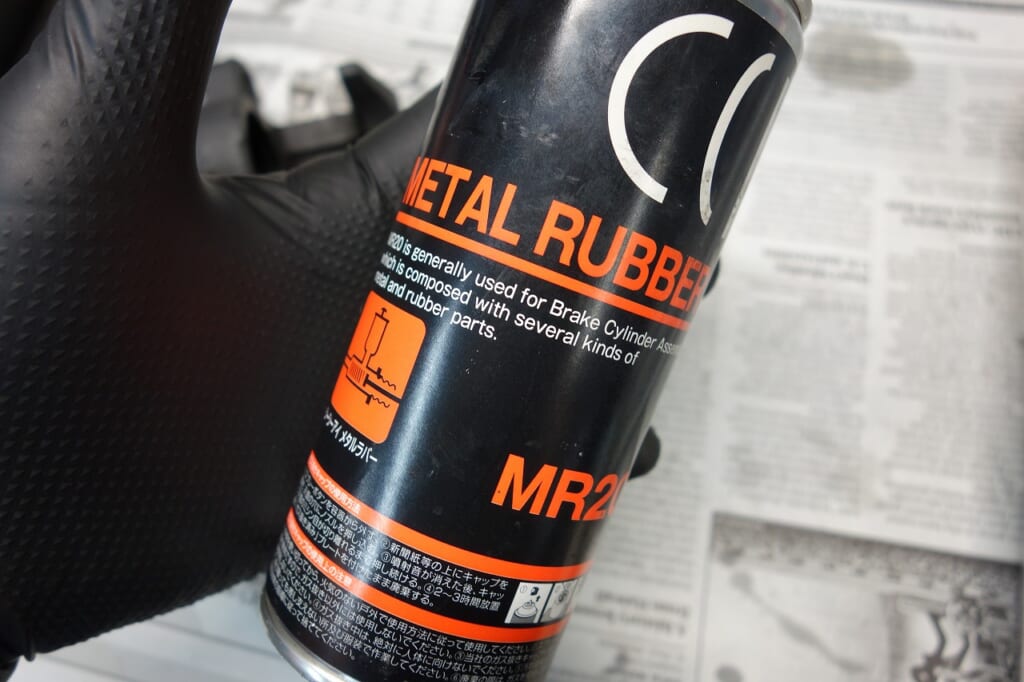
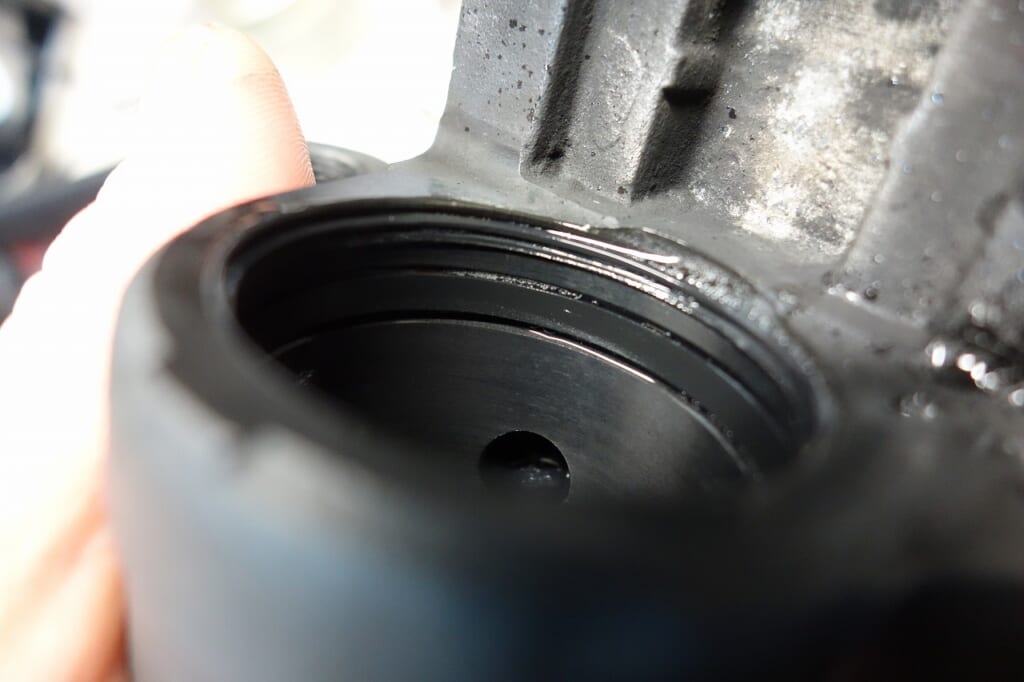
This chemical makes you think your caliper OH skills have improvedCCI Metal Rubber MR20—we use it for assembly.
The piston slides in so smoothly and easily, it feels great.
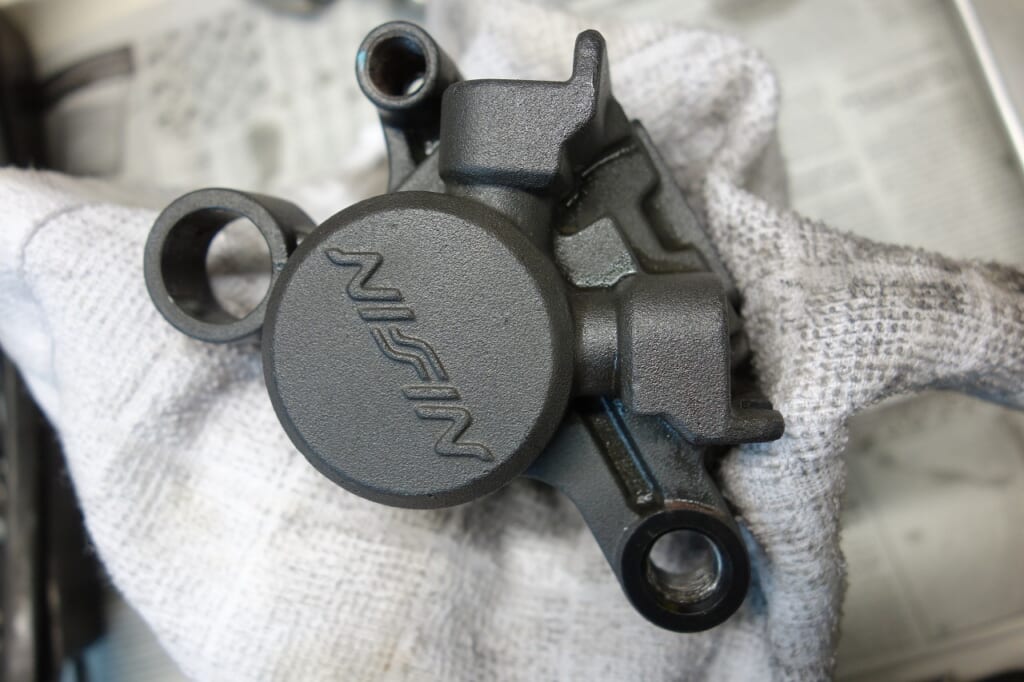
Finally, spraylong-term rust preventative sprayaround the area and wipe it down for a clean finish.
Since it’s been degreased, the lubricant provides moisture and rust prevention benefits.
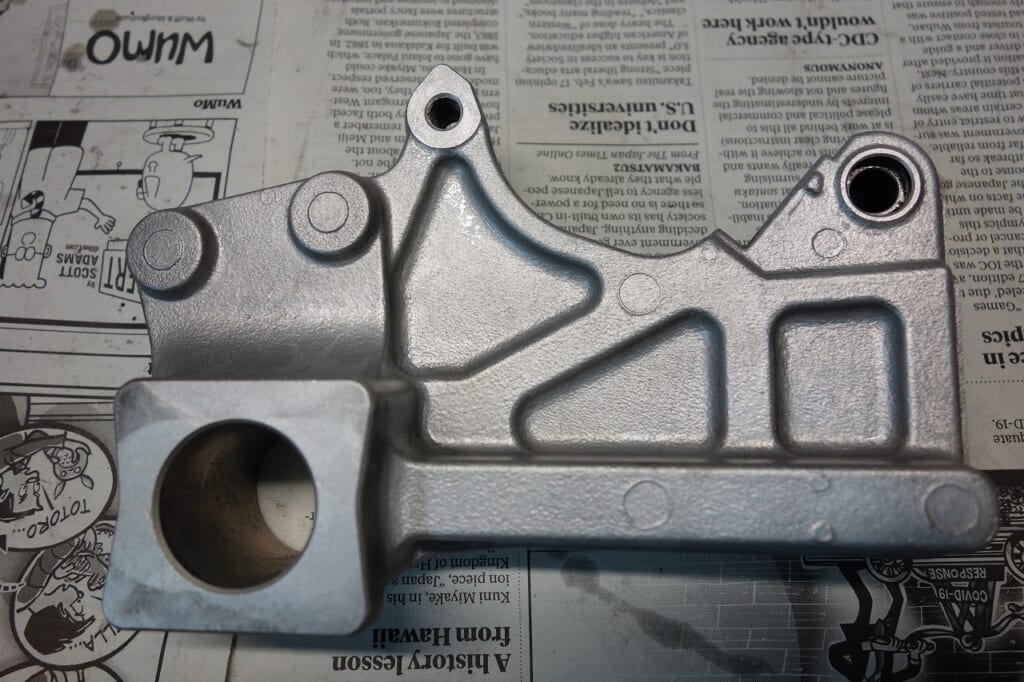
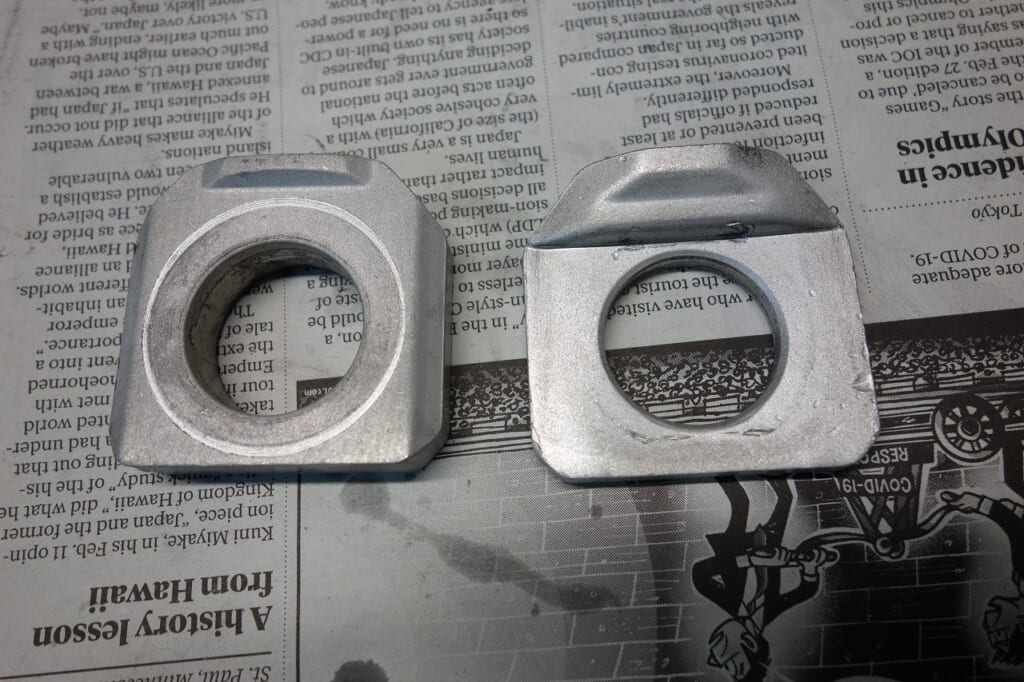
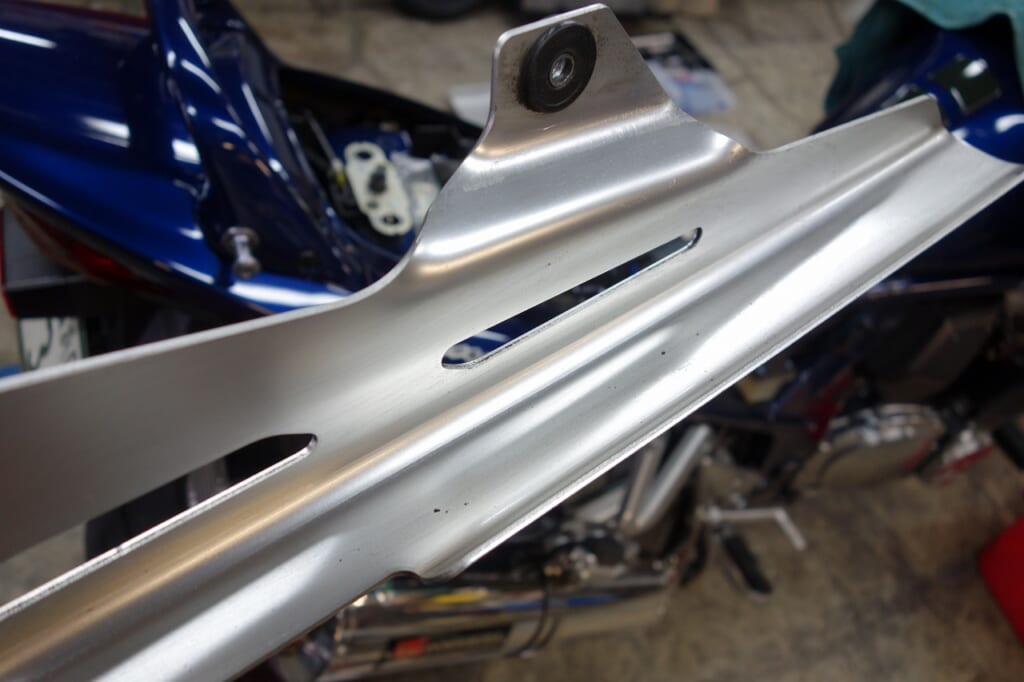
We also finished up the small parts.
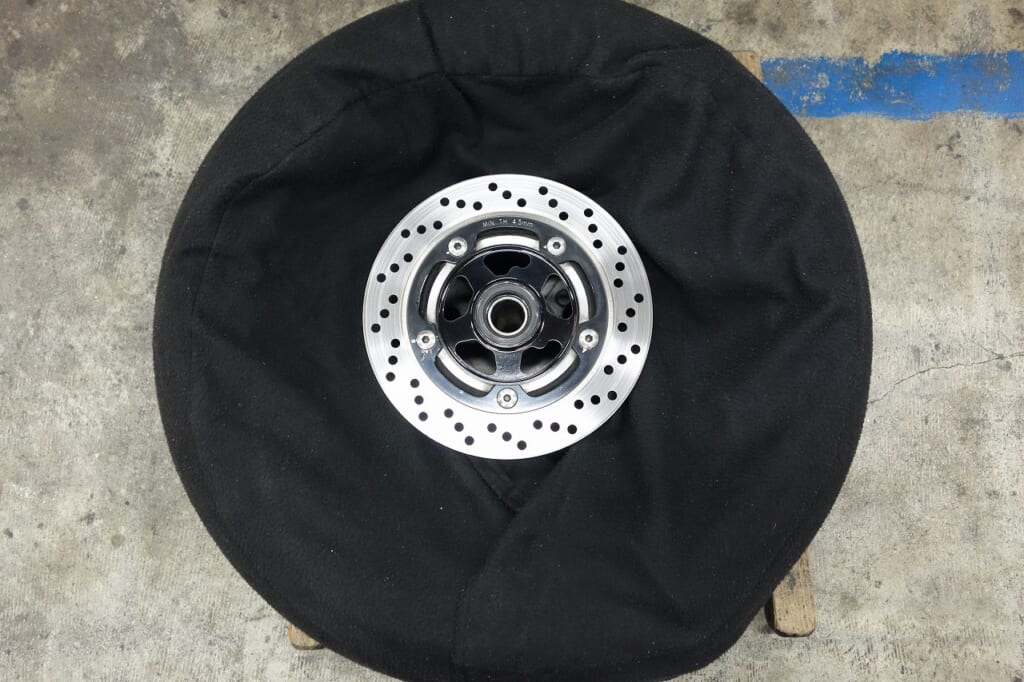
Now let’s replace the rear wheel bearing.
Wrapping a coveraround the wheel before removal makes the technician feel more at ease.
It doesn’t cost much, so it might be worth having one on hand.
Oh right… it’s 28 mm bore… I forgot.
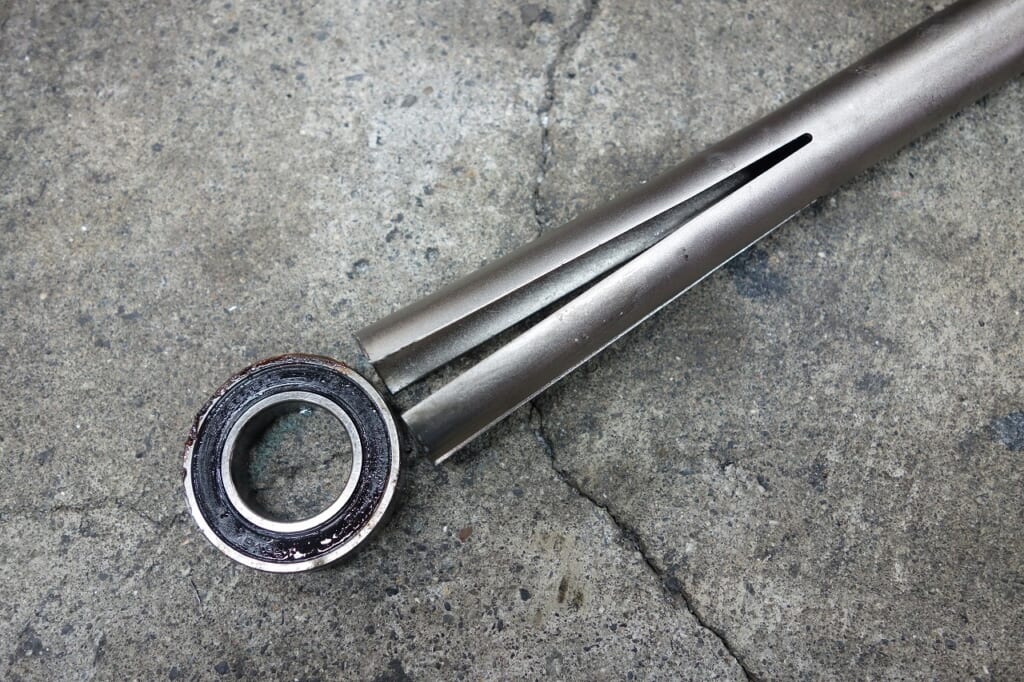
I used the Park Tool RT-1 to remove it.
When tapping it out, the puller can slip off easily, so it’s perfect to wedge something in to keep the puller jaws from closing.
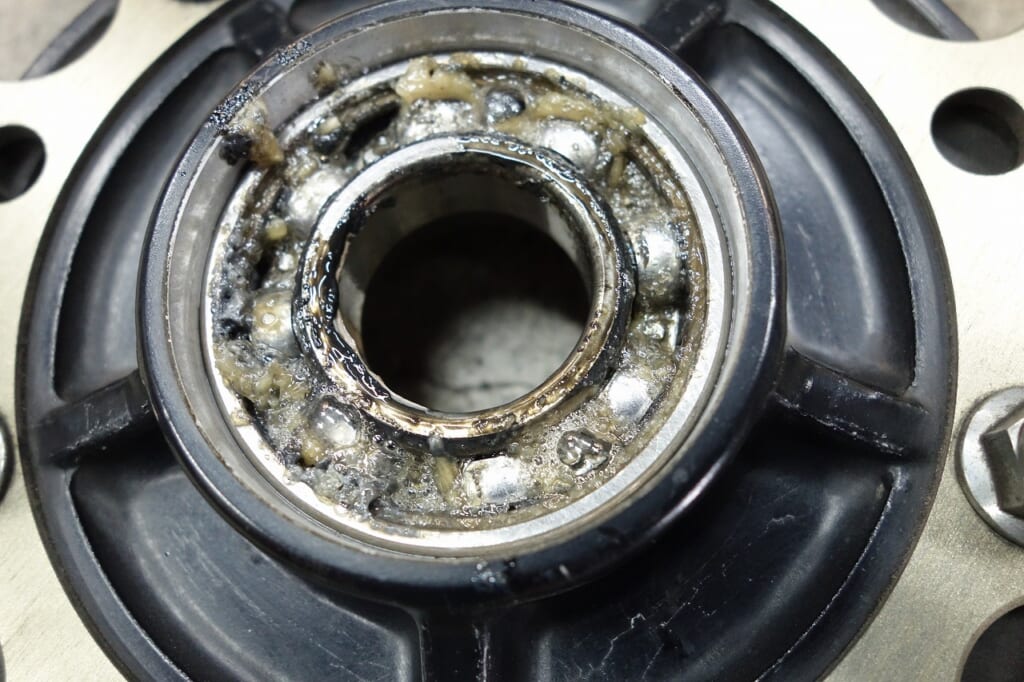
Just put the hub in the oven and it comes out and goes back in by its own weight. (Time-saver!)
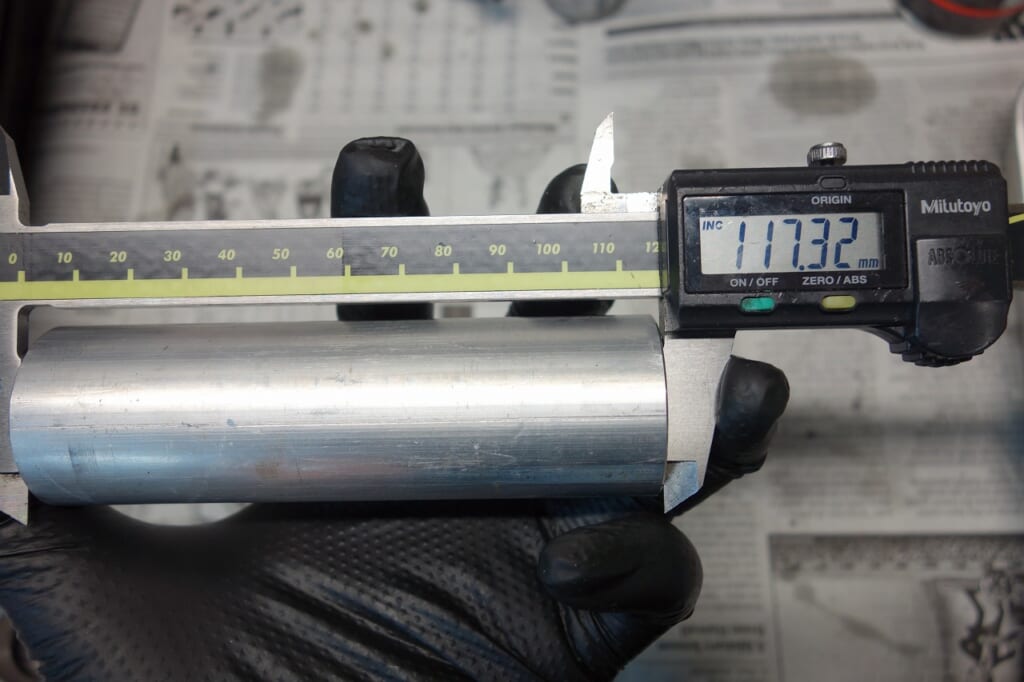
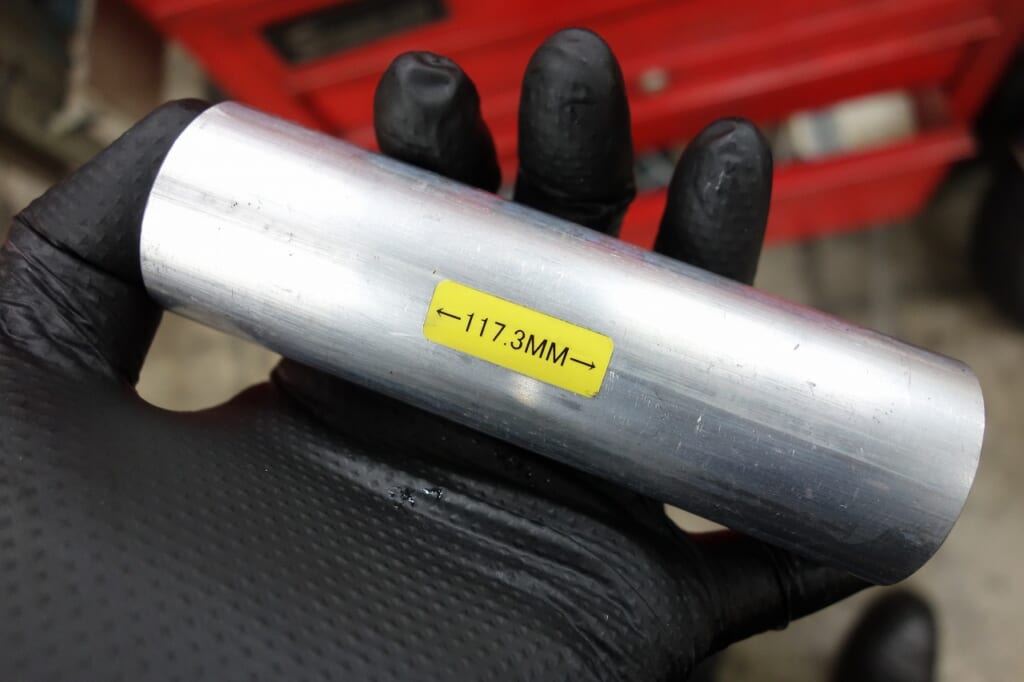
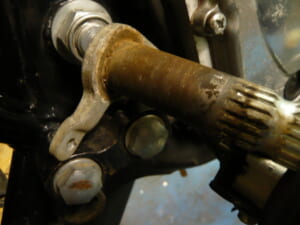
Let’s also check the distance collar just to be safe.
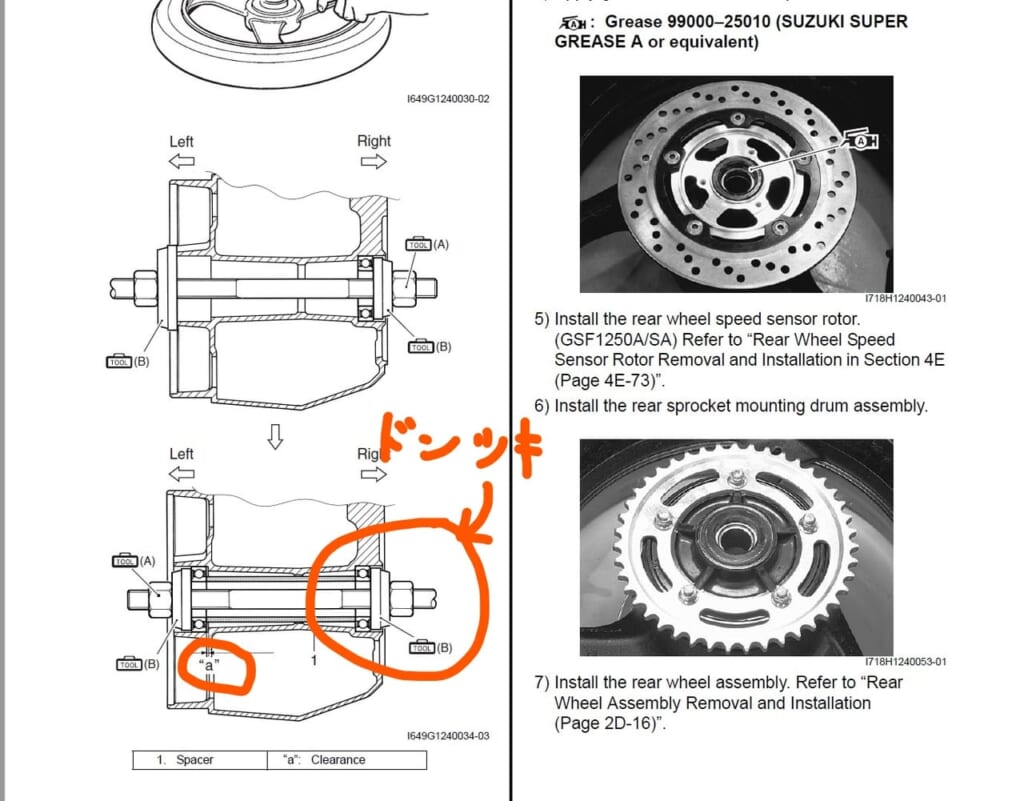
*This is from the Bandit 1250 manual, but… it’s the same.
Some manufacturers have specific instructions for bearing press-fit.
Pay attention to which side is the reference—right or left. The shape of the press-fit area usually gives you a good clue.
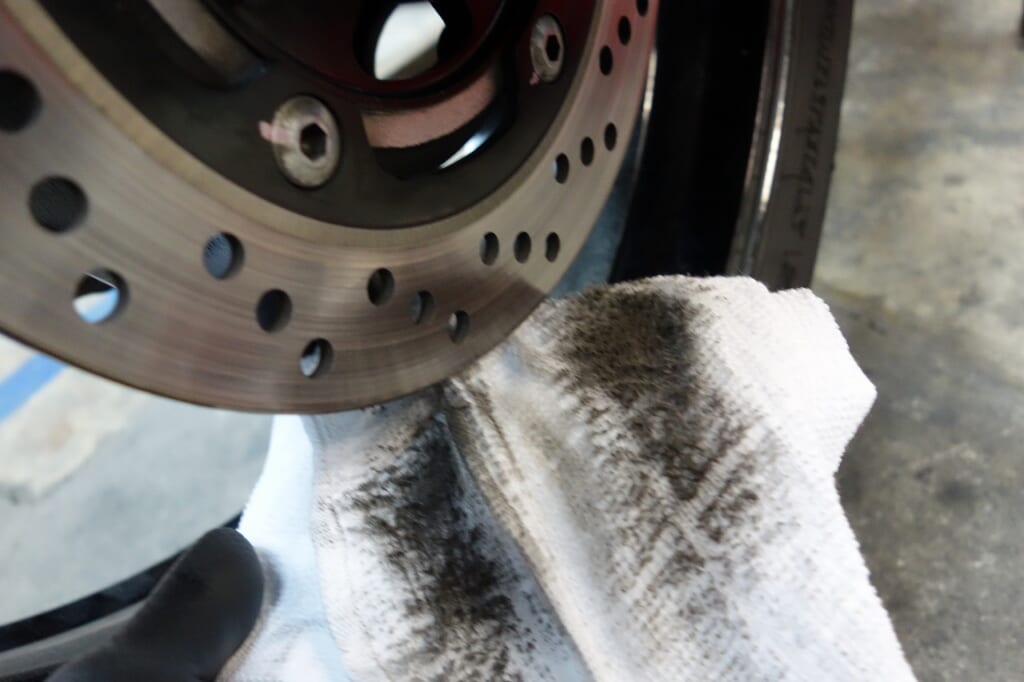
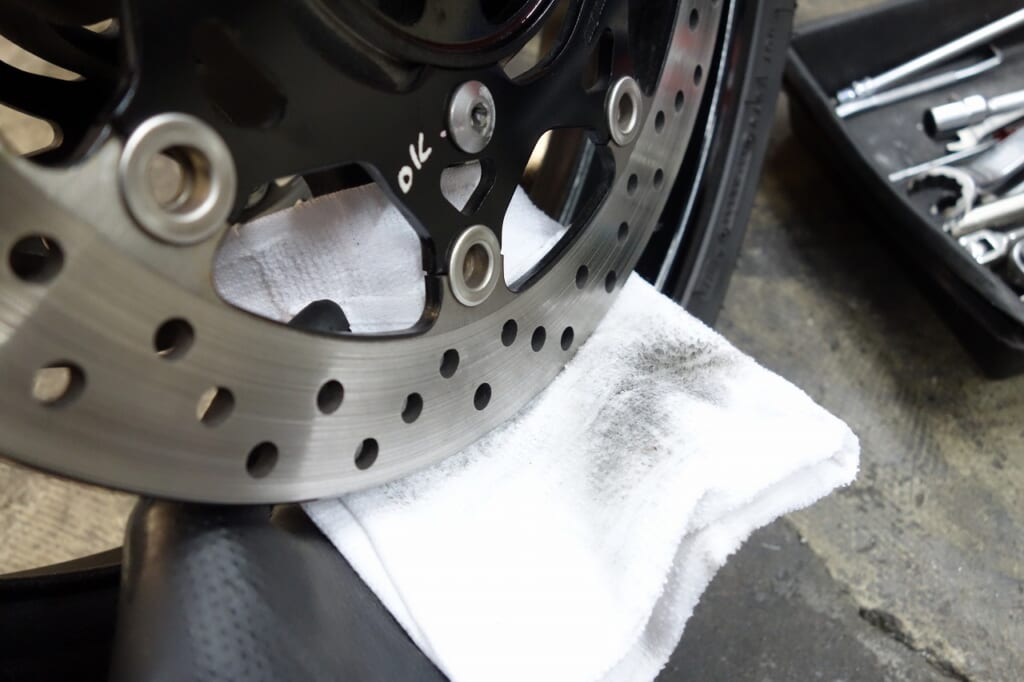
Let’s clean and degrease the brake disc and get ready to welcome the new pads.
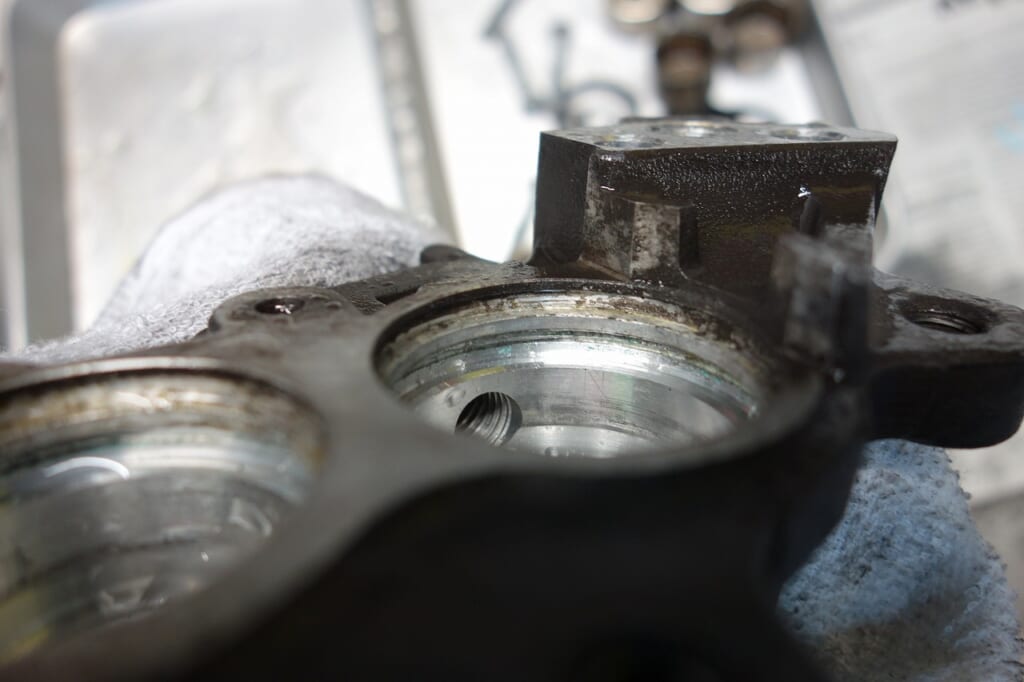
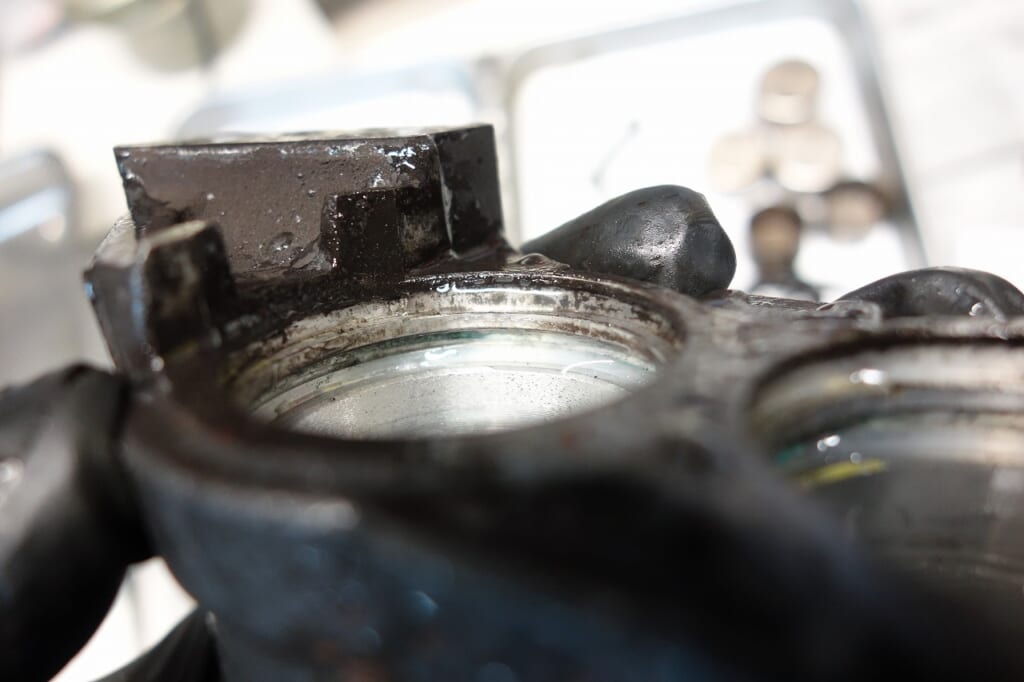
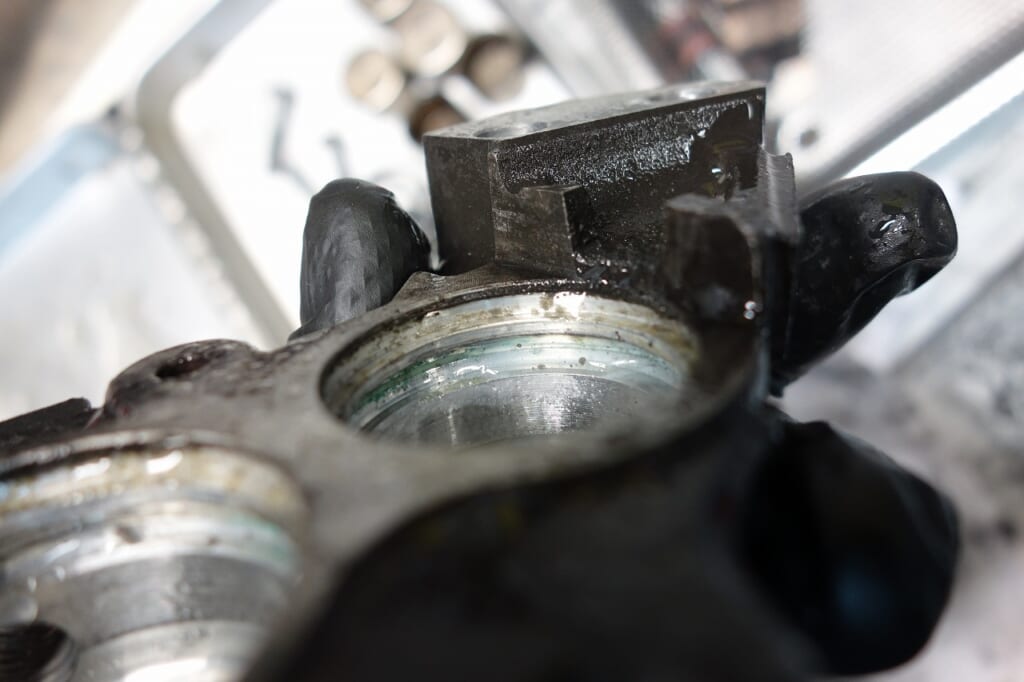
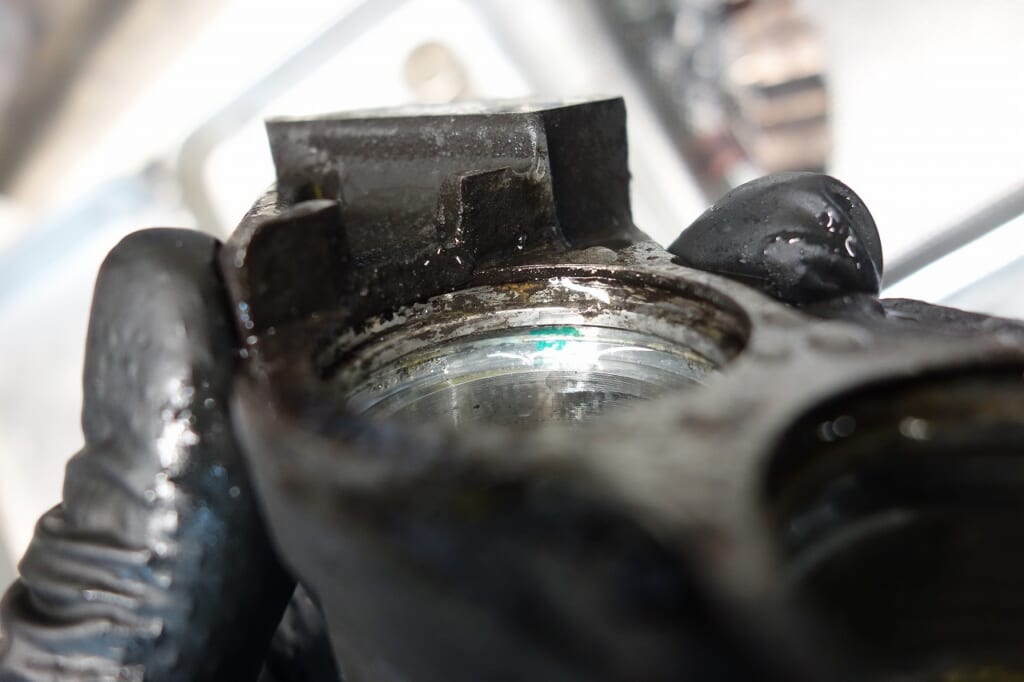
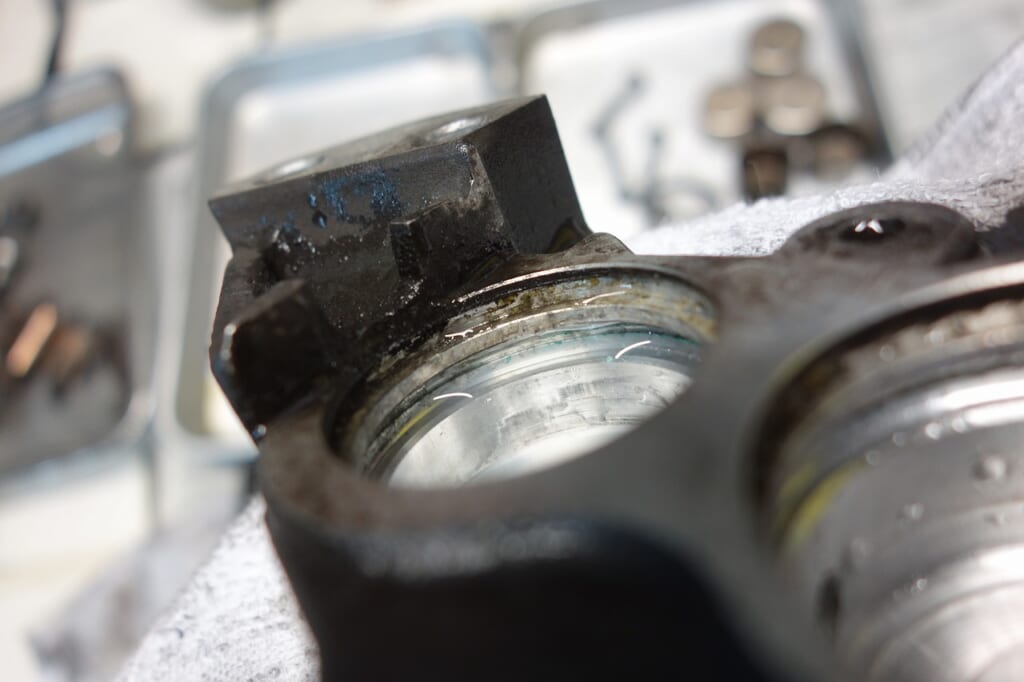
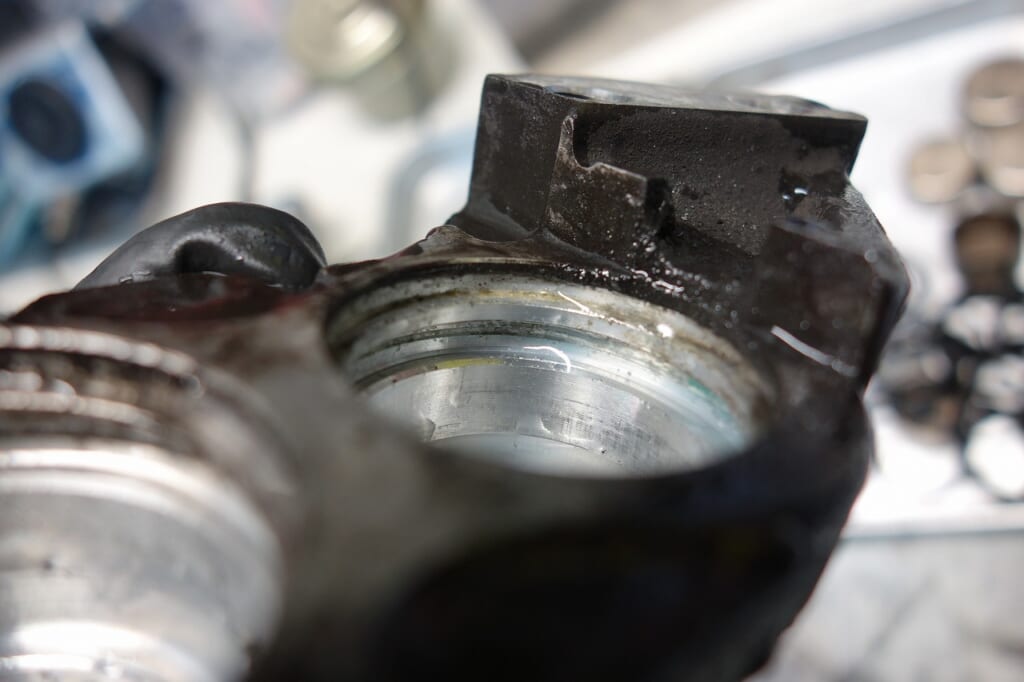
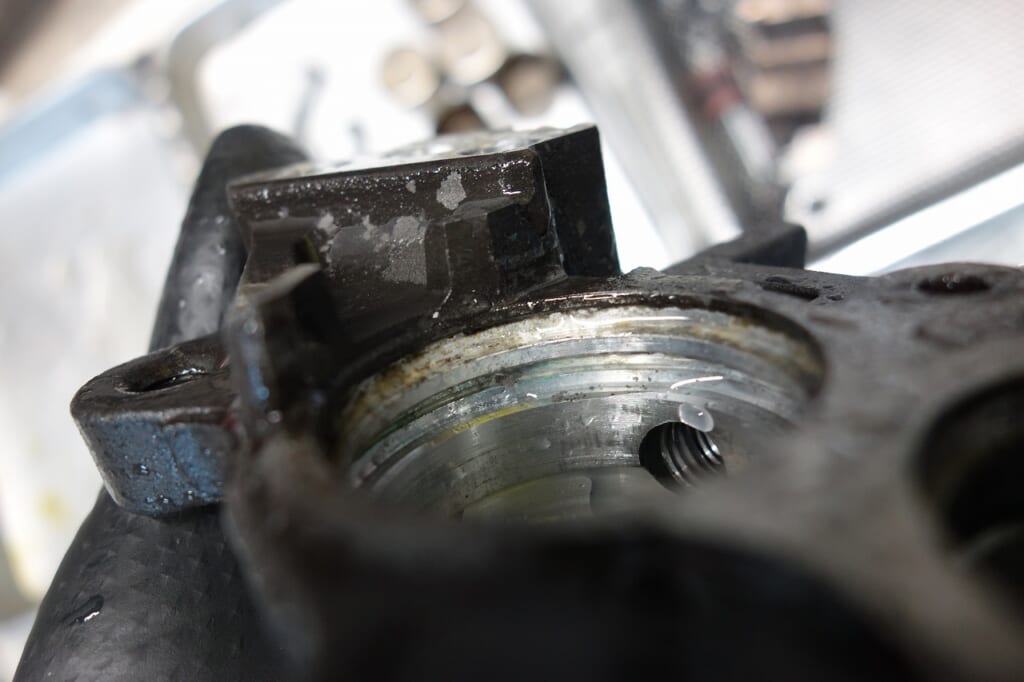
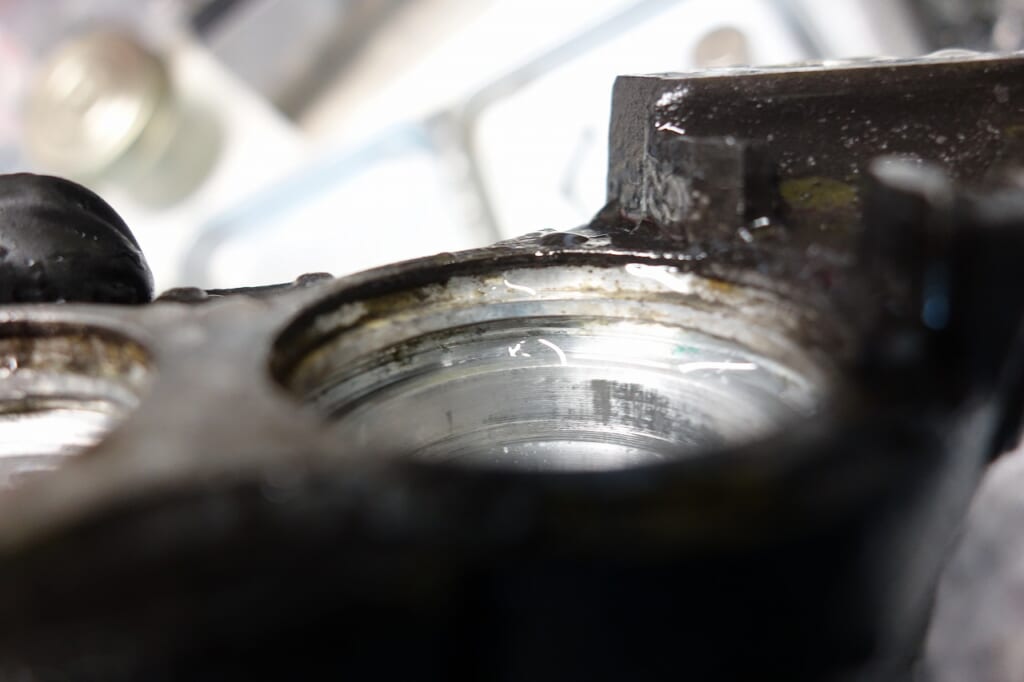
There was no severe corrosion (phew!). But the stiffness of the seals really showed the weight of the years.
I think the timing was just right.
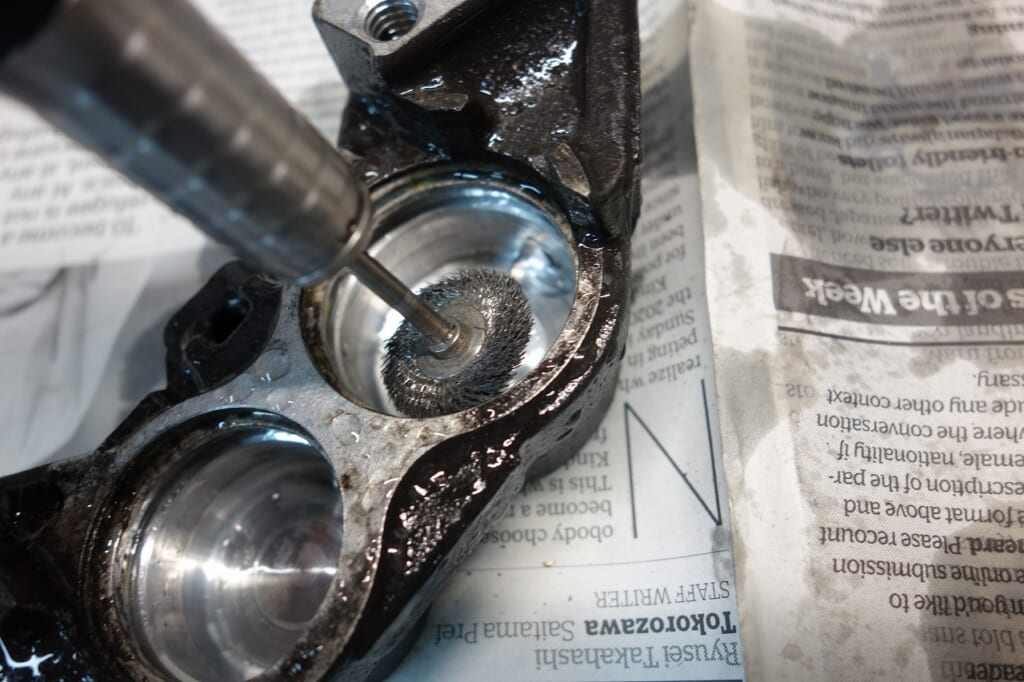
First, let’s use a NakanishiE-MAX Revolutionwith a brush to roughly clean out the debris in the grooves.
↑I was surprised at how reasonable the Amazon price is. The variety of tips is great, and you can swap tips without tools, so it’s incredibly convenient. ←I’ll include the PDF catalog. (;゚∀゚)=3 Have fun with it!
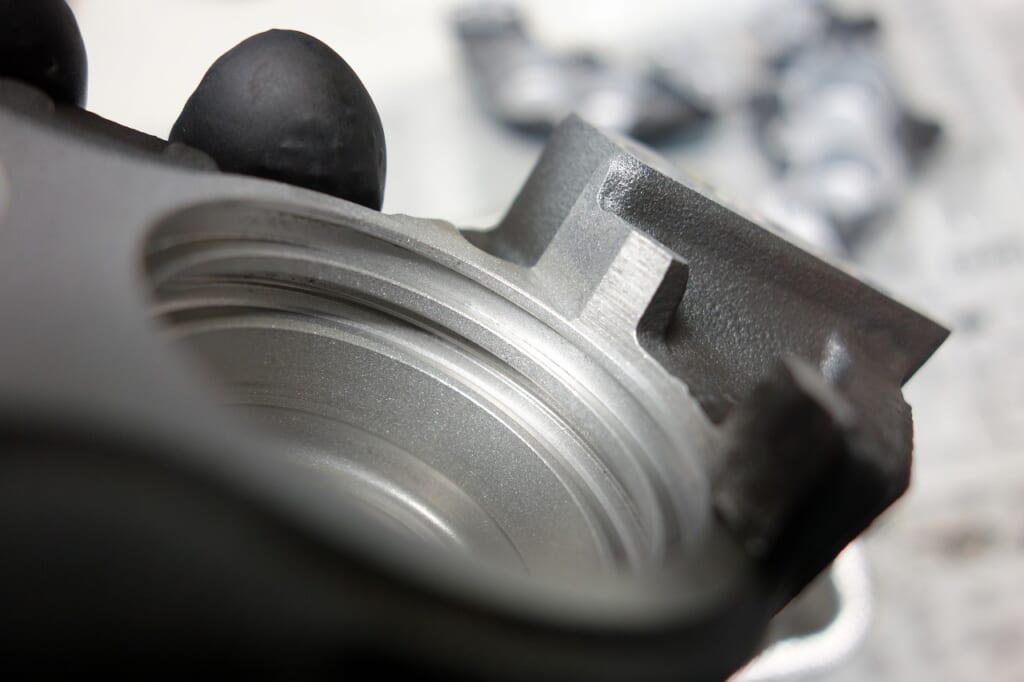
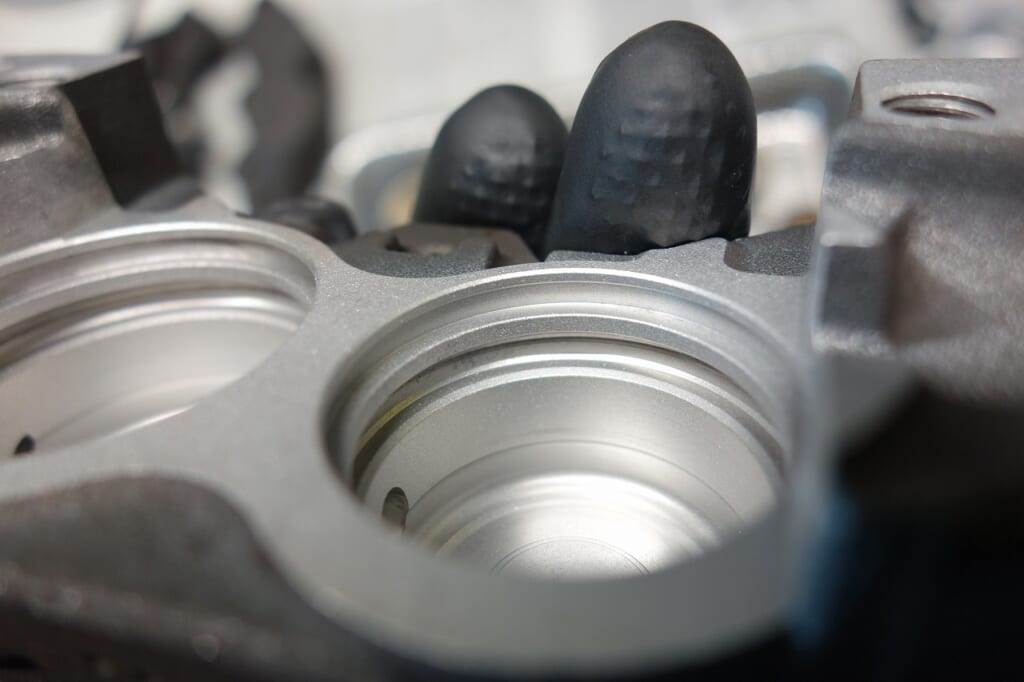
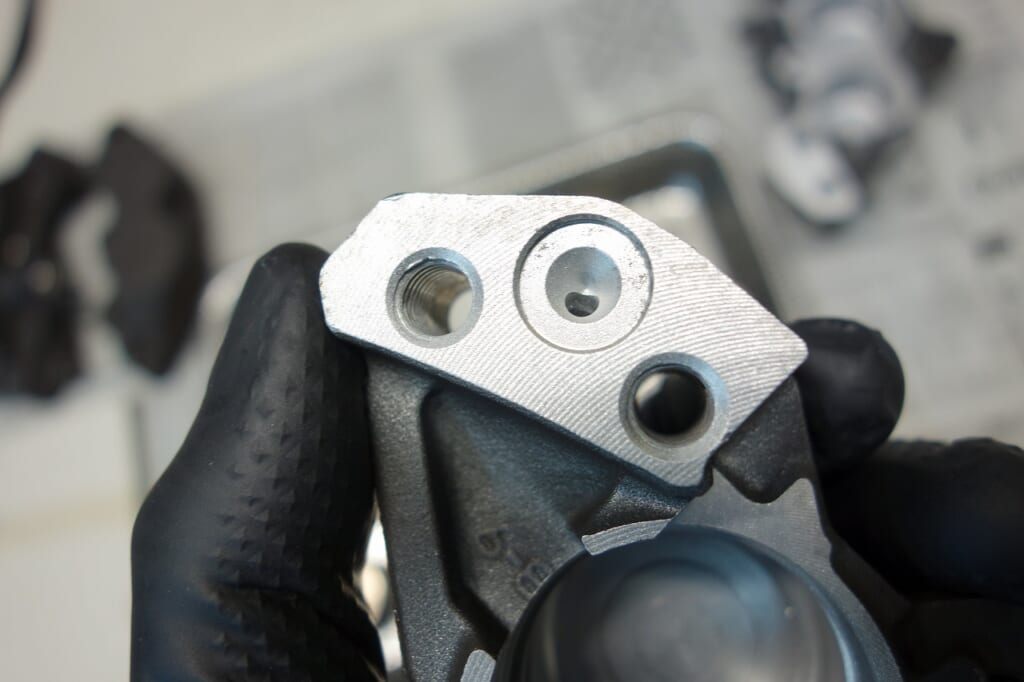
After that, polishing the inside makes it clean and significantly reduces corrosion,
so the condition stays good for longer.
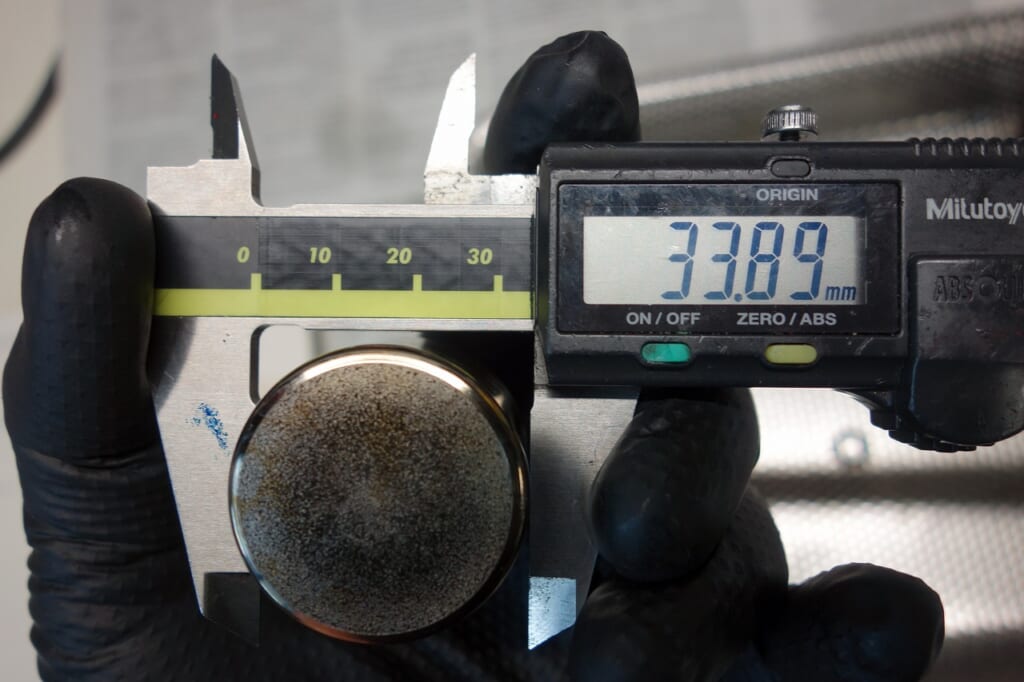
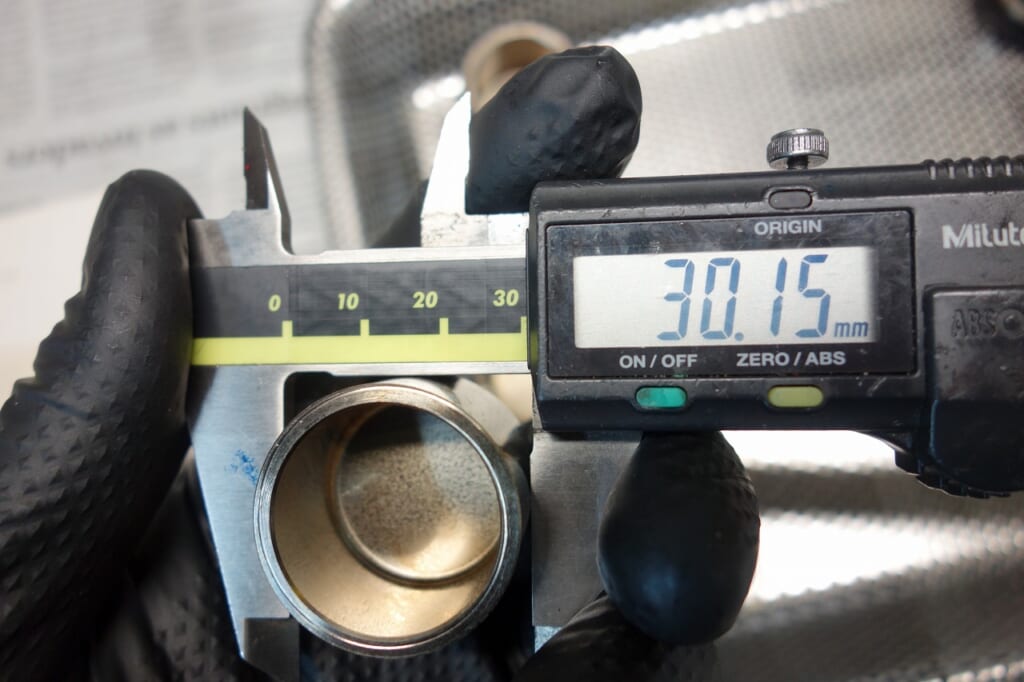
30–34 size.
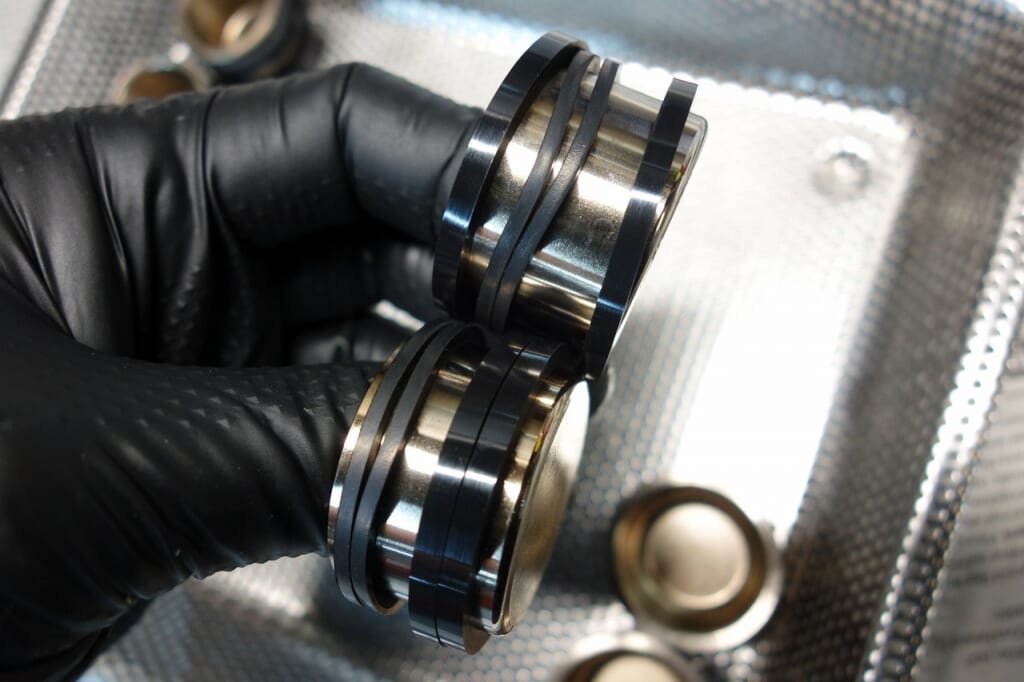
Inspect the piston and seal before assembly for peace of mind.
Next, let’s get ready to welcome the new brake pads.
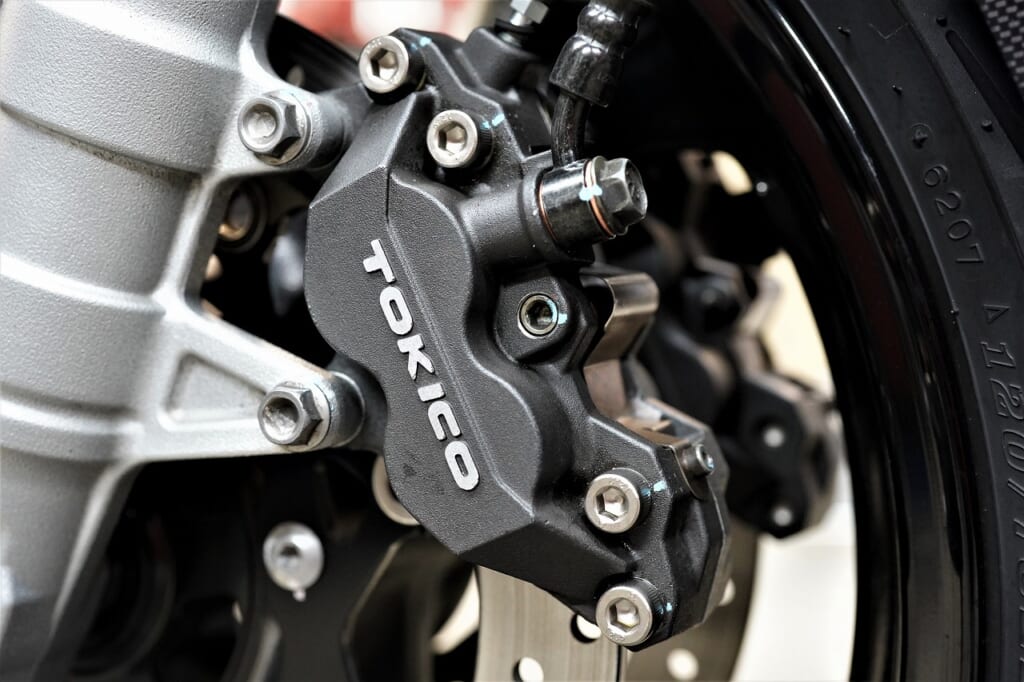
Bleeding is complete and assembly is done.
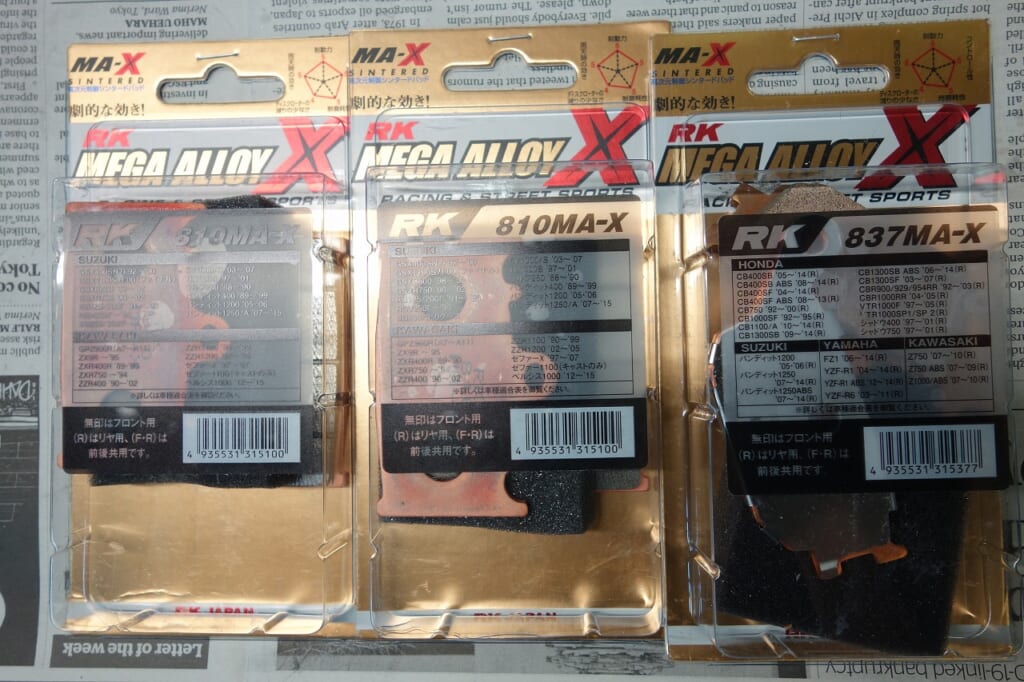
We’re replacing the pads front and rear with RK-MAX sintered metal pads.
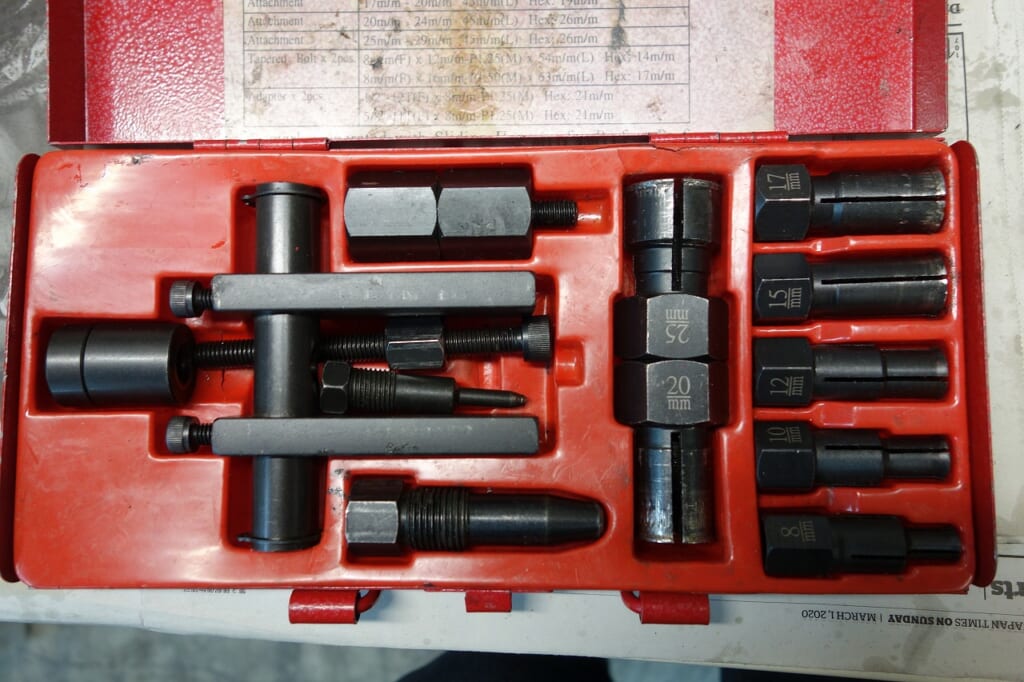
Now let’s replace the front bearing.
We’ll use the inexpensive and handy F1 puller to remove it.
I’ve never actually used the scaffold on the left… You just insert it, open it, and tap from the back!
*Let’s call it the forced Suzuki method.
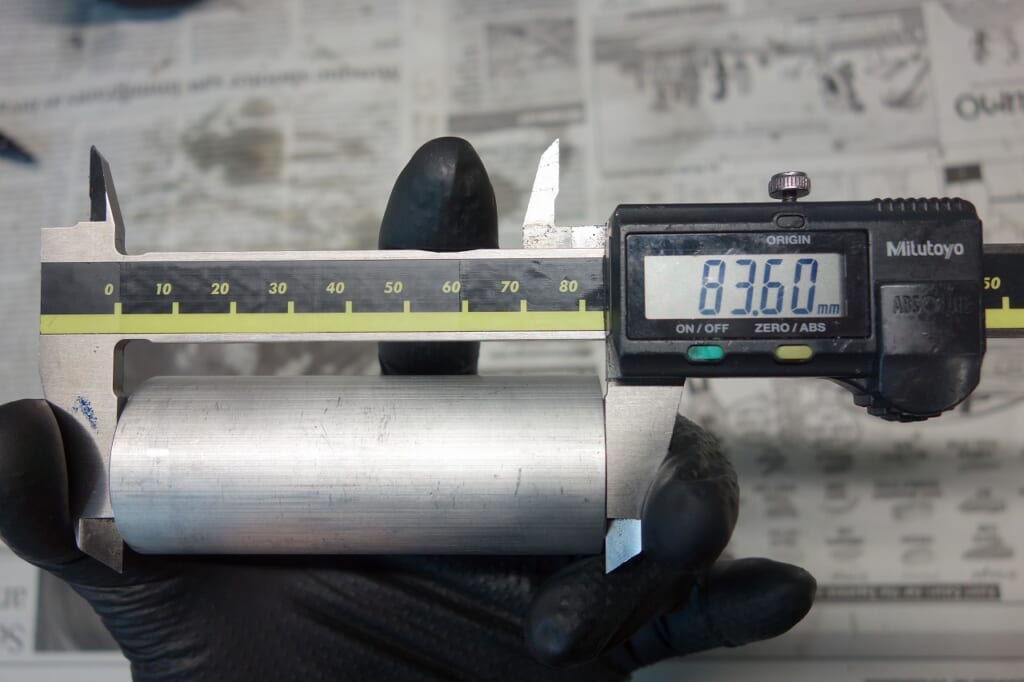
Let’s also check the distance collar.
It’s nice when these parts are aluminum too.
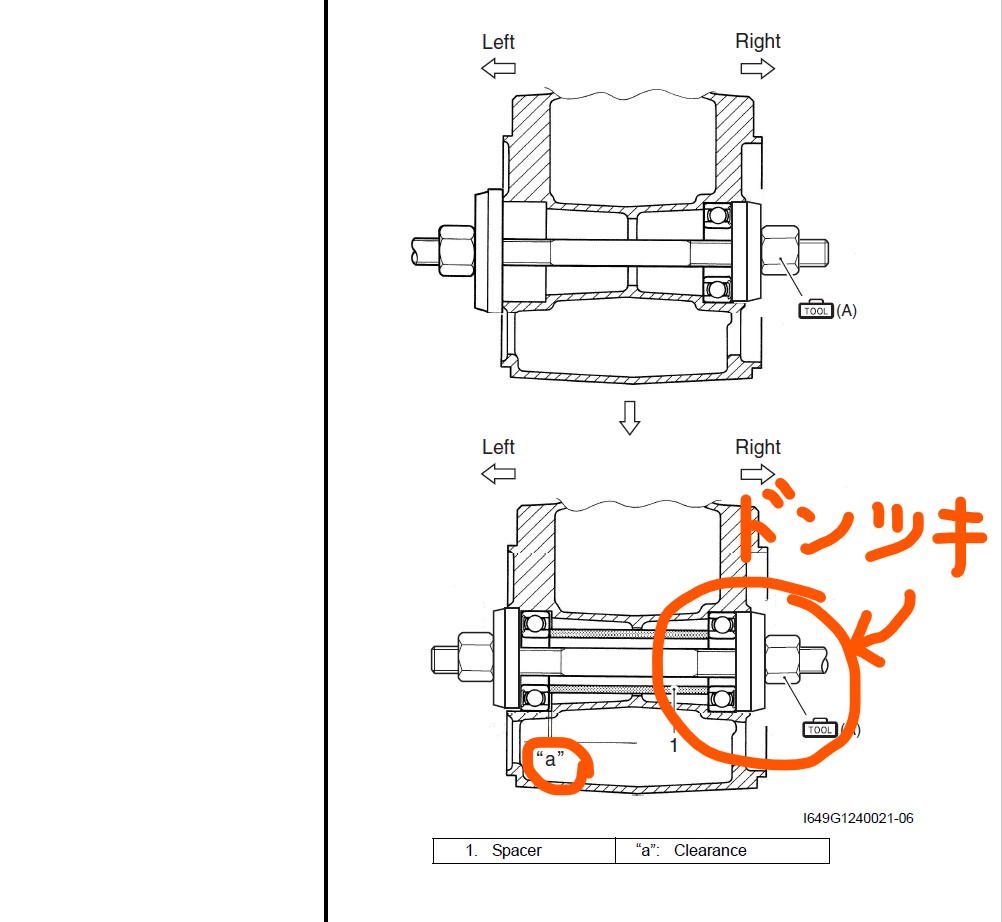
Like the rear, the right side is the reference and it goes in with a solid click!
Even if it moves a bit, it’s okay, but if you use the left as reference, the center can shift slightly, so be careful.
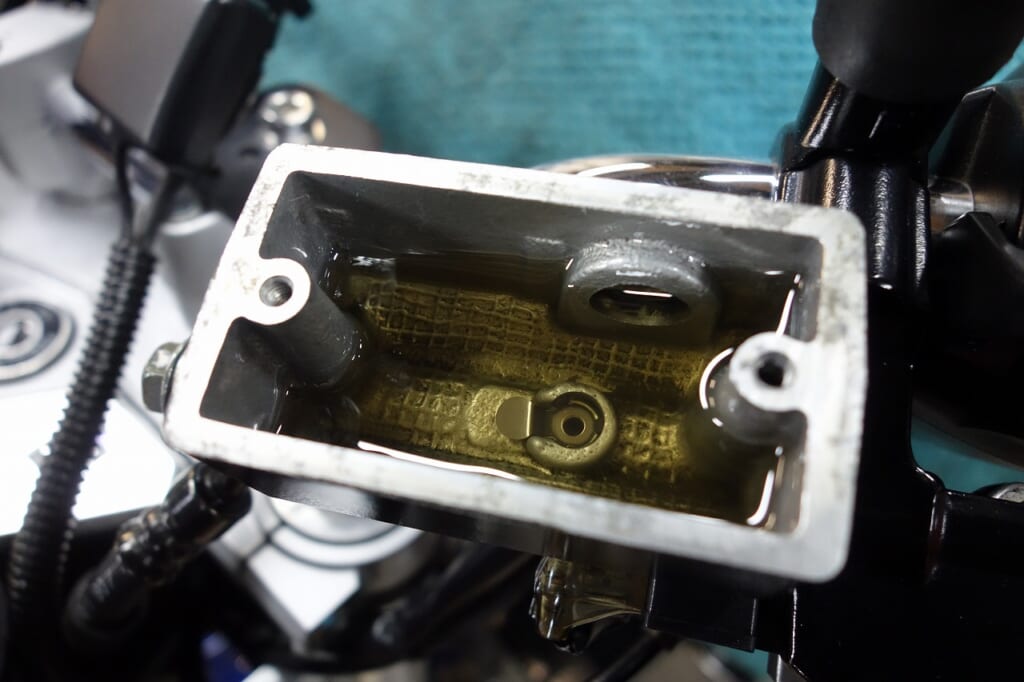
We also replaced the clutch fluid.
The rear clunking noise was from the chain tension.
Test ride complete and we’re done!