This year, with the extreme heat, when it drops below 35 degrees I find myself thinking “ahhh, cool~” and it makes me realize how amazing the human body’s sense of temperature really is.
Today, while working on the wiring again, I found myself thinking “wouldn’t it have been faster to just replace the harness?”
Harness replacement involves a lot of work and takes forever.
For now, I’m planning to basically decline harness replacement work, or maybe just charge a ridiculous amount…
*I’ve already set the harness replacement option in the booking form to “not available—consultation required.”
Alright, let’s get to work.
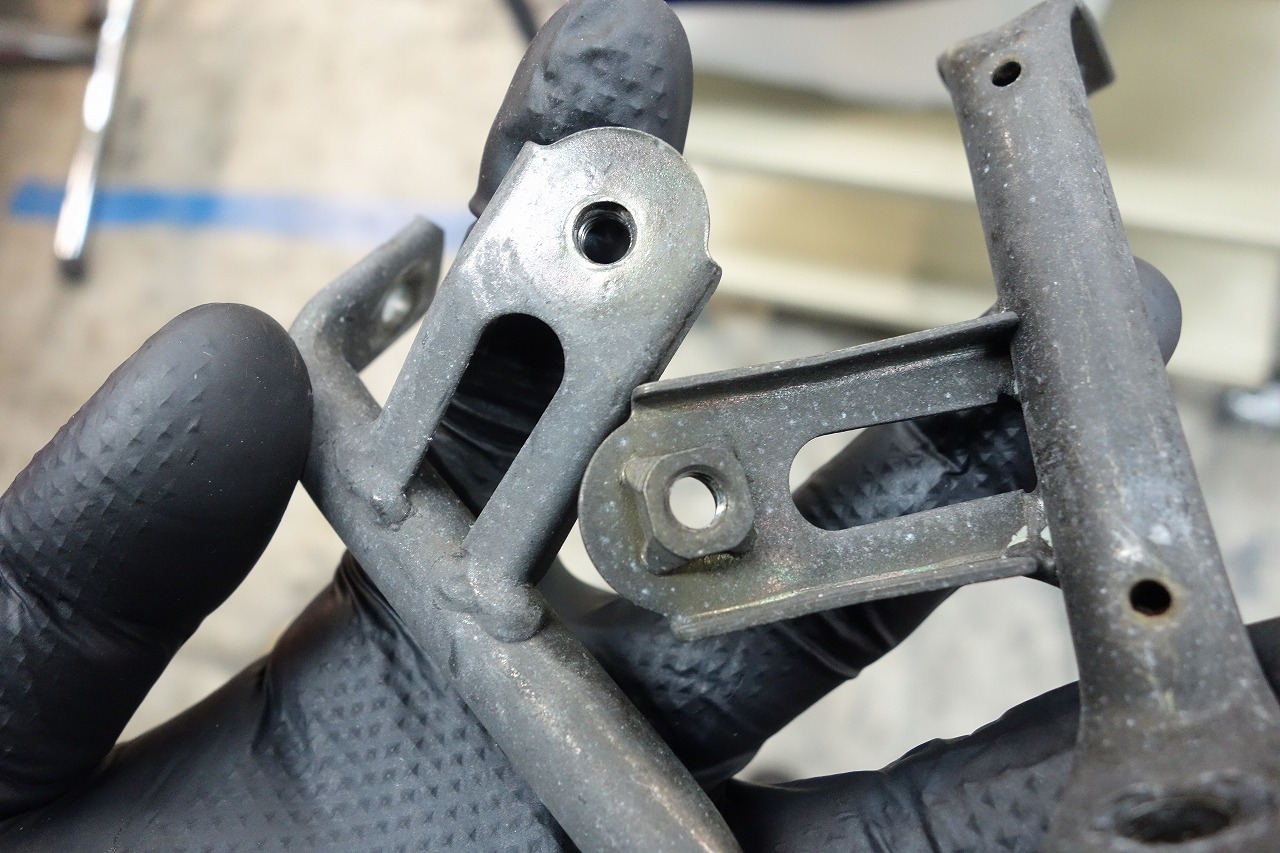
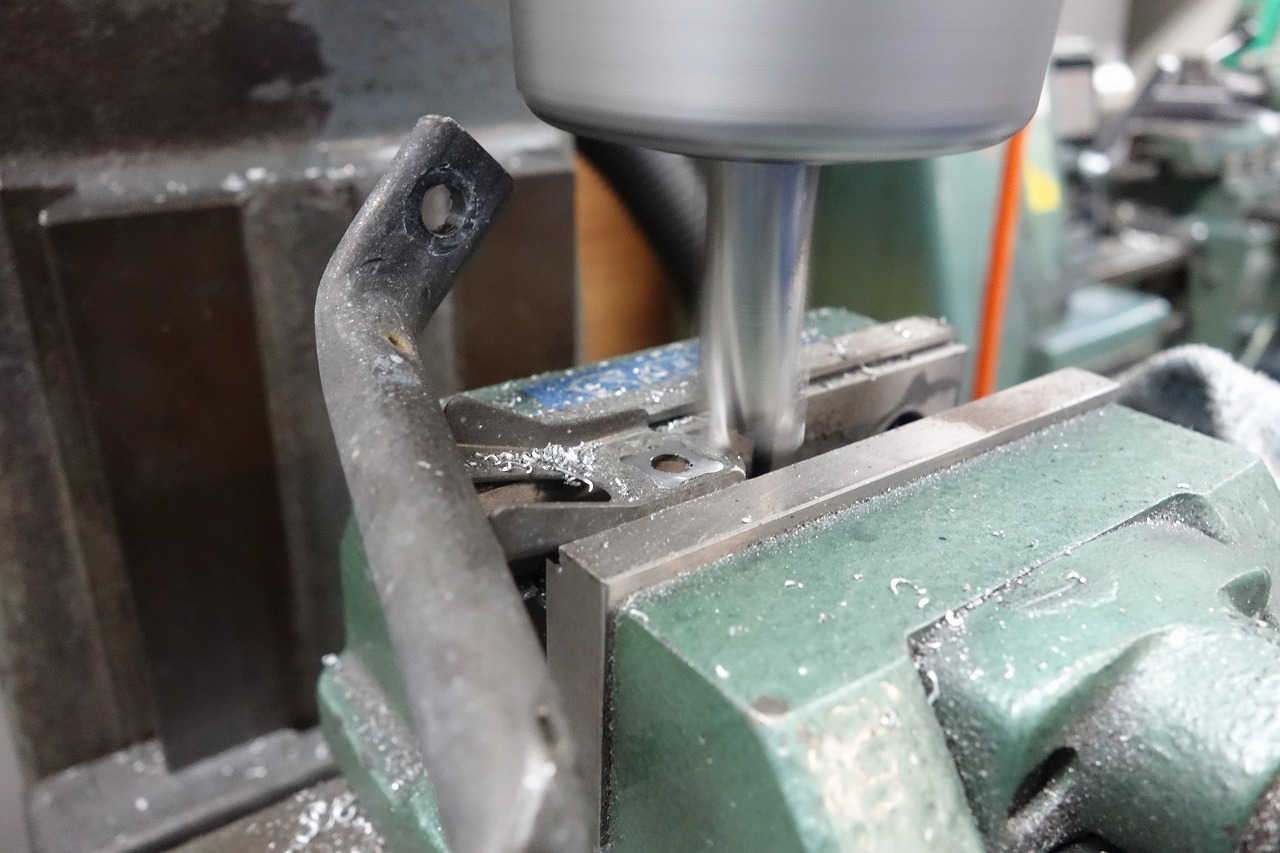
I’ll grind away the welded nut bit by bit. Since it’s a loose fit, I’ll take it slow and gentle.
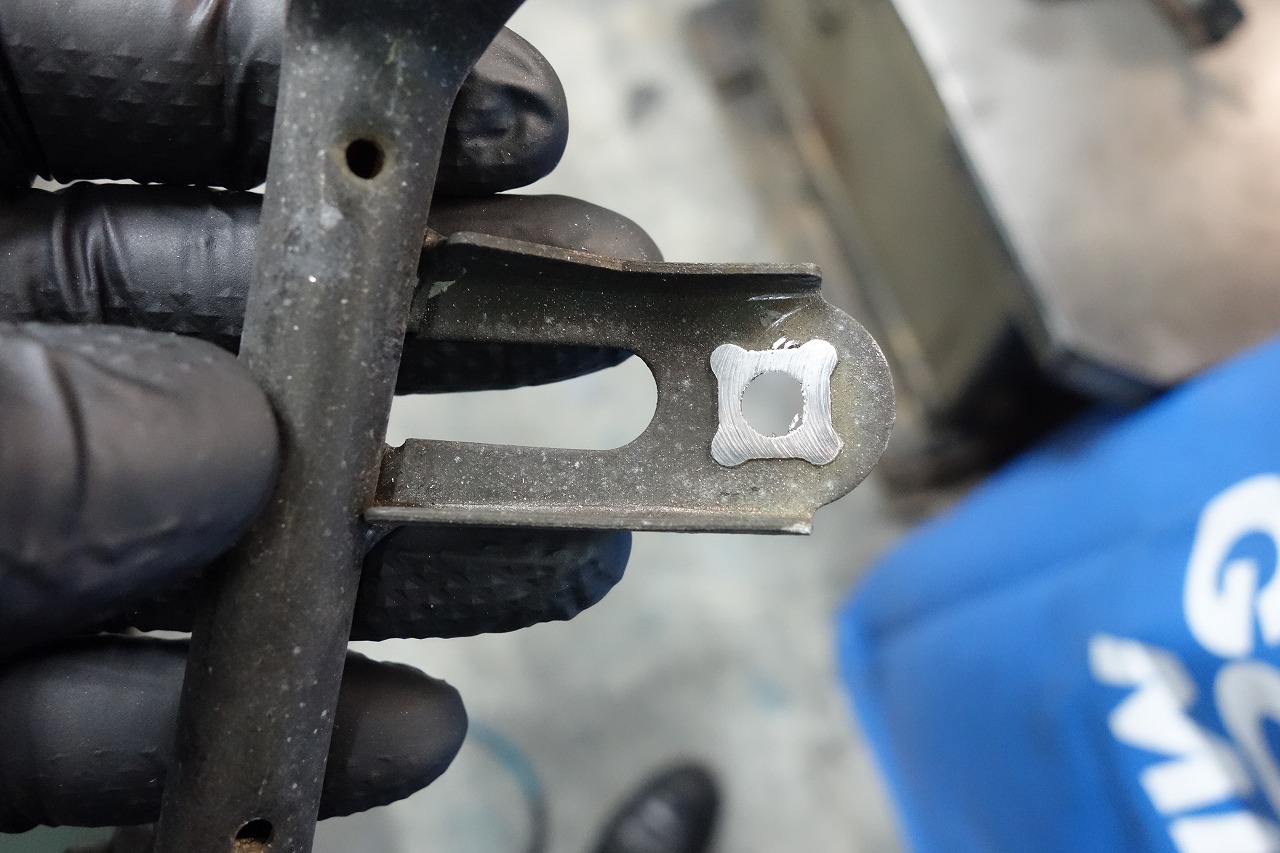
If I overdo it, I’ll end up grinding too much, so I’ll just do a surface pass.
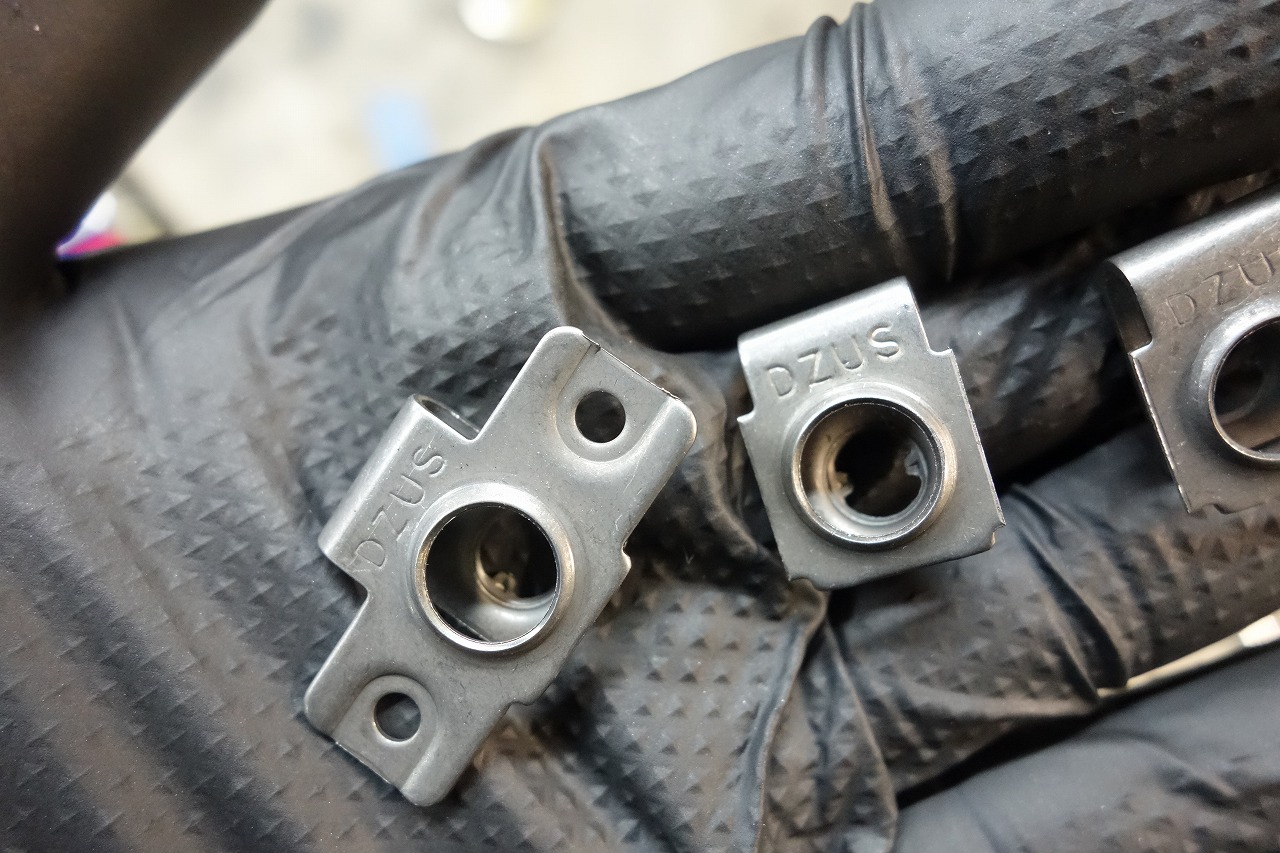
This is a tool to make fasteners VERY EASY.
We drop it with a die, tack it with TIG, and that’s our RACING approach. I want to keep the work moving as fast as possible. *It also absorbs machining mistakes.
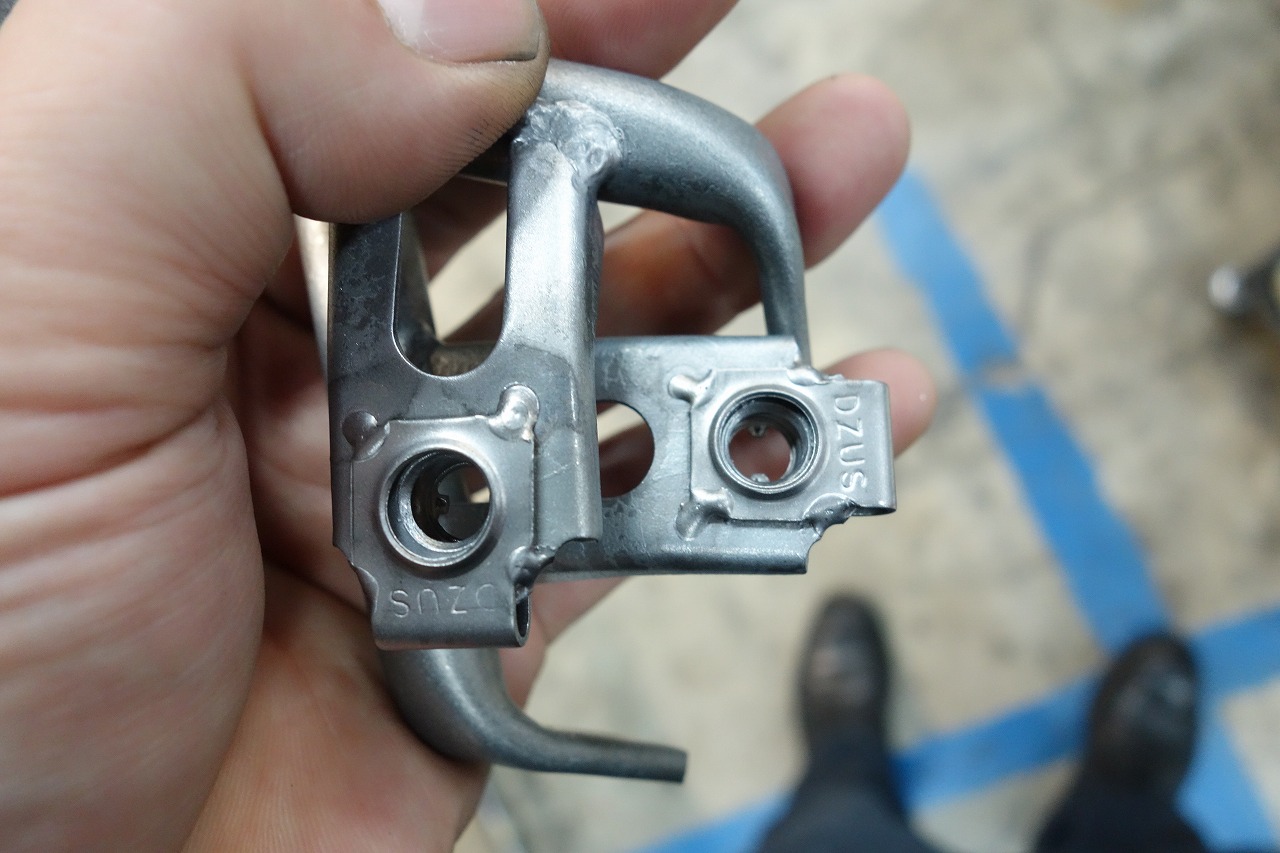
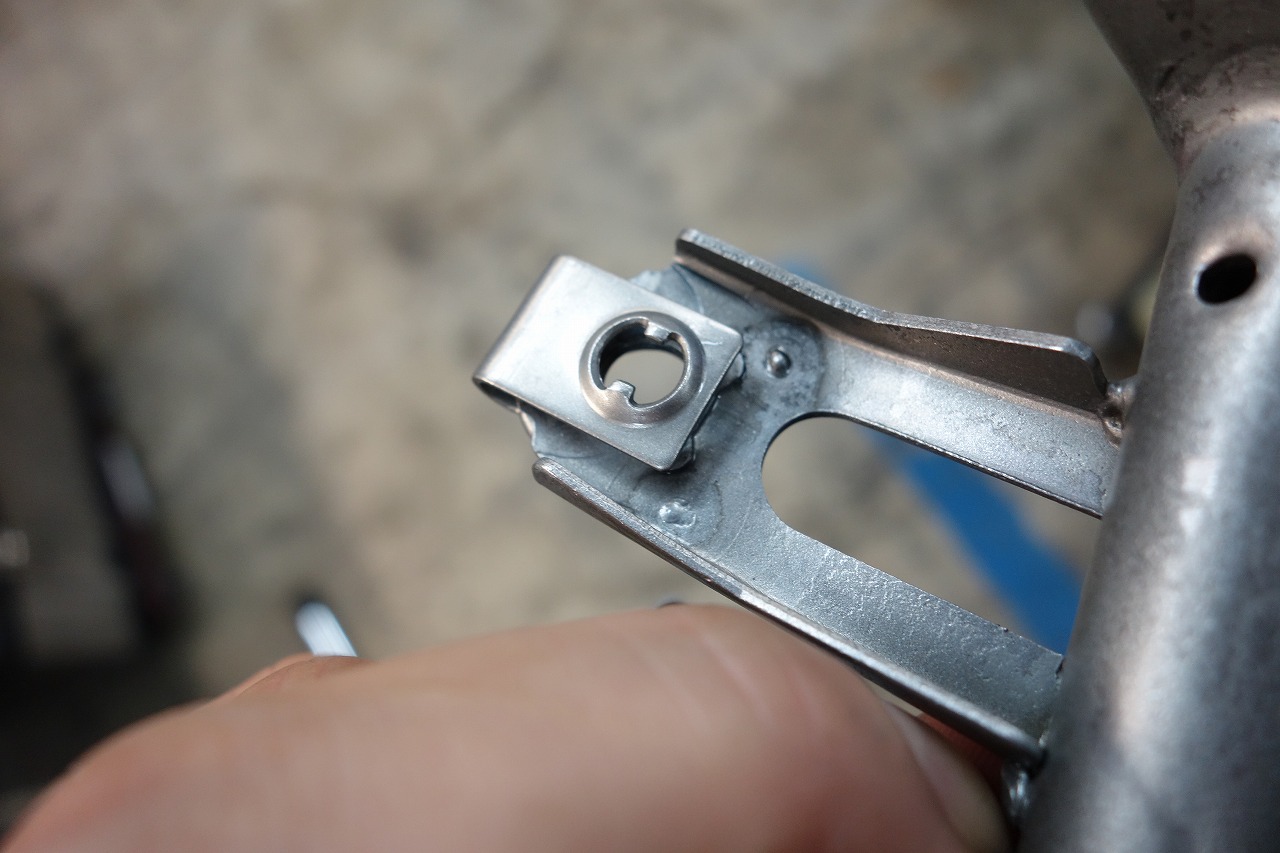
It’s a pretty sneaky trick, but it’s effective for turning anything into an easy fastener.
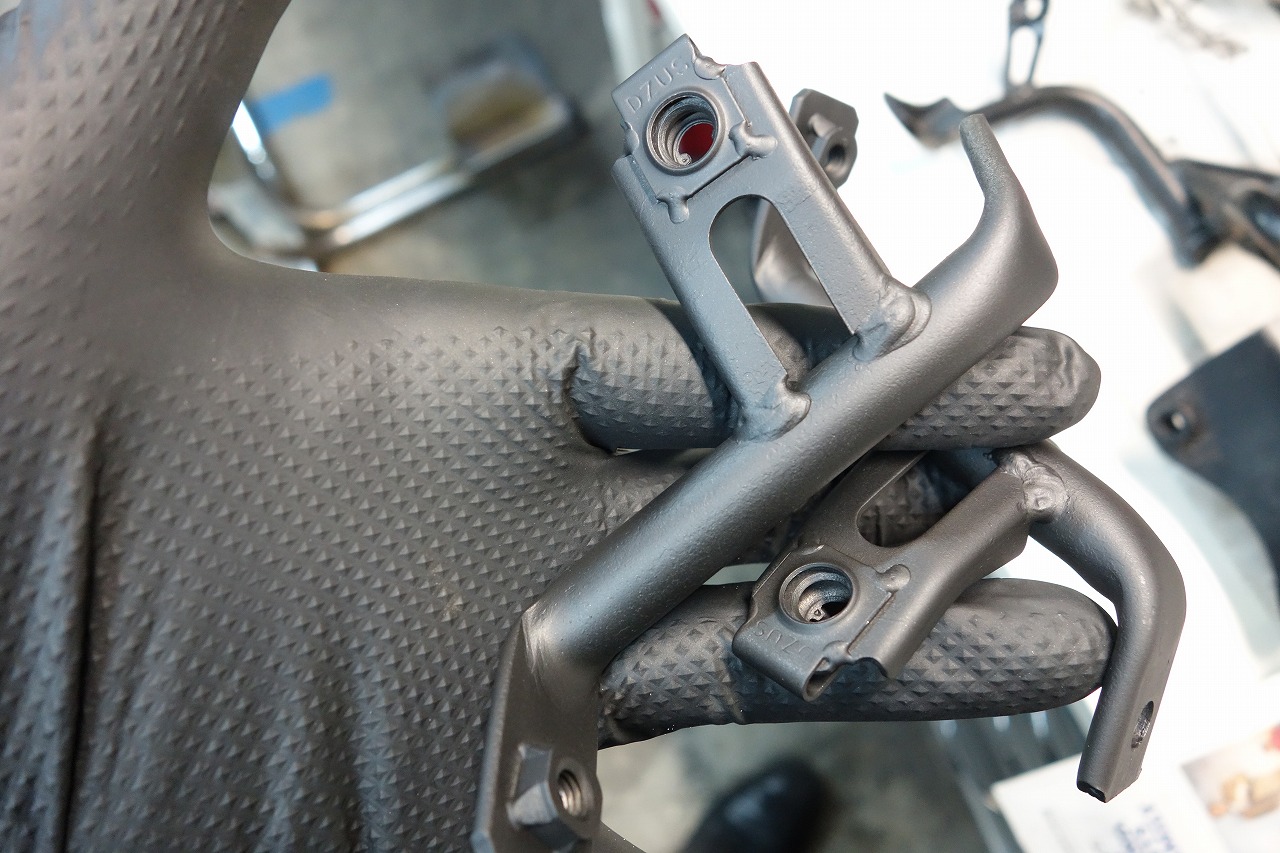
Painted with gun coat and done.
Matte black is unbeatable~. I can see why the world is full of matte finishes these days~.
*Not that it’s good or anything… I mean it’s safe? Solid? That kind of thing.
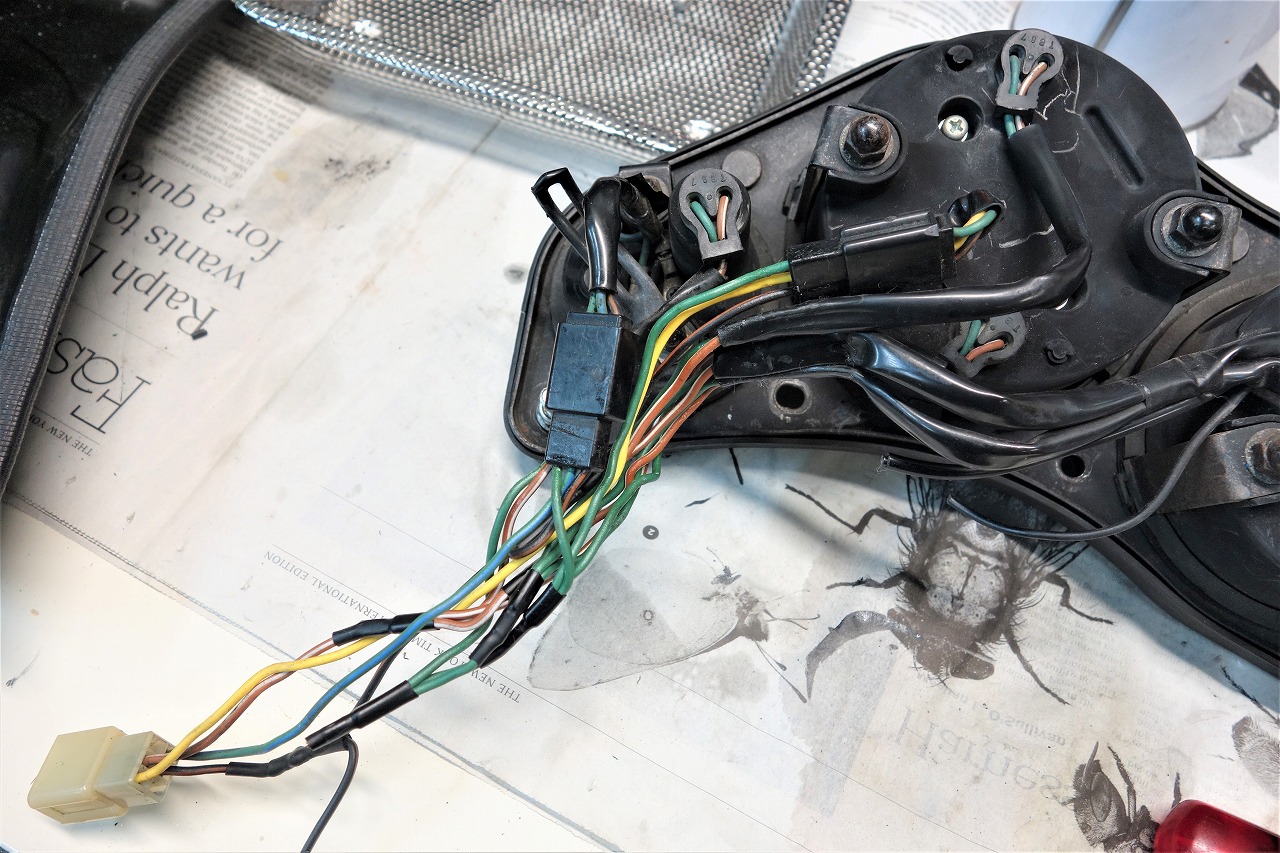
The harness tape on the meter was all sticky and gross, so I’ll peel it off and rewrap it.
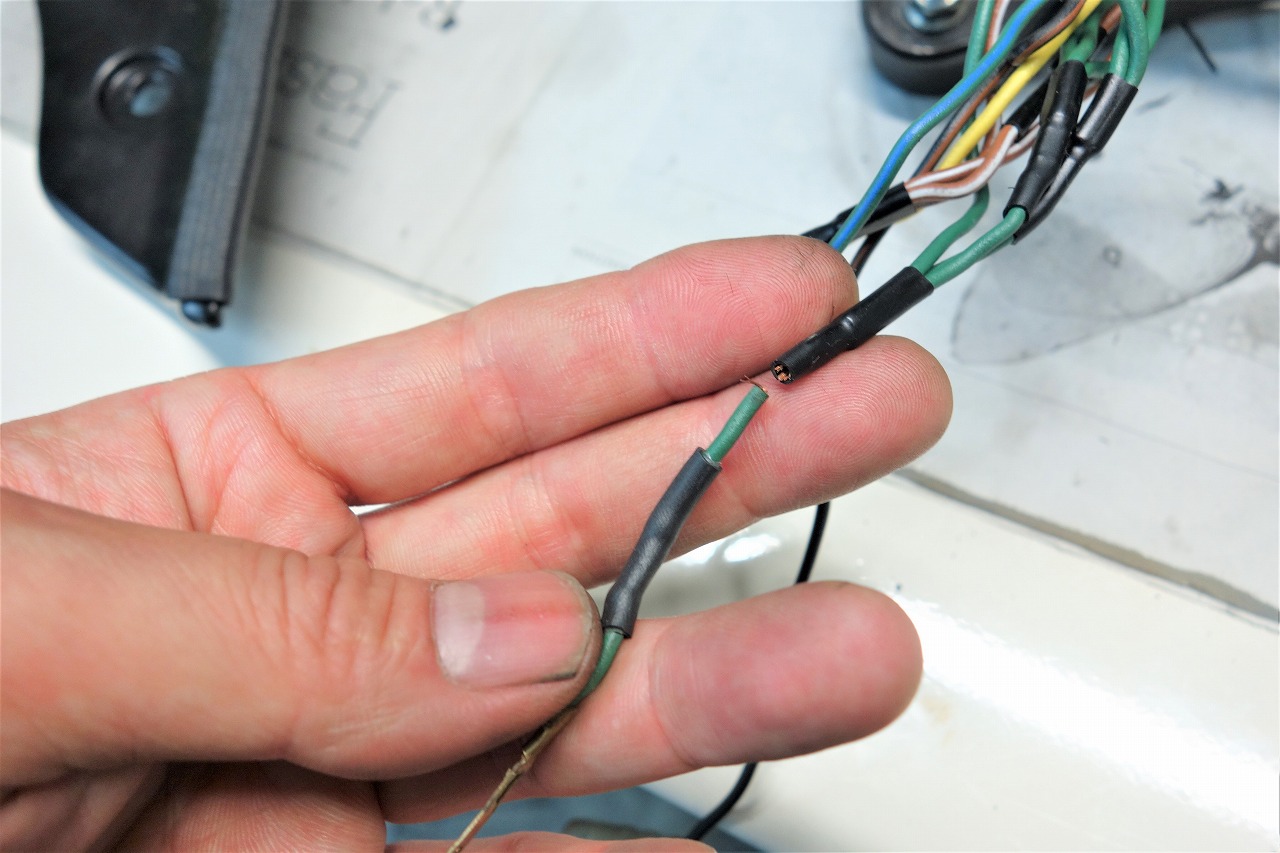
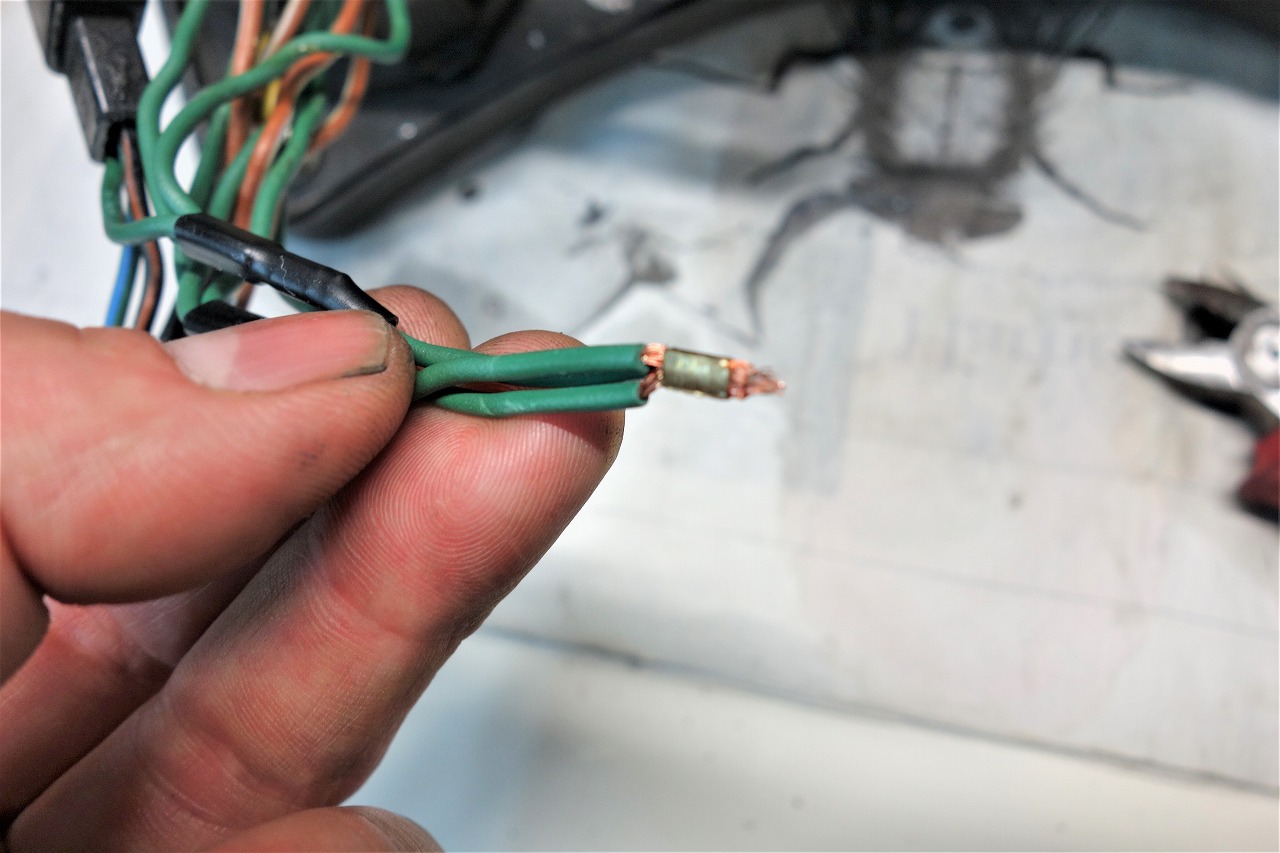
Hmm? Something’s missing~ When I checked, it broke off at the splice. *By the way, it’s the ground wire.
Just like a bone fracture, the break happens near the strong part.
Well, it’s a blessing in disguise, I guess… This is what’s scary about old bikes.
*I mean, the liability down the road is scary~.
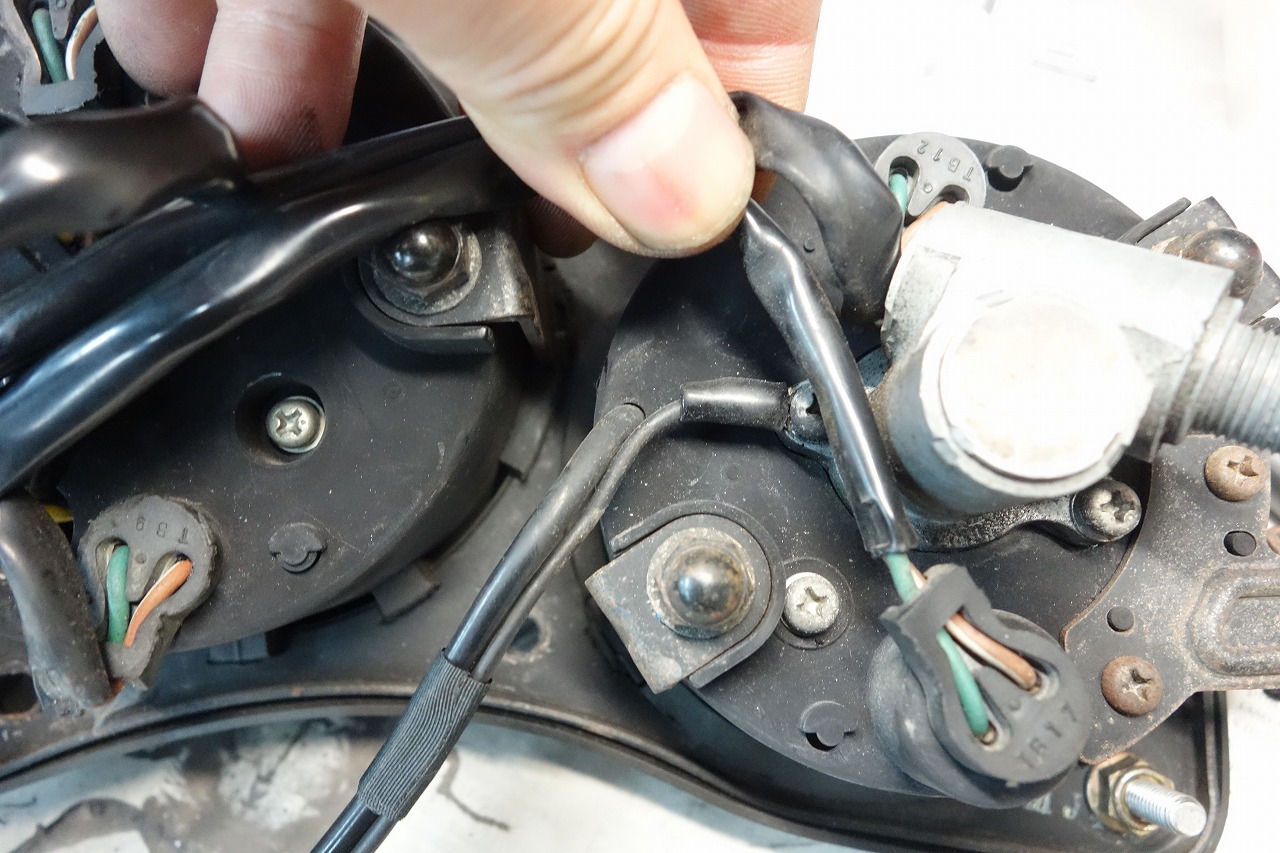
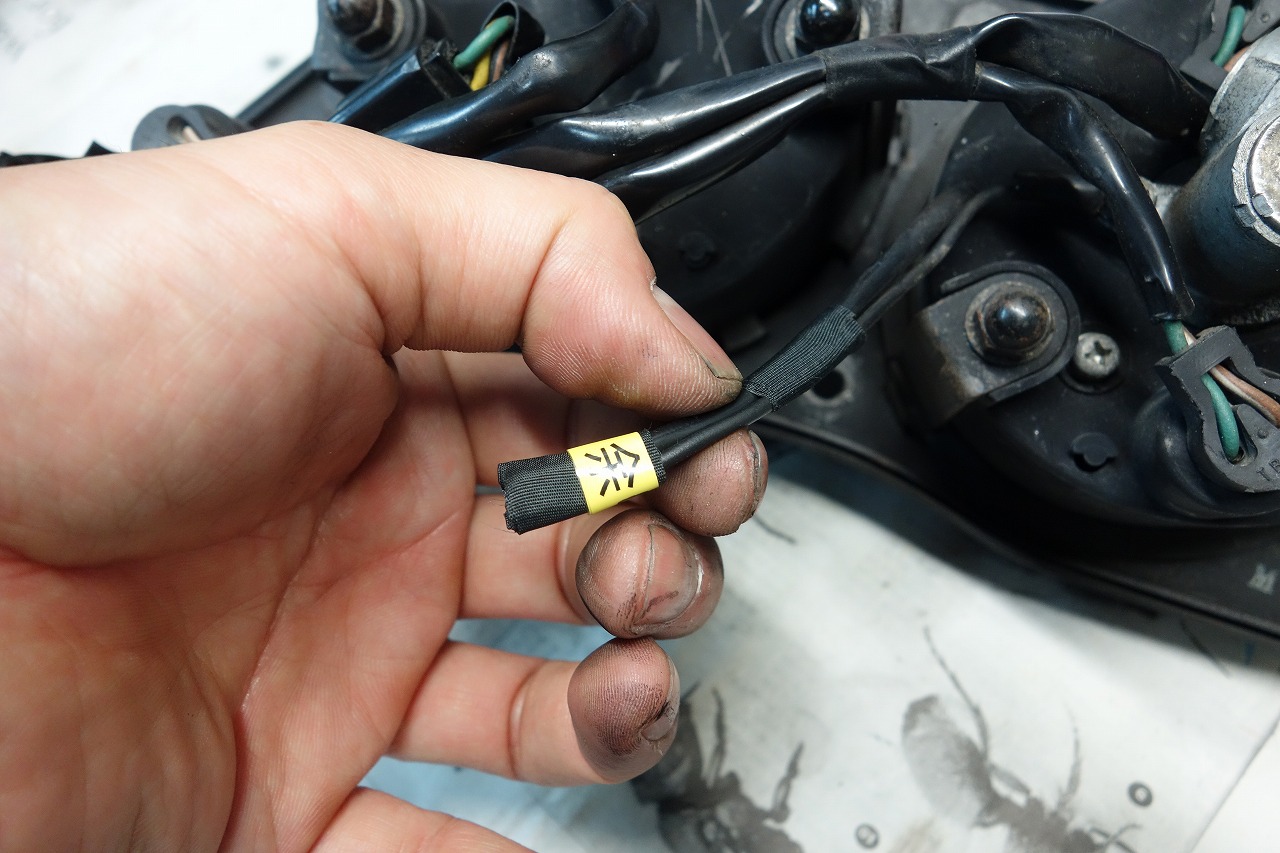
What’s with all this mysterious leftover wiring…?
I’ll look into it later.
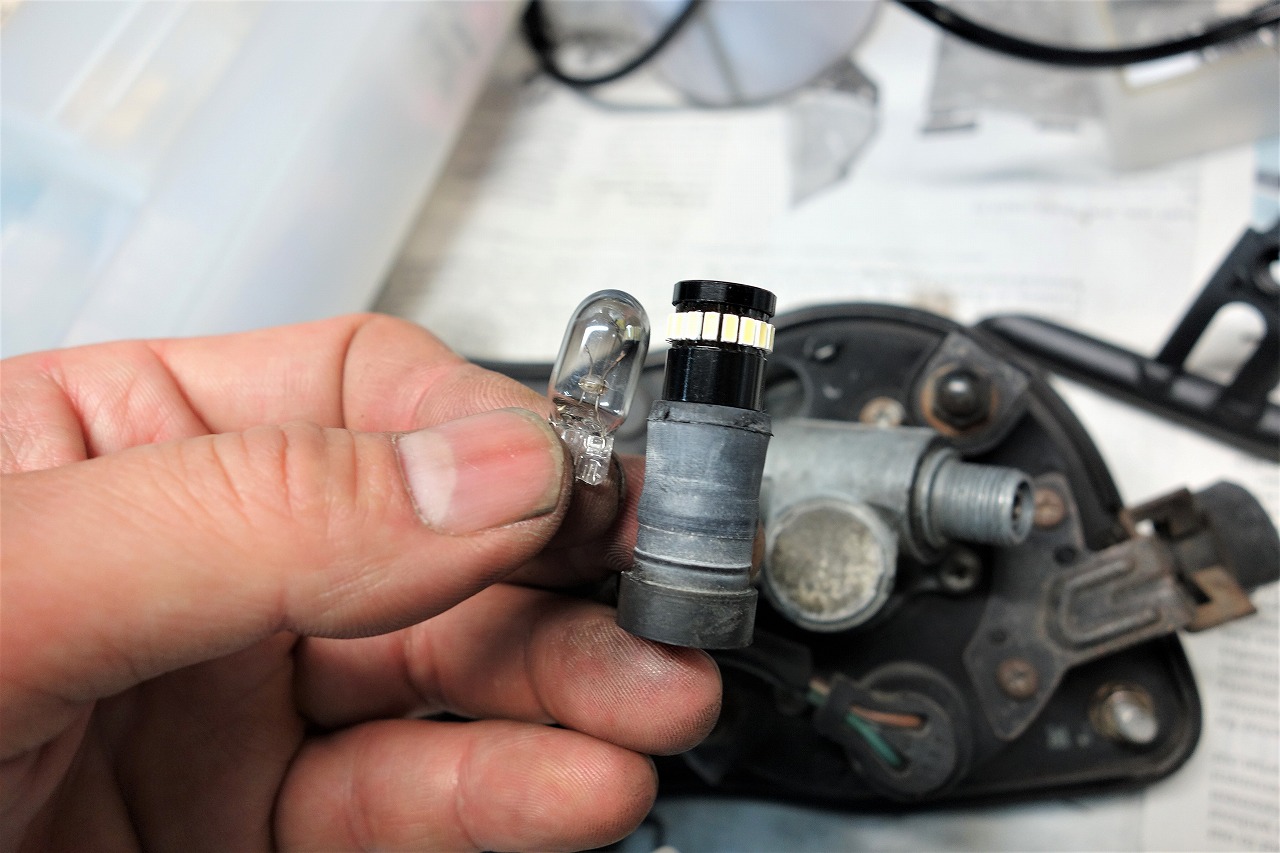
I’ve replaced it with the popular LED bulbs lately. It goes from dim lighting to sharp and bright!
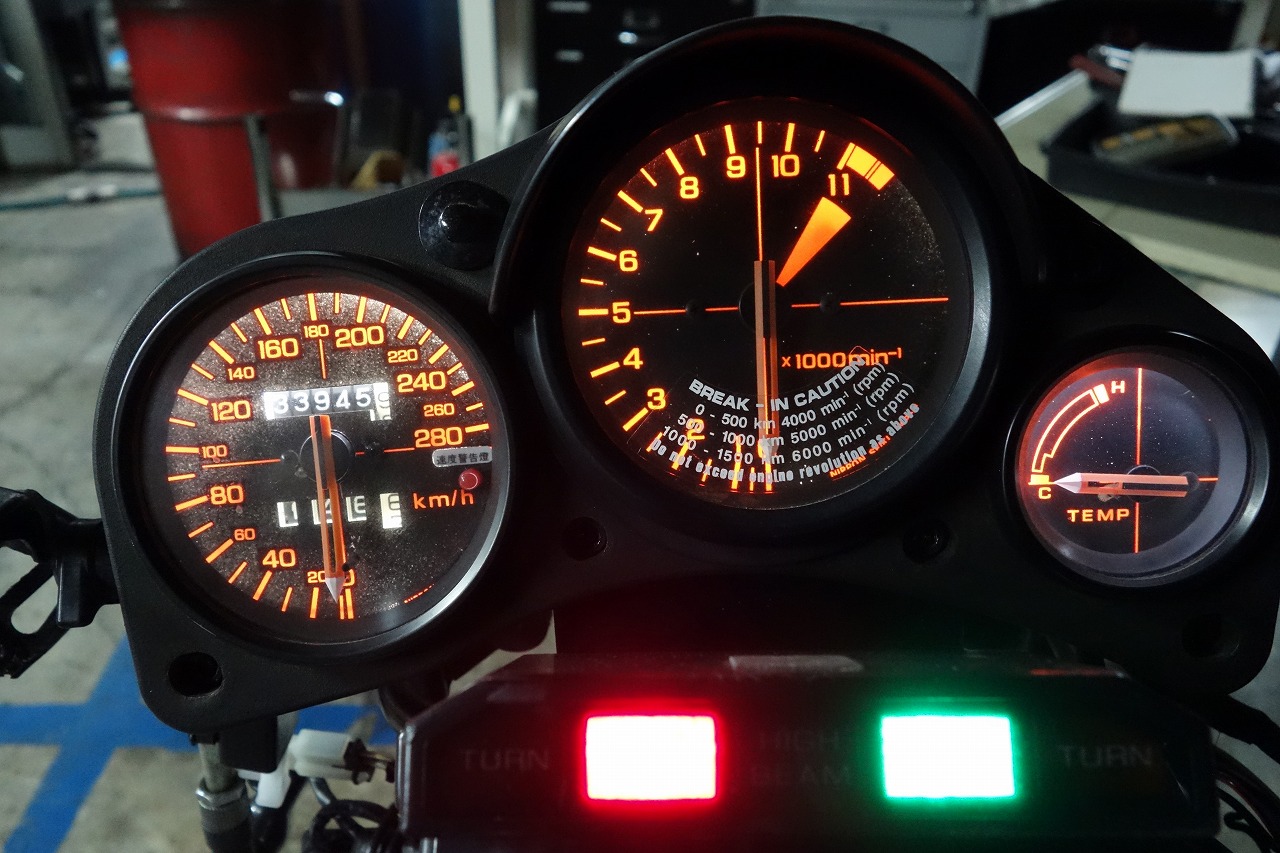
Hmm~ looks good~
The indicator is too big though… Let me replace it.
I can also cut off that annoying bracket on the top bridge.
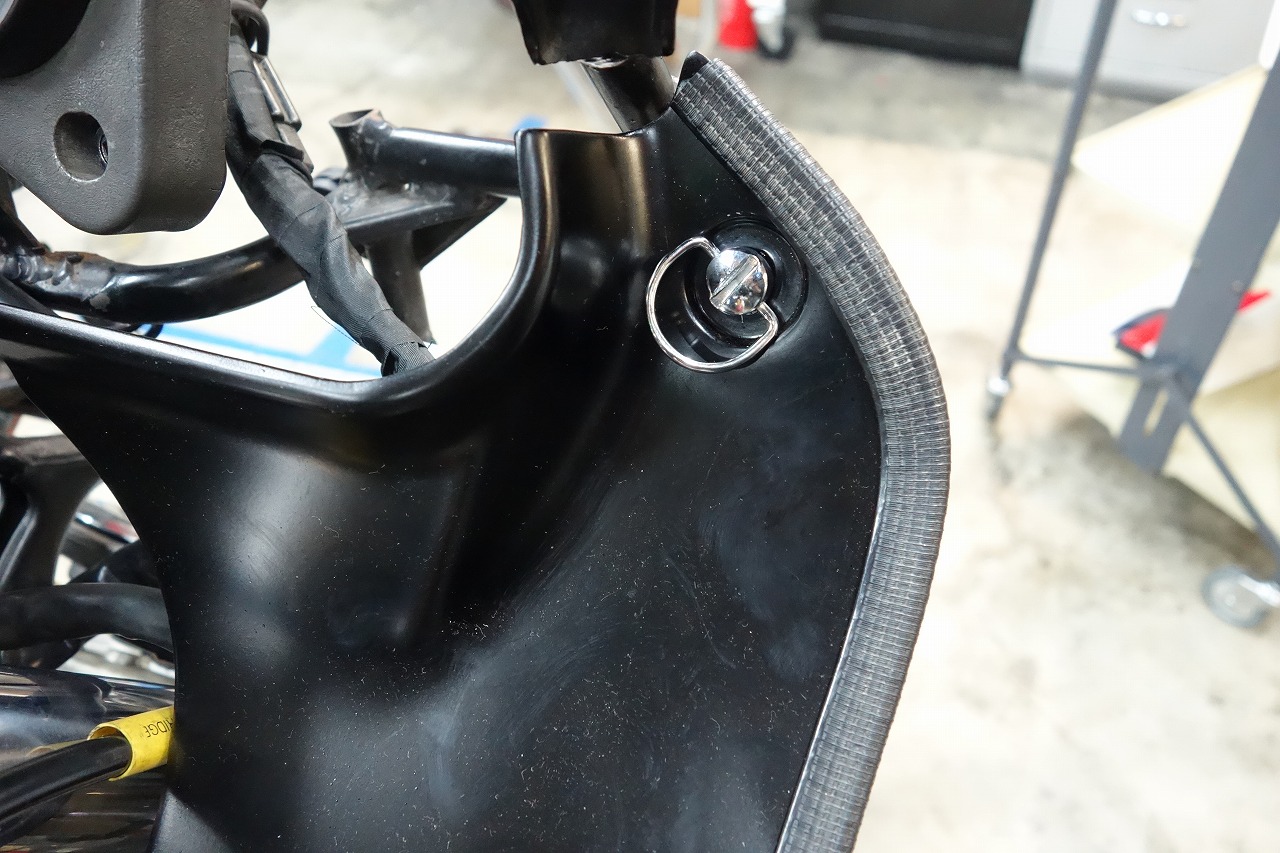
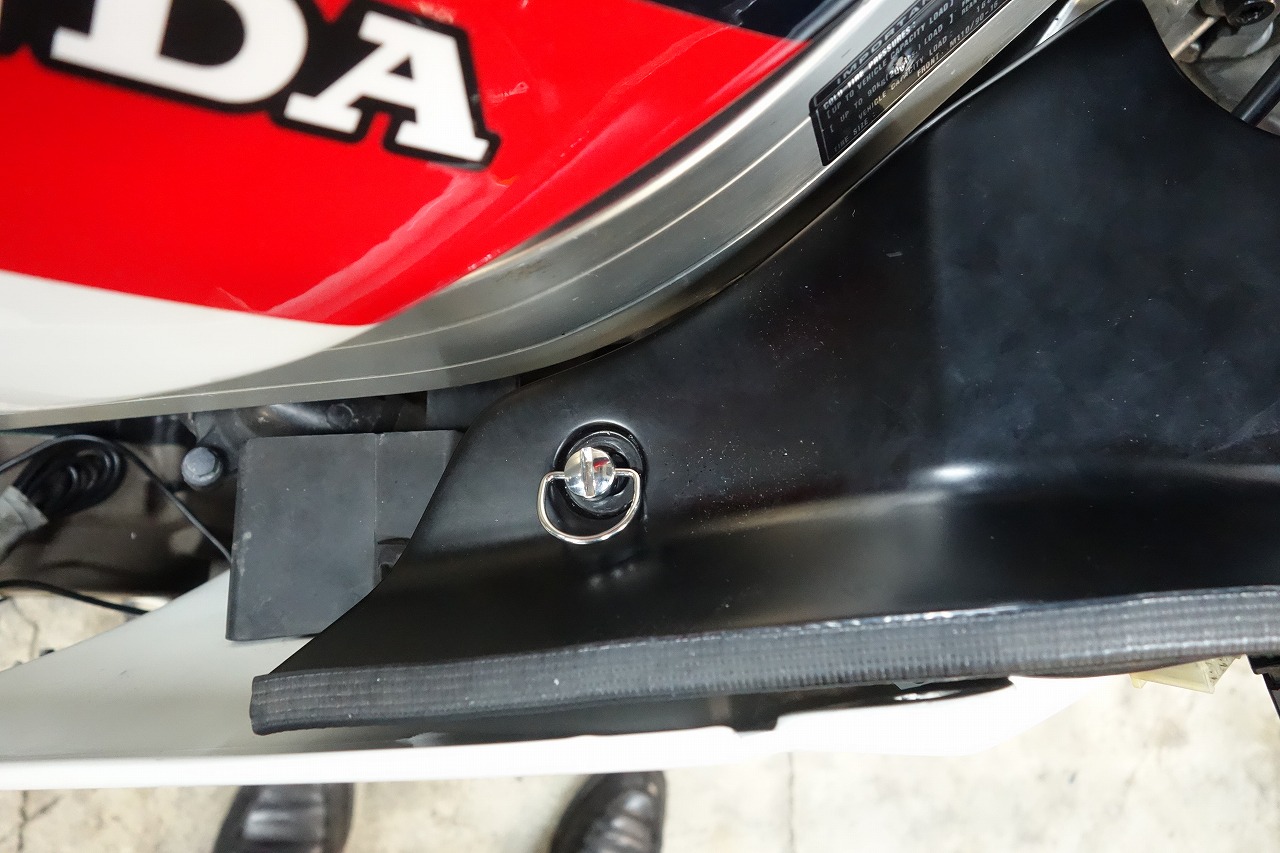
Now the left and right panels can be removed with fasteners.
*Still temporary though. I haven’t found the right size for the neck area yet.
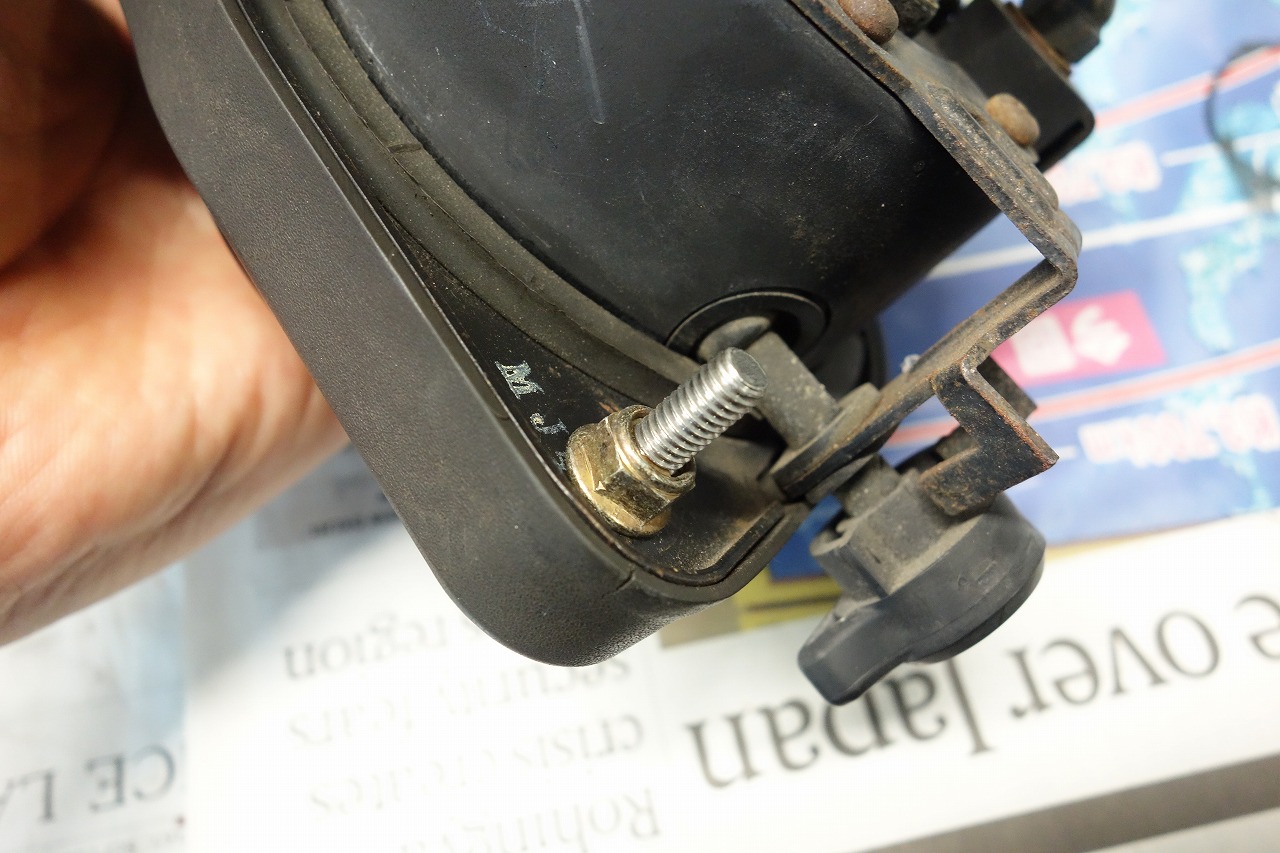
I always think that unnecessarily long is “heavy, adds time to removal, and not ideal” overall.
Even if it’s a hassle, it’s important to use the right length for the job and work efficiently.
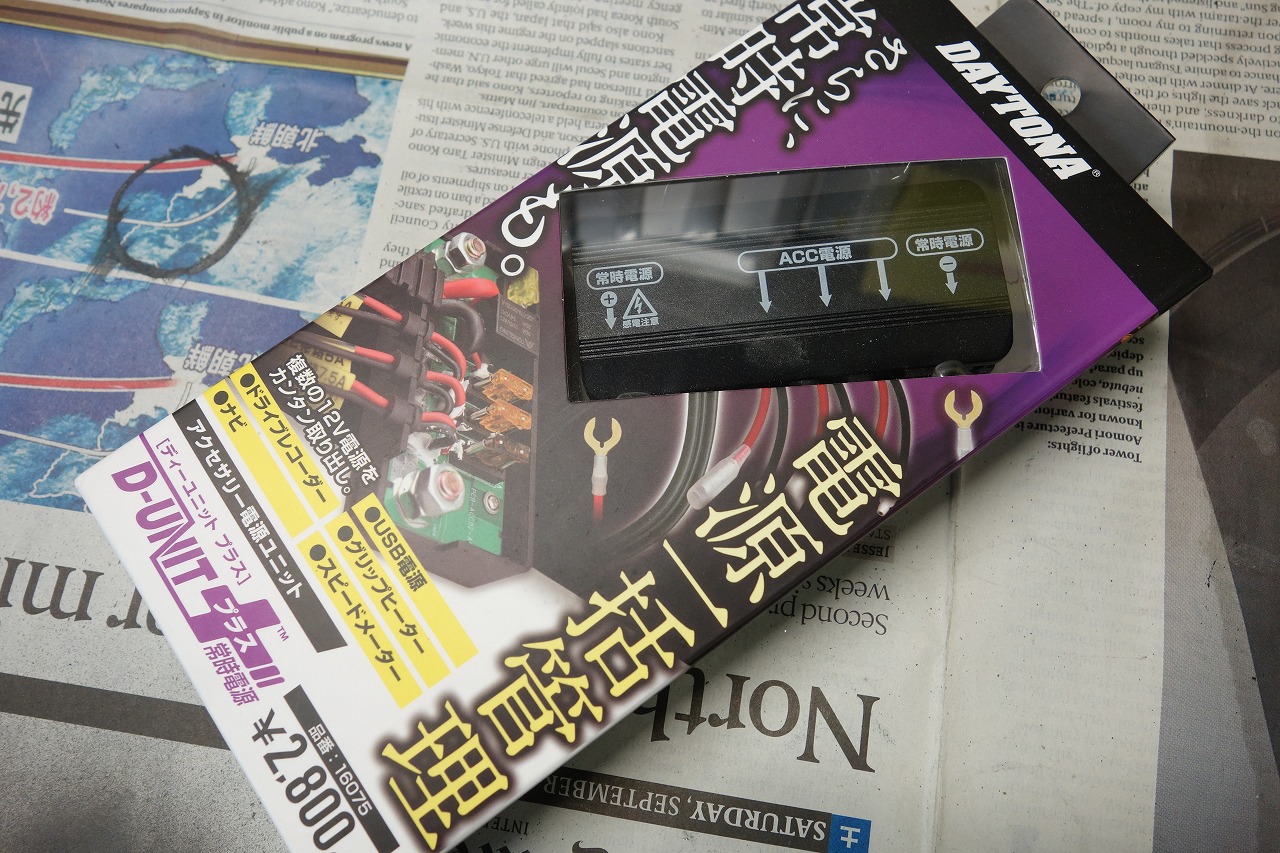
We currently have a good stock of the Daytona D-UNIT+.
Daytona Motorcycle Accessory Power Unit 3 Systems + 1 Constant Power System Power Management Total 17.5A D-UNIT Plus (D-Unit Plus) 16075
It’s a lifesaver for optional power. Thanks to this, work has become so much easier.
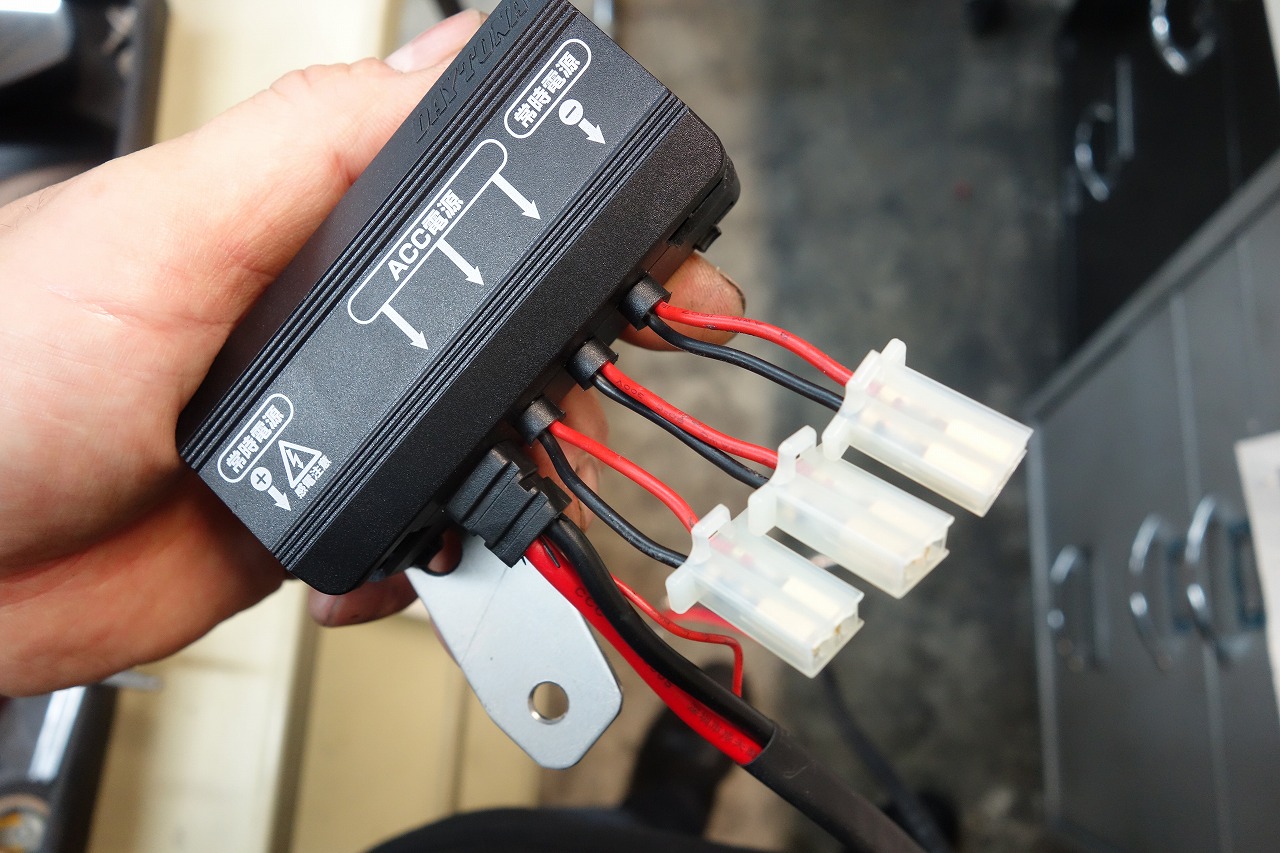
Changing everything to 110-series connectors improves both appearance and workability.
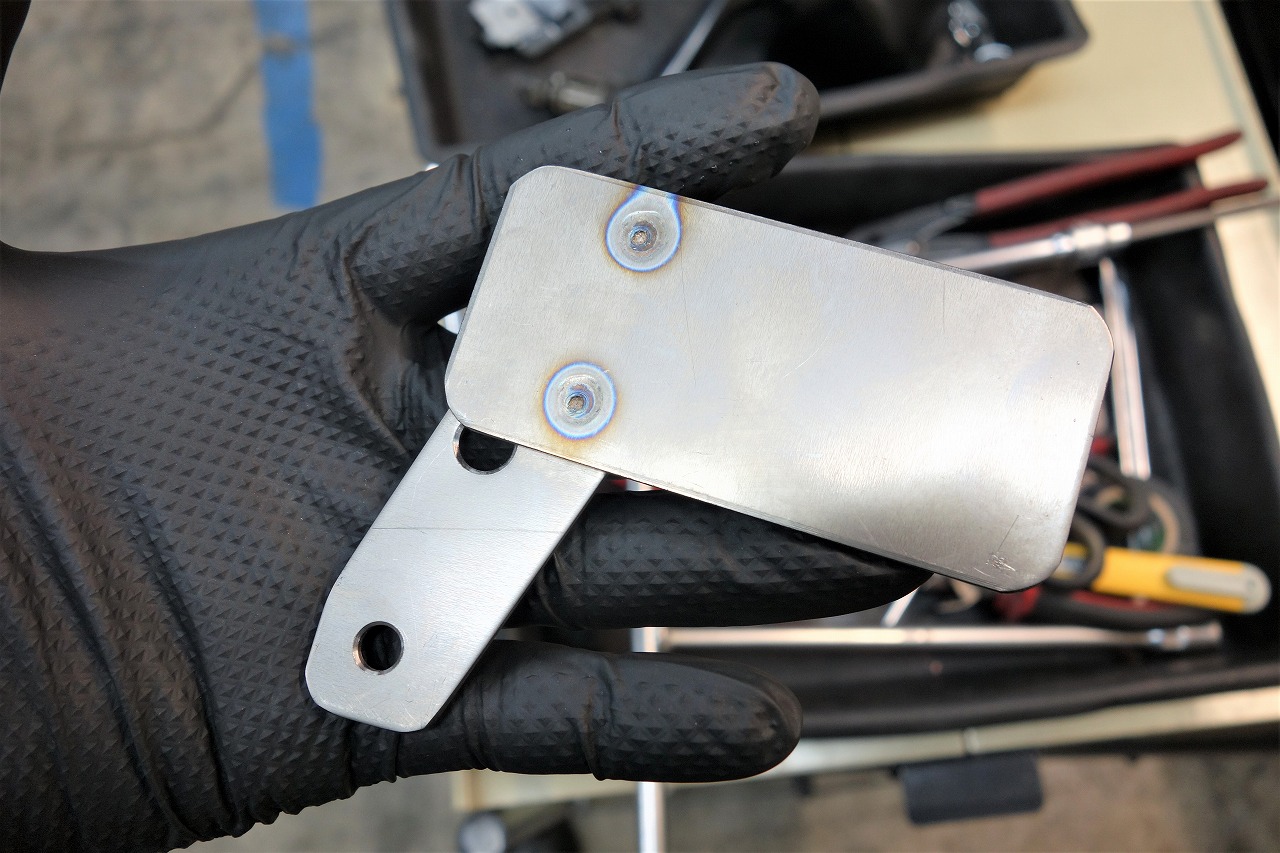
I went ahead and made the D-UNIT bracket out of titanium for now.
I always use the sneaky method of only shearing, die-cutting, and spot welding.
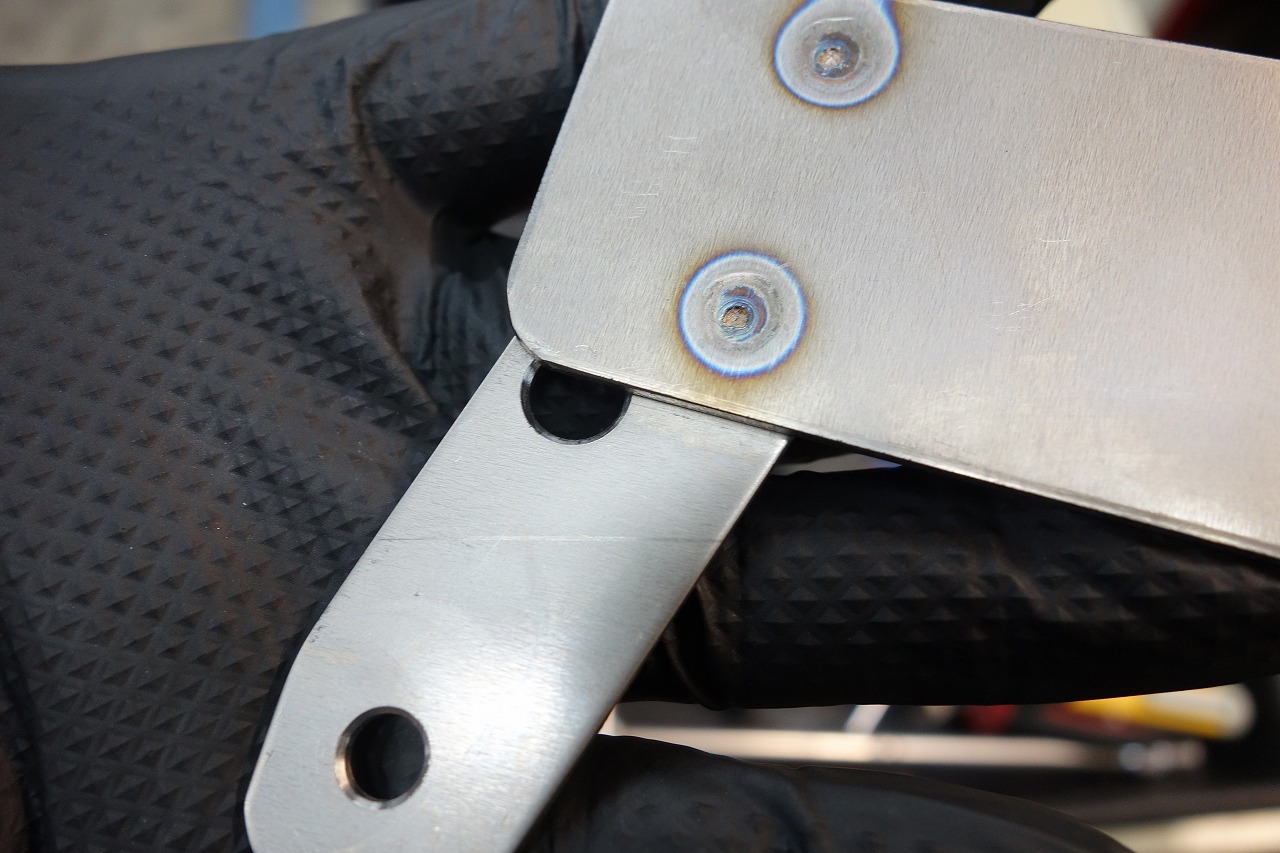
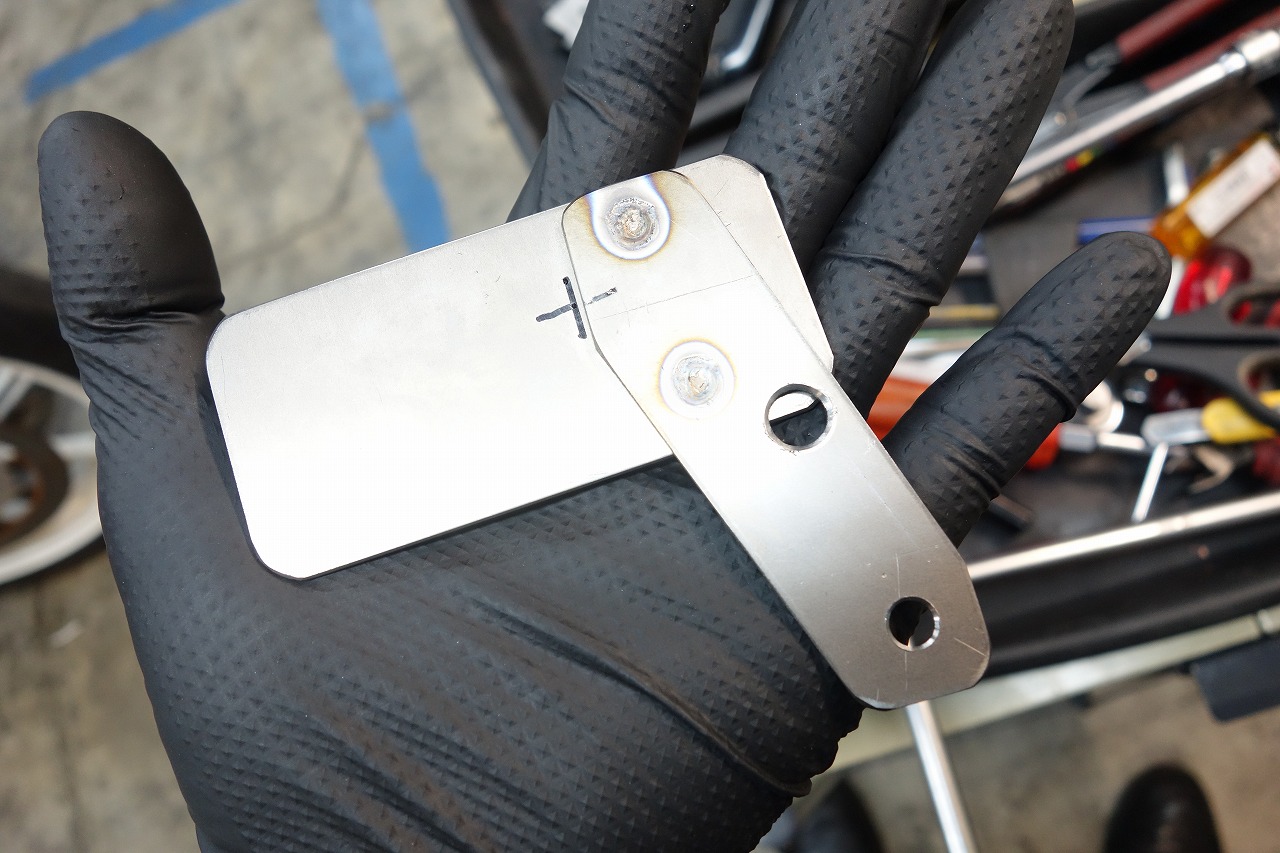
The half-drilled hole will be for threading cable ties through.
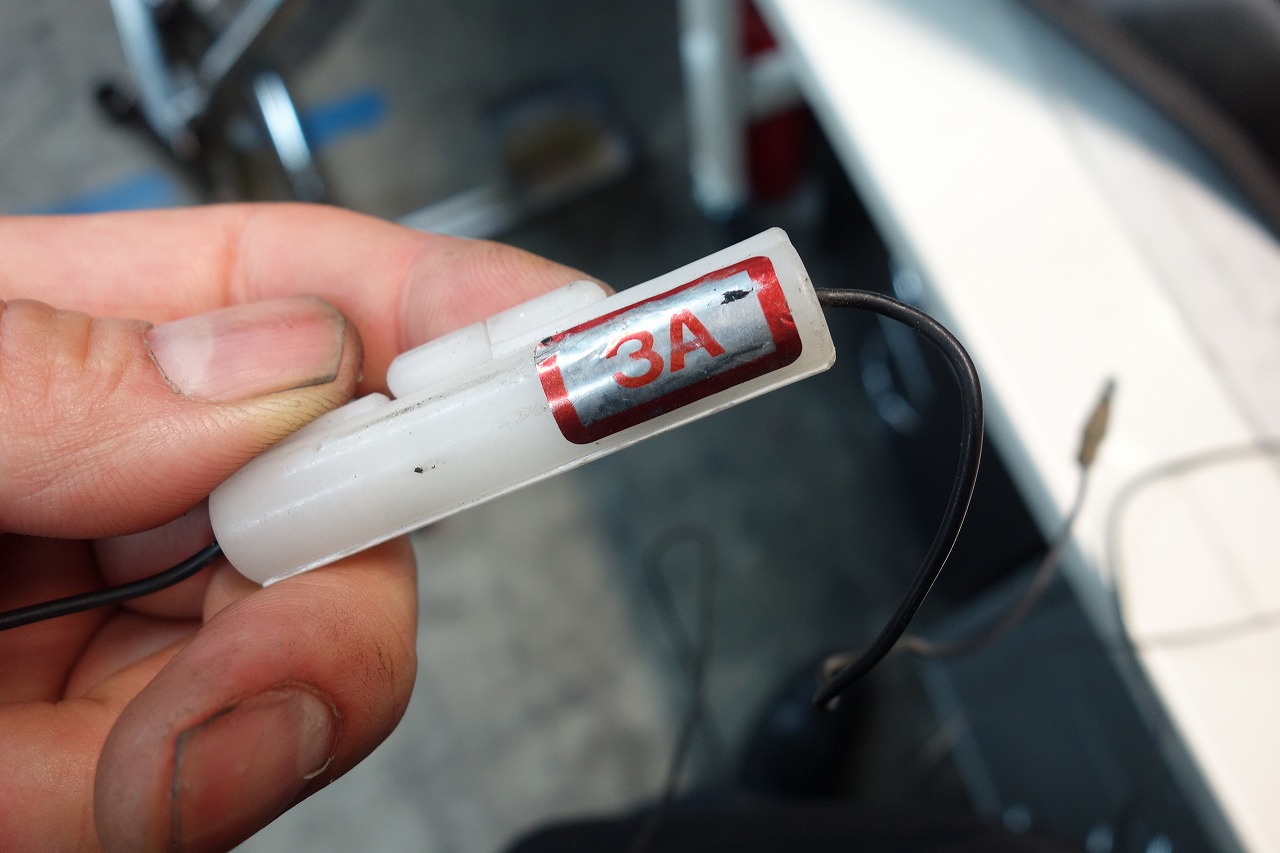
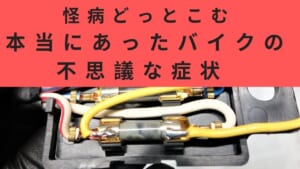
There was a 3A fuse in there—really? Does that mean it was that well-protected?
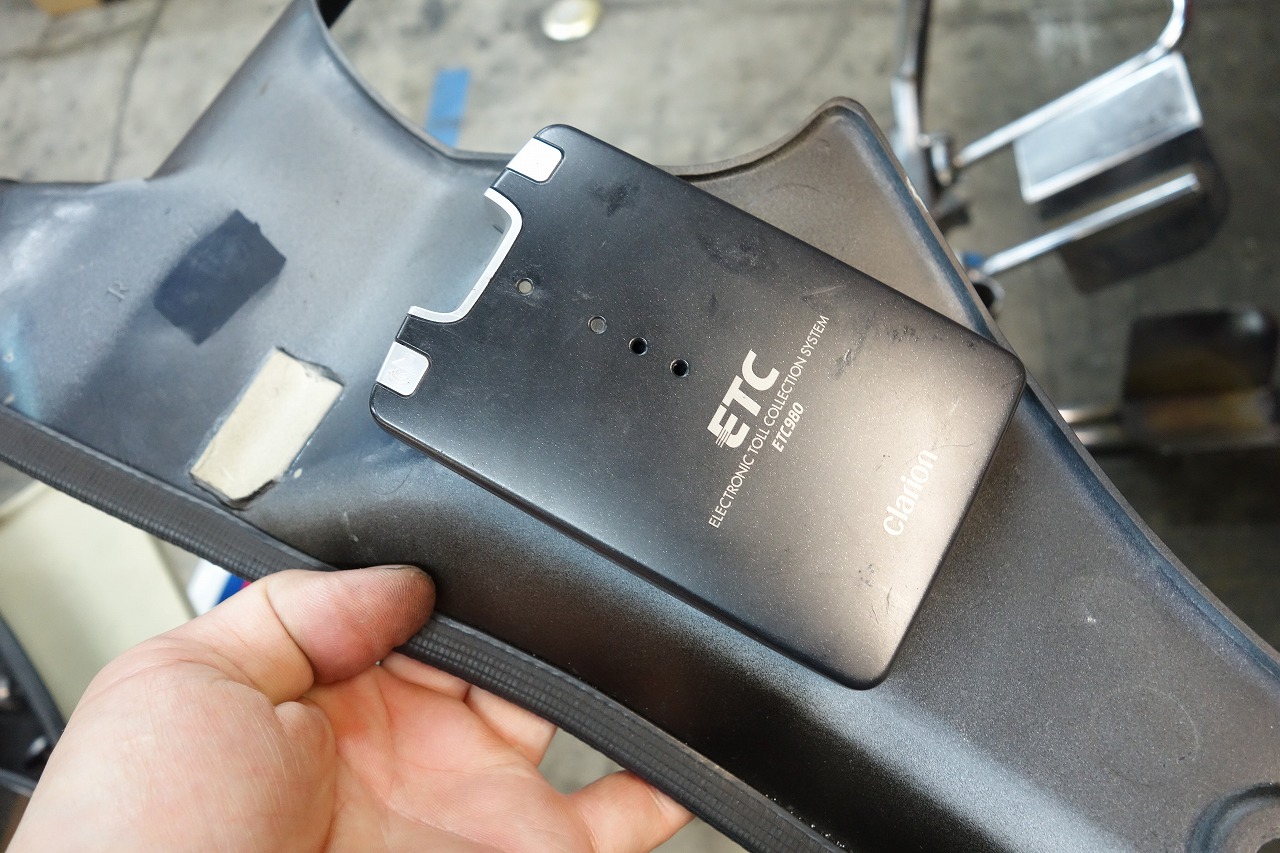
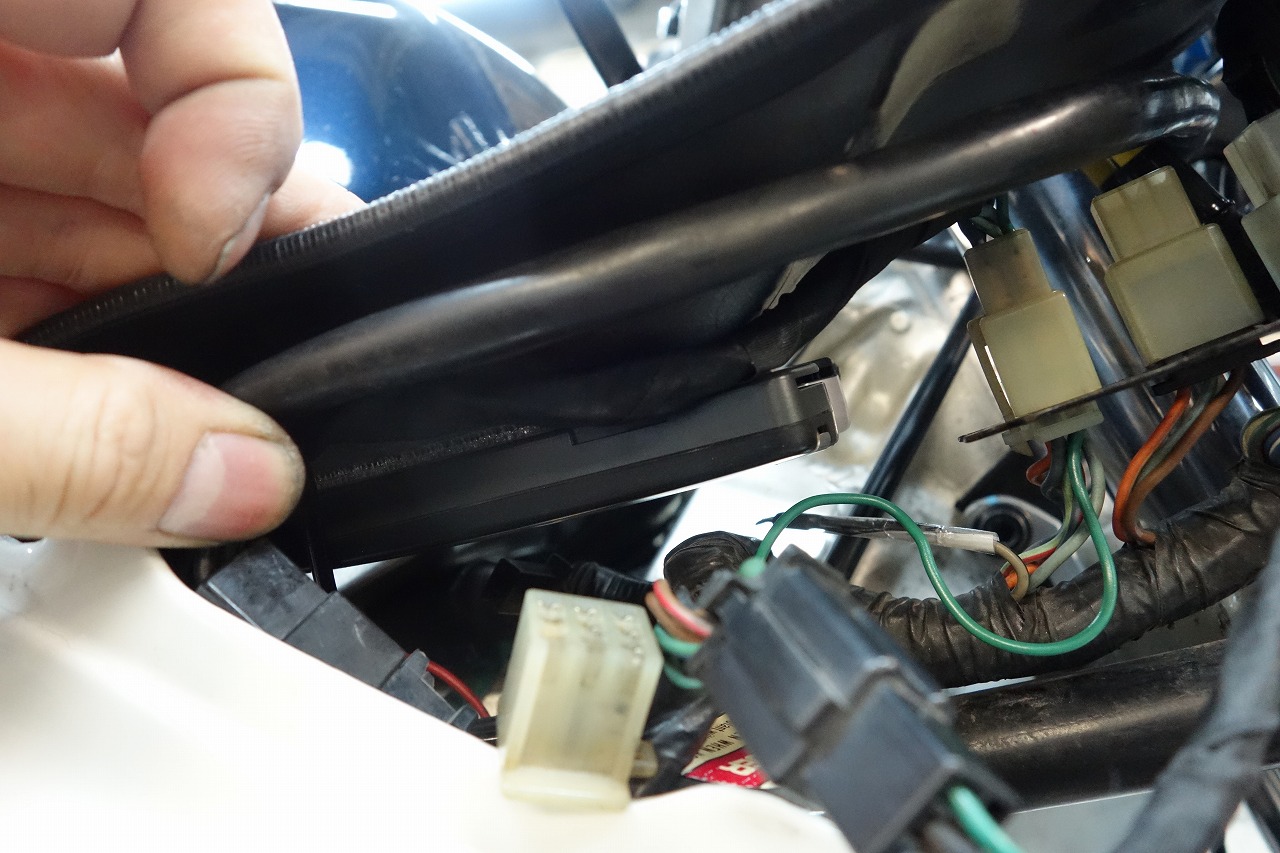
I’ve attached it to the back of the panel. Remove it with the fasteners and plug or unplug as needed~
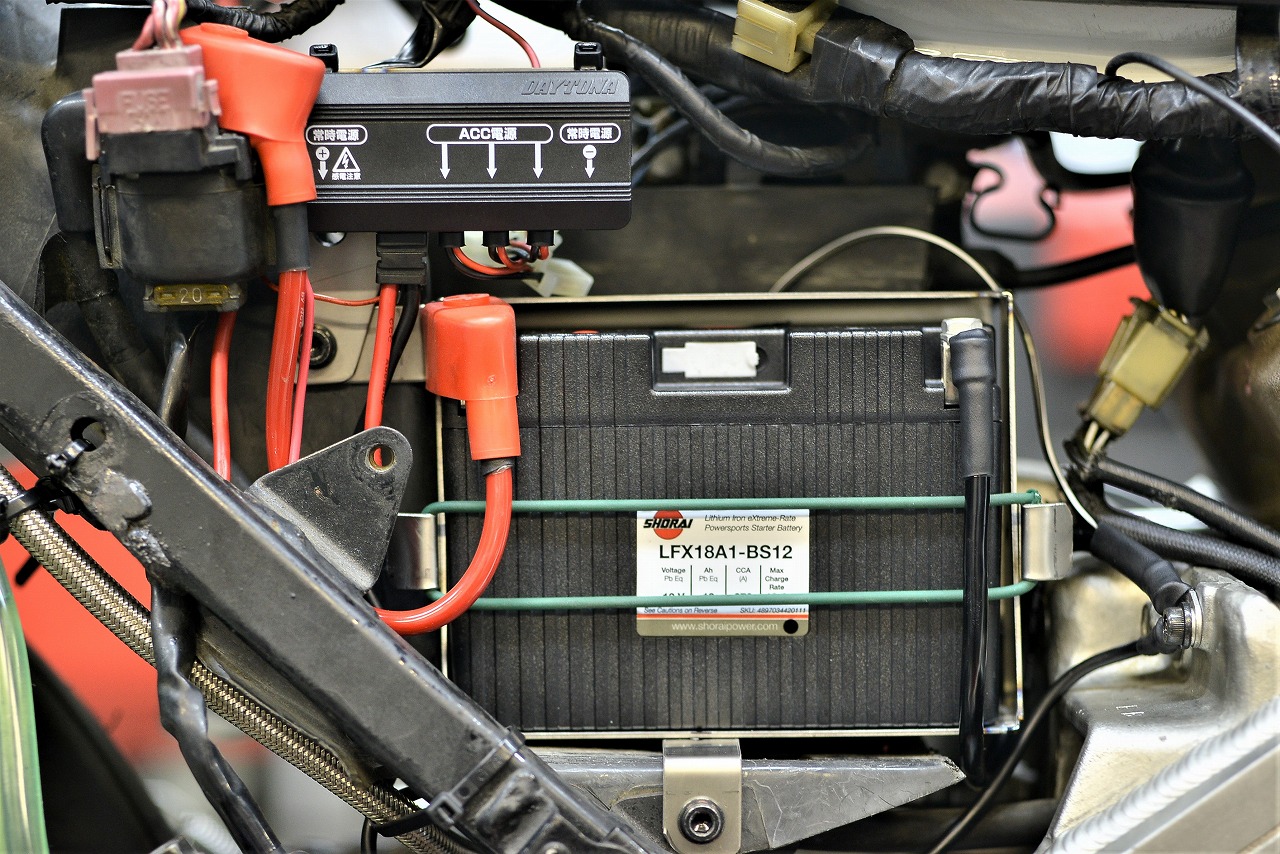
That’s how I laid it out.
Wiring work plus custom fabrication—it takes forever and honestly doesn’t feel very rewarding…
(ΦωΦ)meow~