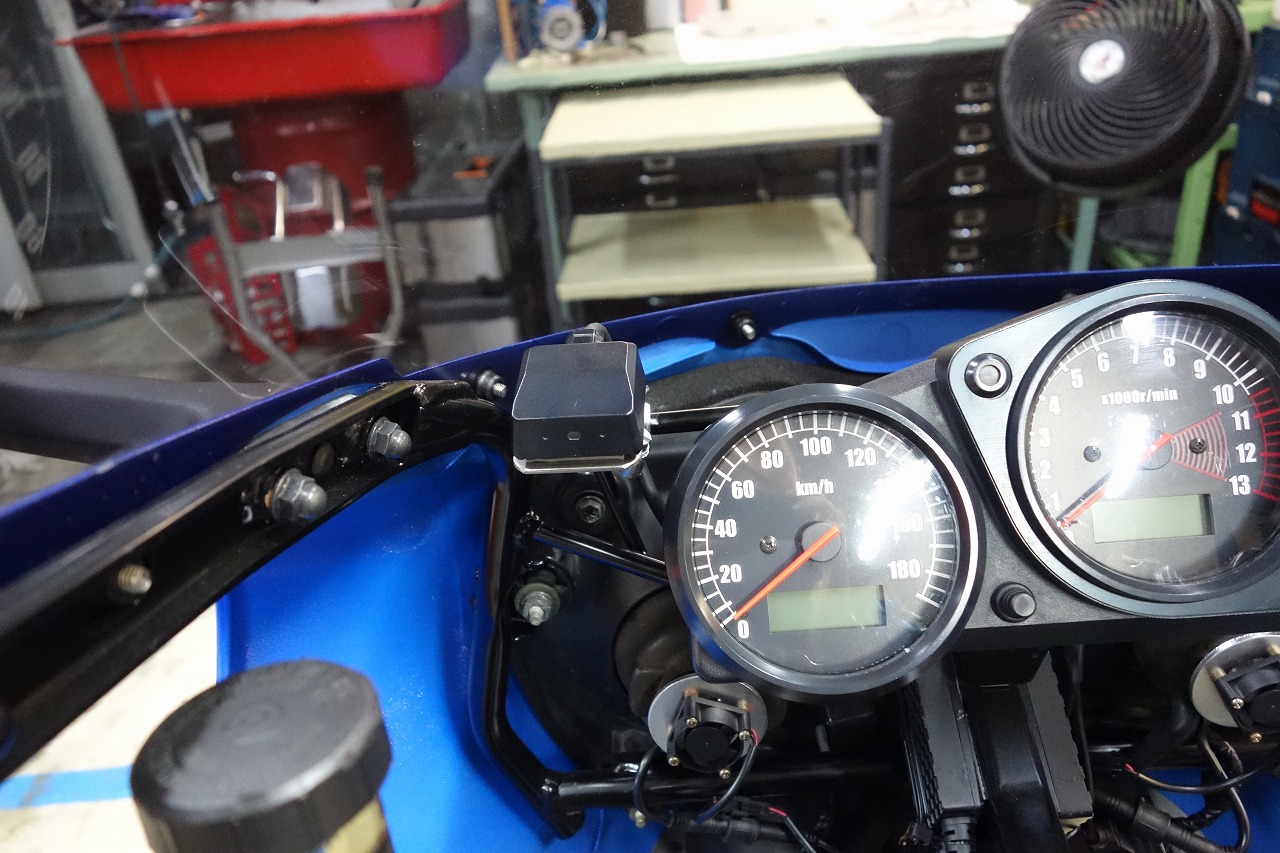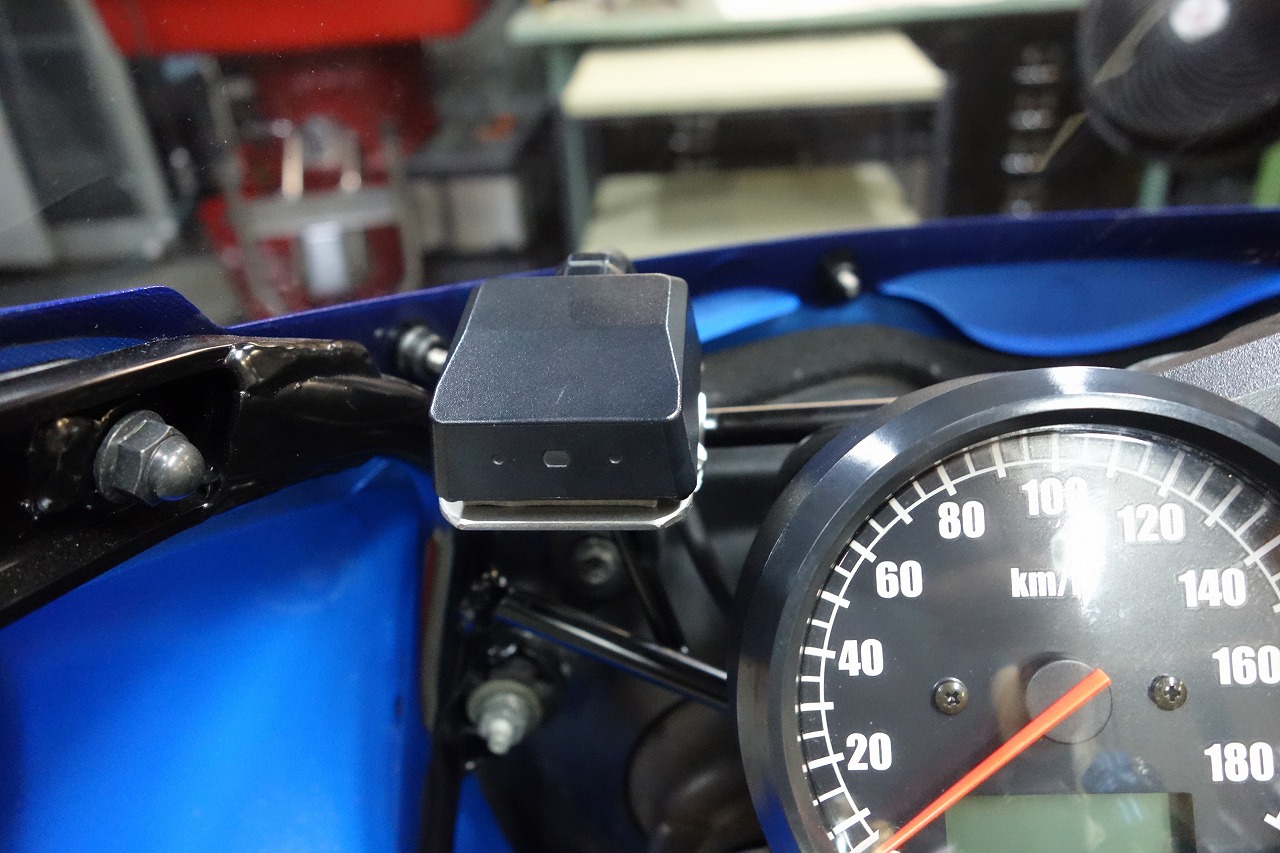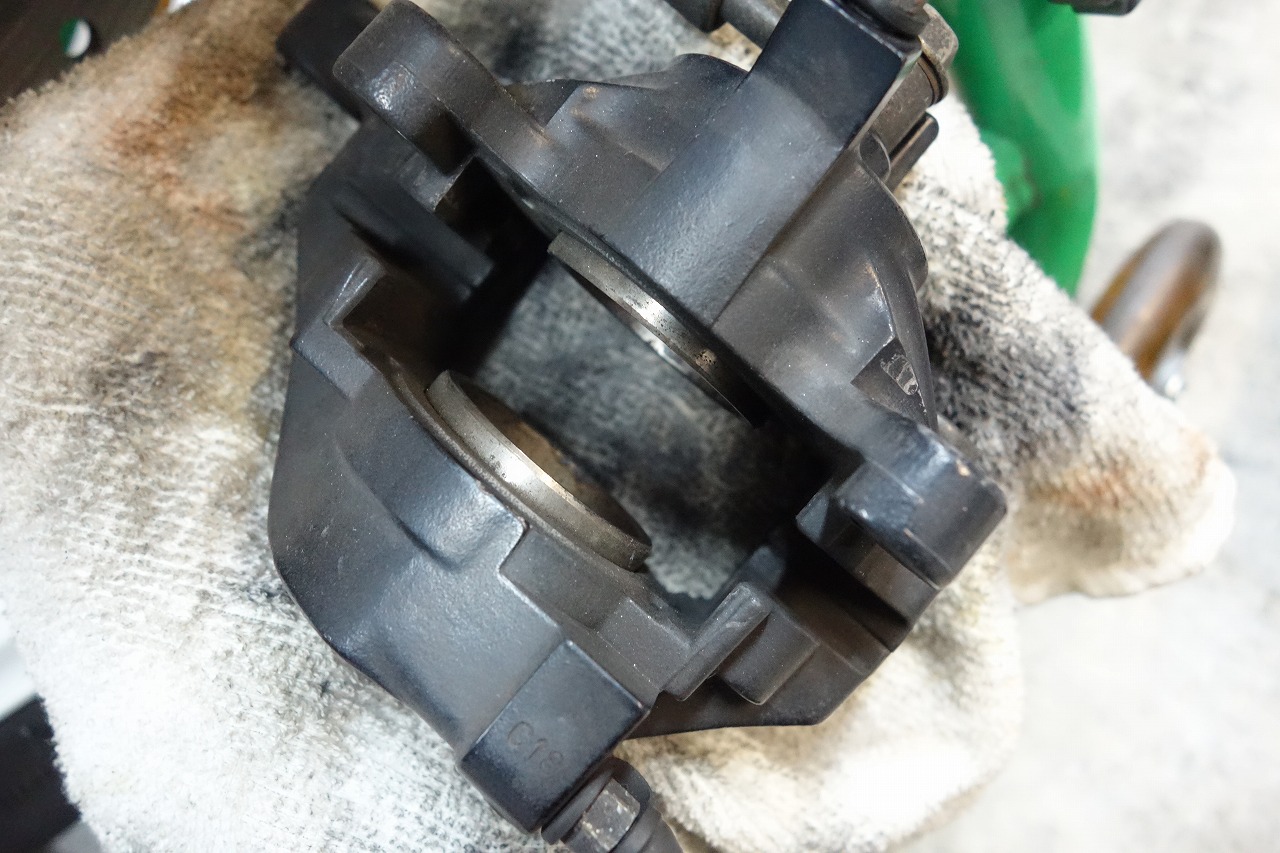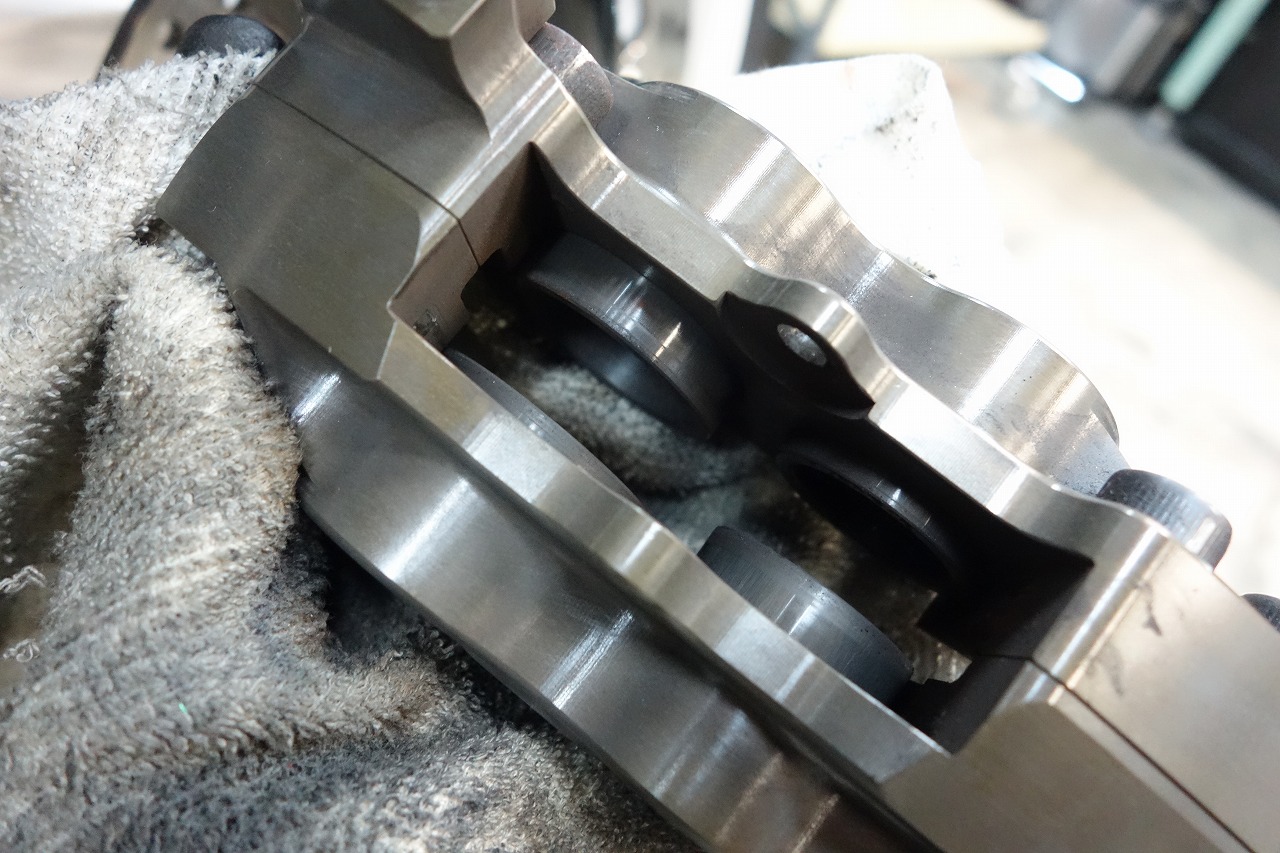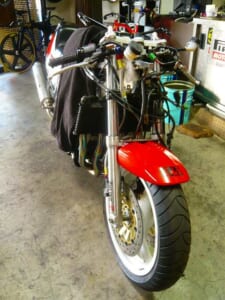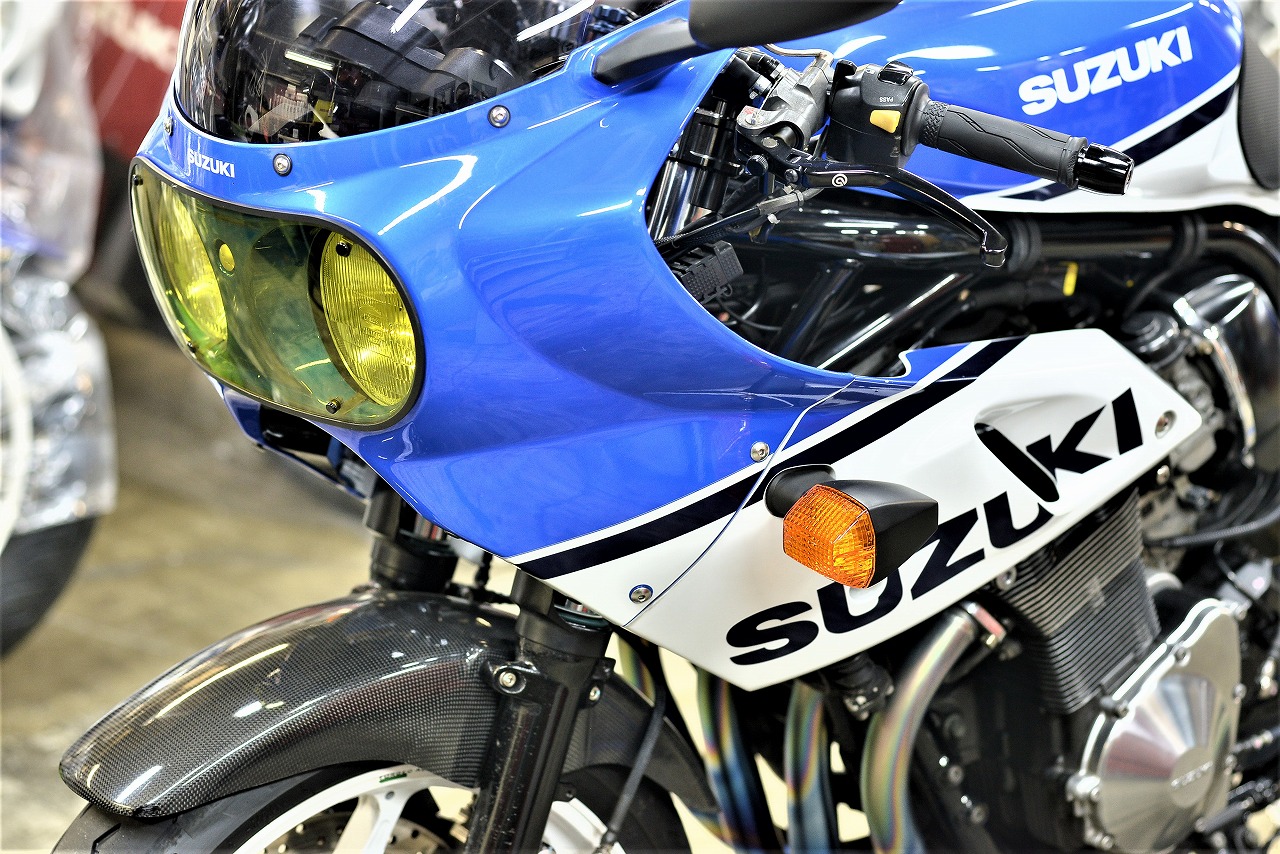
Inspection, carburettor maintenance OH + polish, self-point maintenance, Newtech oil change, and ETC antenna relocation are the requests.
We’ve finished accepting work for 2019. I’ve been thinking lately that maybe I don’t need to take on January work either. I’ve just taken on too much work, like a dam backing up… Switching gears and moving forward!
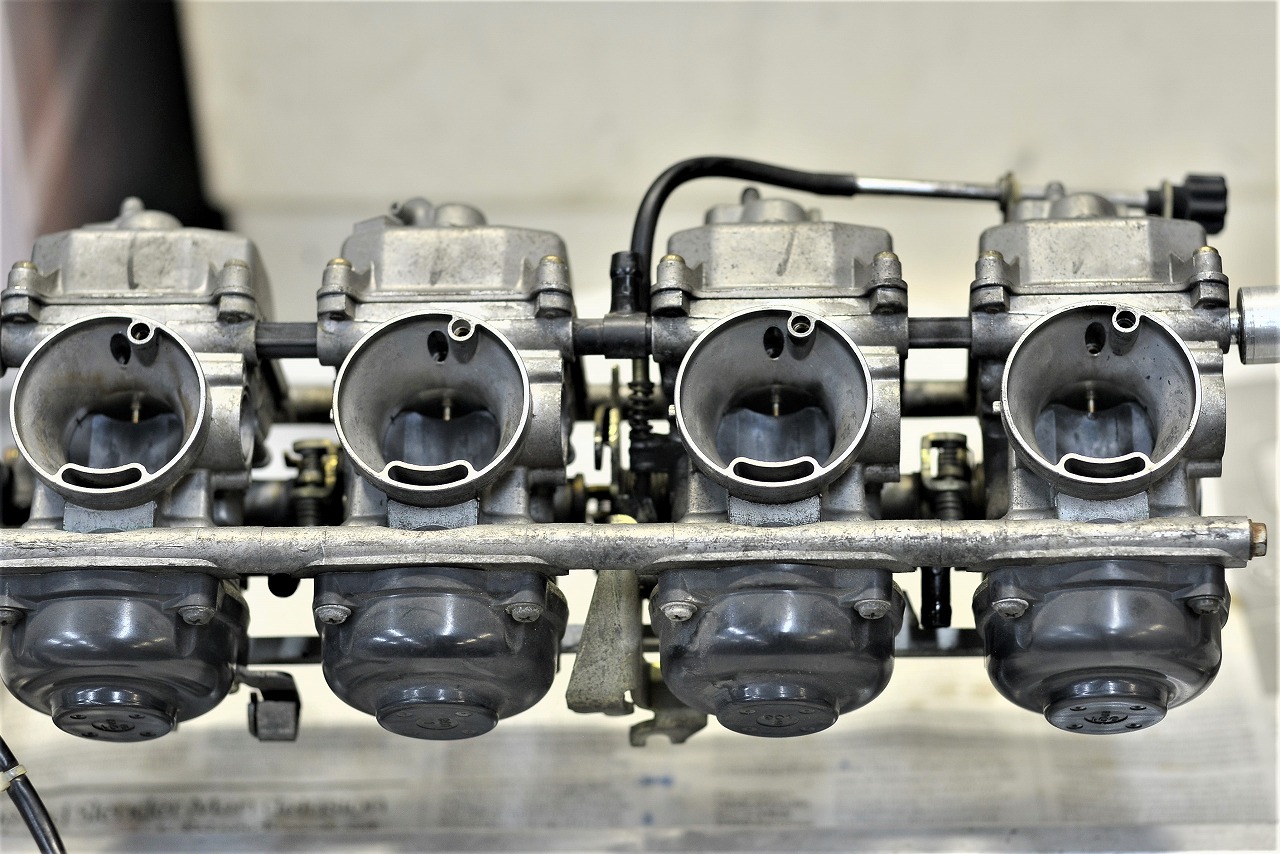
When you just remove what needs to be removed without overthinking it, it comes off (sorry, that’s a bit unclear). I feel like that’s a sign of a bike that’s well-designed for maintenance. Simple construction, I’d say.
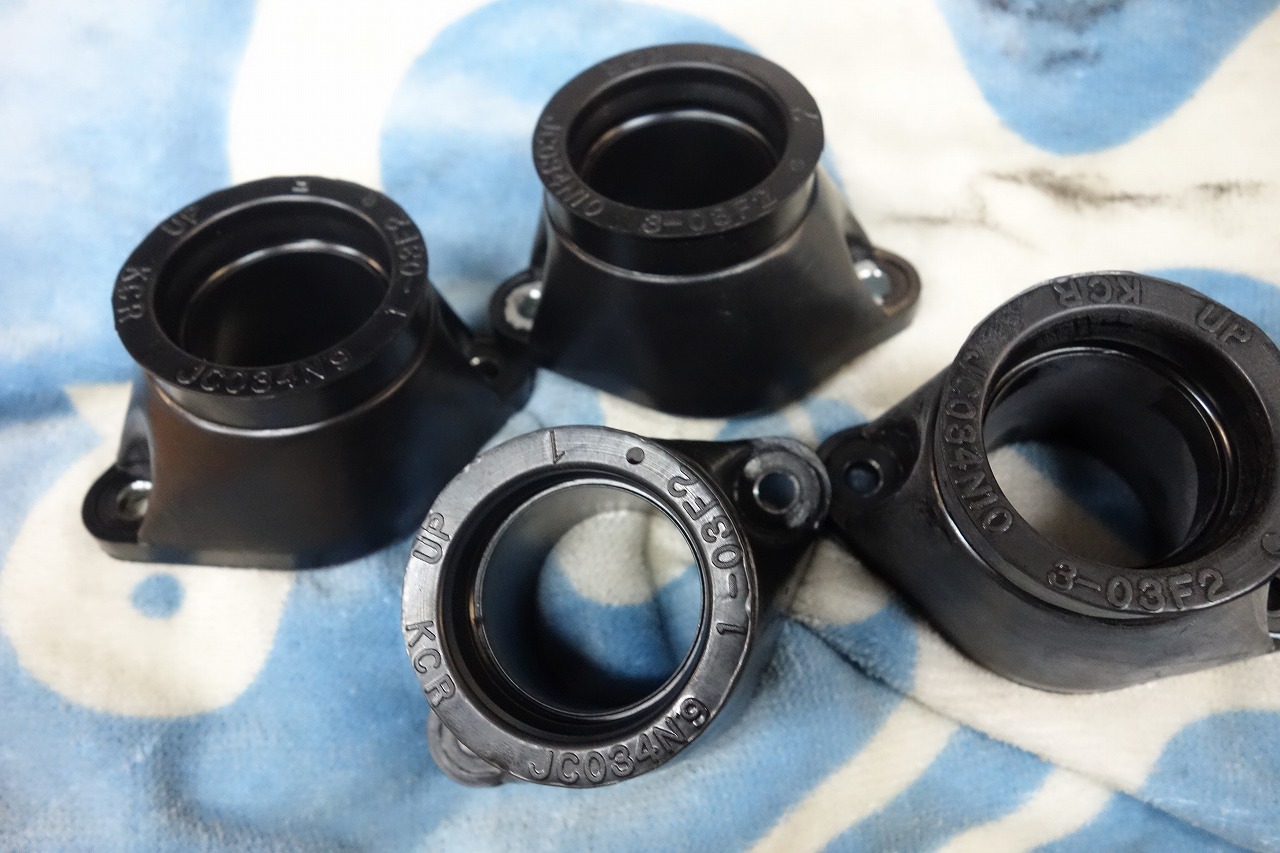
Even if you think you’ll do it next time, it’s worth buying and keeping on hand. When they’re discontinued, it’s really painful.
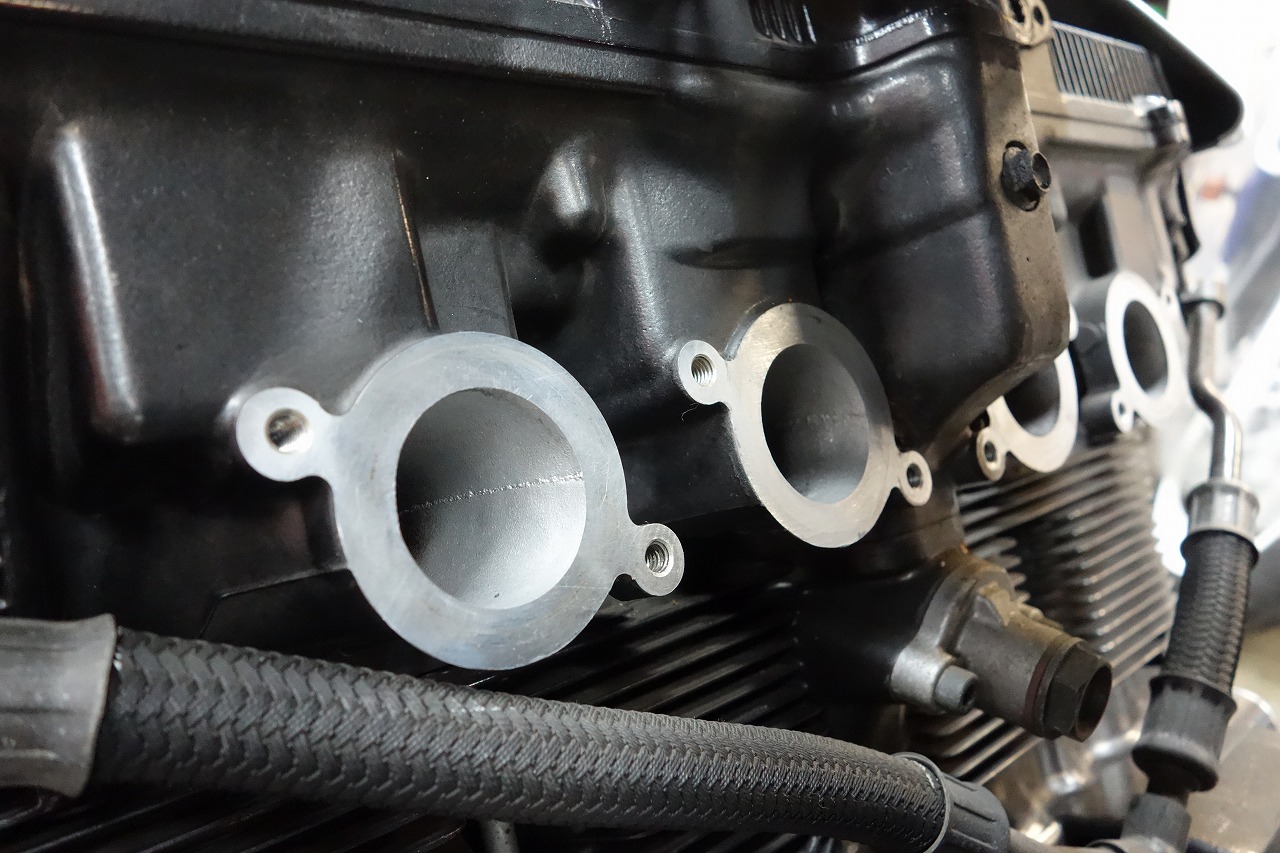
13101-03F20*2 (for #1, 2)
13103-03F20*2 (for #3, 4)
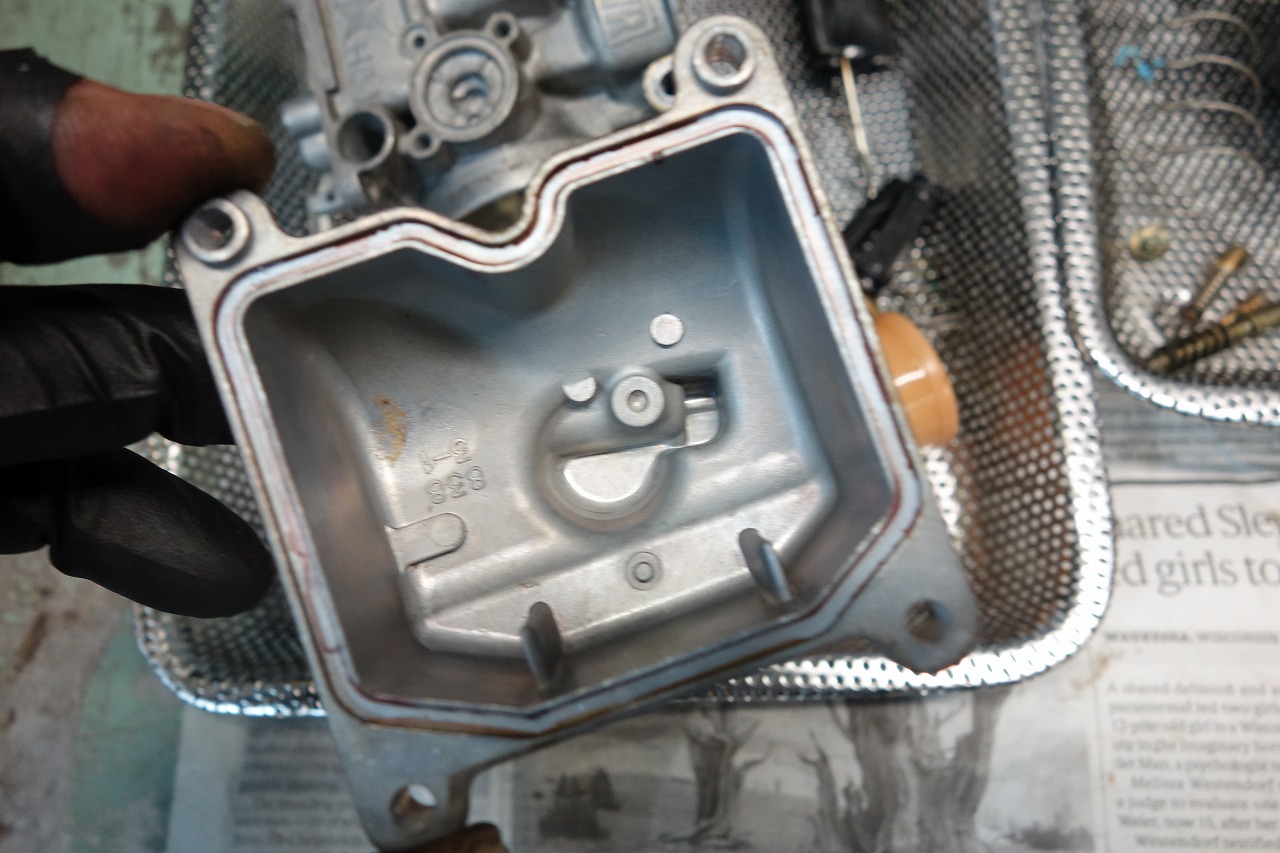
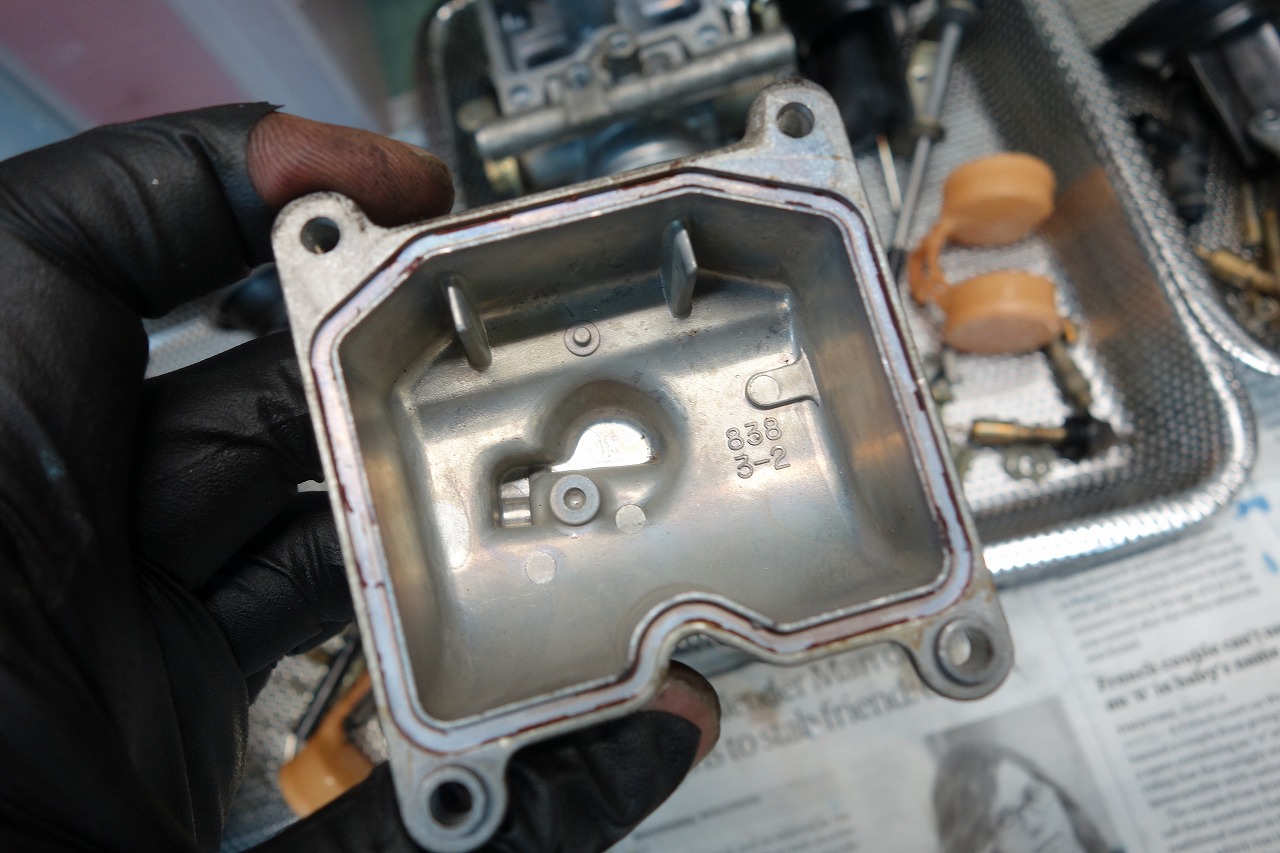
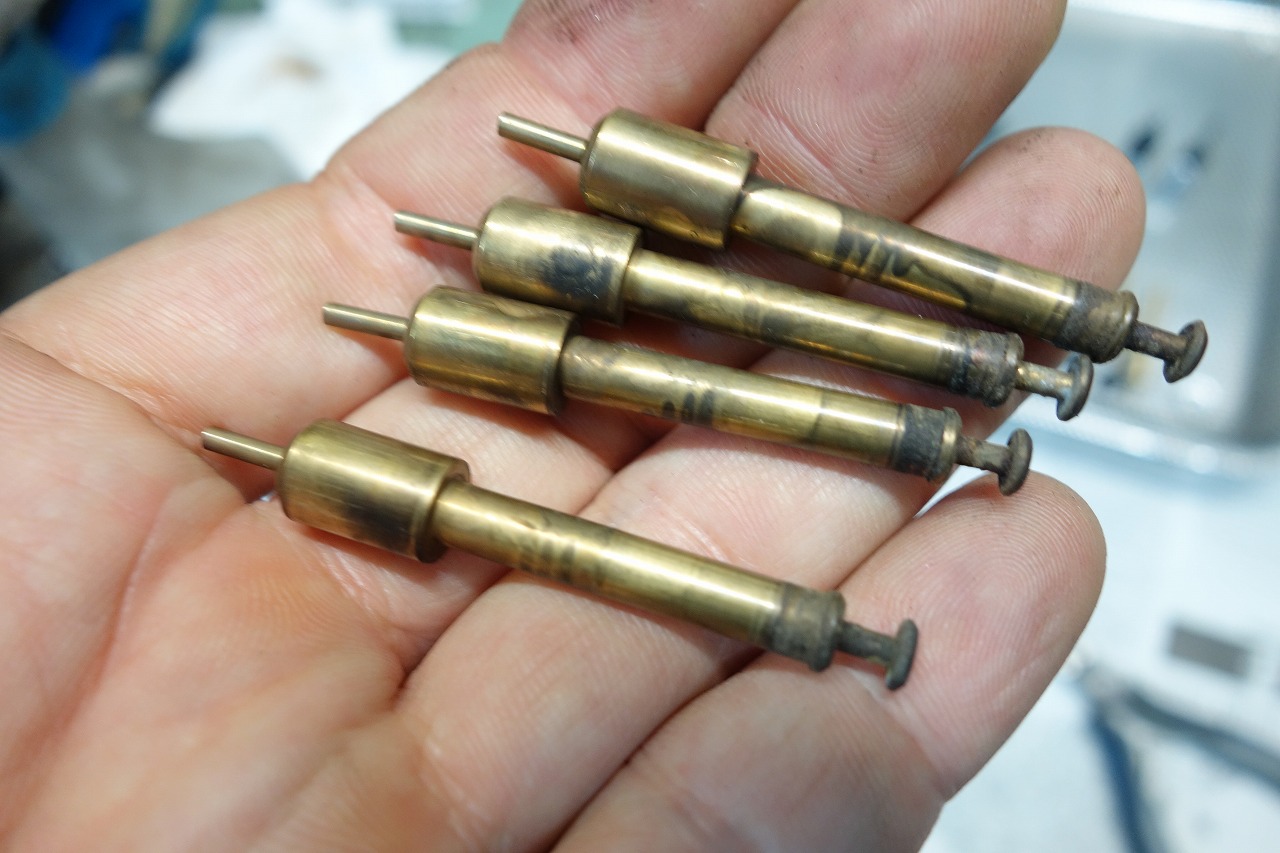
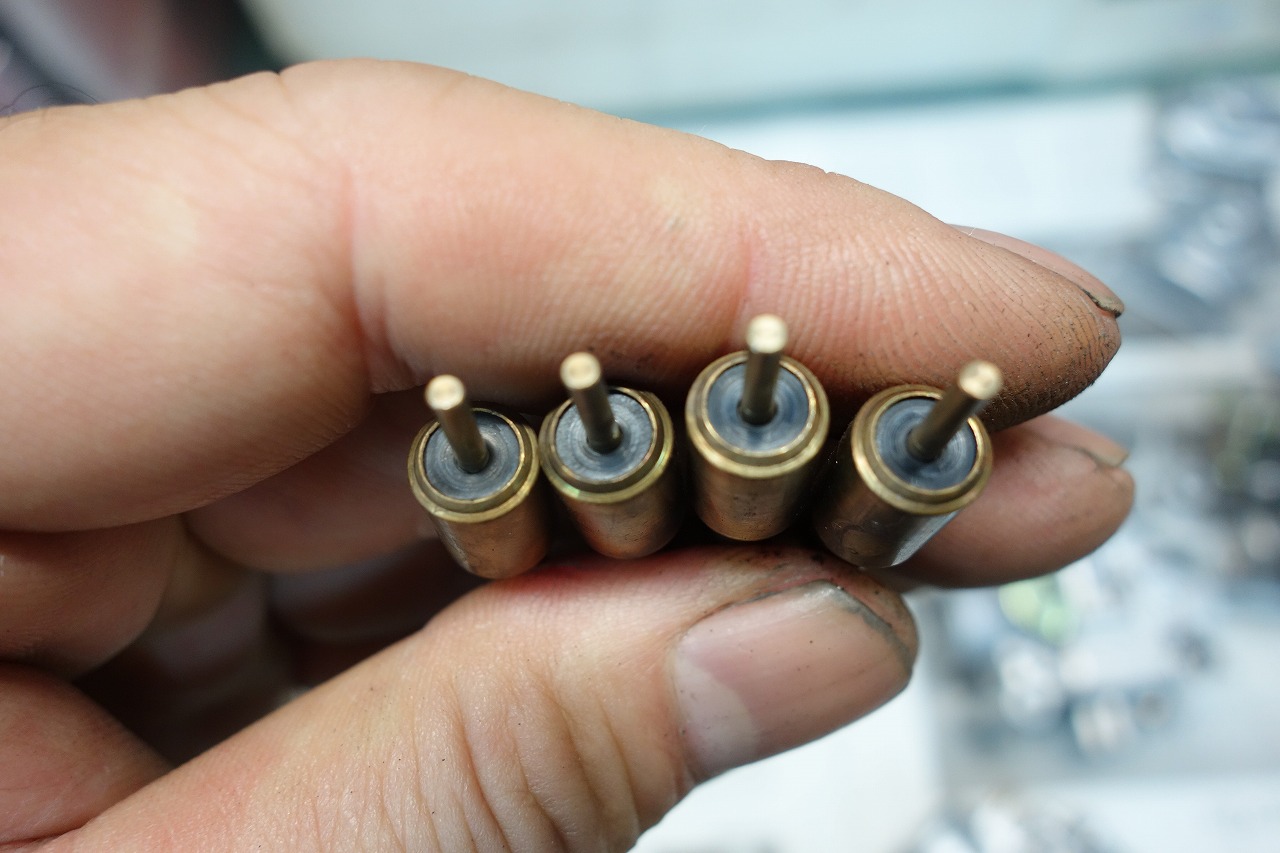
If this goes bad, idle becomes unstable.
If you push the choke plate in the closing direction at idle and it suddenly runs better, the starter valve might not be sealing properly.
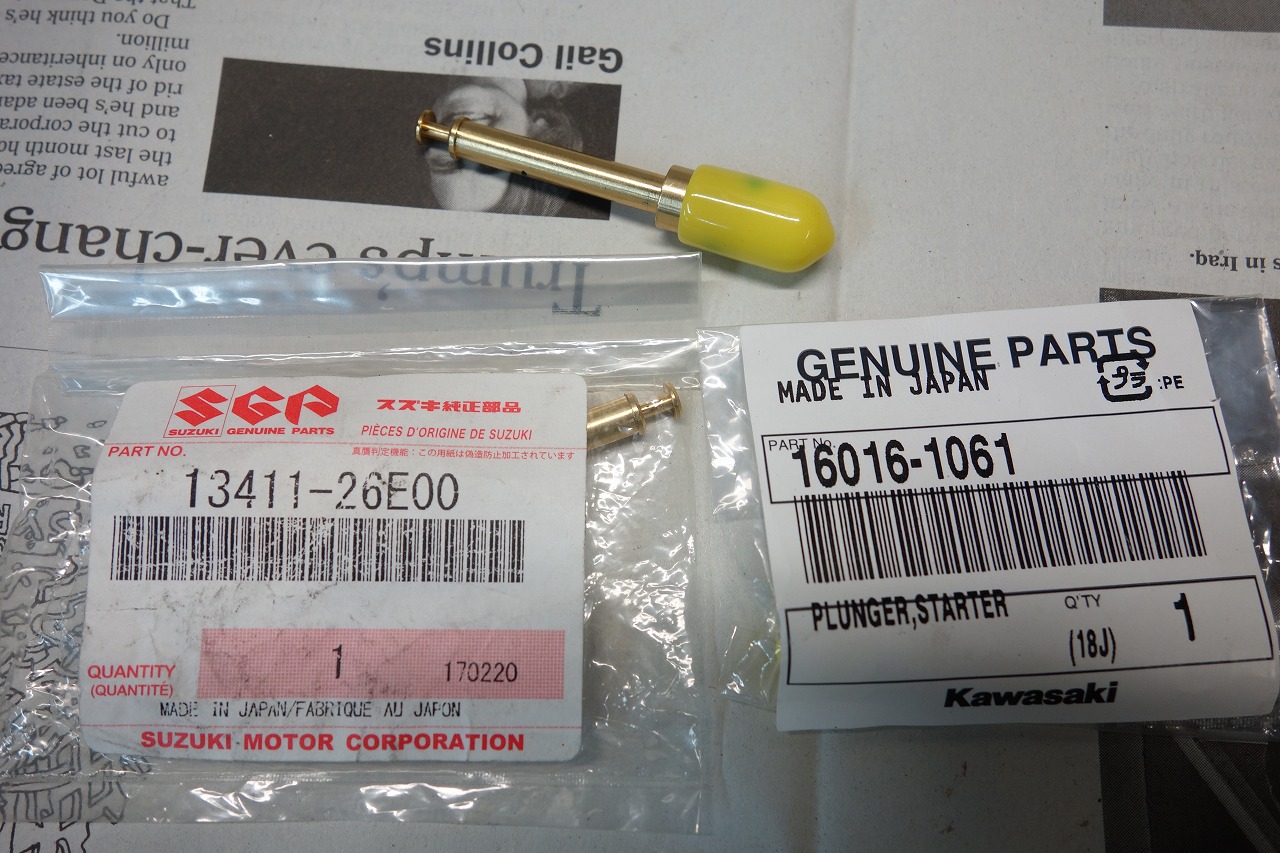
Carburettor bodies are basically universal (probably), so the component parts are basically interchangeable (probably). Use at your own risk.
Suzuki 13411-26E00 $2,000
Kawasaki 16016-1061 $1,790
That’s a $210 difference per unit. I guess that’s why I’m always running late, doing this kind of thing every day. I reflect on that even as I work.
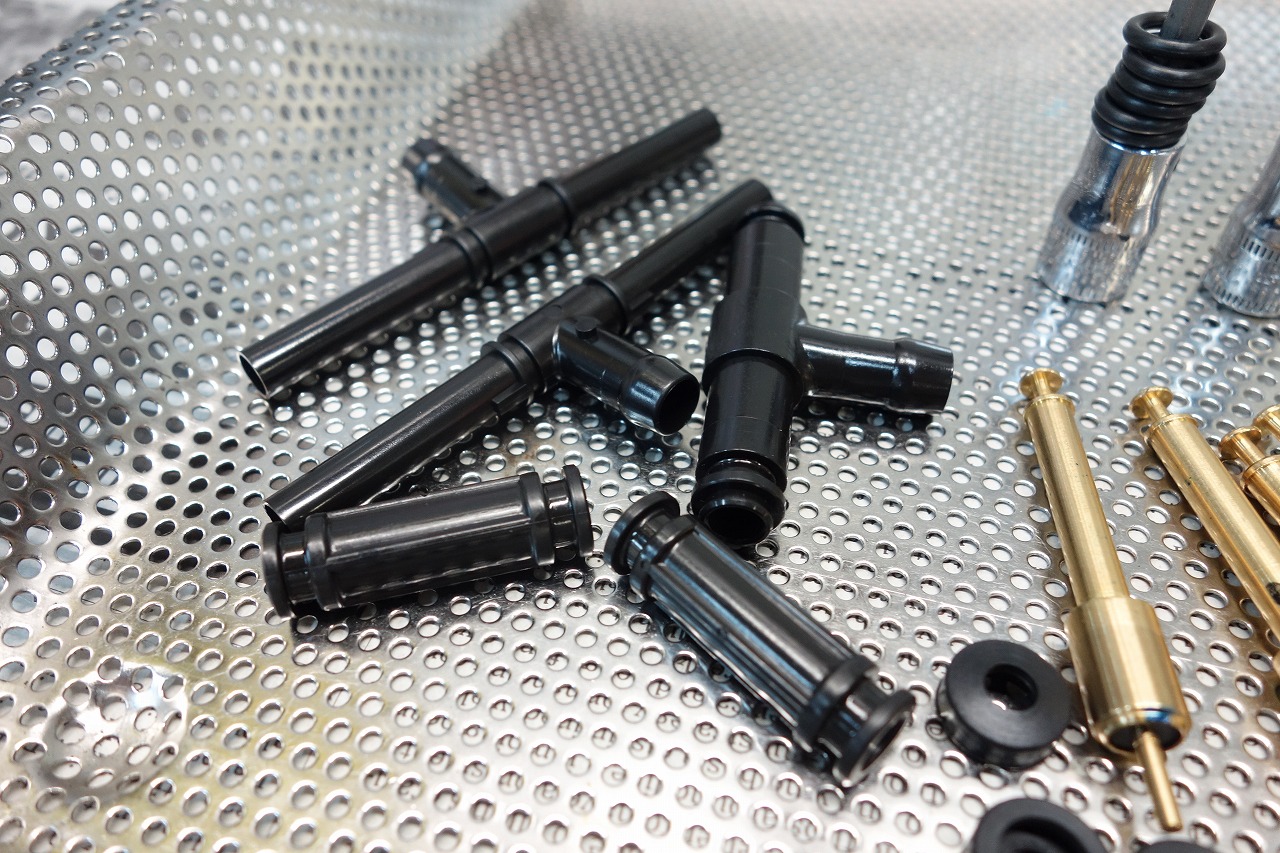
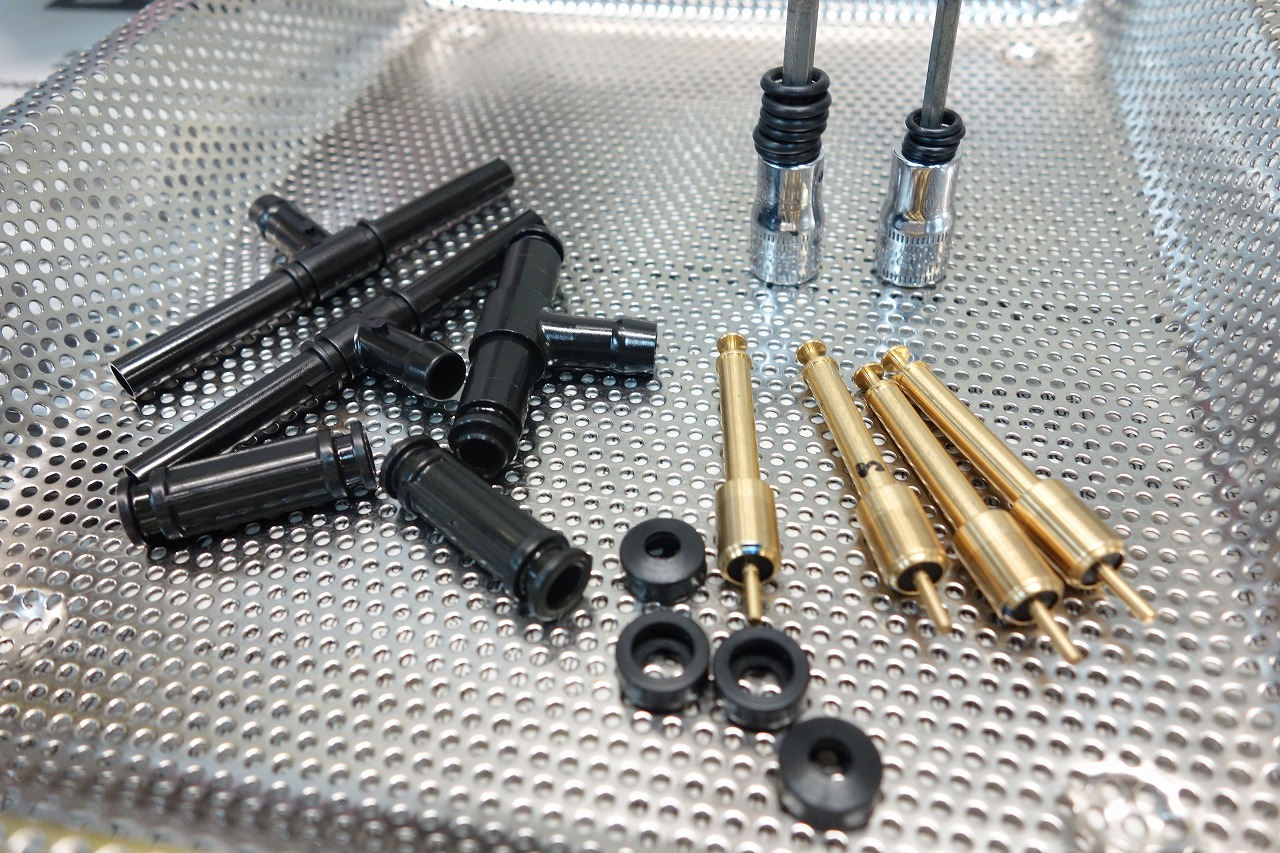
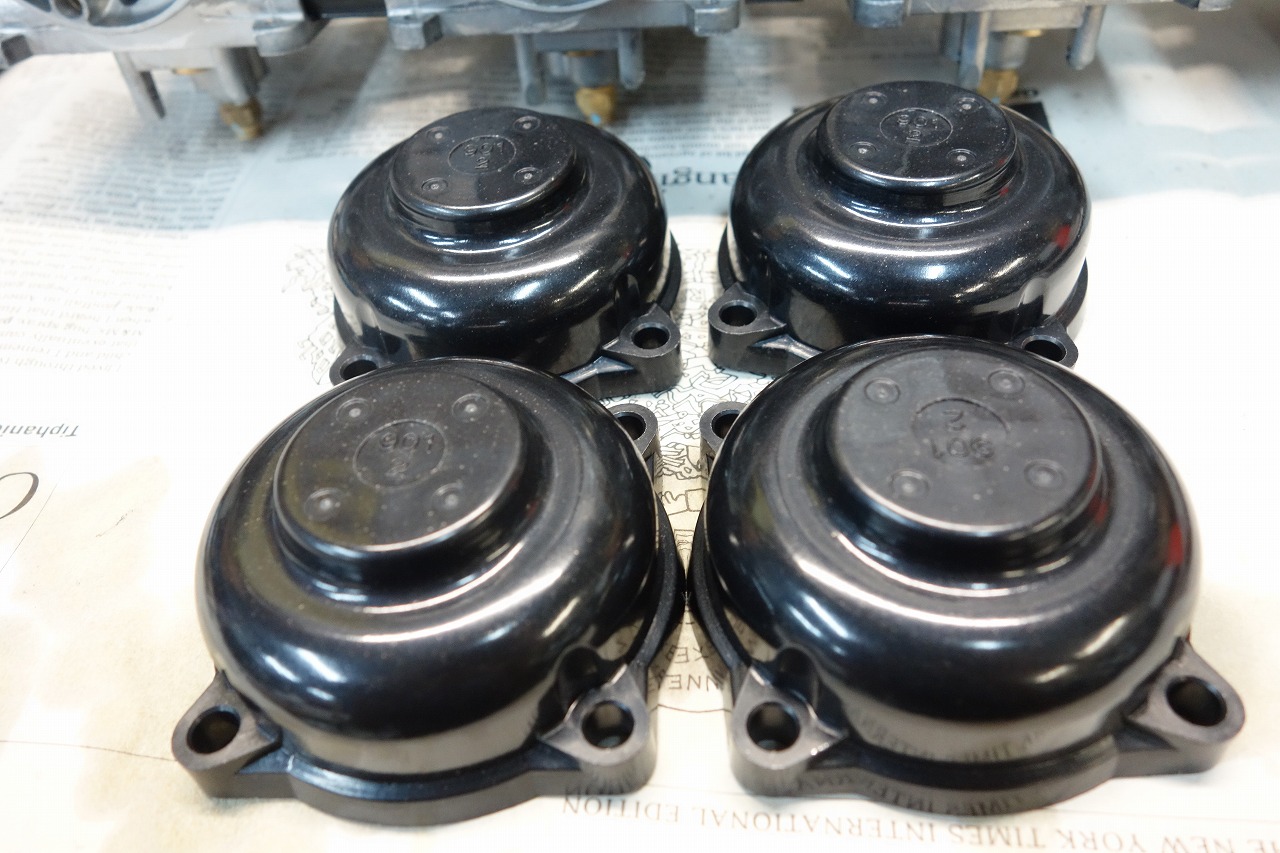
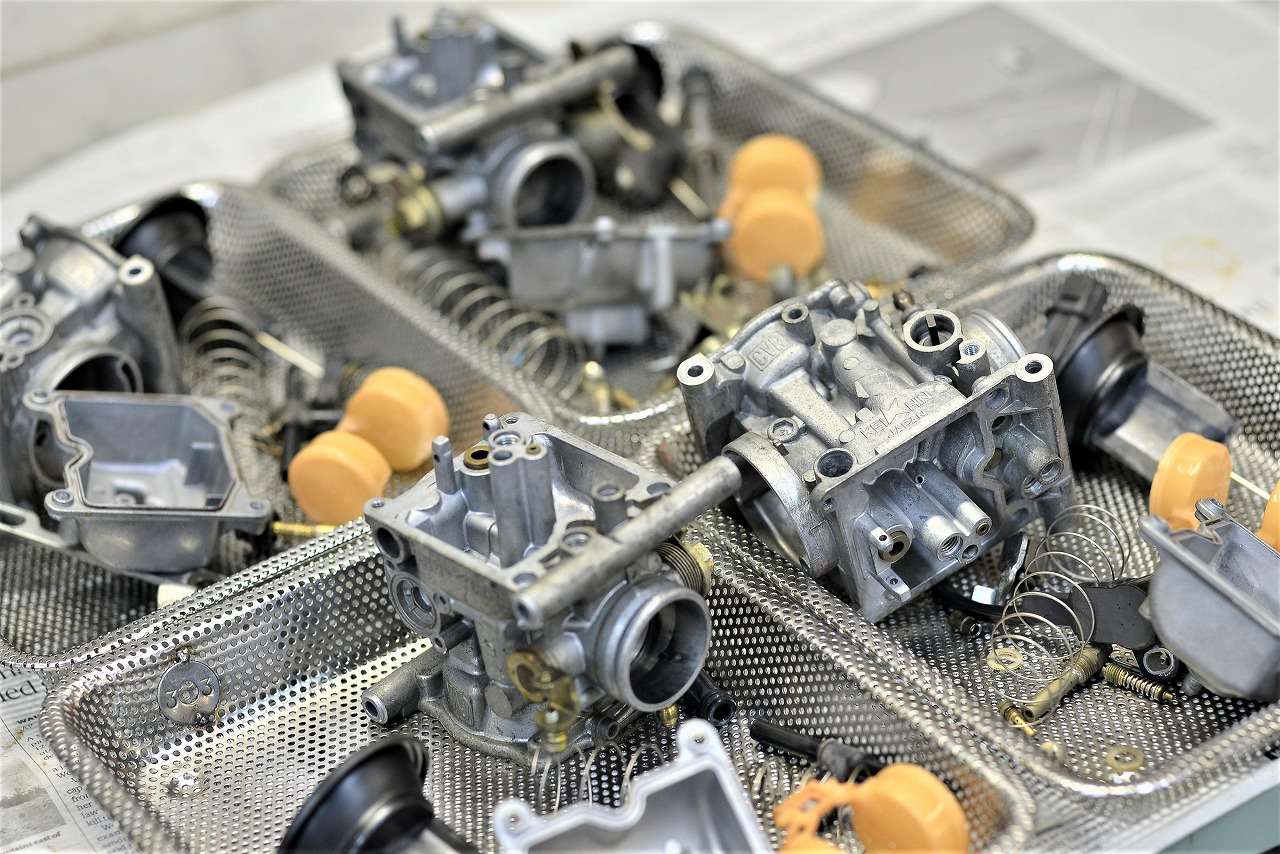
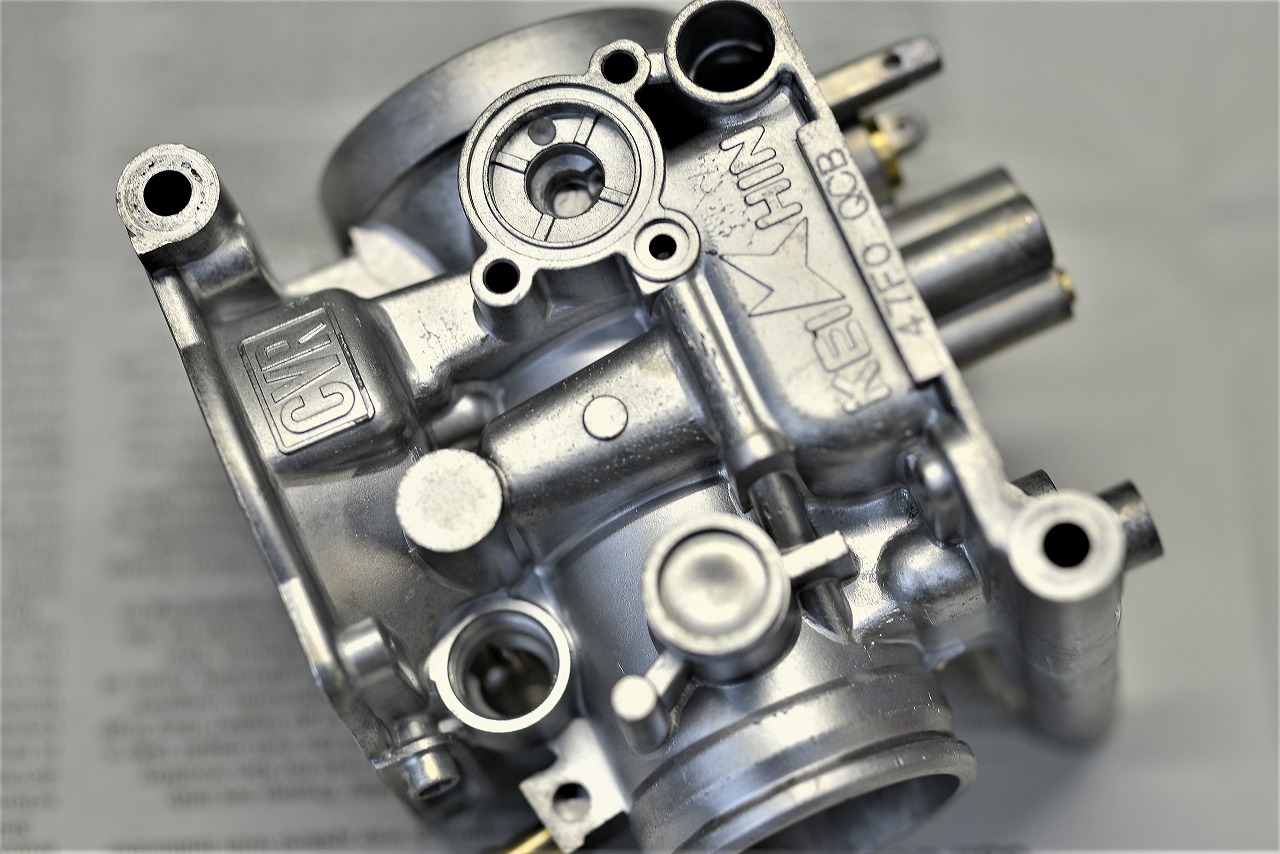
It takes 2-3 hours, by the way. It’s no joke.
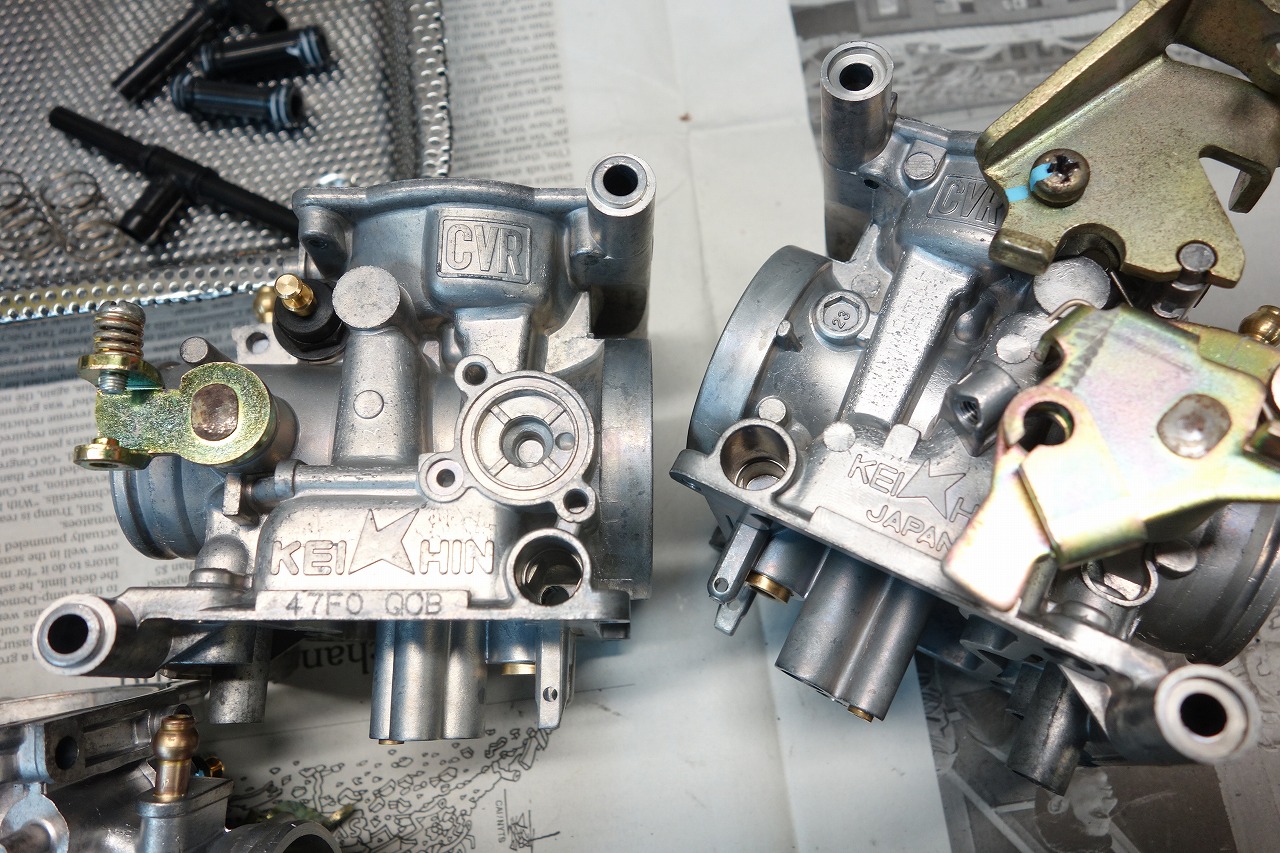
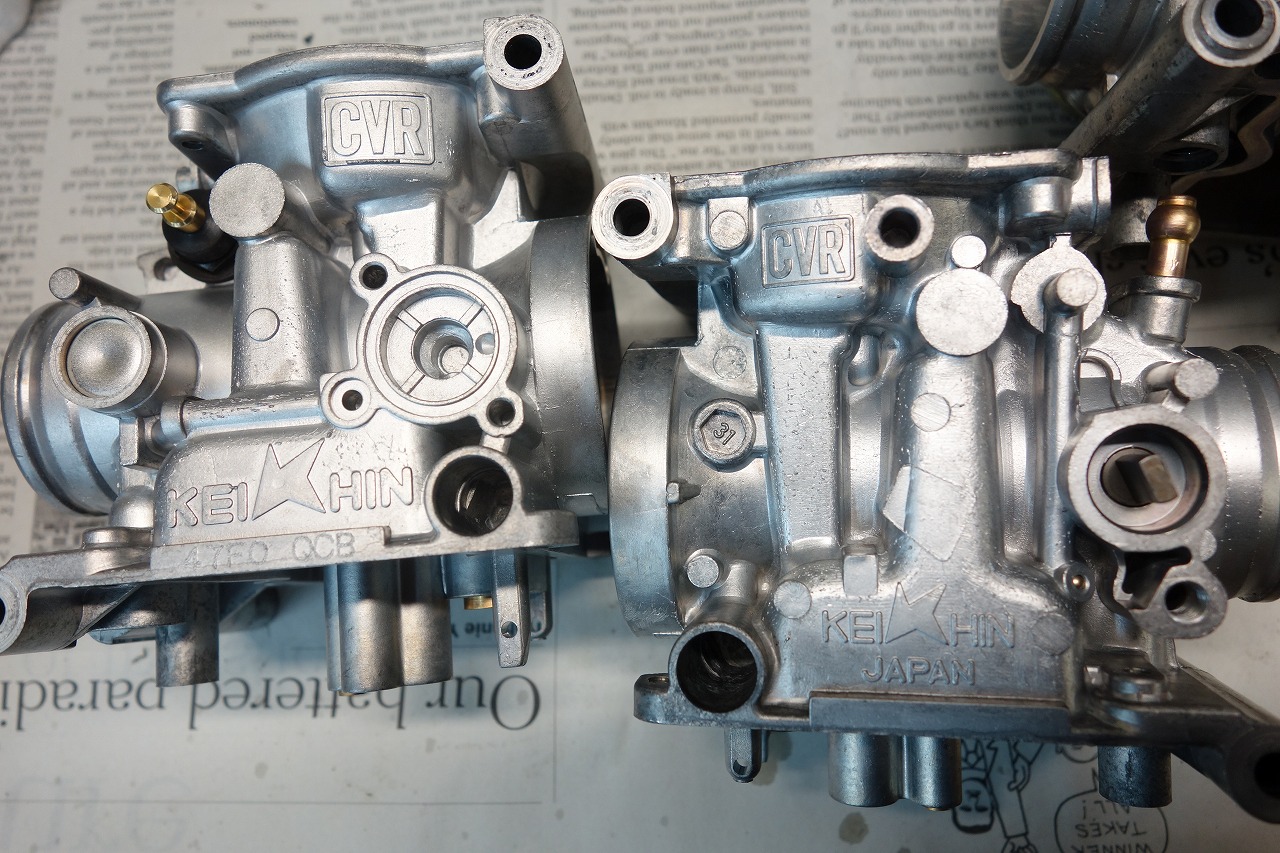
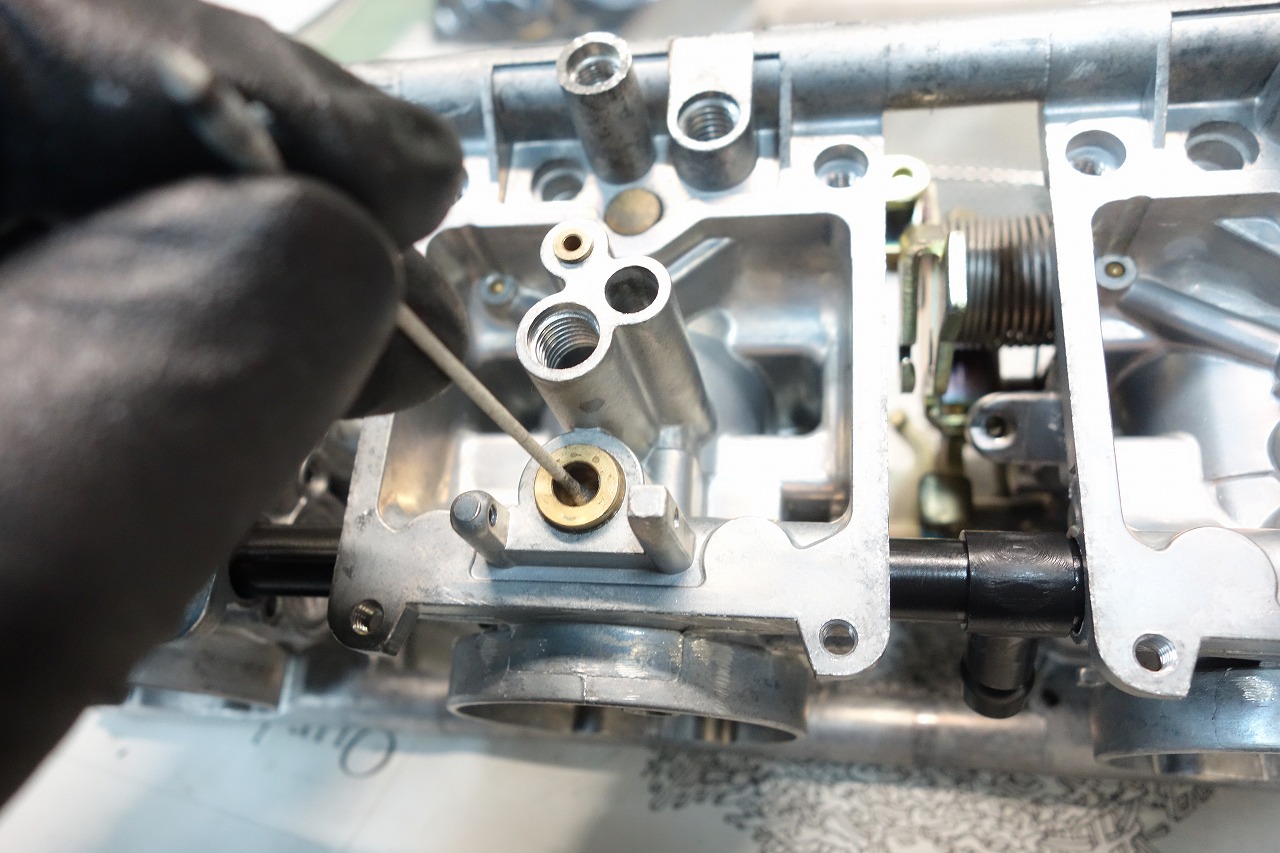
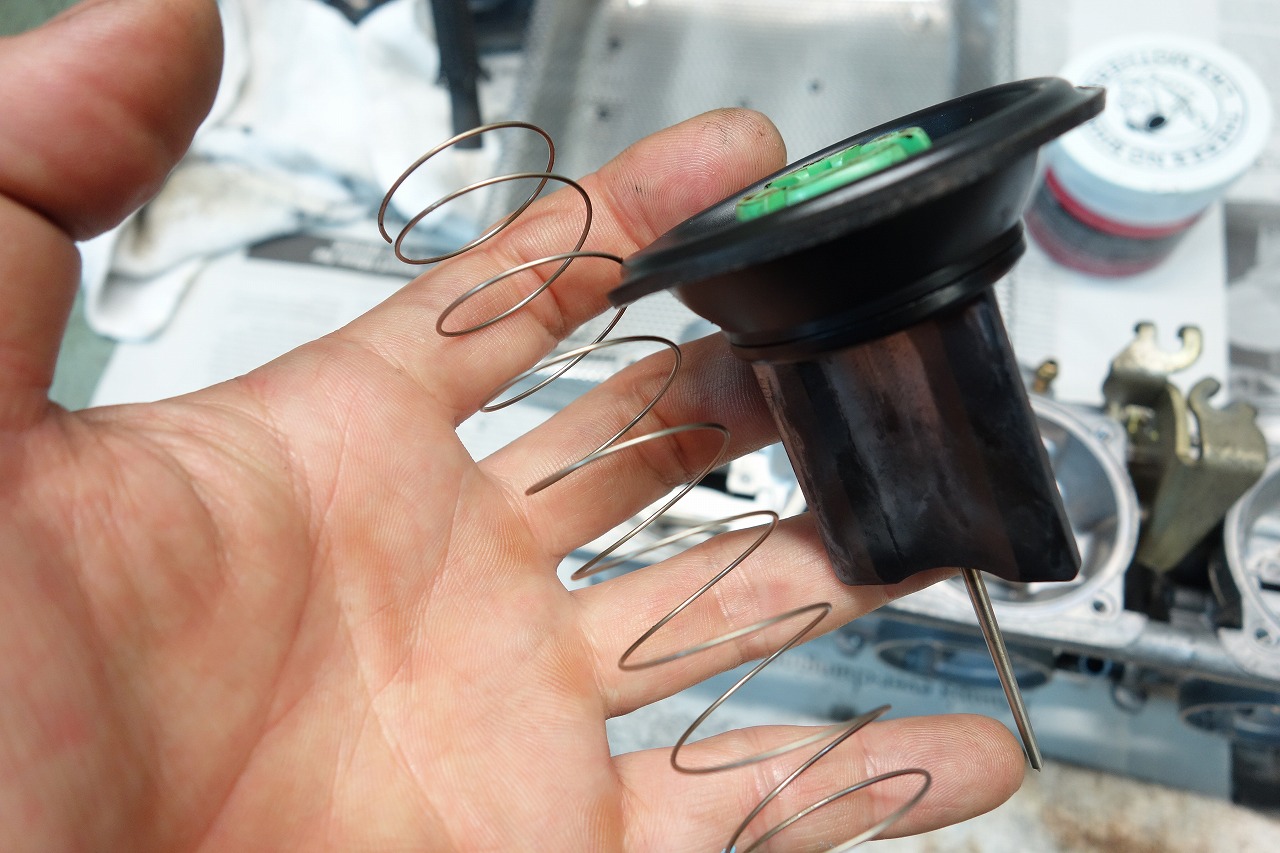
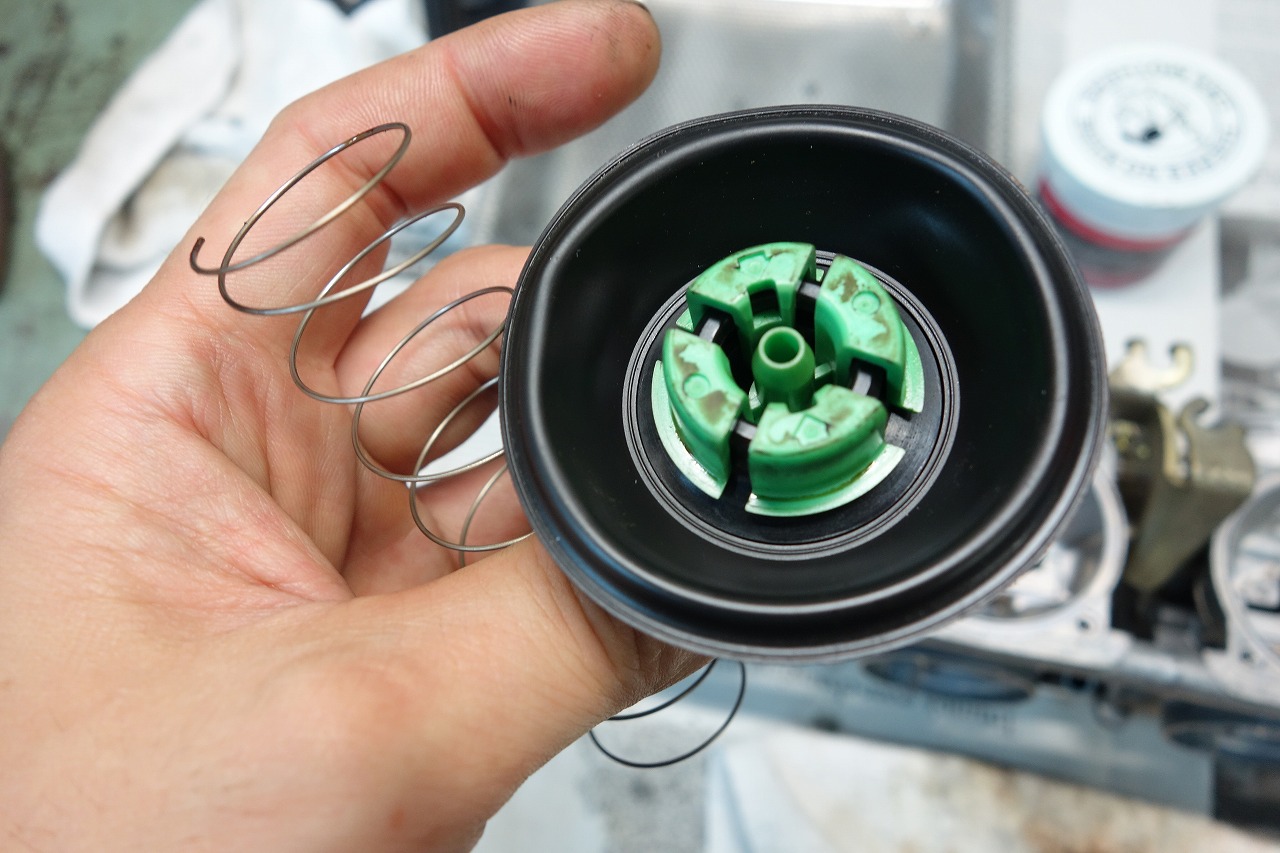
BST looks cool (I’m a vacuum nut), but honestly, I think CVK and CVR are just superior. Don’t you think? Ugh. Carbs should be Keihin… hmm.
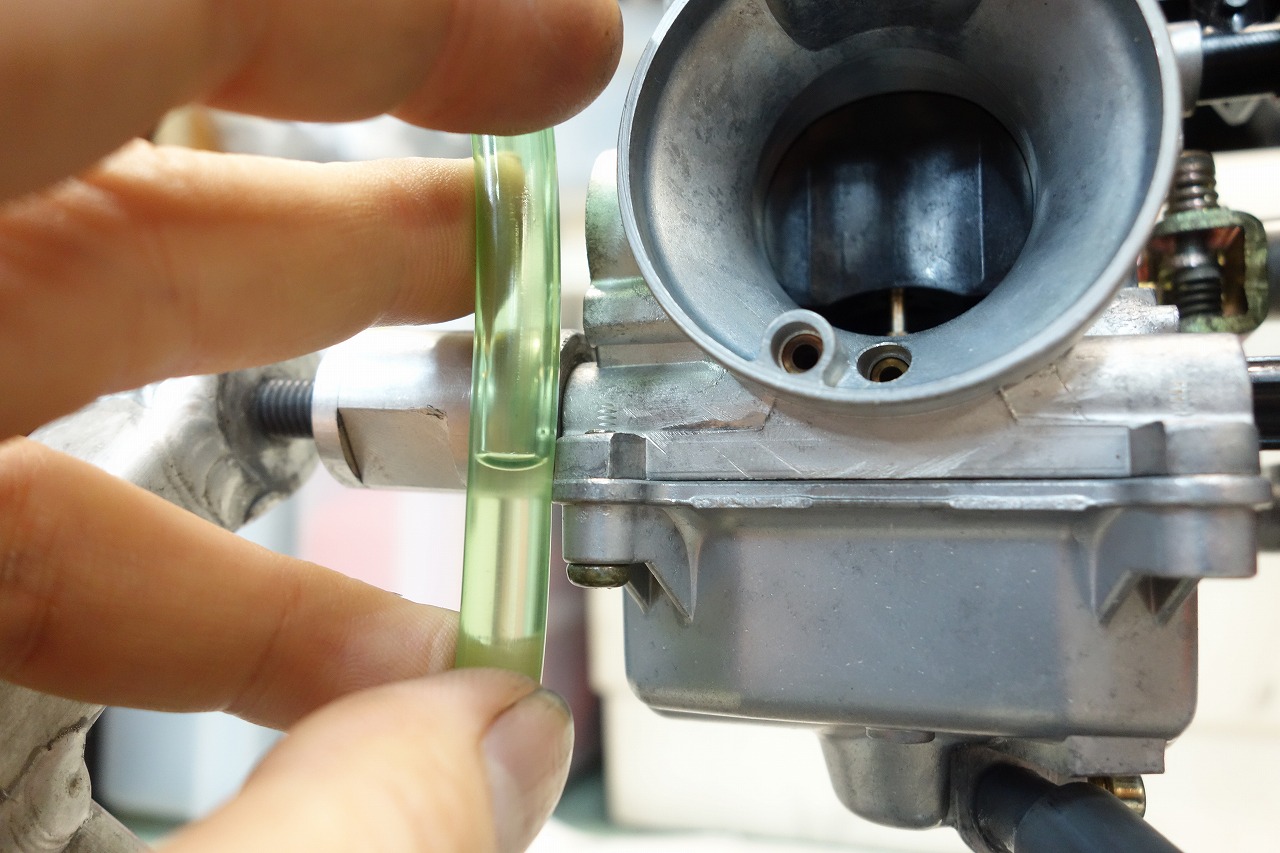
The inside of the carb is probably pretty full, so I don’t think a few millimeters makes a big difference.
But if we set a firm standard, even if subtle issues come up later, we can confidently say “it’s not the carb!”—that peace of mind means no mystery troubles, which keeps the work flowing smoothly.
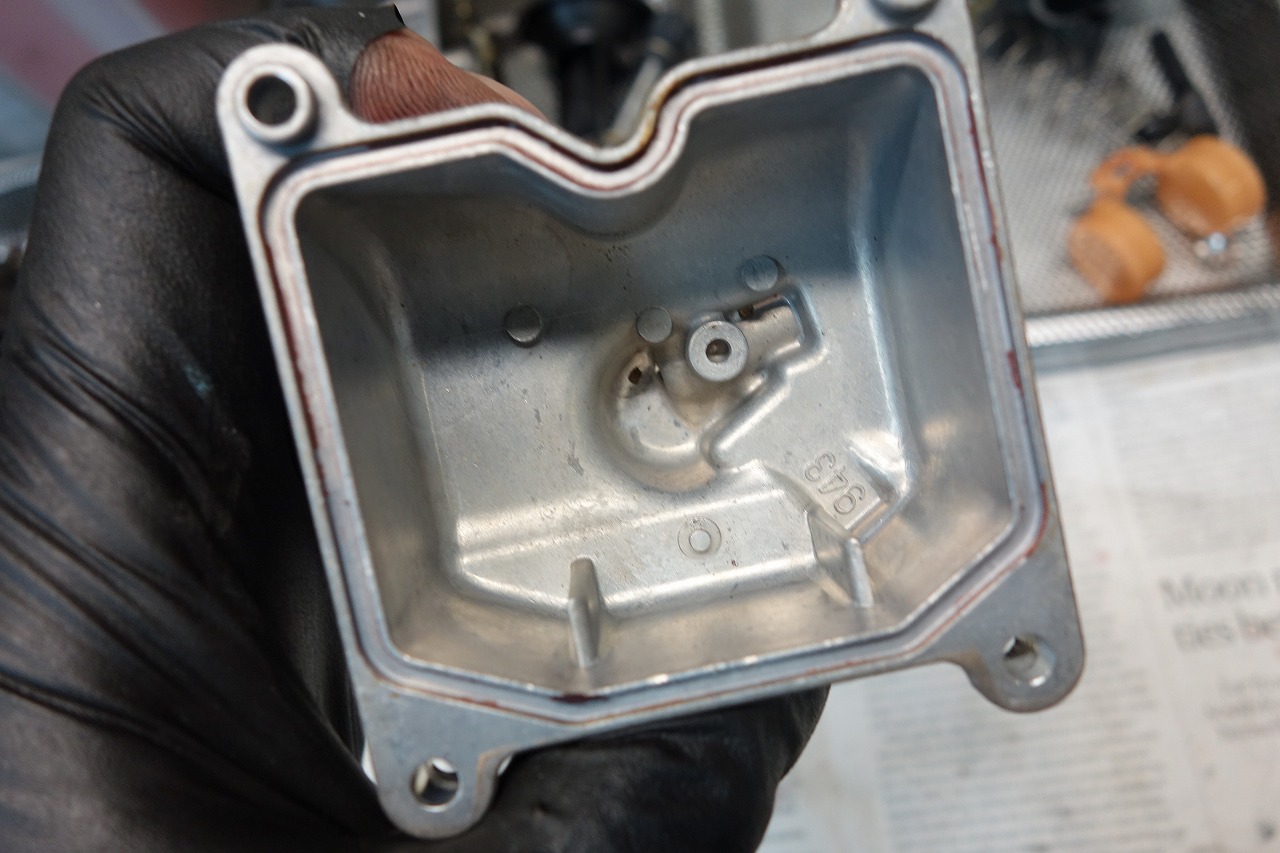
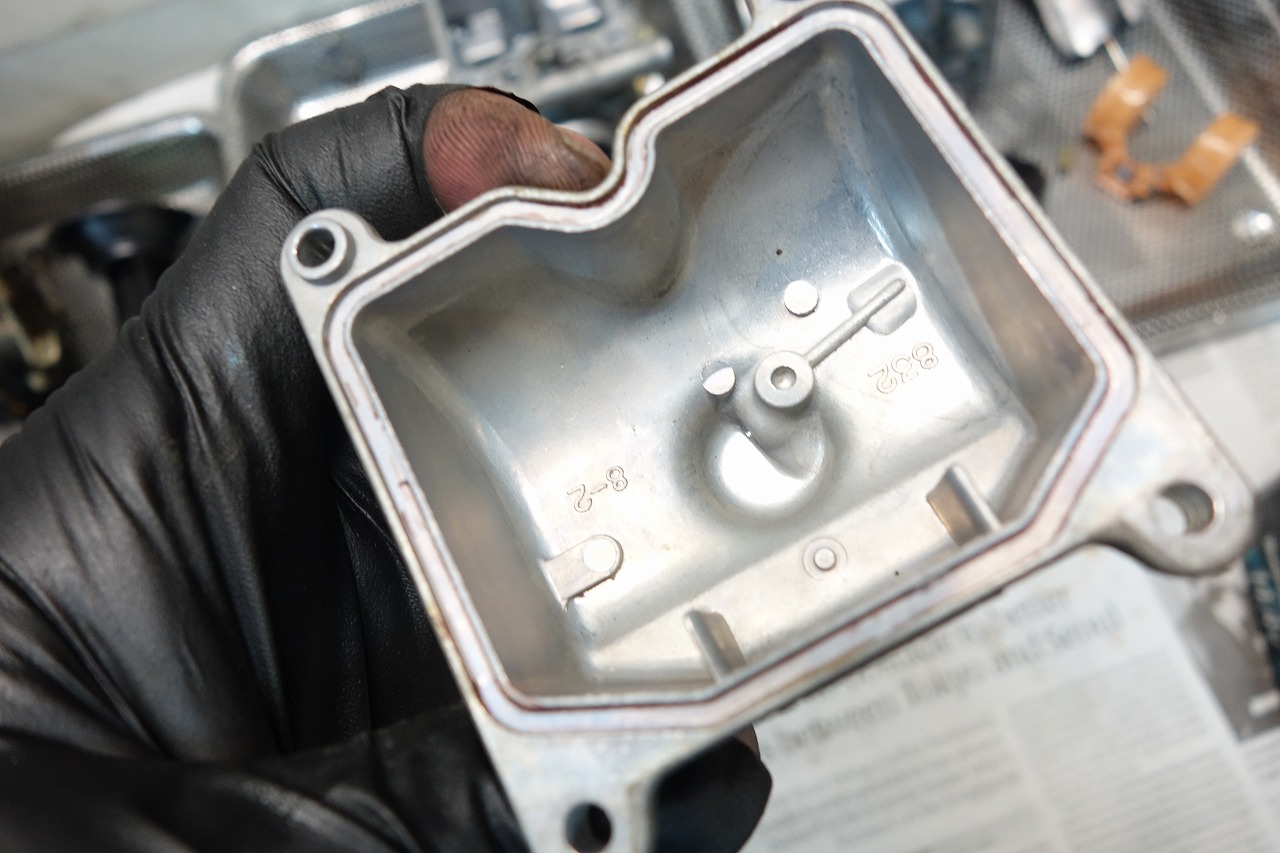
If it overflows, that’s one thing, but a slow, gradual fuel level rise is the most annoying.
If you can check it, I’d recommend doing so for safety.
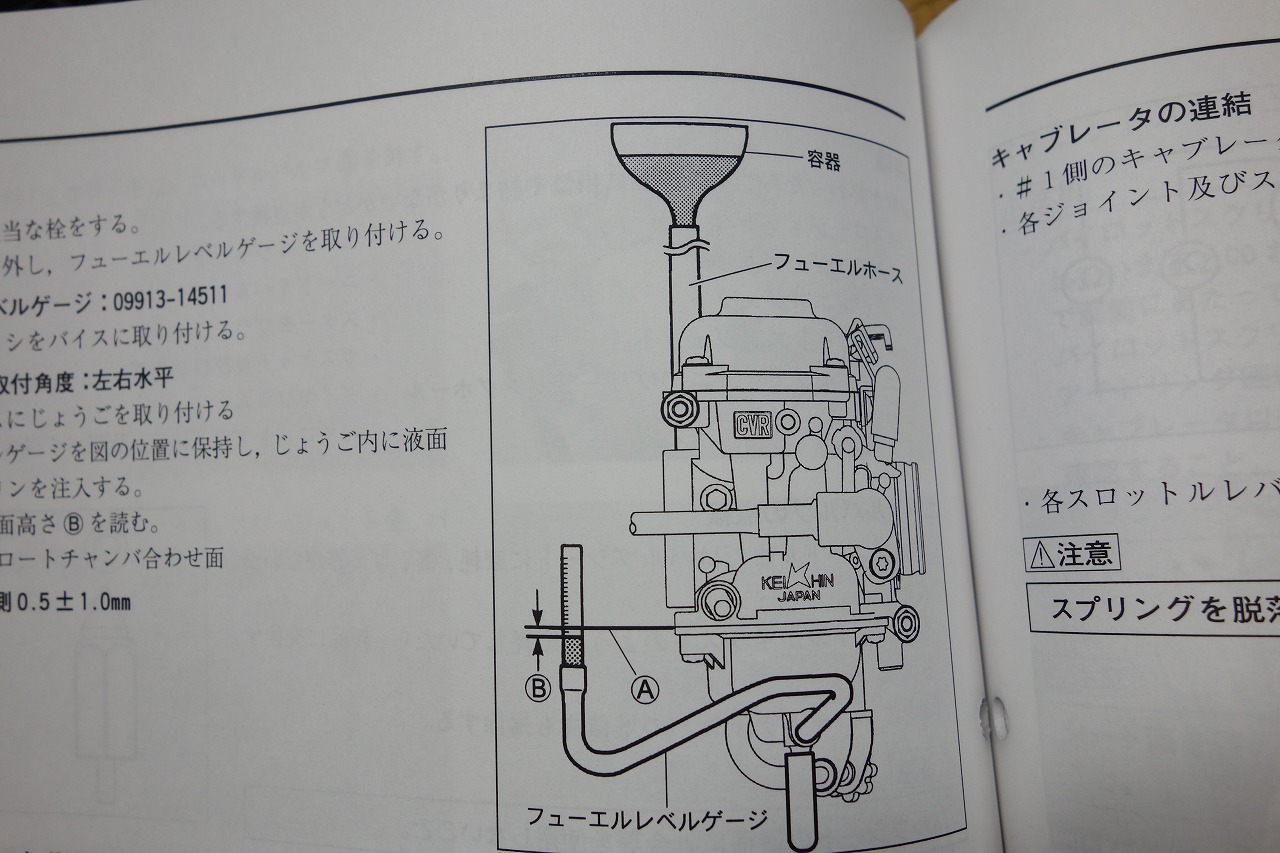
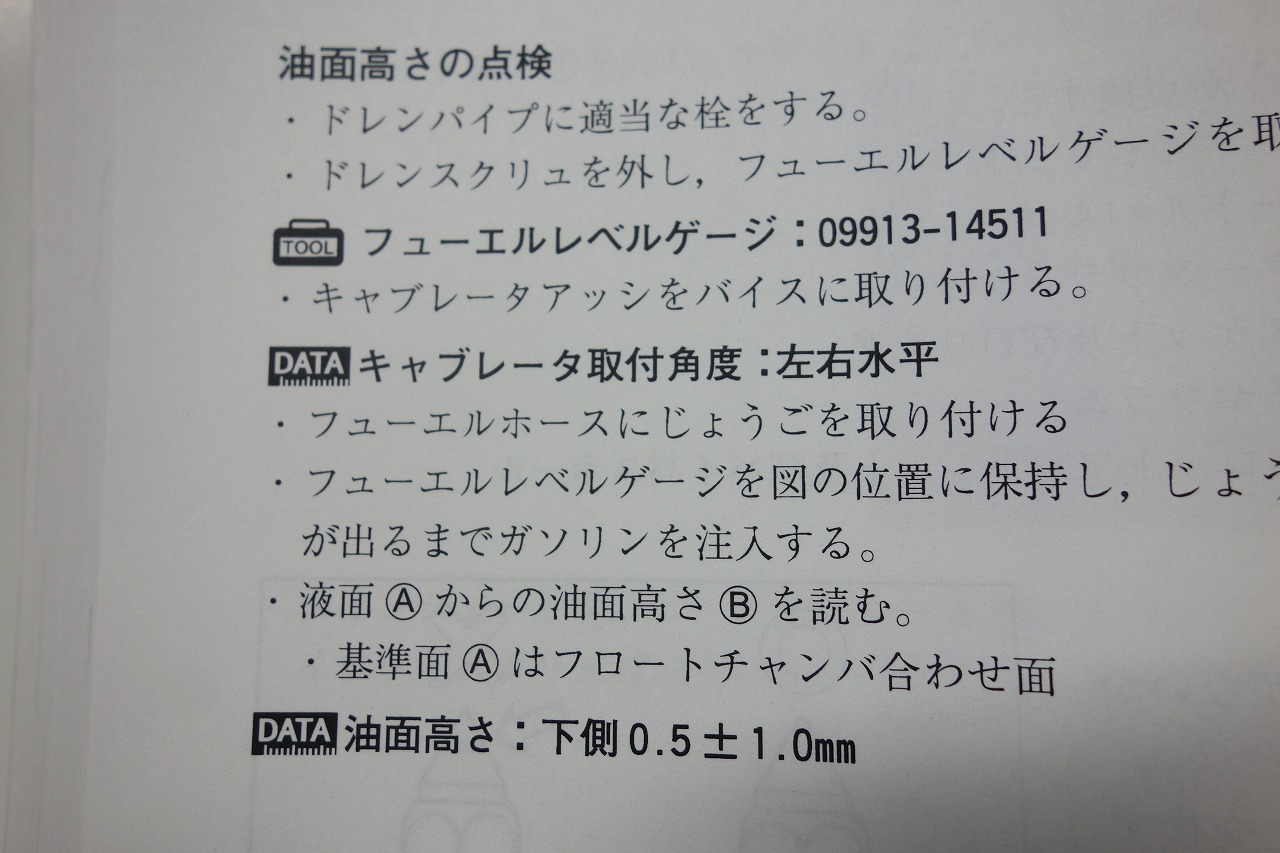
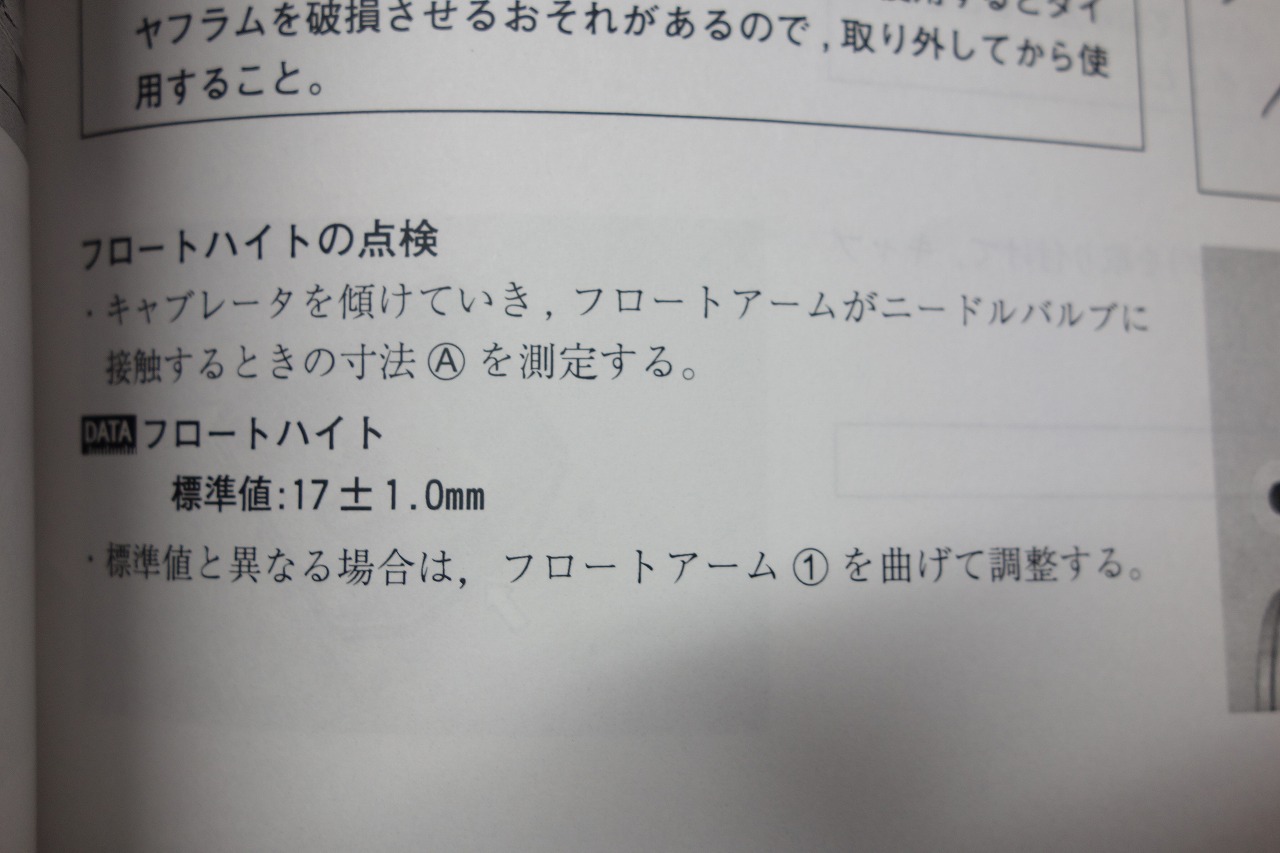
They can’t write “just at the seam” in the manual. Making manuals is tough.
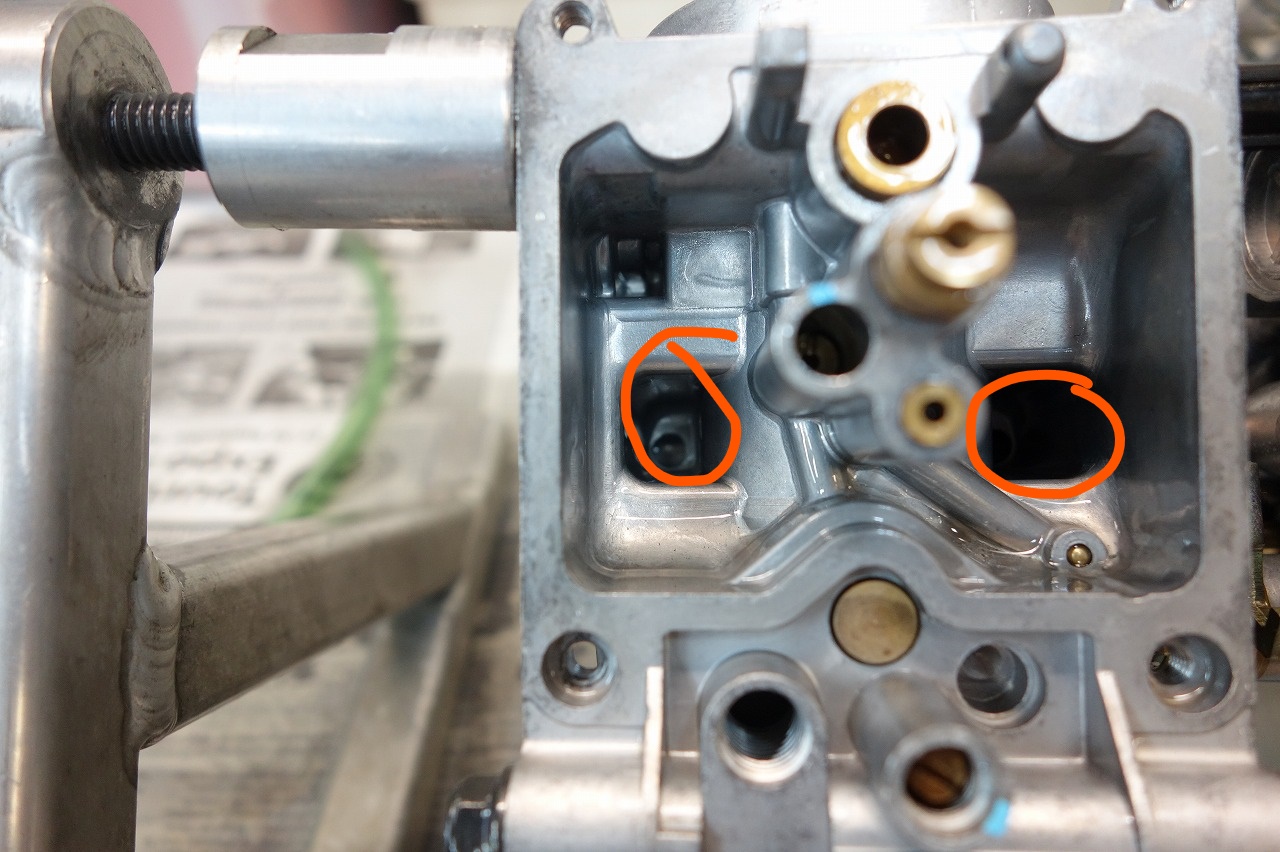
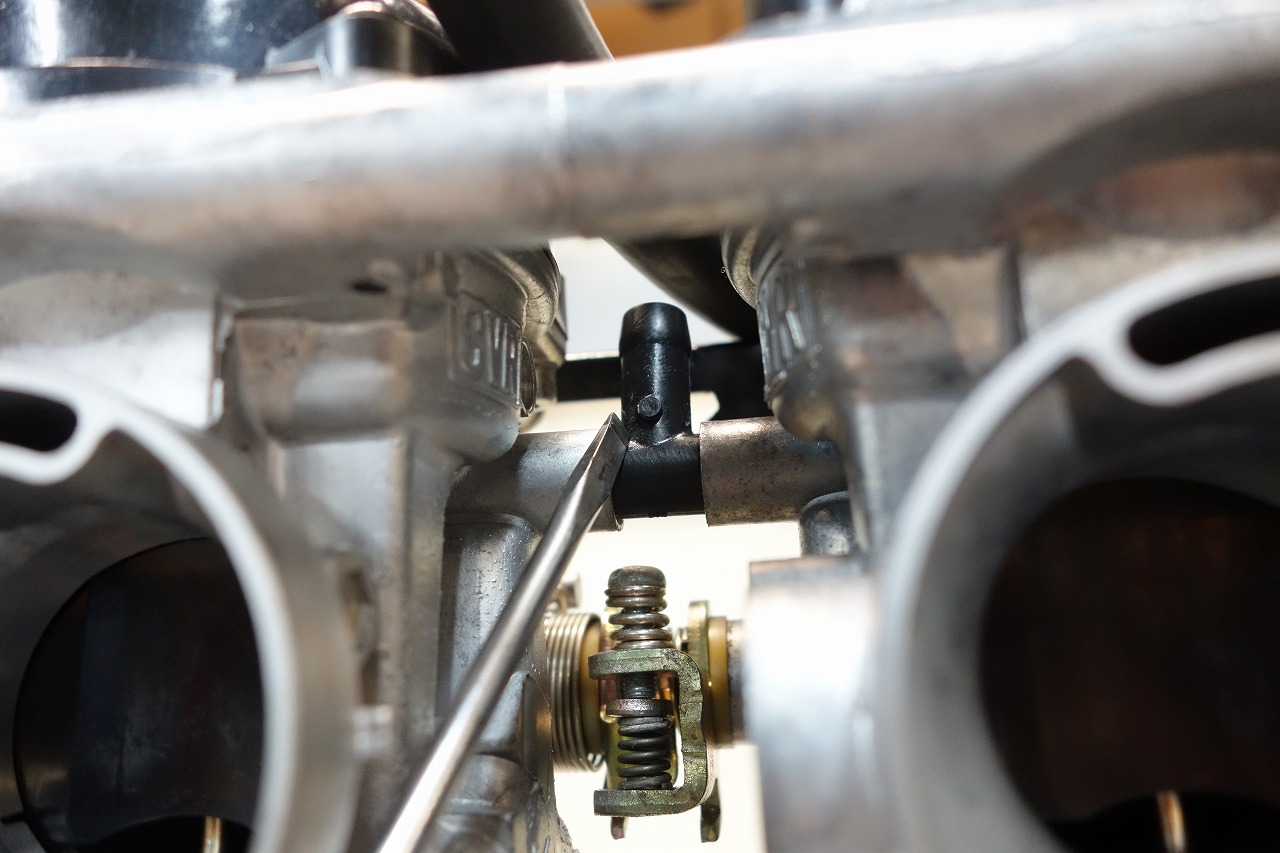
Serious flooding leaks come out of the air vent hole marked in red. That’s also where it leaks when the bike tips over.
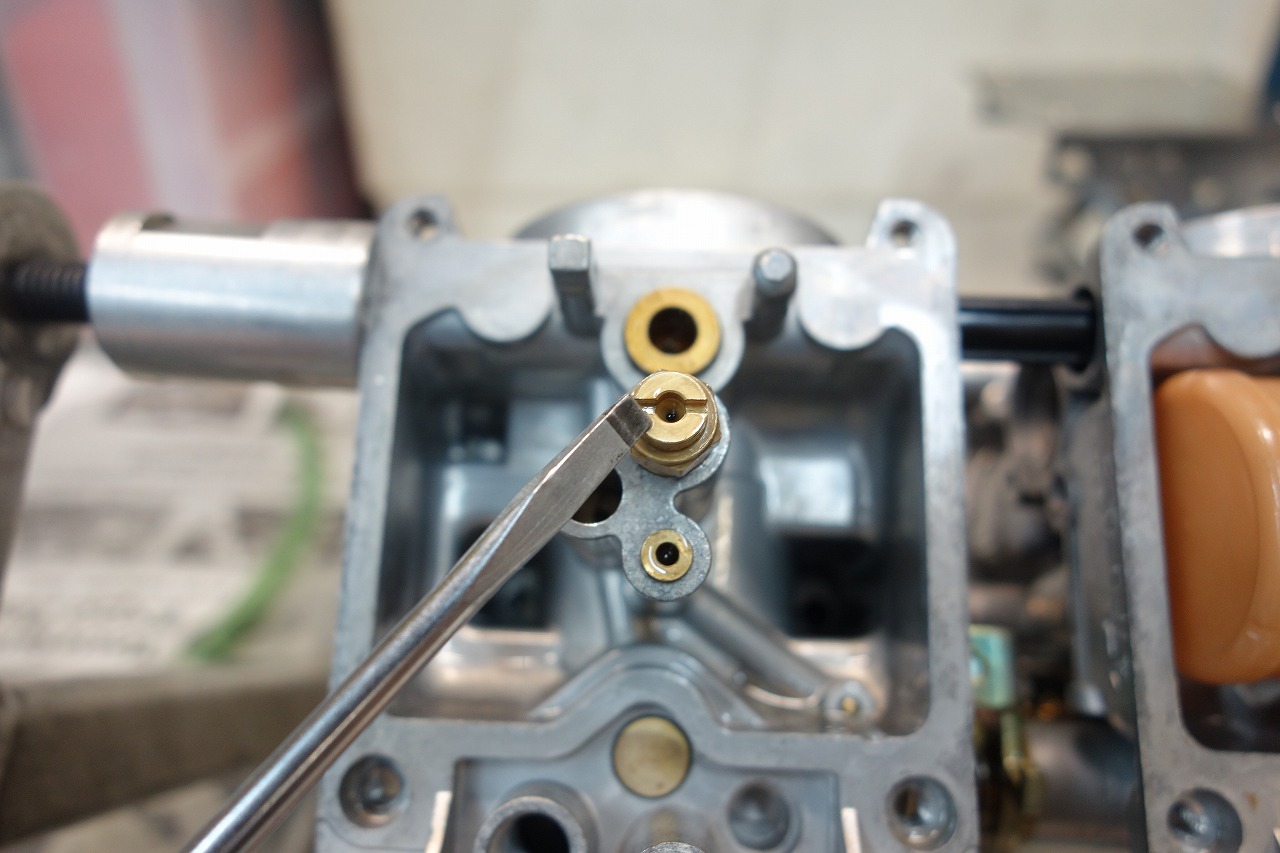
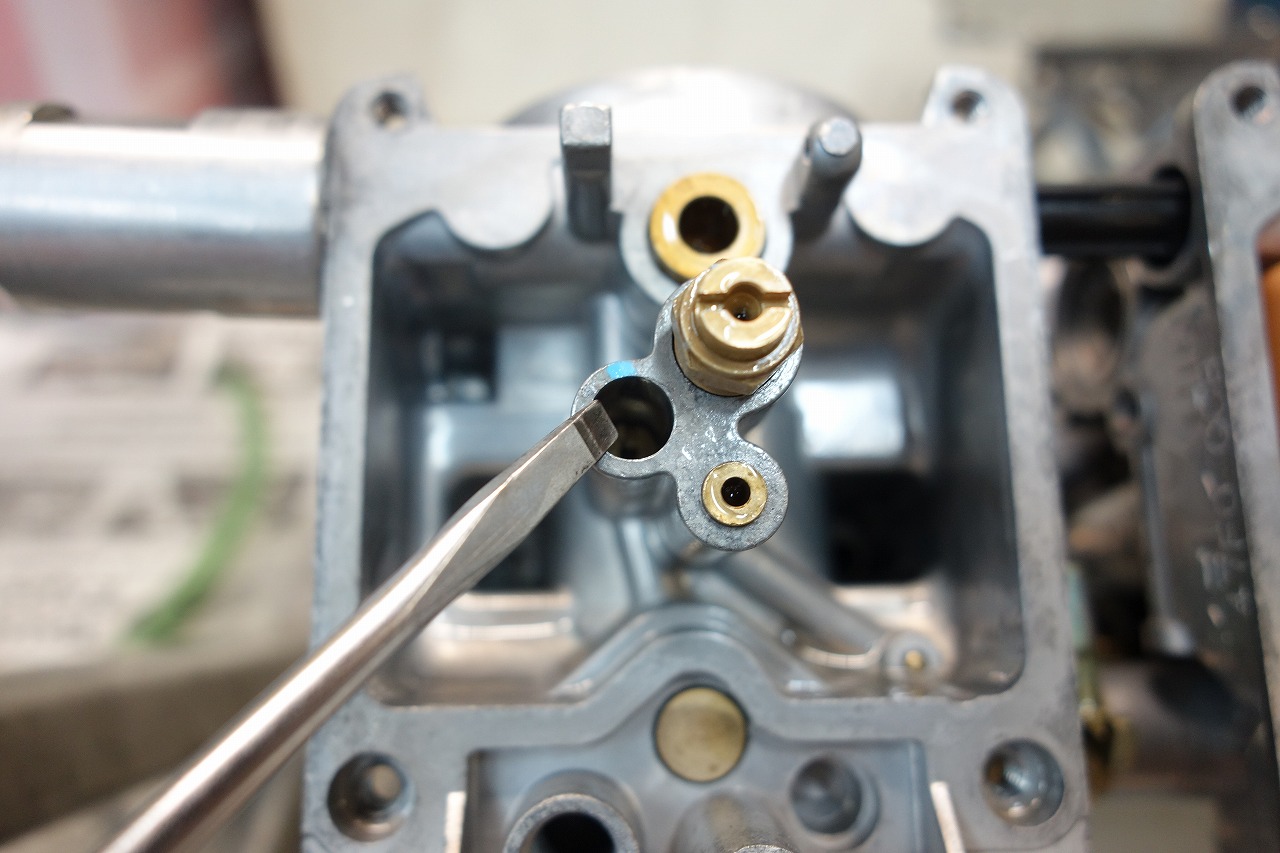
It gradually enters through the slow jet and main jet holes
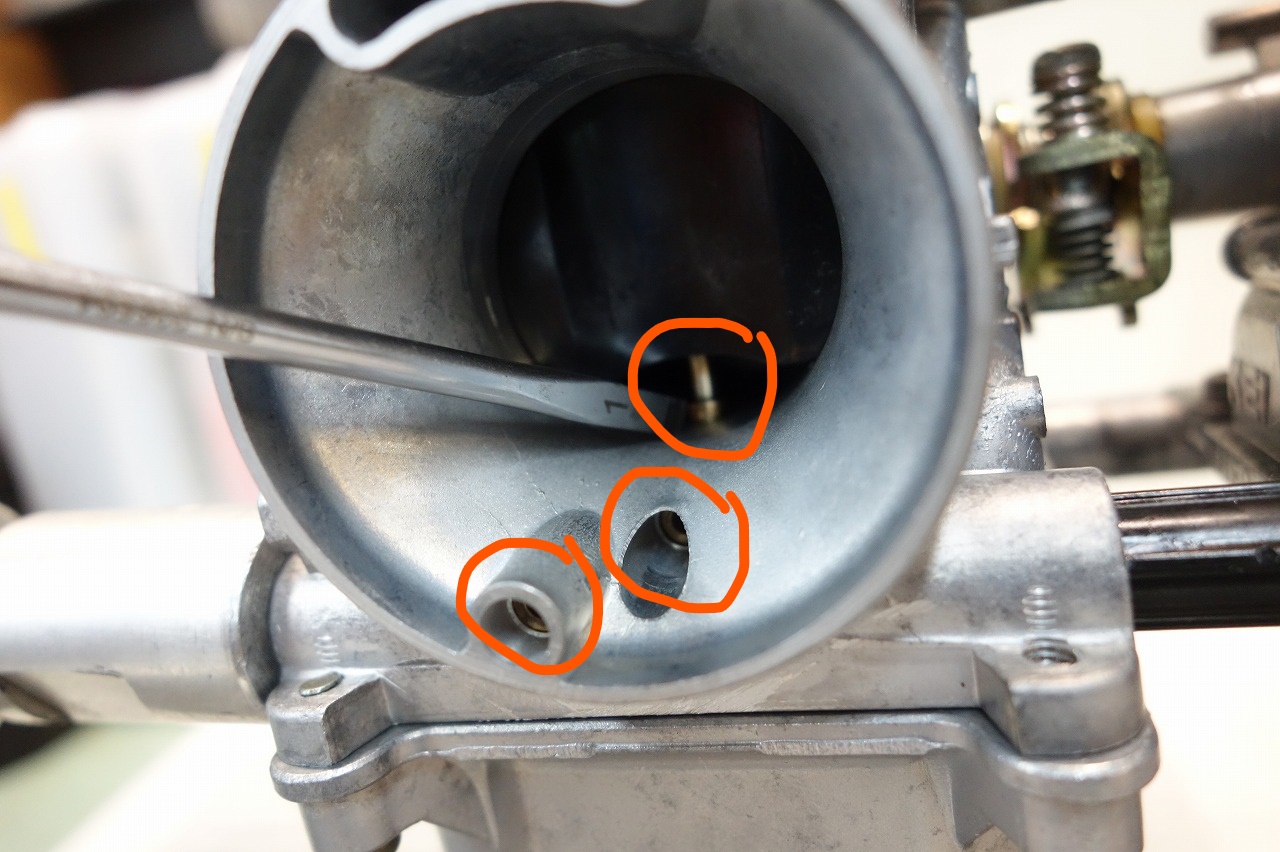
Ultimately, they connect to the outside:
• Pilot air
• Main air
• Needle jet
* Air jet (some designs don’t have passages, so we’ll cover that later)
Gas gradually leaks from these and goes toward the cylinder head or into the air cleaner box. This might be more common.
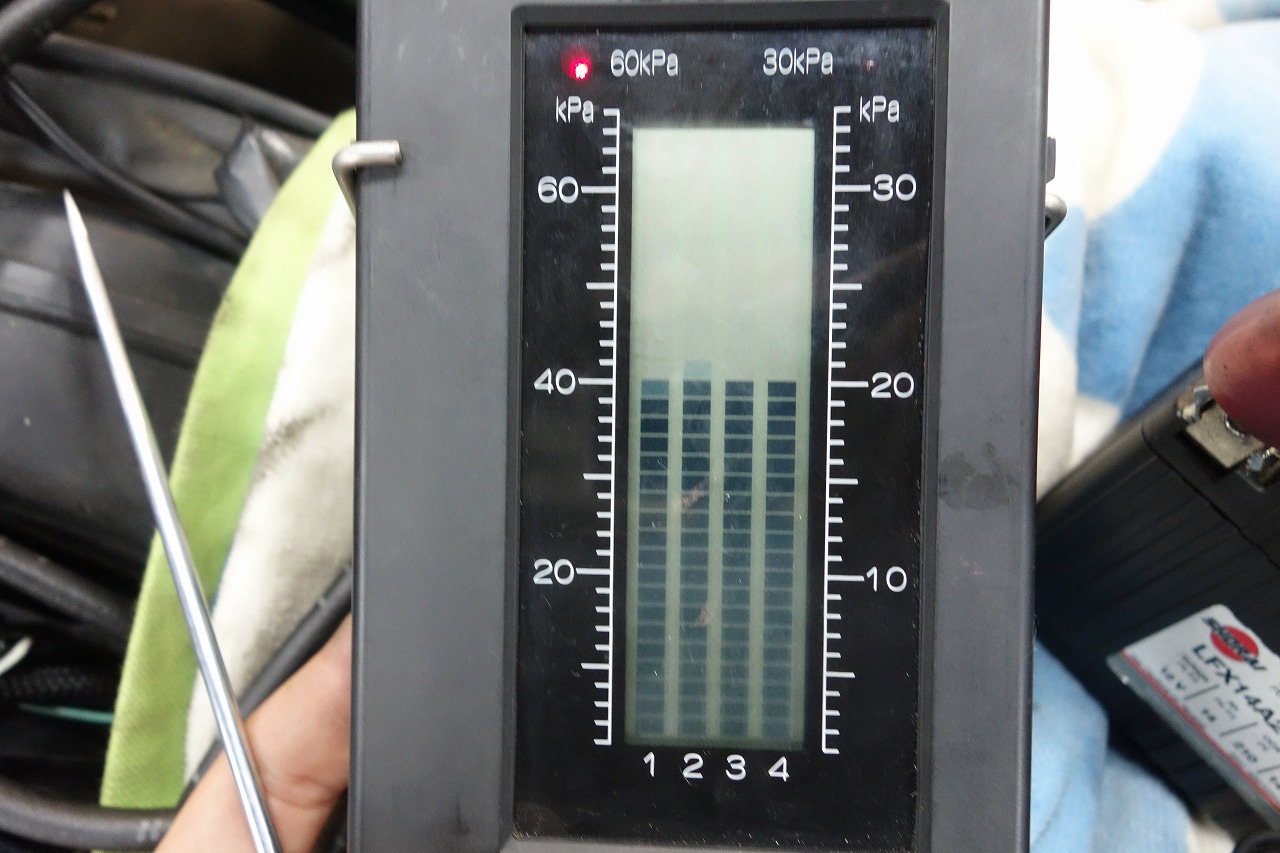
Most of the bikes we work on here aren’t clogged carbs; they’re usually running normally.
If we think of a completely clogged, non-running state as zero, there’s huge room for improvement, and you really feel like something got fixed.
Every time I work, I wonder if it’s really getting better, and I keep doing these subtle things, hoping performance improves.
It’s honestly hard to get quick, easy, noticeable results. I think it’s about doing small things consistently.
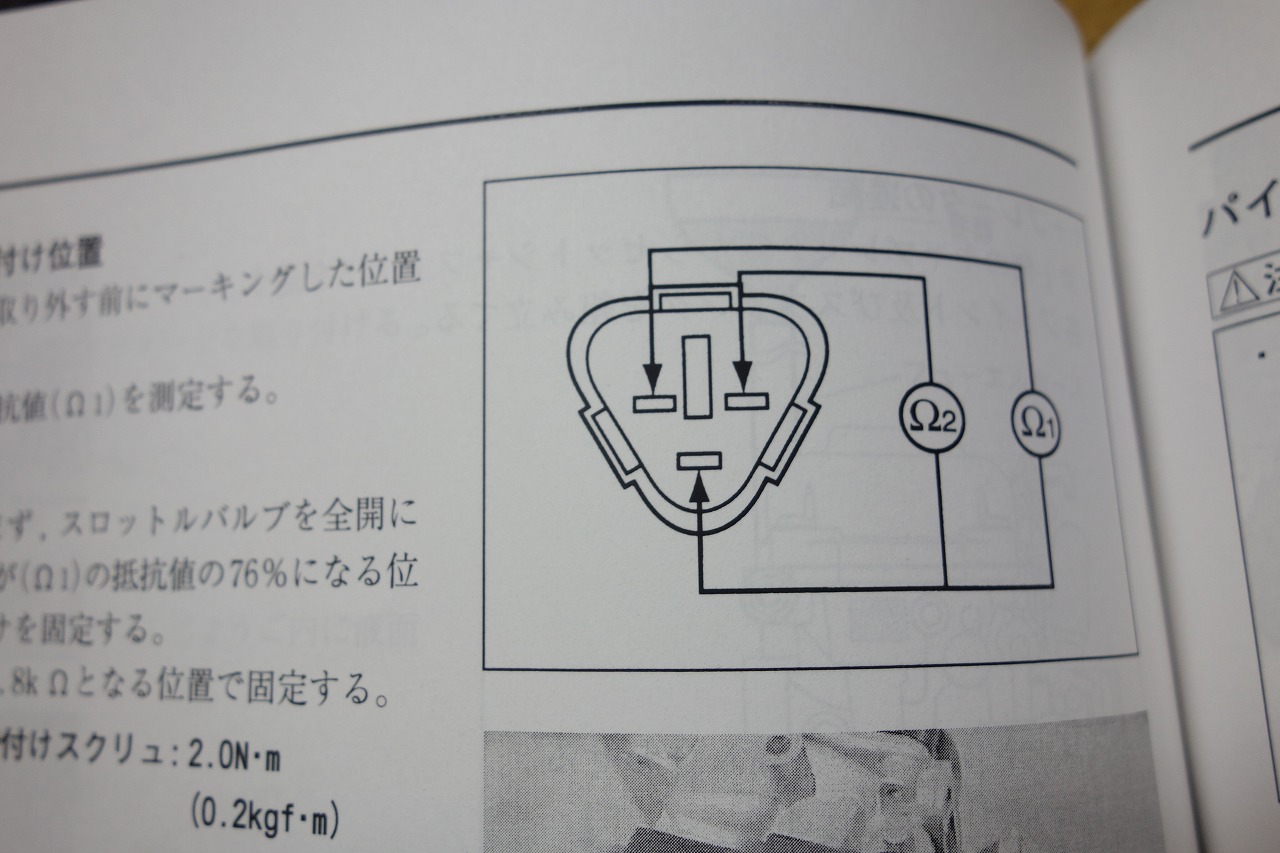
Use the bottom as reference and check the left and right on top. (Full throttle! It’s hard alone.)
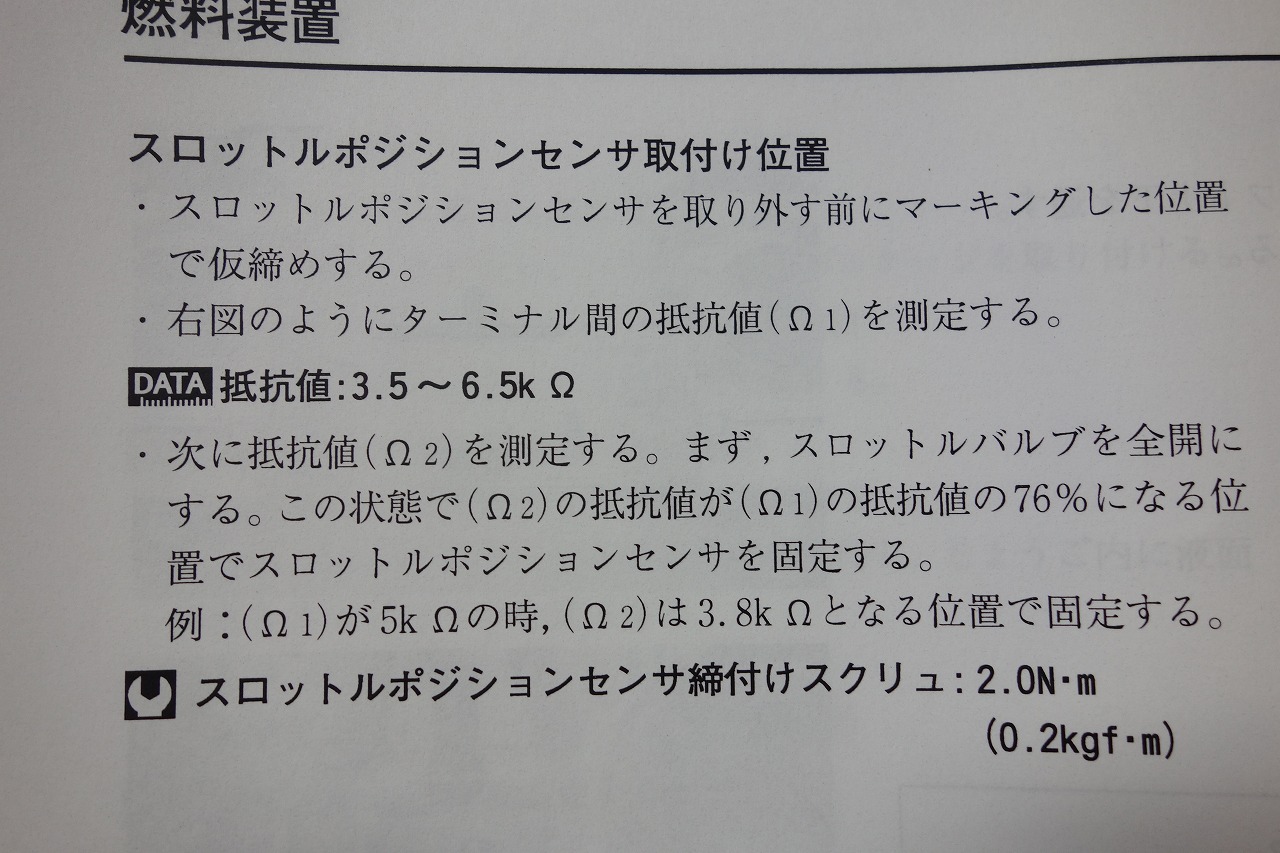
There’s time spent thinking “huh?” I feel like a picture would be faster. Honestly, English would work too, so we could match the overseas version and that’d be great.
What people want from a manual is just numbers. Where is what and how much? That’s what I think.
Few people check the manual wondering where to install something.
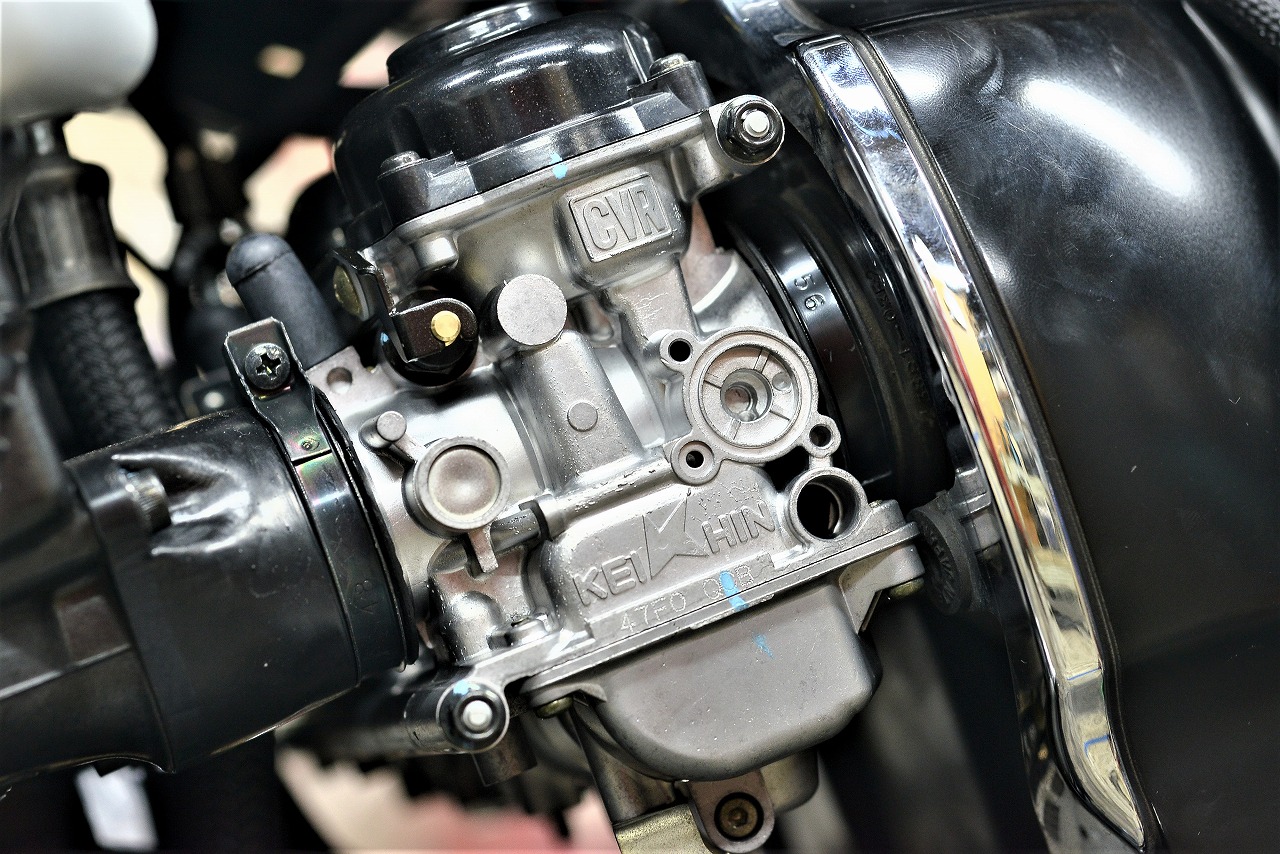
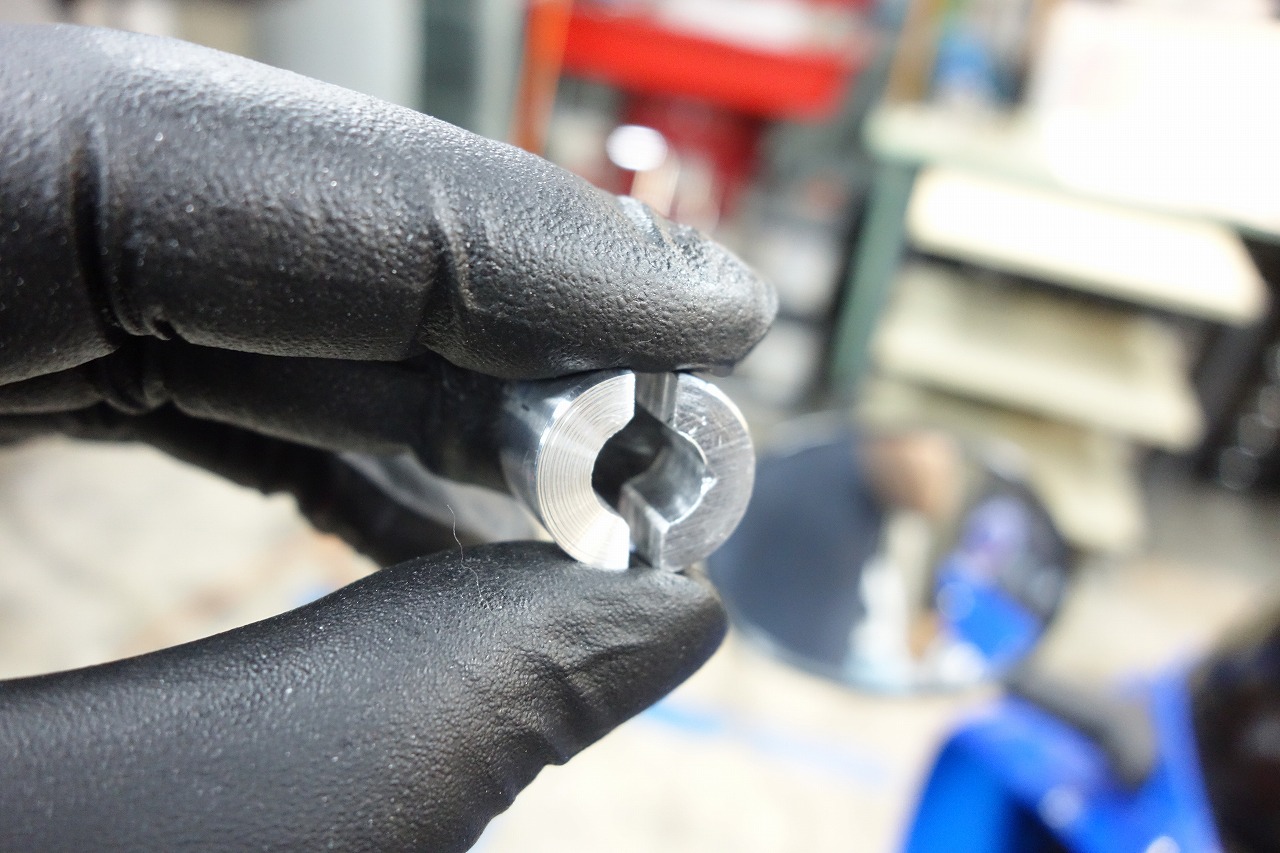
What if we relocate it and it still looks ugly? I get that doubt every time.
Probably we’ll adjust the outer diameter from 52-20φ to 17.5φ, work the inner diameter to 8φ, and do a split design.
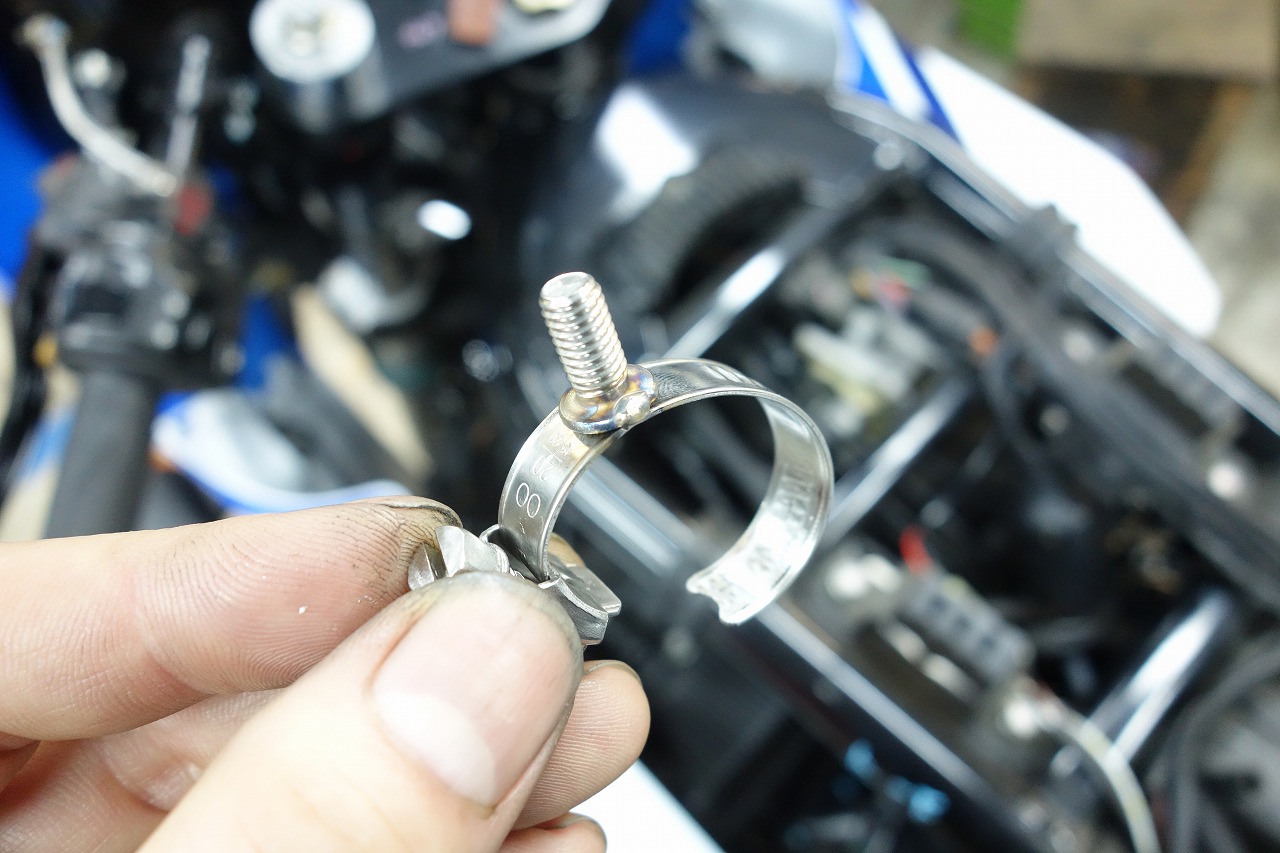
We’ll clamp it and turn it on with this strategy. That’s Together (some Loctite product).
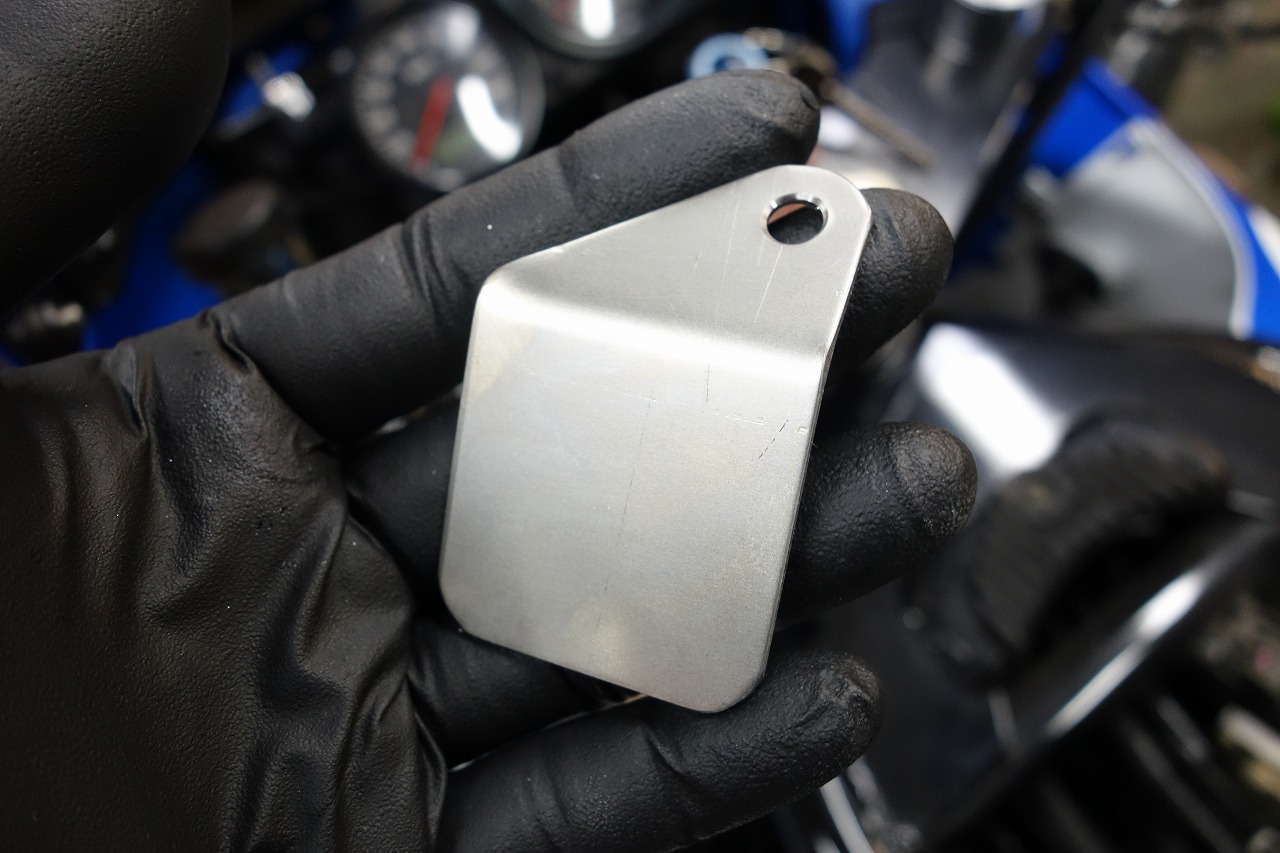
Straight lines are straight, curves are curves—feels good, right?
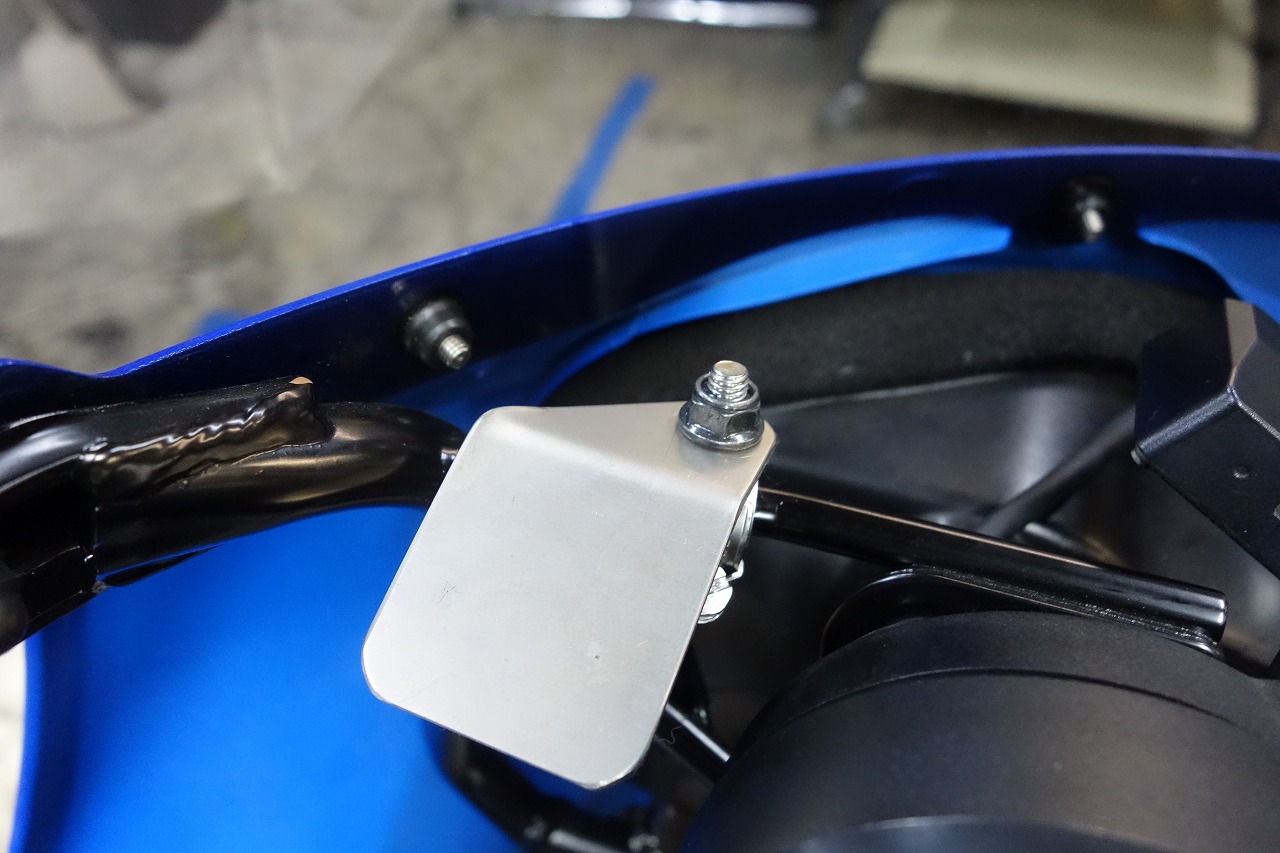
• Loosen the clamp and you can adjust front-back angle freely
• Loosen the nut and you can adjust left-right freely
• Can be used for different mounting setups
Making it quick and minimizing failure is the priority. It’s like a recipe site approach.