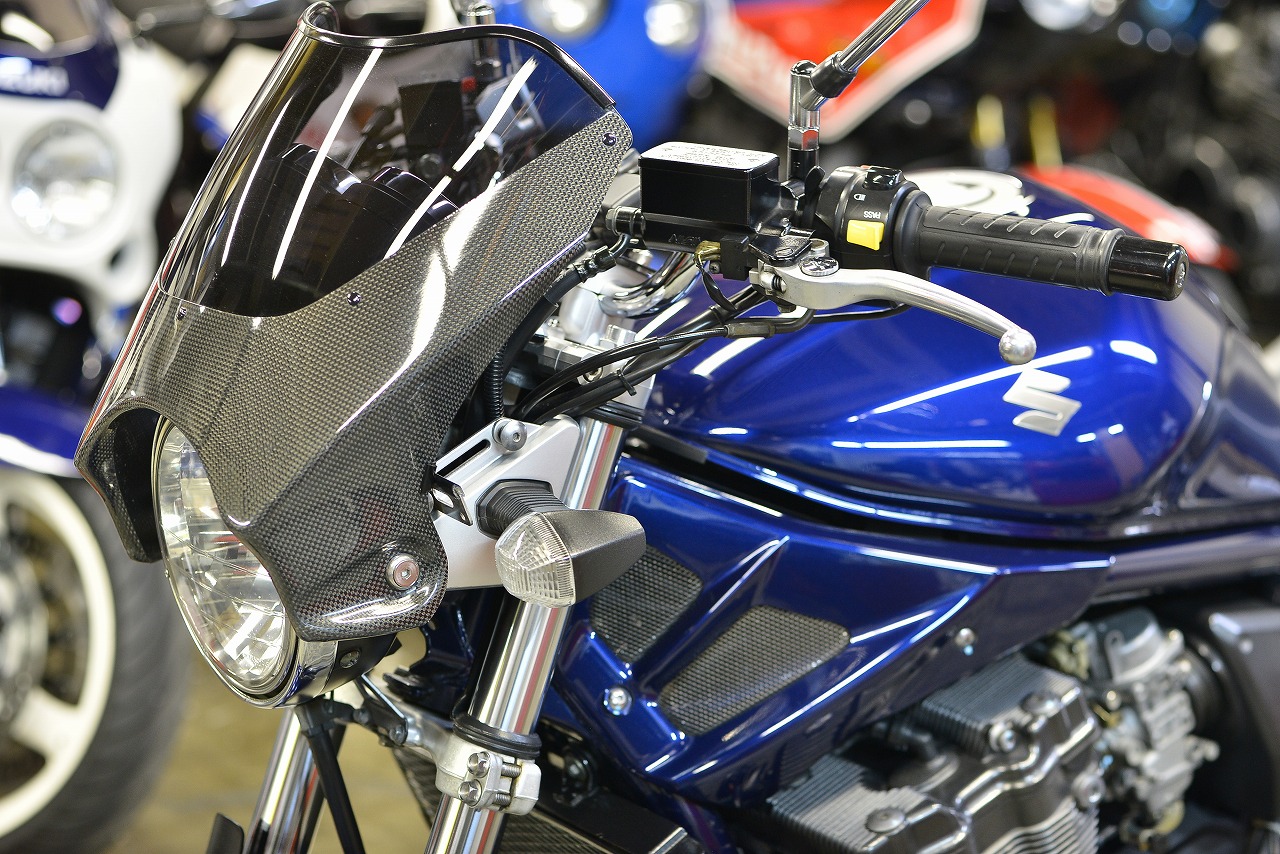
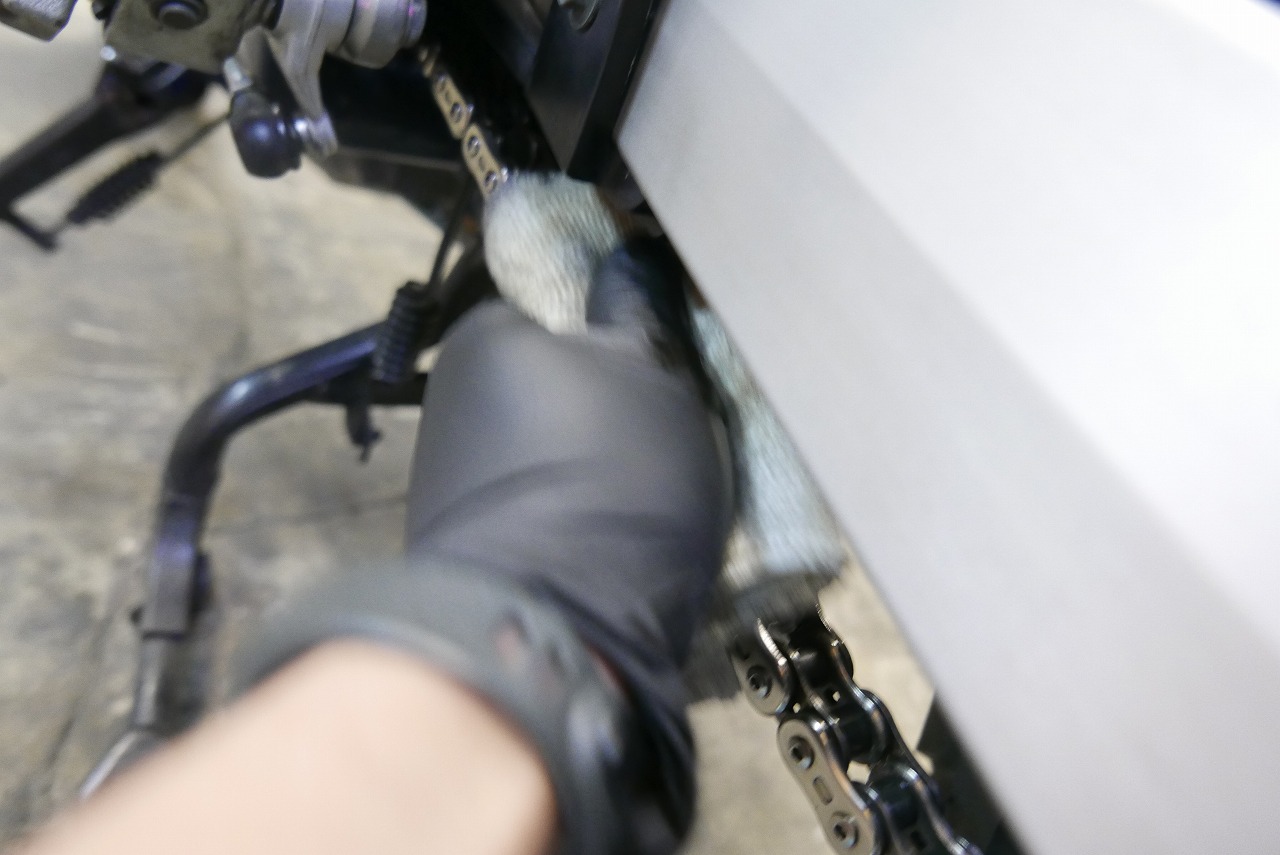
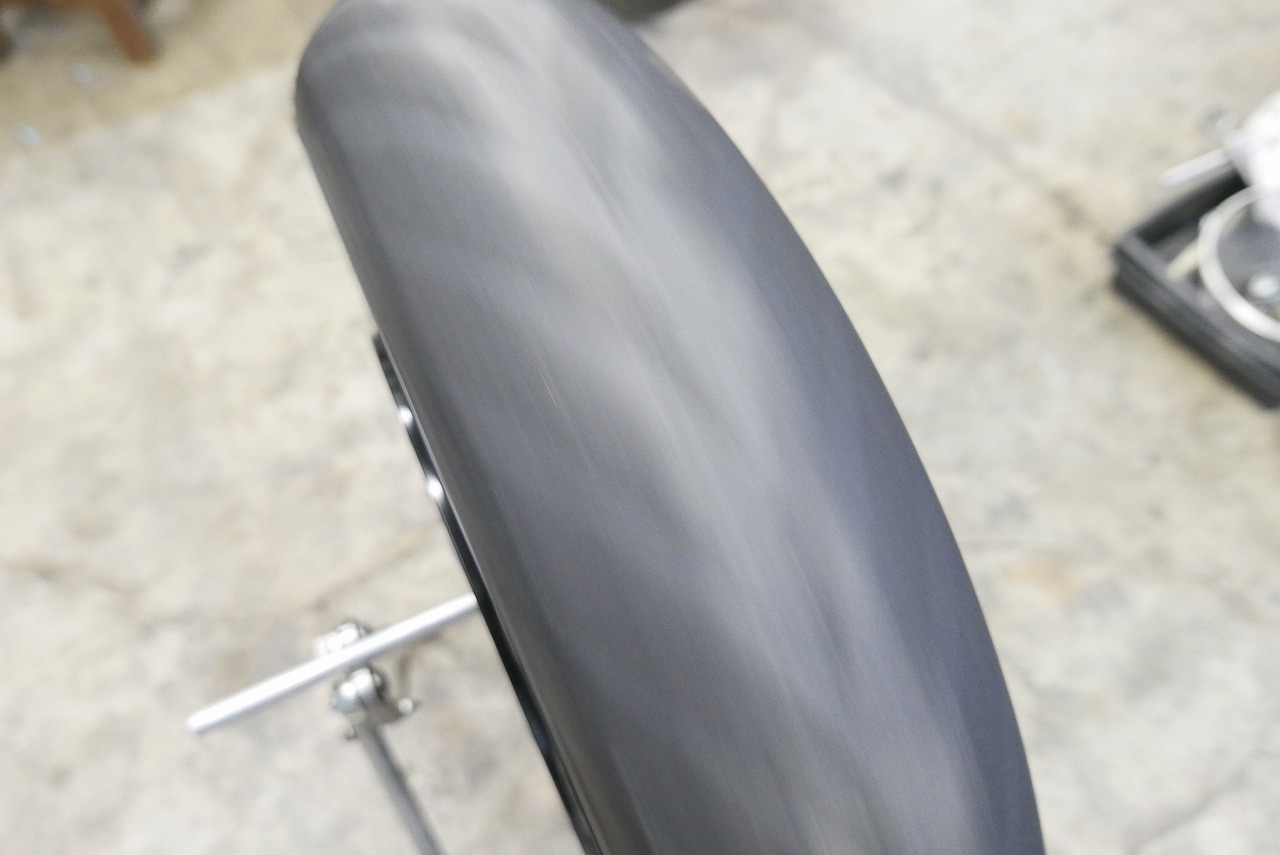
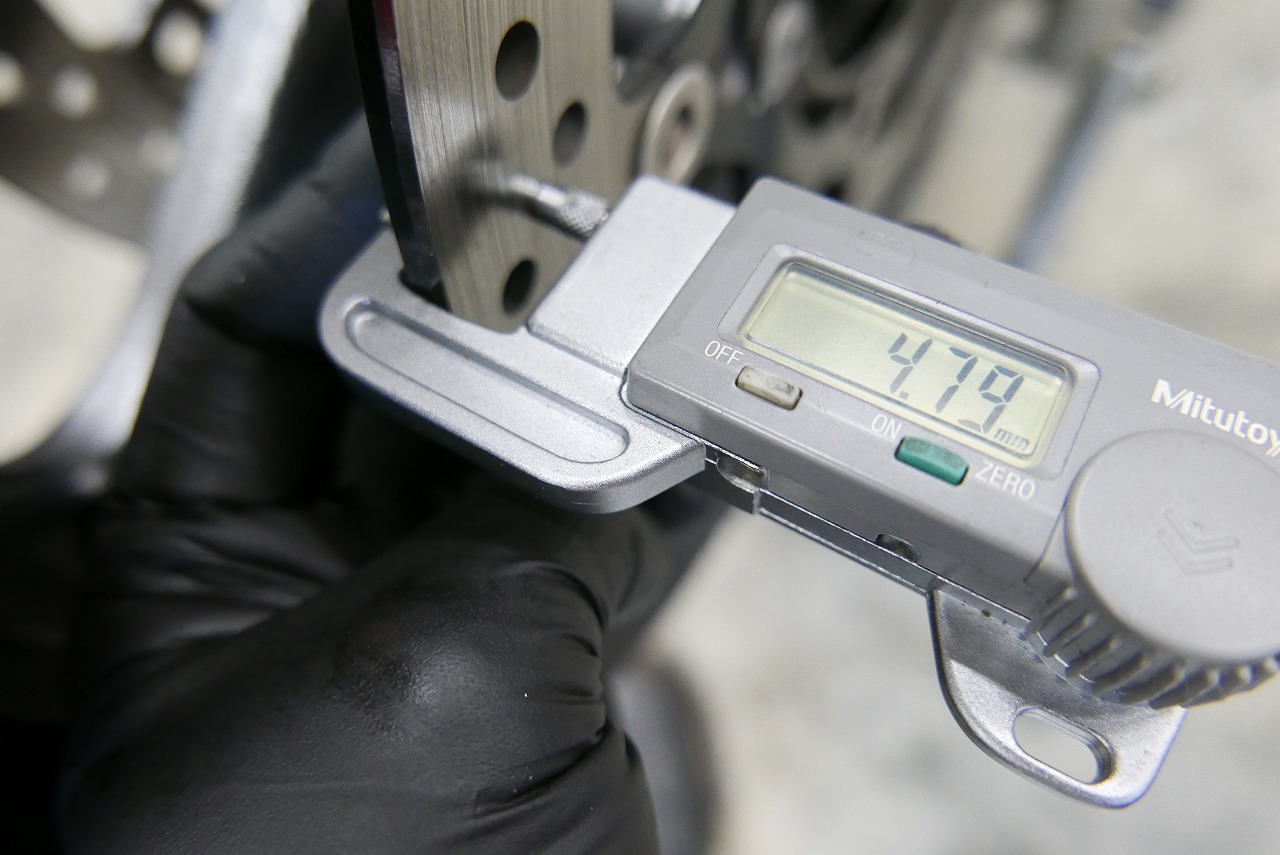
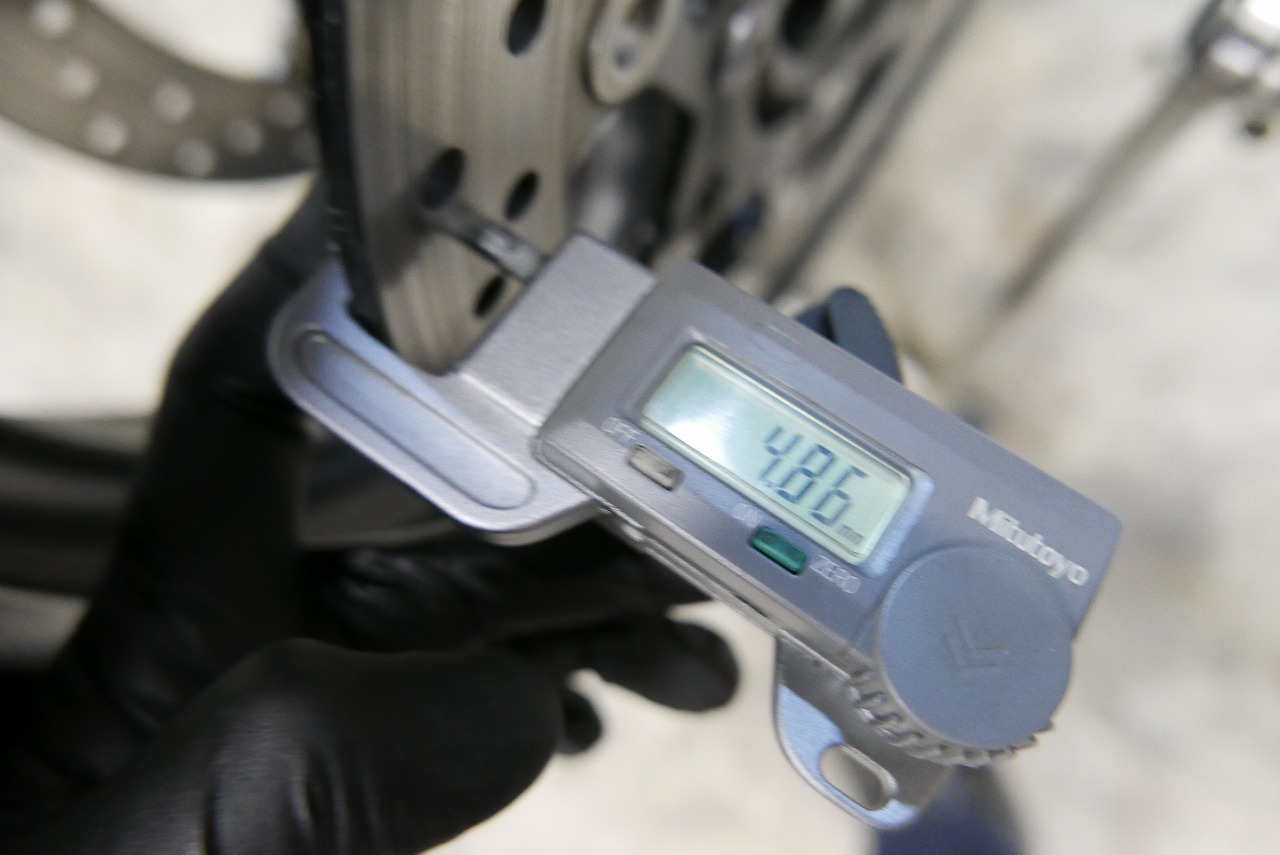
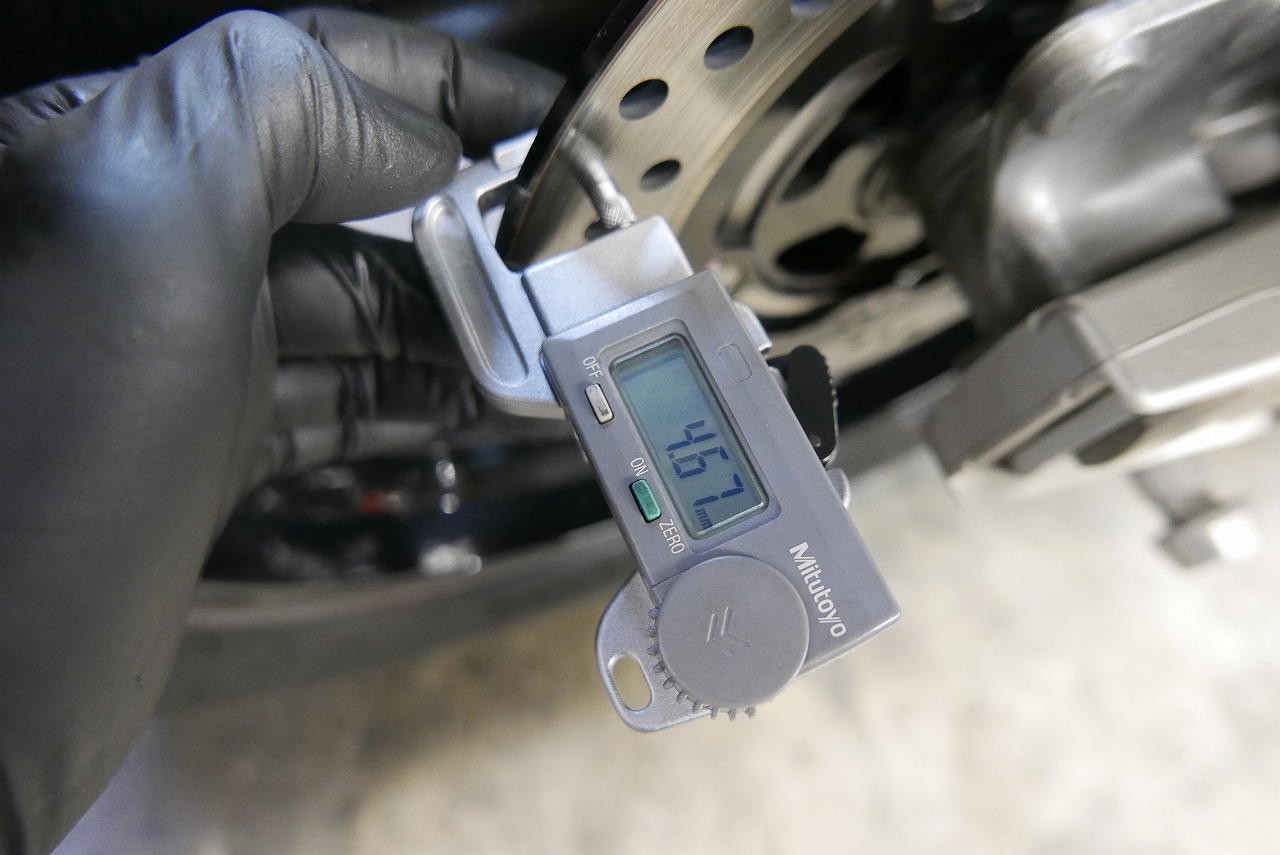
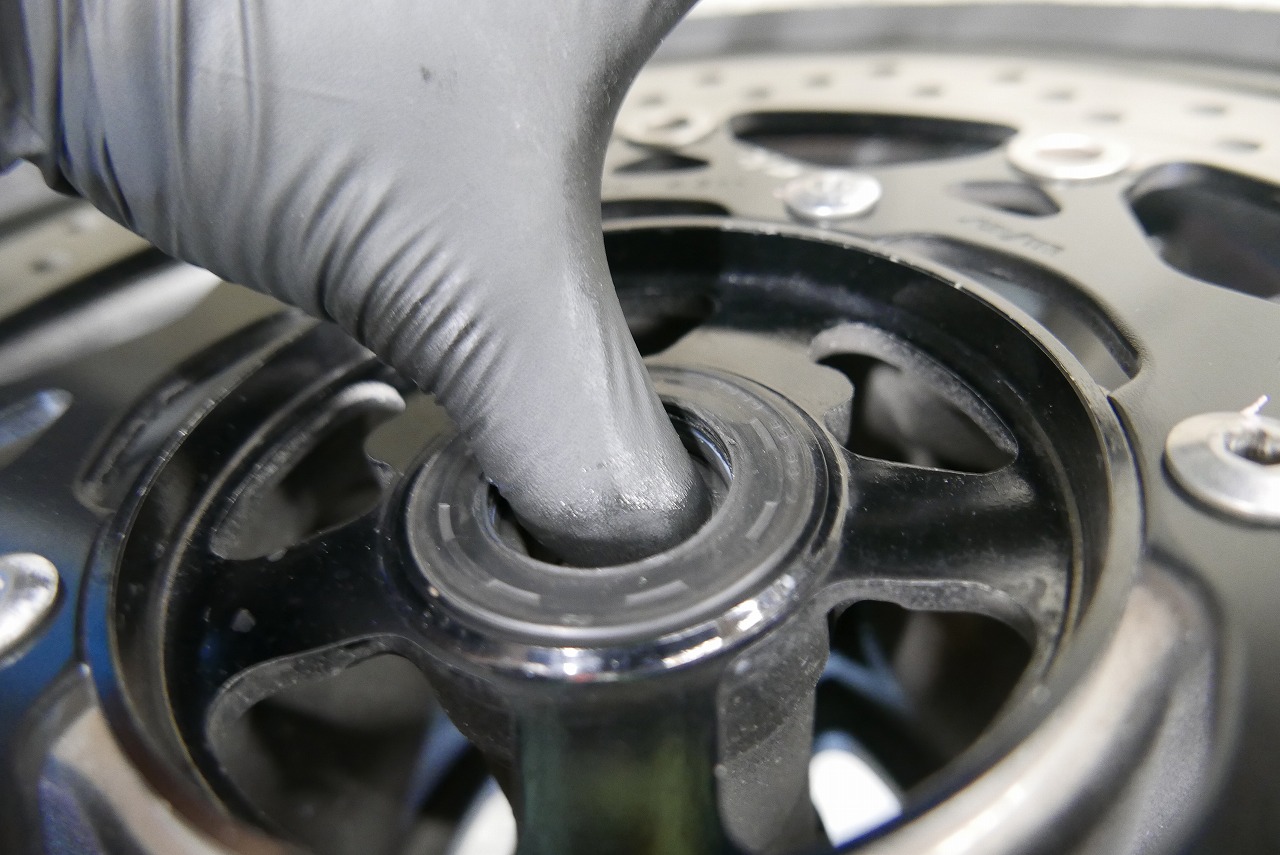
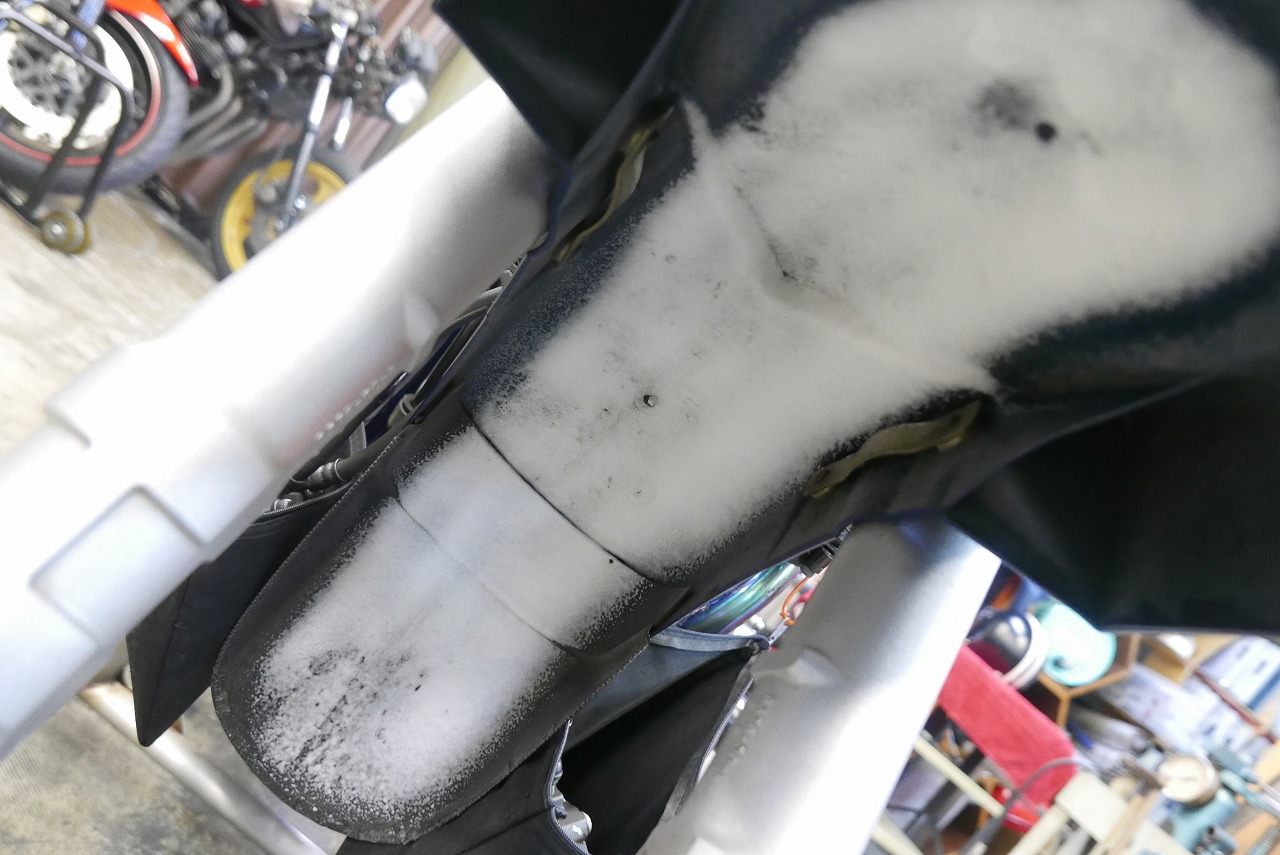
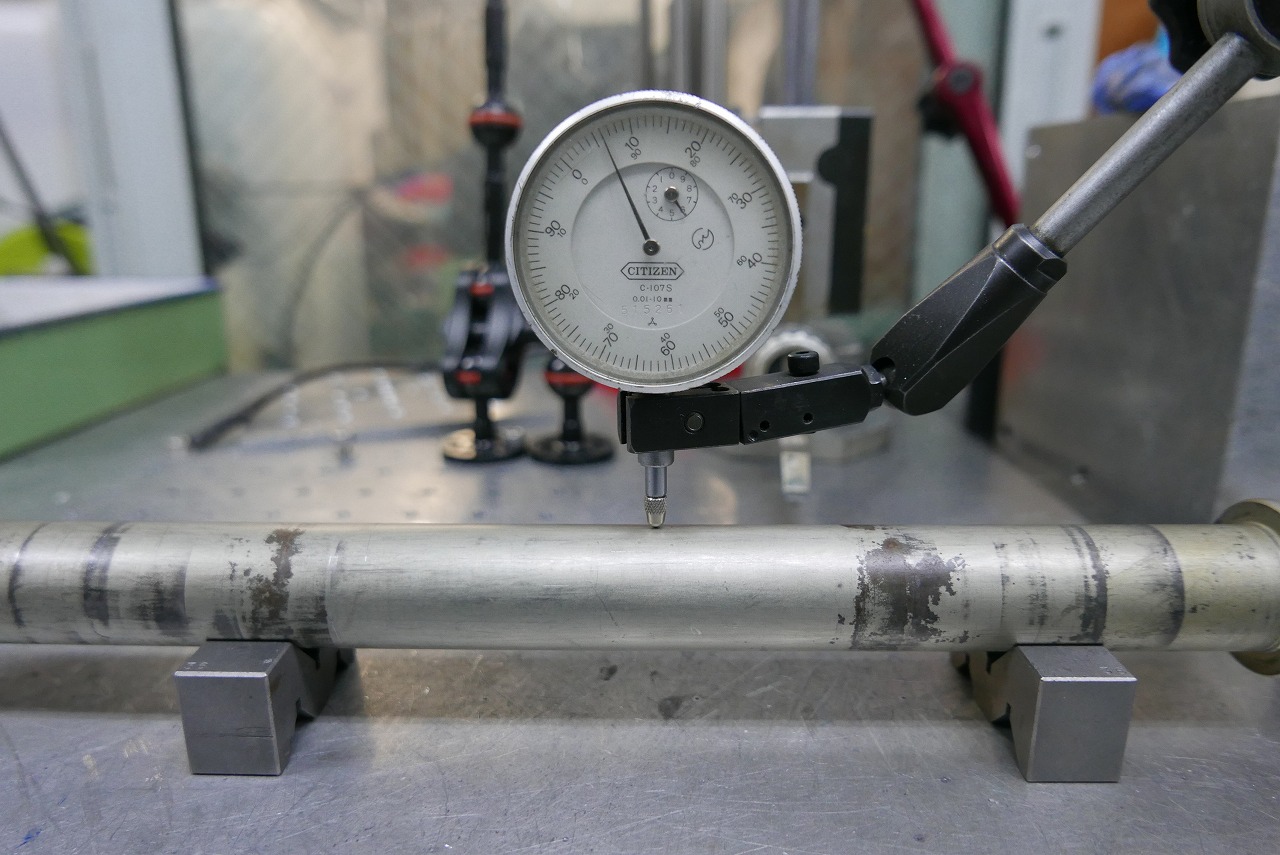
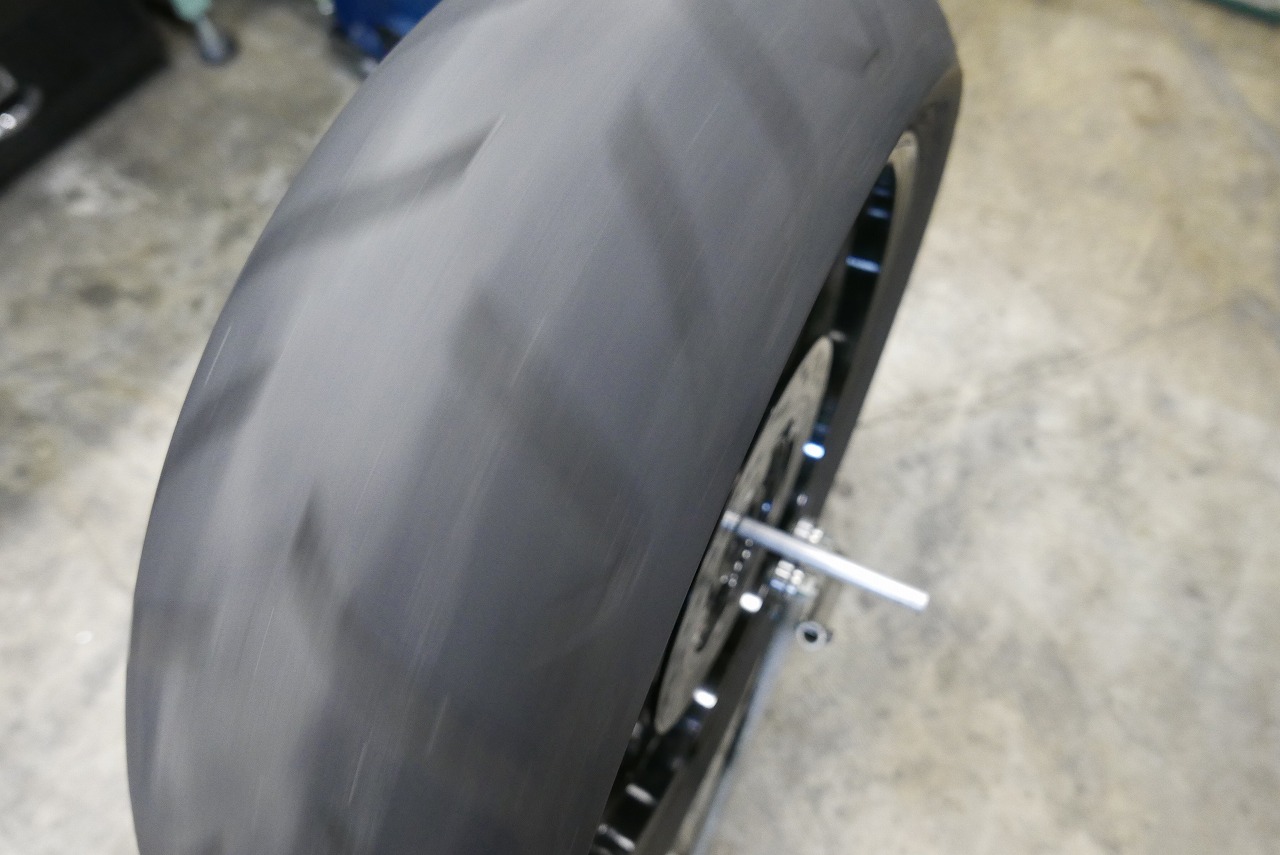
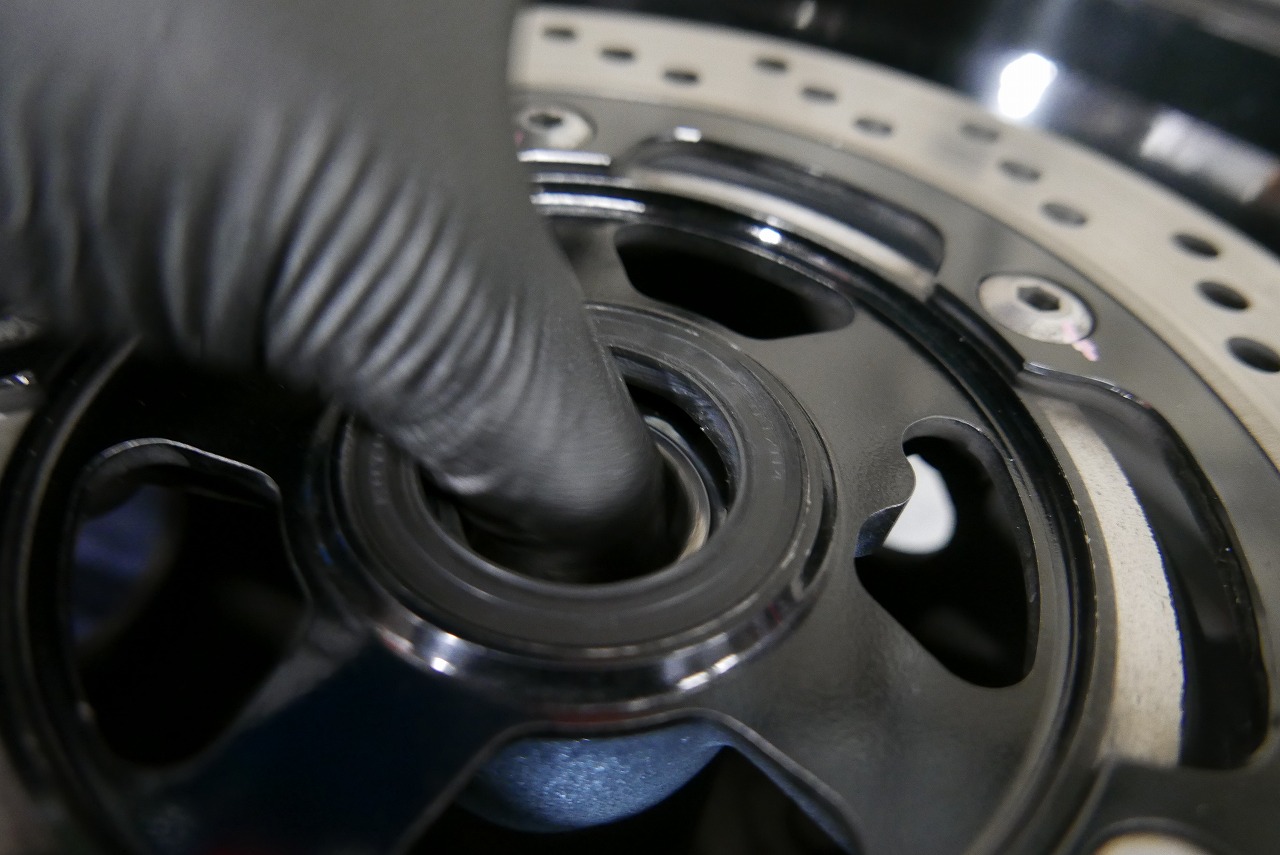
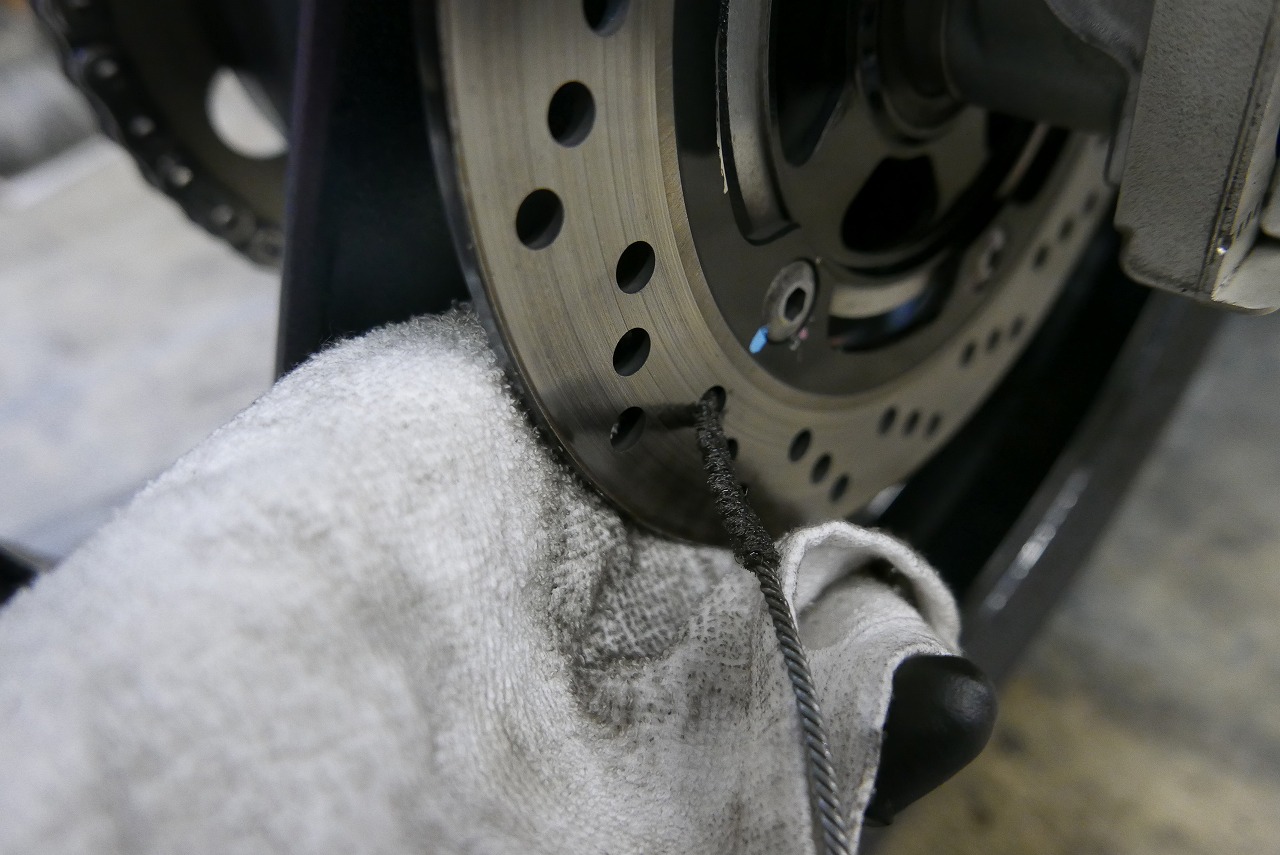
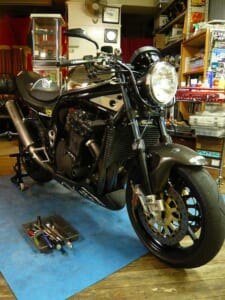
We’ve got a Bandit 1200 K6 Deco-mainte job on our hands. You don’t see many Bandit 1200s around these days, do you? I wonder if they’ve been ridden so hard for touring that they’ve racked up high mileage and gotten traded in for a 1250? We wipe the chain thoroughly and use two types of chain oil for lubrication and a coating-like application. We check the tire and wheel runout, and verify the tire brand, size, and manufacturing date to report to you. Brake disk thickness check. We trace from the outer edge to the inner edge, and this is how it looks at the thinnest point. Still in good shape. The axle shaft looks fine too. Currently the wheel bearings are in good condition. They’re a wear item that you might replace after 20,000 to 30,000 kilometers of use. Spray some no-touch cleaner on the dirt inside the fender and wipe it lightly—it comes right clean. The spots you can only clean when you take things apart deserve extra attention. We clean the calipers. Every year they come back looking better and better, which really helps us out. After cleaning, apply anti-rust oil and wipe it down to a shine—that keeps things in good shape for longer.
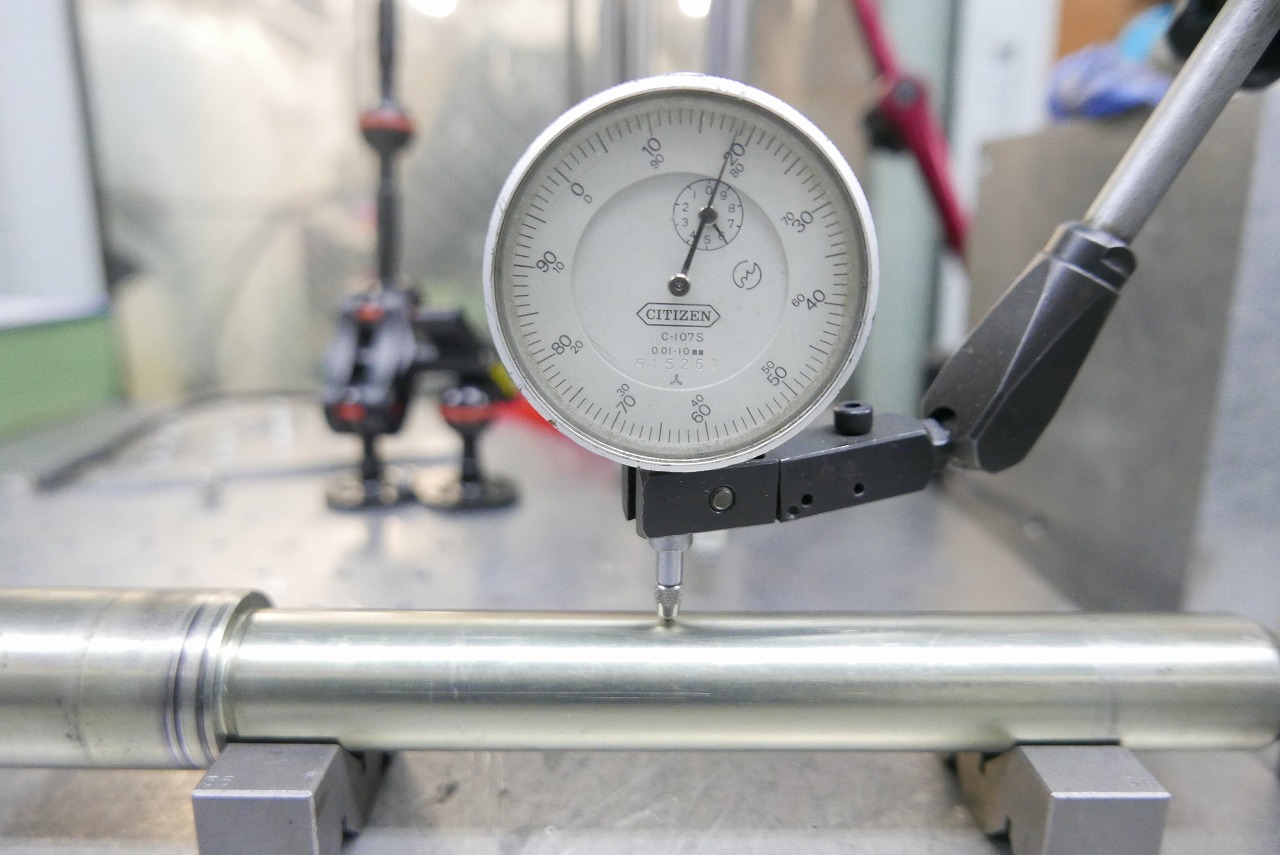
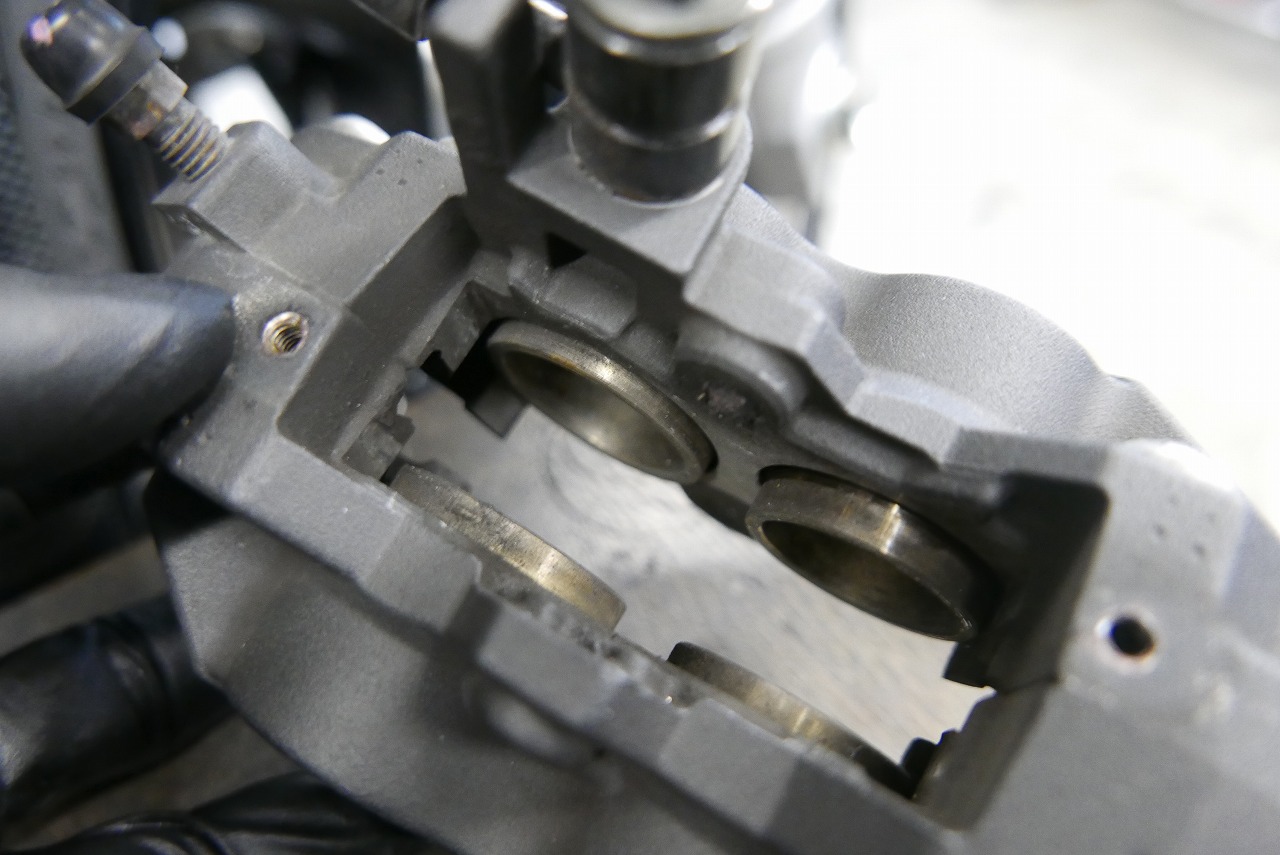
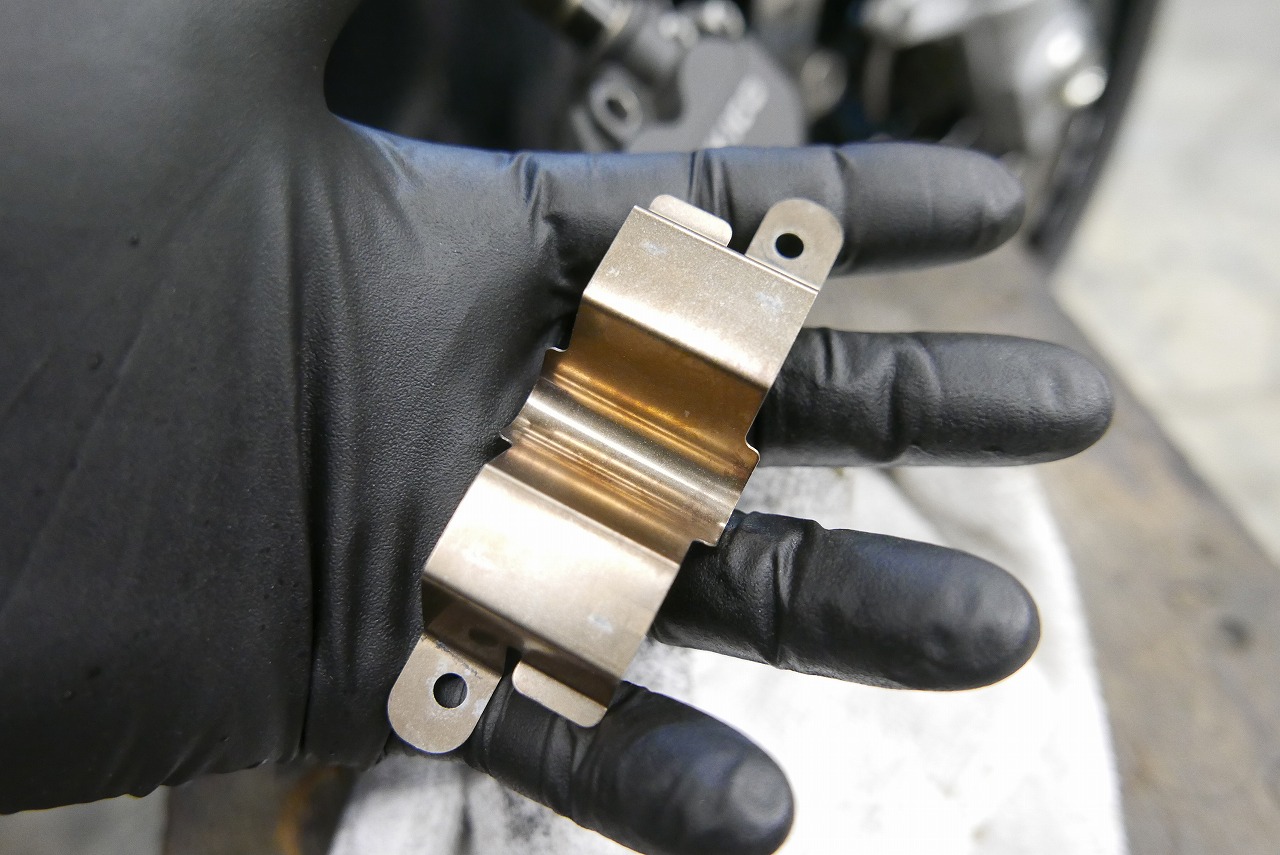
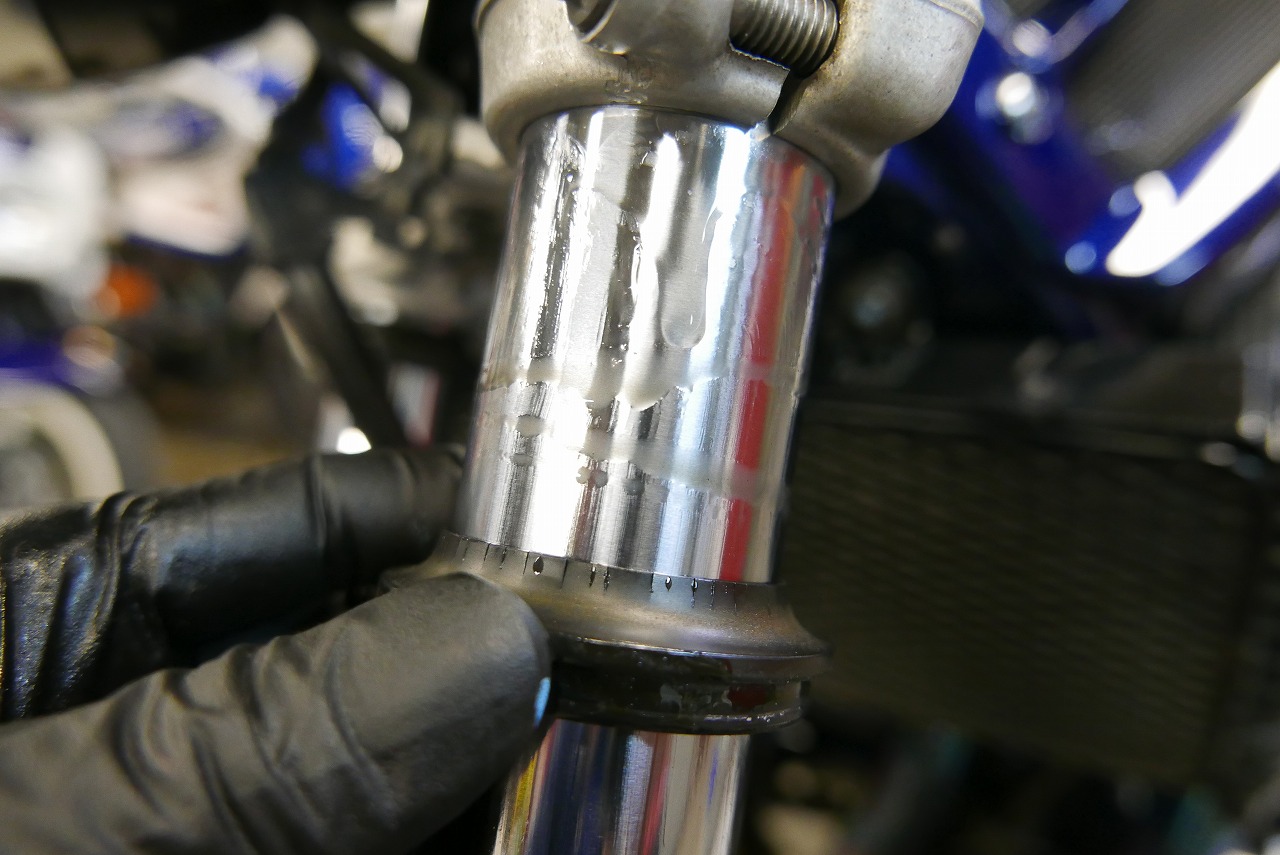
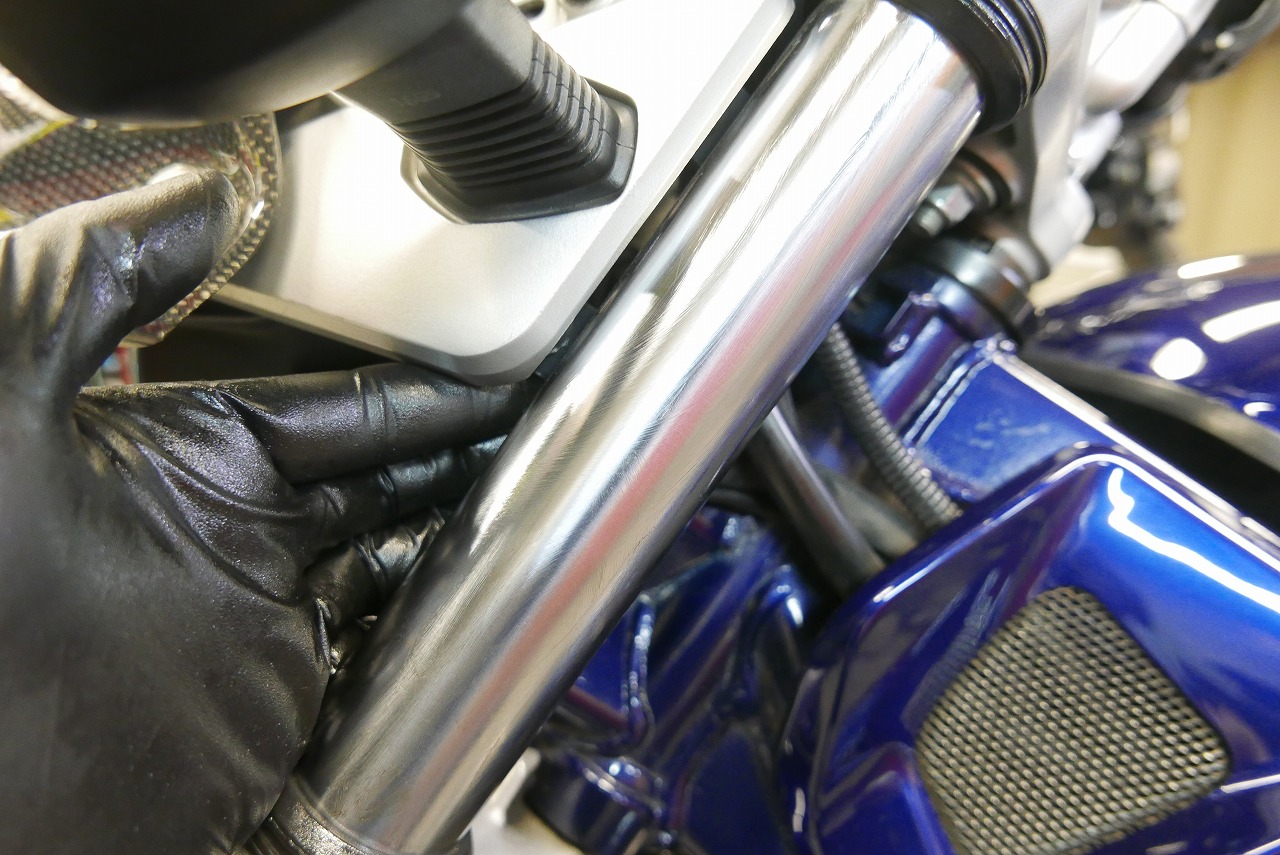
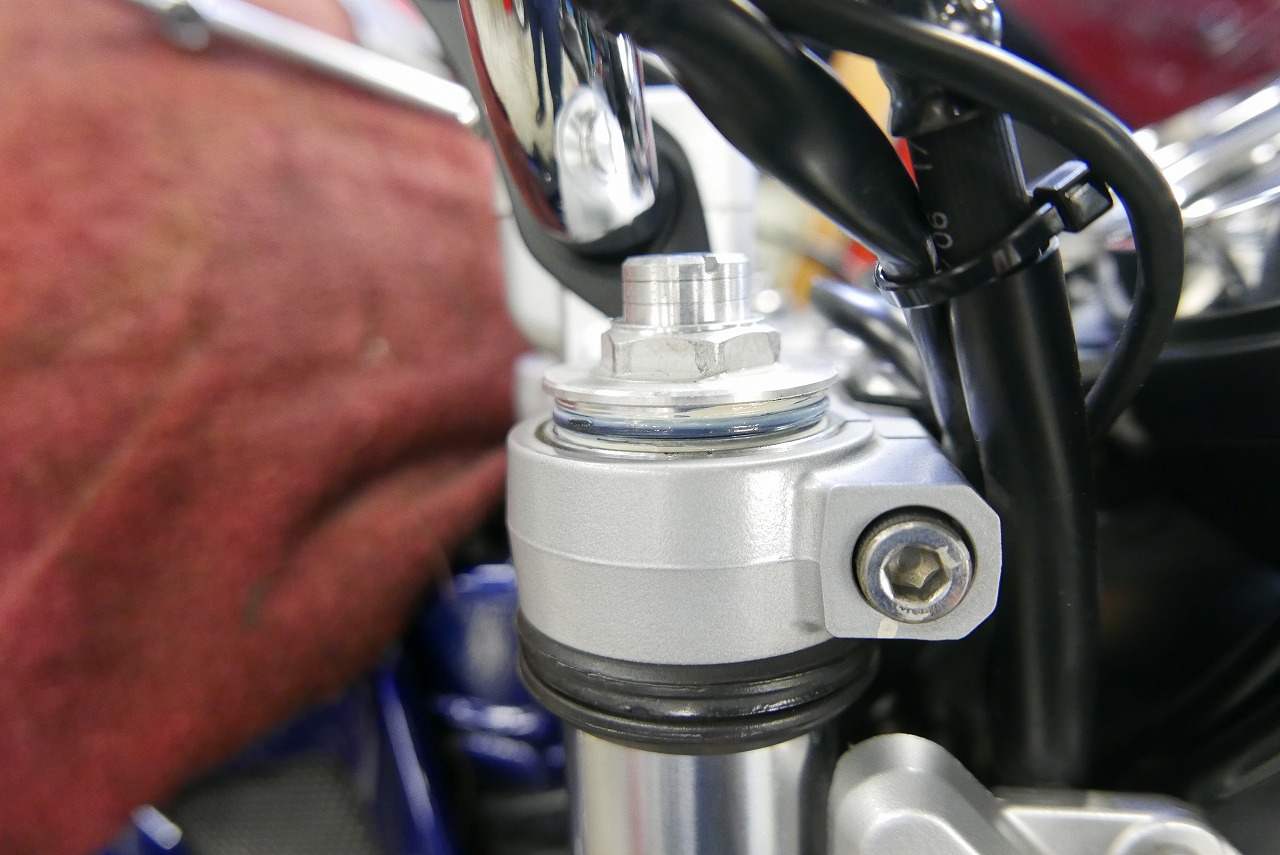
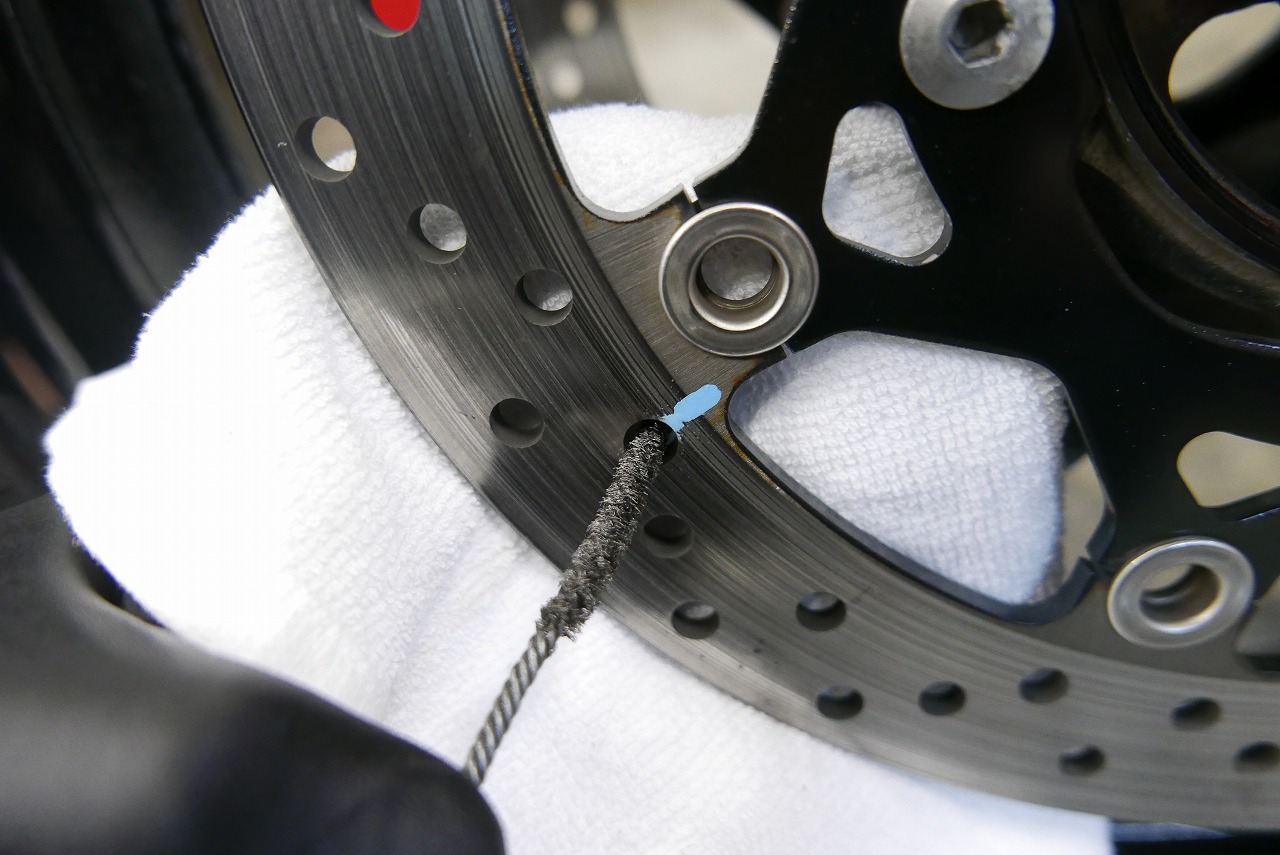
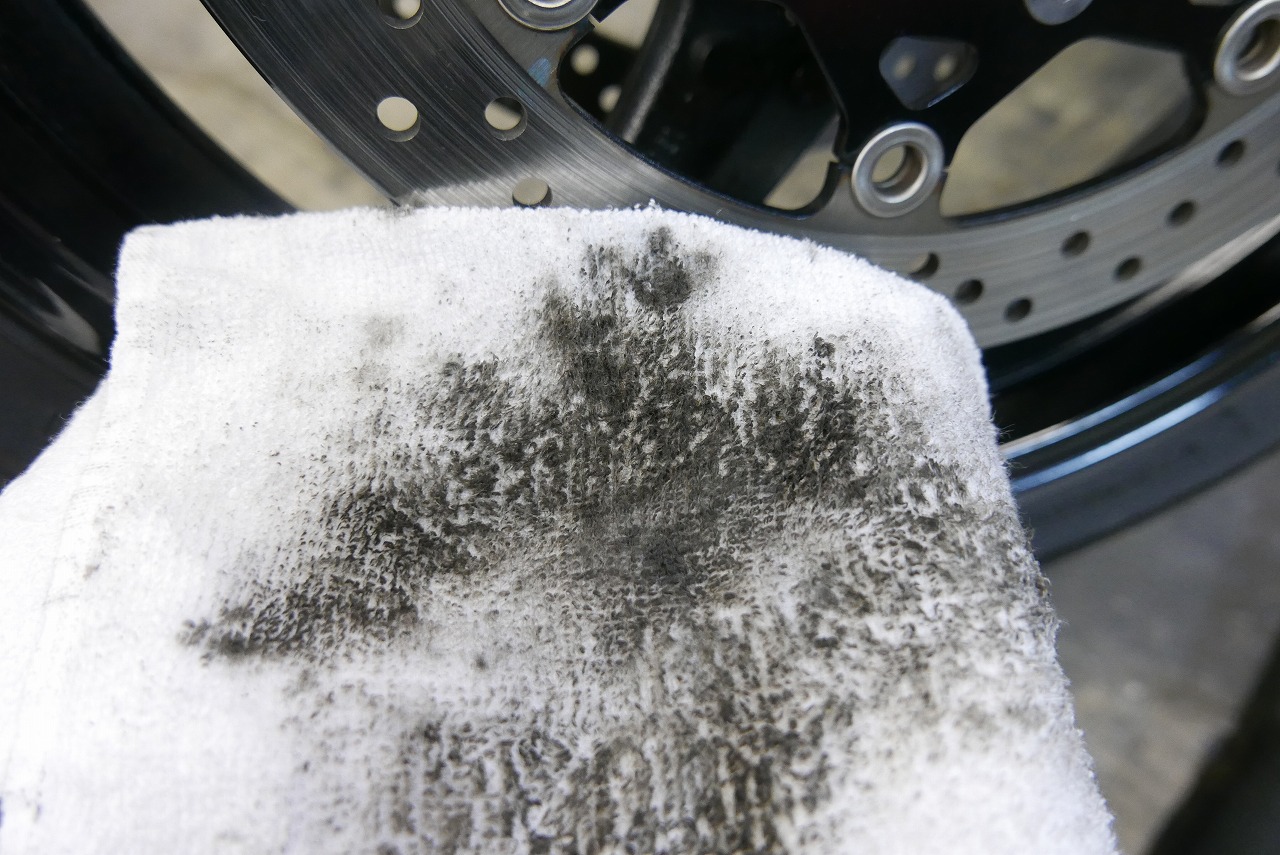
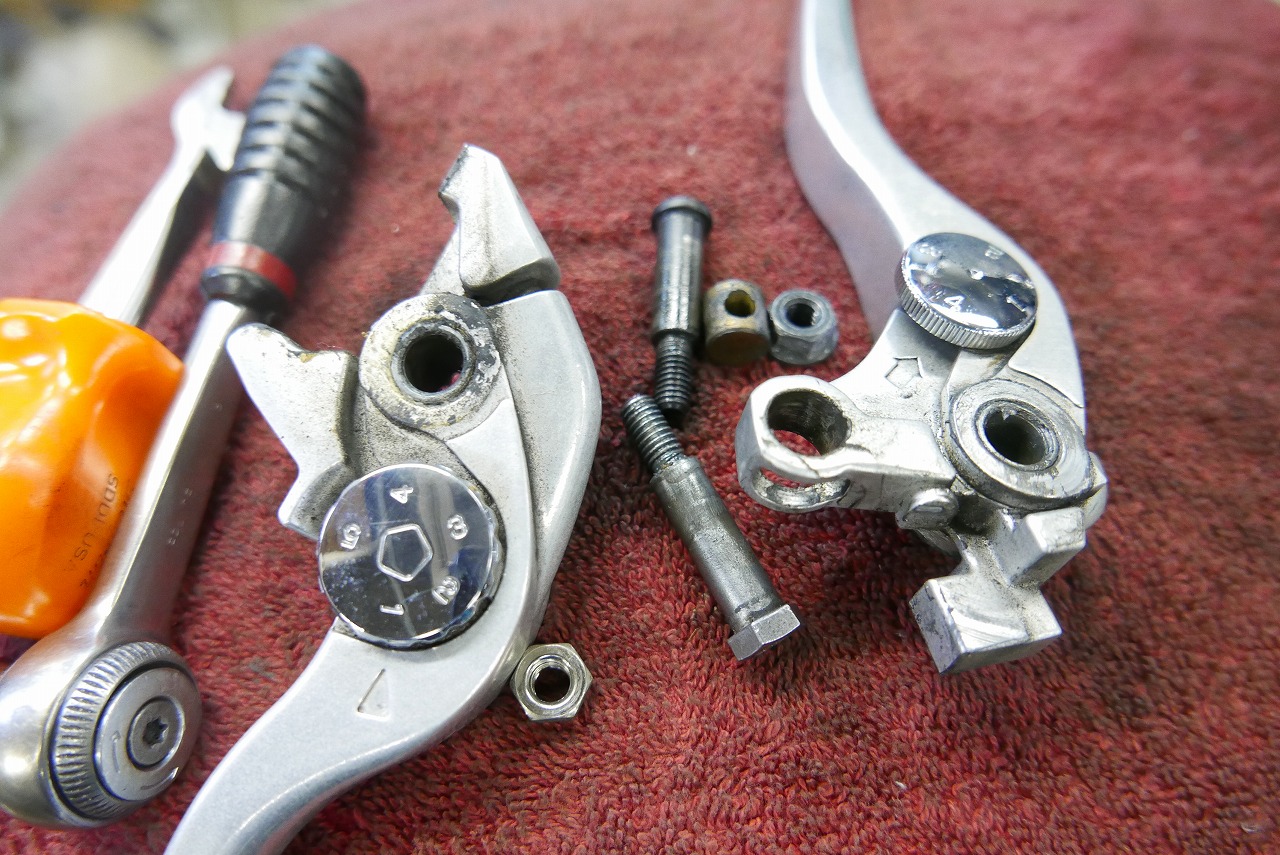
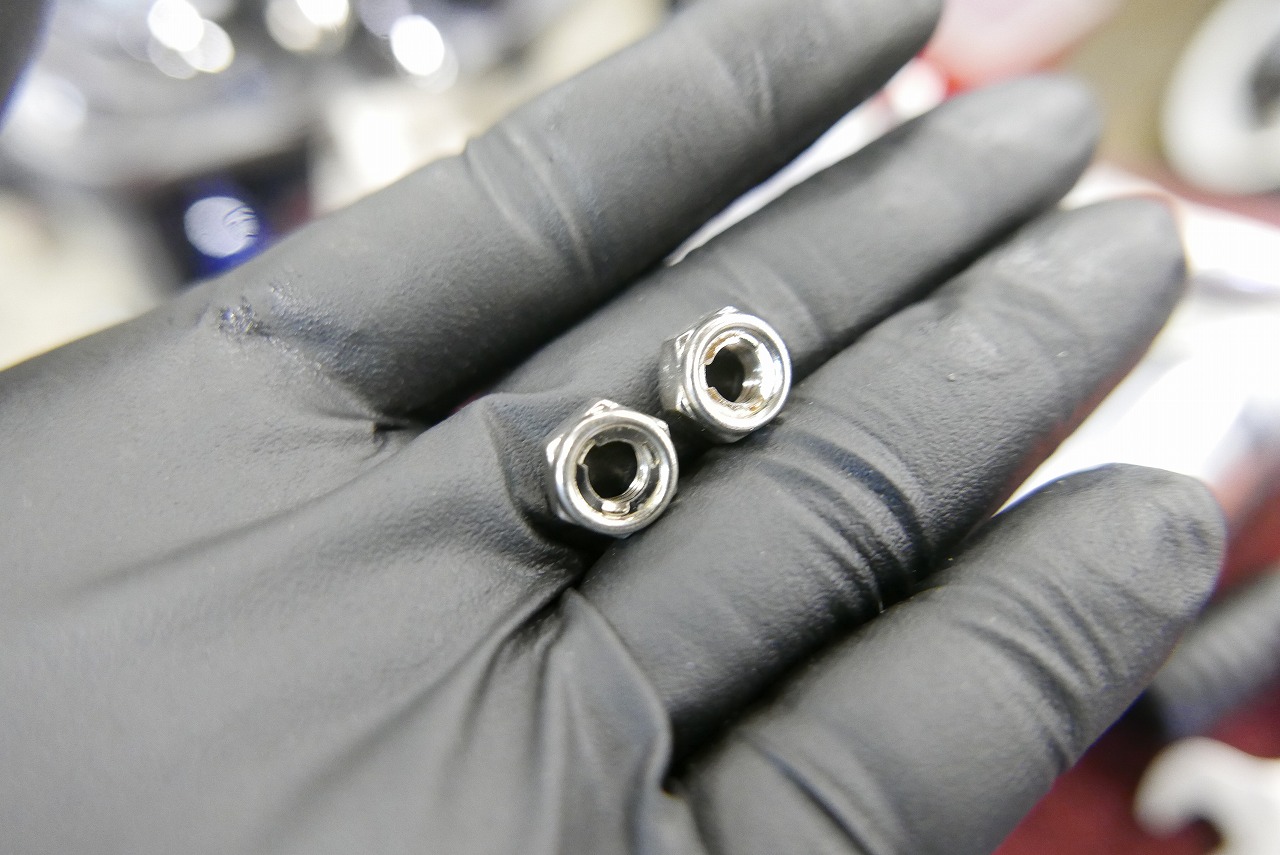
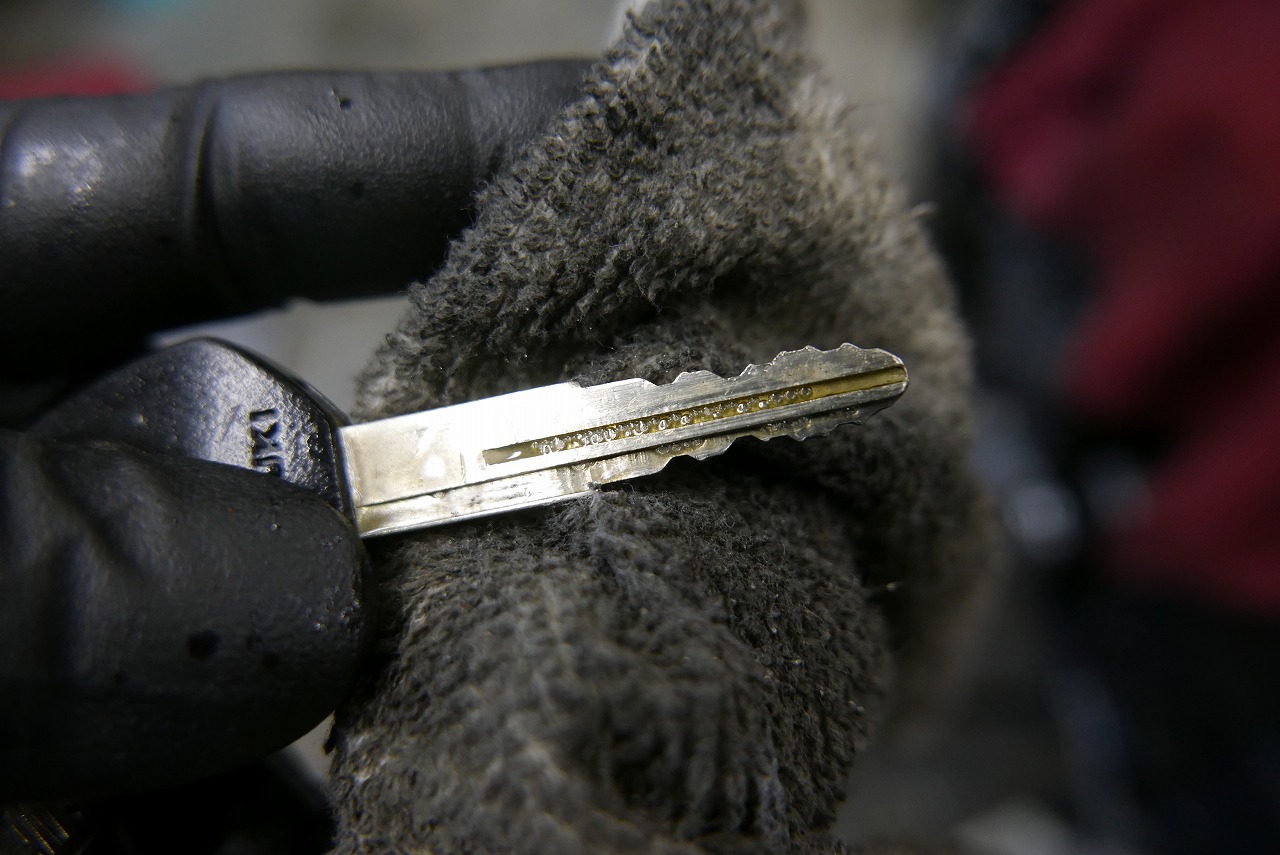
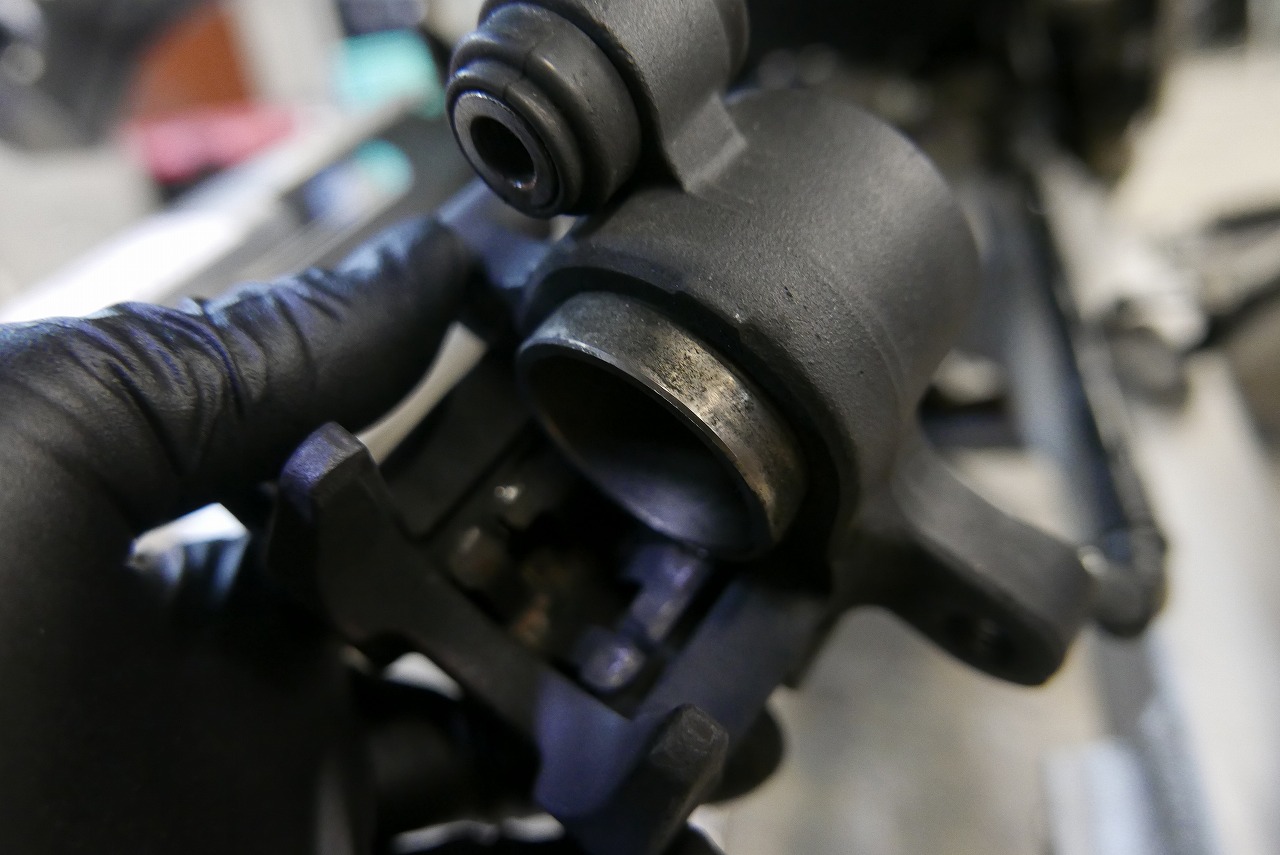
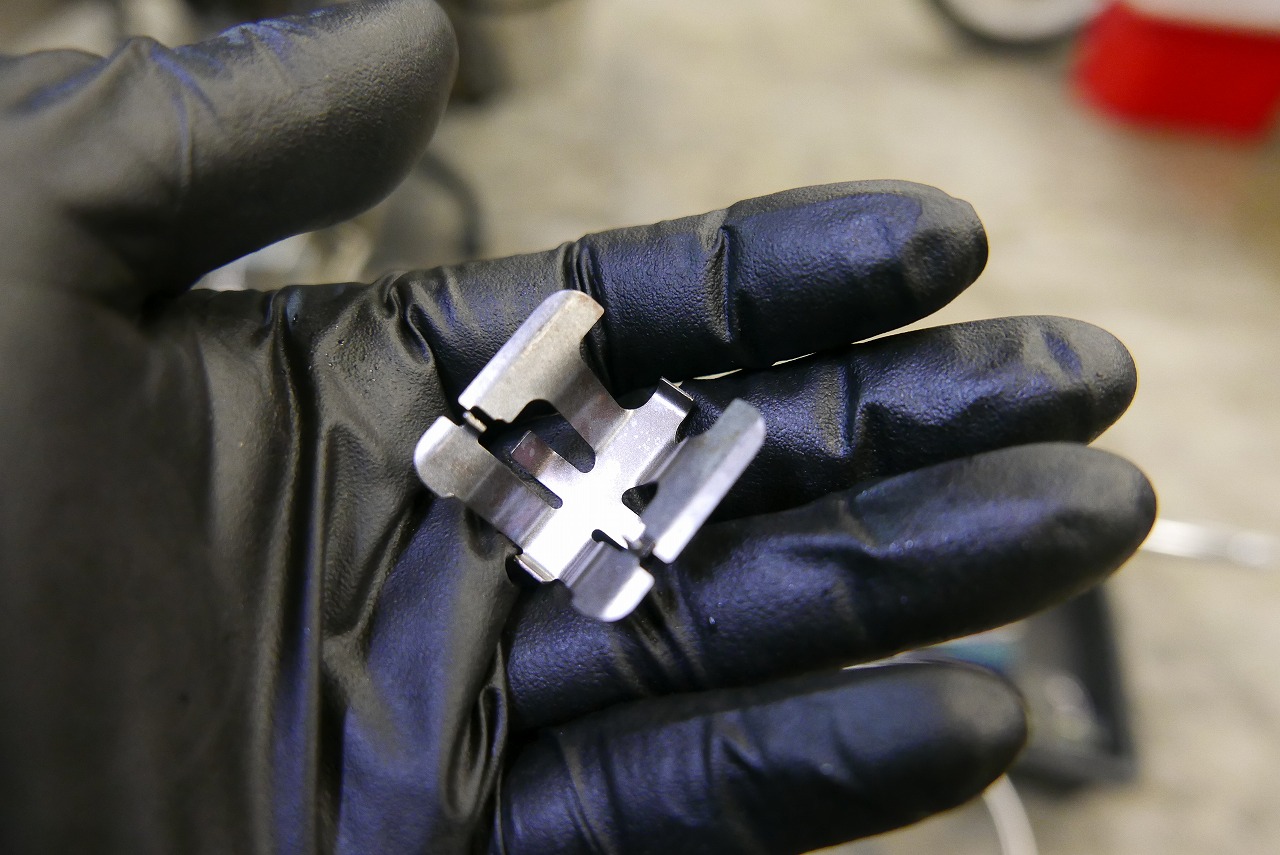
The piston action isn’t great. You can feel it when you push it back by hand. A good one returns smoothly, but a bad one takes real effort—you have to strain to get it back. The seal has hardened and lost its flexibility. The seal groove has gotten rough and is pinching the piston. It’s seal degradation. After all, it’s just rubber, so no amount of kneading a worn caliper will fix it permanently. If you’re spending 30 minutes cleaning one caliper, an overhaul would be faster and more efficient. We polish the pad springs and other small parts when we take them out. Always keep that fresh, like-new feeling. Lubricate the dust seal and clean out the grime. Quite a bit builds up. Next comes lubricating the oil seal and cleaning out the grime—the inner tube and oil seal should last a bit longer. We apply anti-rust oil between the top and bottom, let it dry a bit, then wipe it off. It rusts surprisingly easily, so this simple step helps keep the inner tube going longer. We lift the front and loosen the cap to bring it to atmospheric pressure. Clean the brake disk holes. Pad dust accumulates in there. There’s no dramatic effect, but if there’s any chance of improvement, we do it. After that we degrease and finish with a test ride to bed in the brakes properly. One disk picks up this much dirt. It’s surprising every time. Clean and lubricate the left and right levers. These are the controls you touch every time you ride. We want them smooth so you can enjoy your ride. Replace lock nuts after a certain point. We upgrade ones that aren’t lock nuts to lock nuts. Safety first, and some units get stiff when tightened, so having lock nuts gives us adjustment room. Apply anti-rust oil to the main key and brush it. It’s more of a good-luck ritual.
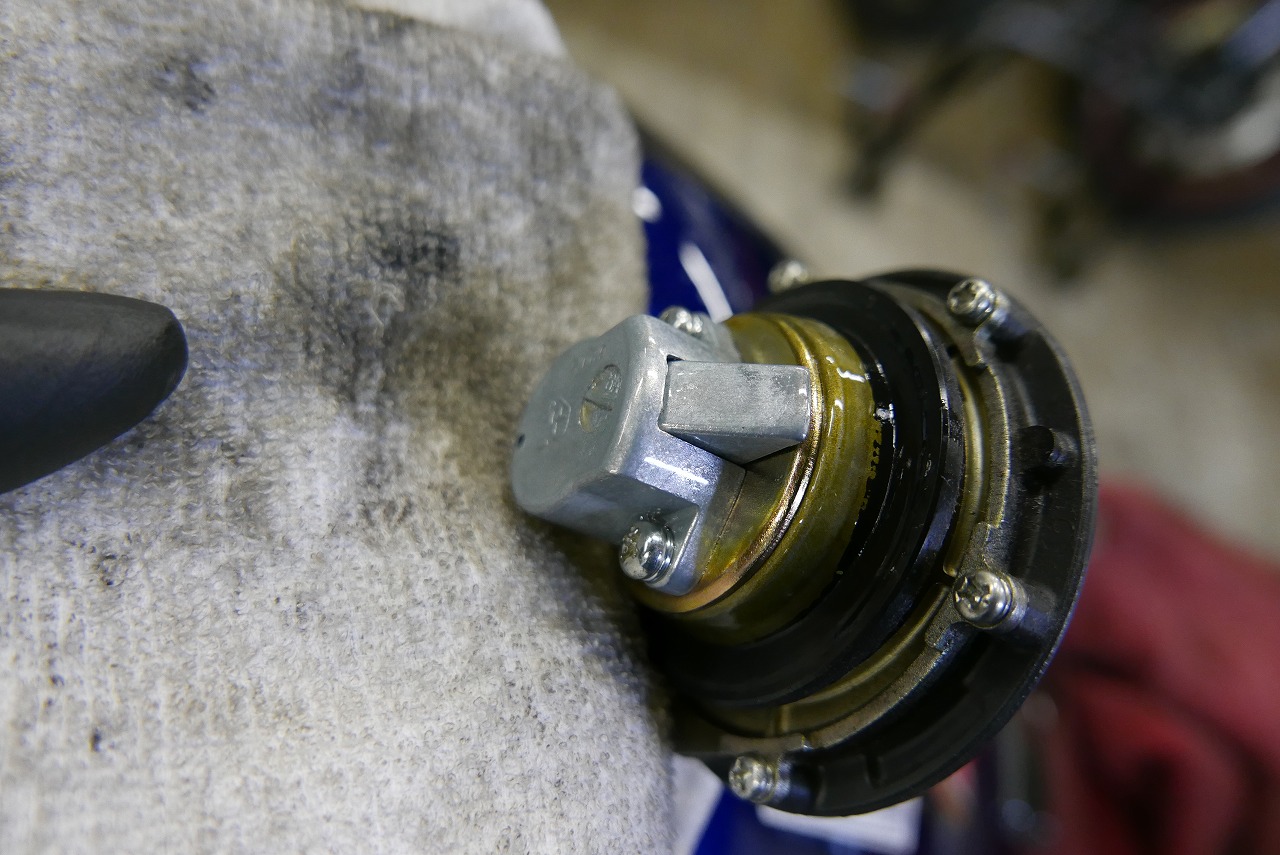
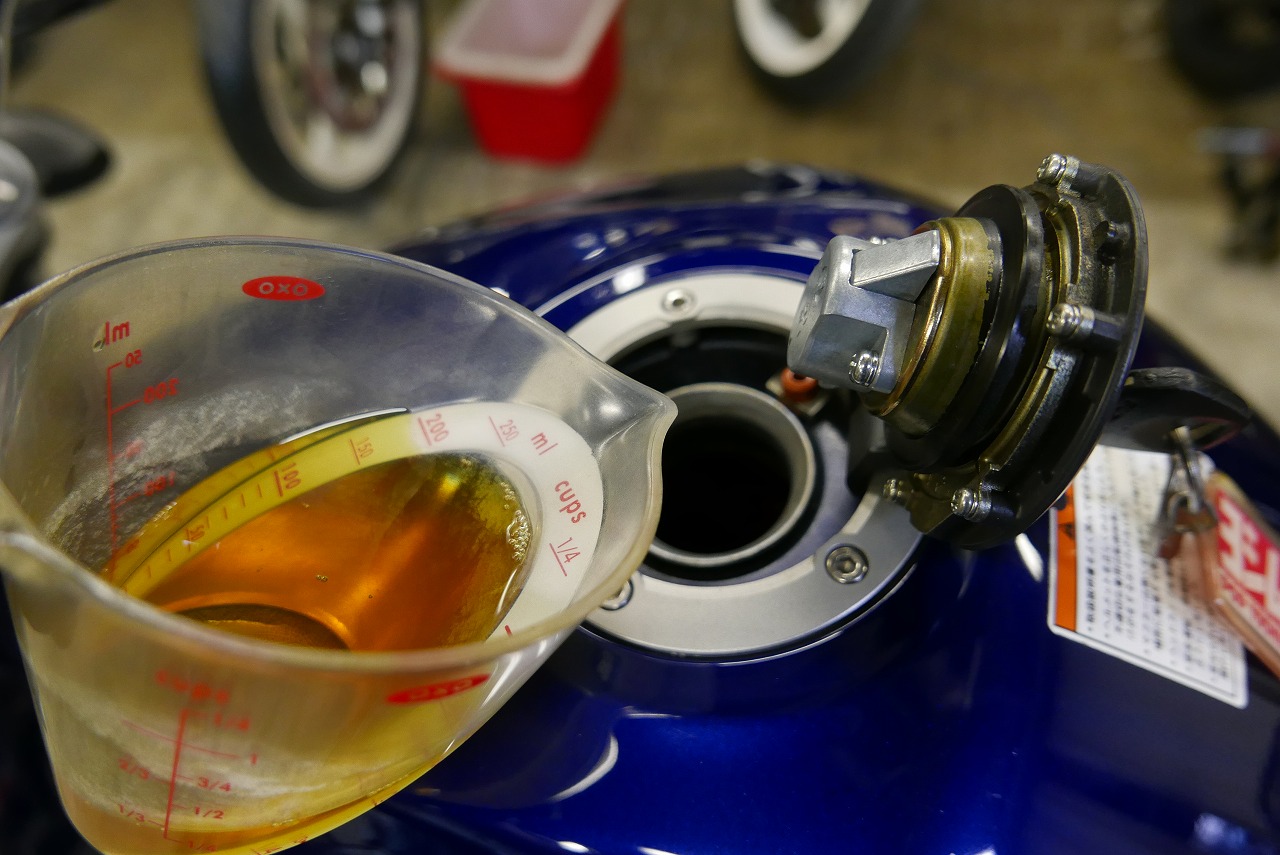
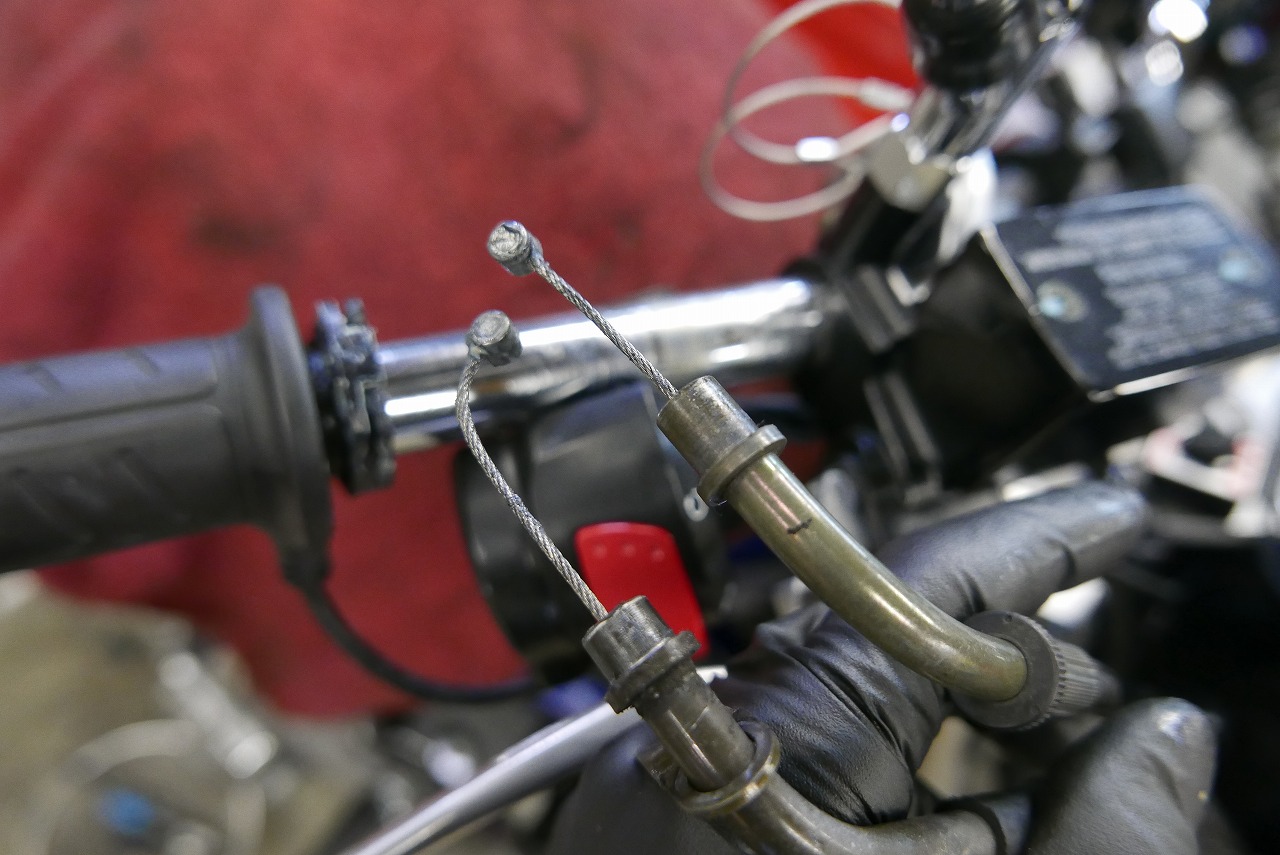
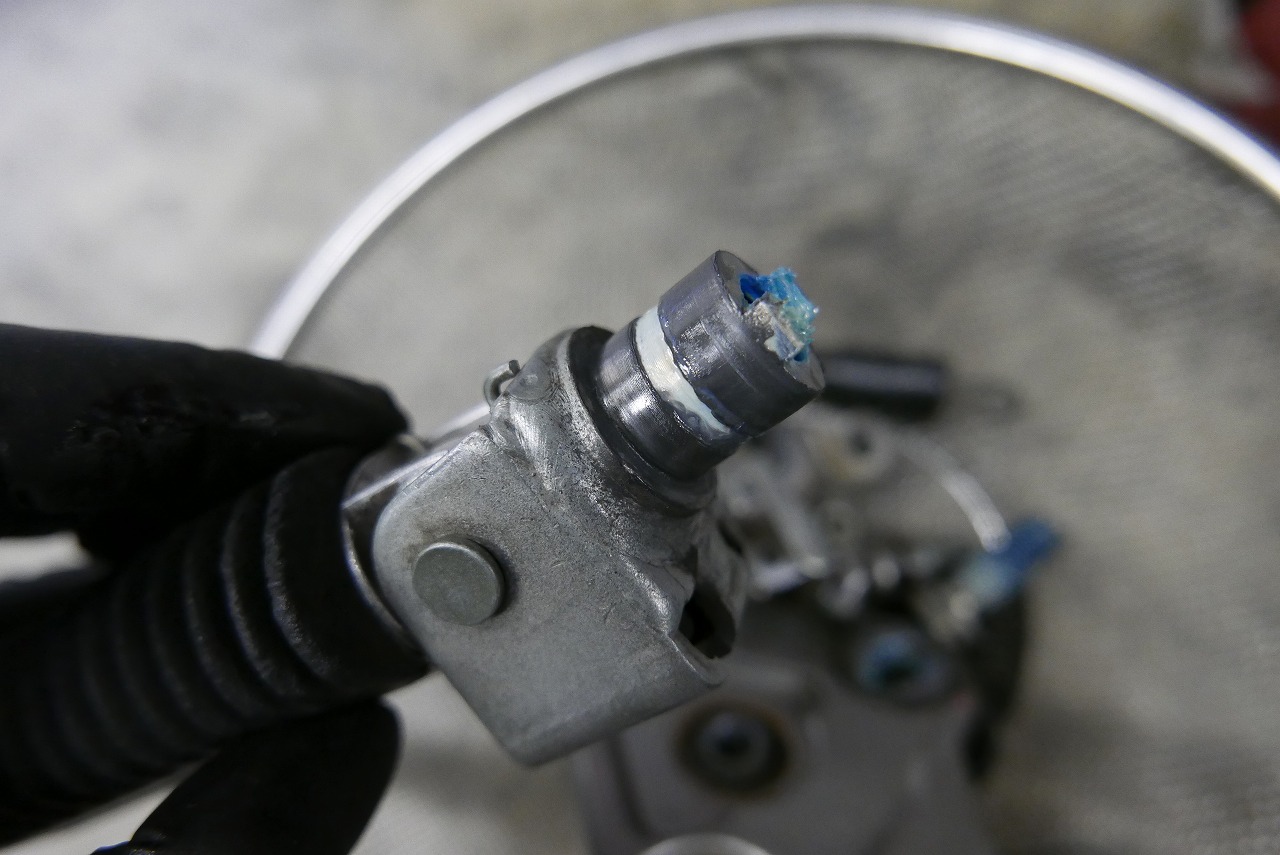
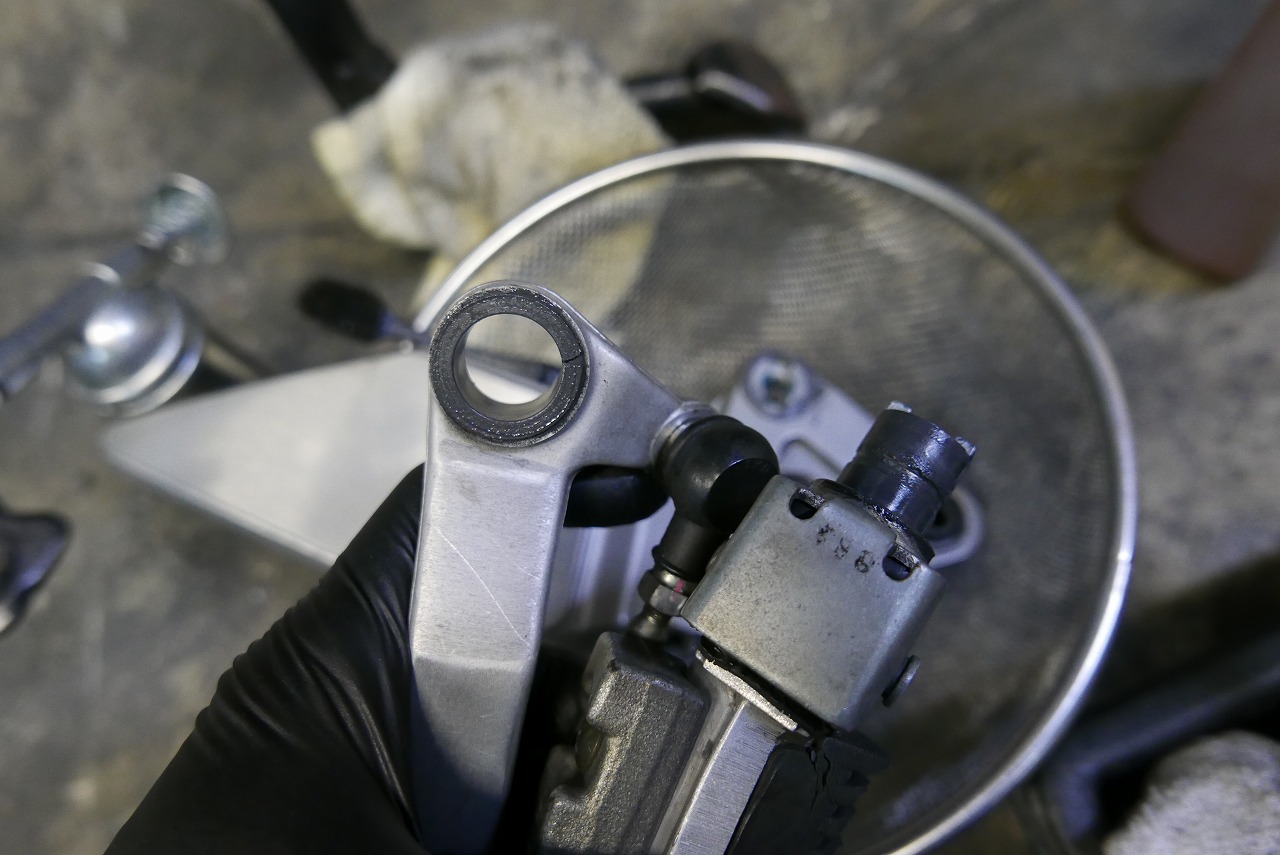
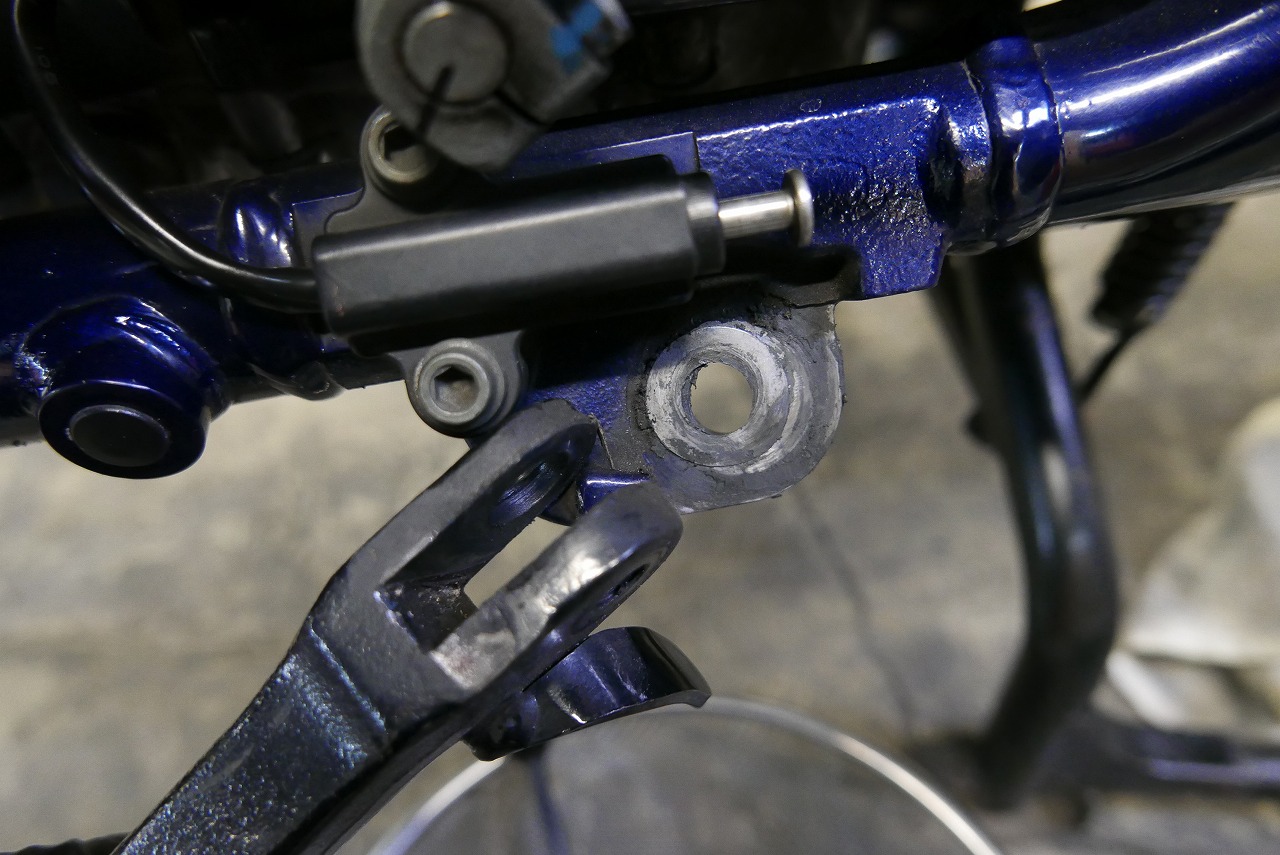
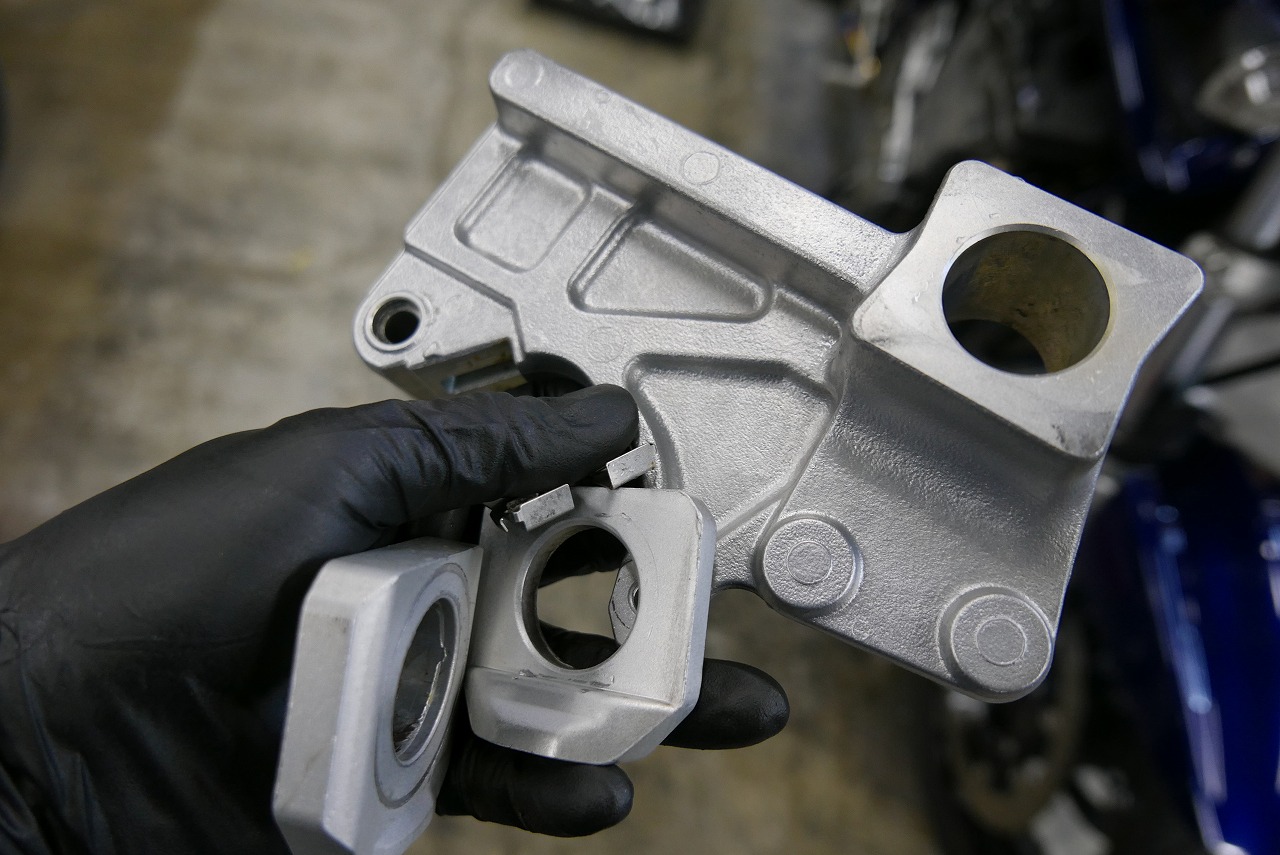
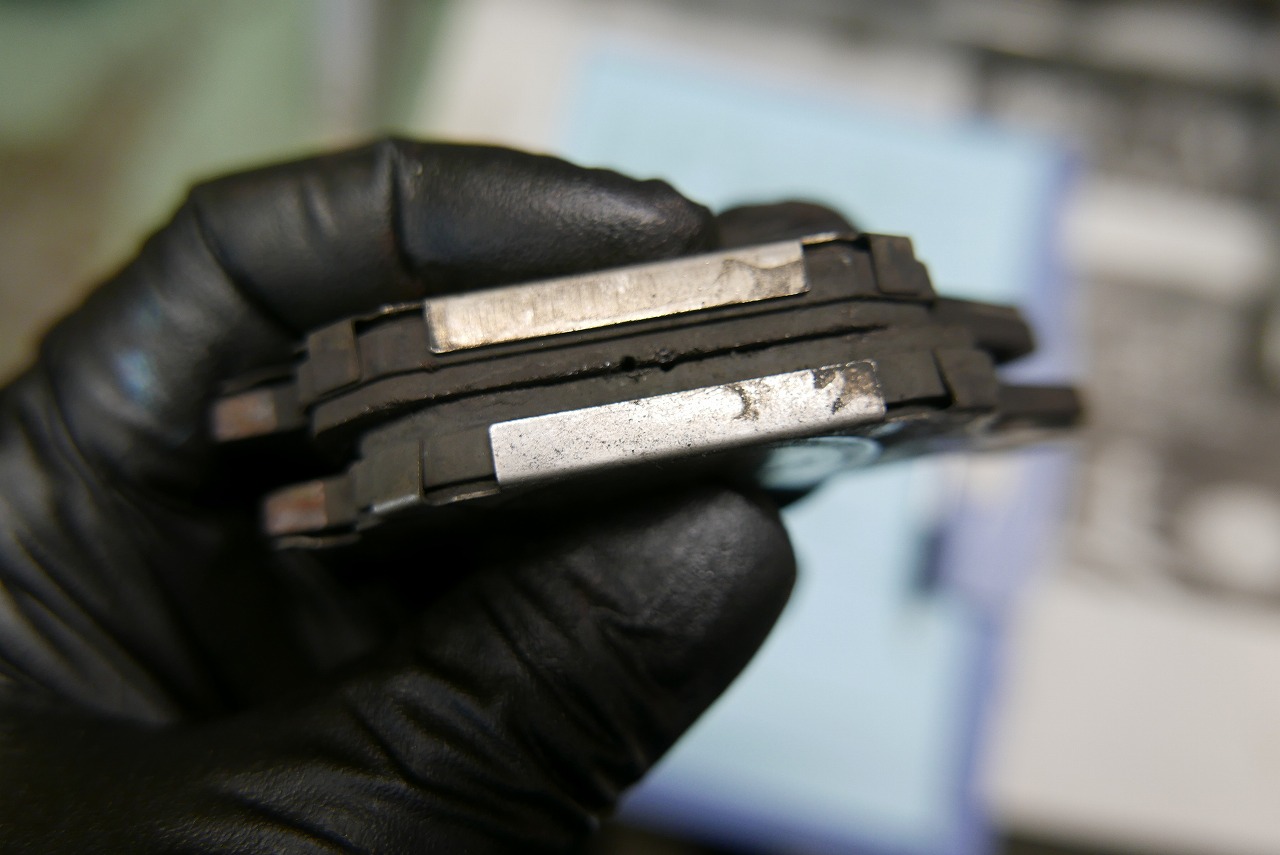
The fuel cap condenses surprisingly easily from the coolness of the gasoline and the heat of the engine. Spray some anti-rust oil on it and give it a cleaning now and then—it’s a good idea. We add Fuel One in hopes of providing some rust protection inside the fuel tank and keeping the gasoline from going bad. It supposedly cleans carbon, but honestly, whether it does or not… Lubricate the throttle cable. You don’t see them fraying and about to break much anymore. Keeping them lubricated and smooth might help them last longer. Lubricate the left and right pedals. The stock pedals are designed to need lubrication, so if you take them off and lubricate them periodically, they’ll stay smooth. Same with the side stand. Lubrication is key! Smooth movement means smooth mounting and dismounting. The stand and frame wear less, so you don’t end up with play. Check the rear axle. There’s some light rust, so we polished it. No problems. Uncoated aluminum parts. We can polish them, which is helpful. Interestingly, once you polish them once, they seem to resist corrosion better. It’s a win-win. We clean the rear caliper. The rear caliper piston wasn’t great either. Combined with the front, it might be worth doing an overhaul when the time comes. Polish the small parts and clean them before reassembling. The wheel and tire runout are fine. We note the tire manufacturing date and brand. The wheel bearings are currently fine. They’re a part you might replace after 20,000 to 30,000 kilometers. We replaced the rear pads. Pads and disks don’t wear evenly, so replacing them at the right time is better. *Judging “the right time” is tricky, but… For example: if the disk is pretty worn but the pads have plenty left, replace the pads when the disk needs replacing. If you’re doing thorough maintenance now and won’t be back for a year or two, replace them. Or maybe you’ll ride another 1,000 kilometers and come back for more. Everyone’s different. The best approach is to judge based on your riding habits.
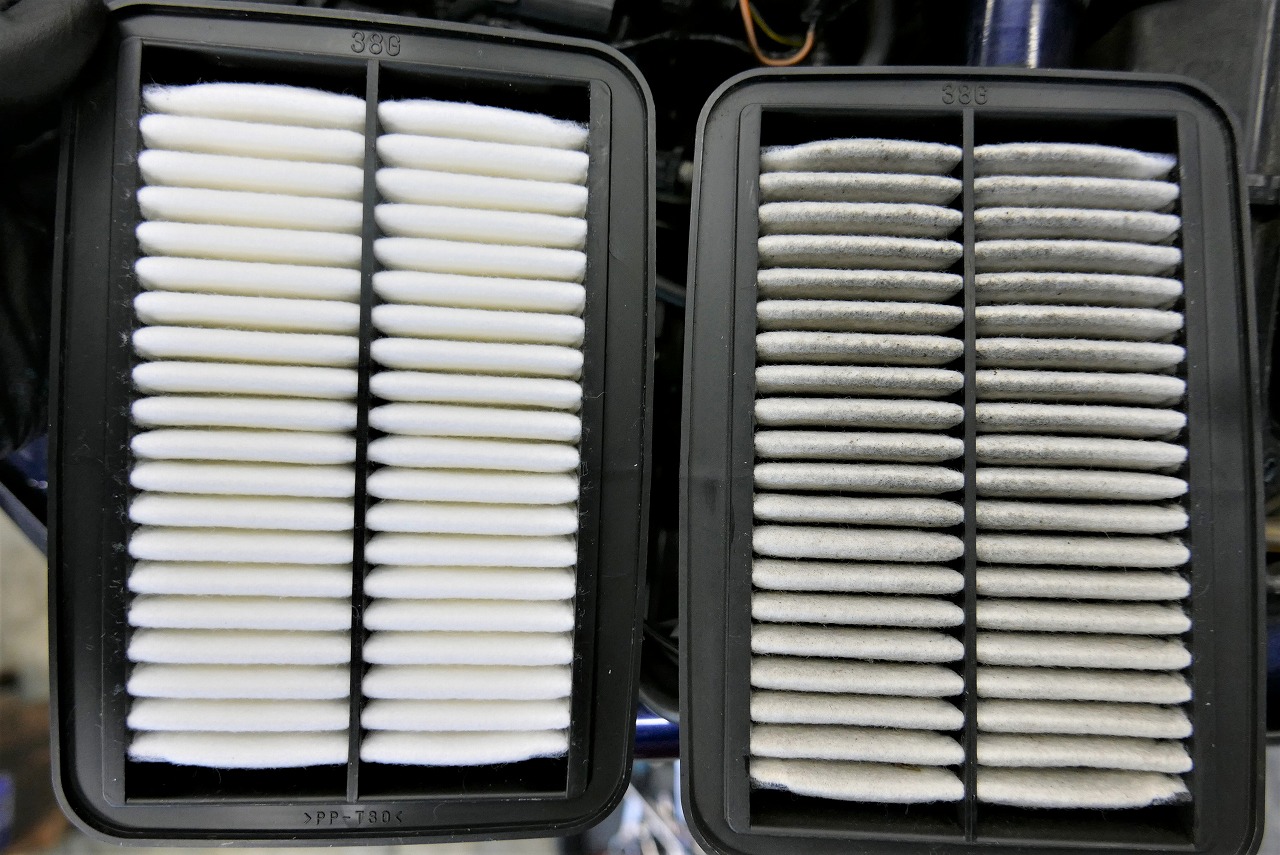
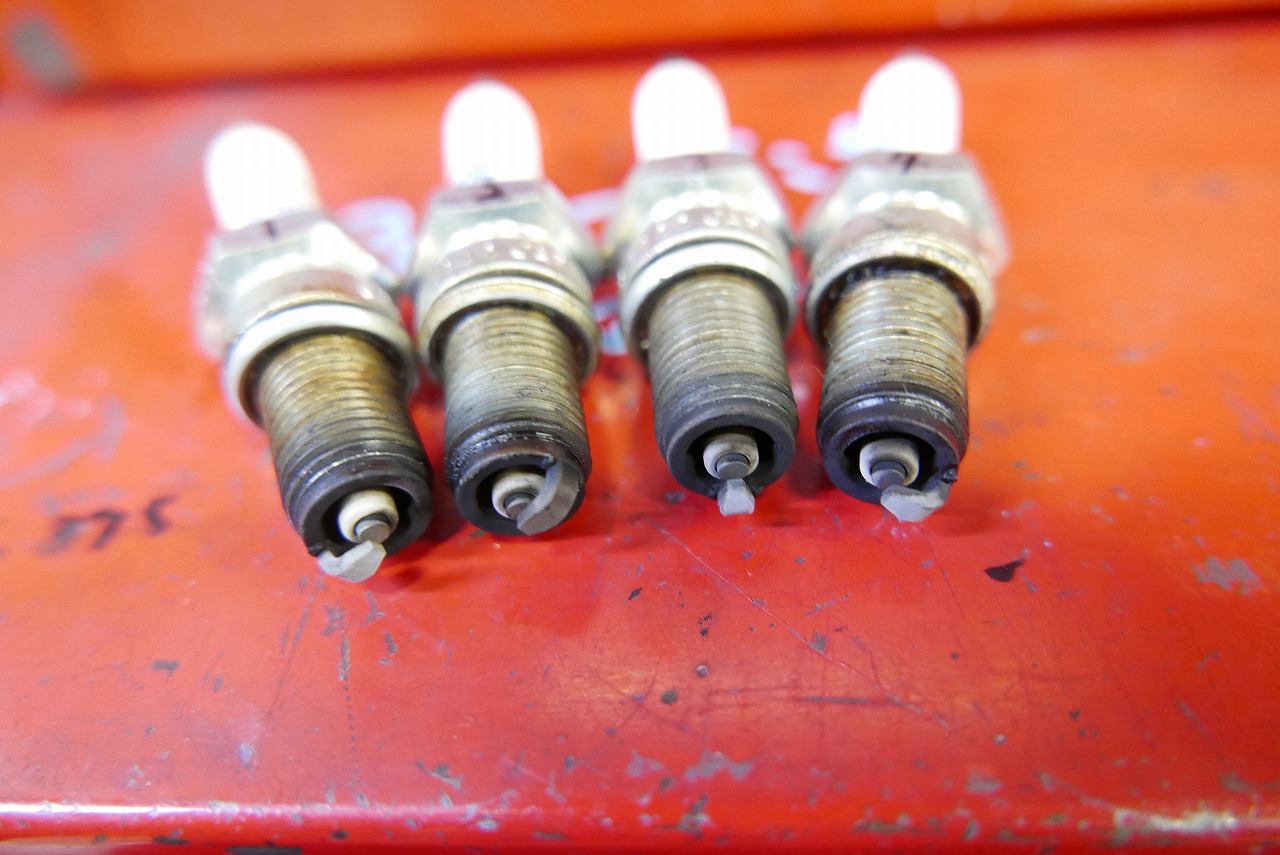
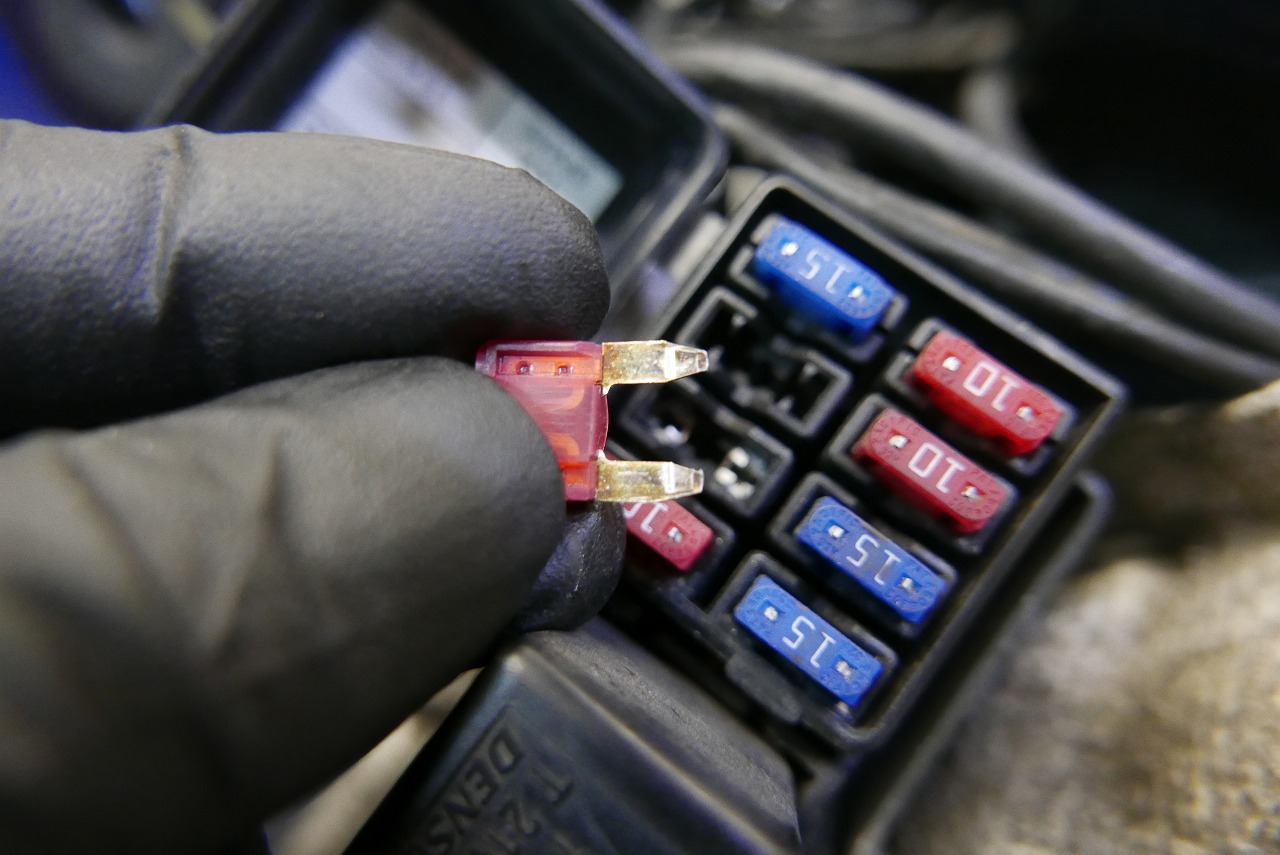
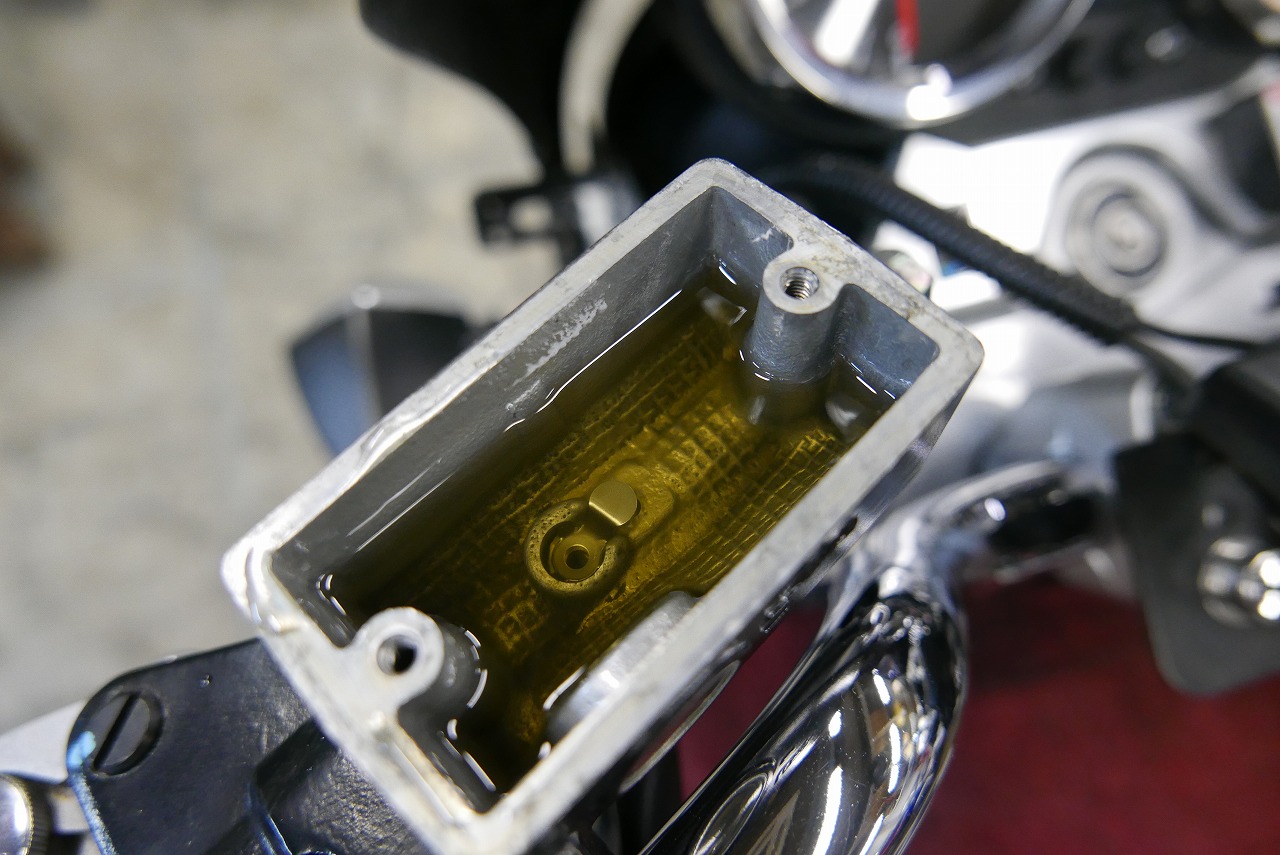
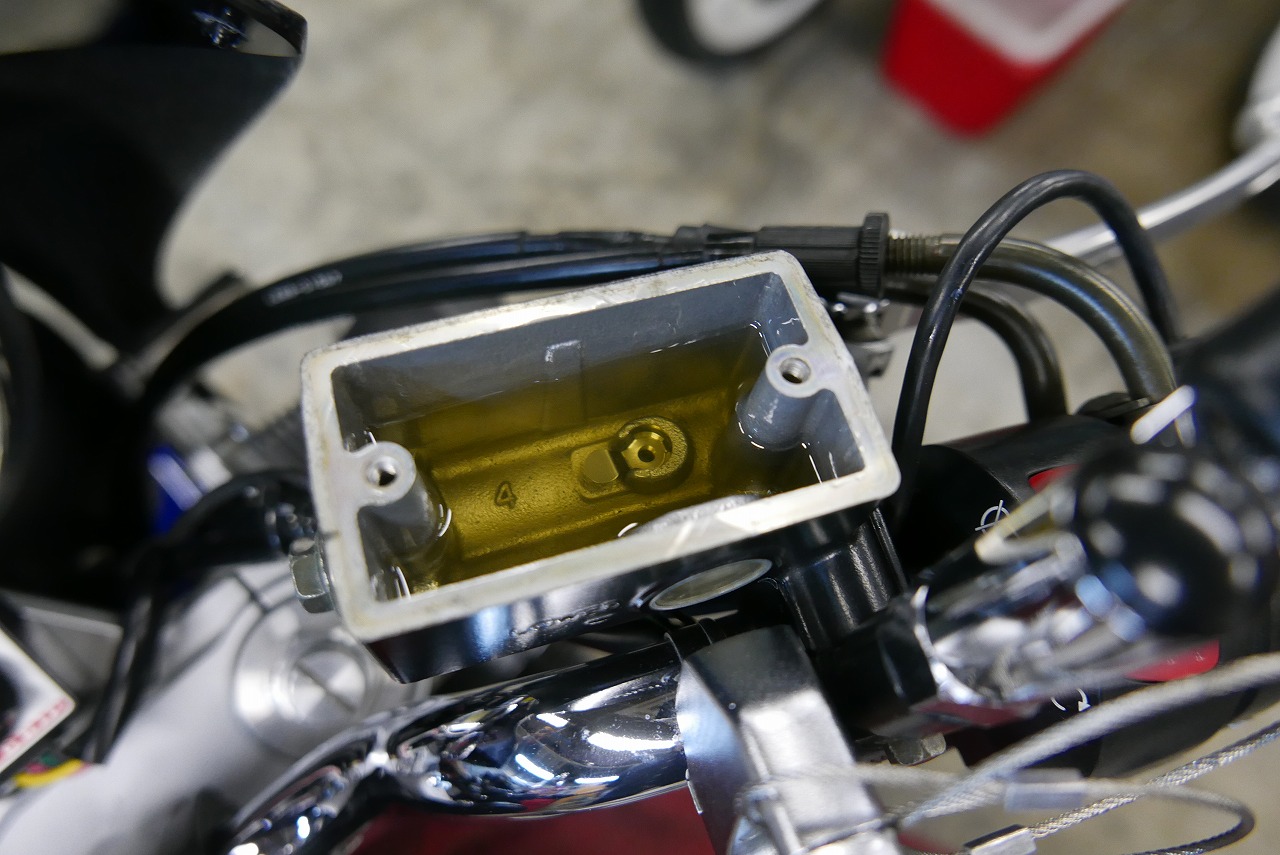
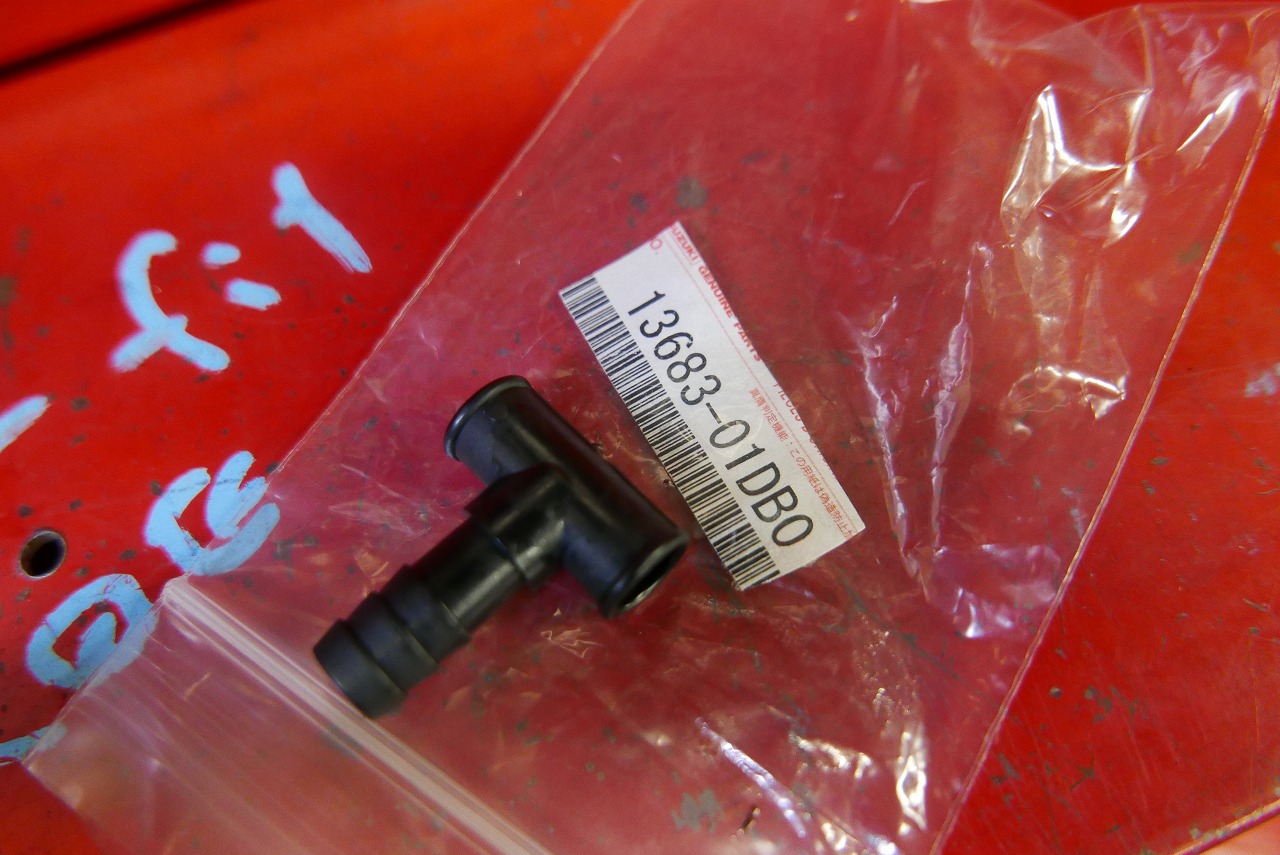
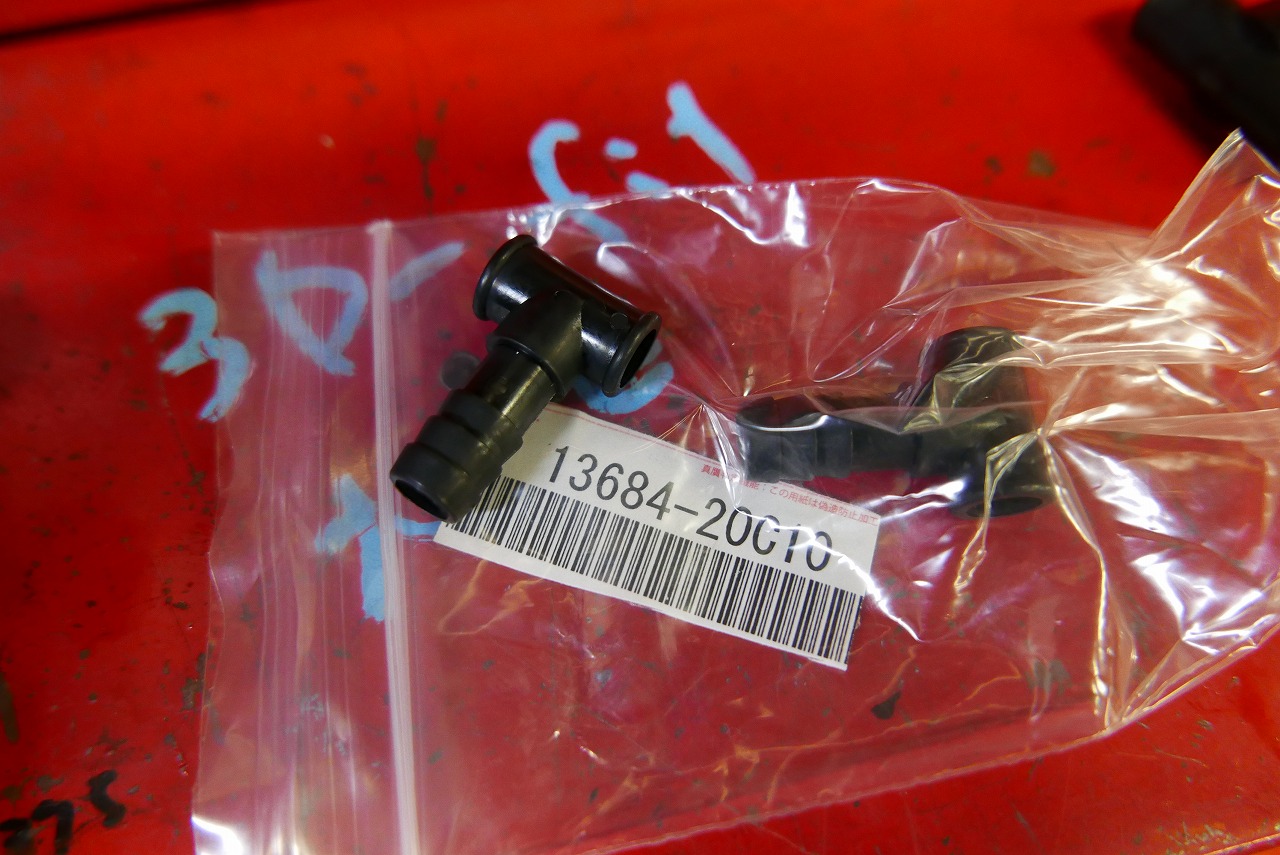
Clean the rear disk holes and surface just like the front. Finish with degreasing and a test ride to bed in the brakes. Air filter replacement. This is a part you replace based on mileage and age. It might look clean at first glance, but it’s probably clogged. Think of it like a face mask. We also replaced the spark plug with a JR8B. We also check the fuses during inspection. Fuses blowing is pretty rare these days, so honestly, you wonder where they even are. Micro fuses are a bit tough to remove by hand. We polish any that can be reused and put them back. It’s good to check how many spare fuses you have too. We replaced the brake fluid with CCI Golden Cruiser DOT4. The air vent three-way connector is degraded and falling apart. There’s no replacement part for this. Mikuni makes all kinds—long, short, thick, thin… The long, thin one 13683-01DB0 works. That completes the work for today.