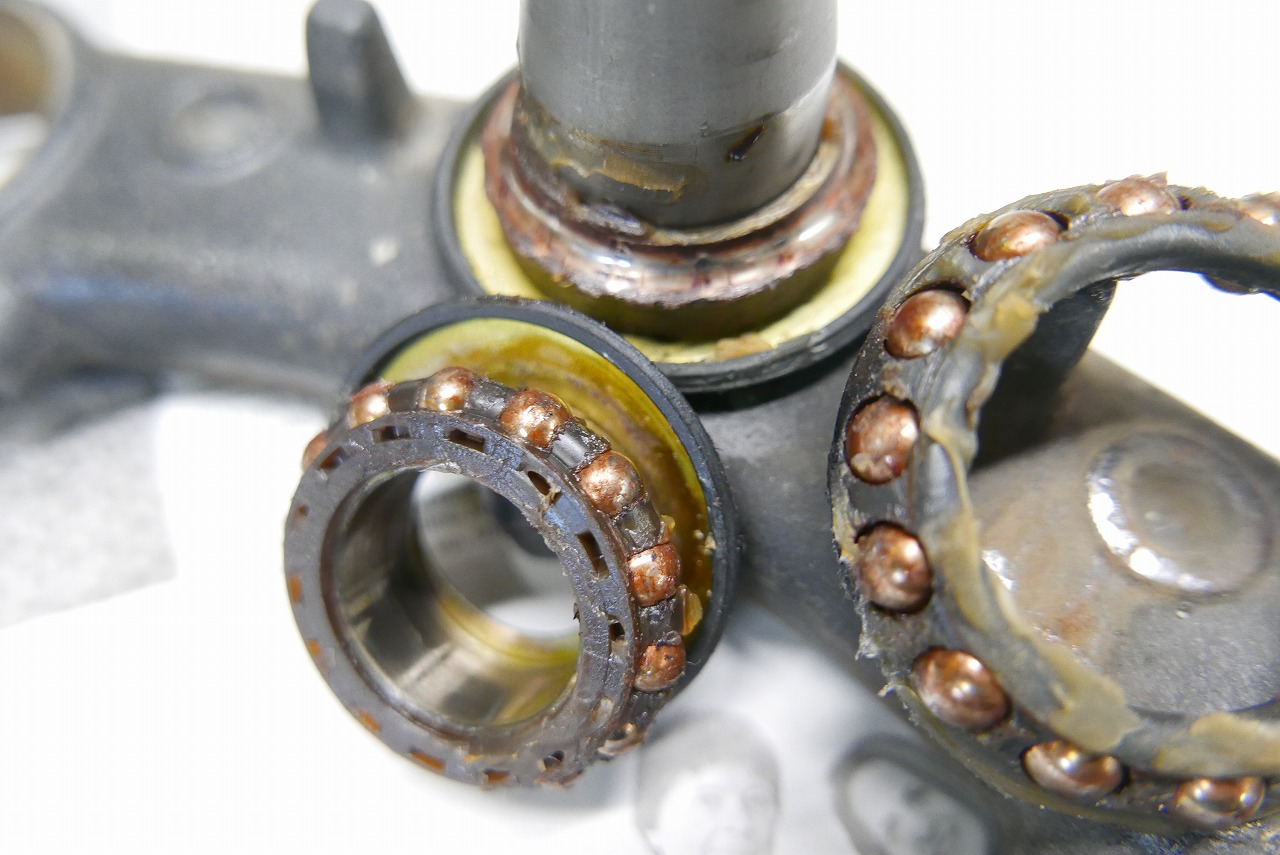
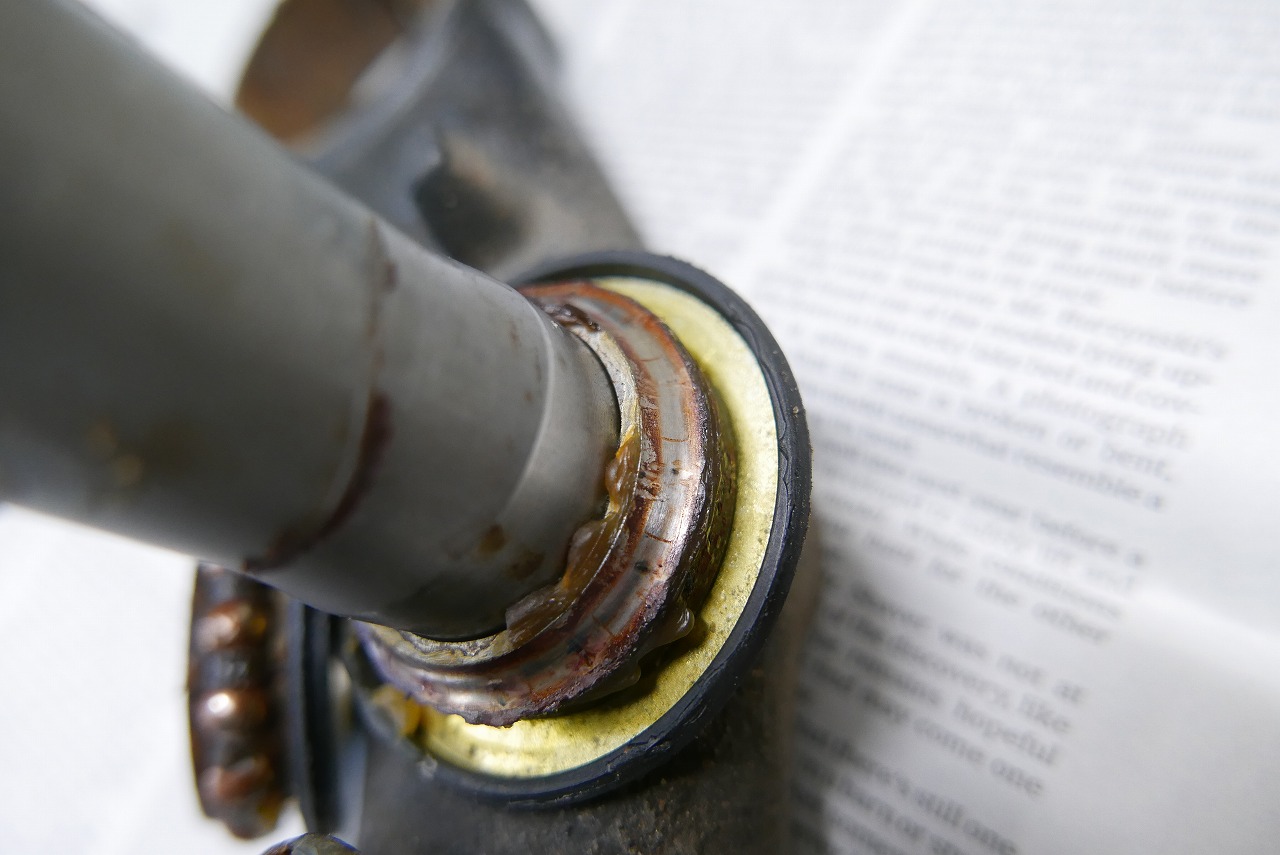
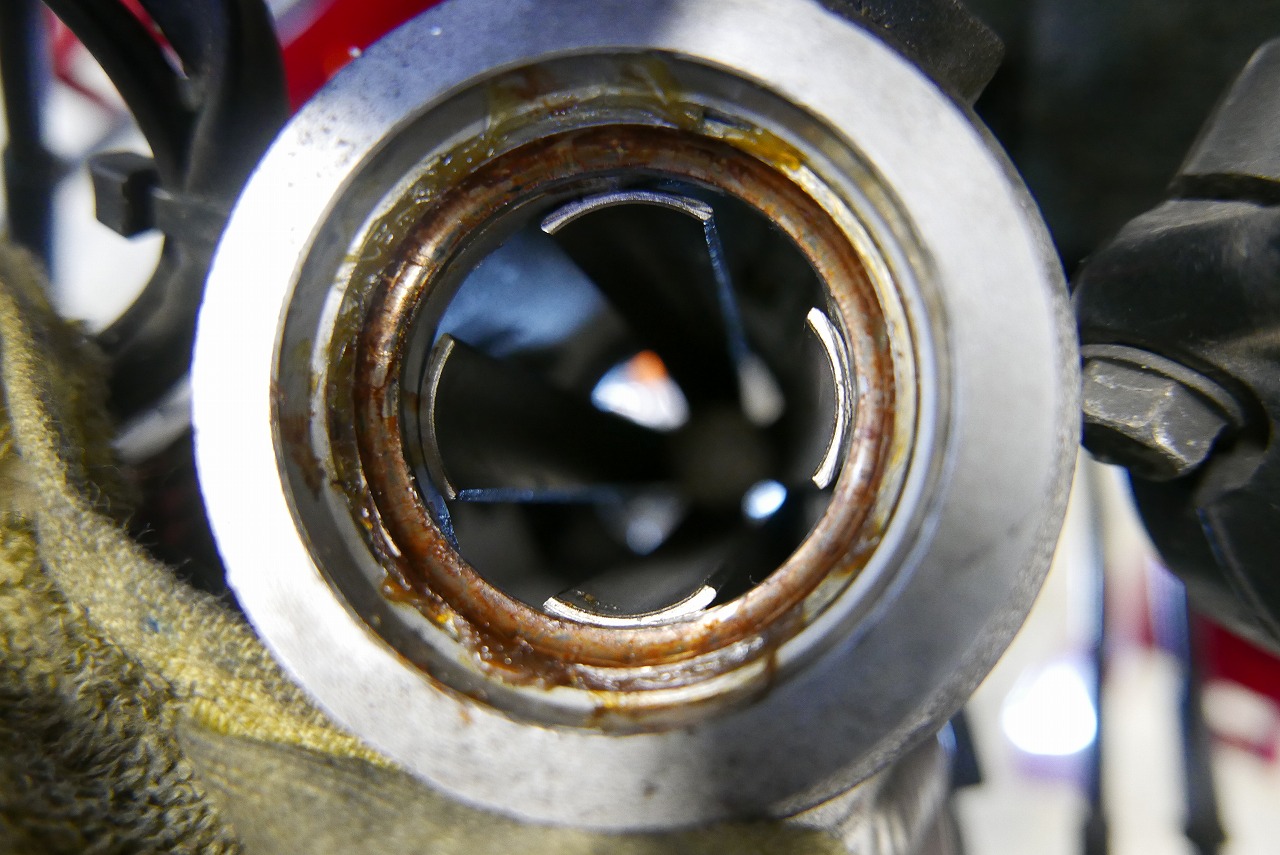
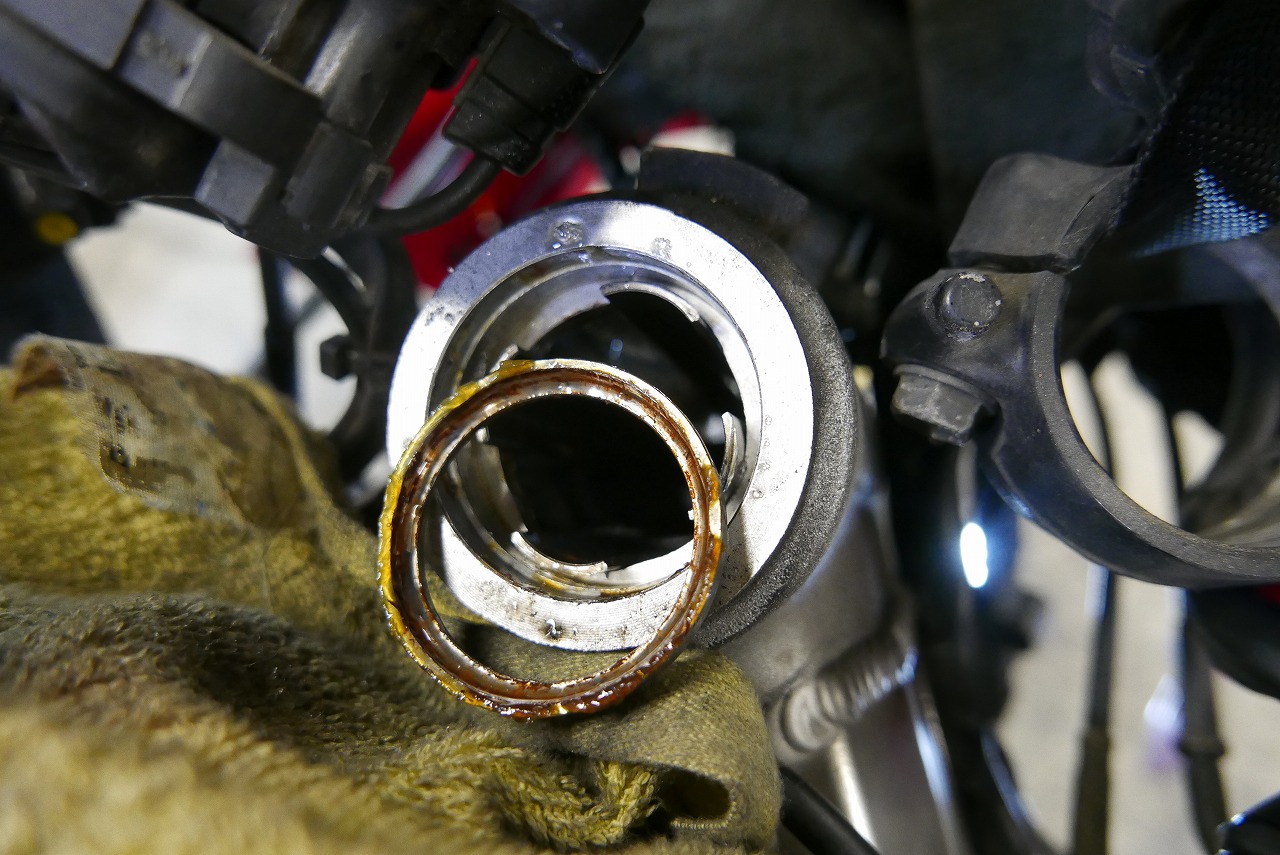
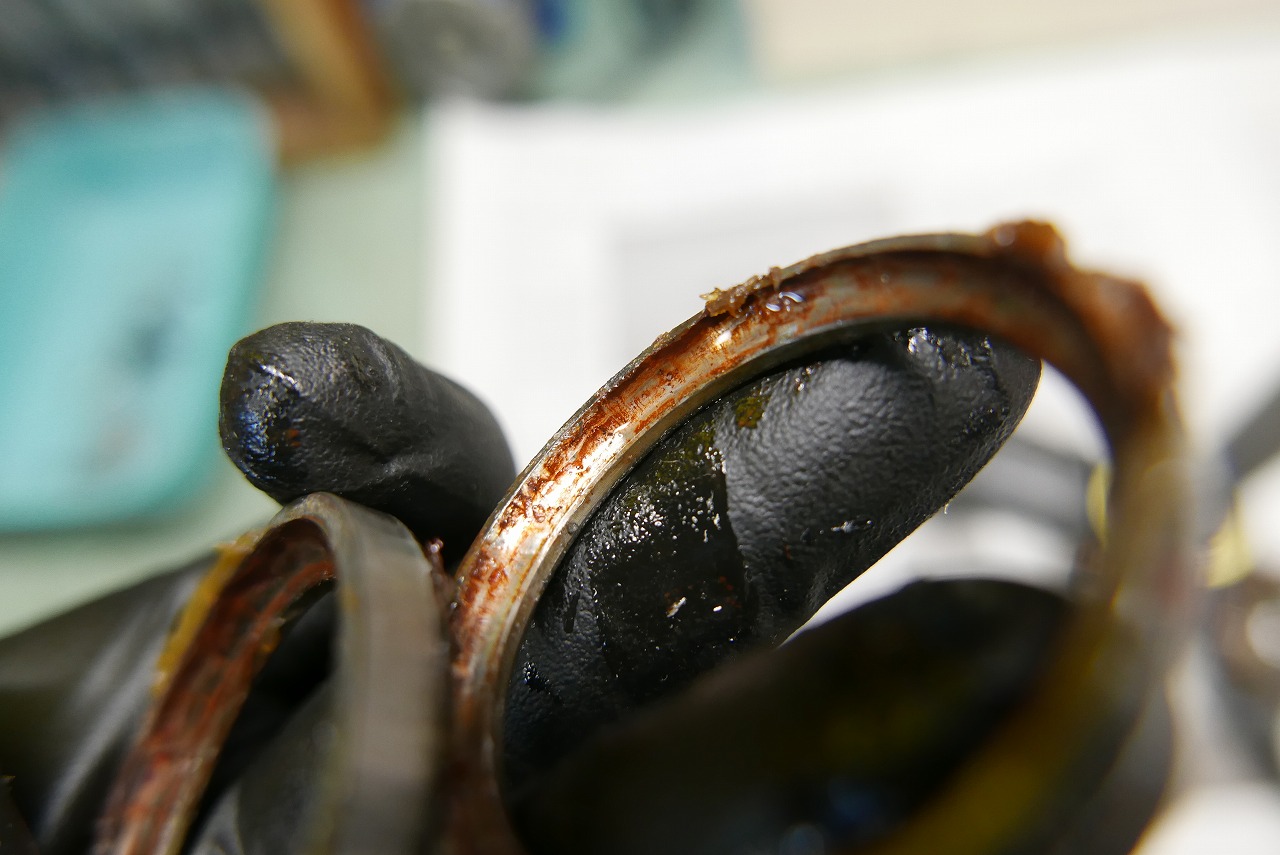
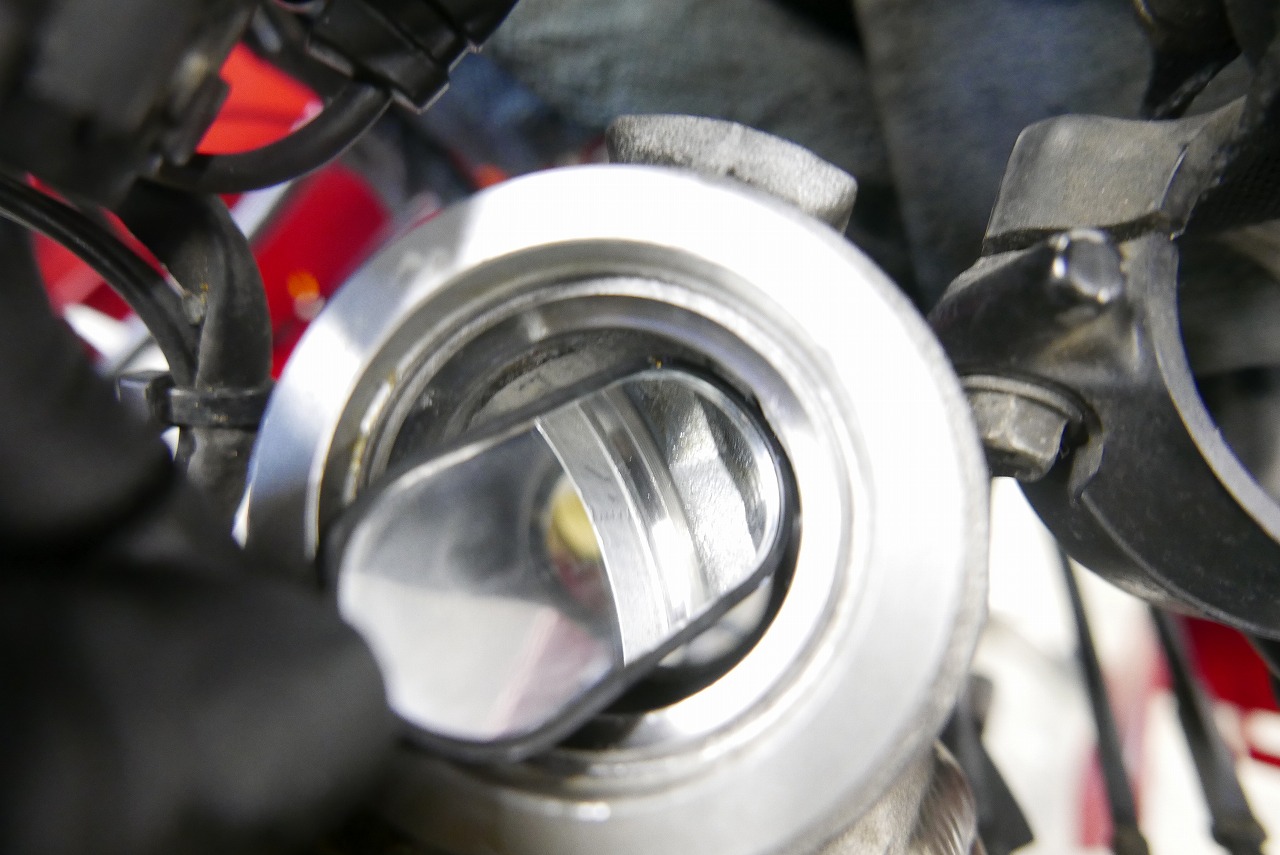
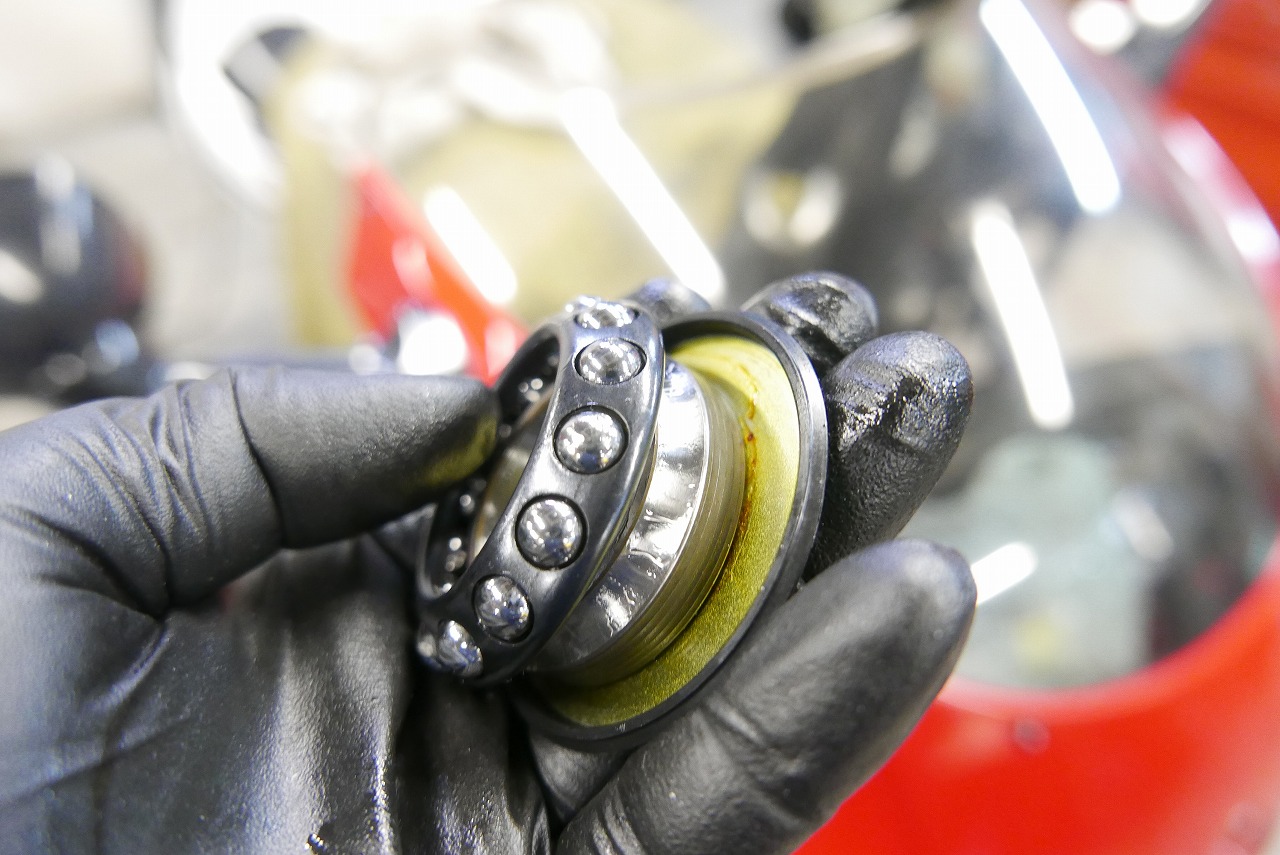
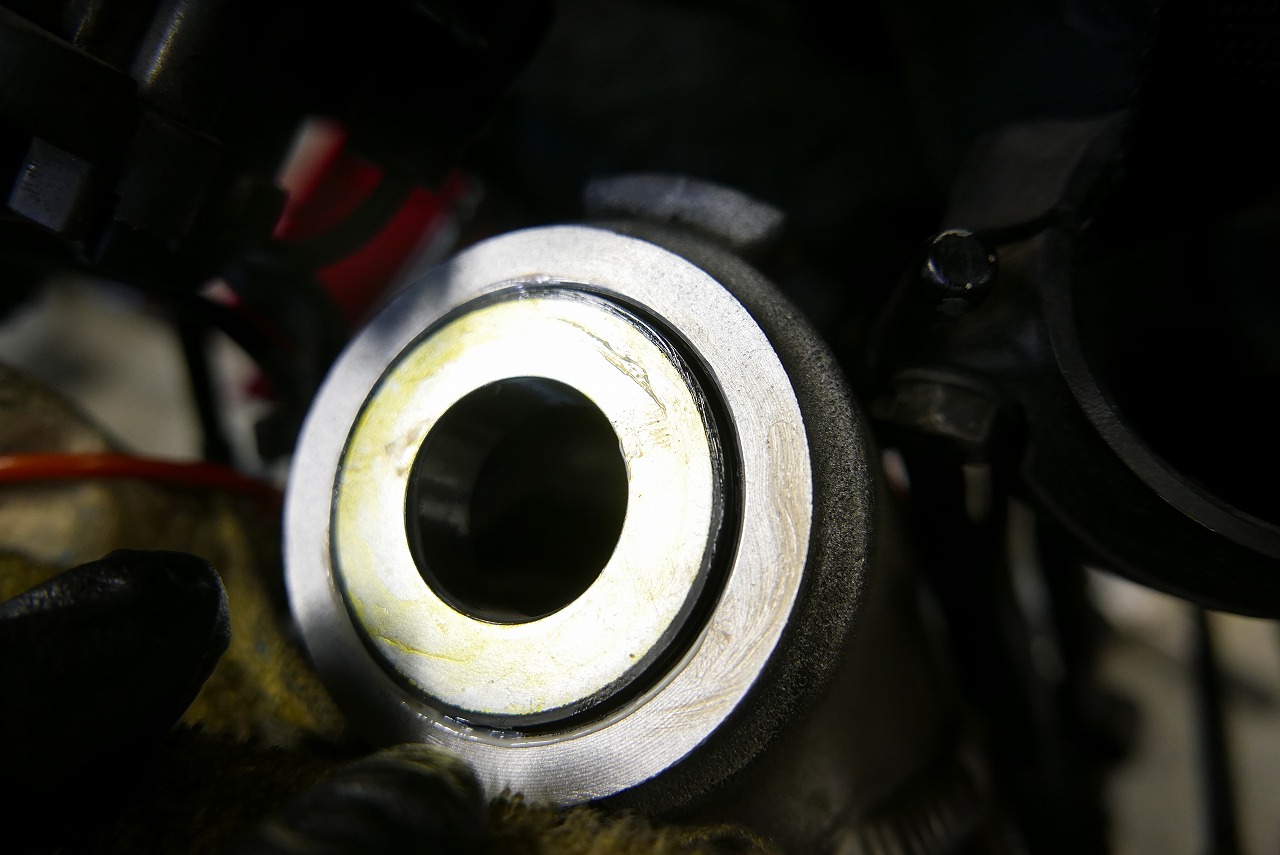
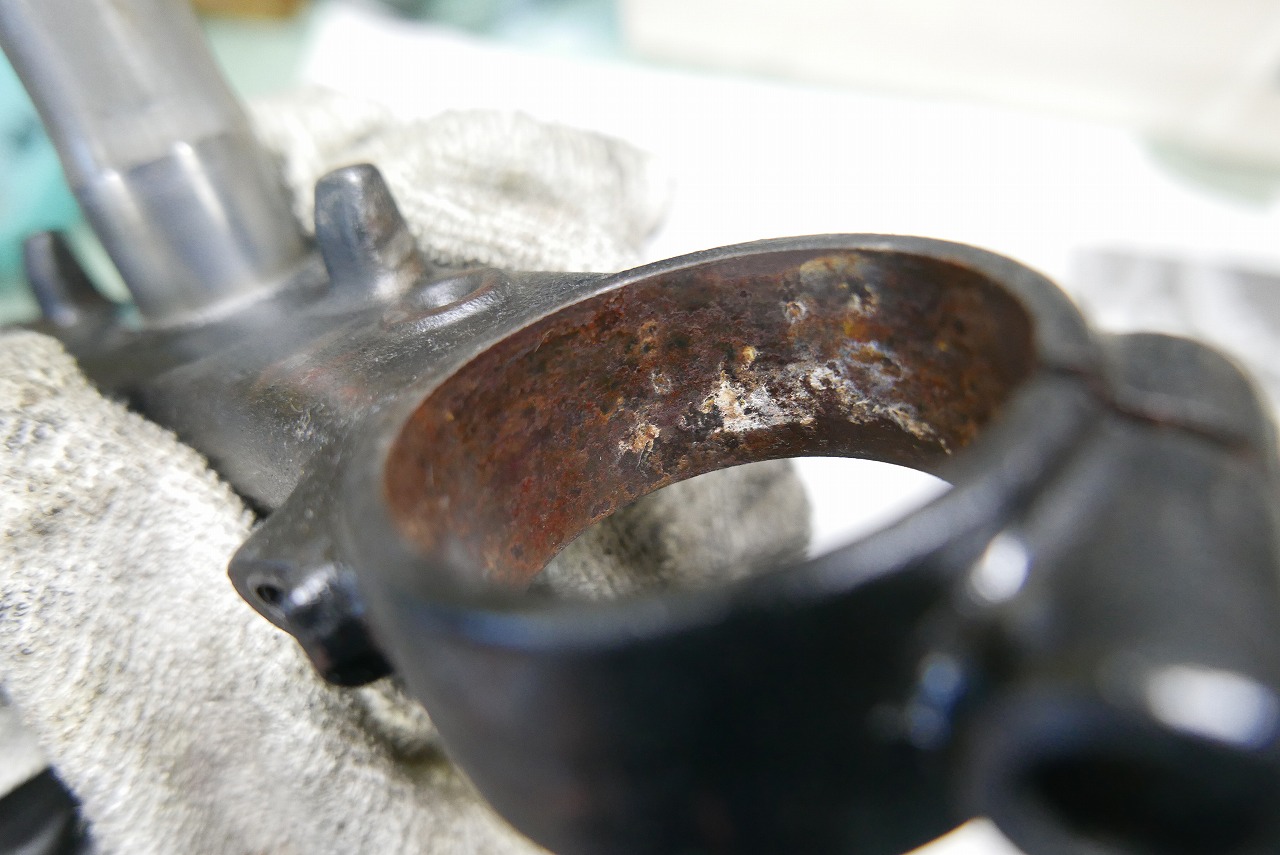
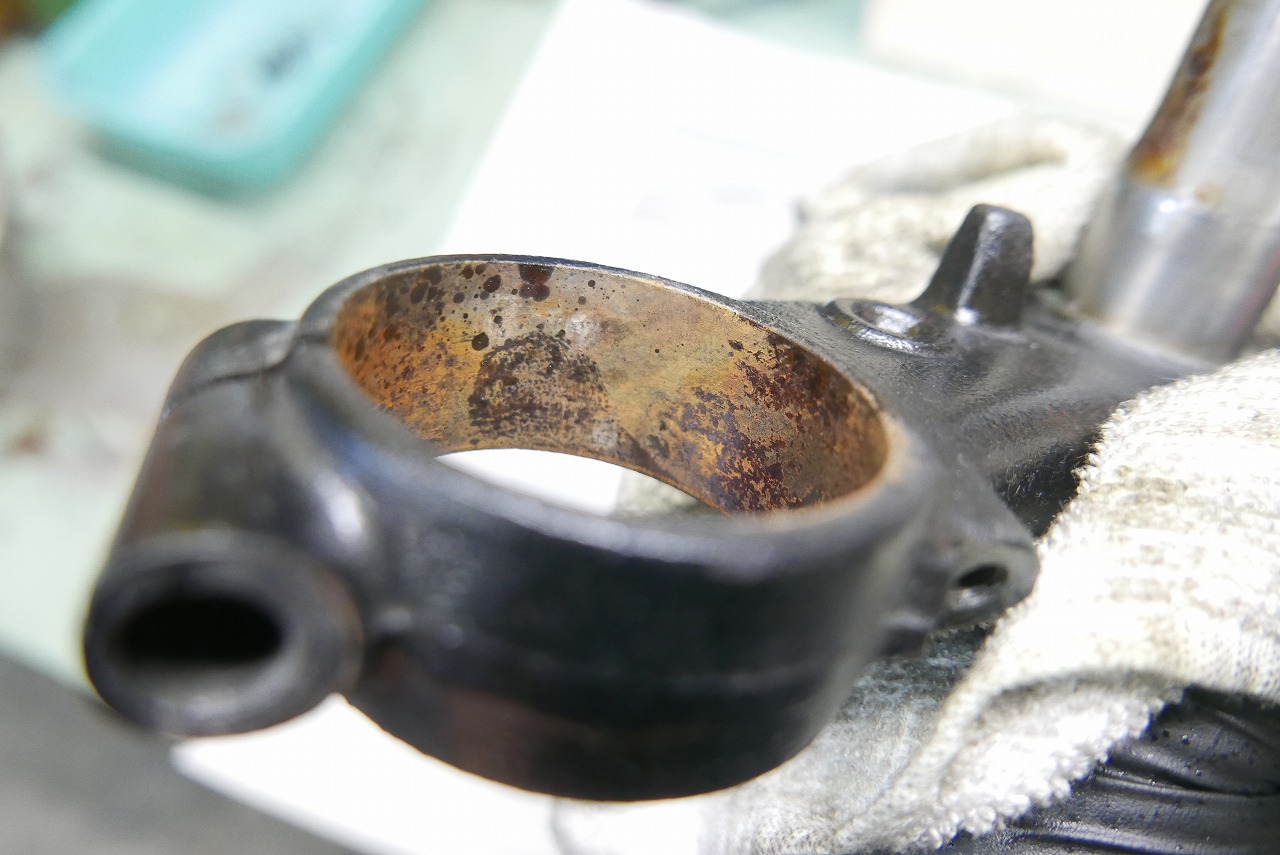
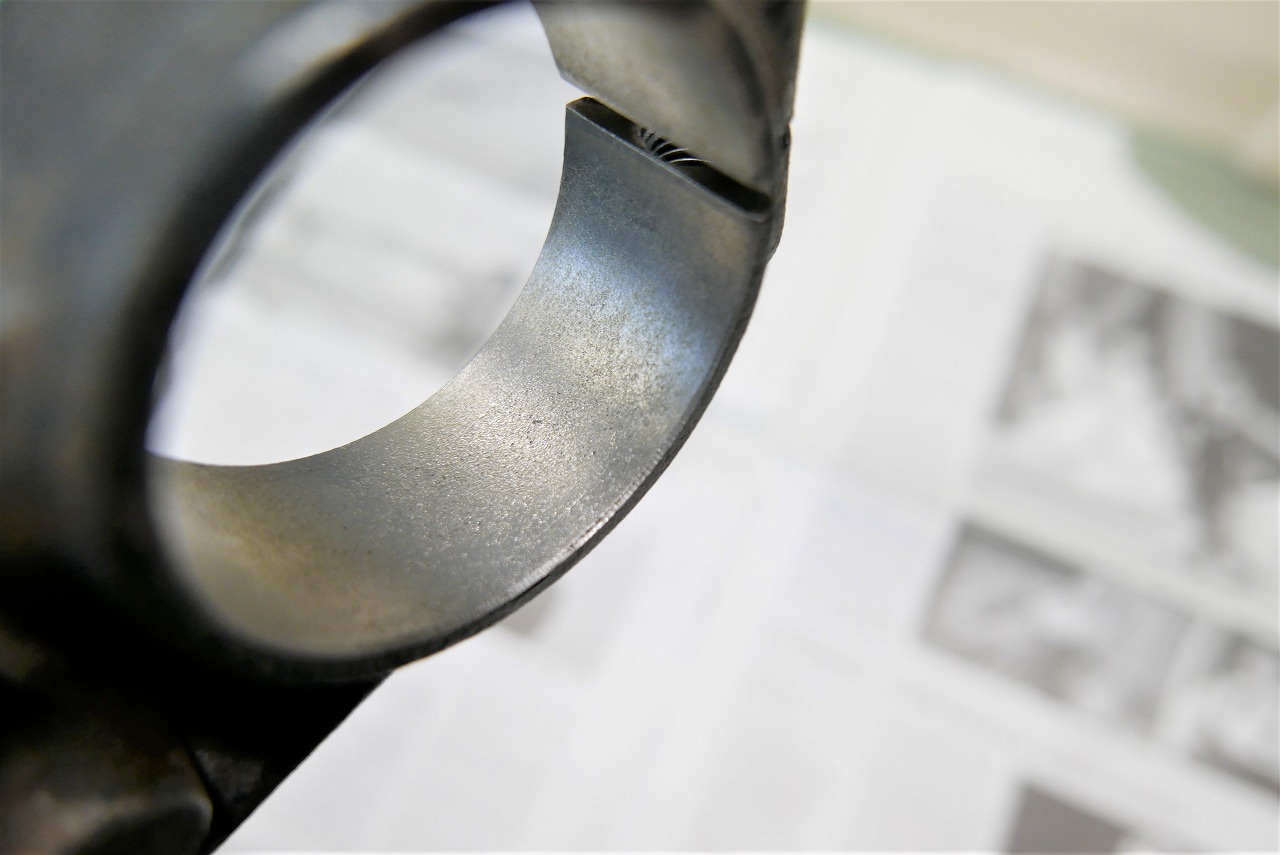
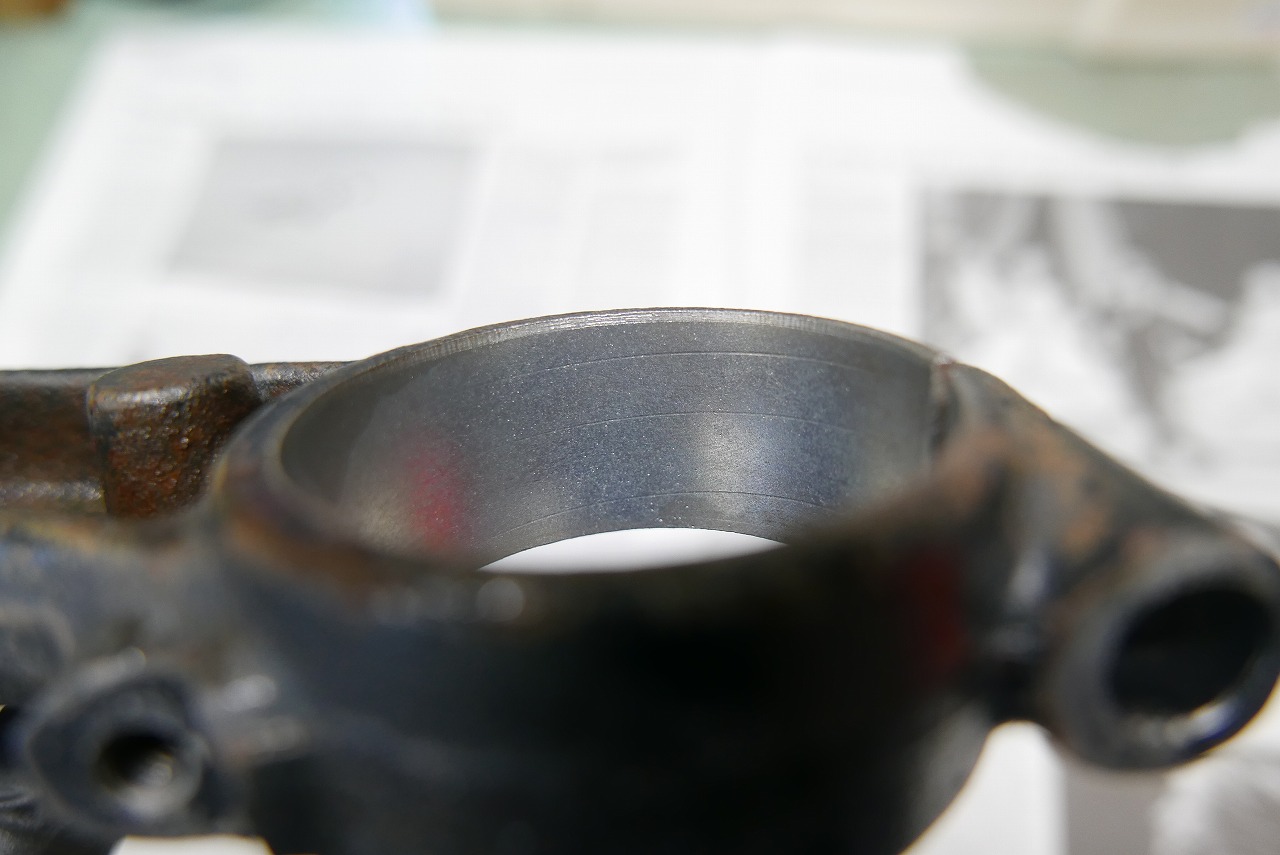
The handling was clunky and knocking. I was amazed at how much people can get used to things. When I test-rode it after doing a carburettor overhaul, I thought “this is scary.” So we decided to do this work. It was completely rusted.
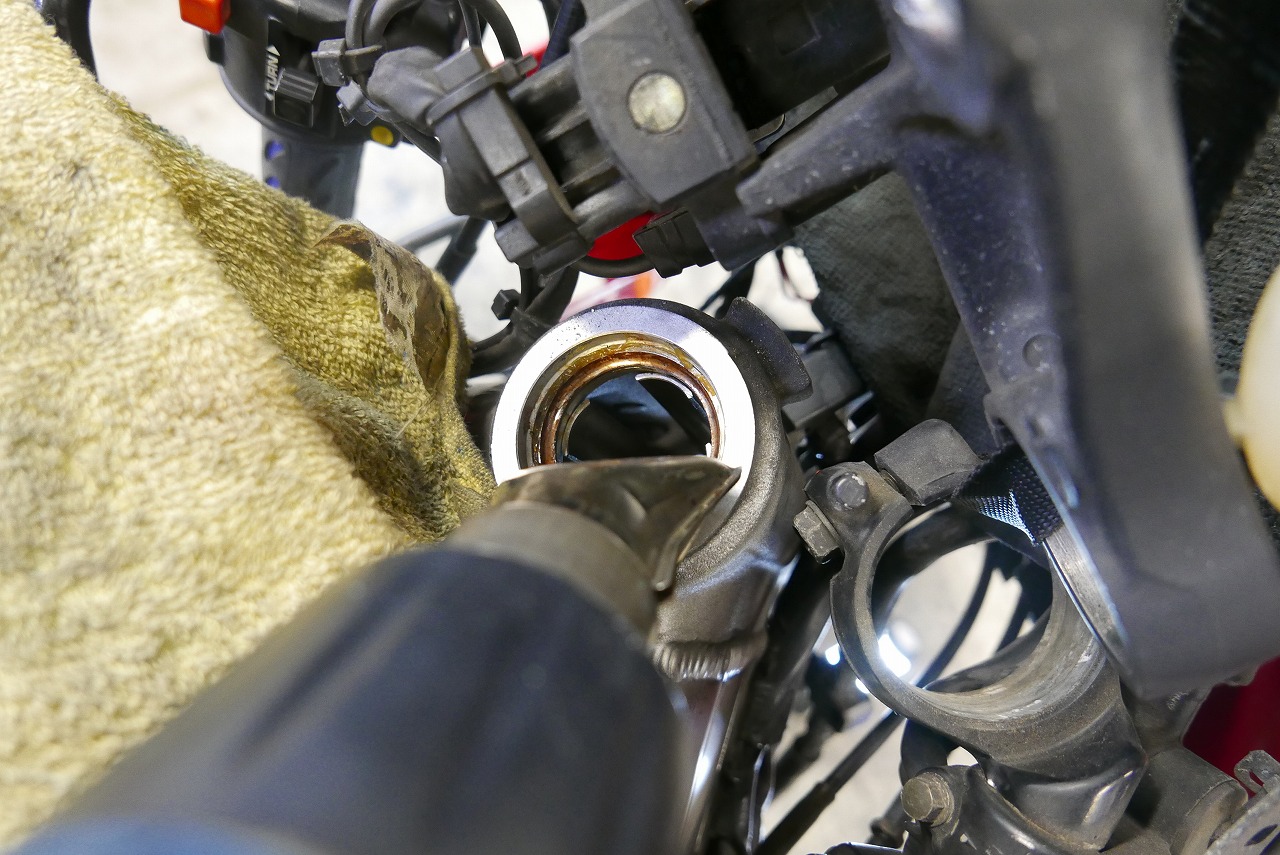
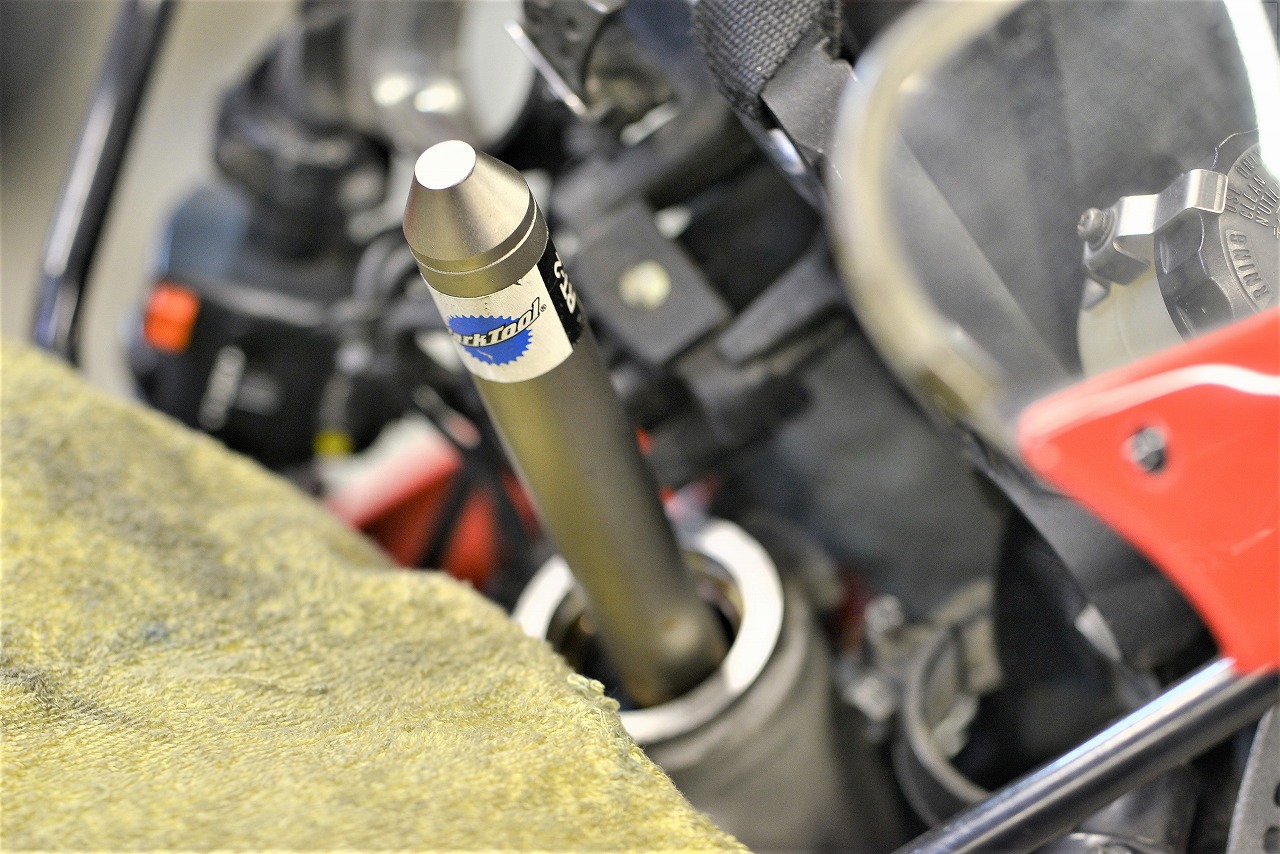
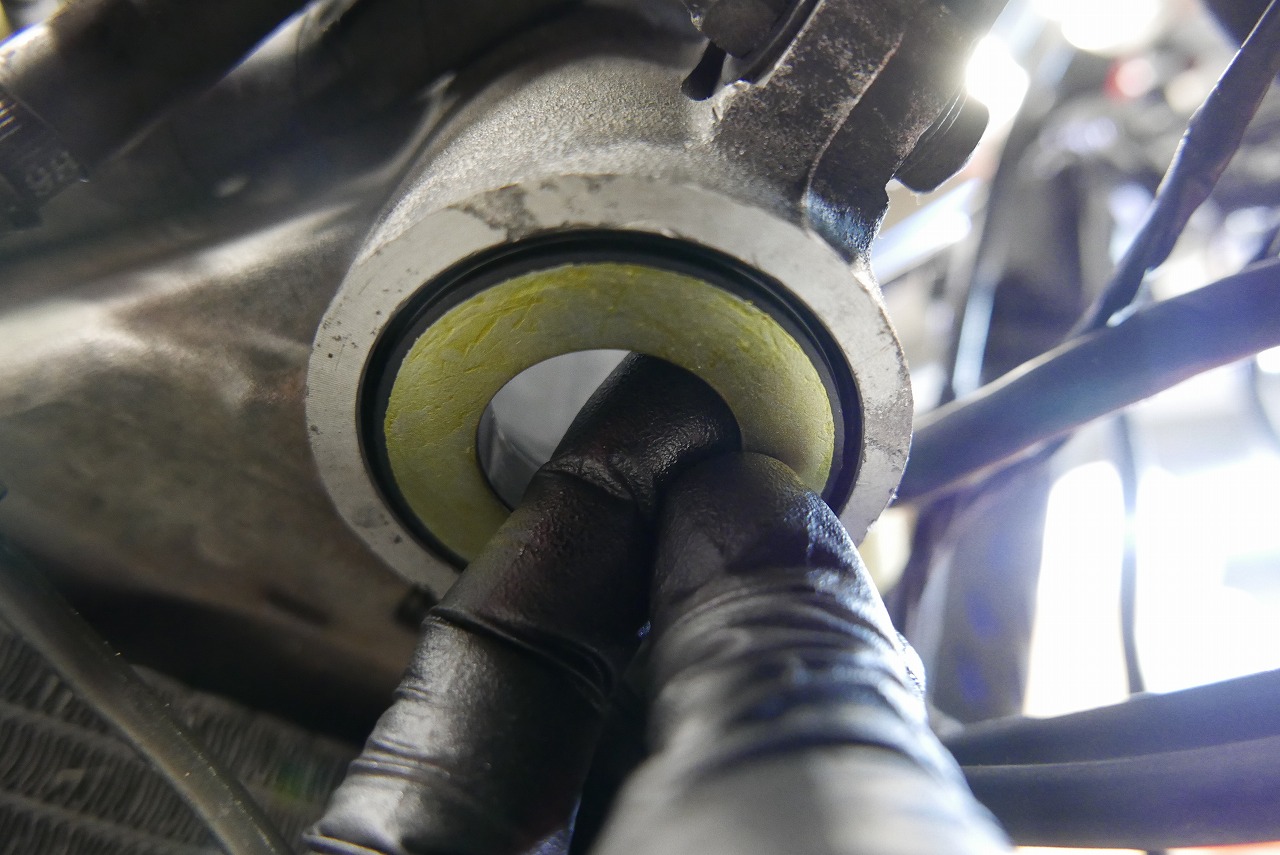
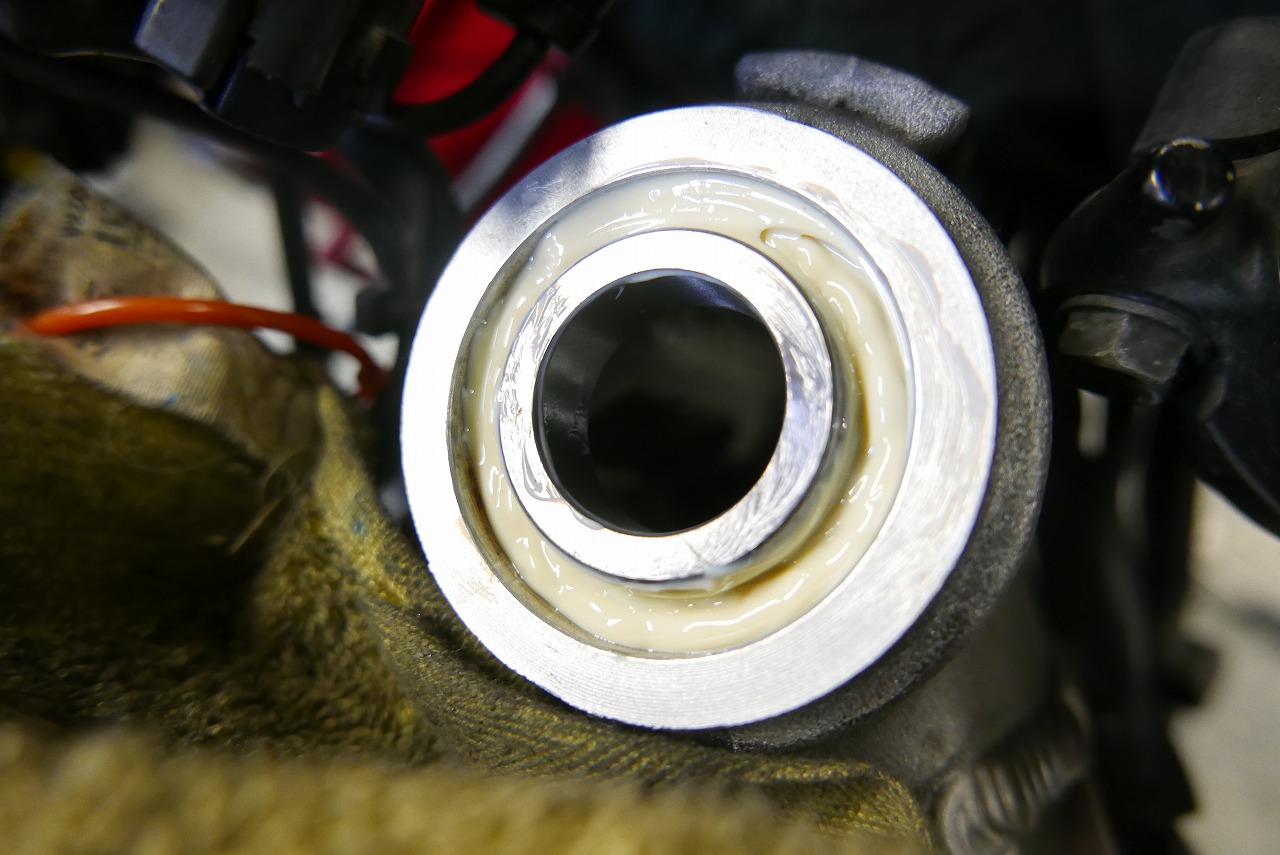
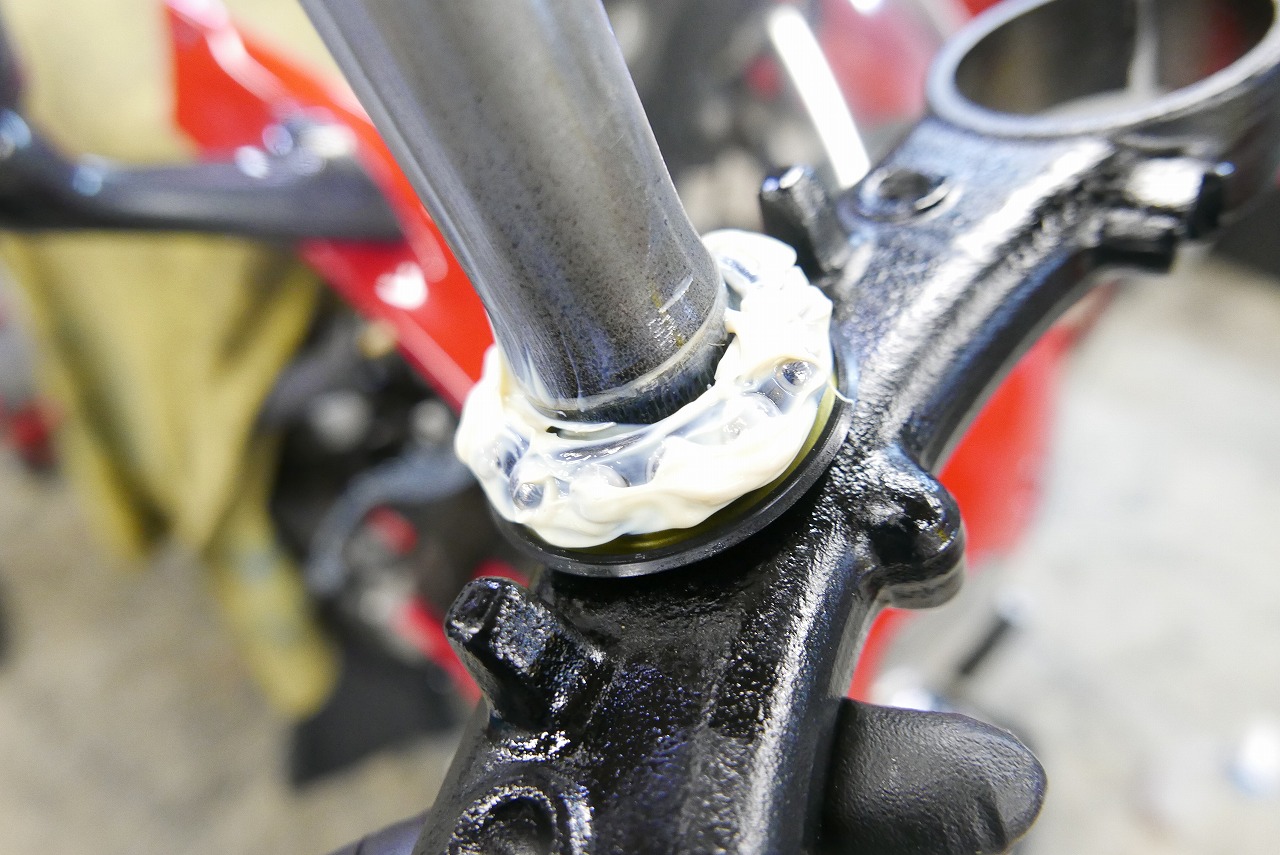
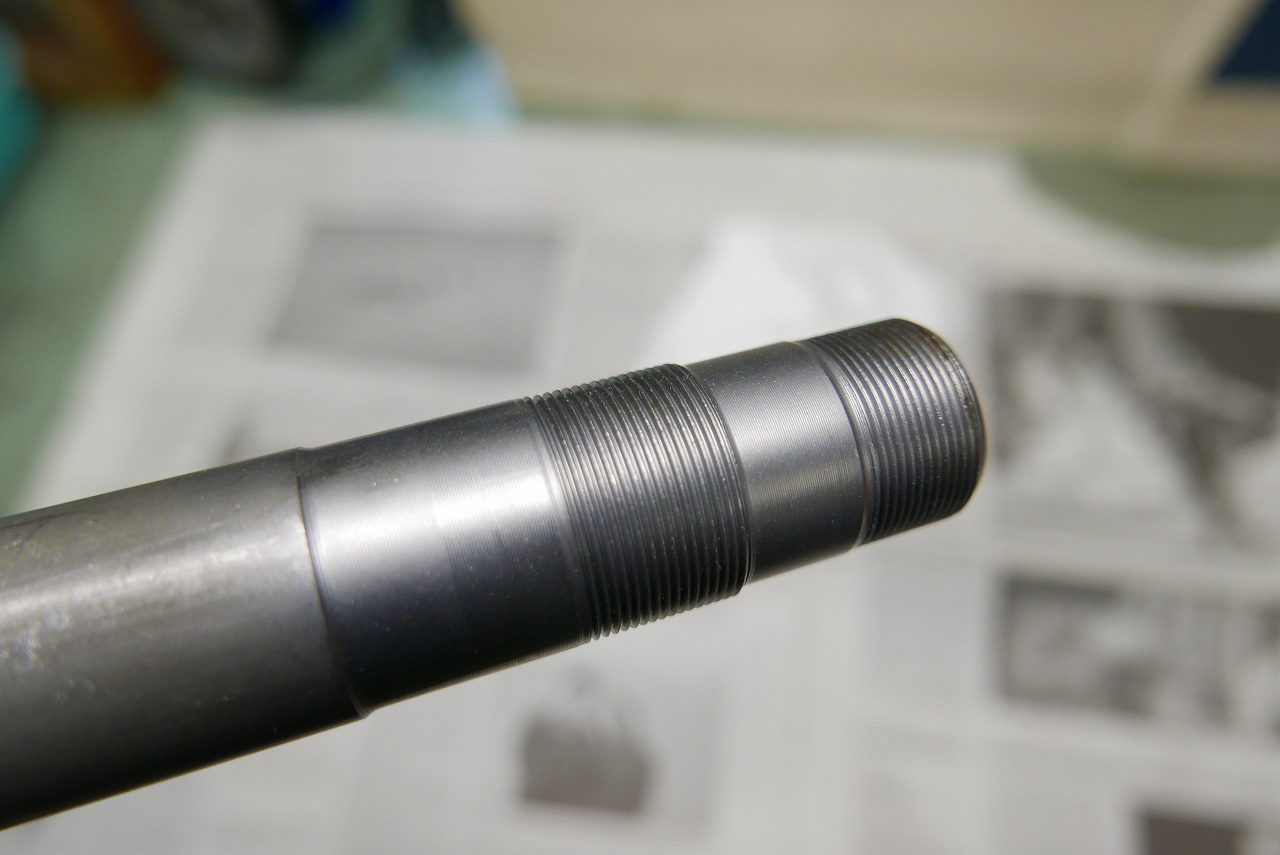
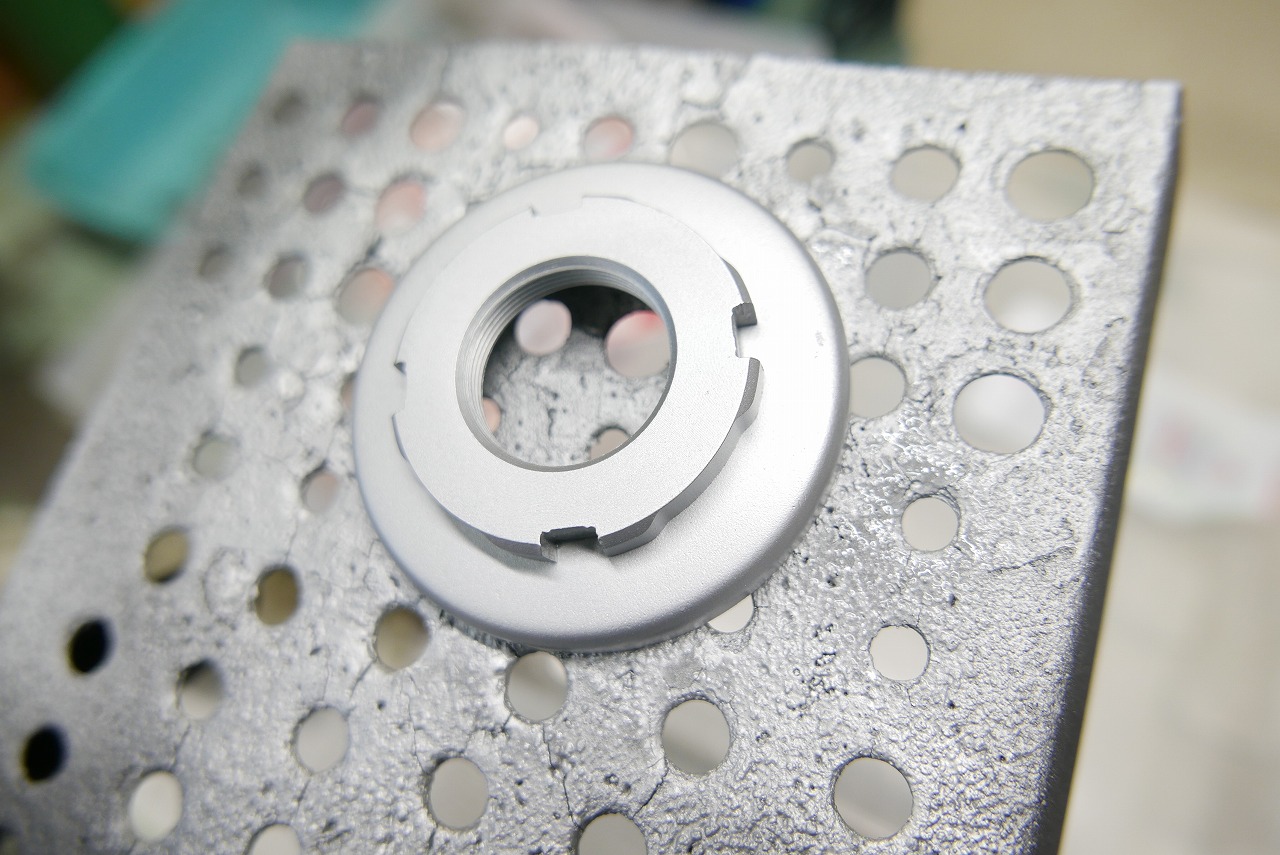
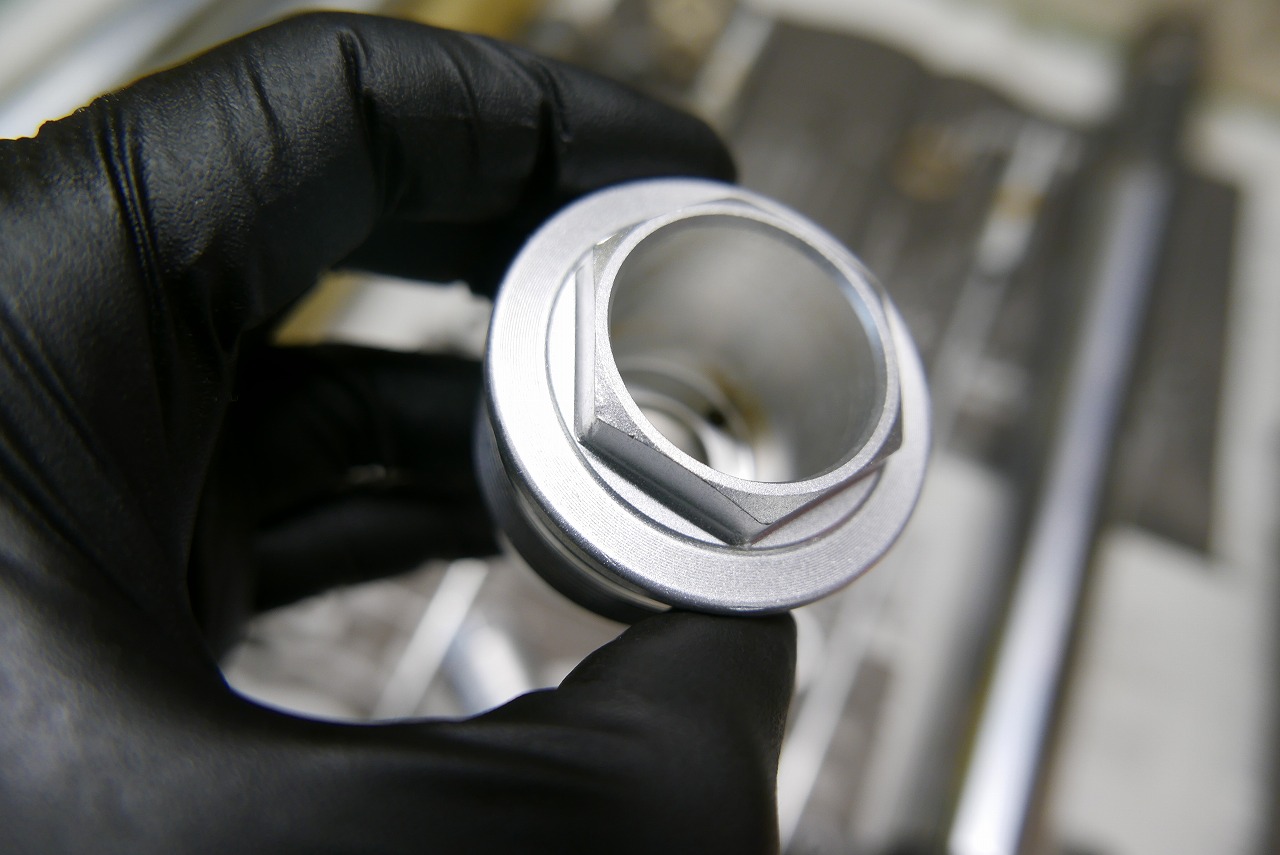
For our shop up to this point, this is an extremely rare case. I wonder if this is the first time we’ve disassembled one. It’s better to be gentle with the aluminum frame. If possible, I think it’s also good to warm it up slightly as a precaution. You need various tools to remove the stem bearings. The key is how to remove them easily without putting stress on the frame. There’s no one tool that works for everything, so we judge the situation and choose accordingly. If there’s a slight race, this is effective: Park Tool head one-punch (bicycle tool?) It’s convenient, so please try it. Since there are four tabs, if you catch even slightly, you can tap it right out. Well, it really comes down to having the right tools. Press-fit assembly and disassembly should be done carefully, surely, and meticulously without rushing. If you proceed that way, you won’t have any nerve-wracking moments. I was impressed by how badly rusted this was. Once you’ve gently swapped the upper and lower parts, make sure to visually inspect carefully. Check the lower seal before pressing in. Always check how well the seal is working, and you won’t get stuck with adjustments later. Make sure to apply Newtech NC100 to the upper side as well. I think Honda’s seals are really advanced—every time I work on them. *Recently Suzuki uses these too. The lower side also gets good lubrication. I gave the stem a light coat with leftover spray paint. Why on earth did it rust this badly? Shocking! I think maintenance and repair work is mostly about prep work. How quickly and cleanly you can process things is really important. Hand scrubbing is fine, but there’s a limit to the finish. To get one step better results, I think it’s worth reconsidering your equipment. This cover has been discontinued, so we polished and reused it.
The handling naturally improved this time. When the previous condition was bad, things get better no matter what, so sometimes I feel like the sense of accomplishment is less.
Making a bike that’s in bad condition good is easier than making one that’s “not really bad, no particular complaints” a little better.
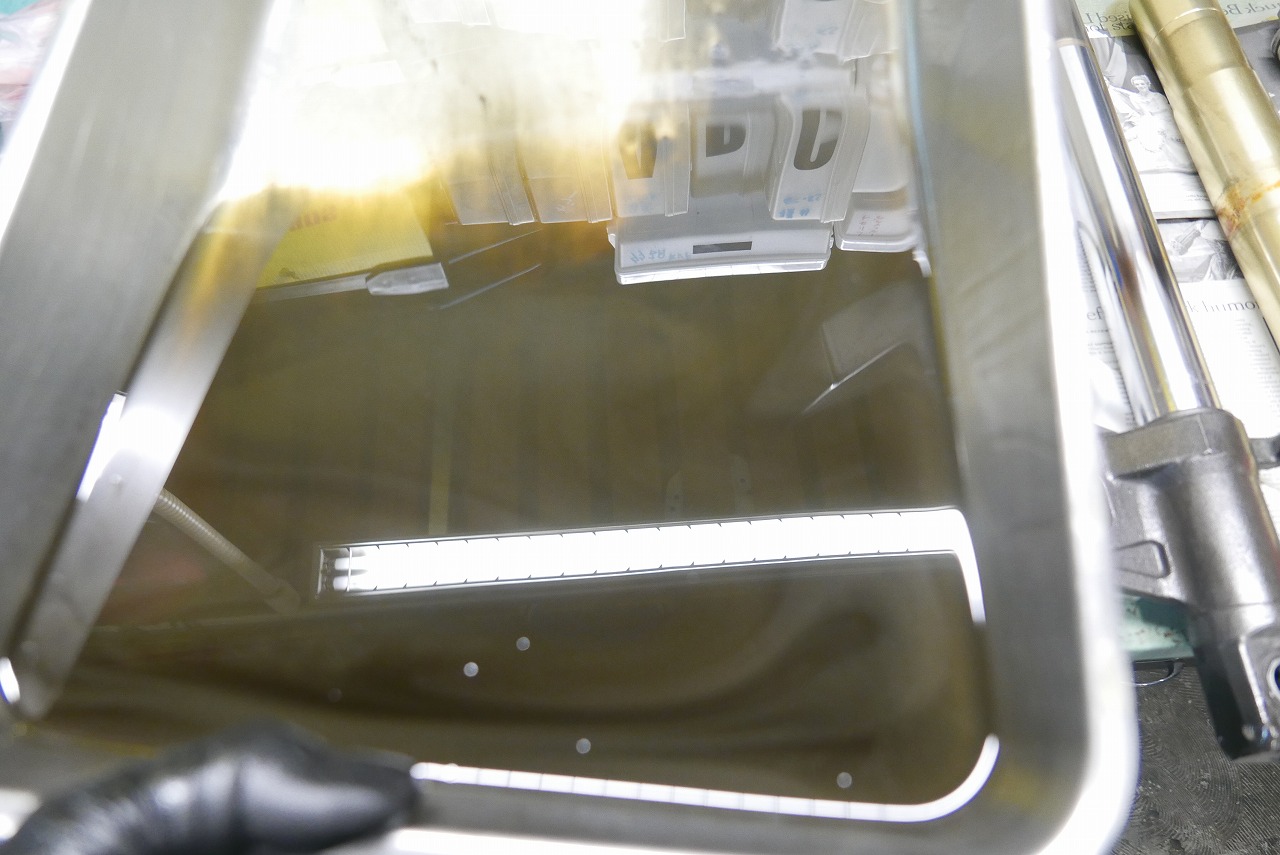
Moving on to front fork work. It’s come out with a nice color. Cleaning it up nicely before assembly really boosts work motivation! Both the person assembling and the owner are happier with a clean bike.
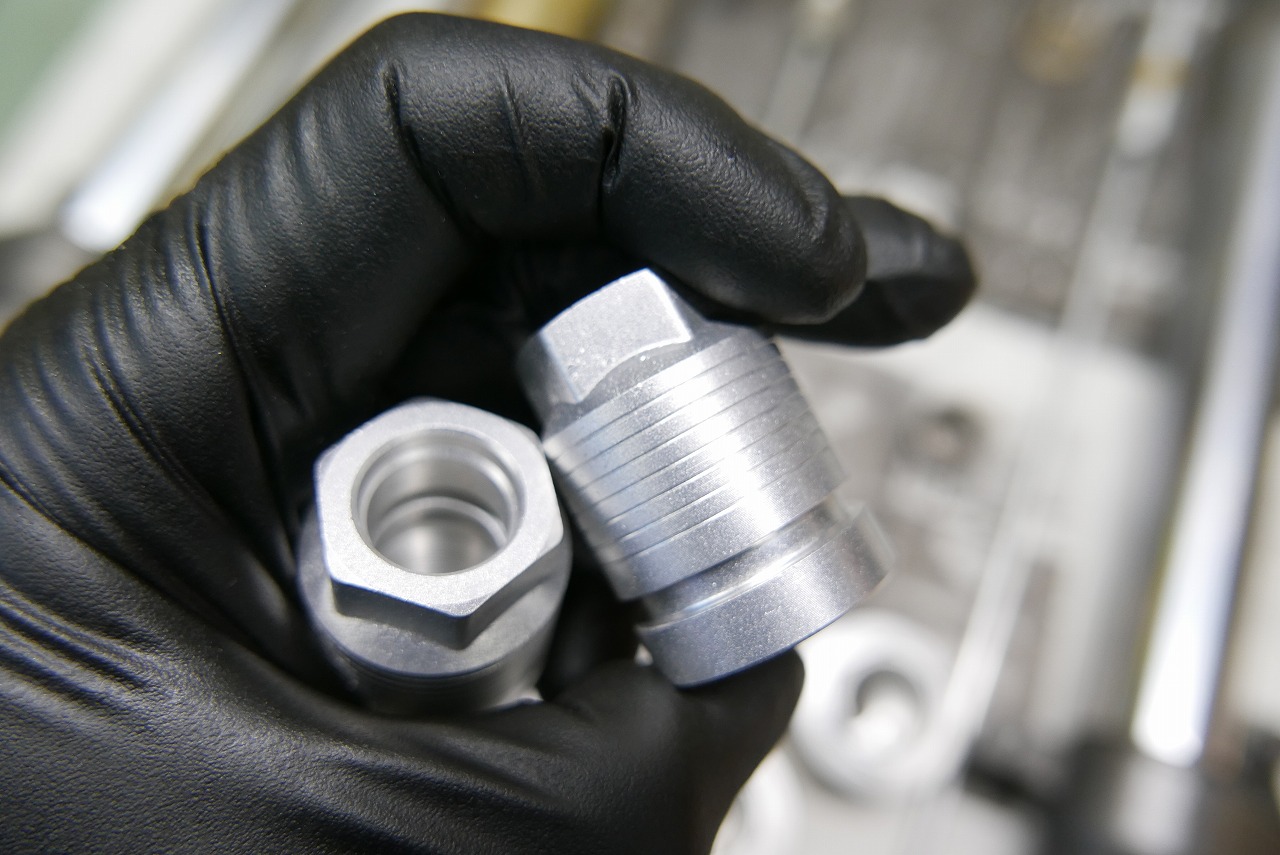
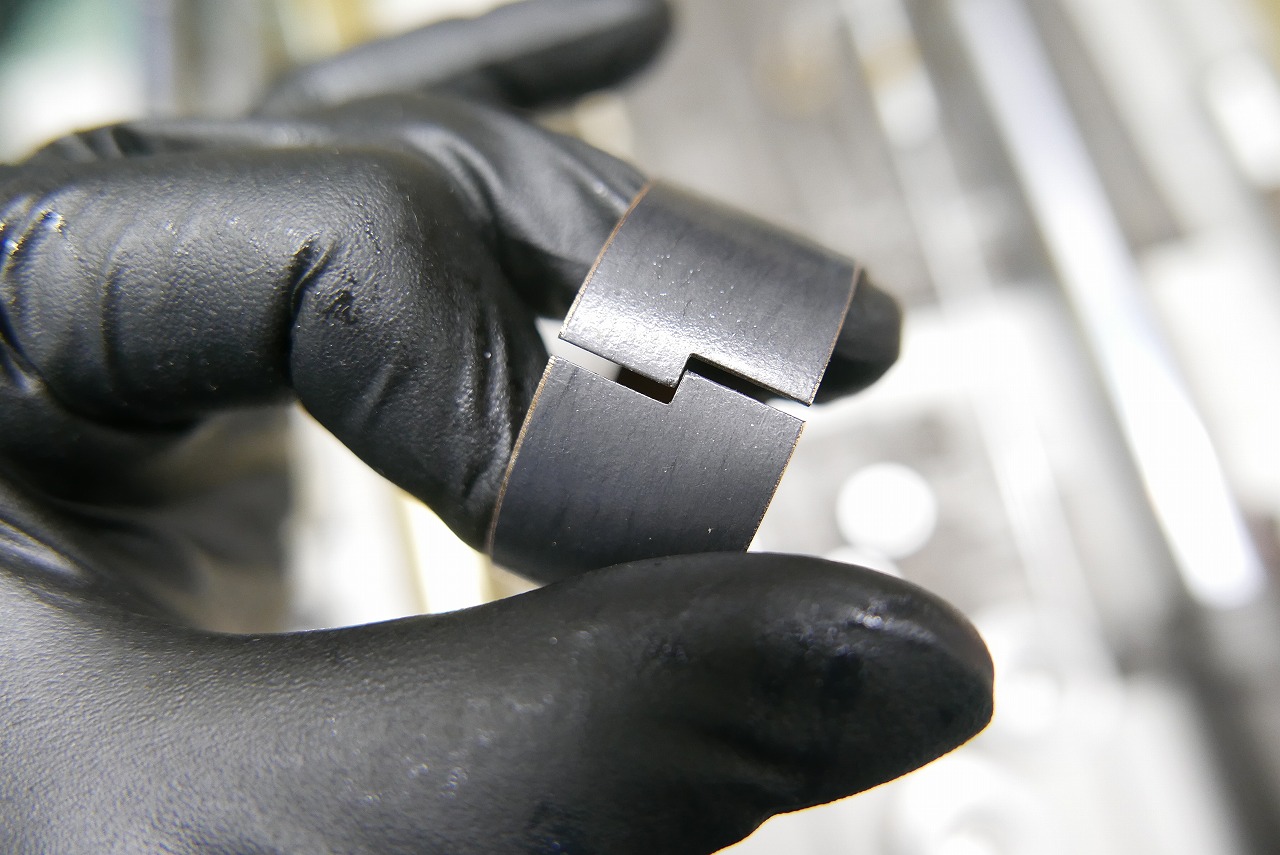
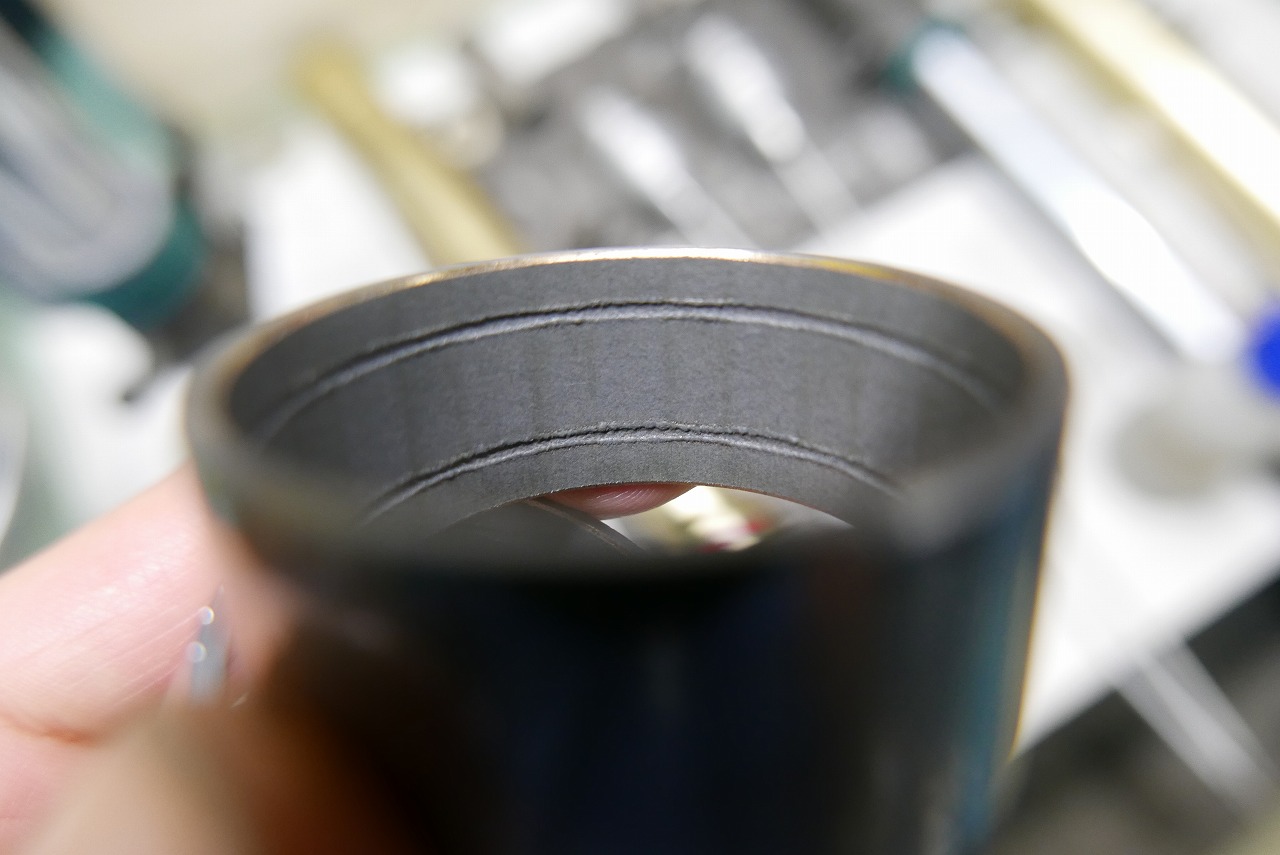
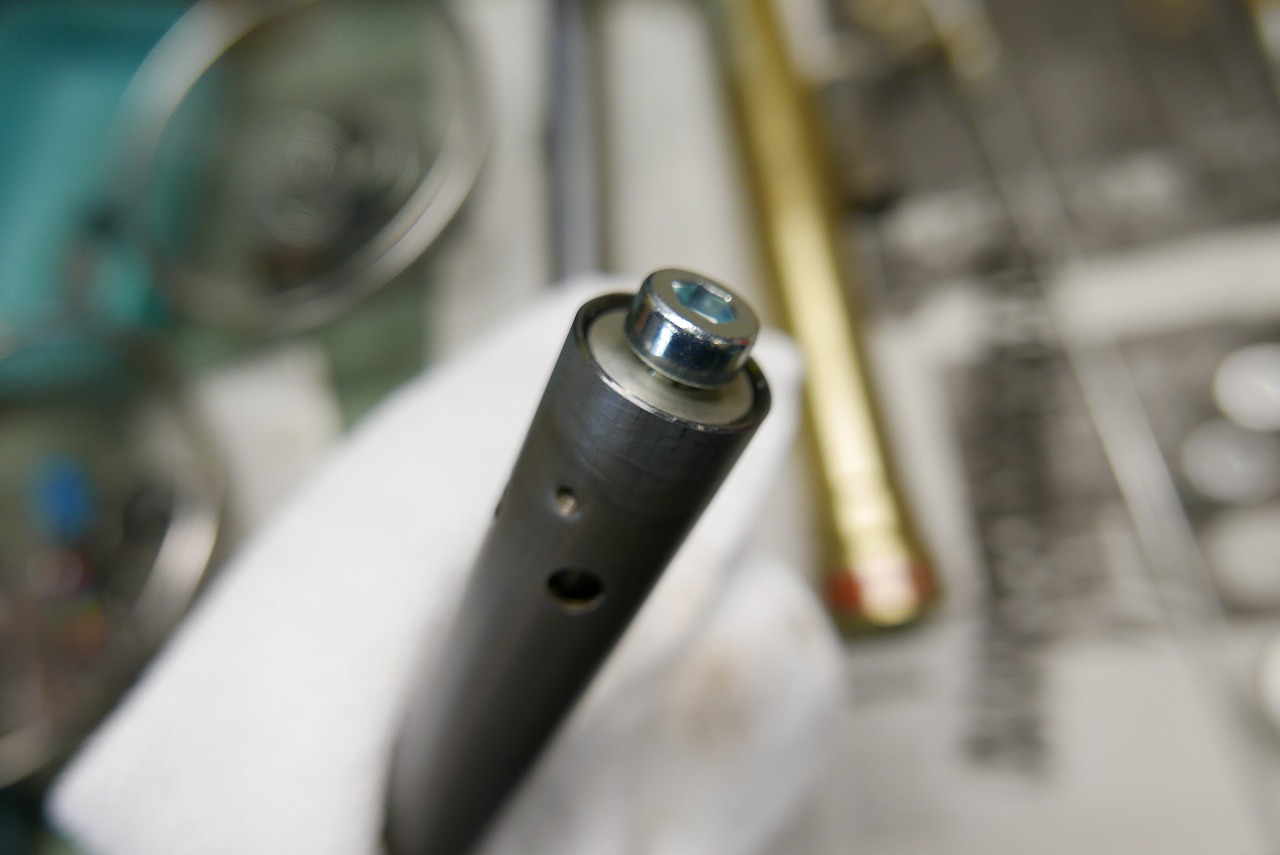
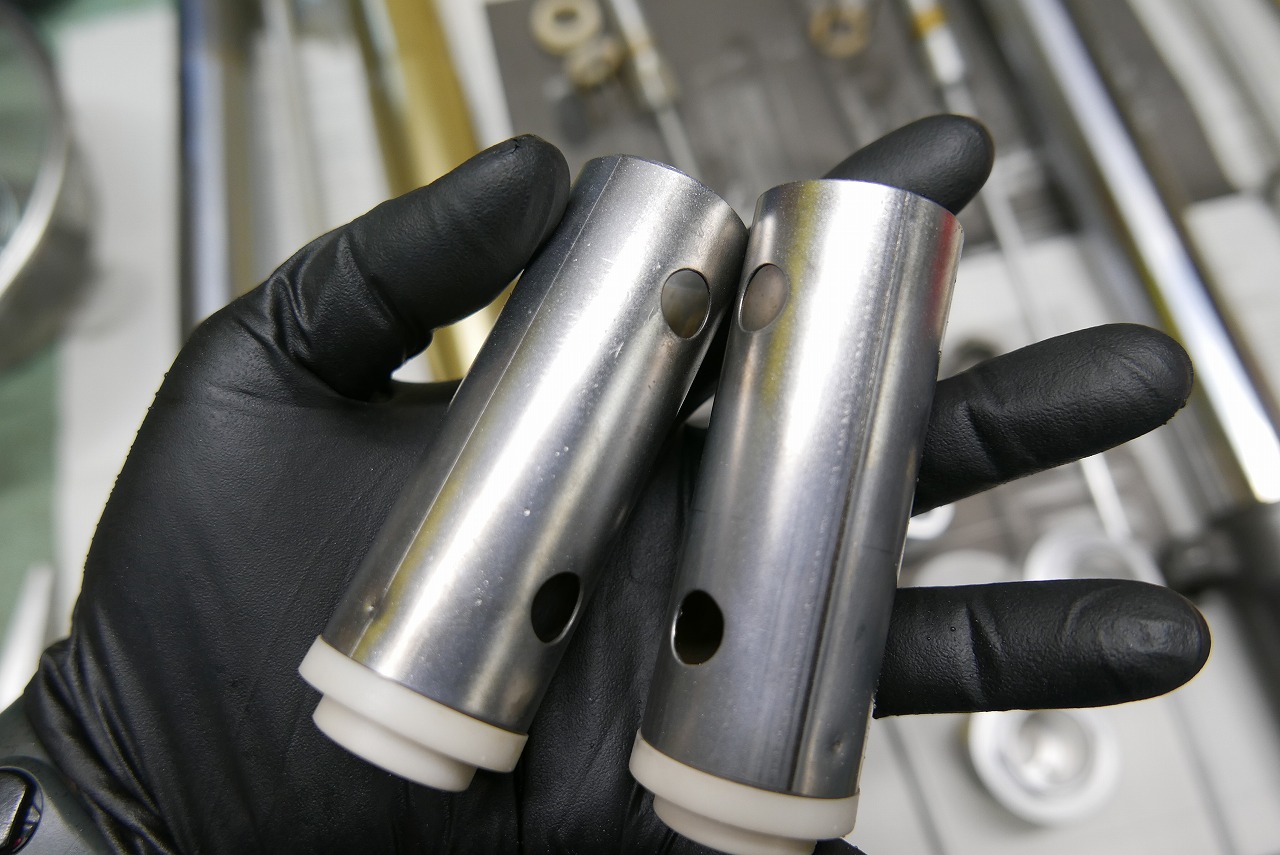
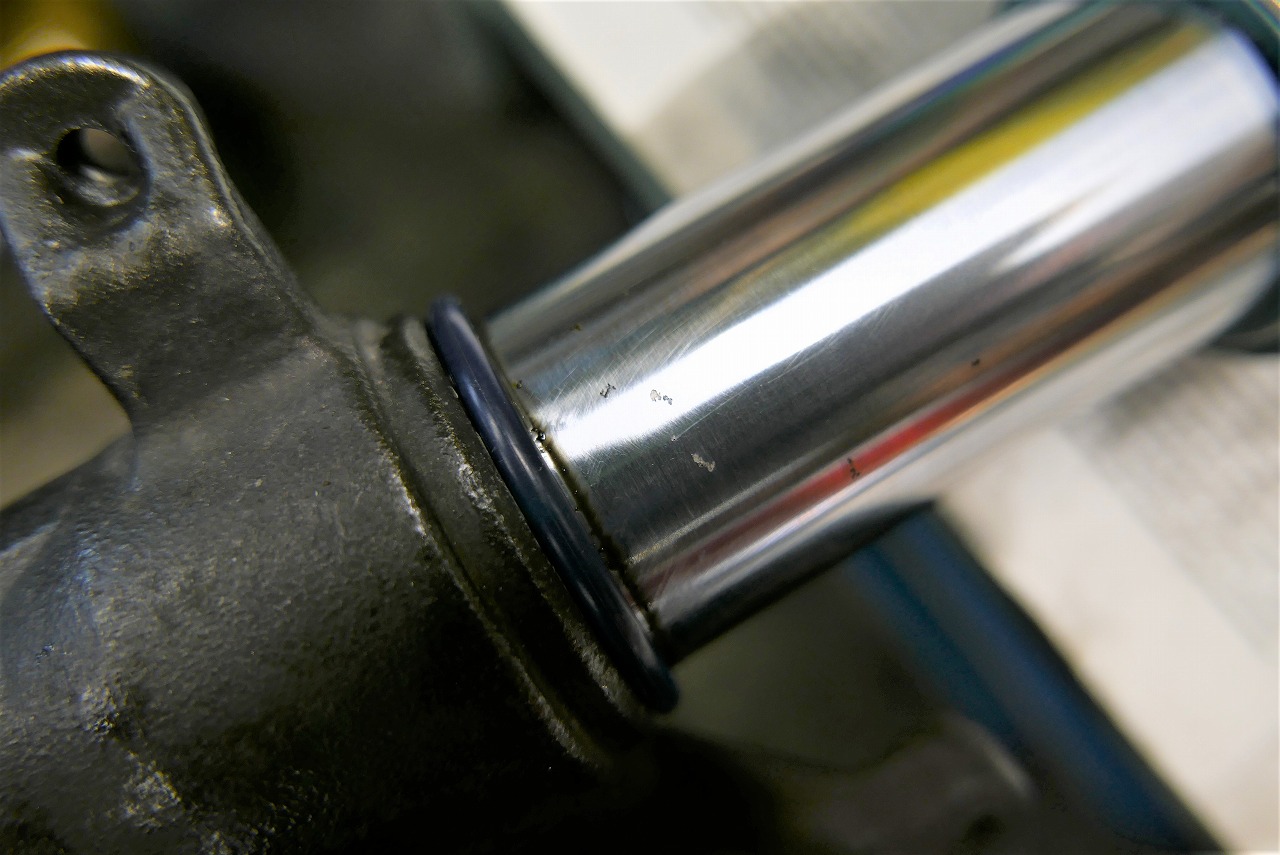
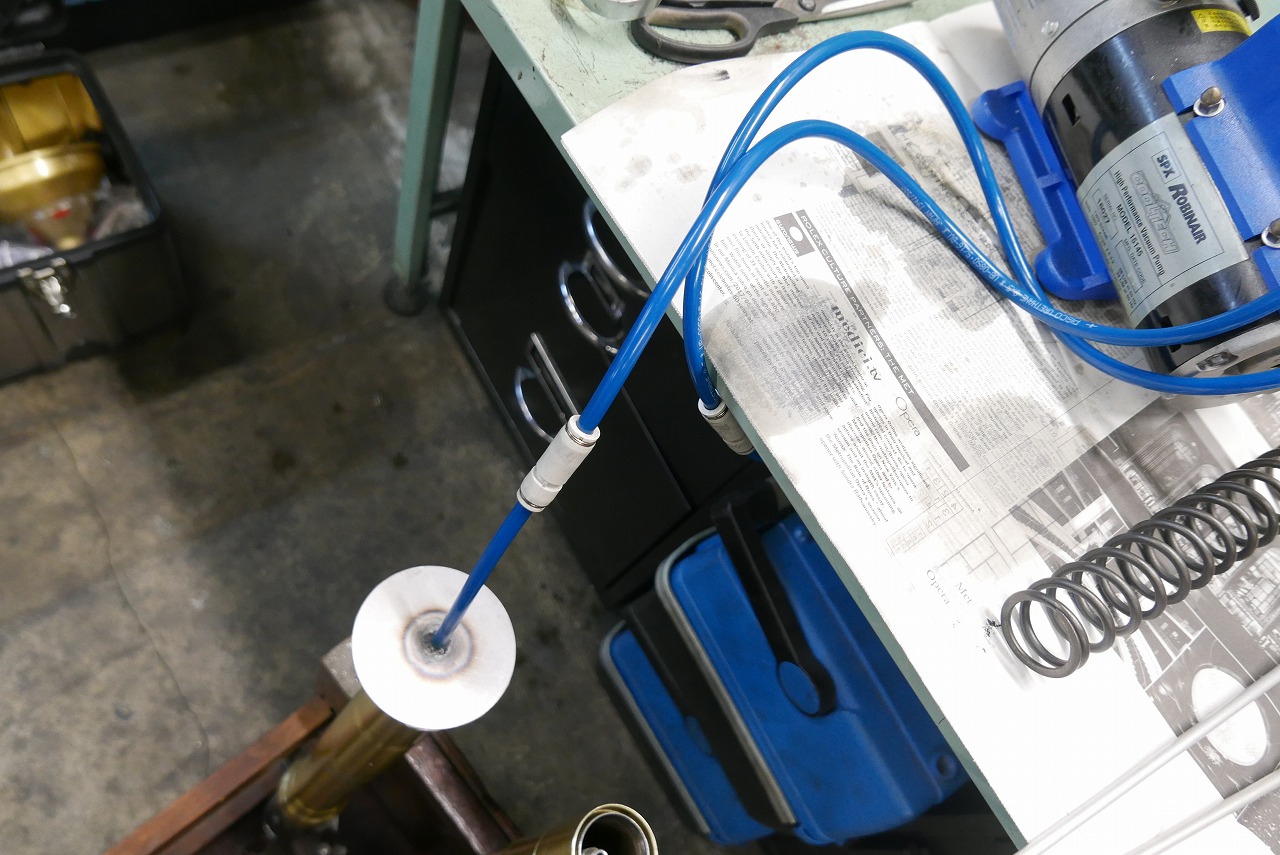
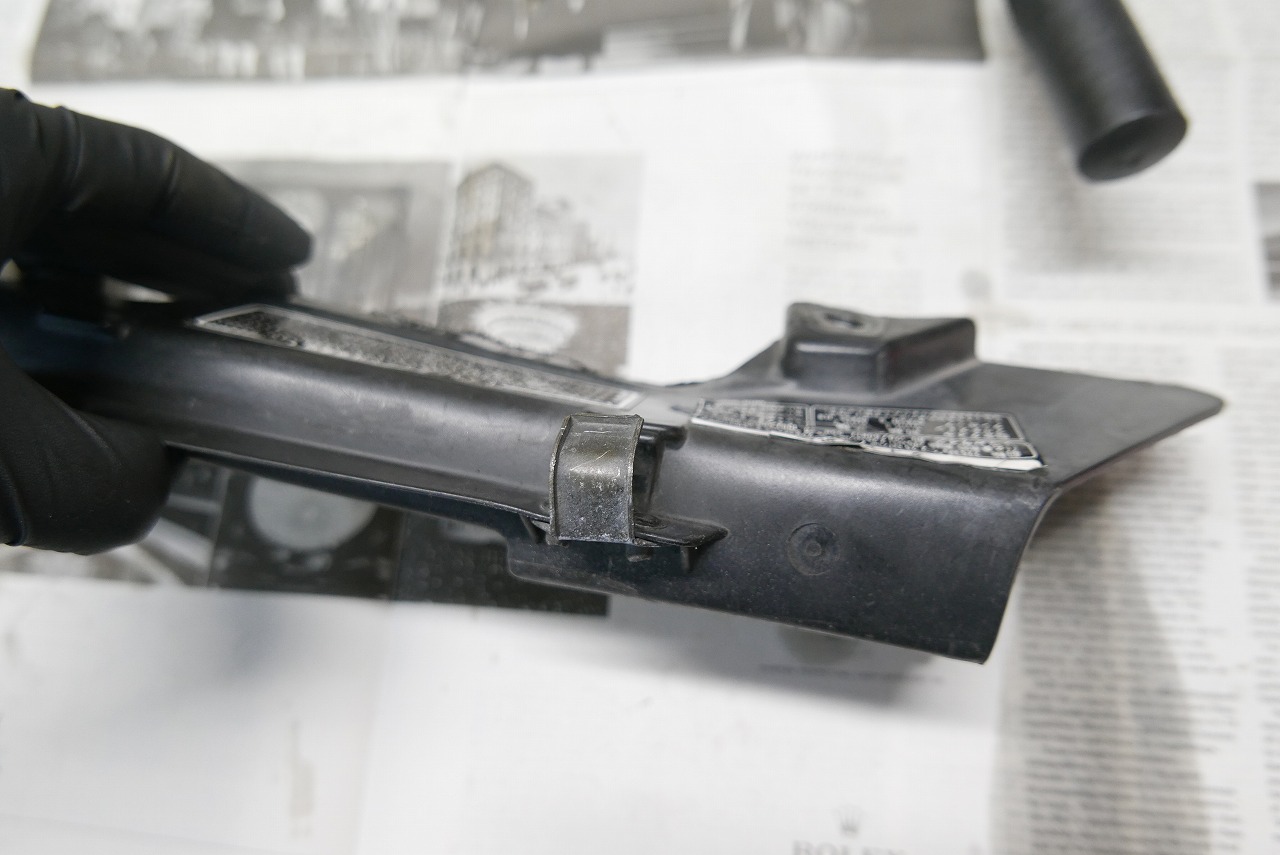
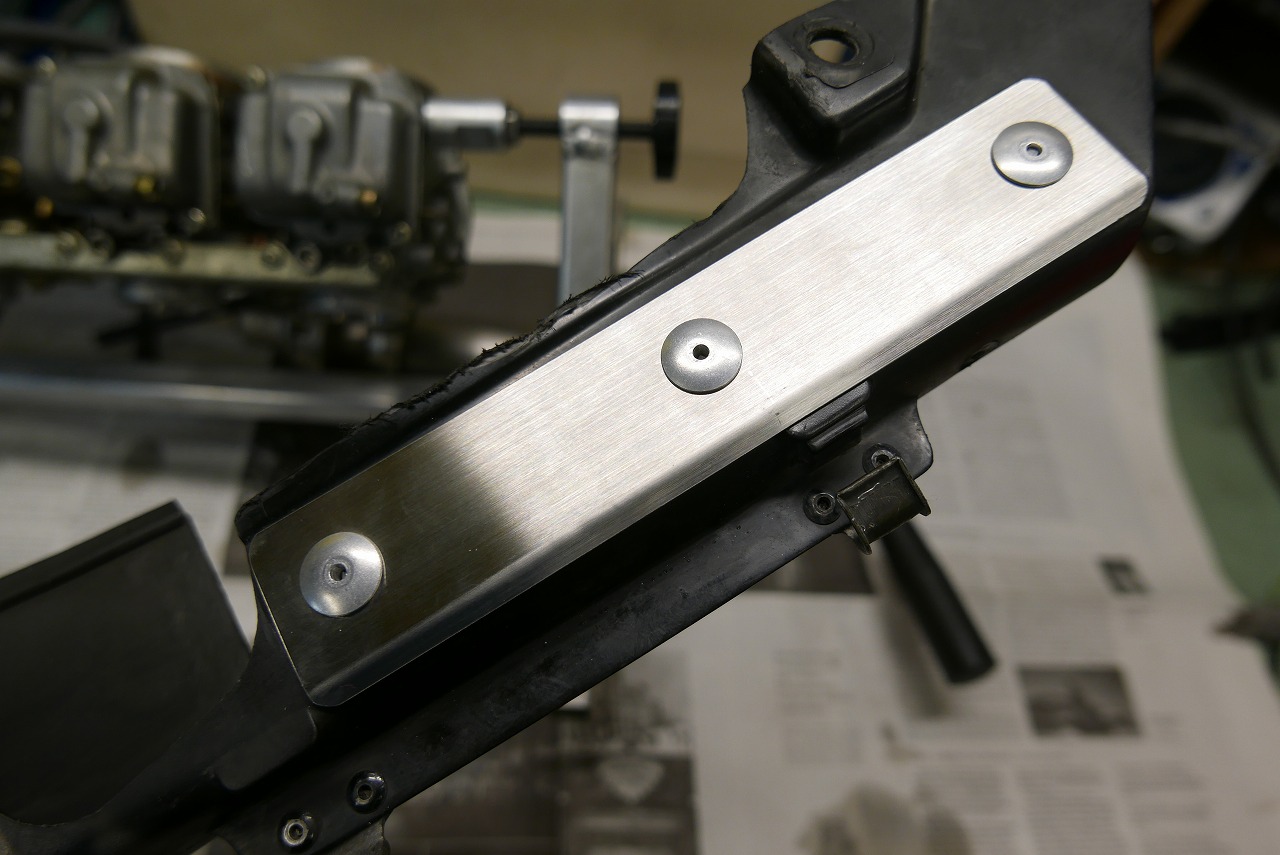
The slide metal is in a strange state. We wash removed parts like this and store them in separate containers. It becomes useful information for future reuse. Make sure the cylinder bolts go in smoothly before assembly for peace of mind. We use new bolts every time. Since we don’t usually photograph the dirty state, it’s hard to tell, but it’s gotten quite clean. There’s a little light rust. We polished it this time, but next time it will be inner tube replacement or re-plating and polishing. We set the fork oil to Newtech synthetic oil at the factory oil level. We vacuum-bled it to remove air. For some reason the chain case keeps bending. Nothing’s wrong with it, so why does it happen? Really mysterious. We made a backbone patch from SUS304. Shearing cut → rib bending → drilling on both the patch and case → fixed with large rivets. The owner said they’d do it at home, but we did it as a service. With the right tools, this takes about ten minutes. Really, it all comes down to having the right tools. That’s what I think every day. That’s all for this one.