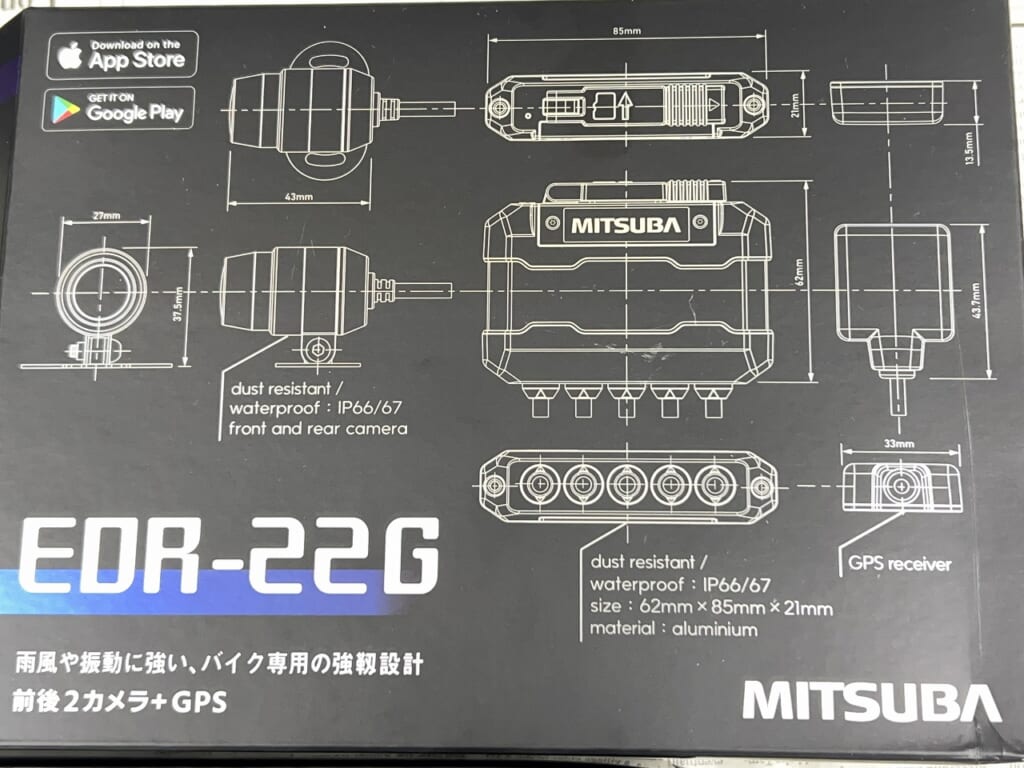
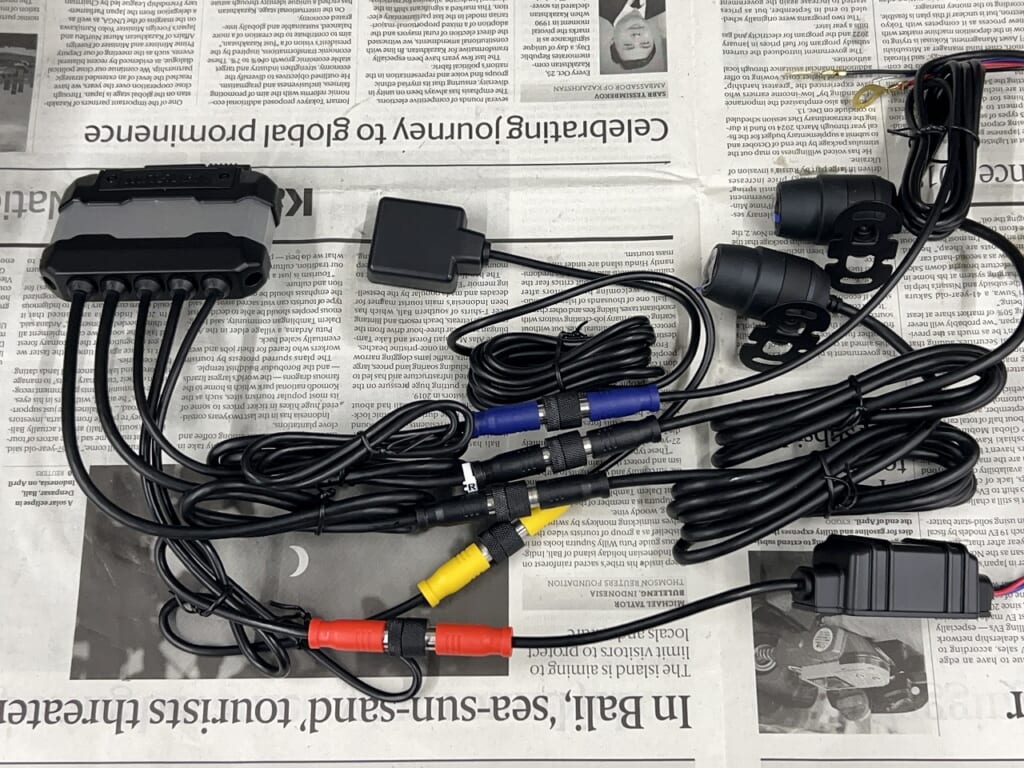
The only difference is the GPS antenna, so there are a few more components.
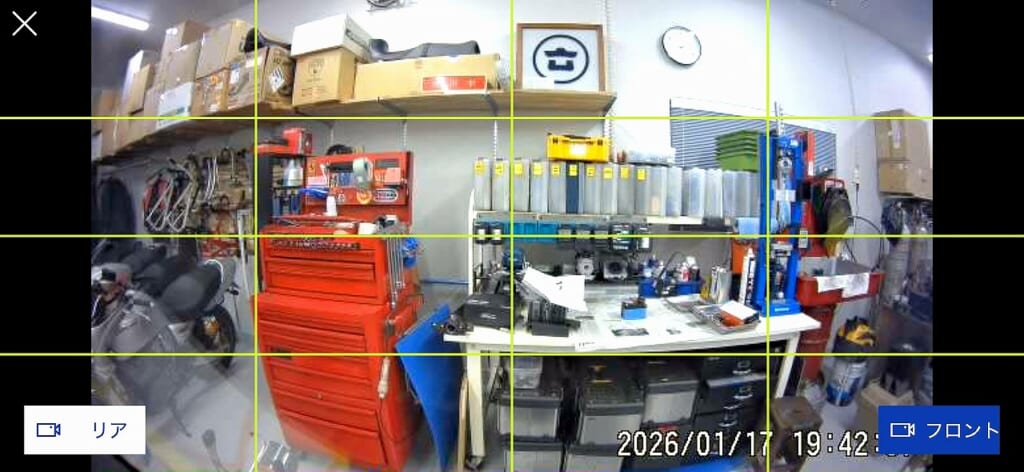
Check the dashcam preview before installation.
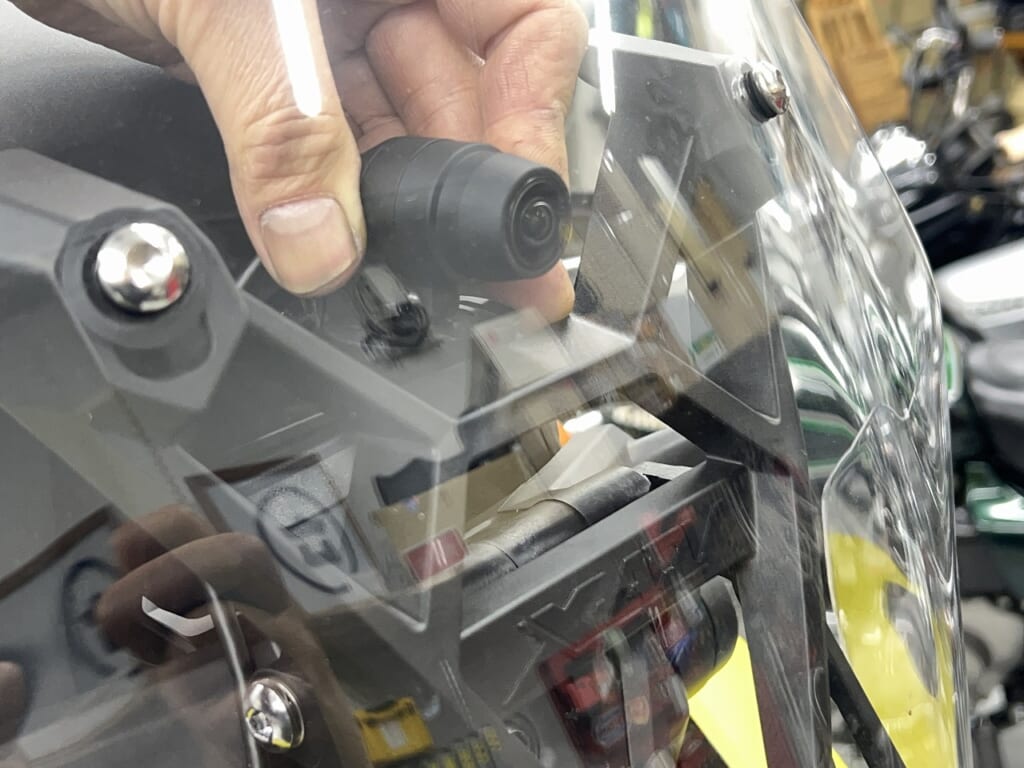
It’s best to “check before installation” to see how the footage will look. If you install it first and then find “the bike appears on the right” or “the bike appears on the left,” that’s a real problem.
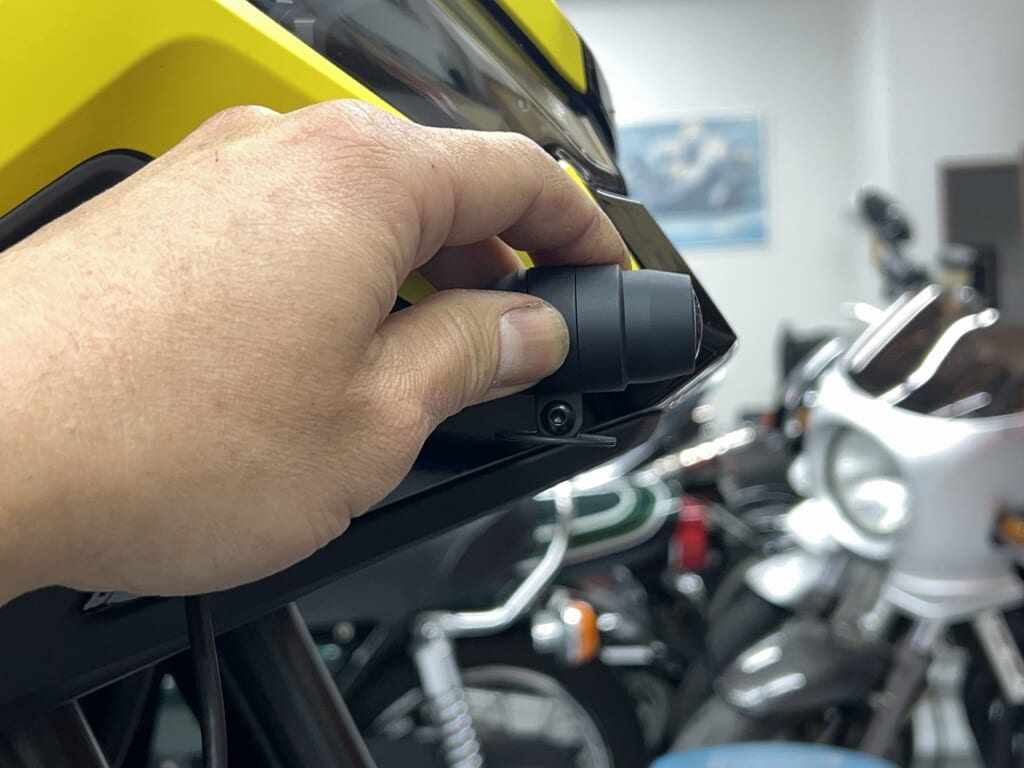
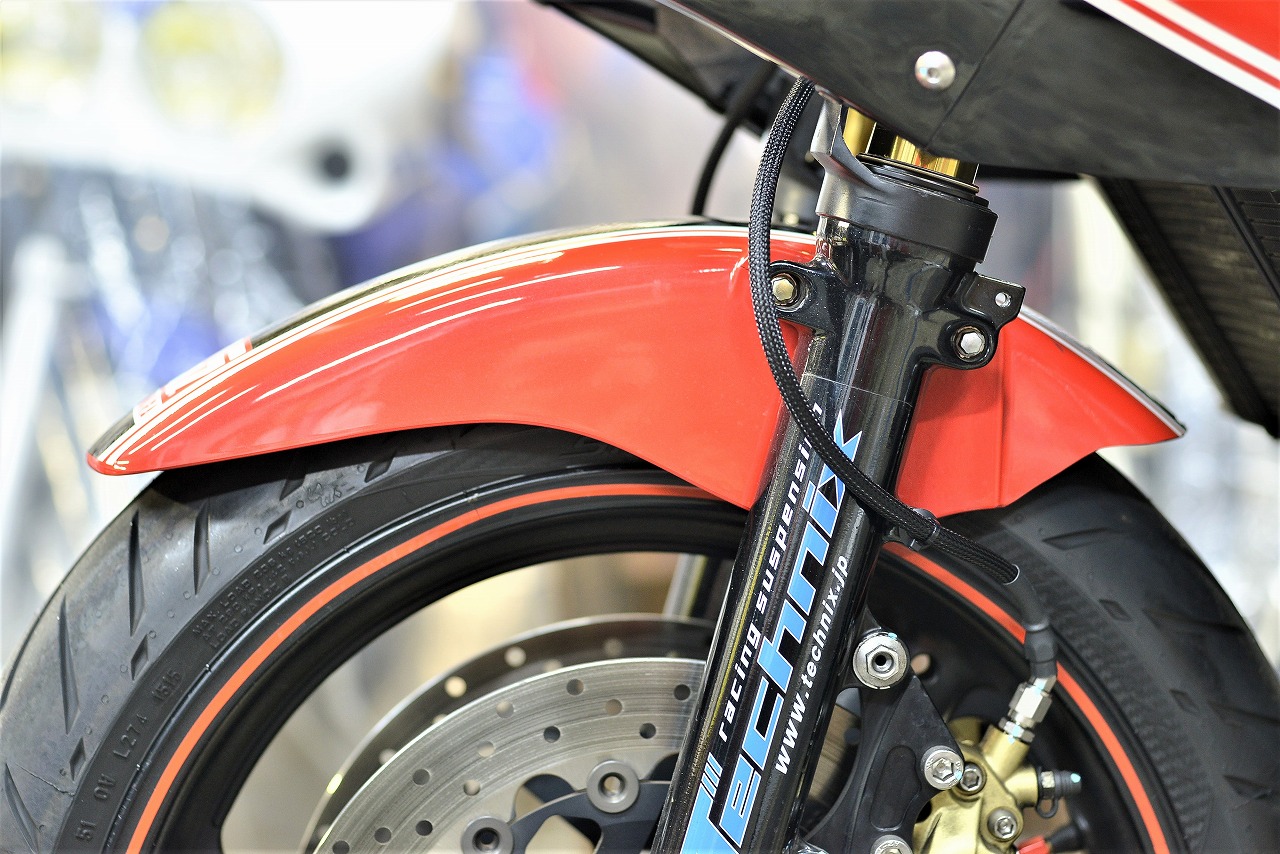
Also, motorcycles have steering that moves left and right, plus suspension travel. If you mount it on the front fender and it contacts during full suspension compression, that’s bad. If you’re mounting on the front fender, it’s essential to check the full suspension travel first.
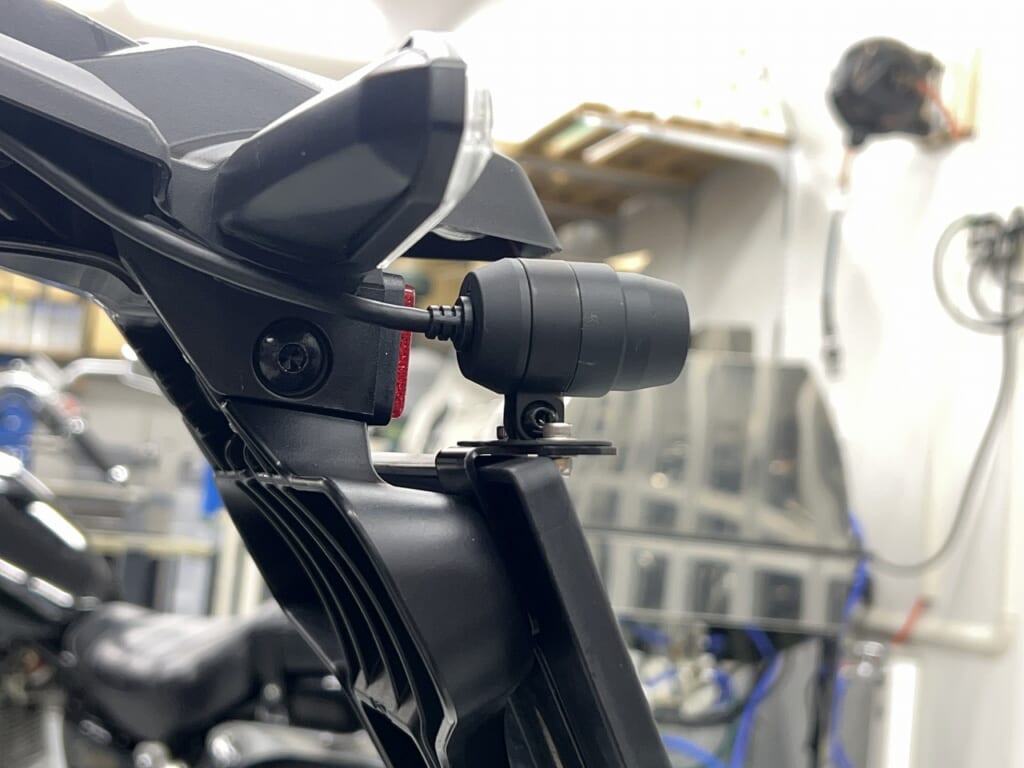
At minimum, you need to extend it this far forward to capture the full field of view. The farther it is from the mounting point, the more vibration you’ll get. Also, don’t just think about installation—you need to consider maintenance and removing bodywork too.
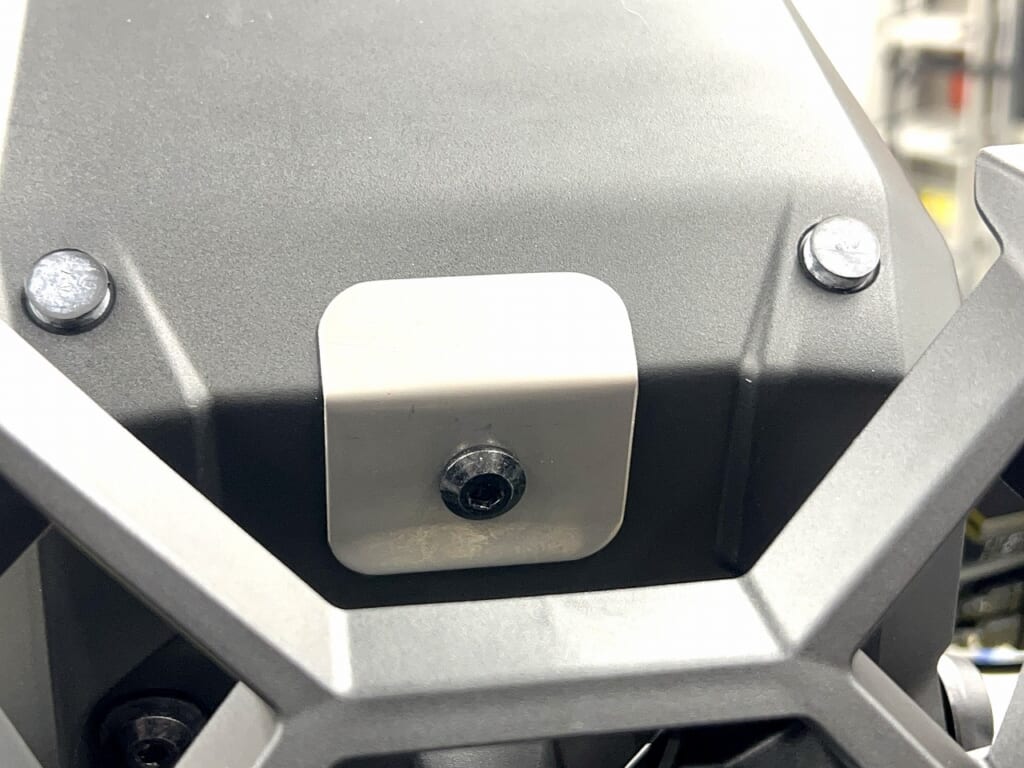
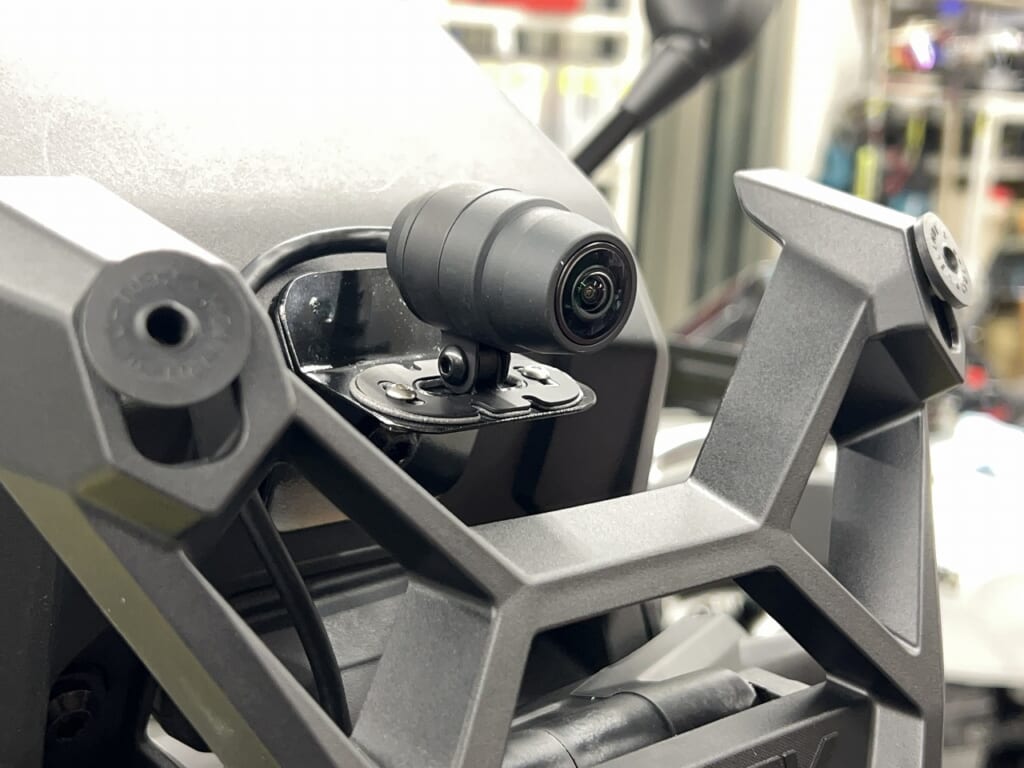
After checking multiple times, it recorded cleanly even through the screen. This is simple, so I’ll mount it using the meter’s mounting bolts.
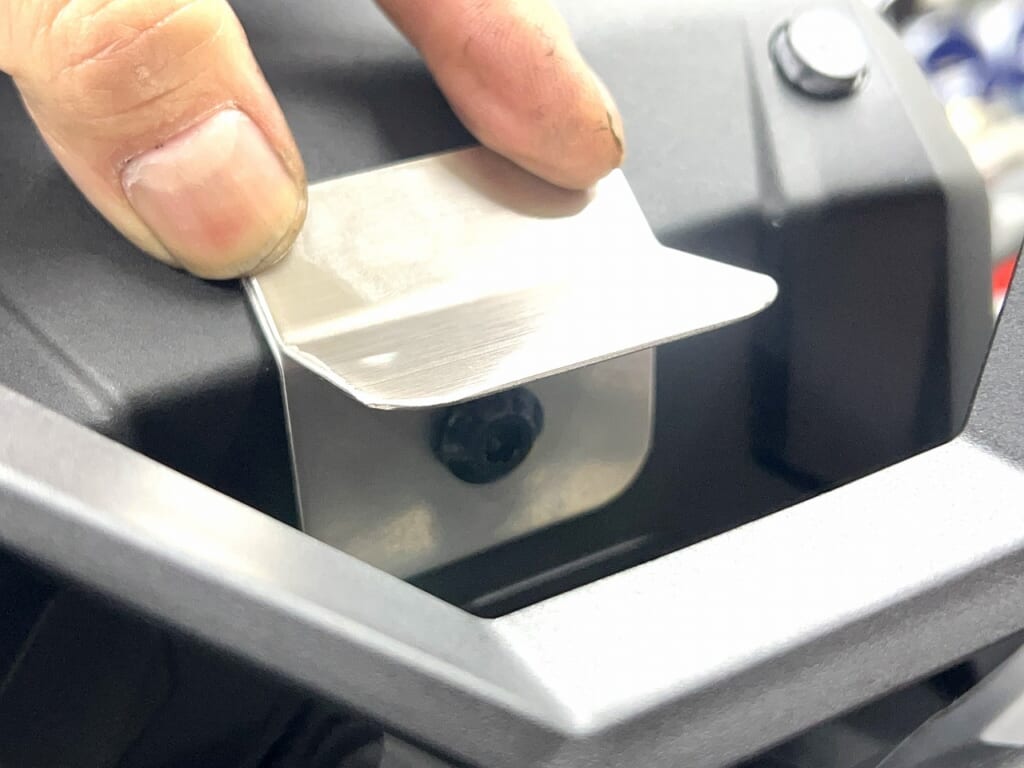
We cut SUS304 sheet with shearing and spot-welded two pieces together. With thin SUS sheet, we can work efficiently. Since this bolt is a tapping screw, thicker material requires extra care.
We bonded the two pieces and applied gun coat. The camera is fixed with double-sided tape and M3 bolts.
Ando just happened to upload a YouTube video
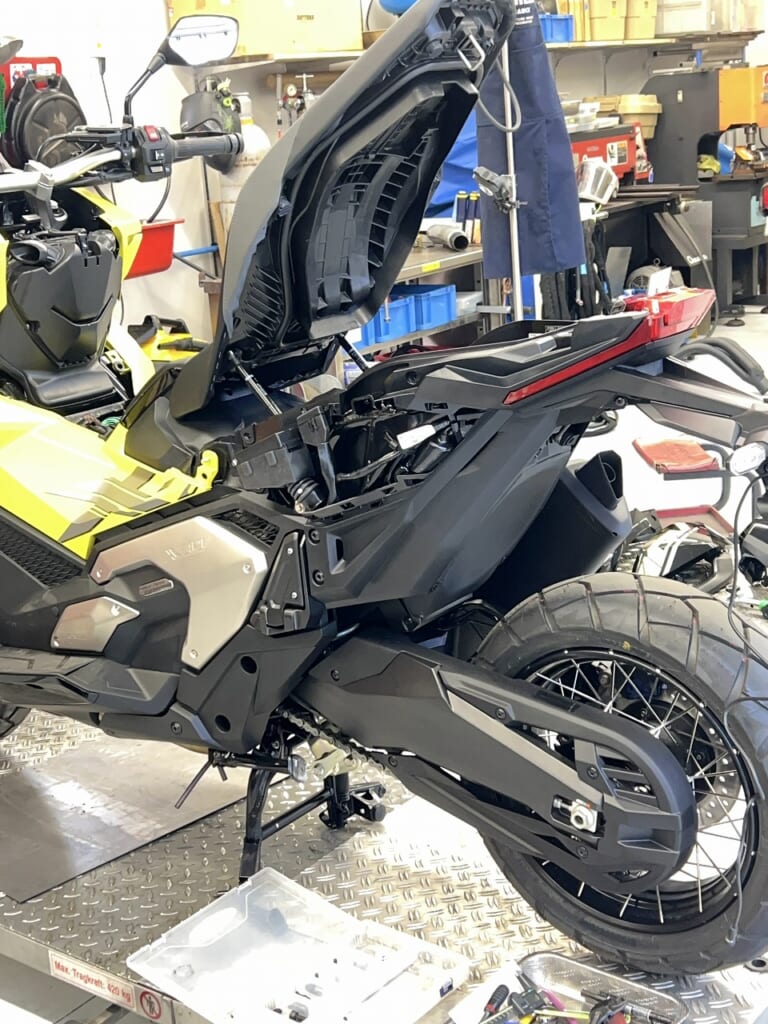
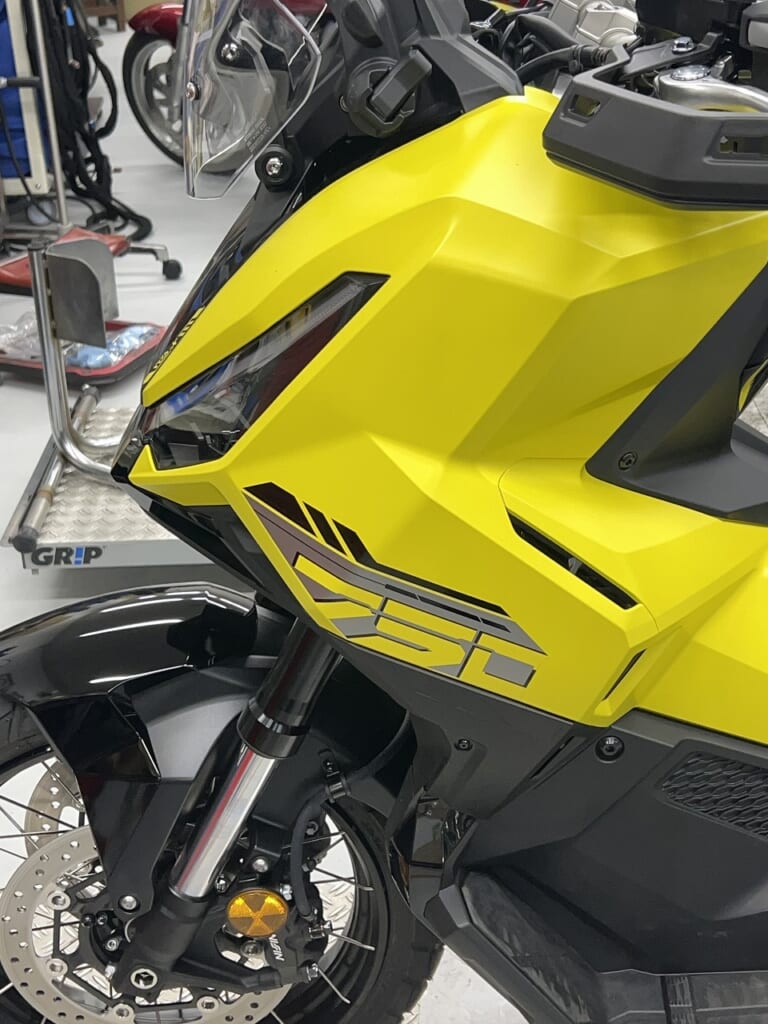
Removing this type of fairing is extremely difficult. There are lots of clips and tabs, so if you don’t know whether to pull or push, you’ll break it in one shot. Or sometimes there are blind bolt fasteners, and in the worst case, you need an endoscope to check. Seriously, mass retailers are amazing—they somehow manage to do it while you wait.
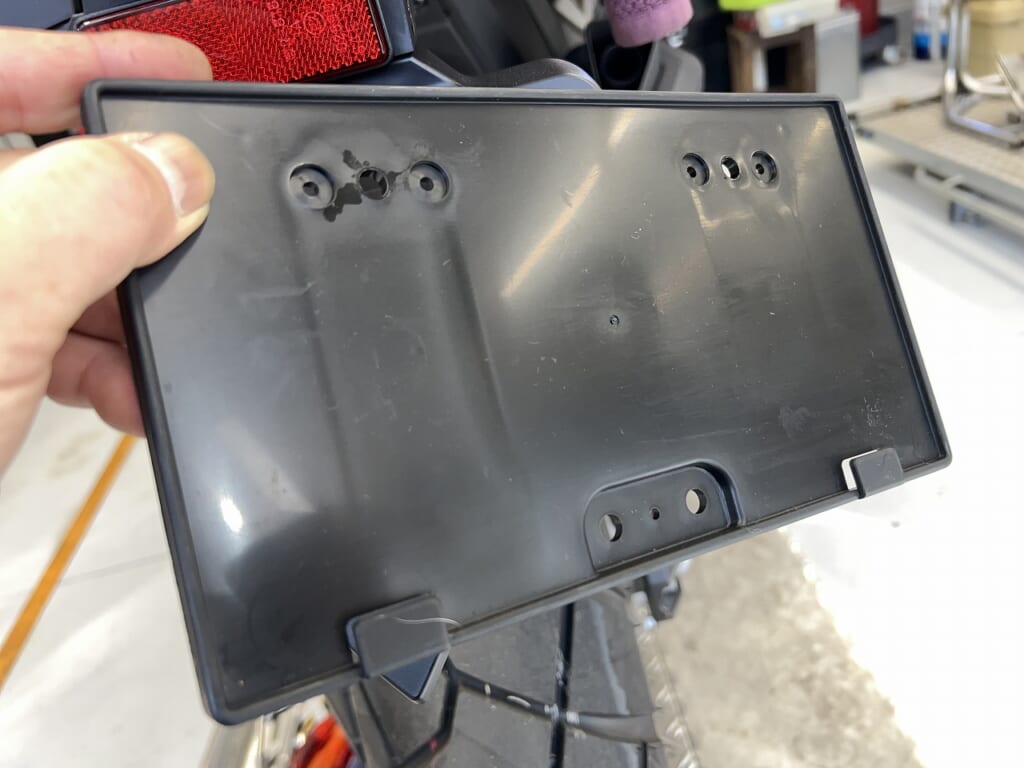
License plates are actually quite sharp. I’m saying this from experience— I heard about a customer who had an accident, and their license plate flew off and “nearly severed their leg.” After hearing that story, I realized I need to be as safe as possible. Safety first, safety second. To enjoy a good motorcycle life, you need to work on it steadily.
I mounted it like this. When you add the license plate holder, you need to slightly elongate this bracket’s holes.
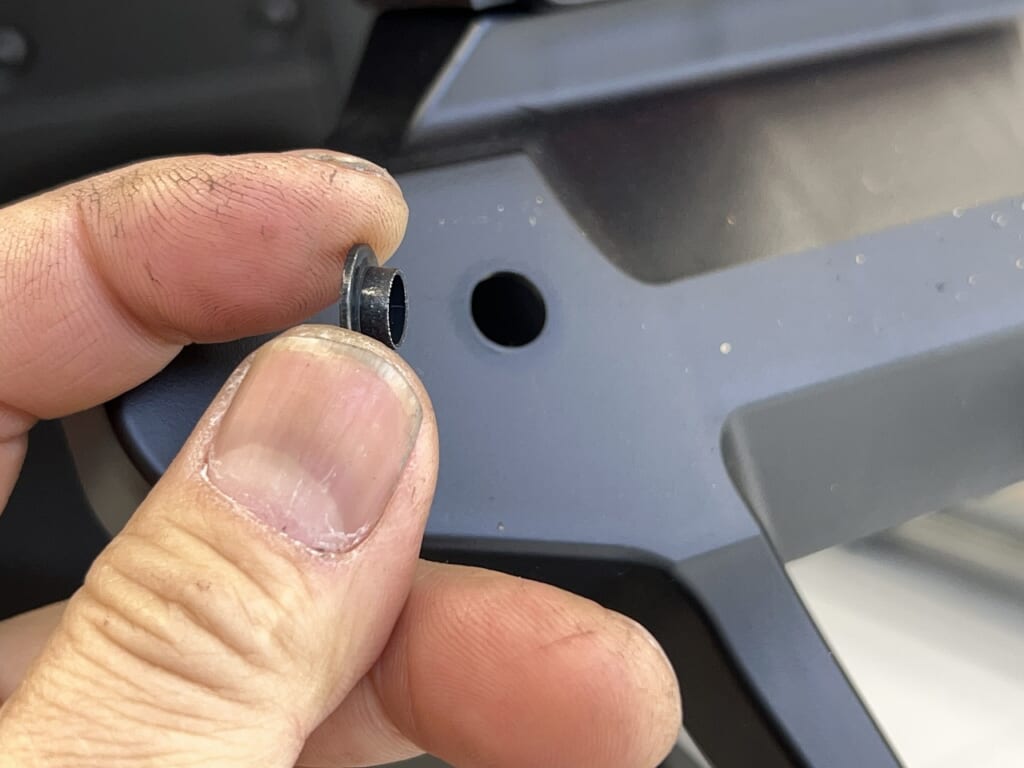
This is a moment when I really appreciate Honda’s engineering. The rear fender’s license plate mounting area has a convex washer properly installed. Impressive! It’s basically taboo to tighten plastic with metal bolts. When plastic shrinks, it loosens; when you tighten it hard, it damages the plastic (worst case, it cracks). A common mistake is thinking the fairing might crack, so you “insert a rubber washer”— which is even worse. The simple solution is “use metal to bottom out.” That’s all. Few manufacturers go this far, so I was pleasantly surprised this time (*´ω`*)
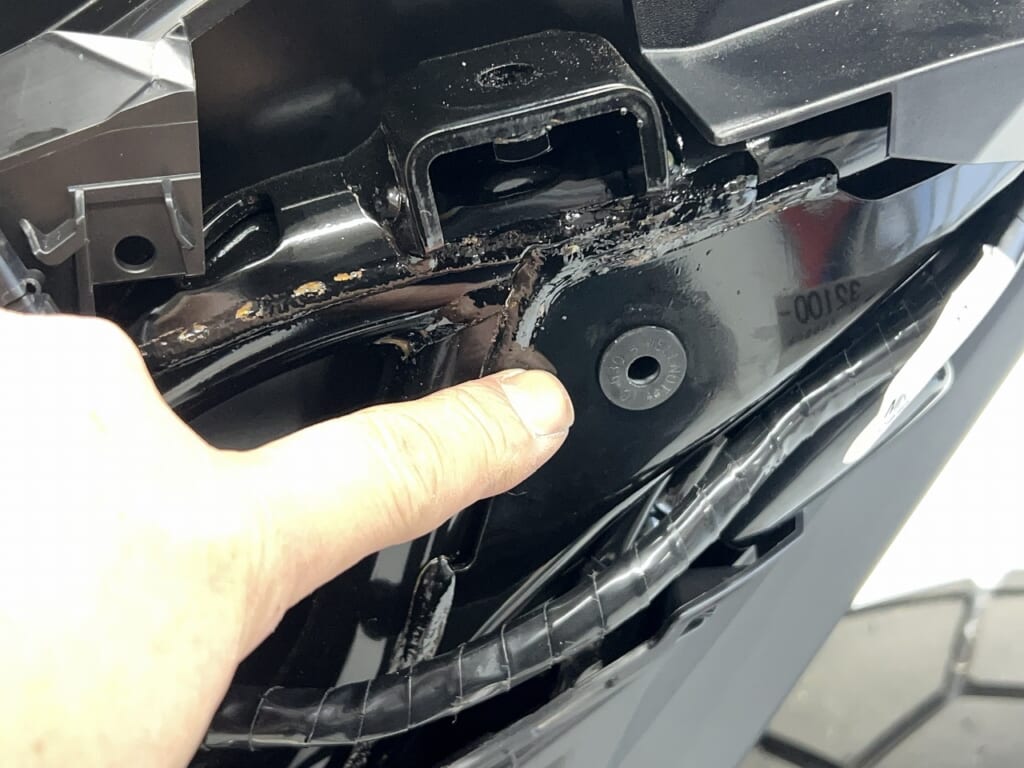
I found a hole about 12.5φ—I’ll insert a well nut (M6) there to get a mounting boss.
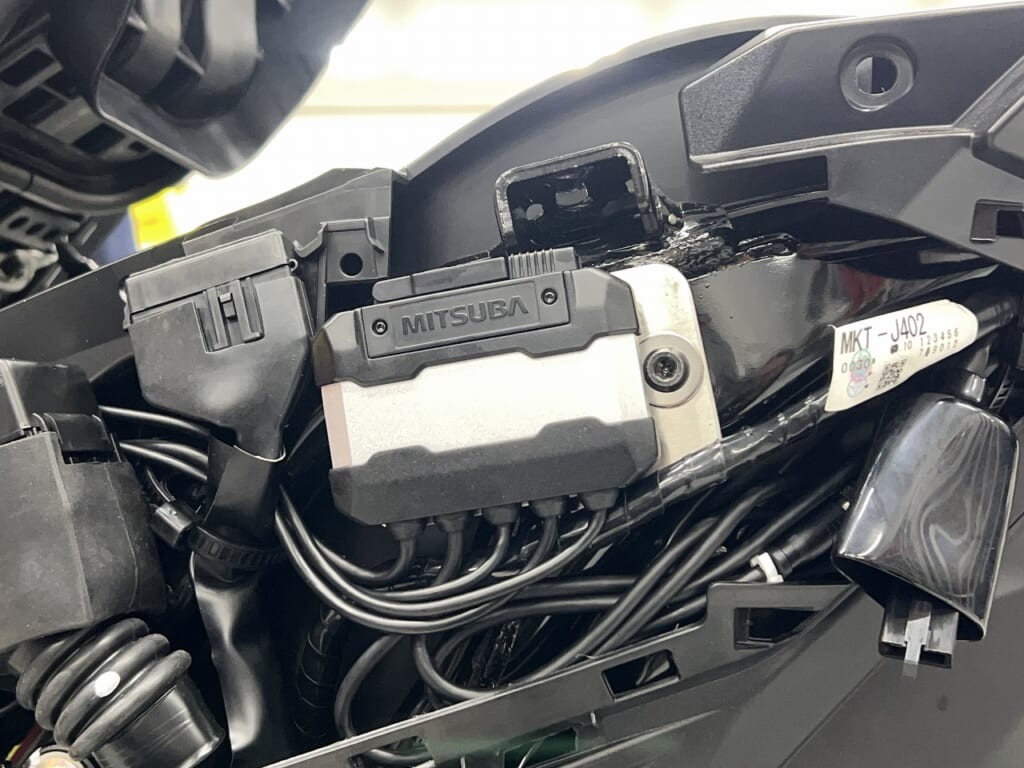
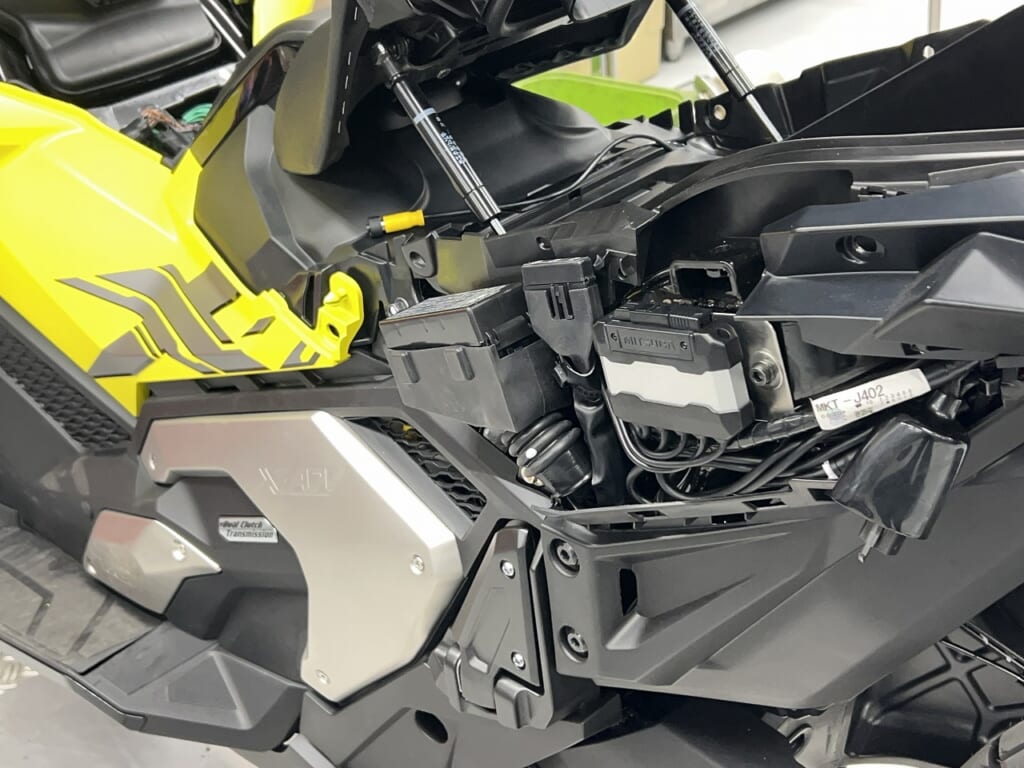
I made a base from SUS sheet and decided this is where the unit will go. You need to remove the side cowl to eject the SD card, but since you won’t do that often, it’s acceptable. Next, I’ll route the hand switch, GPS antenna, and power. There’s a lot to think about.
Why don’t independent front/rear dashcams exist?
I think it would be convenient if there were something like this: For the rear, “an integrated license plate holder dashcam” Power and ground come from the license plate light, and date/time use a button battery.
For the front, a compact main module and camera (not integrated) Put the microSD in the main module, and get power and ground from around the handlebars. Of course, the camera is separate. *Basically, brake 12V and shared ground. Date/time use a button battery.
This way, you wouldn’t need to run wiring from head to tail, and upgrading to a new model would be easy. In theory, even DIY installation would be simple, which I think could be a breakthrough for dashcam adoption.
To be continued.
Dashcam Installation on Honda X-ADV (RH21): Mitsuba EDR-22G.
Vehicle: The latest model Honda X-ADV (Model code: RH21). Work: Installed the Mitsuba Sankowa EDR-22G dual-camera drive recorder. Process: The RH21 model has very complex fairings. We carefully disassembled the bodywork to route the cables safely and invisibly inside the frame. Result: A clean, professional installation that looks factory-made. Essential safety gear for modern riding.



 ポチップ
ポチップ