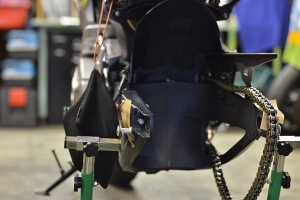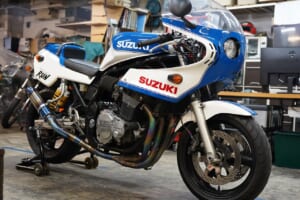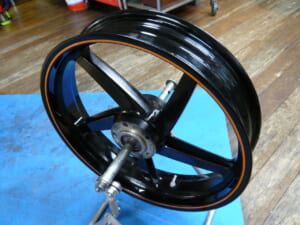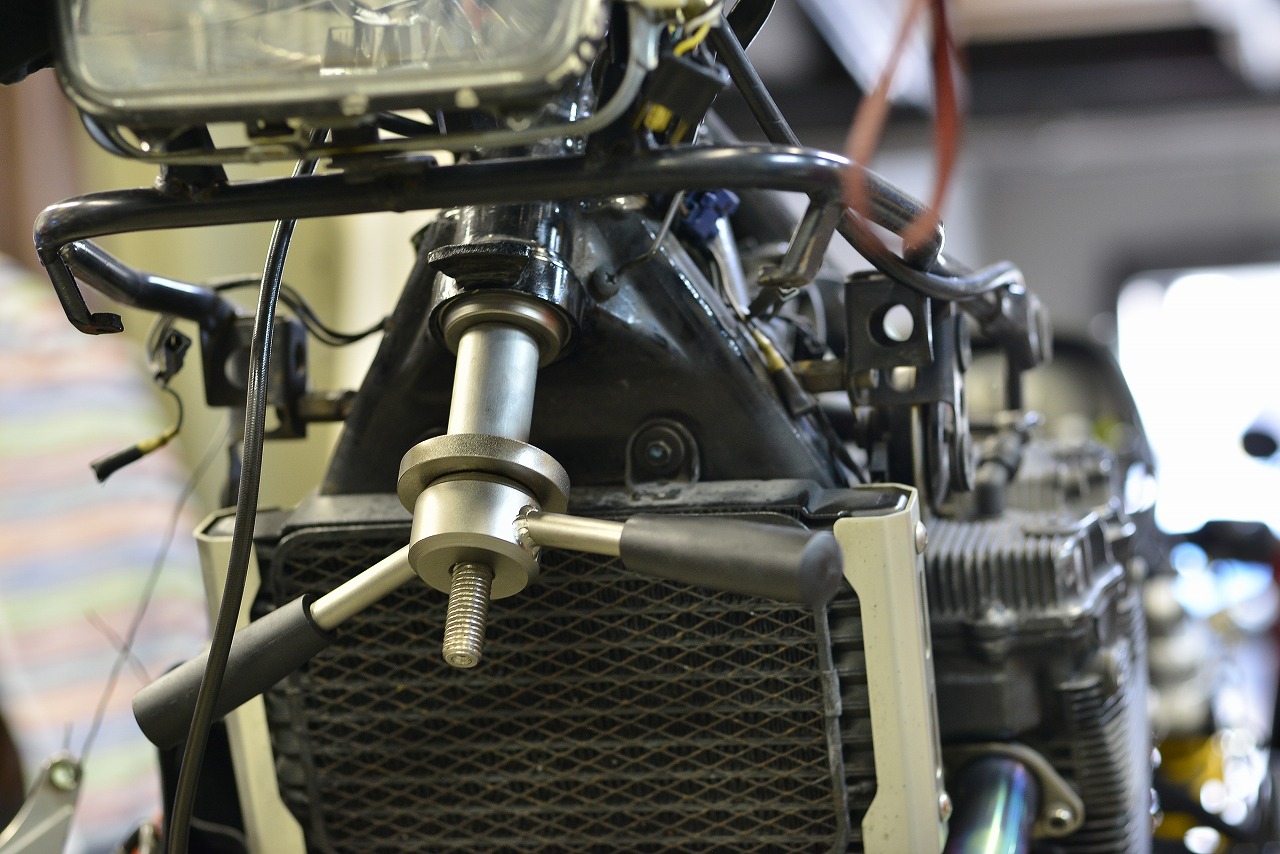
Let’s do front maintenance (fork OH). → The stem ended up needing work too~
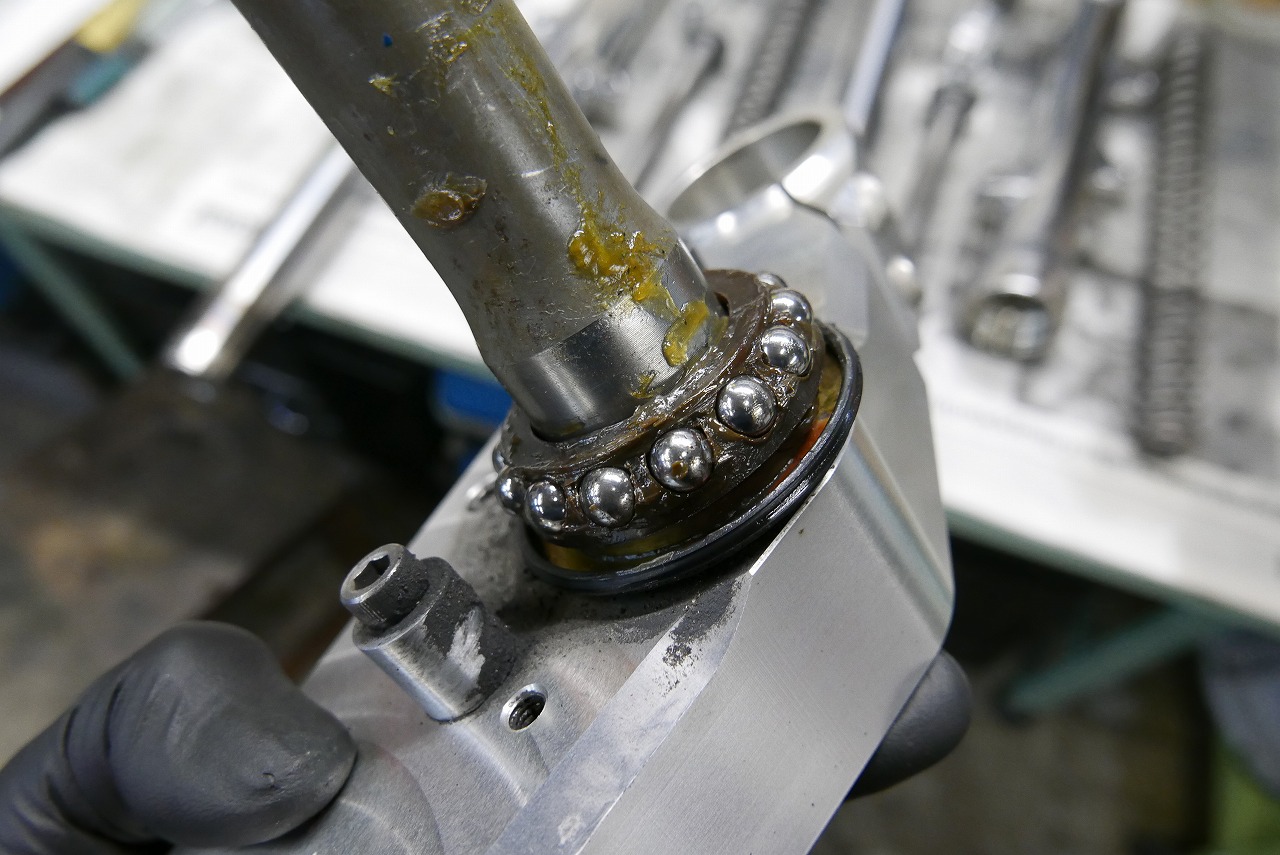
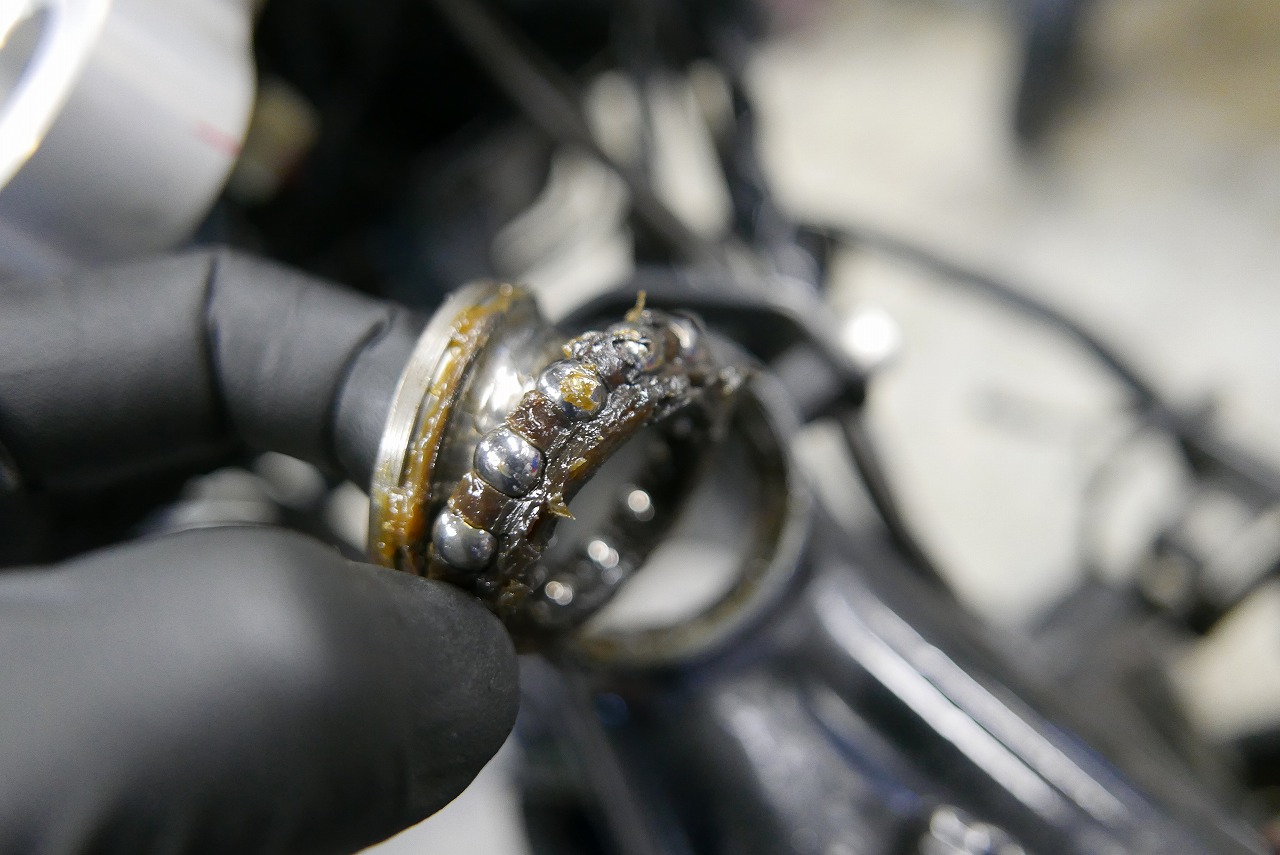
Am I the only one who thinks it’s a good idea to check the stem when you remove the fork?
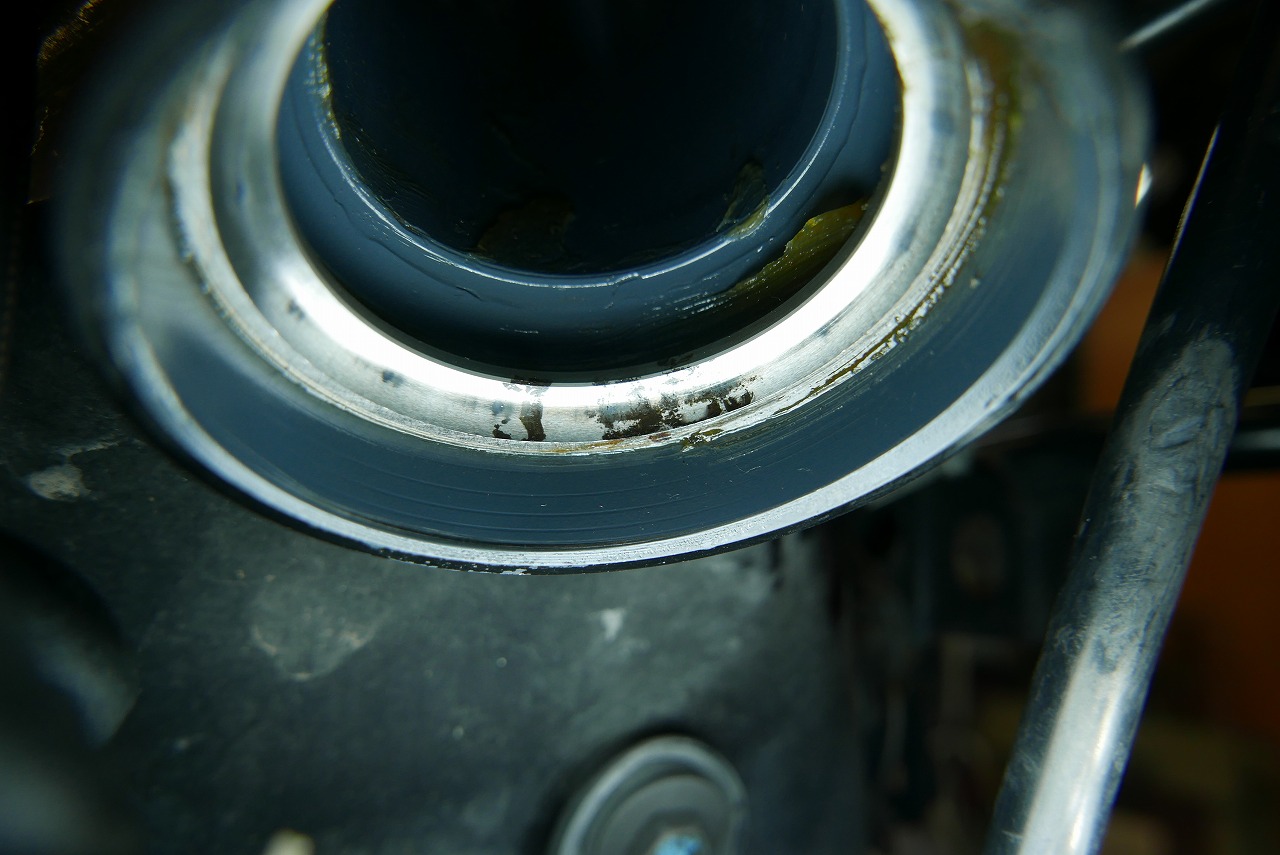
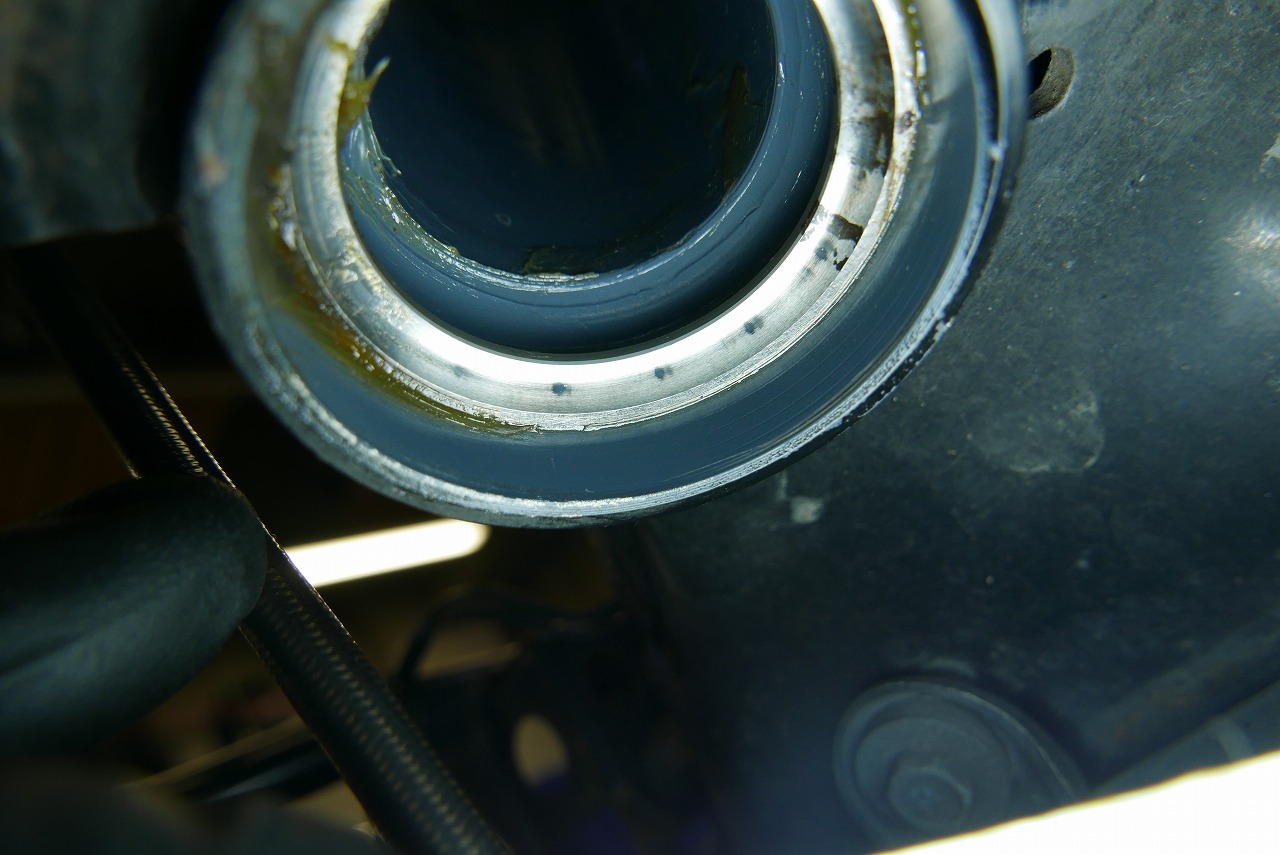
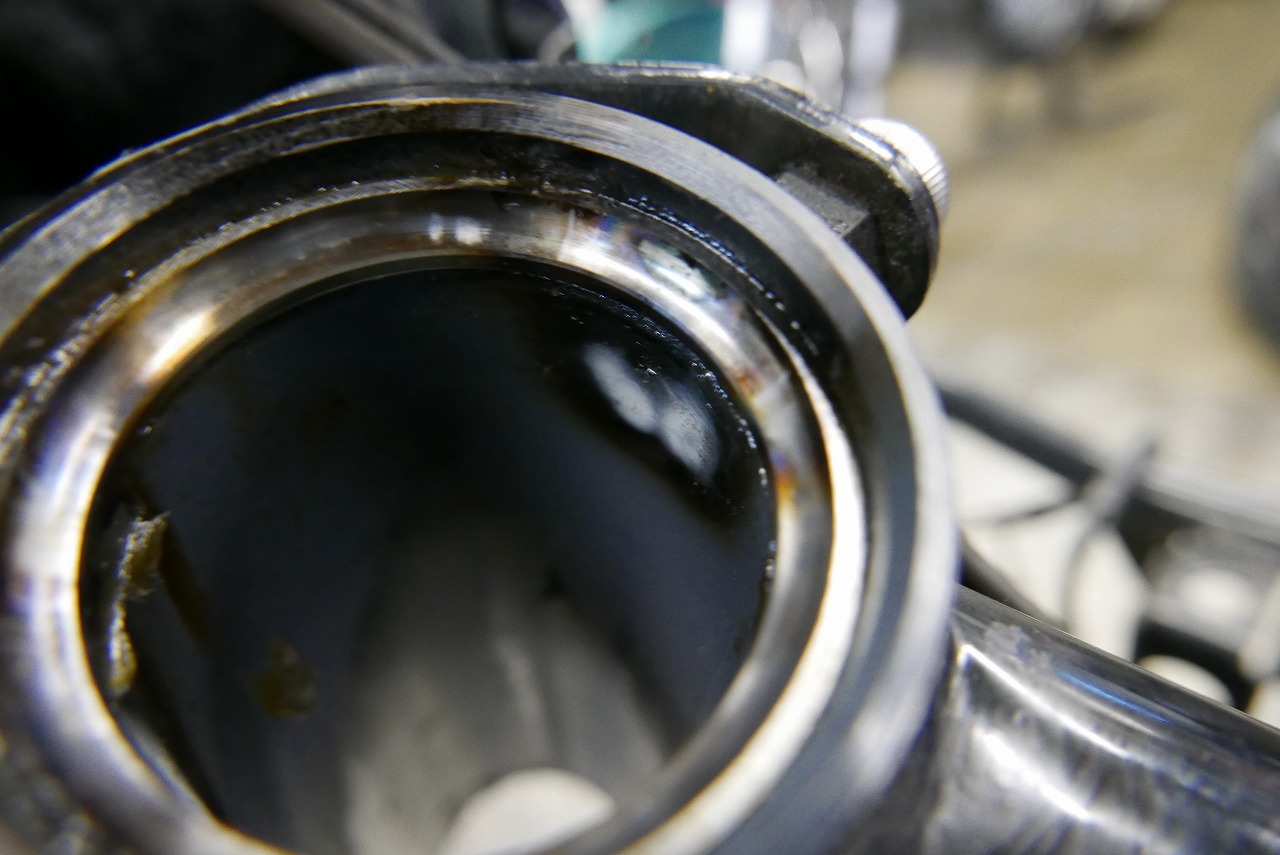
After seeing impact marks and weld discoloration, it became better to replace it.
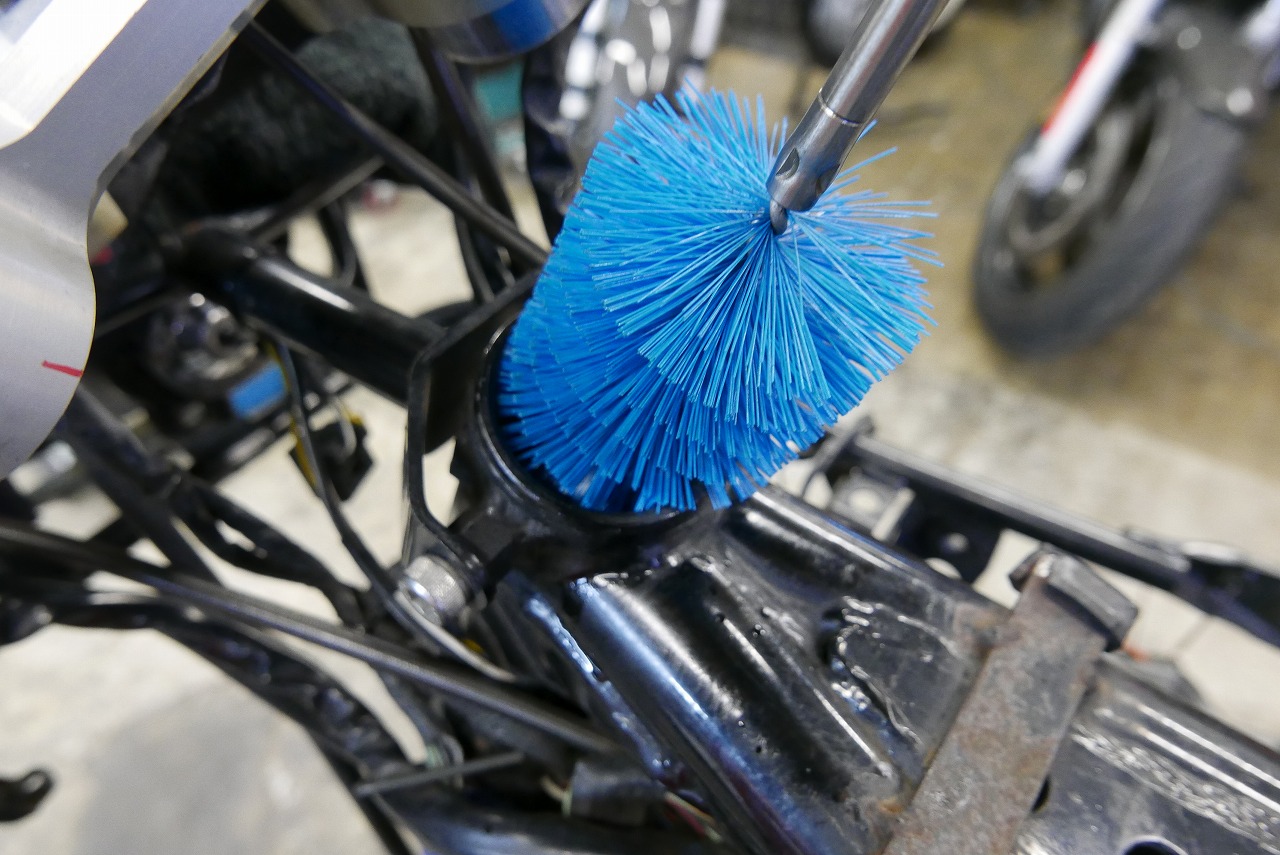
We scrub clean every spot we can reach. A deep clean like this only happens at times like these~
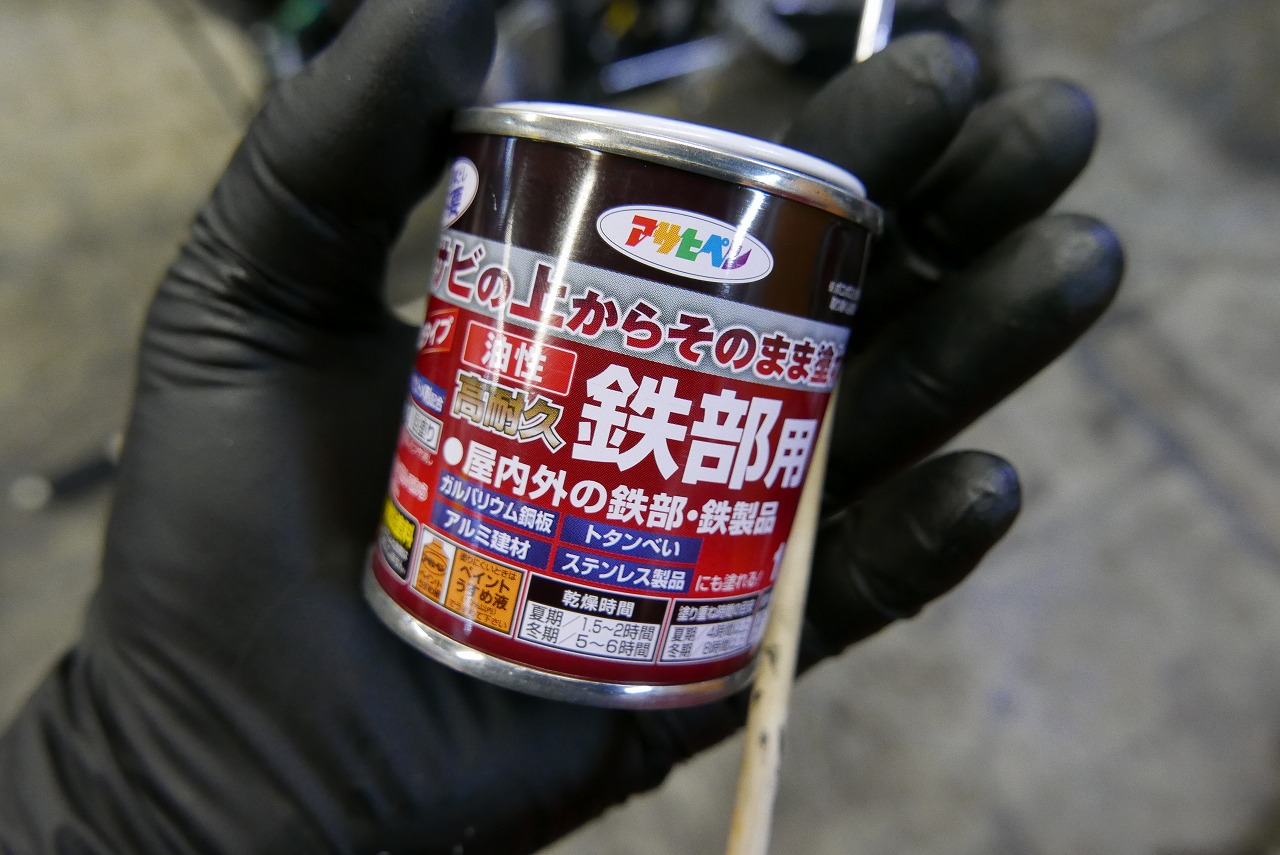
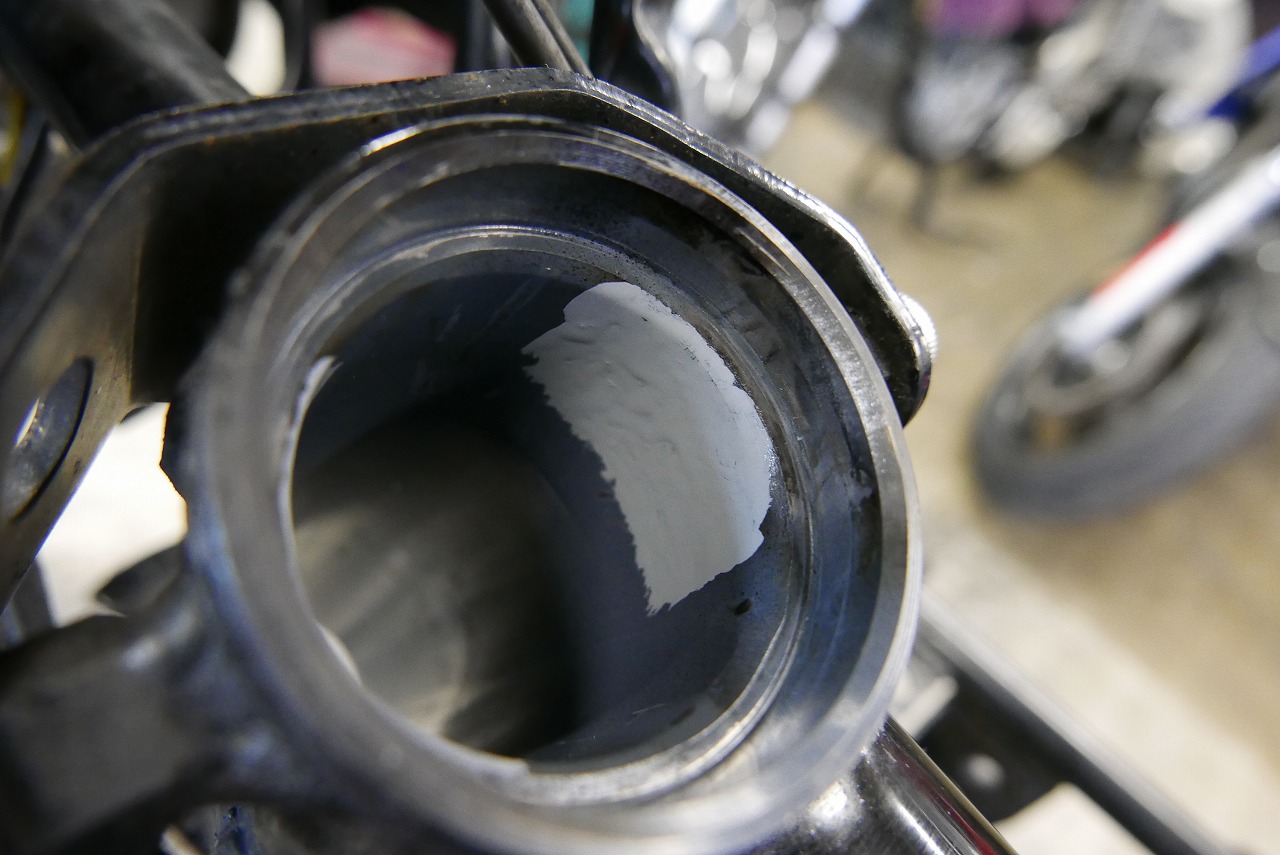
It turns out that portioning things out is helpful for more than just food.
We applied rust protection to the weld discoloration areas.
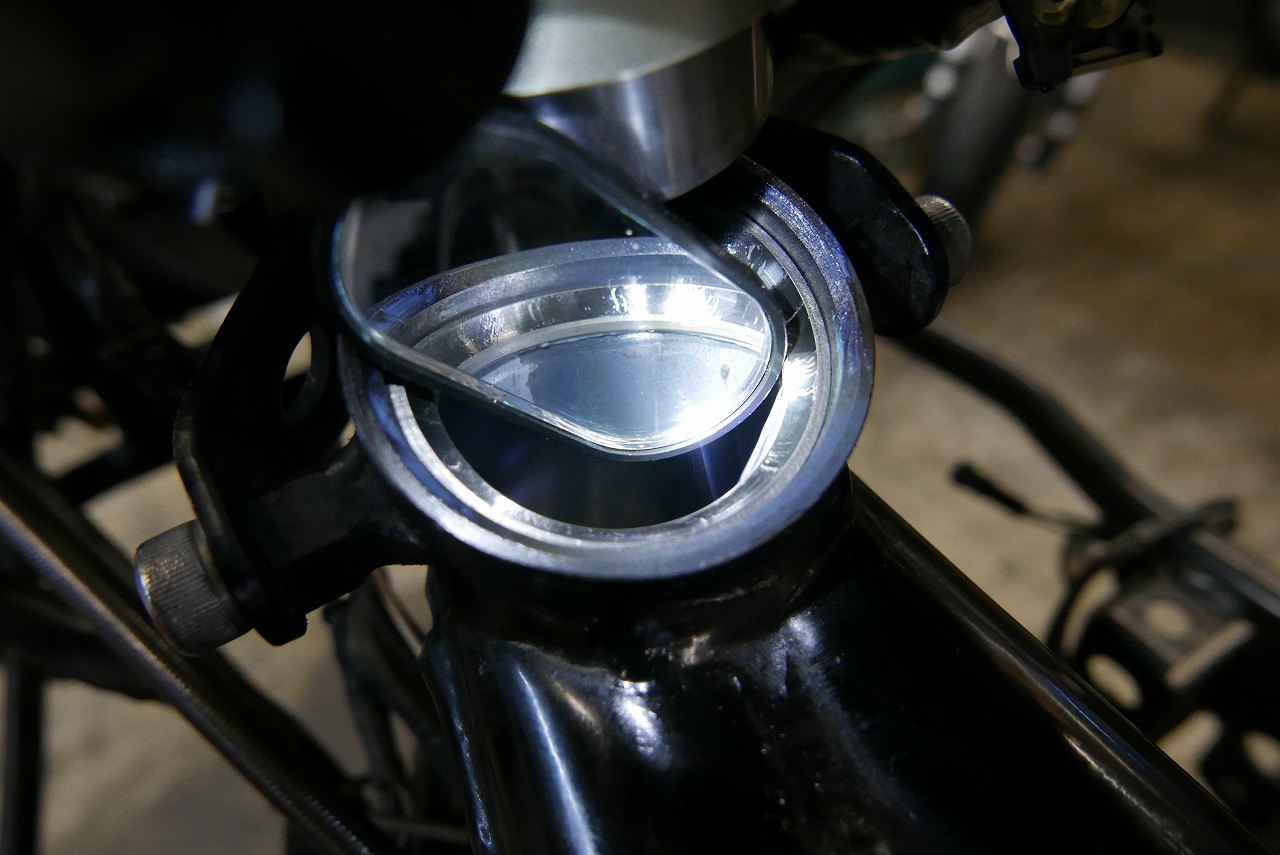
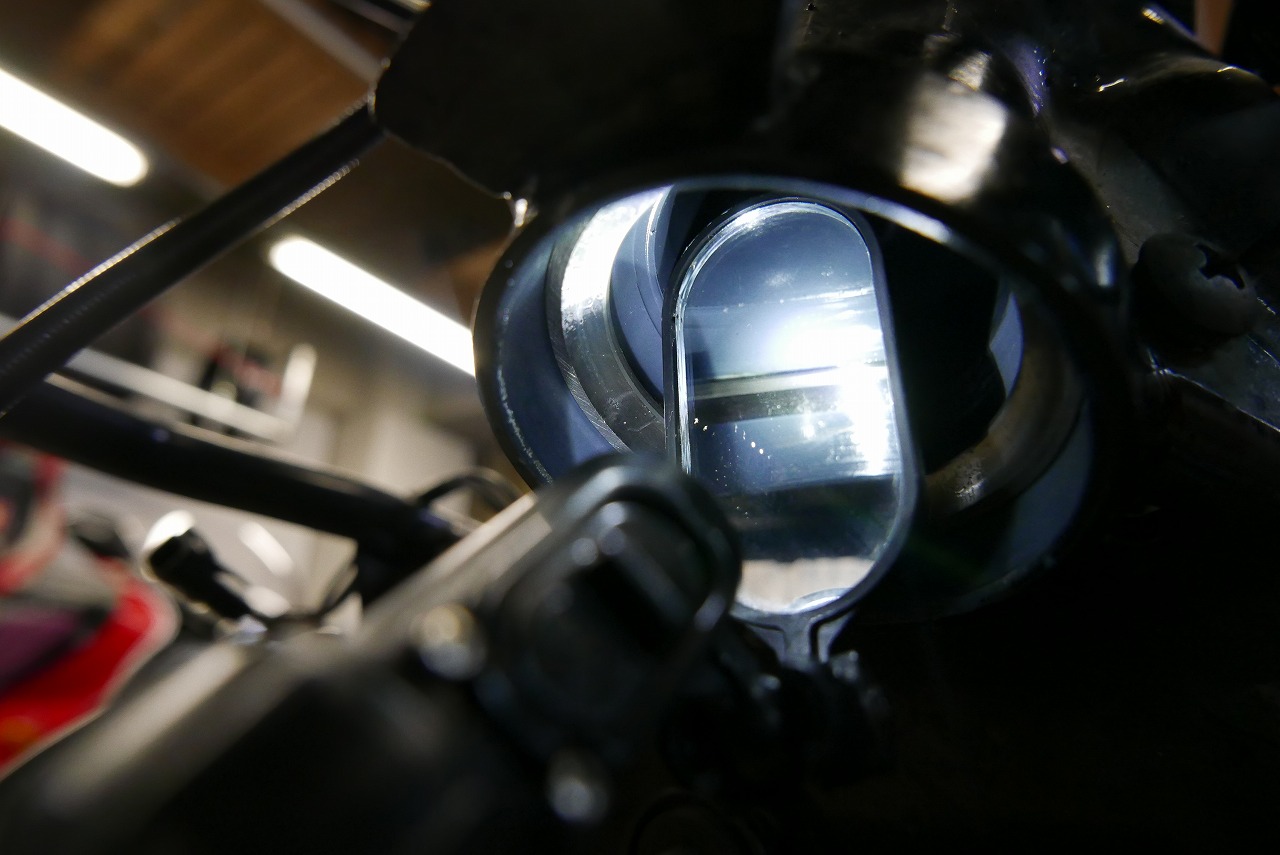
Press-fitting the race and checking it visually gives peace of mind.
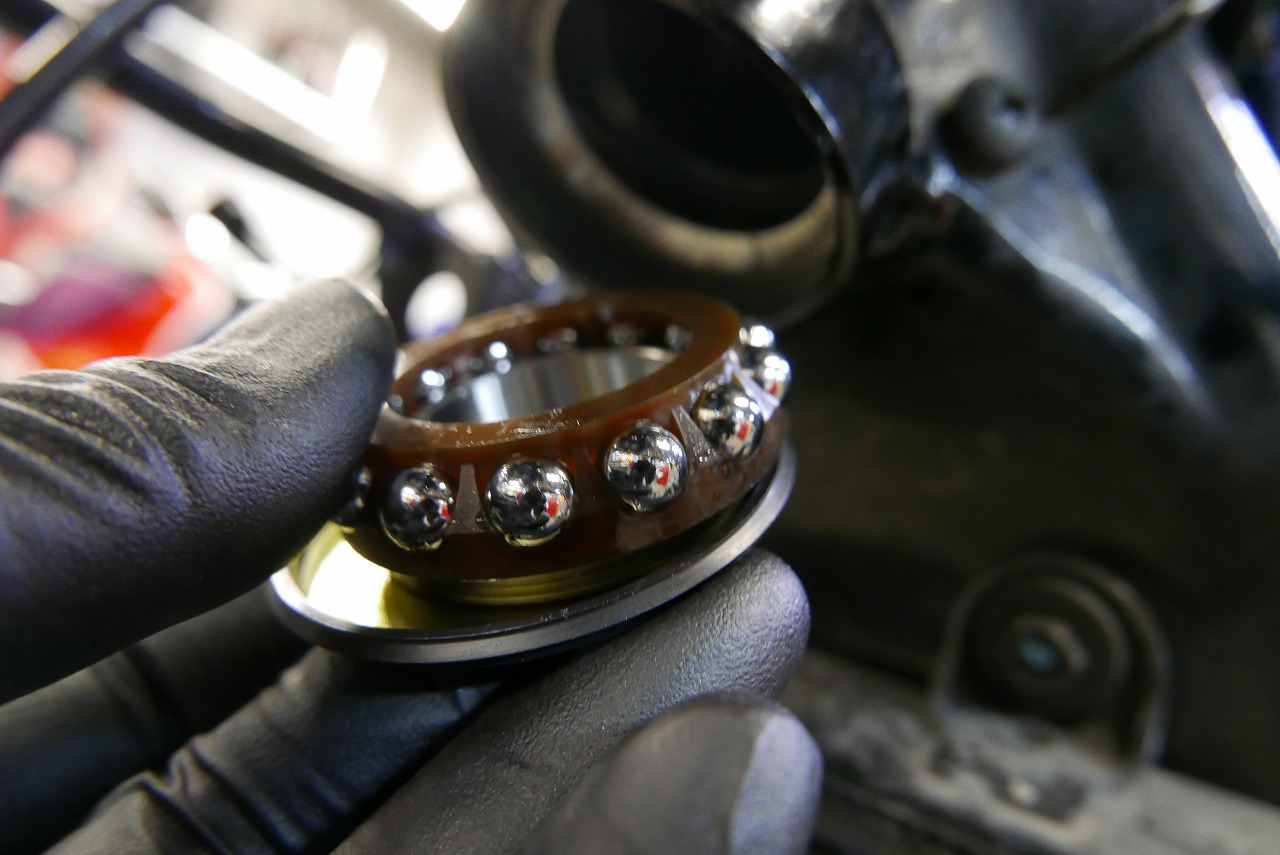
It’s reassuring to check the seal’s effectiveness before assembly.
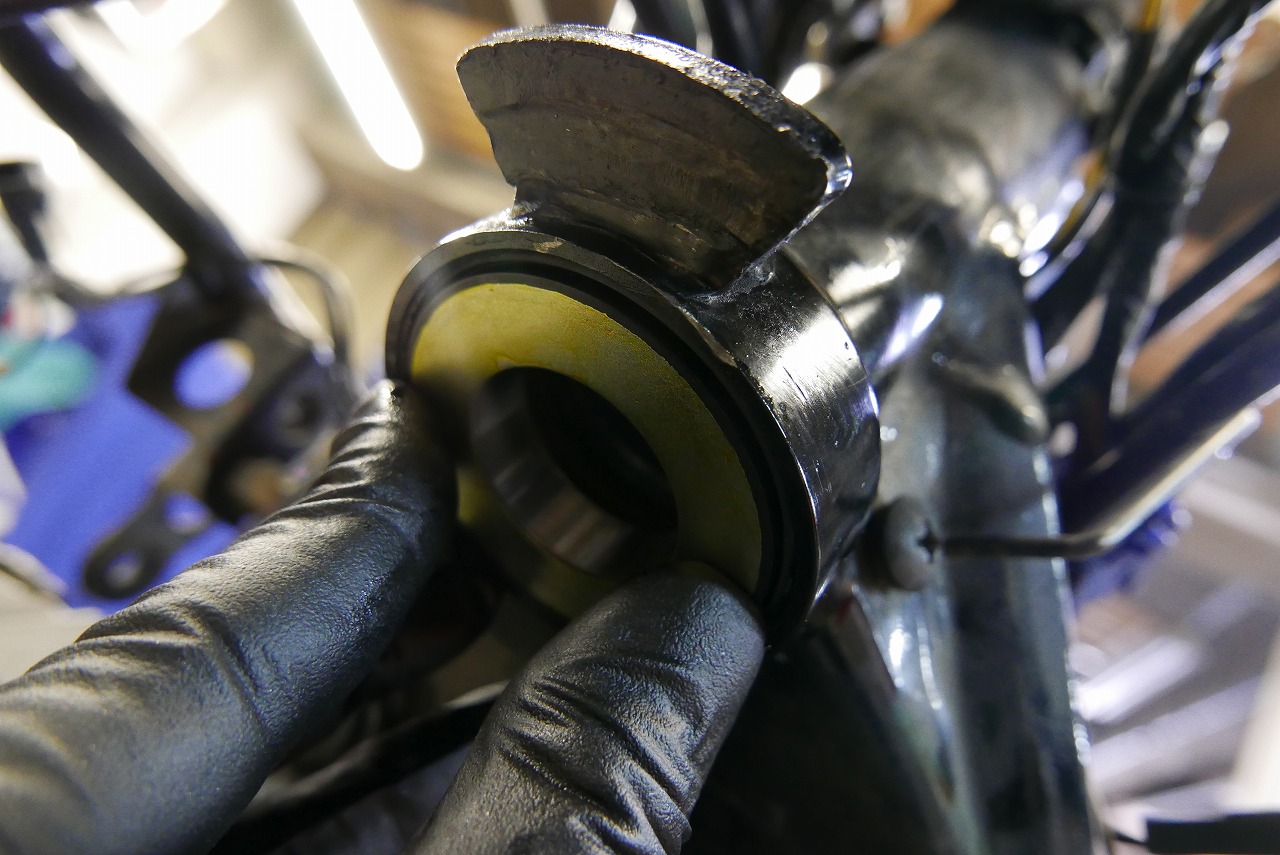
We install it in the configuration above, spin it, and check the seal’s effectiveness. Some units don’t have the seal seated inside the frame, so checking is better if possible.
Units where the outer seal makes firm contact with the frame can have very subtle steering adjustment feel, and suddenly become stiff.
It’s stiff so we adjust it to move → turns out it’s actually loose → right after delivery it gets rattly. That’s the flow.
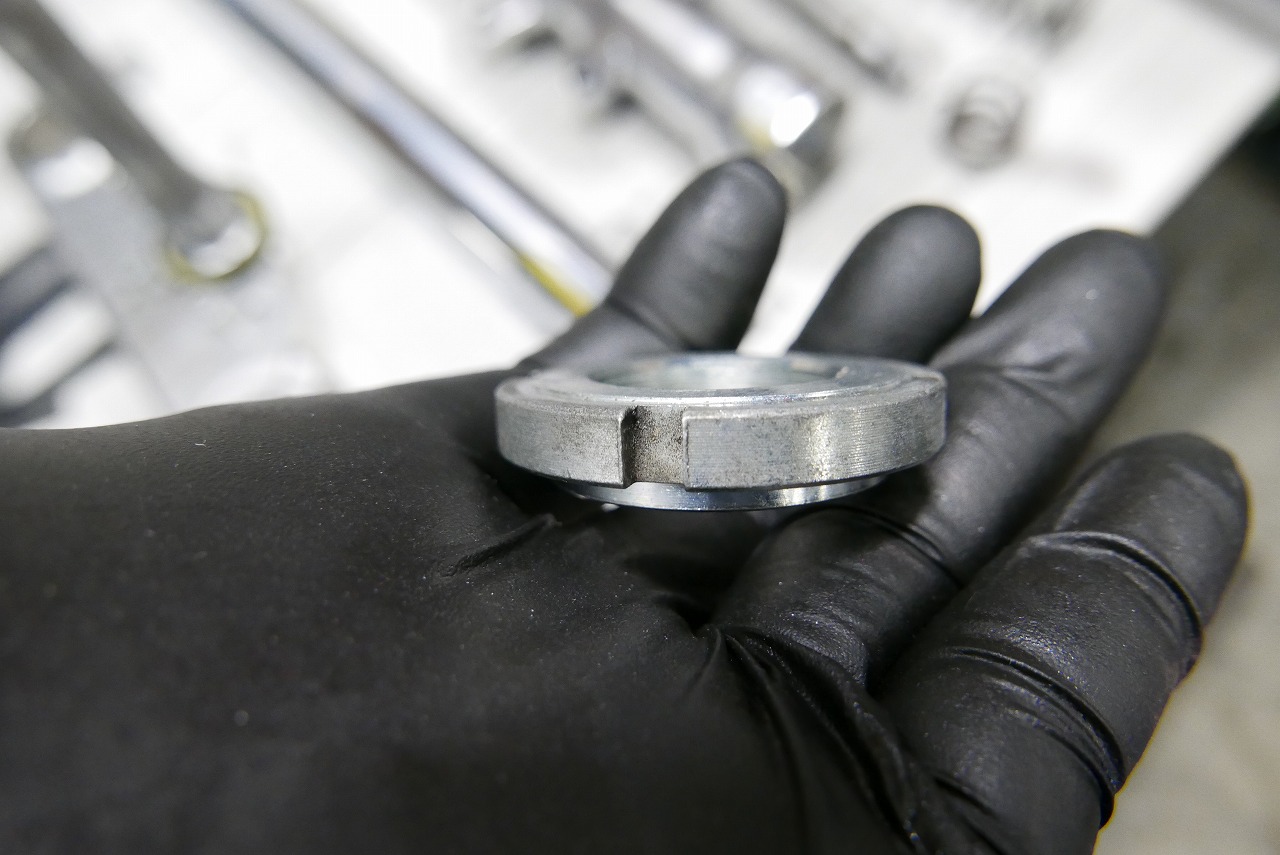
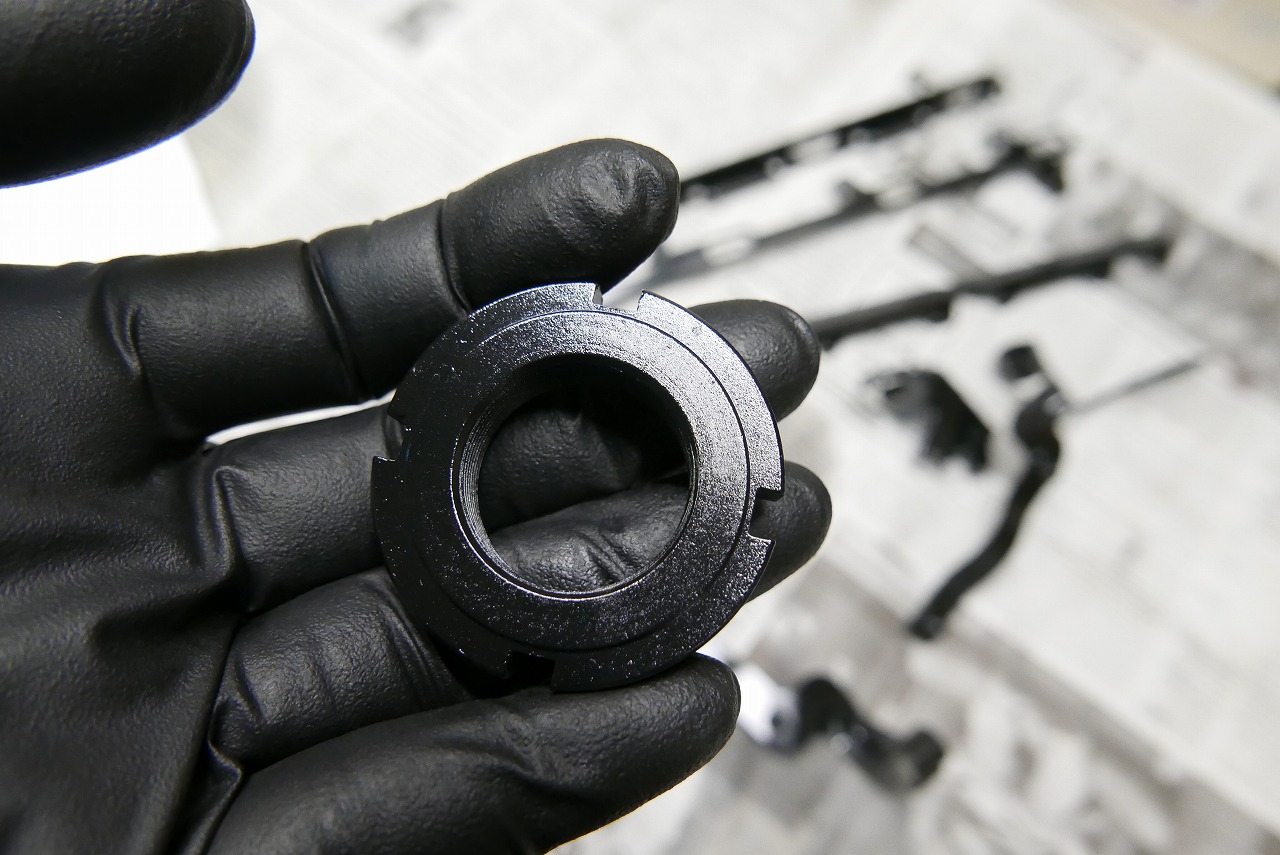
If it’s something I’d do on my own bike, we generally do it—it comes out clean. We applied Guncoat.
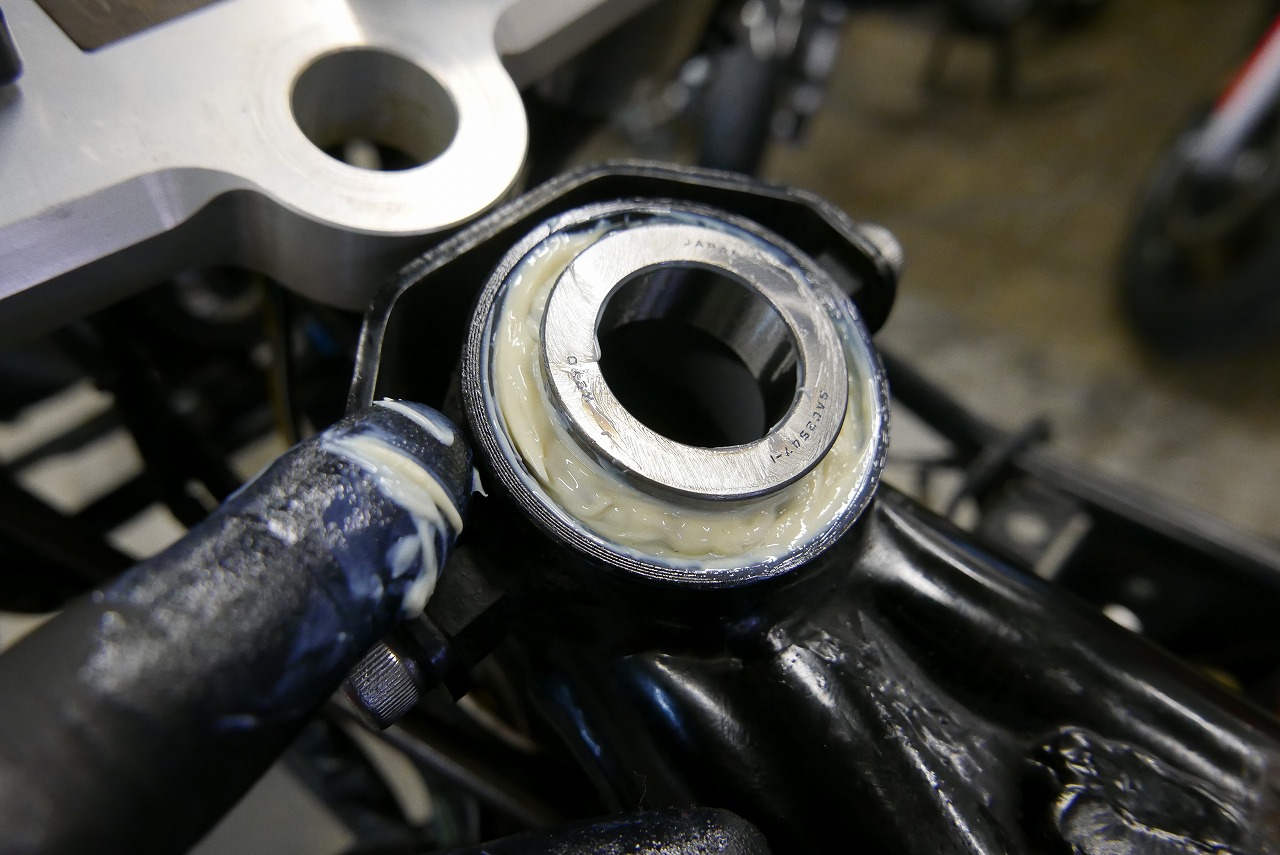
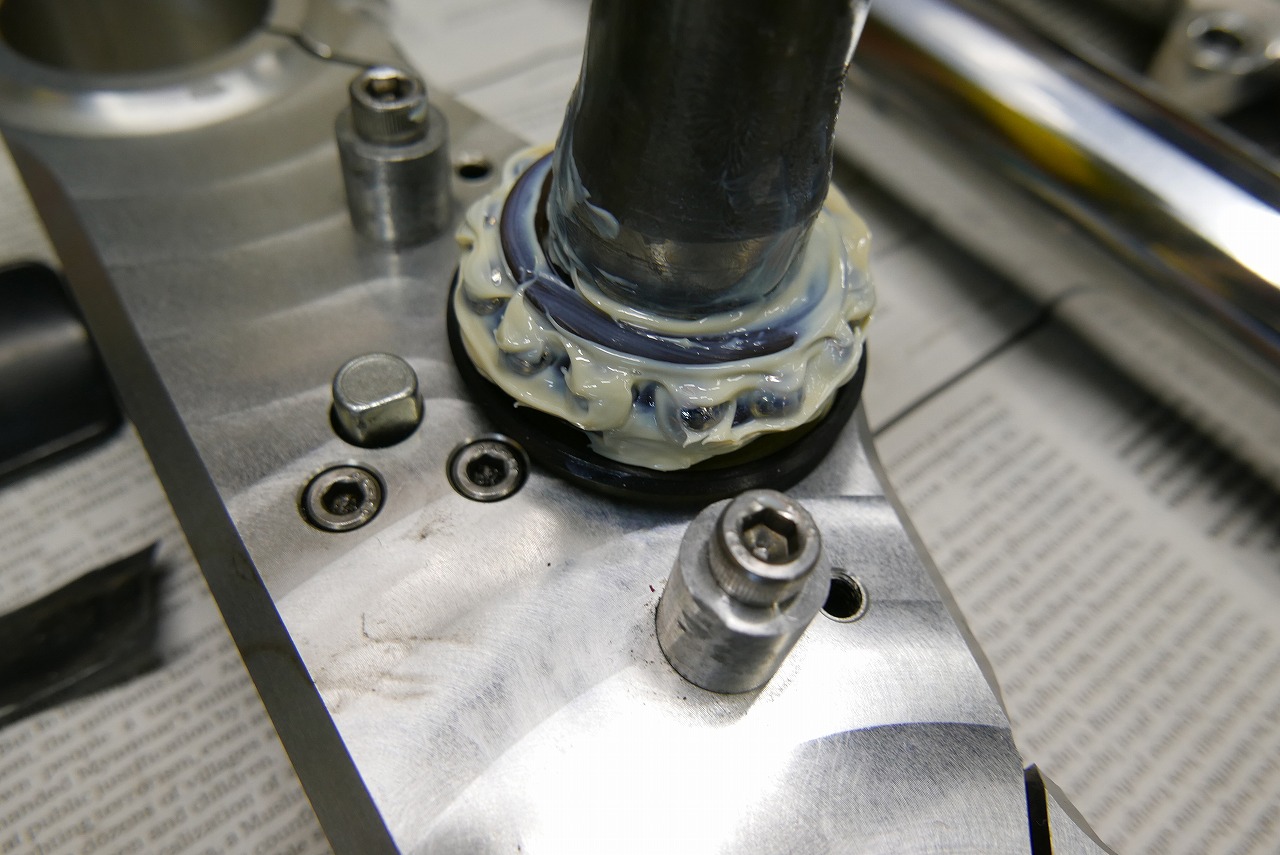
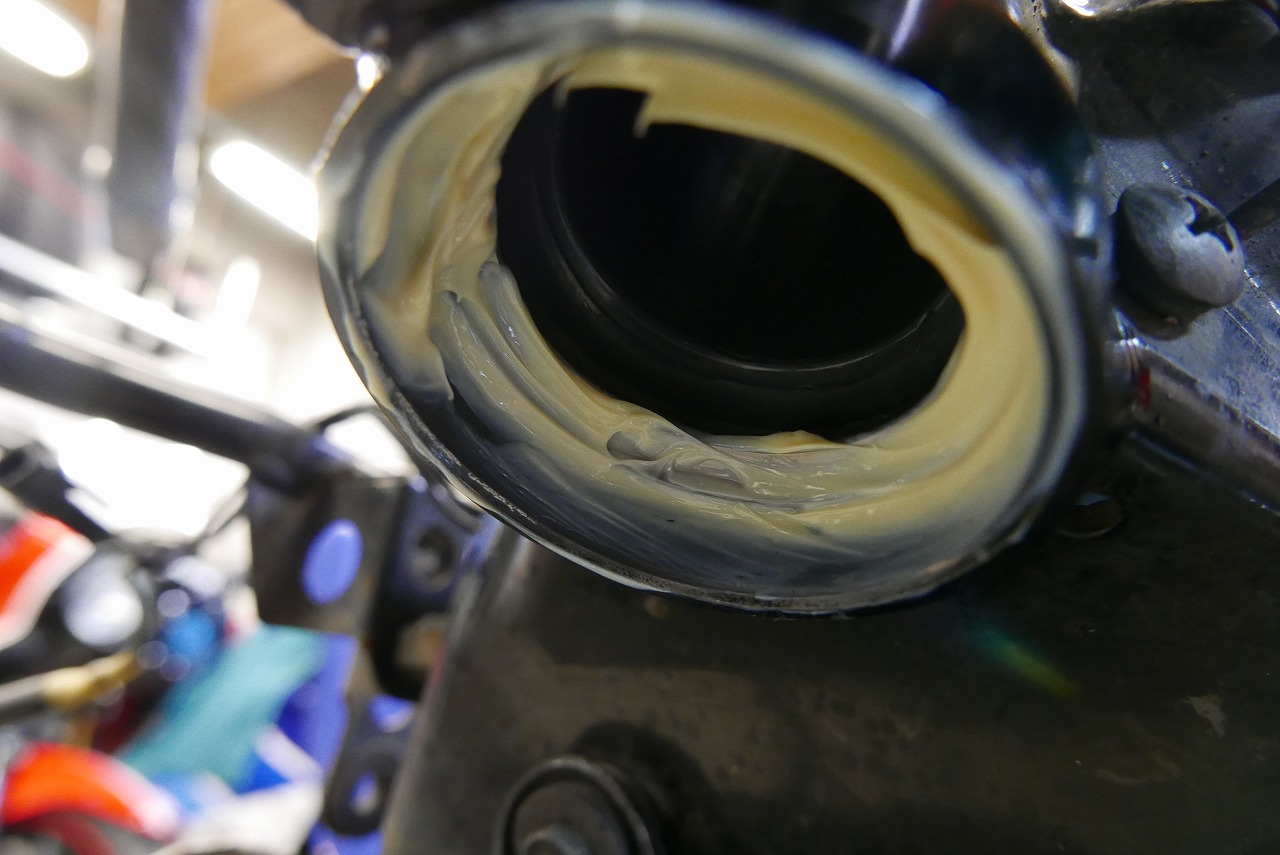
We applied Newtech NC100 thoroughly.
If you shorten the maintenance cycle, you can use a thinner, lower-viscosity grease for even smoother operation.
Steering is a balance between lightness and solid feel—surprisingly tricky, I think.
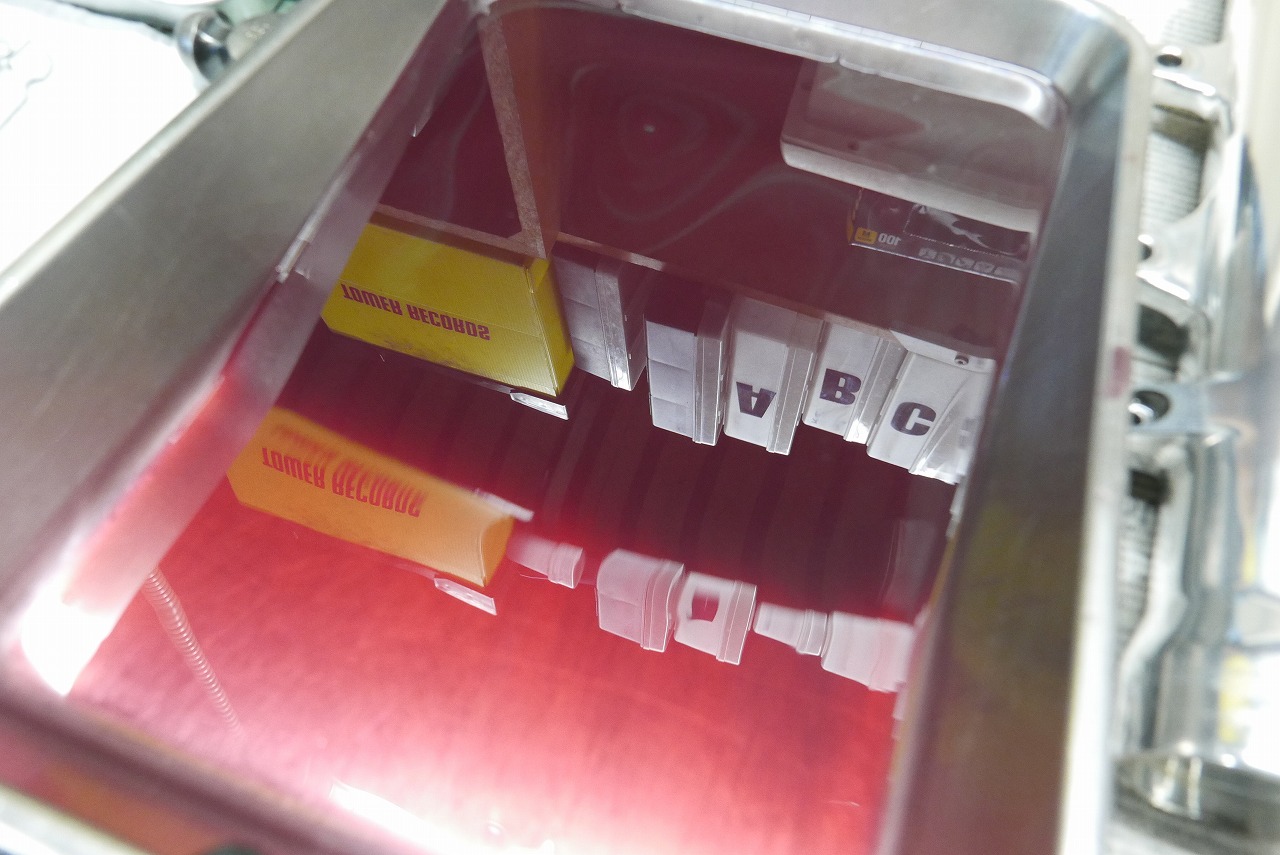
We move right on to the front fork. The fork oil was clean.
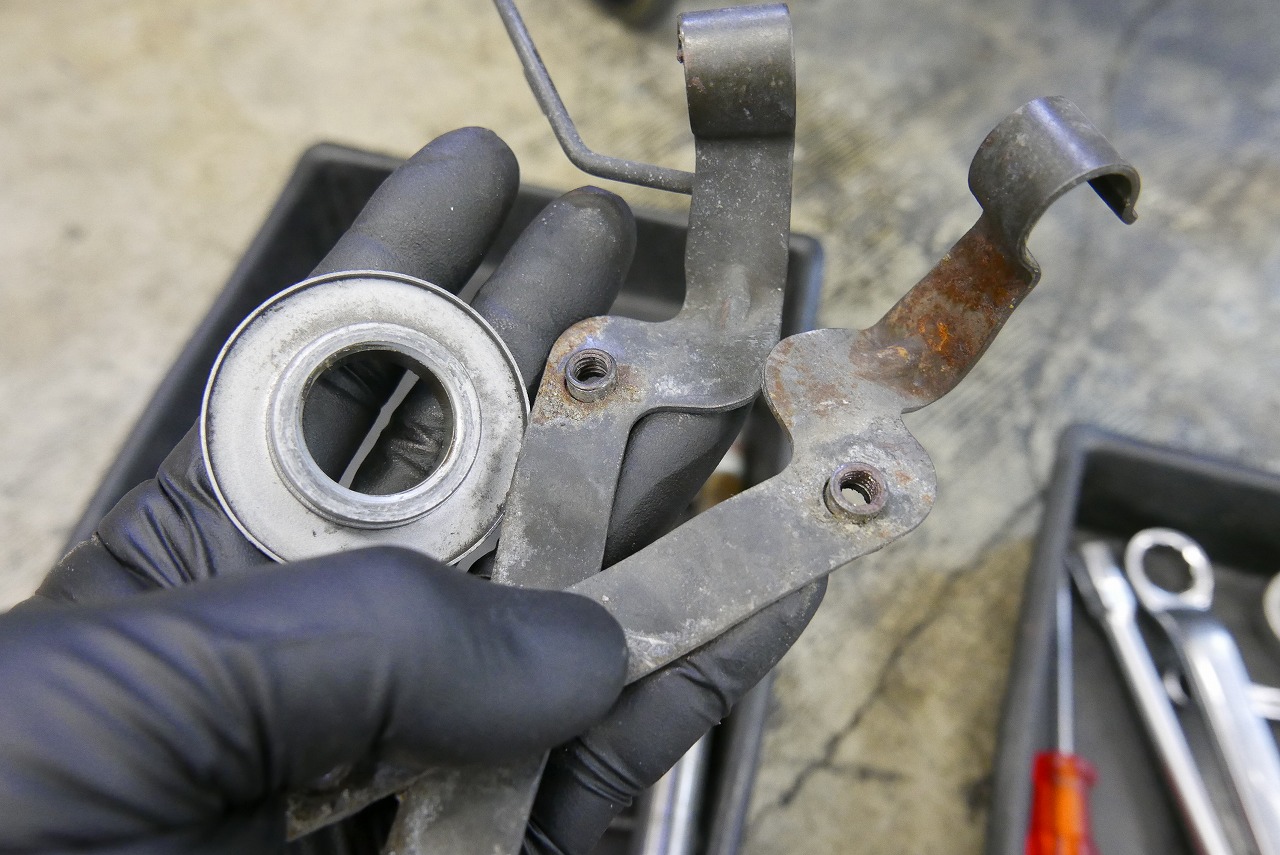
This area isn’t visible either, but we coated it with Guncoat.
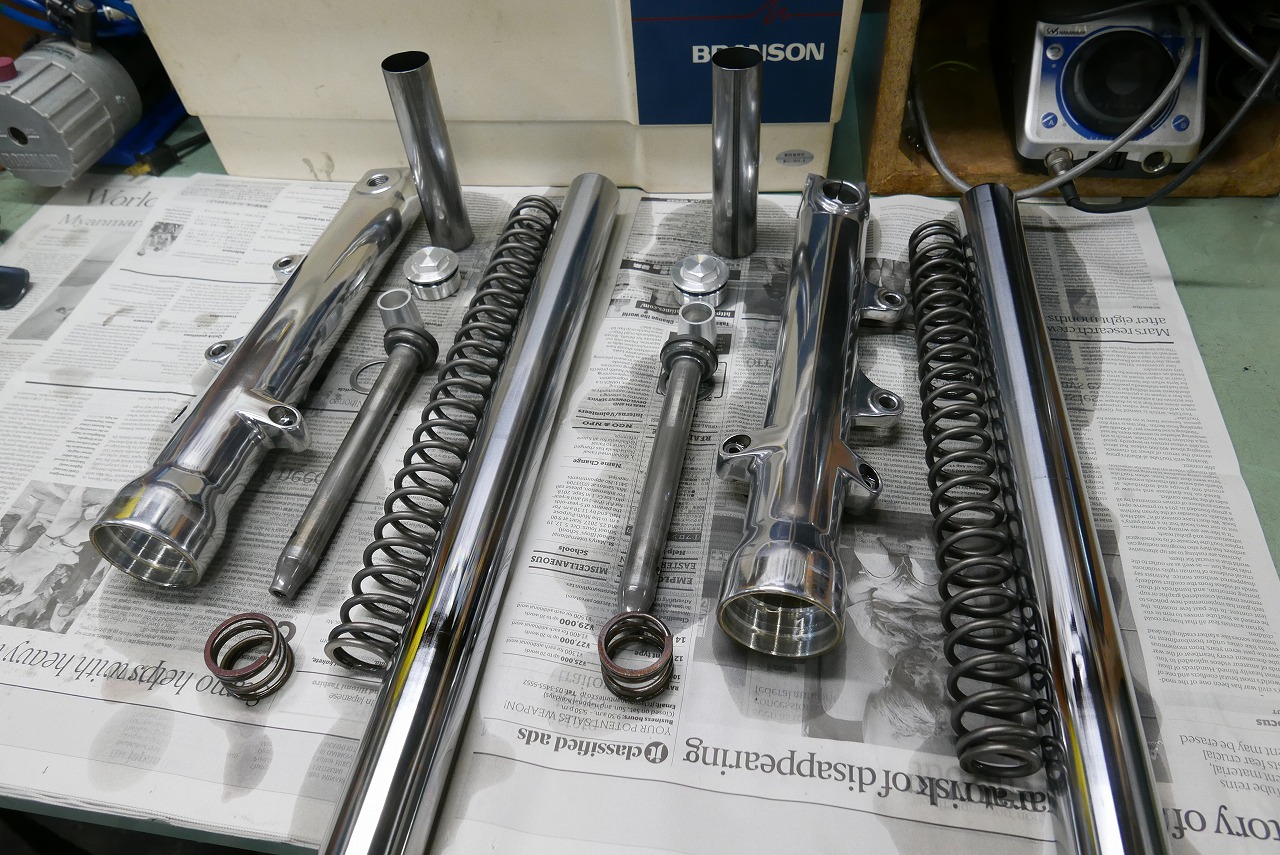
Forks with fewer parts are easy and a real help. Simplicity is truly something to be grateful for.
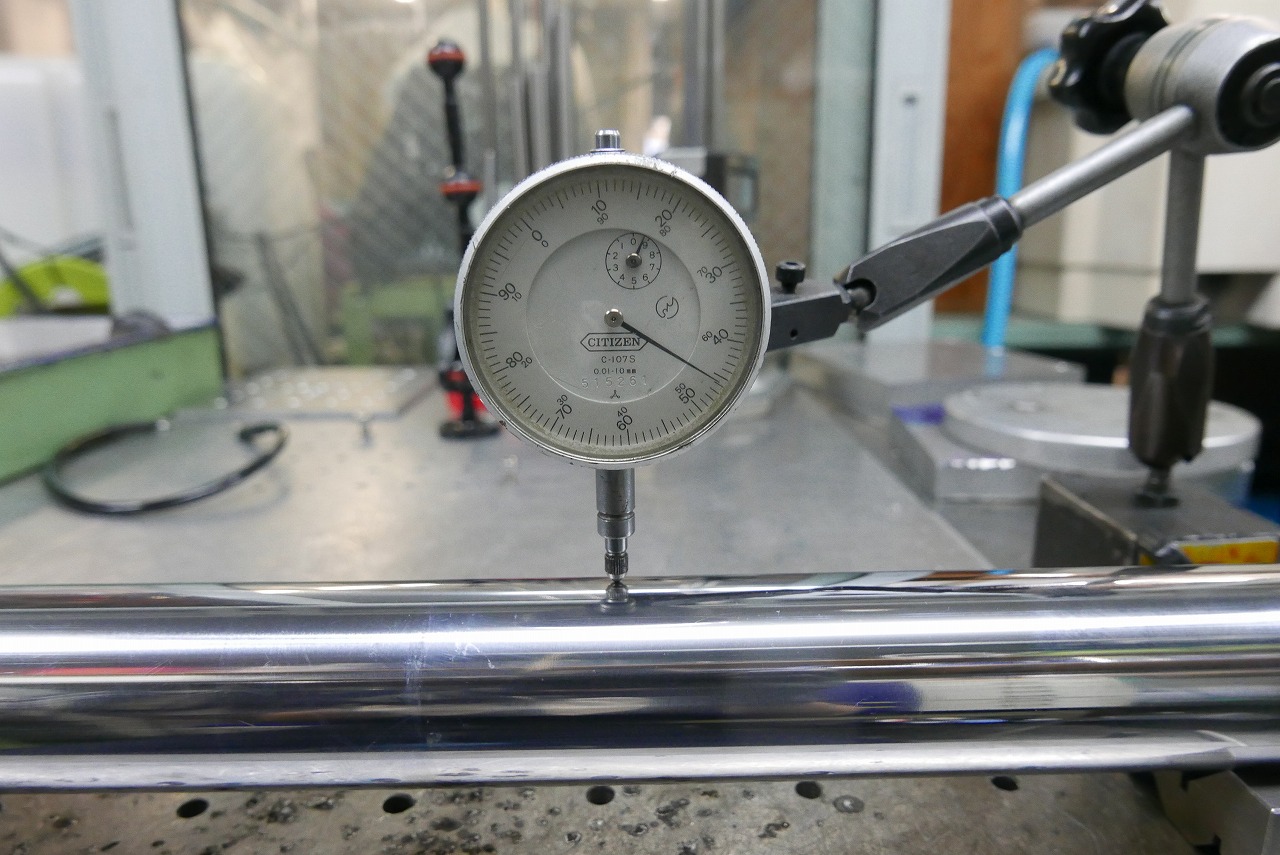
Let’s measure runout before assembly so we don’t end up with ‘Huh? What?’
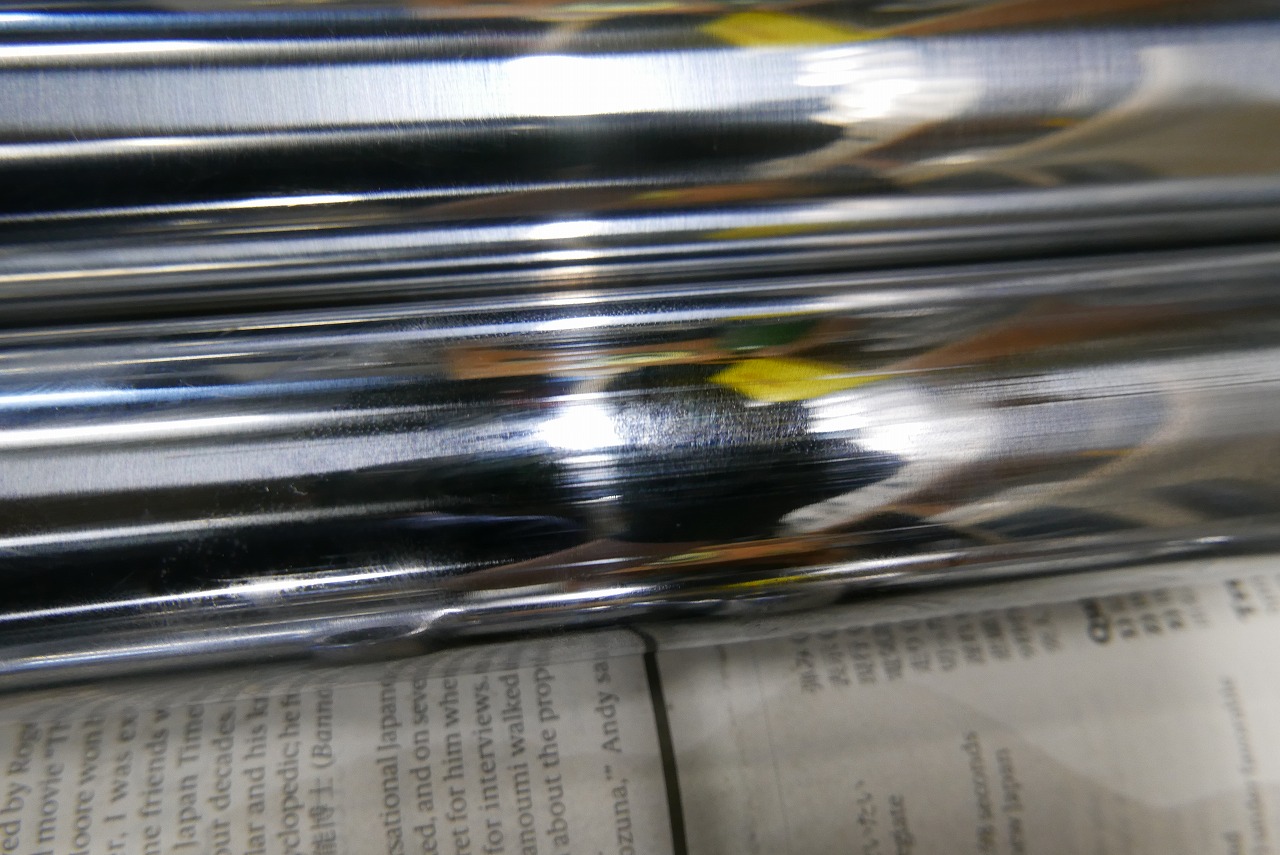
The front fork inner tube always has tight contact on the front side.
Once dirt gets in and you stroke it with a squeaky sound, those scratches won’t disappear. A little cleaning now and then keeps it lasting longer.
If it’s shiny like a mirror, that might be a slight warning sign. Inner tubes should have a somewhat frosted or matte finish. If it’s shiny, finish it with a lateral direction—that’s the way to go.
And if it’s an upright fork, position the non-shiny area toward the front, and you can use all 360 degrees without waste—that means it lasts longer.
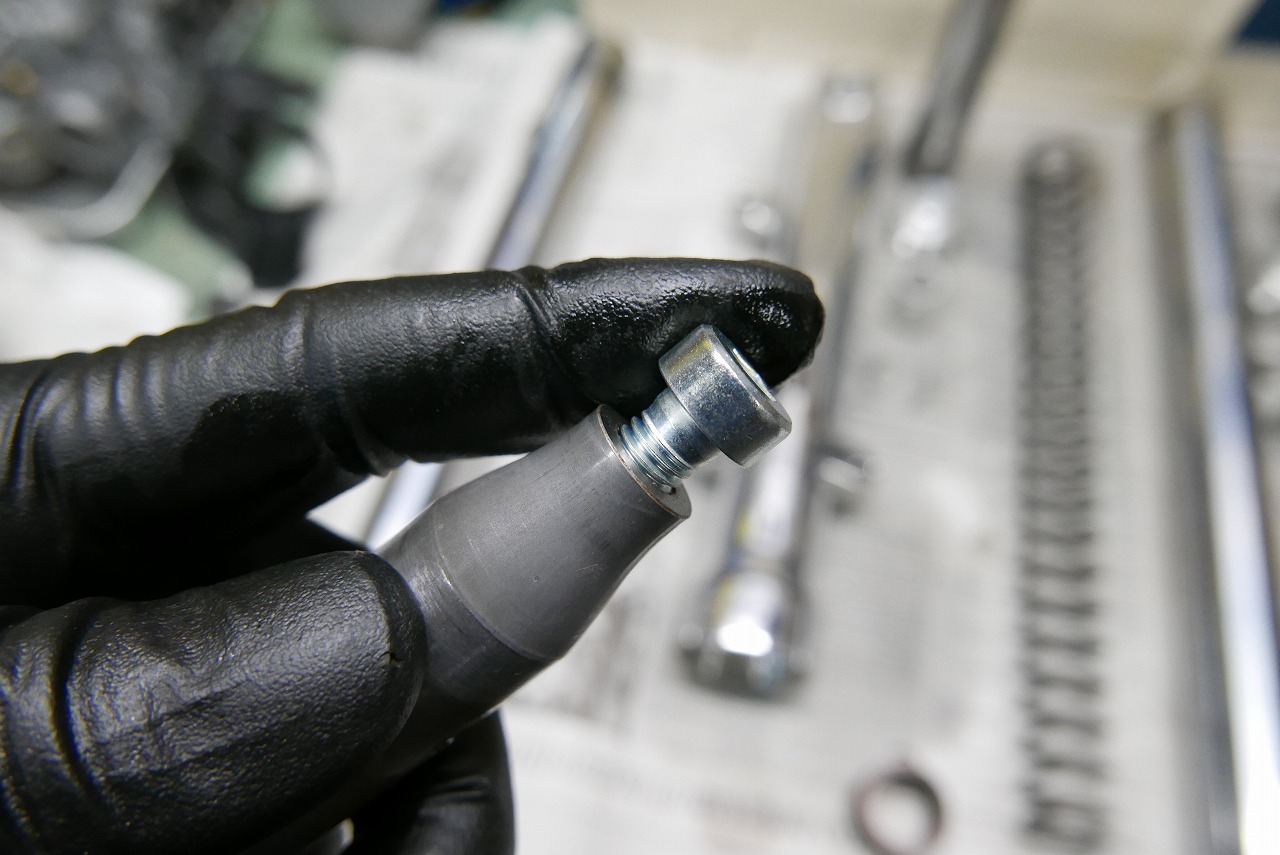
Tap the cylinder rod so the bolt slides through smoothly. If thread-lock remains, the tightening torque becomes ambiguous.
Even if you think with a torque wrench ‘Oh~ solid and tight!’ it might just be stiff, and the wrench only showed a number because of the resistance.
You need to get used to both the torque wrench and the ‘hand torque wrench’ or there’s a possibility of trouble.
Replace cylinder bolts every time. Safety starts with the bolt?
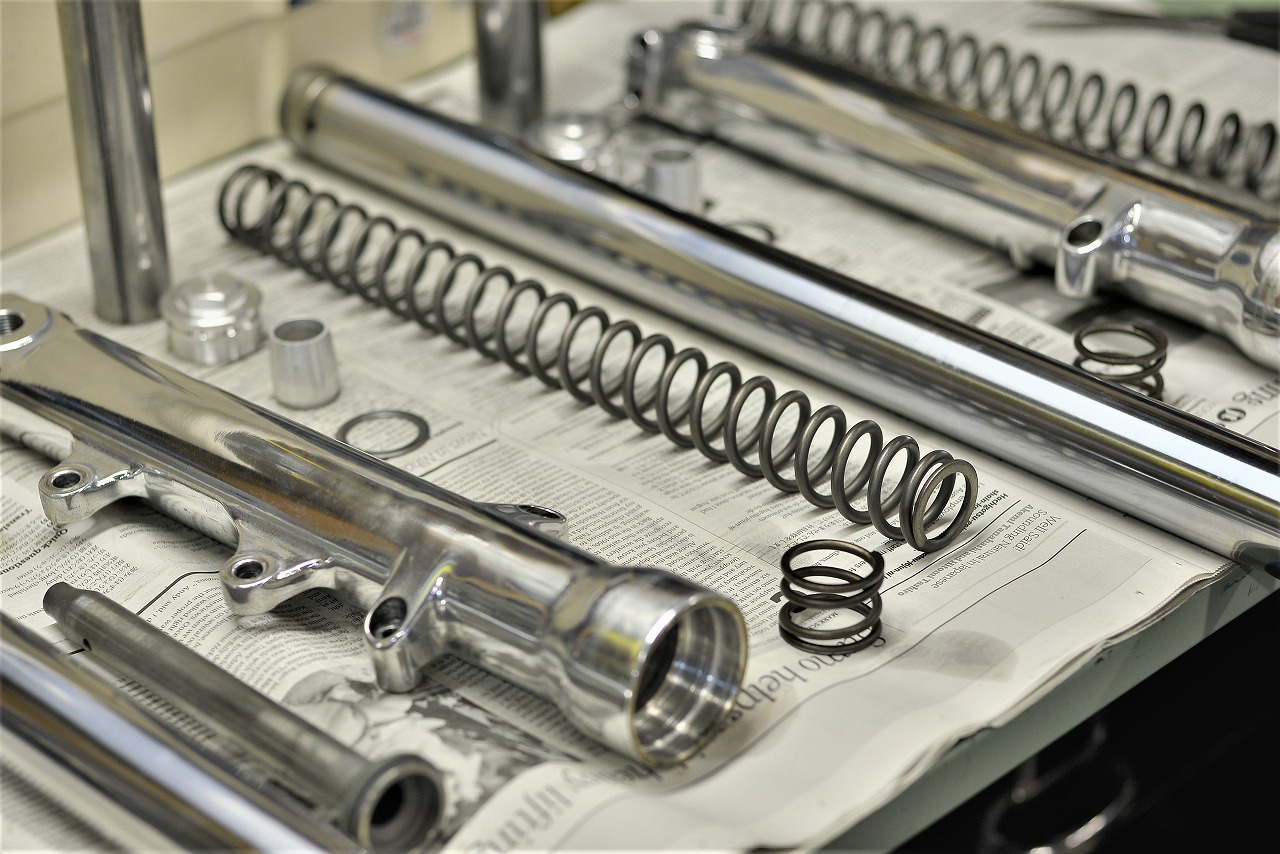
Once checks are done, we wash it one more time and assemble.
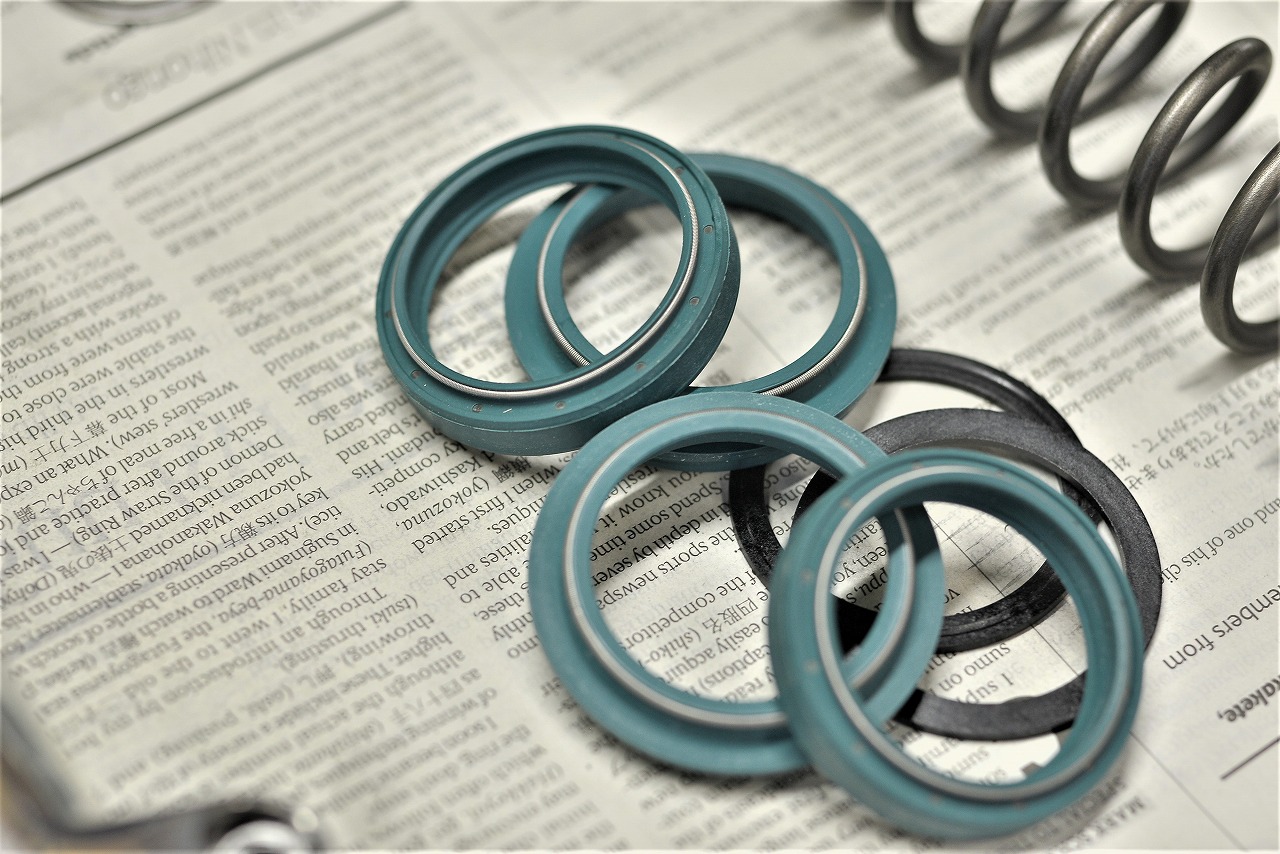
We use SKF fork seals.
Fixing the cylinder rod. Everyone has their way, but first stand it up and lock lightly → fix in a vise and final lock.
If you suddenly turn the fork sideways while it’s rattling, doesn’t it feel like everything drops by the tolerance amount? Well, that tolerance won’t make things dramatically worse or better, but ‘it’s all in your head’? And the good feeling is also in your head? It’s the accumulation of ‘maybe it’s just my imagination.’
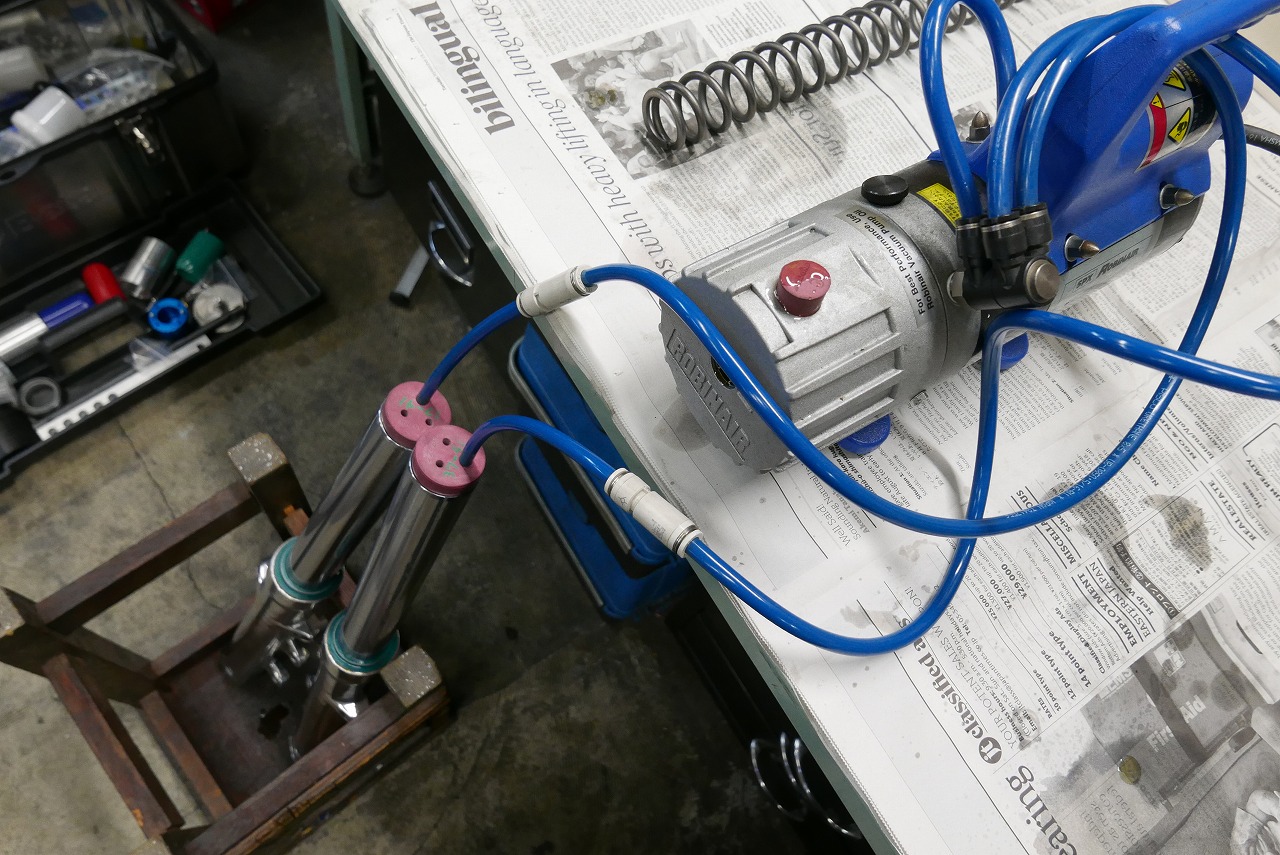
Fork fluid is a blend of Newtech synthetic oil.
Synthetic oil doesn’t thin out (soften) as suddenly when heat builds up.
We bubble it and vacuum-bleed to remove air. When you vacuum-bleed, the top surface gets surprisingly foamy. Ah~ it’s coming out~ you think to yourself.
By the way…
During complete brake disassembly, we also use vacuum-bleeding for air removal. (with a weaker vacuum) Surprisingly, most bikes have air in them. The system of putting it in from the top and pulling from the bottom is somewhat harsh.
Even with some air still in there, you get decent feel, so there’s no problem, but when you bleed it properly, you sometimes think ‘The touch was this firm?’
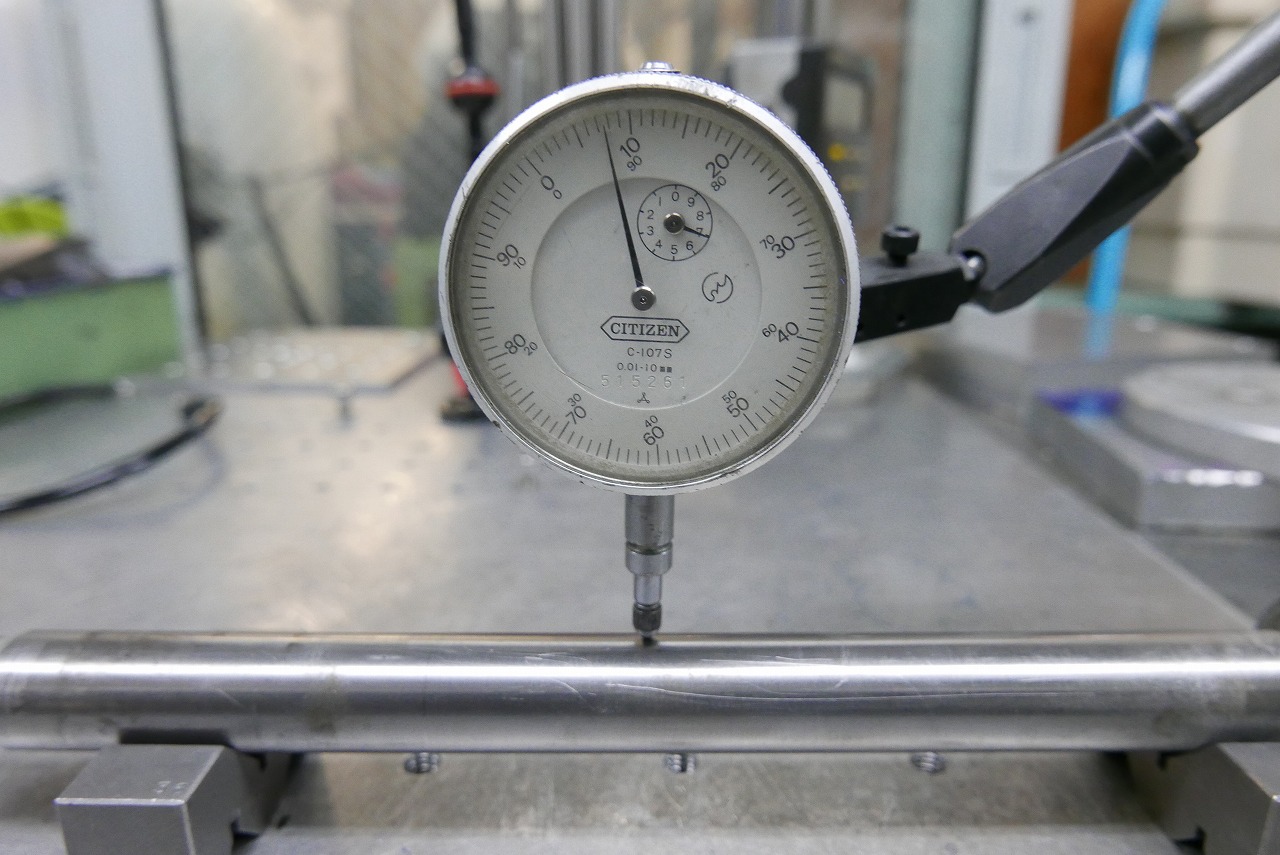
We check everything we can check
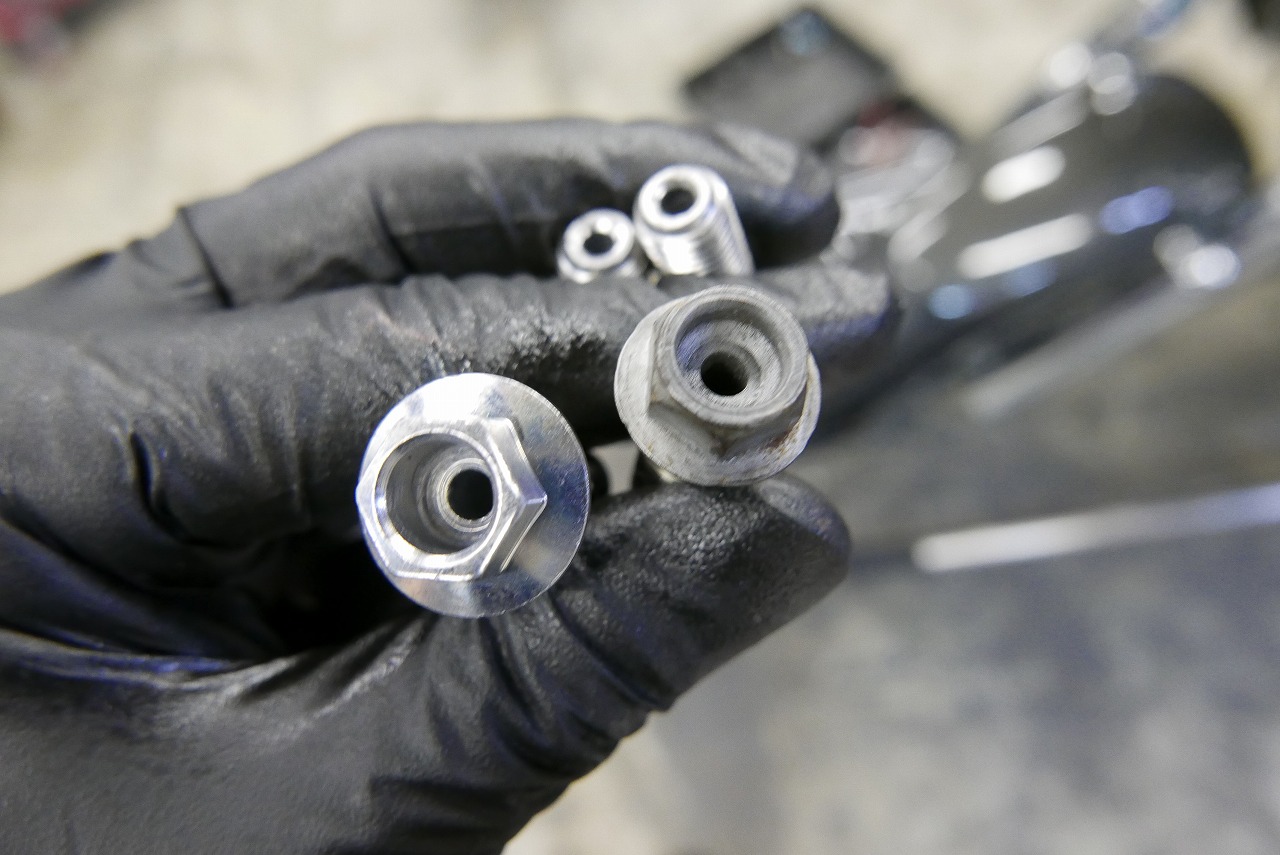
They look similar, but Yamaha’s design really does have soul in every single bolt~
Suzuki being cheap somehow makes sense now?