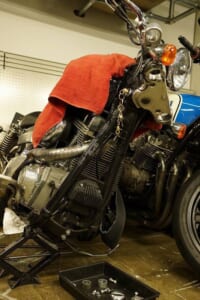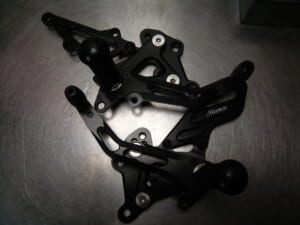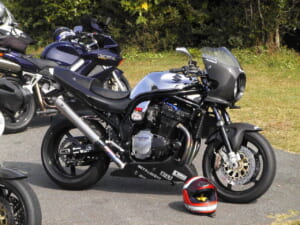
It’s almost done right out of the gate. When there are a lot of things to think about, there are fewer photos.
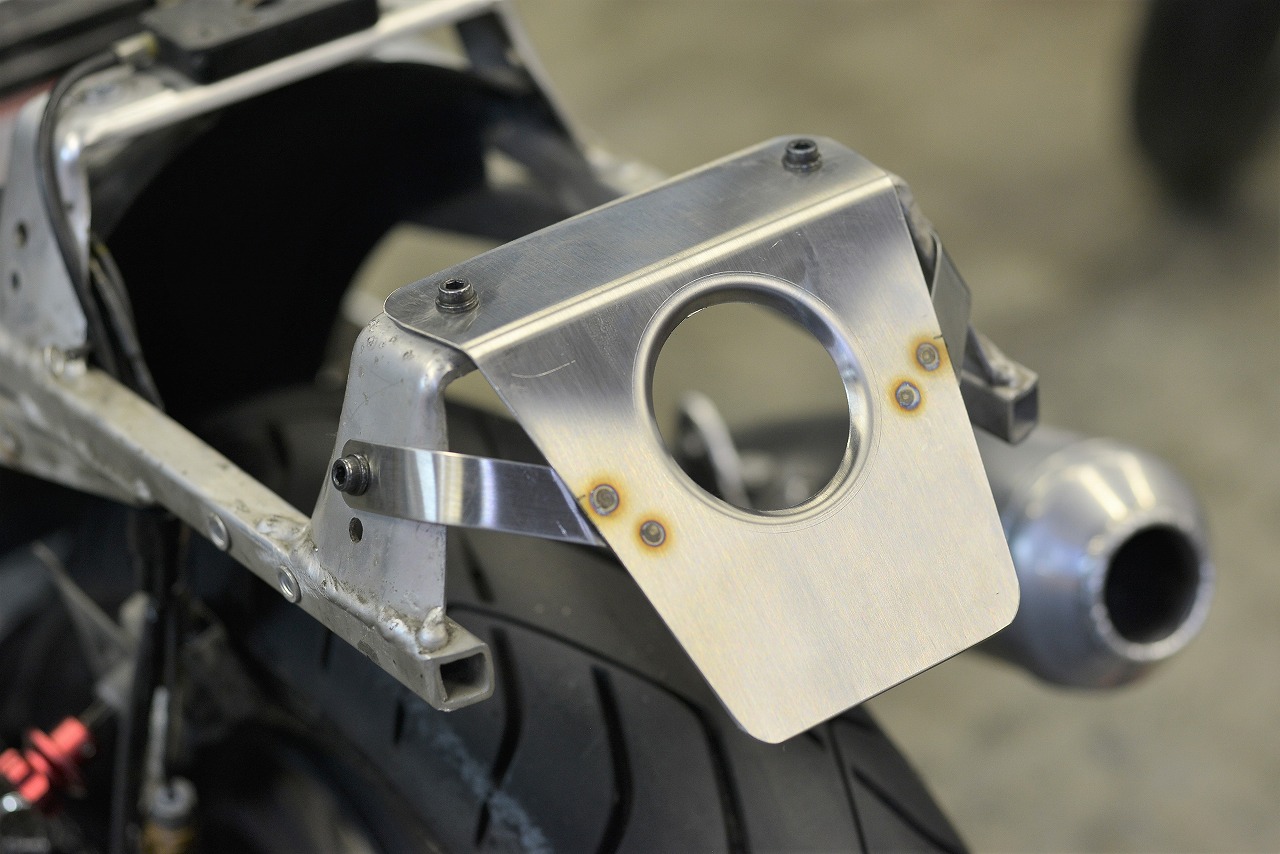
At this point, it’s quite different from the original plan. It’s a relatively easy sheet-on spot welding strategy.
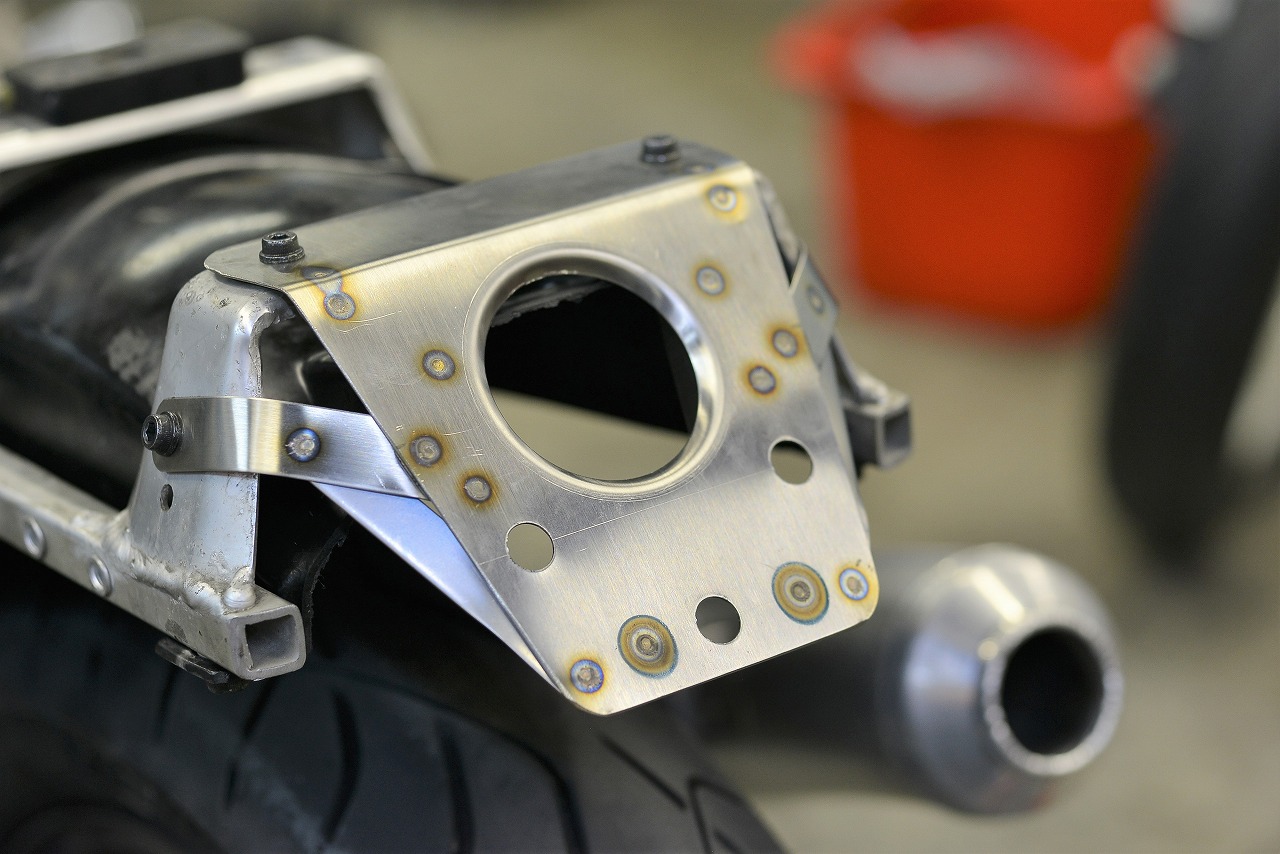
I kept tapping away thinking it felt a bit weak, and it ended up like this.
On the surface it doesn’t look that different, but…
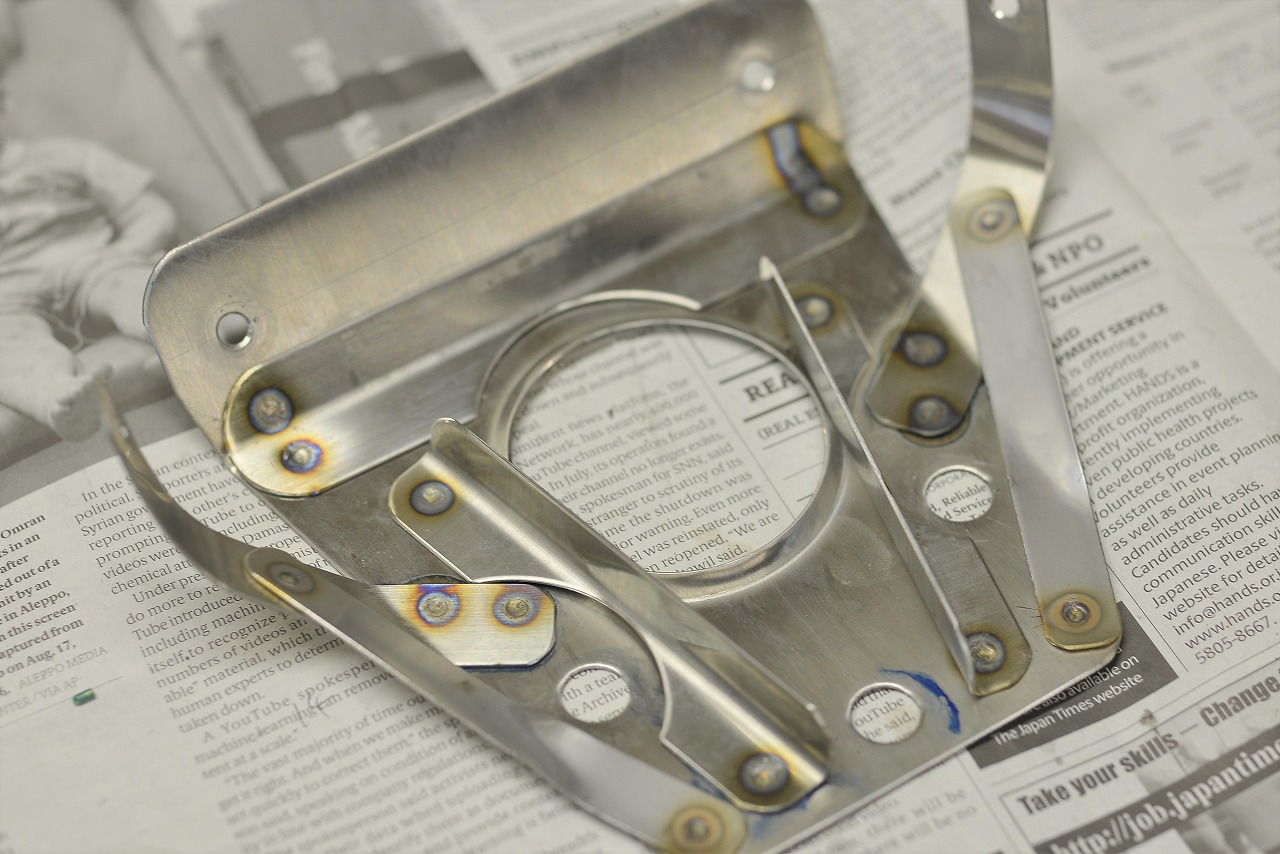
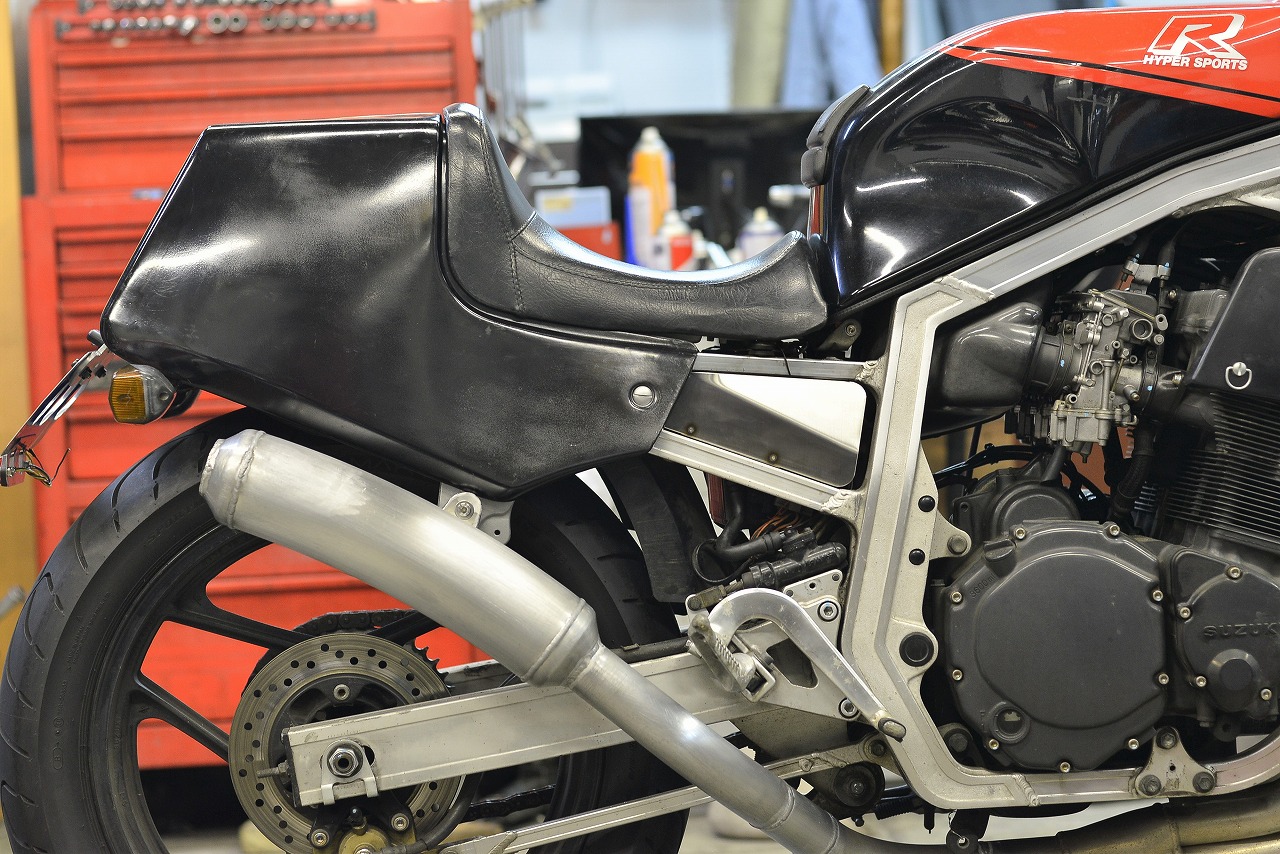
The back side is already in an insect-belly state. It’s incredibly solid.
The three larger holes have grommets and collars for floating.
Mixing solid feel with flexibility boosts confidence.
License plate area rigid = almost guaranteed to break. It’s a common DIY pitfall, so be careful.
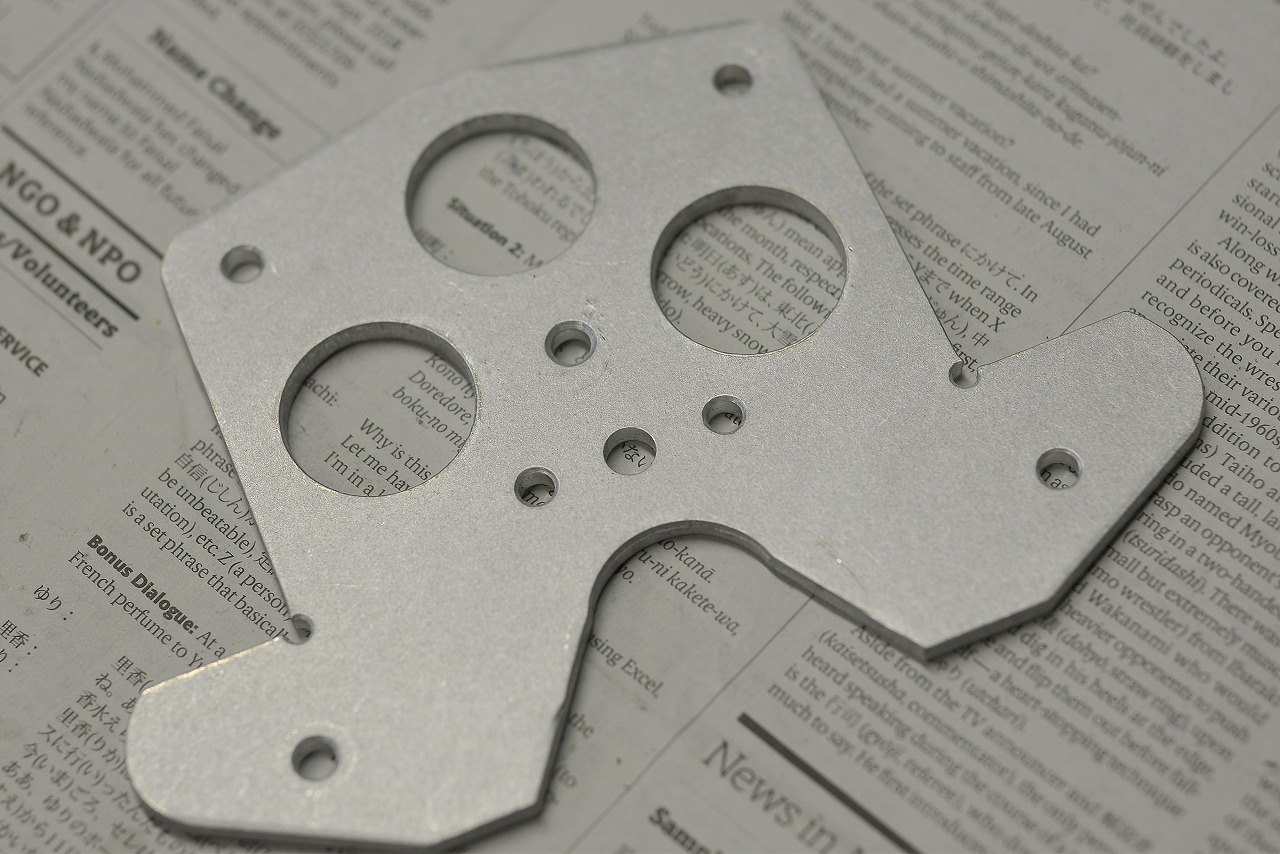
Still the base after barrel polishing, before bending, before painting. This is 5052 T5 5mm aluminum.
Untreated aluminum requires surprising care.
Over time it corrodes, gets rough, and can crack or break. Anodizing or painting makes it last much longer. This time I applied gun coat.
I bent it after painting, but it doesn’t peel at all… somewhat surprising.
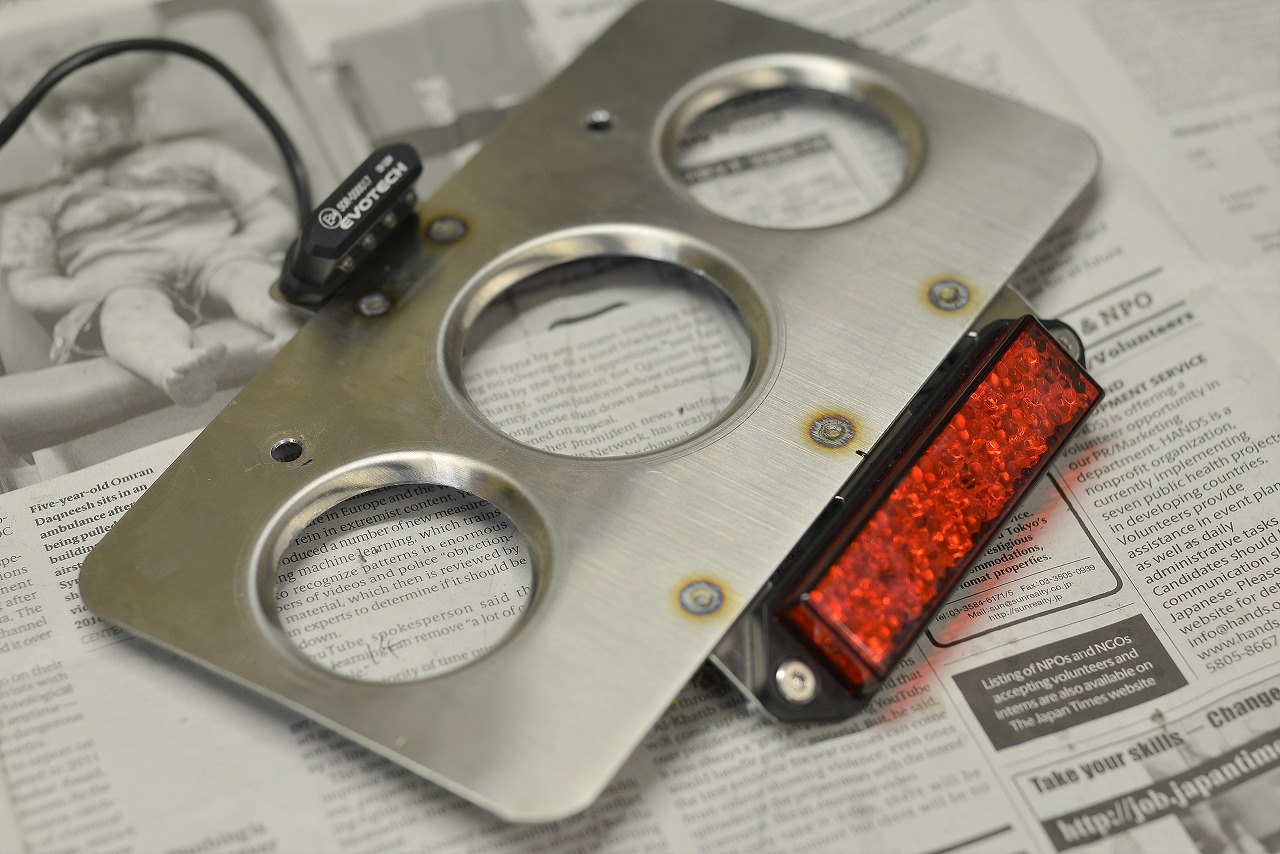
What kind of tail light suits the tail cowl? Well, that’s pretty difficult…
I can’t fill the hole I made, so I went with the usual approach: think about the final form and either use it as is or fill it later.
The Posh LED tail light is inspection-compliant at reflector size.
From the back it looks like there’s no tail light—that’s the idea I’m proposing.
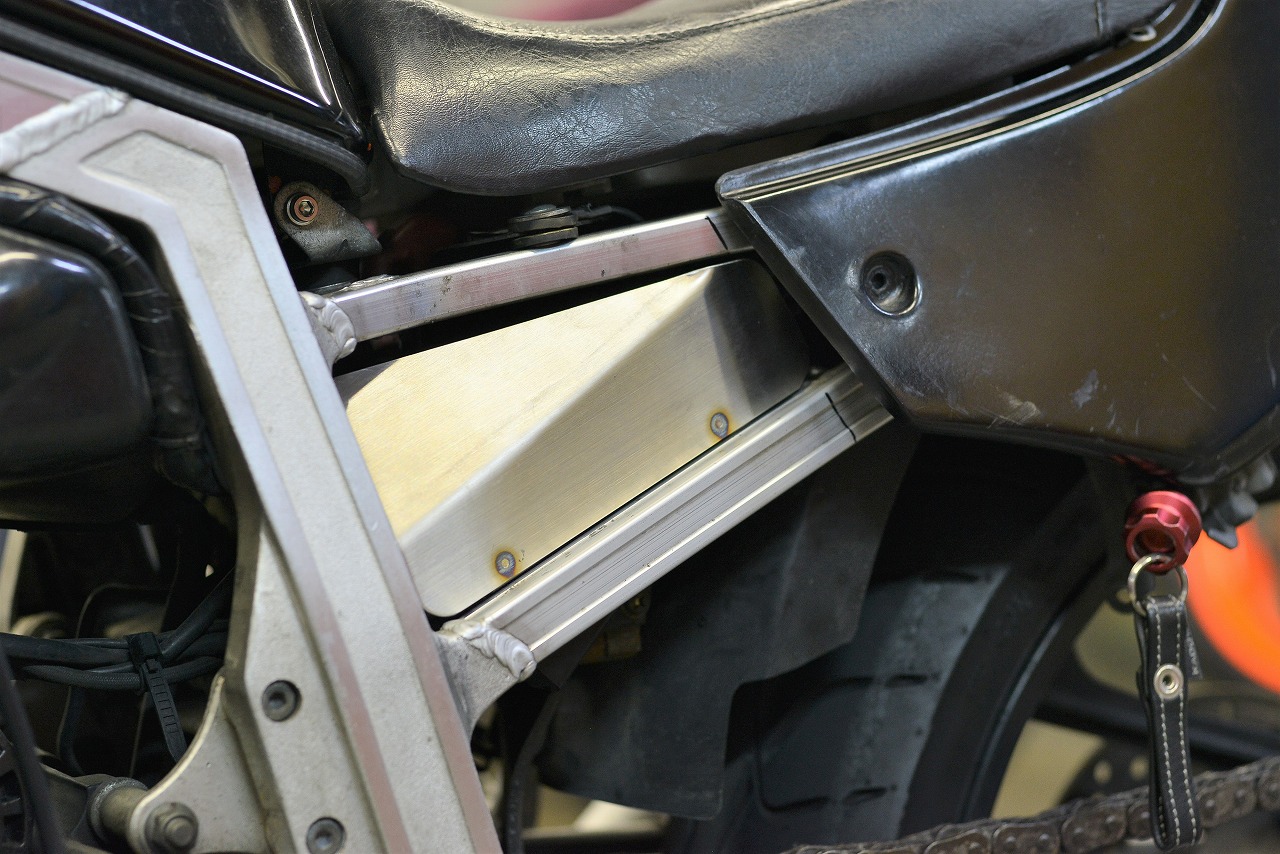
I made a cover so the internals don’t show and it looks better.
That’s how it turned out.
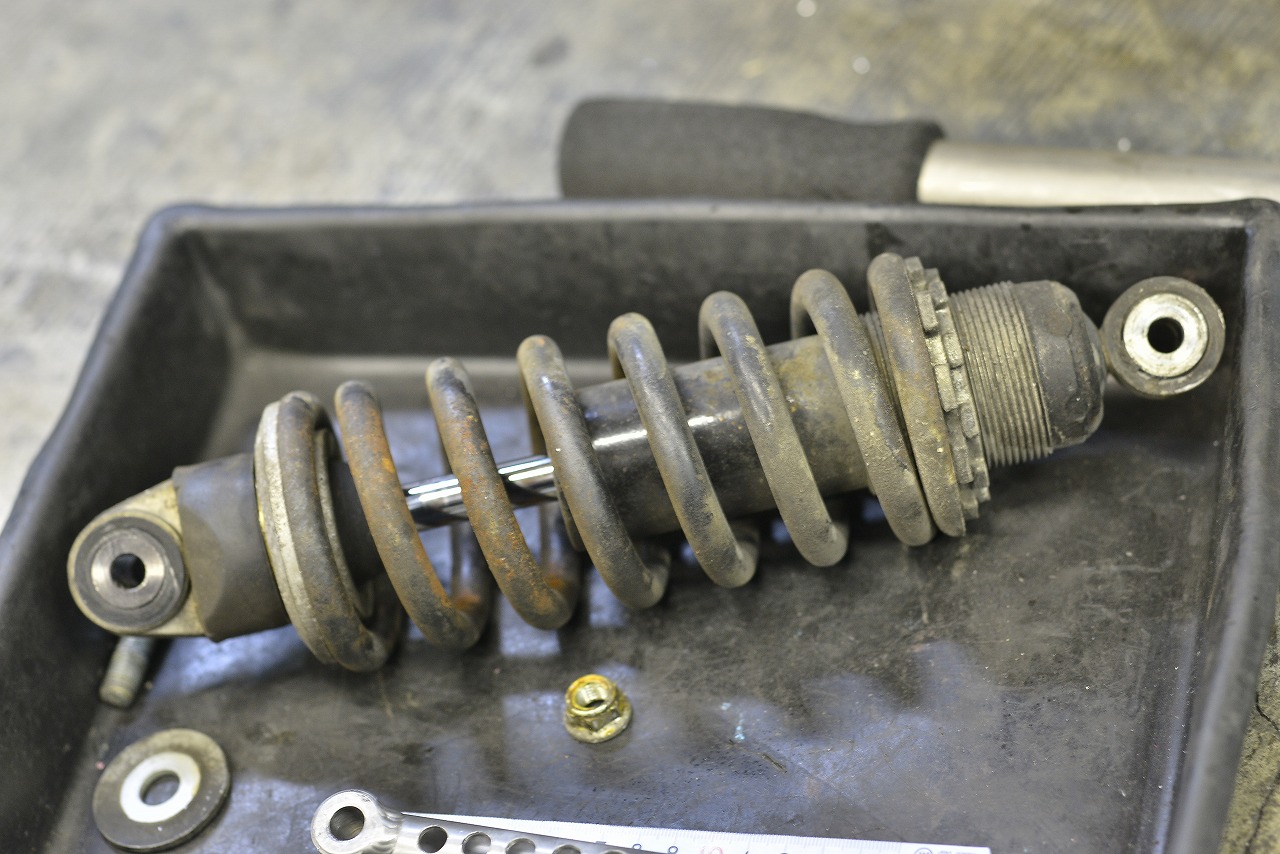
I’m very cautious, so I wanted to eliminate the possibility of full stroke, crash, and cracking. I removed the rear suspension and checked with a rod shortened by the stroke distance.
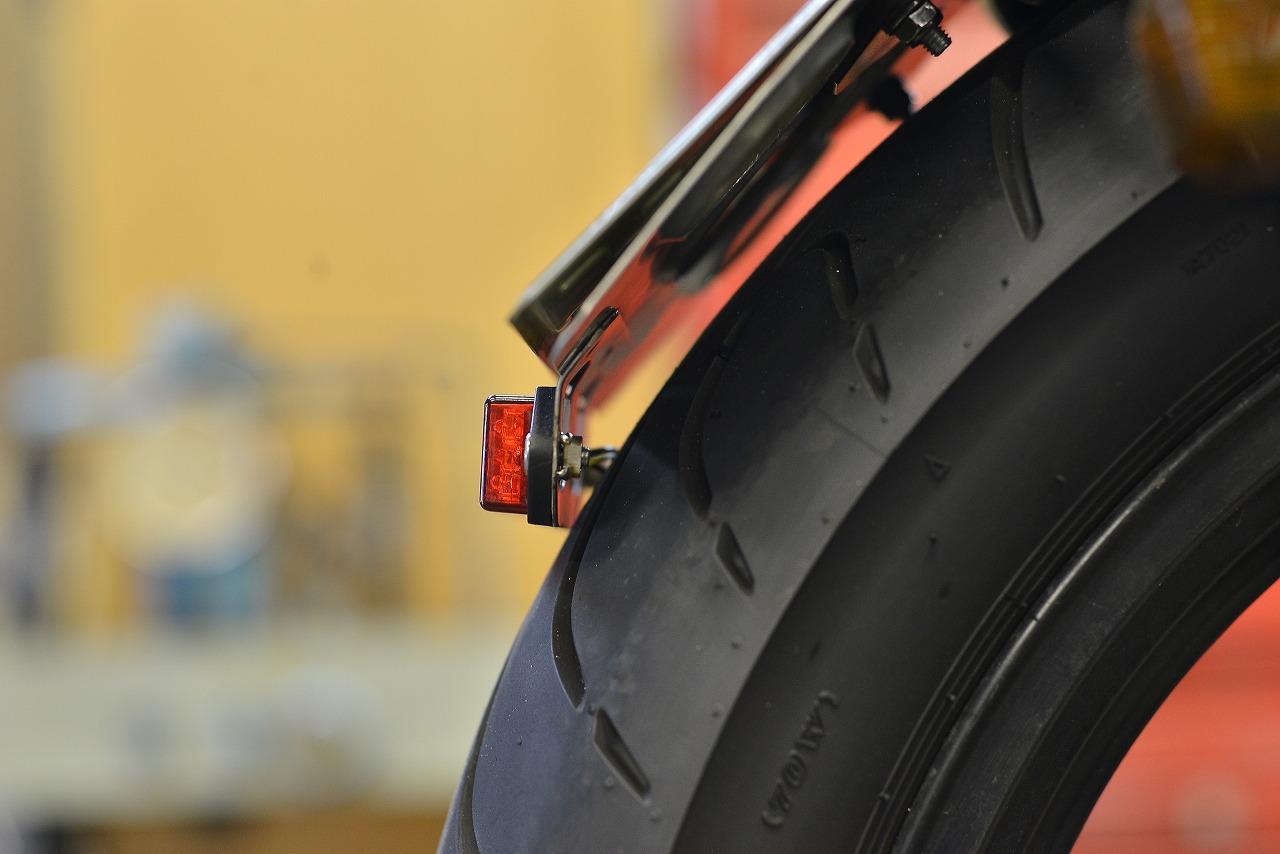
I shortened the free length by 10mm and got this state. It’s probably fine, but I thought if it flexes during full stroke it might get pinched, so I bent an aluminum bracket slightly to prevent that.
This should be plenty.
I’ll skip the details like the turn signal bracket, seat opener, left and right seat mounting, and so on. It all wrapped up nicely.