
Now, continuing on.
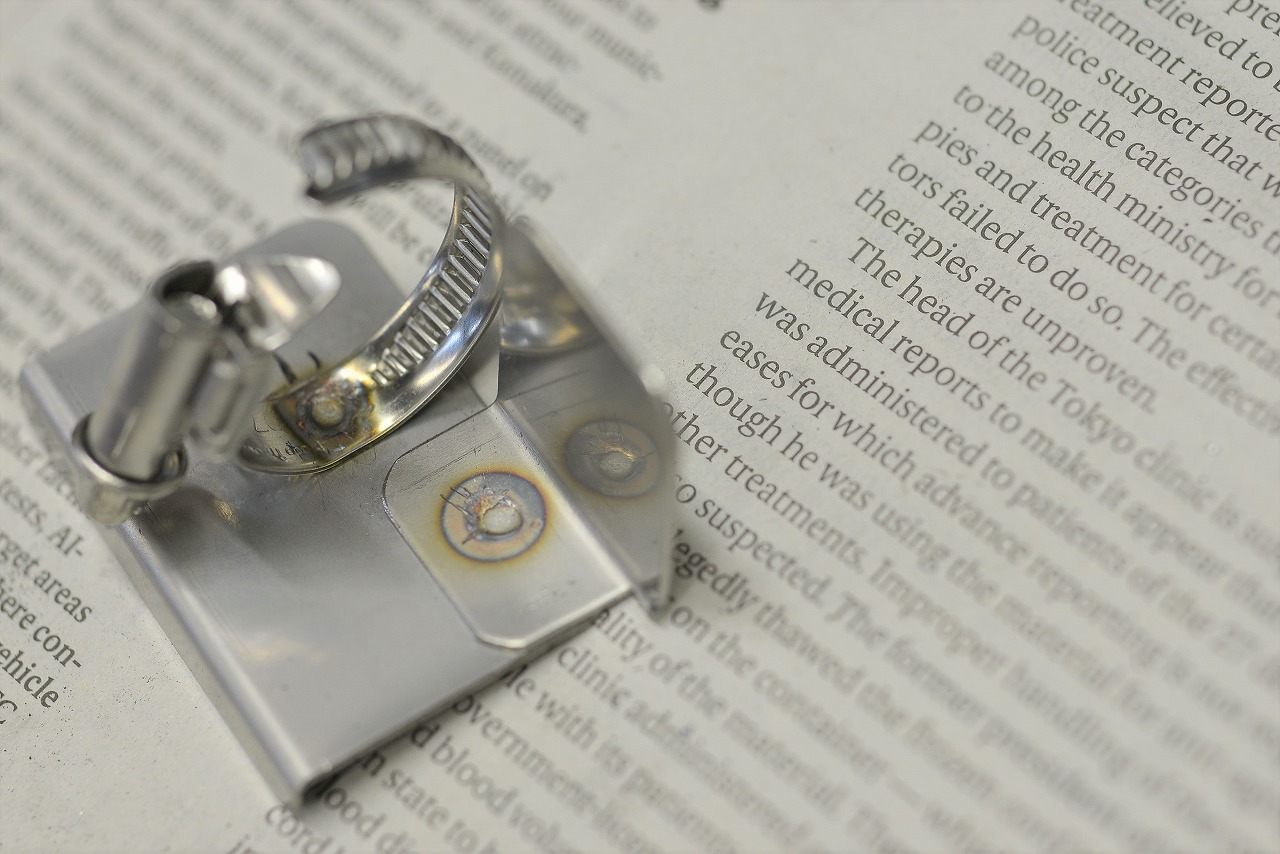
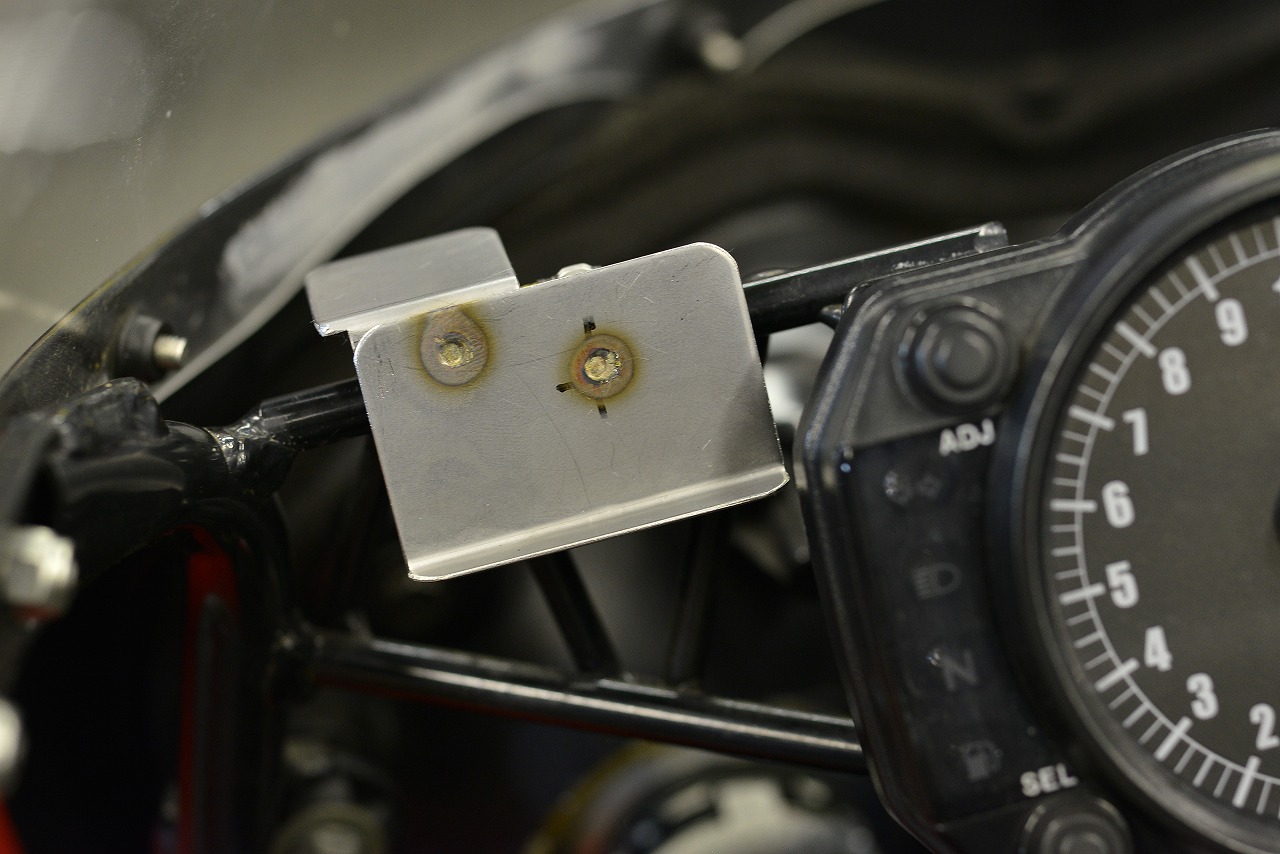
First, I consider where I want to attach the parts. Then I think about whether there will be any issues during the maintenance work before installing them.
Lately the work has been progressing with less fuss and a simpler finish.
The process is shearing → die cutting → bending → spot welding. Since it’s combining piece to piece, there’s almost no chance of failure, which I personally think is really good.
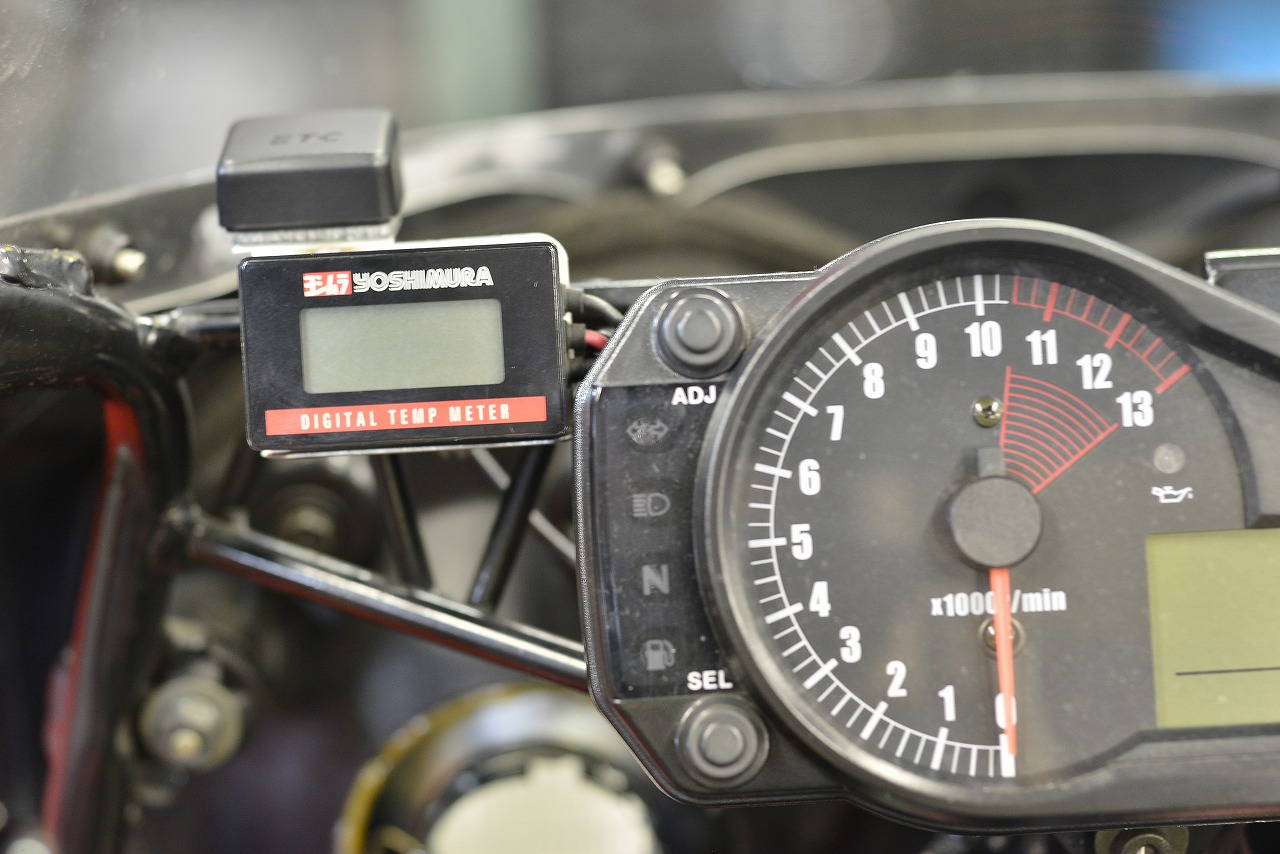
Since it’s a collar to hose band, I can adjust the angle freely—all good.
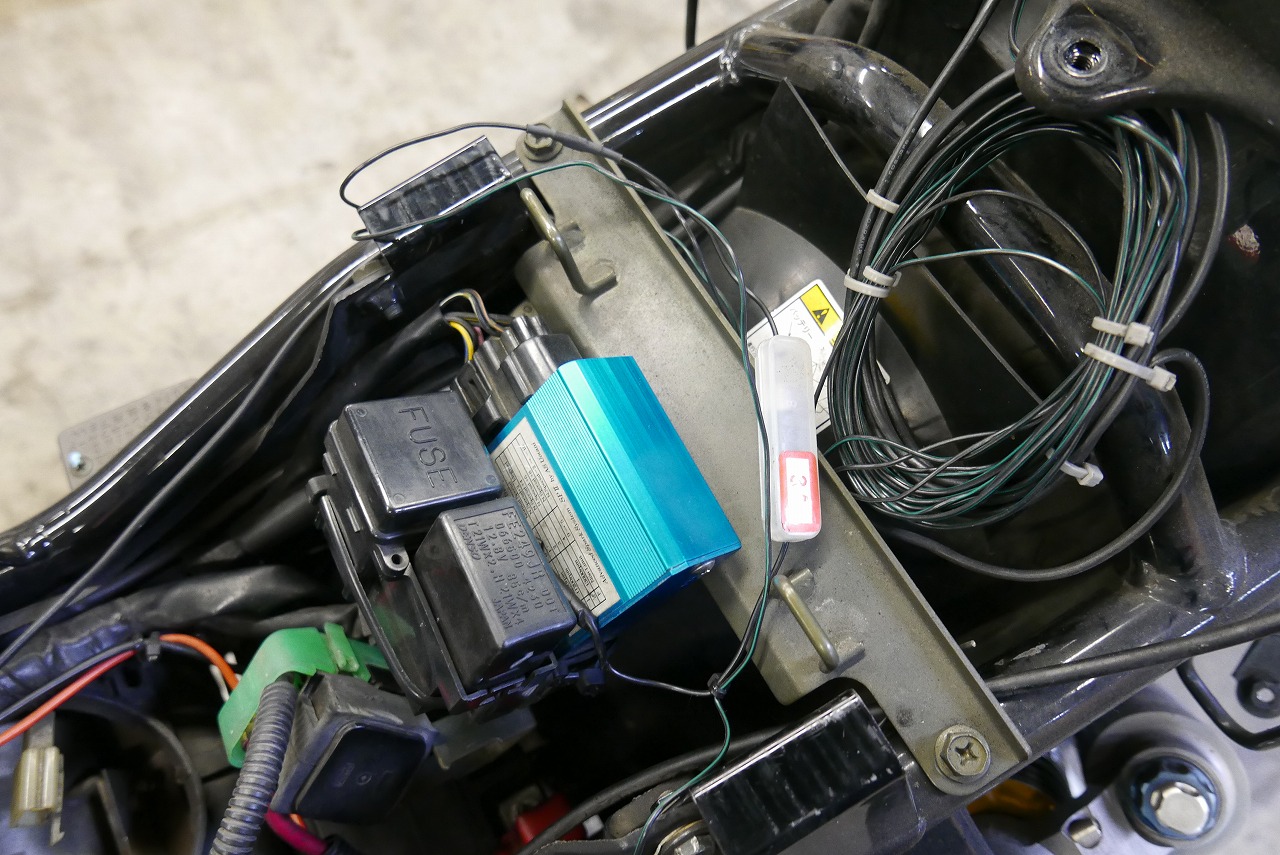
Next. The Watanabe unit seems cramped and tight… The GS1200SS has poor battery access, so let’s improve it a bit more. If possible, I’d also like to clean up the fuse relay tie-wrap mounting.
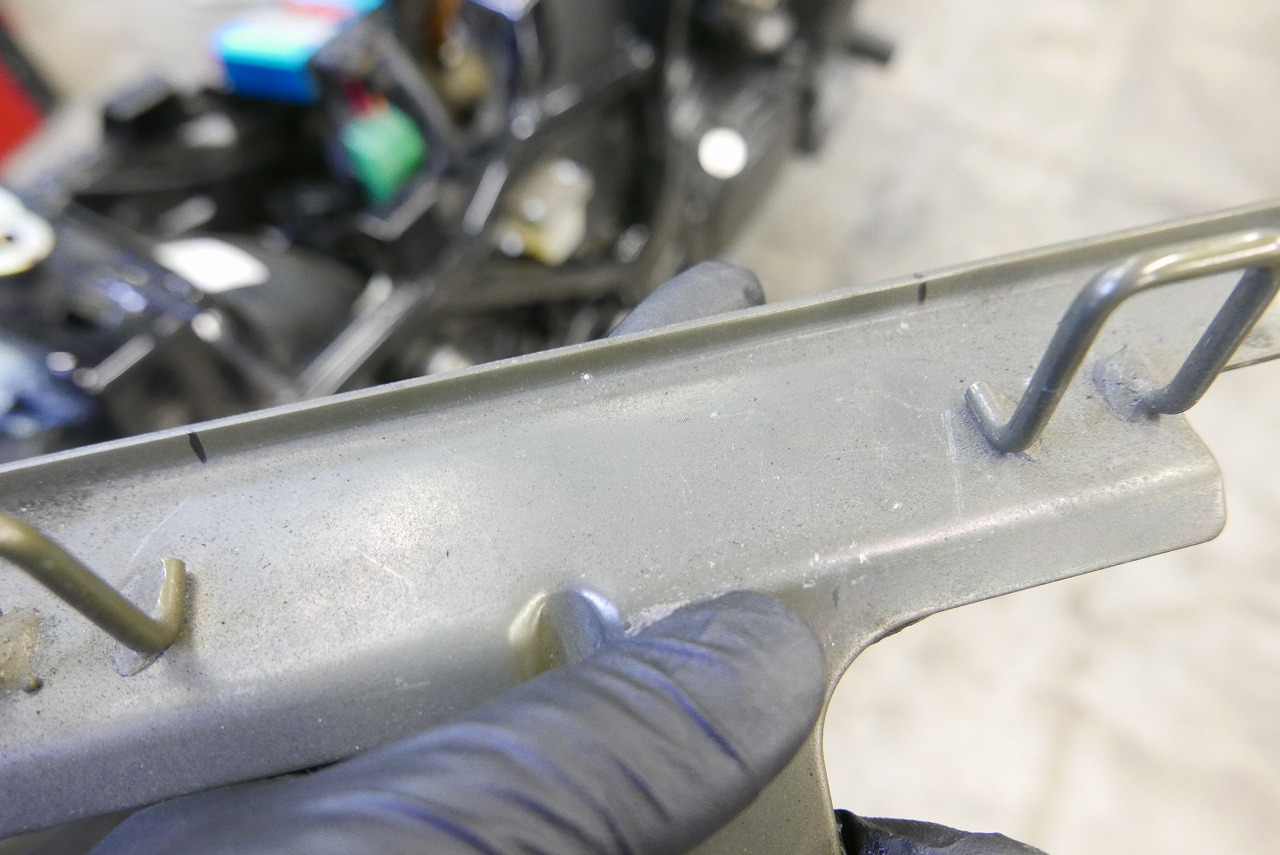
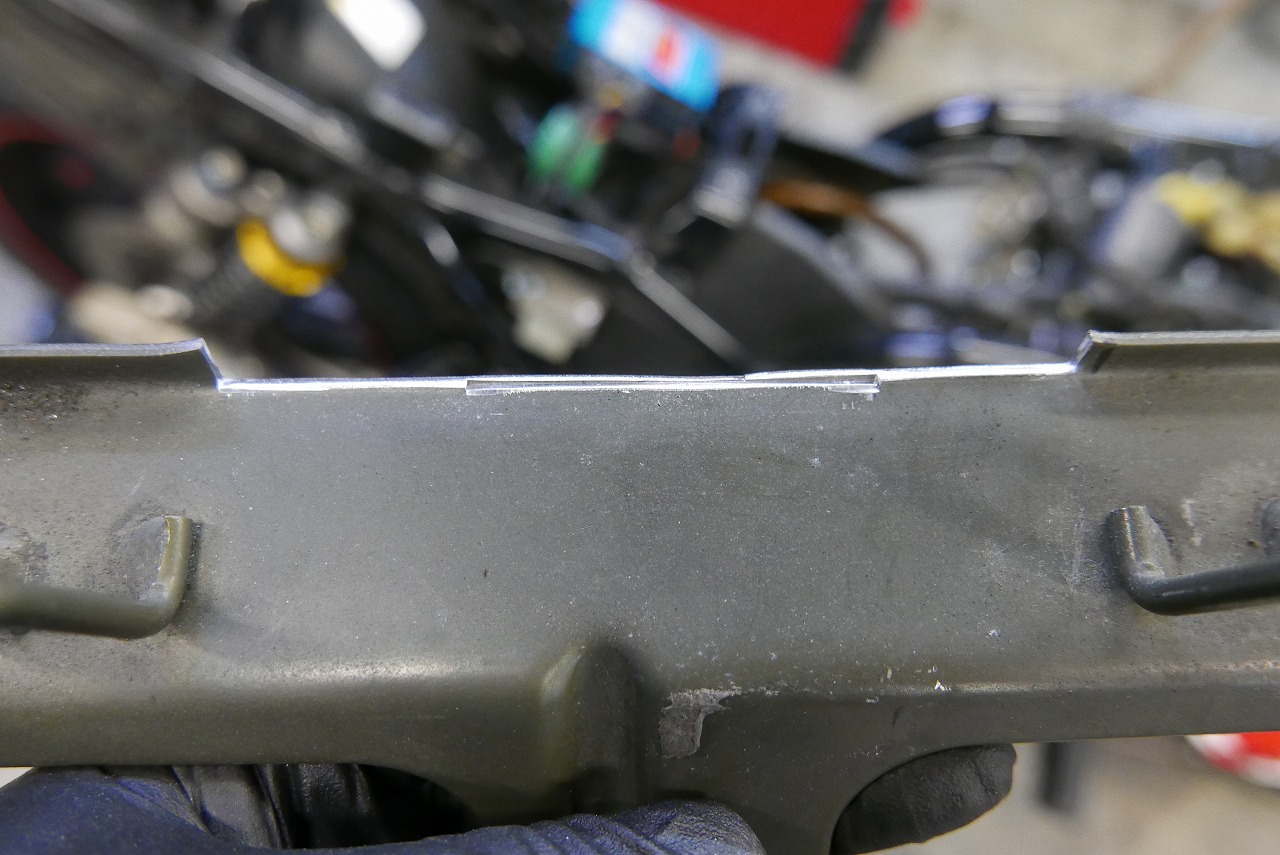
I cut with the die in three passes. If I go by eye alone, the steps end up uneven—lesson learned. I should have positioned it first. I’m handling it by smoothing with a belt sander.
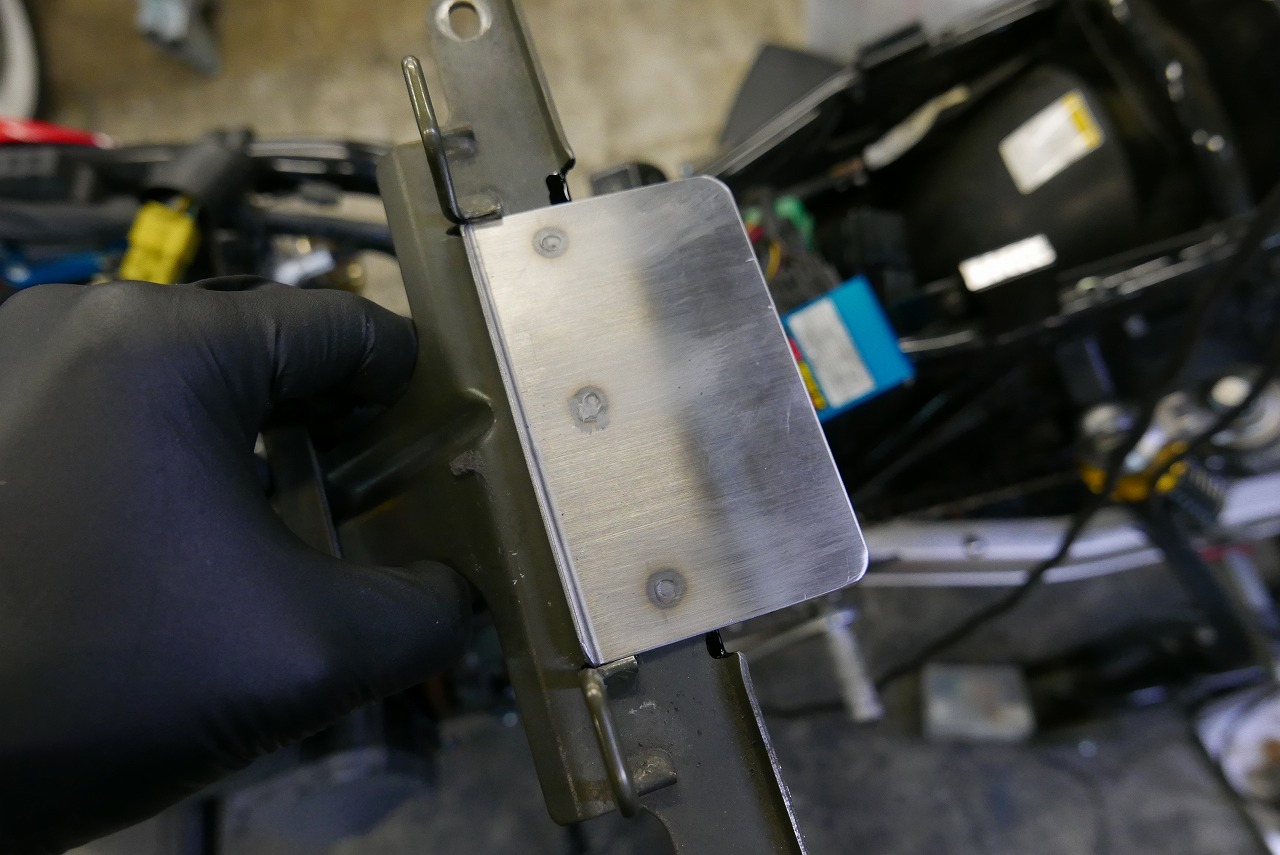
Cut the sheet metal to ribs and spot weld it on.
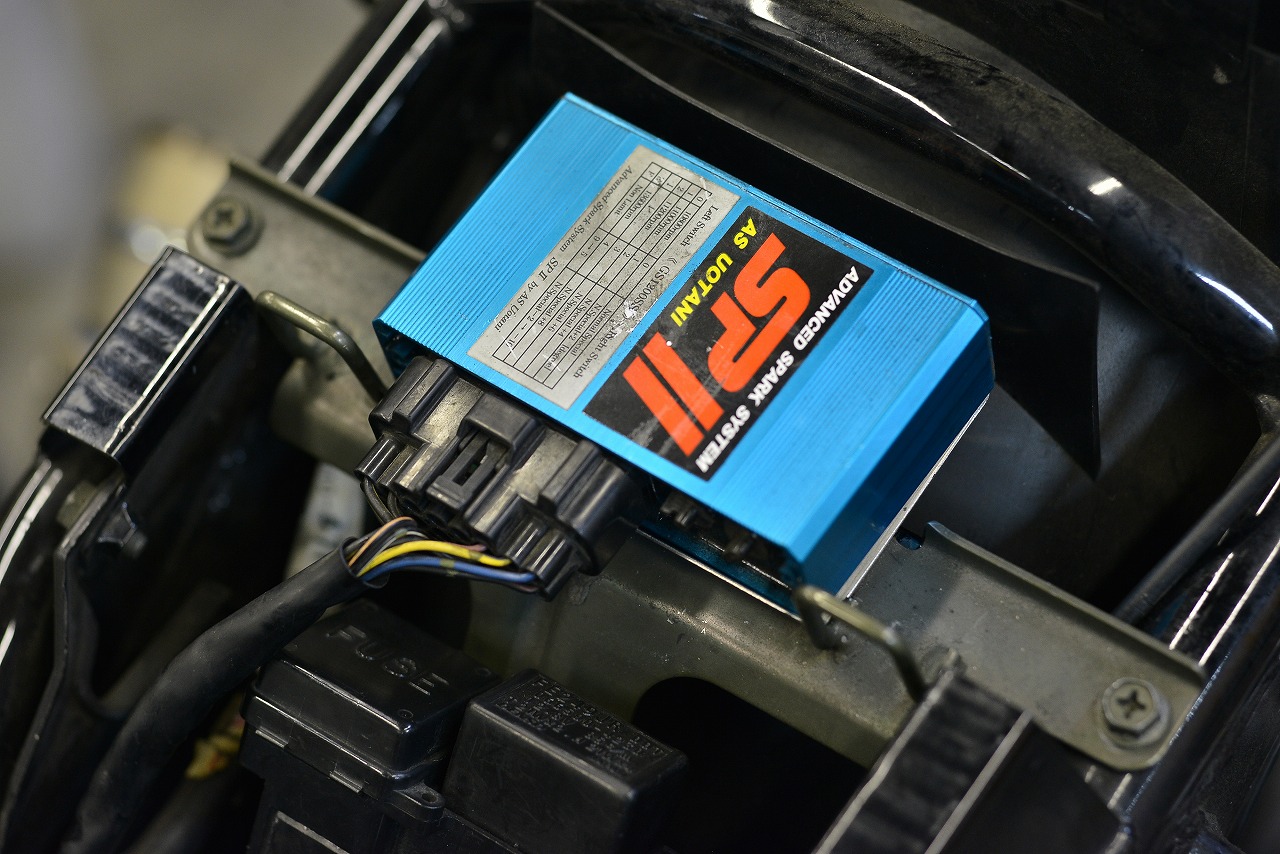
That’s how it goes.
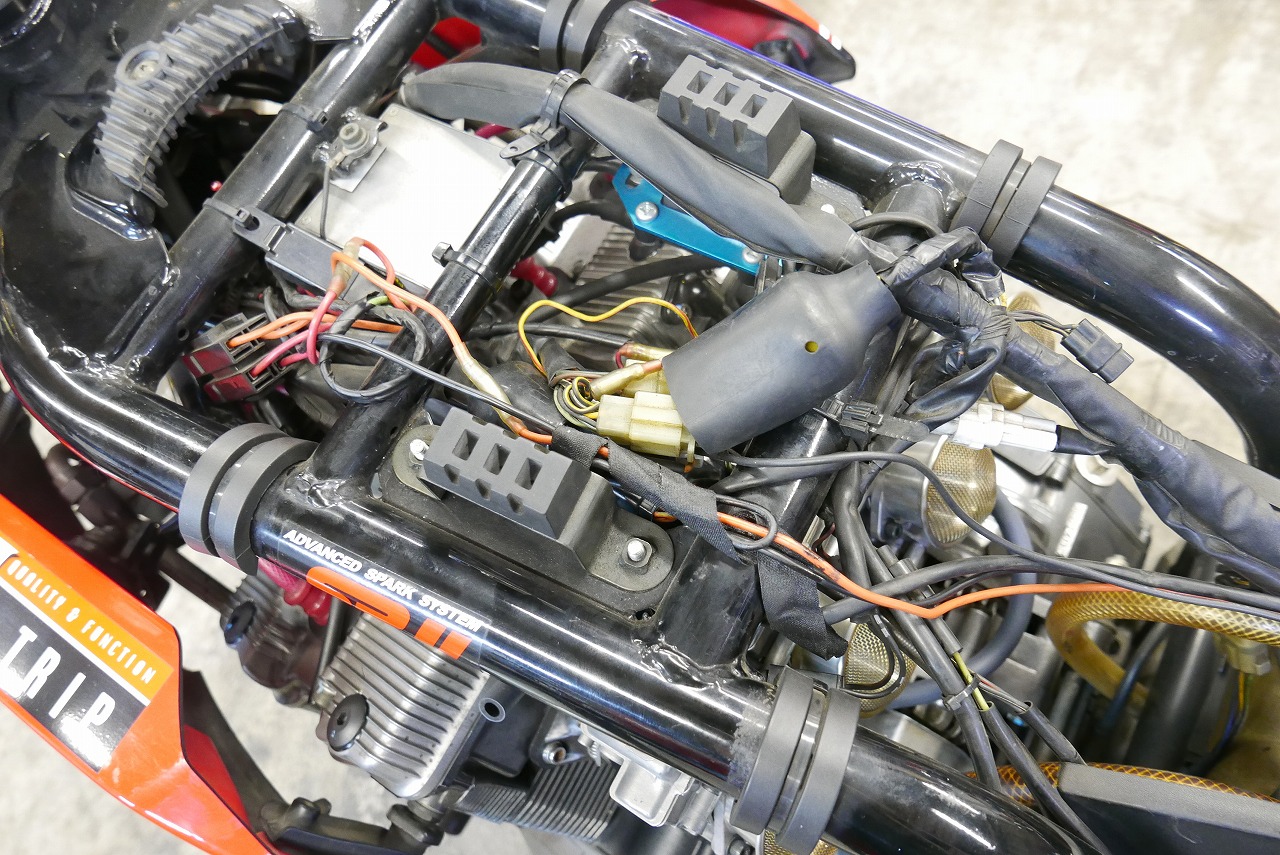
HID unit. Manly tie-wrap mounting. That’s pretty common in DIY.
I think it’s best to avoid using tie-wraps (cable ties) as much as possible for securing parts, since removal and appearance are better without them.

Time passes… cut it, add ribs in two places, tack-weld the nut, secure it with a lock washer, and that’s the flow.
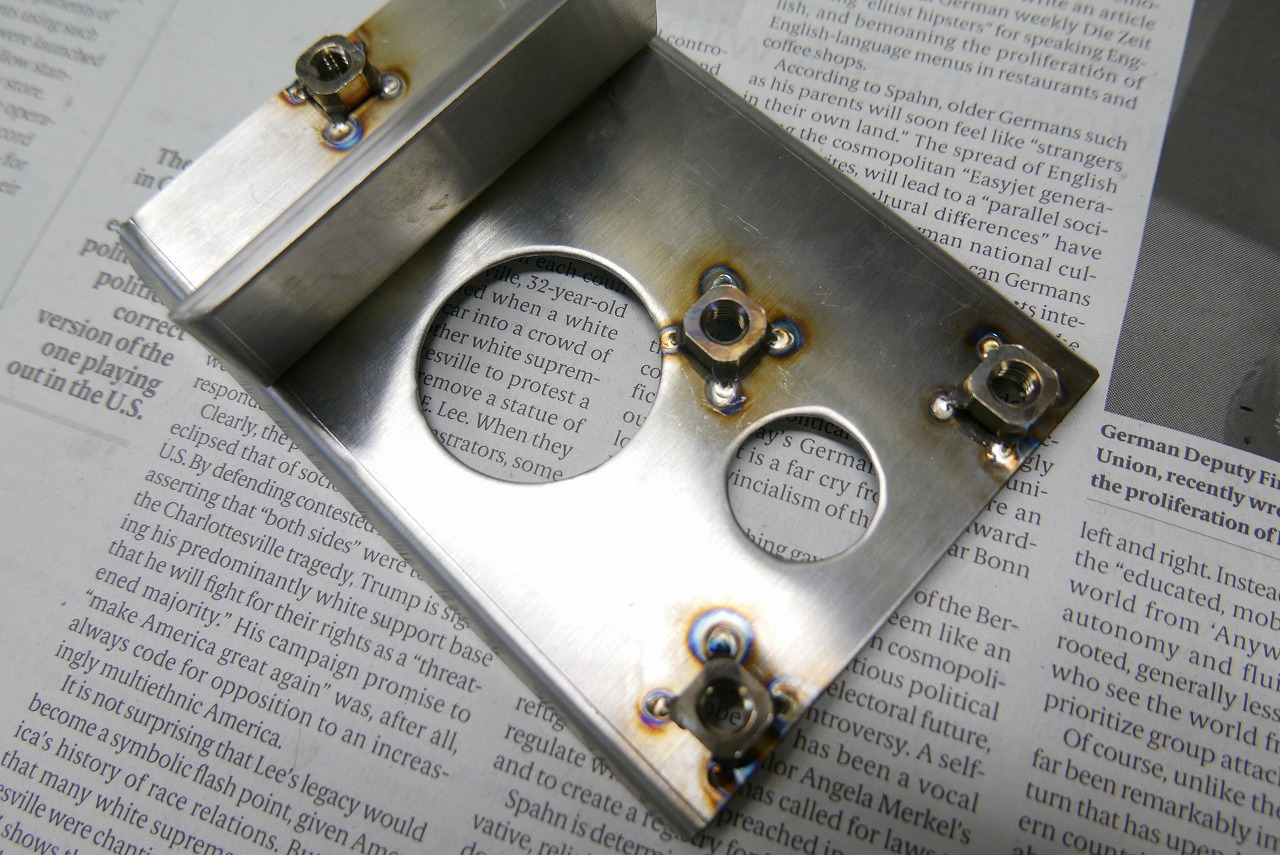
It’s a bit heavy, so I lightened it by removing material. Depending on the shape, removing material from sheet metal usually happens last, so you can target the excess. It helps to have the right tools.
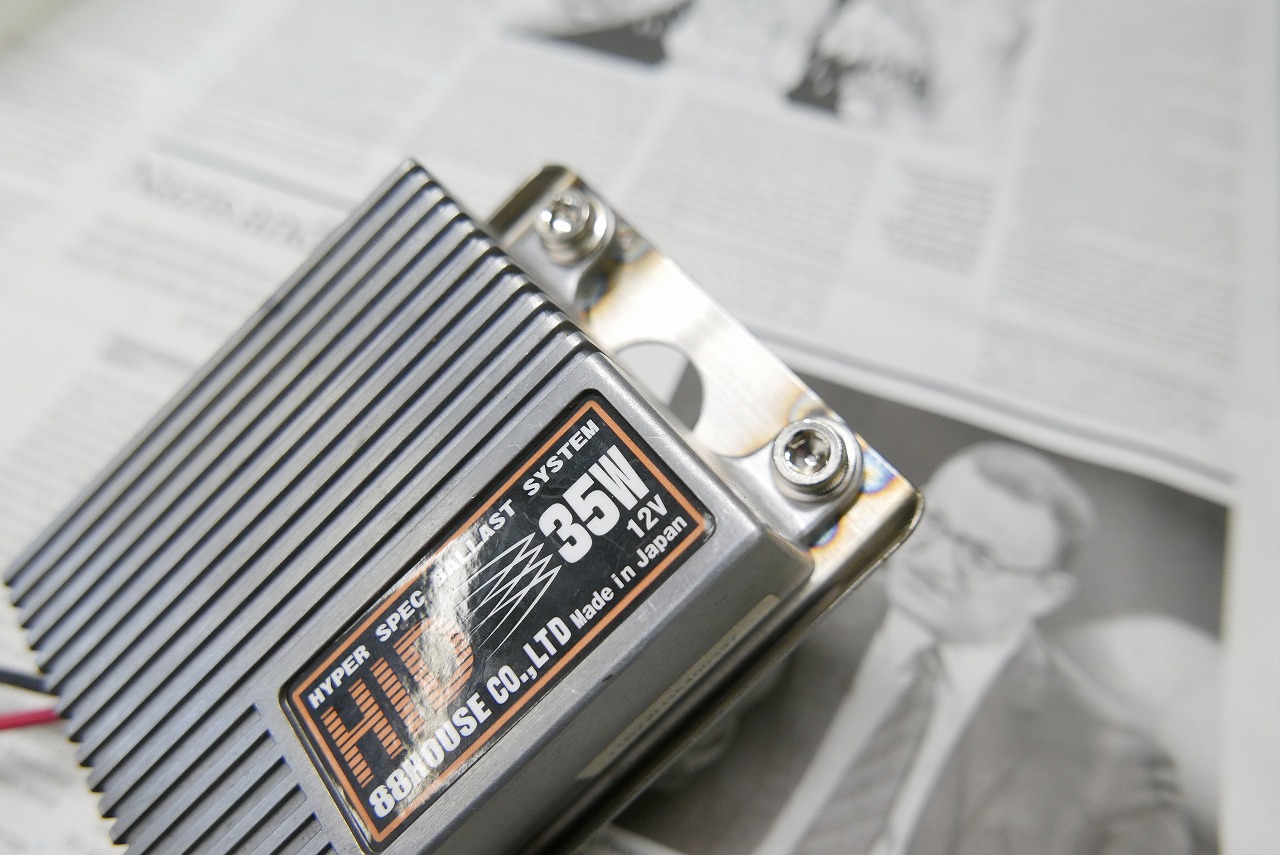
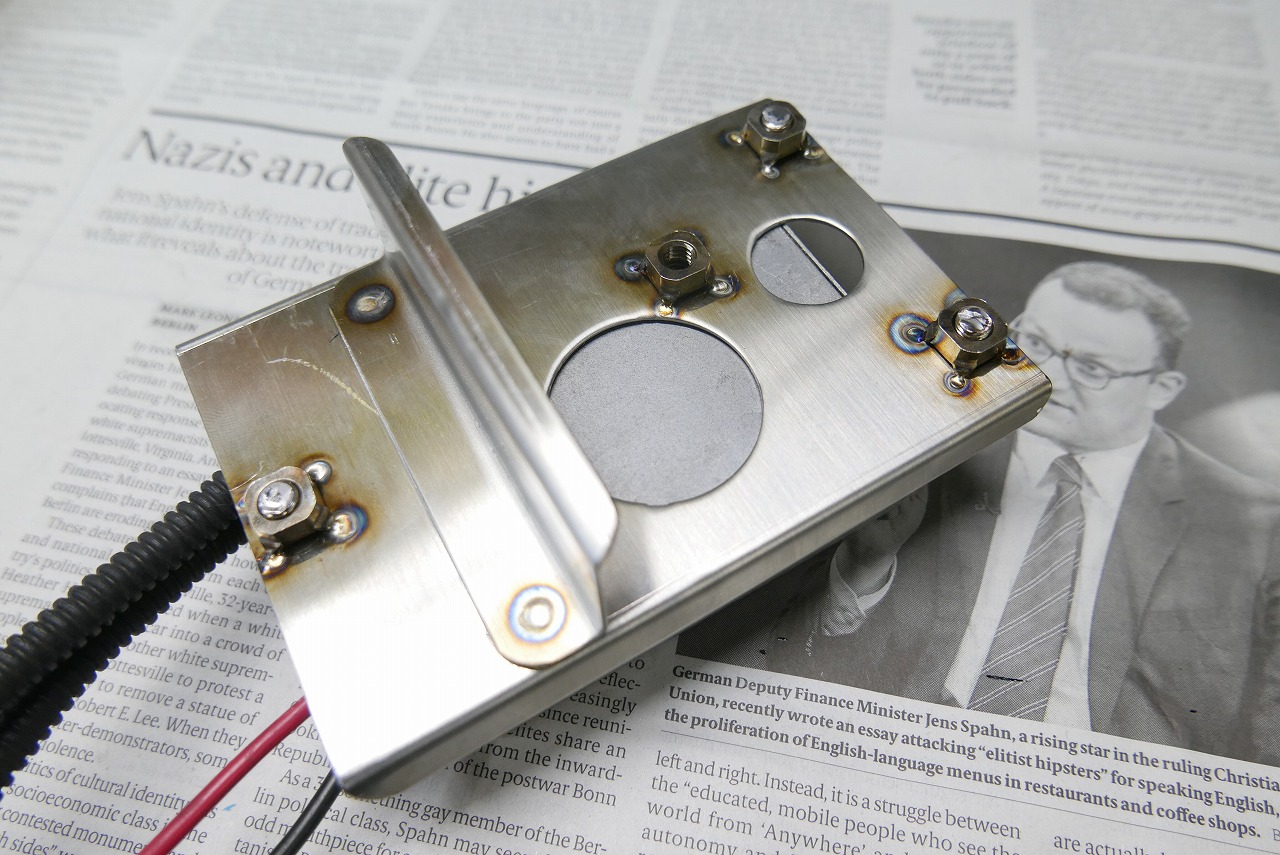
It’s now secured like this. I cut off any excess bolt length—saves a few grams.
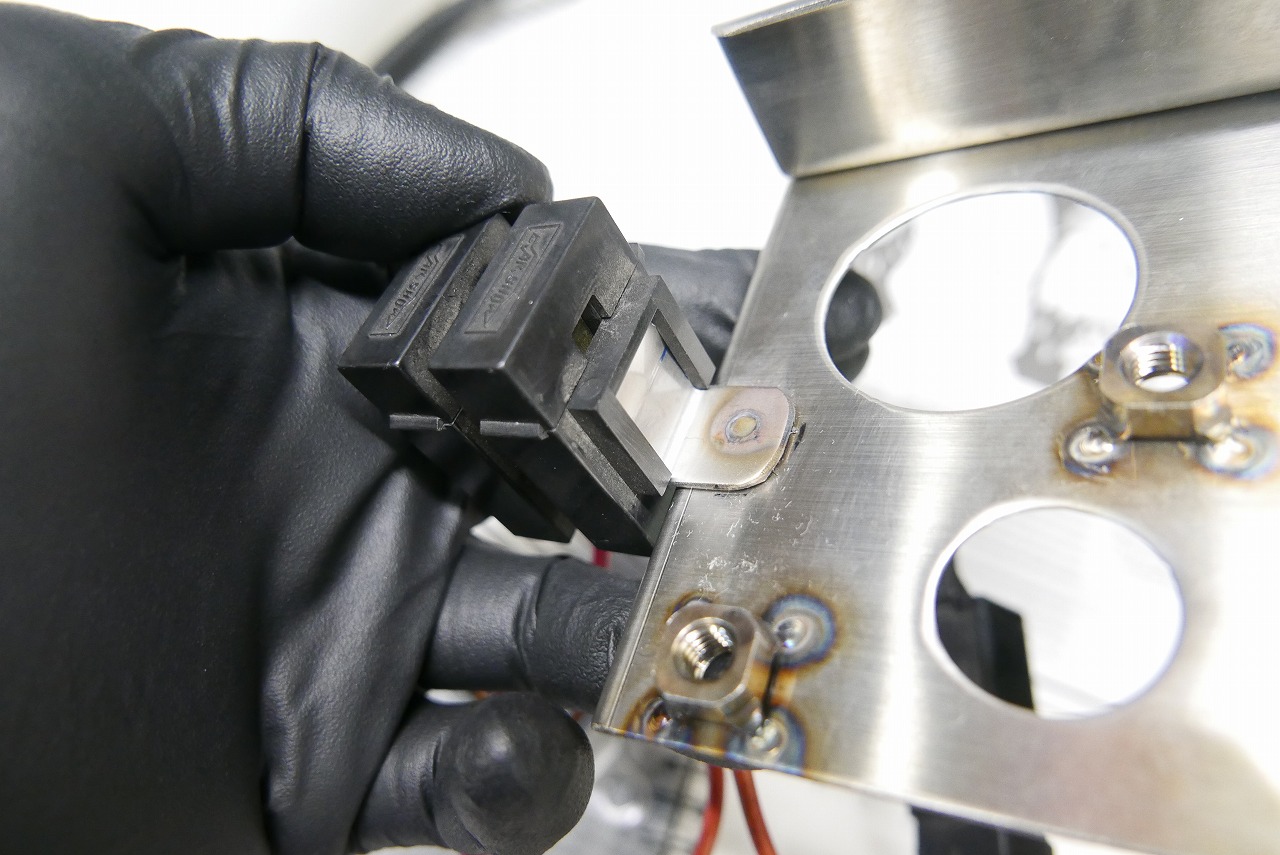
They had thoughtfully installed a relay, so I made it smart and clean too.
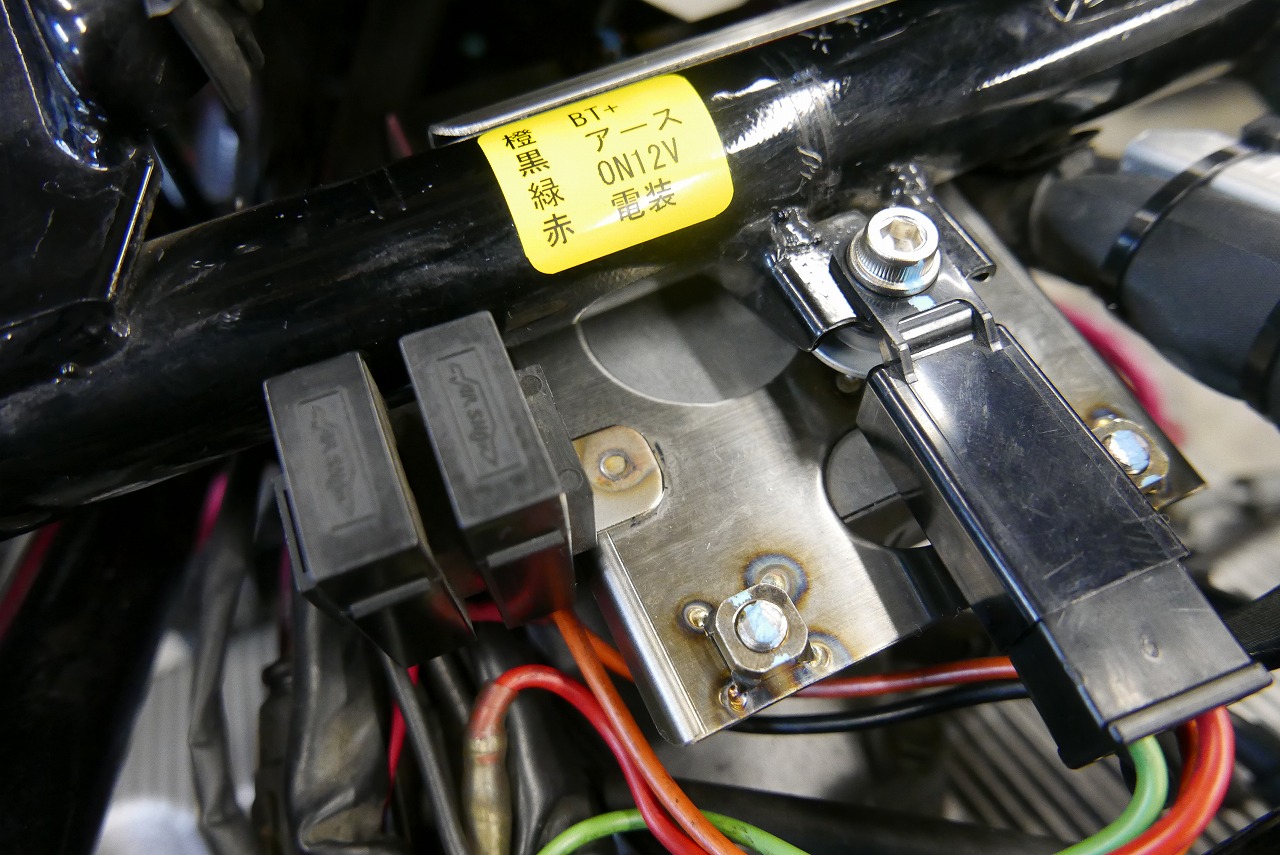
That’s how it’s mounted. It has a lock washer too, and you can remove it with just one bolt.
Next, I stuck a relay reference label so anyone can understand it.
Next.
I see a lot of bikes with multiple things clamped together on the battery positive terminal. A little caution might be needed.
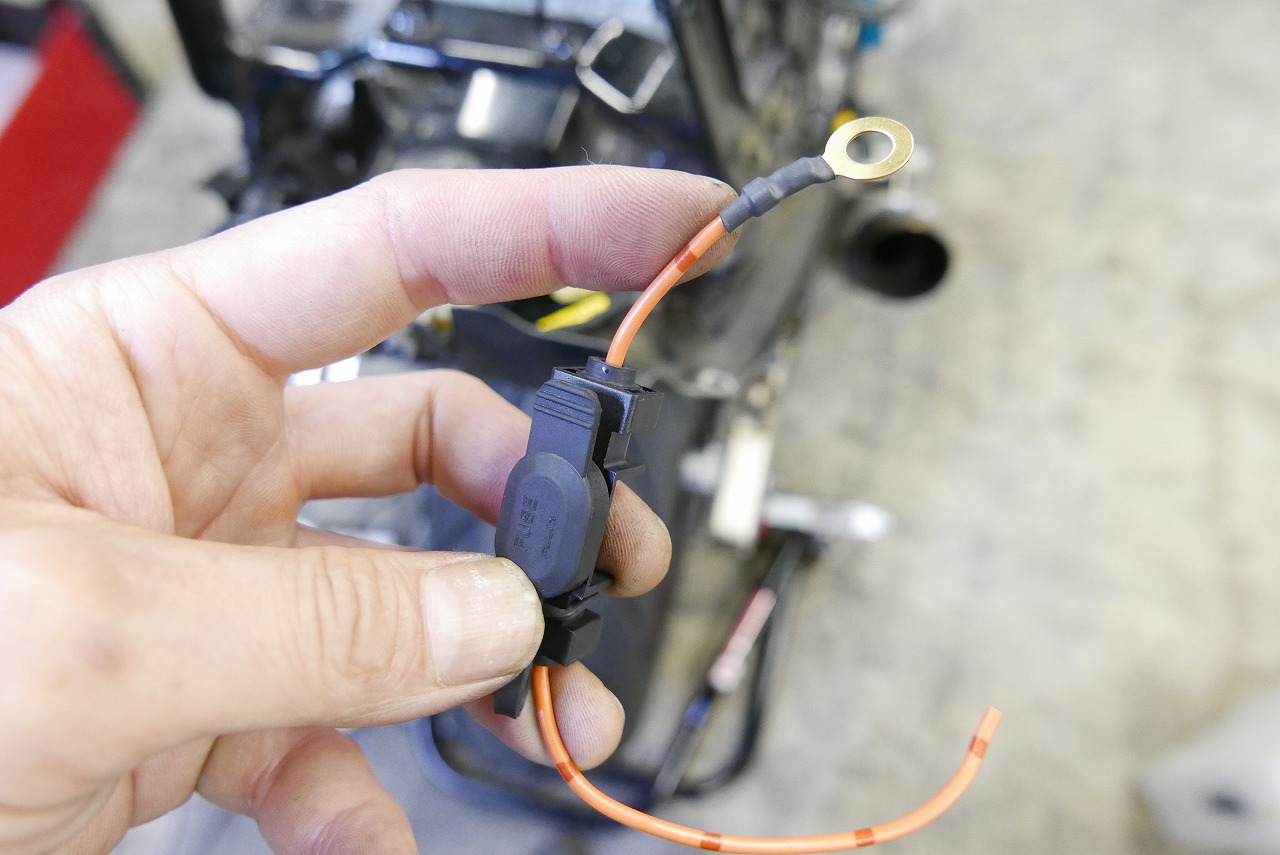
Looking at the image makes it clearer: the area between the ring terminal and relay is basically unprotected. Keeping it as short as possible is safer.
For example…
Say I install a battery charger accessory myself. If I leave that wiring loose and dangling, and it gets pinched by the side cover or seat bracket…
The outer sheath protects it for a while, but once it rubs and the insulation wears away, constant arcing can happen, and in the worst case, it could catch fire.
If you’re riding, the main fuse blows and you notice it. But during storage while charging, thinking about this kind of thing makes it really dangerous. So layout should be safe first! That’s what matters.
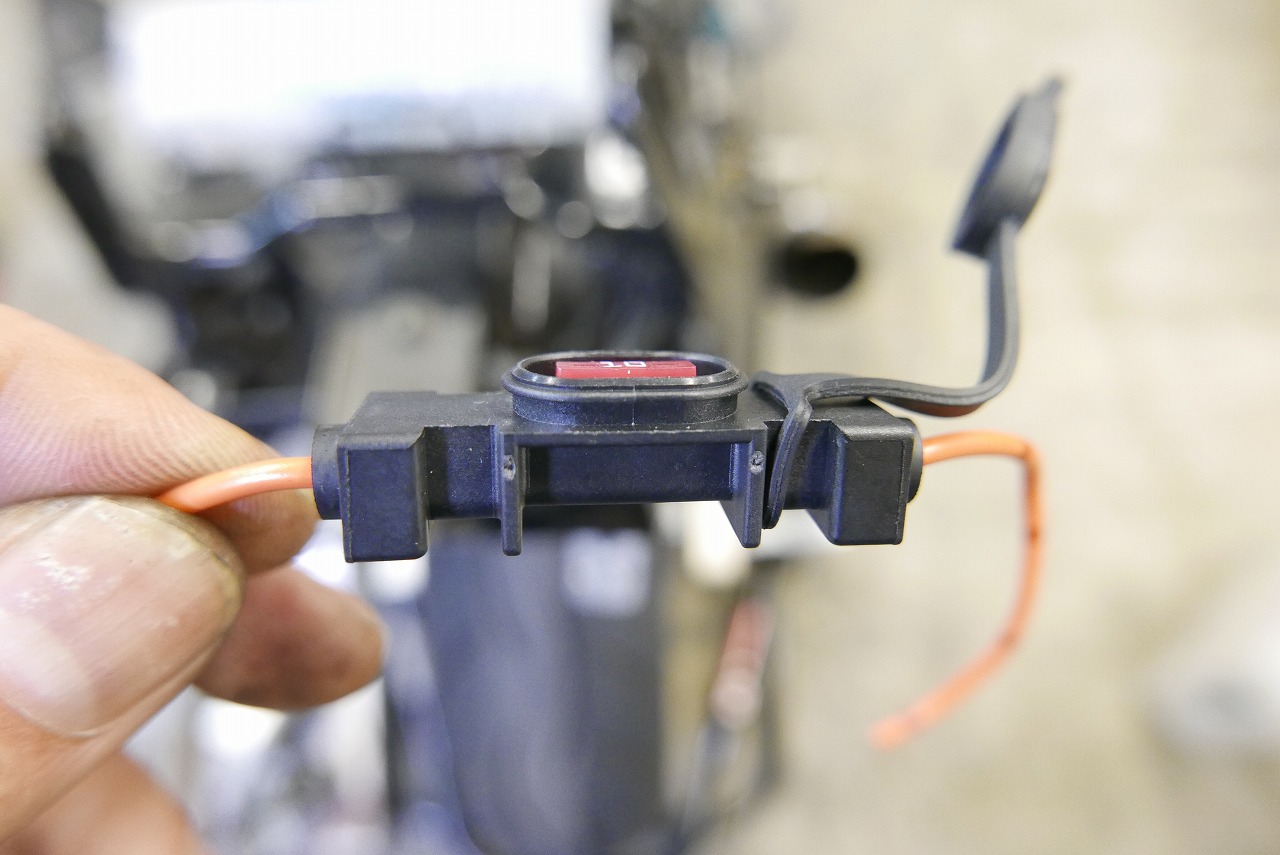
These days we have waterproof low-profile fuses—it’s a good time to be alive. Since the battery is something you remove, you can also use the starter relay side or elsewhere. Also, since this is an older bike, there might be accessories, so you could source from those too.
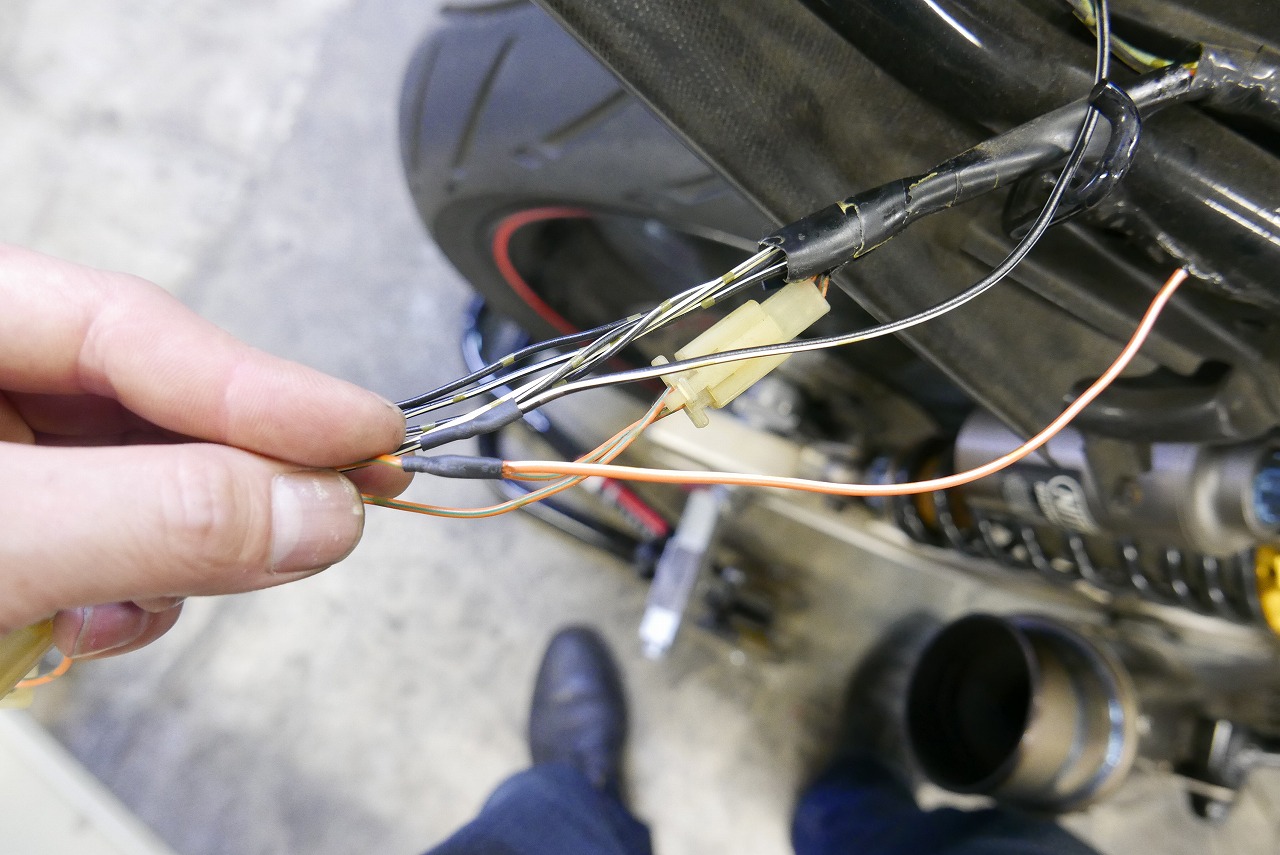
Wiring colors are standardized differently by each manufacturer.
Check that carefully before you proceed. Bypass from a point where you can get both 12V and ground in parallel. Try to match the colors too (red ground and black positive can be confusing in Japan). Use wire gauge appropriate for the capacity—that way the terminals crimp cleanly.
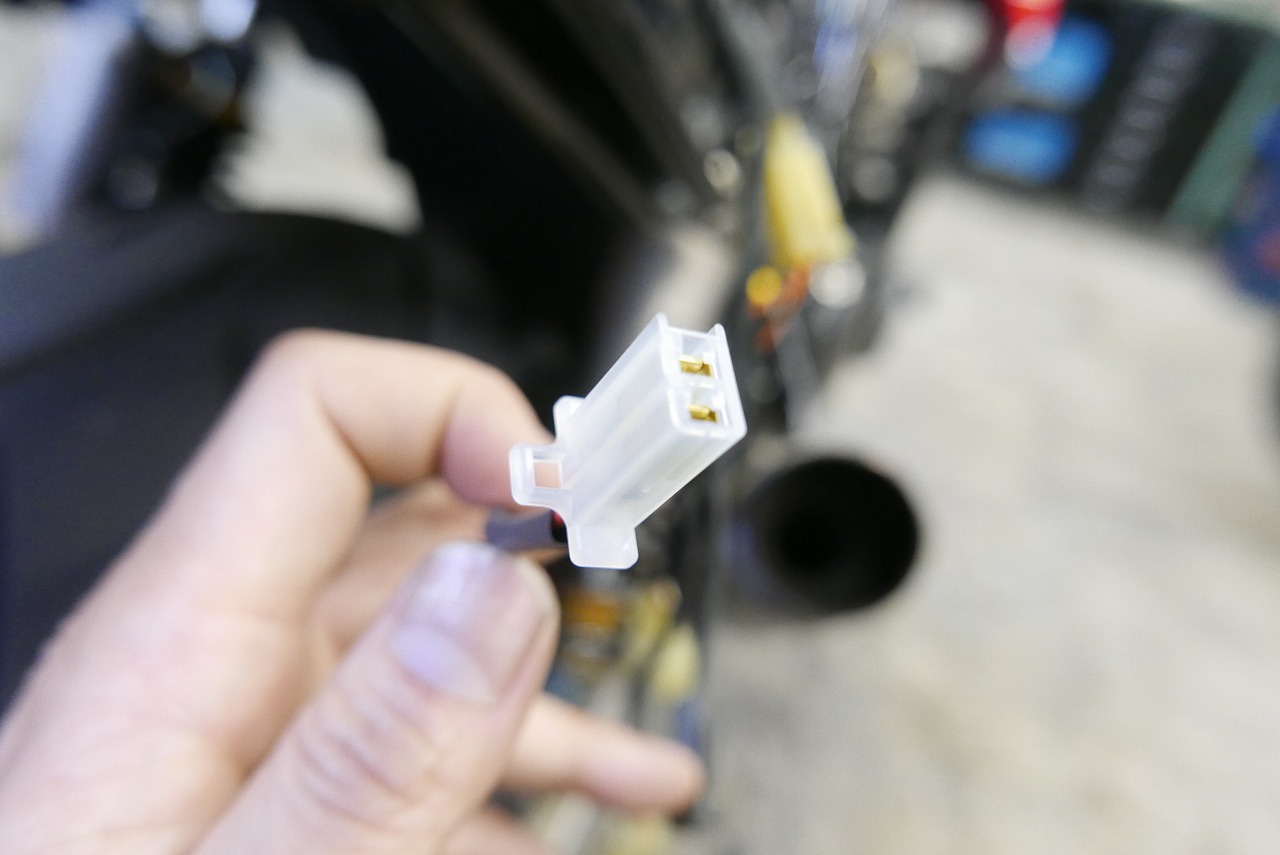
Use connectors and terminals with meaningful polarity.
Usually the factory upstream side is female terminals. Probably because even if you squeeze it, it’s somewhat okay? Exposed terminals are dangerous, I think.
With 040 and such, sometimes it’s reversed because you want to thread it through a nut.
• Squeezing the connector is less likely to cause a short
• There’s no identical connector nearby to plug into by mistake
• For identical connectors, the polarity of 12V and ground is always consistent
Reducing danger and mistakes is what matters. Electrical trouble on the road means you’re stuck.
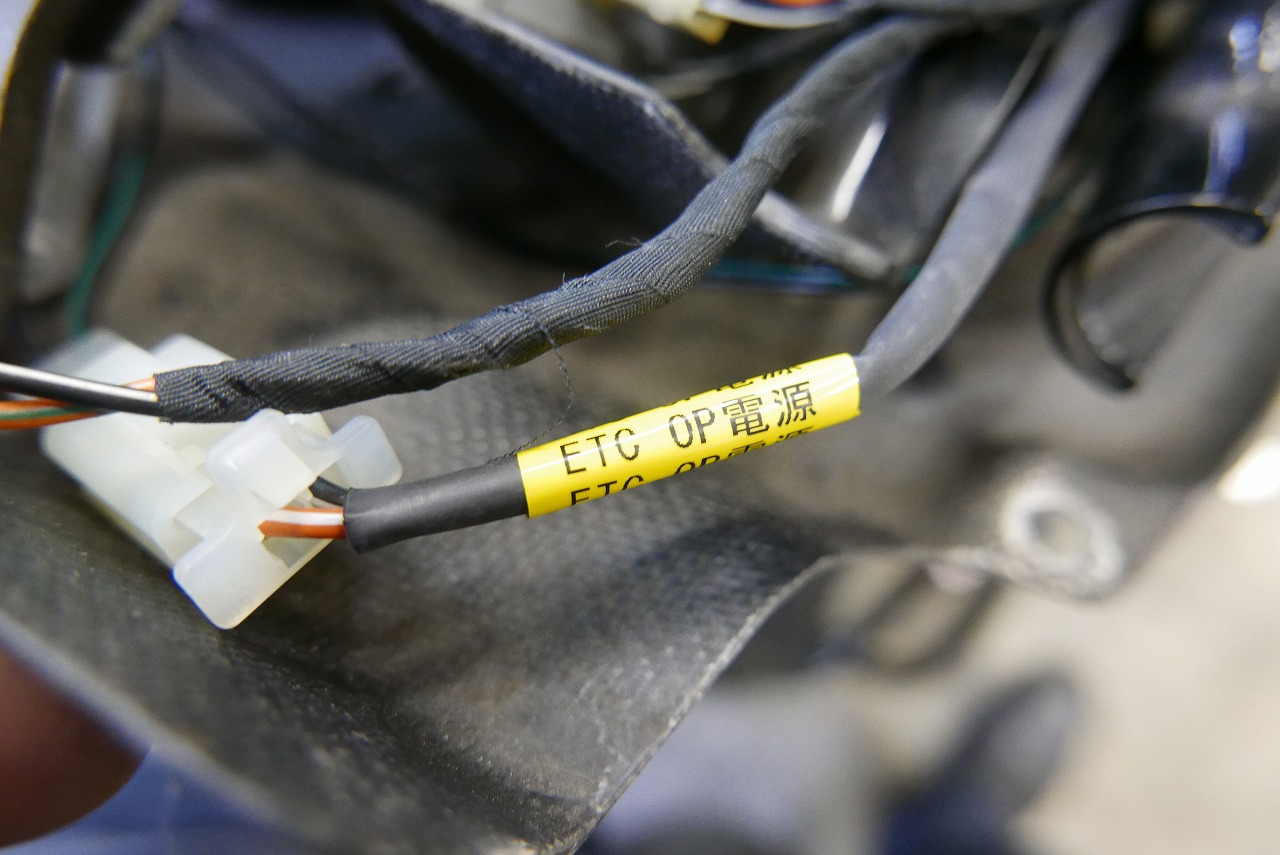
For non-factory items, it’s good manners and safety to make it clear what they are.
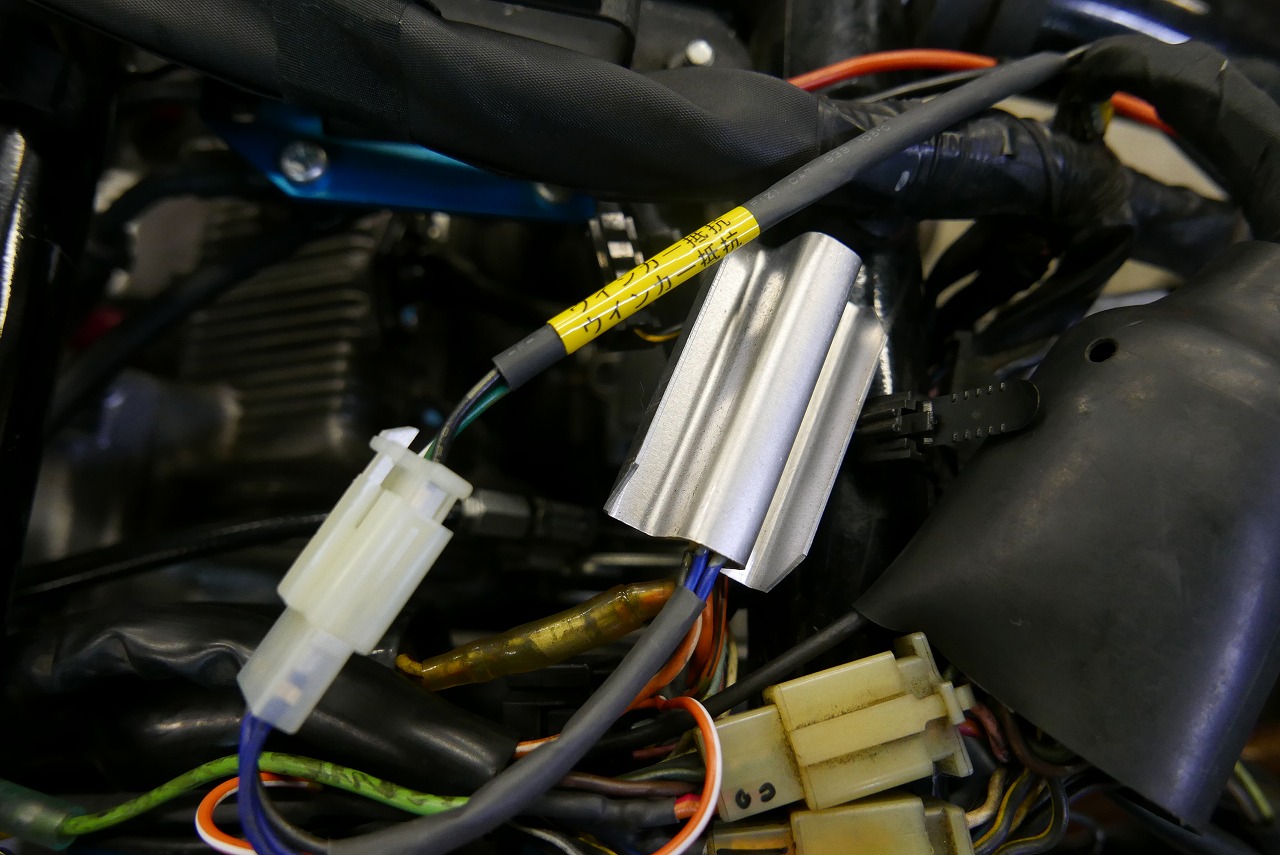
Depending on the bike, you don’t necessarily need to put the turn signal resistor inside the turn signal itself.
If you put it near the switch, it’s not in the way and the wiring is shorter.
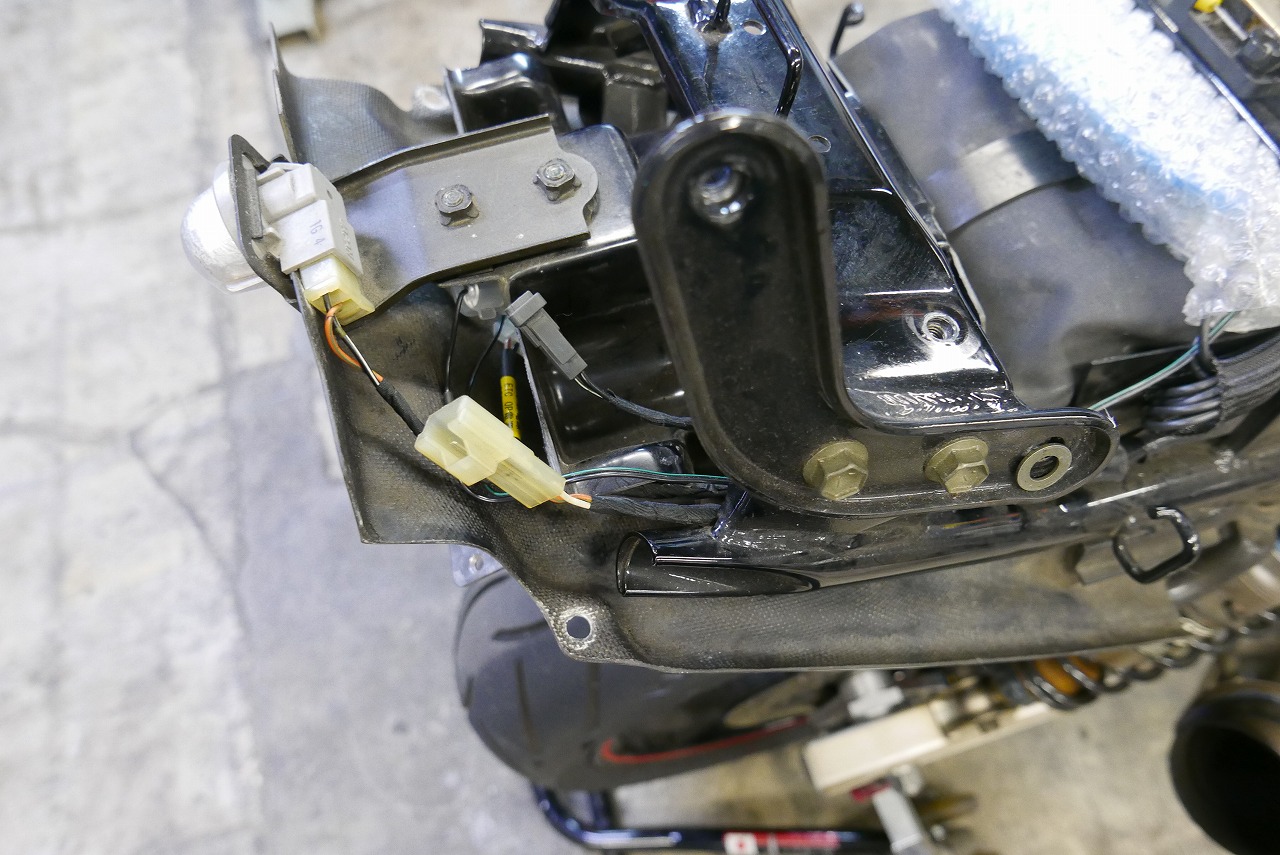
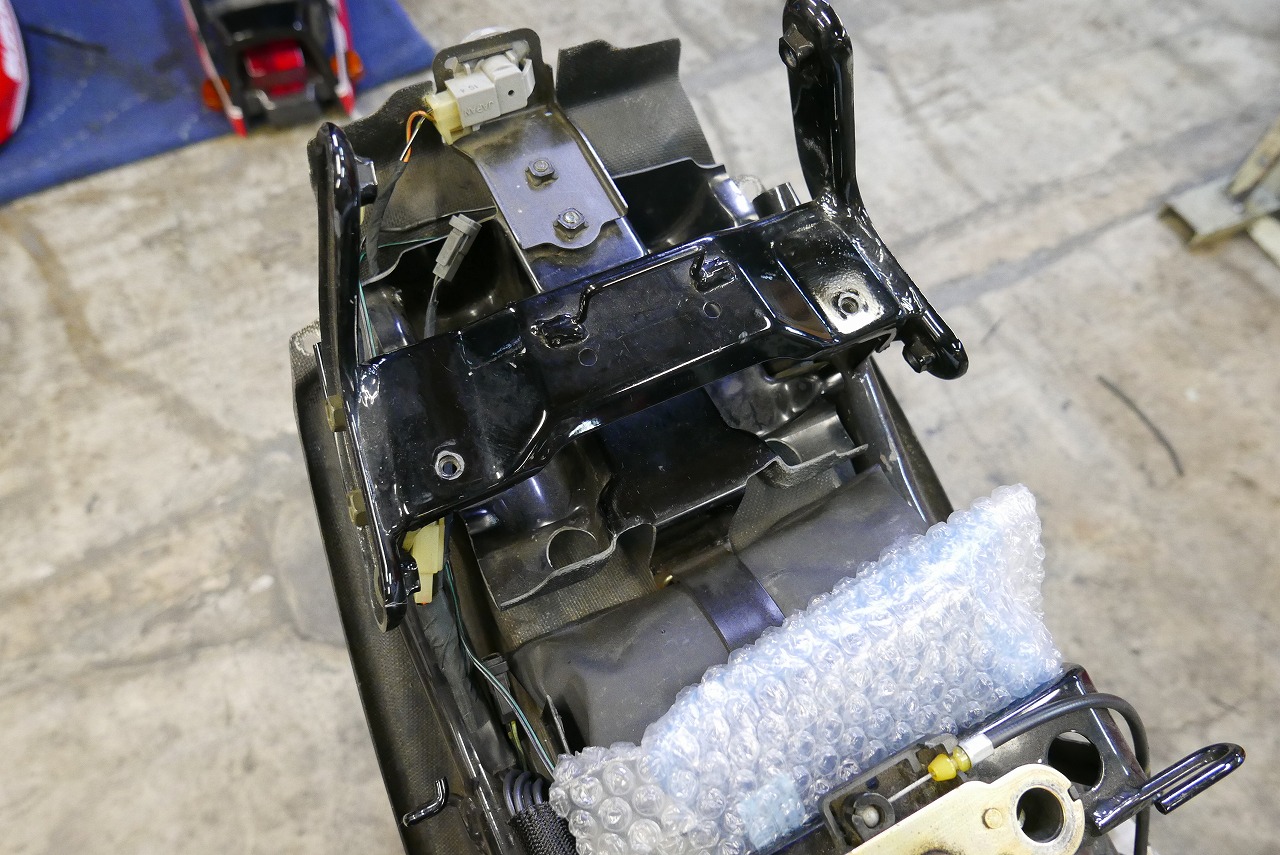
Since there’s no before photo, only the owner and I know, but… I think clean wiring with a layout that’s easy to check is best. Otherwise, don’t tie-wrap unnecessarily and it’ll look neat.
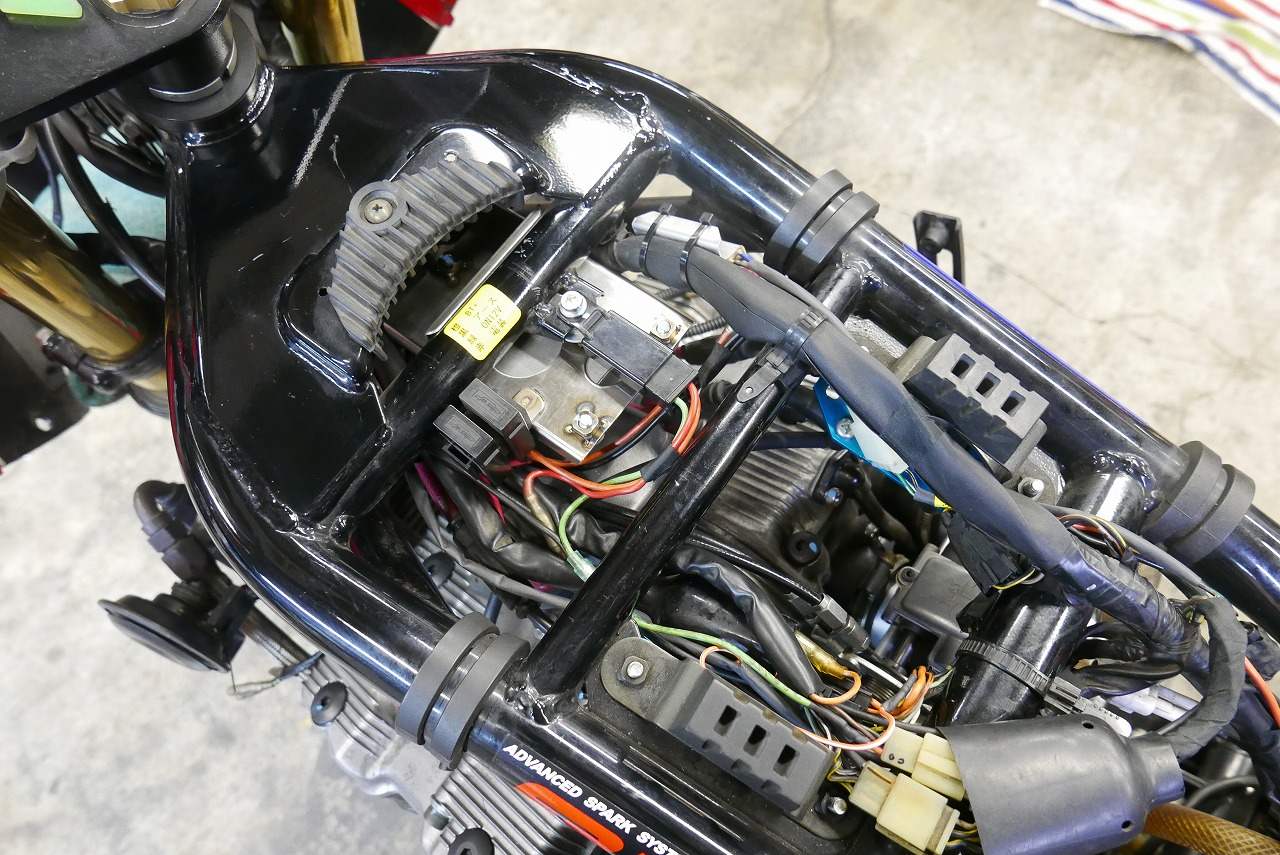
I did it like this. From now on, the wiring can be removed easily and work should be faster.
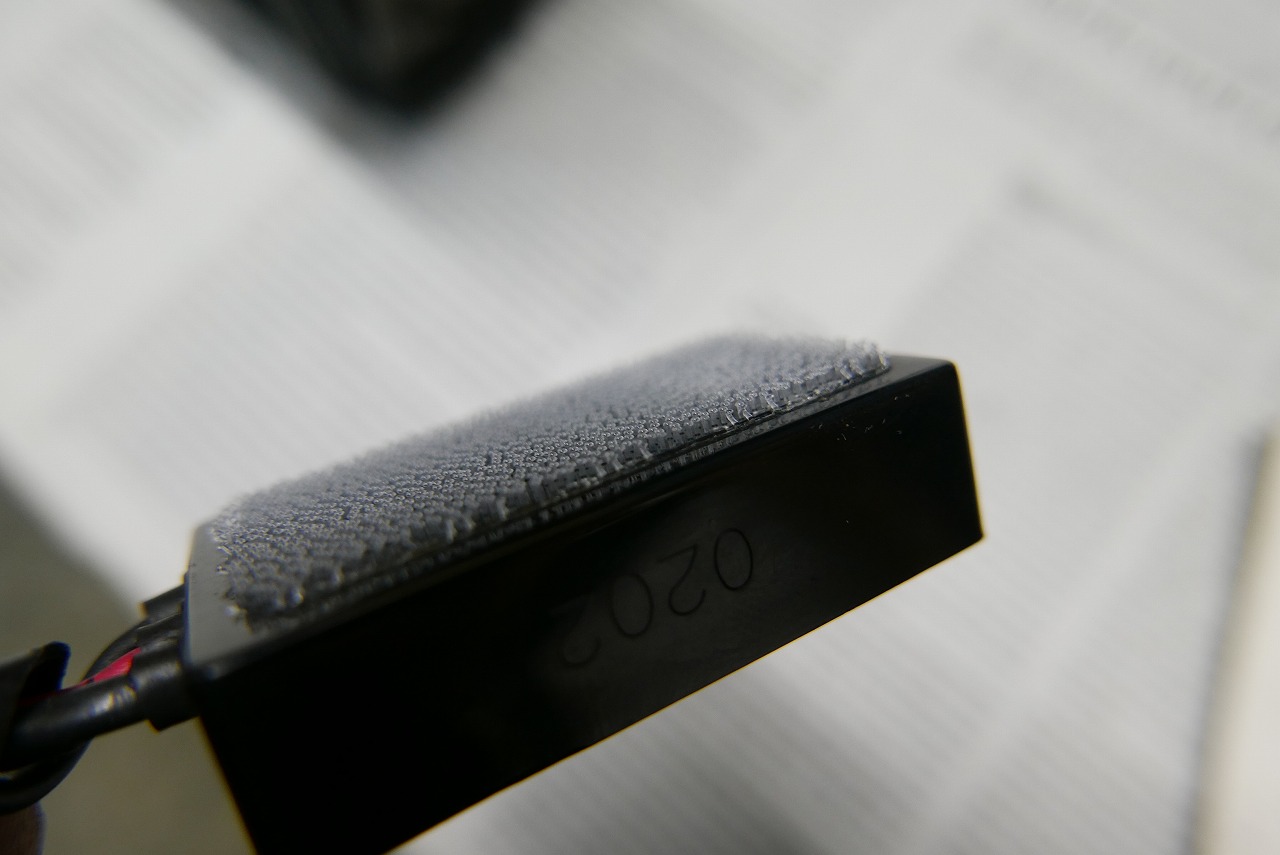
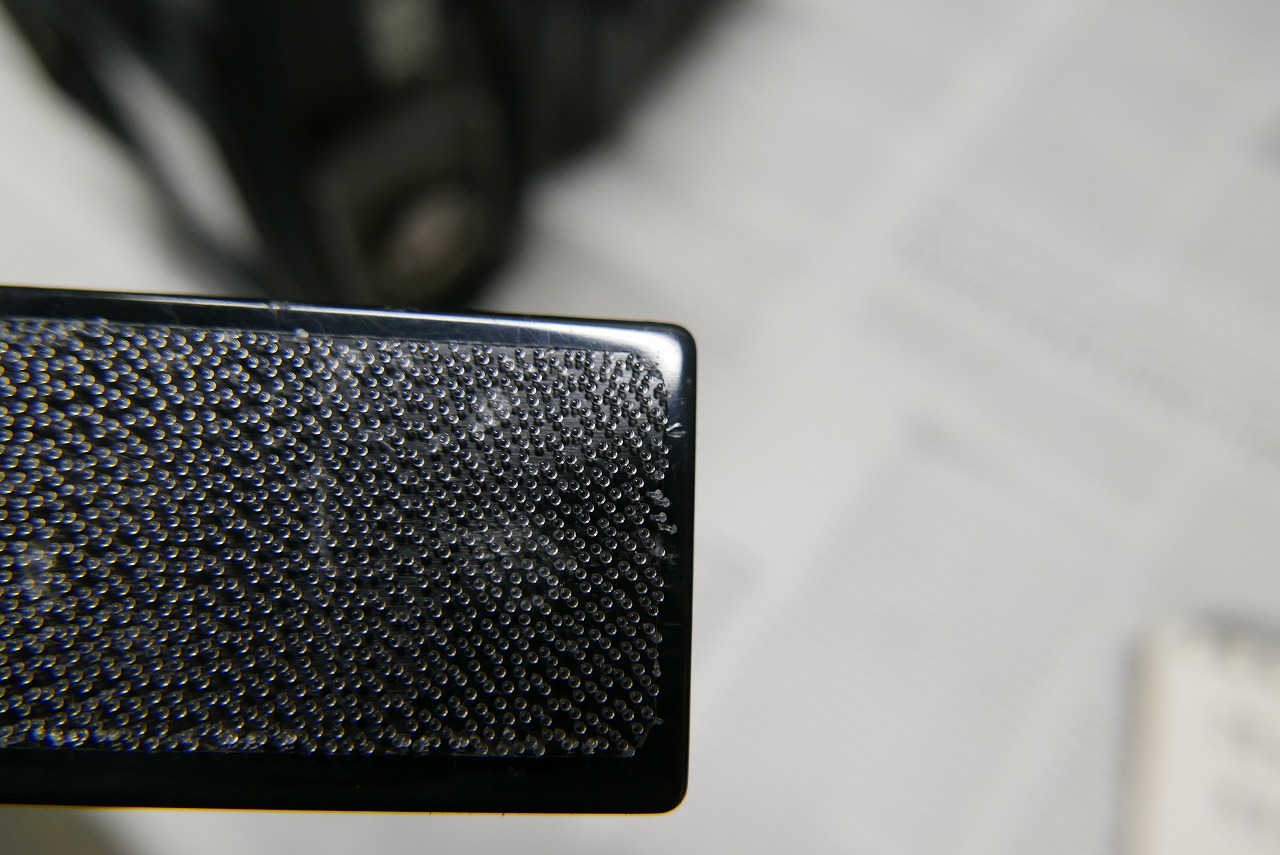
Recent new products? I usually use SJ3540J (weak) with SJ3541J (strong), but I don’t like the thick material and the leftover spongy adhesive.
When I looked closely at 3M, I found this amazing product.
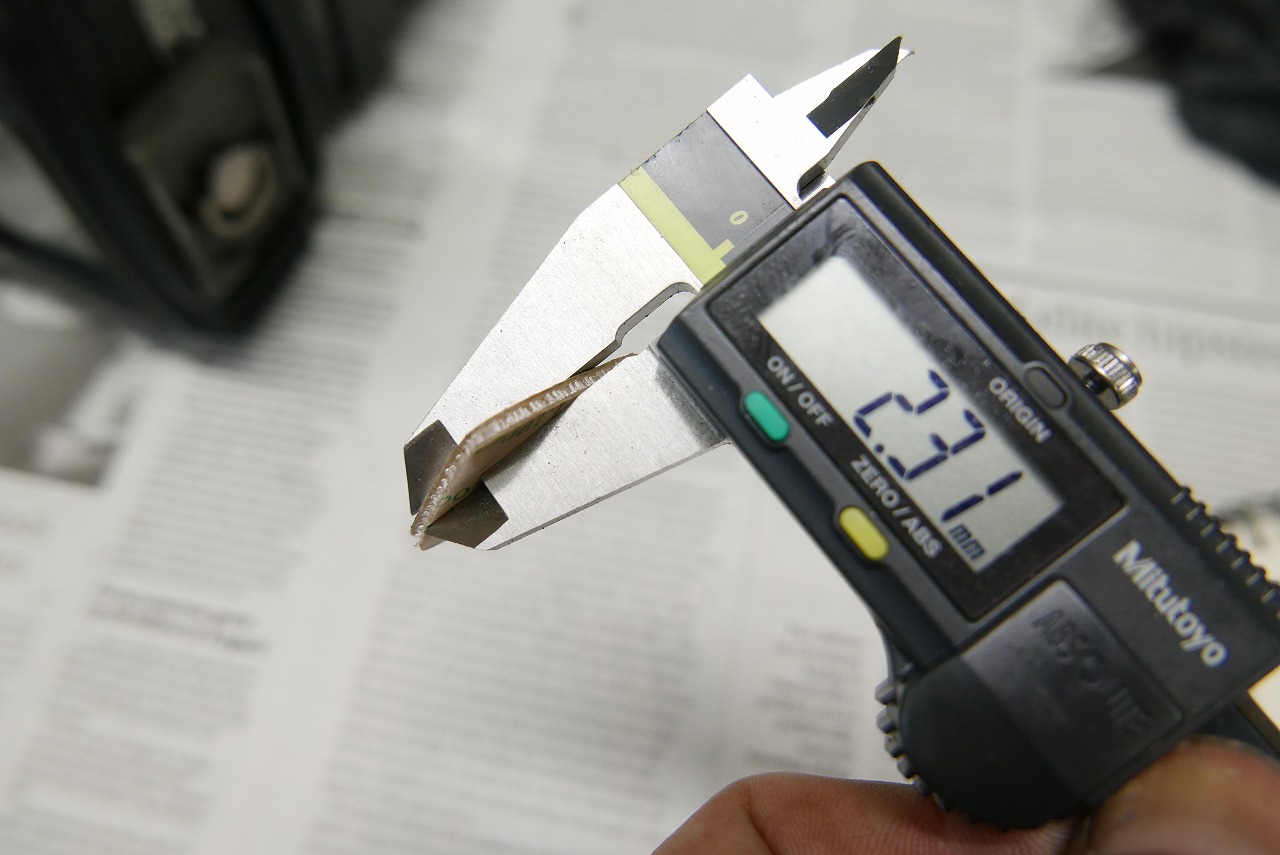
Hmm, it’s thin. It’s called SJ4570. I have a feeling it’ll become a regular stock item.
You can do wiring work yourself, but the materials really make the difference.
First, take your time and think about what you need before you start work.
If you rush, you might end up with a temporary fix that lasts forever.
So that’s the story about being careful with wiring.