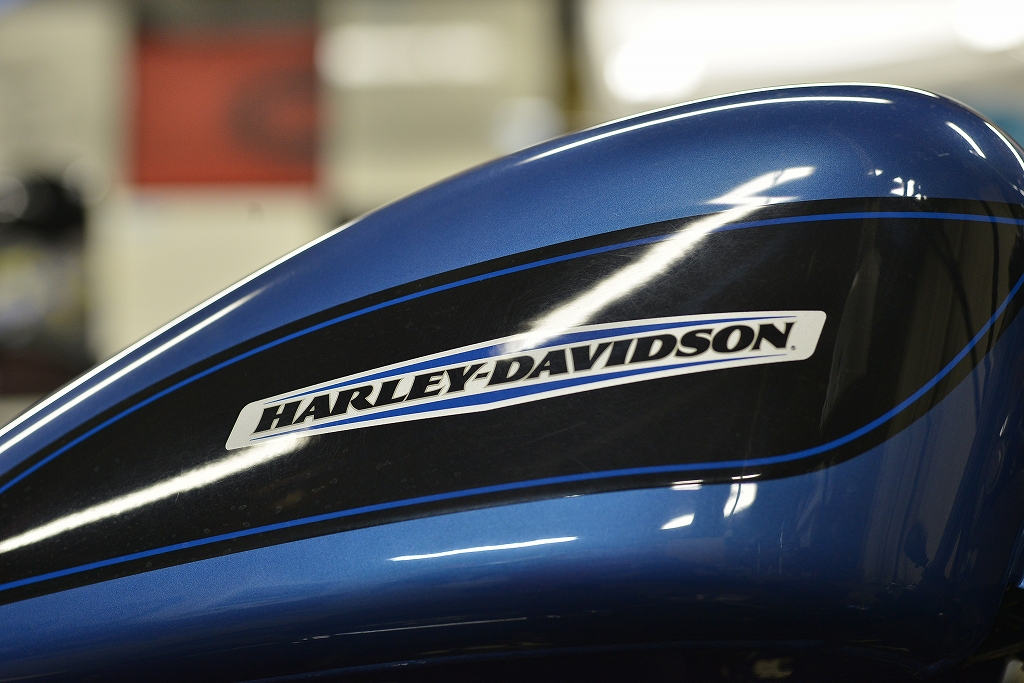
Inspection and self-point maintenance work requested.
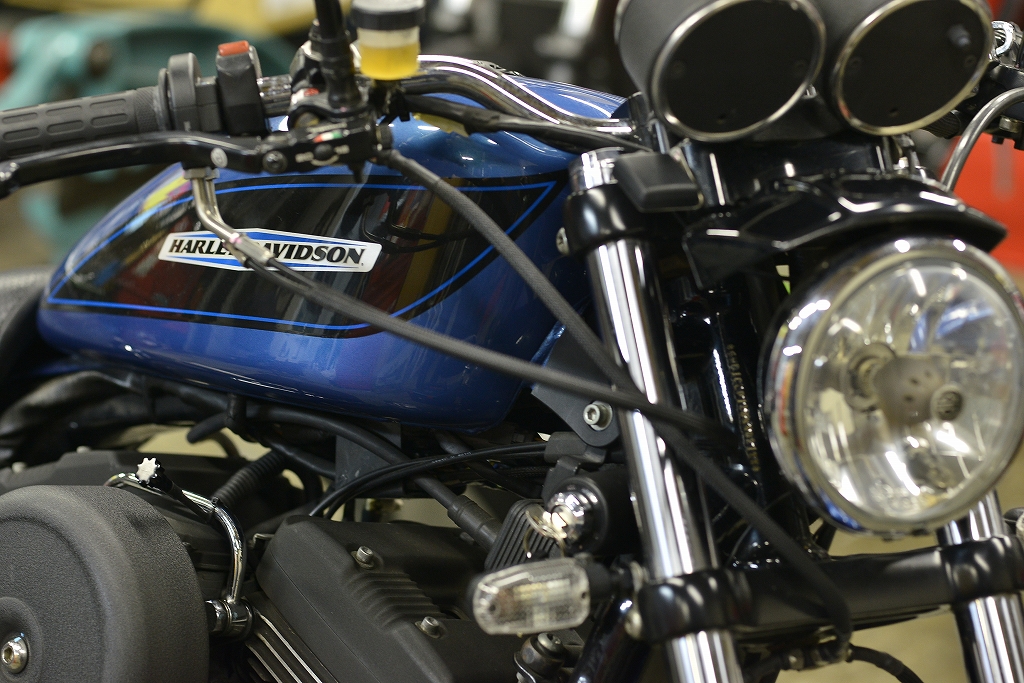
We’ve already obtained the inspection certificate this morning, so now it’s just maintenance work.
Everyone said “OK until it warms up!”
Thank you for the generous timeline. We’ll move right along—the schedule after this is packed solid.
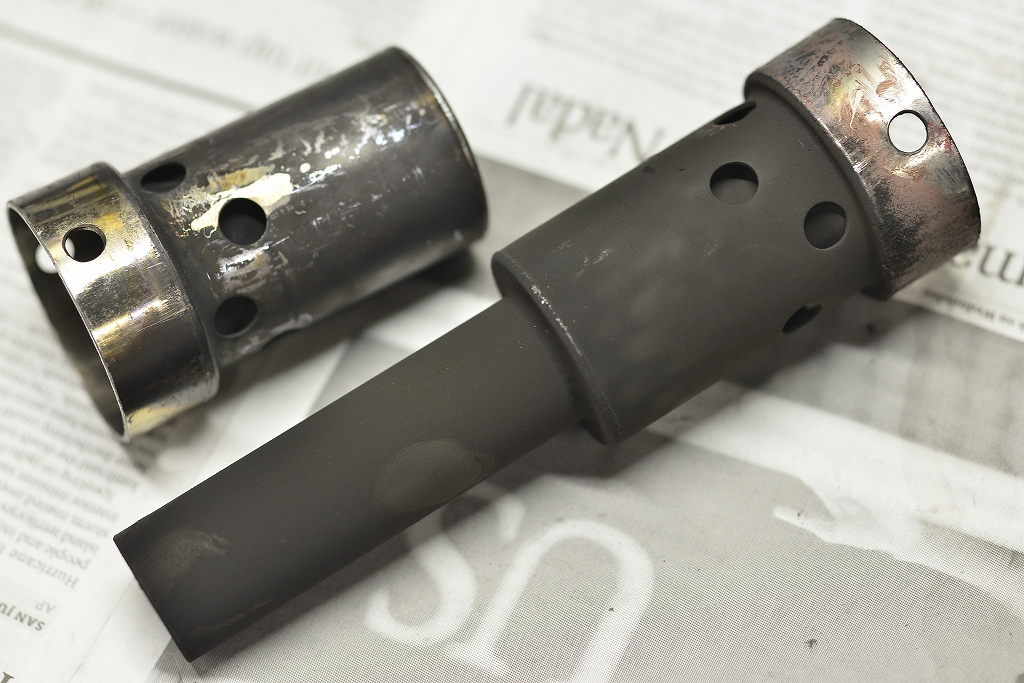
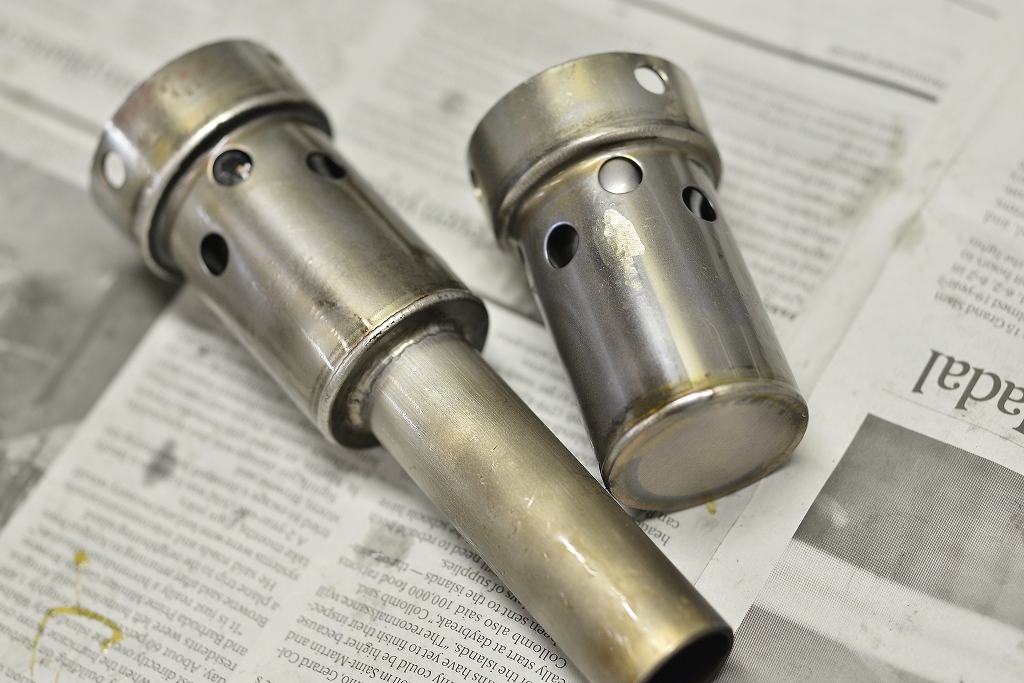
It has a catalytic converter but no cat—original equals aftermarket OK. You brought the inspection baffle. If it’ll clean up in two minutes, we’ll clean it up.
With the right equipment, it finishes quickly and cleanly.
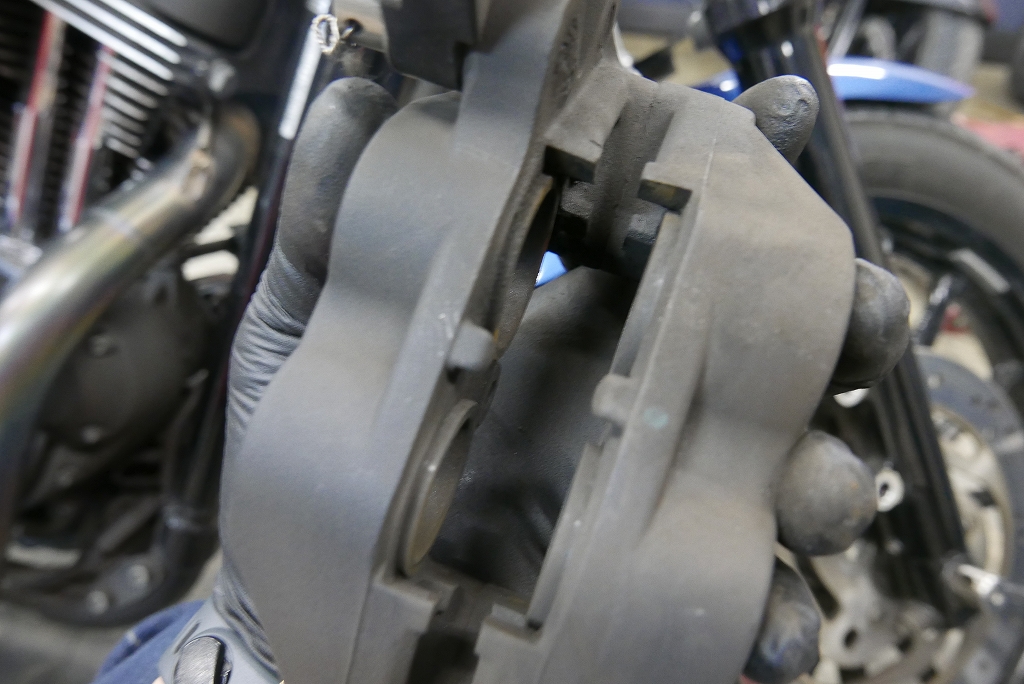
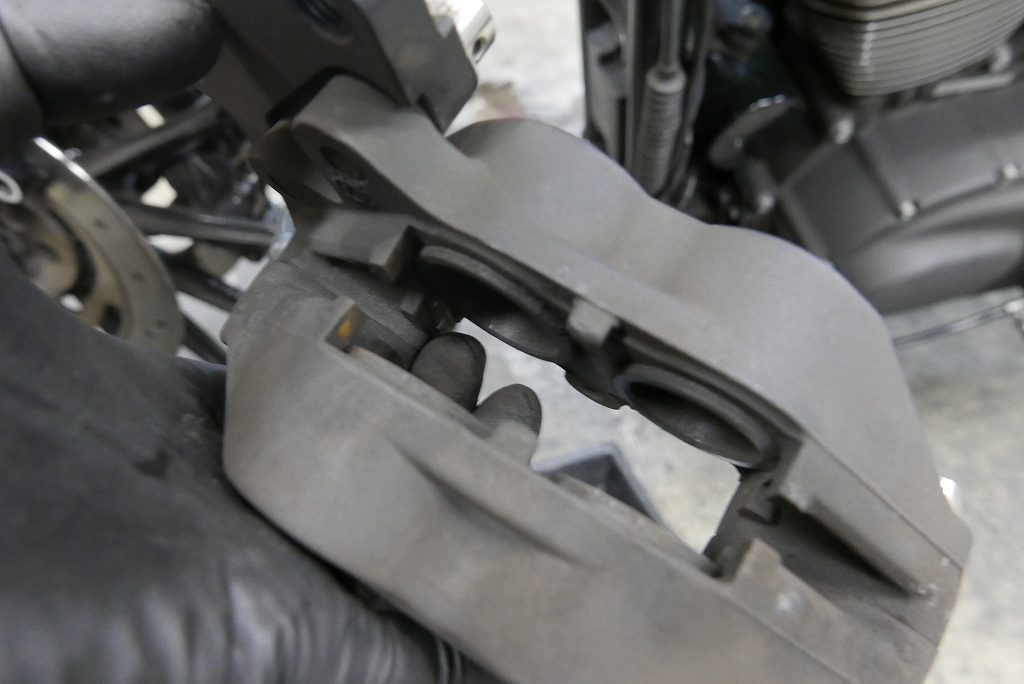
The mileage and runtime are short, but it’s quite dusty. Let’s clean it up.
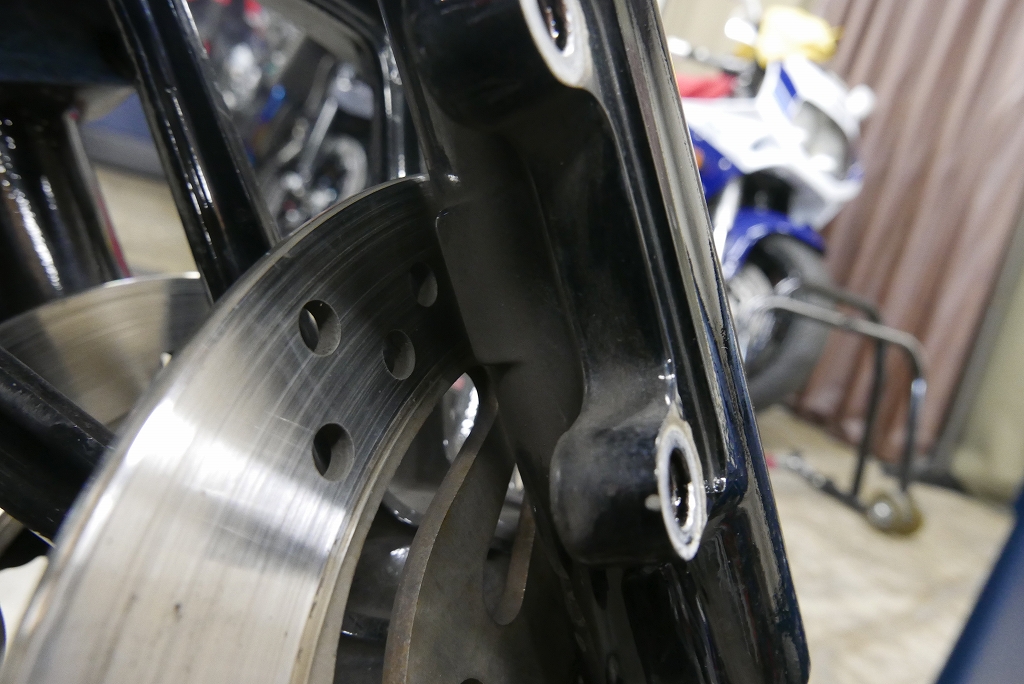
Dust buildup behind the shelf. A quick wipe like this keeps your spirits up too.
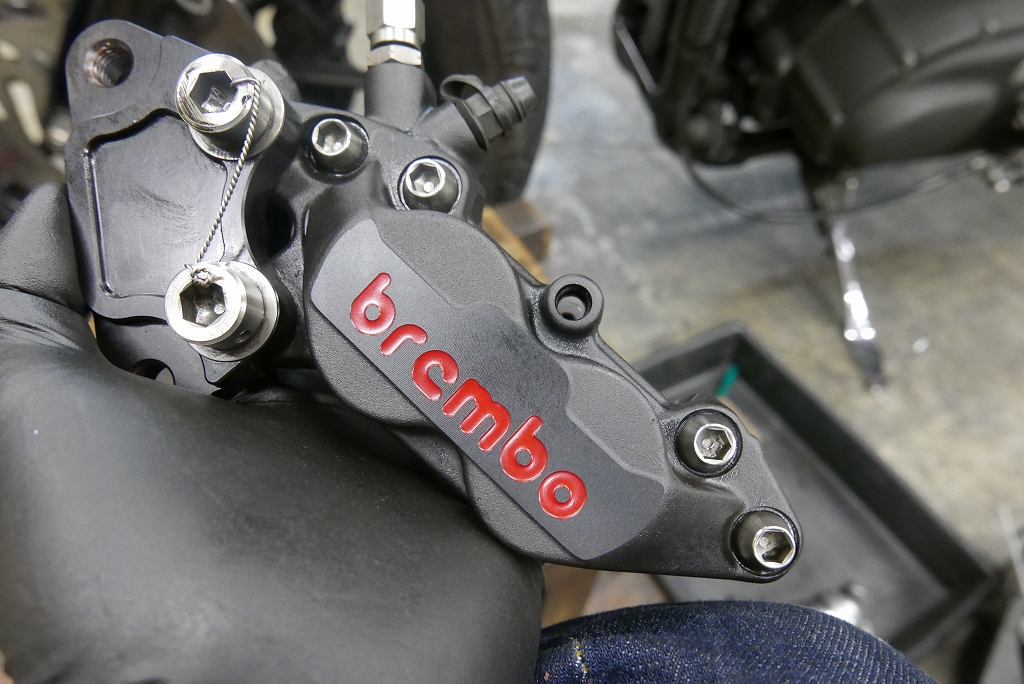
After cleaning, it’s degreased, so if you lightly spray rust preventative on the exterior and wipe it off, the bike stays in great condition.
It brings back that feeling you had when you first installed new parts.
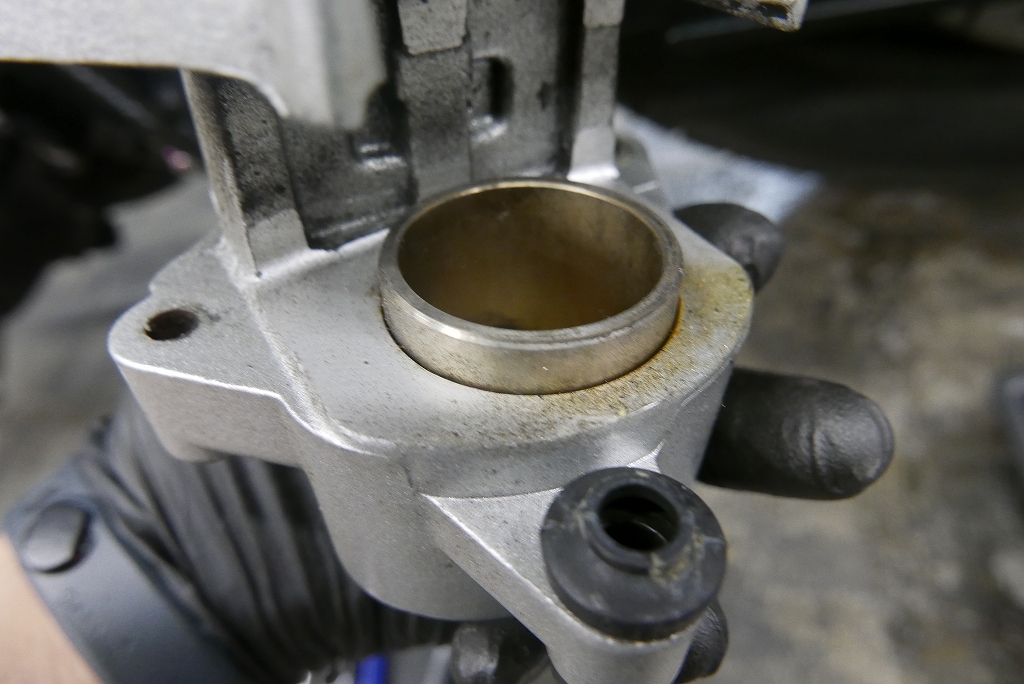
Same for the rear.
Front and rear operation looks good.
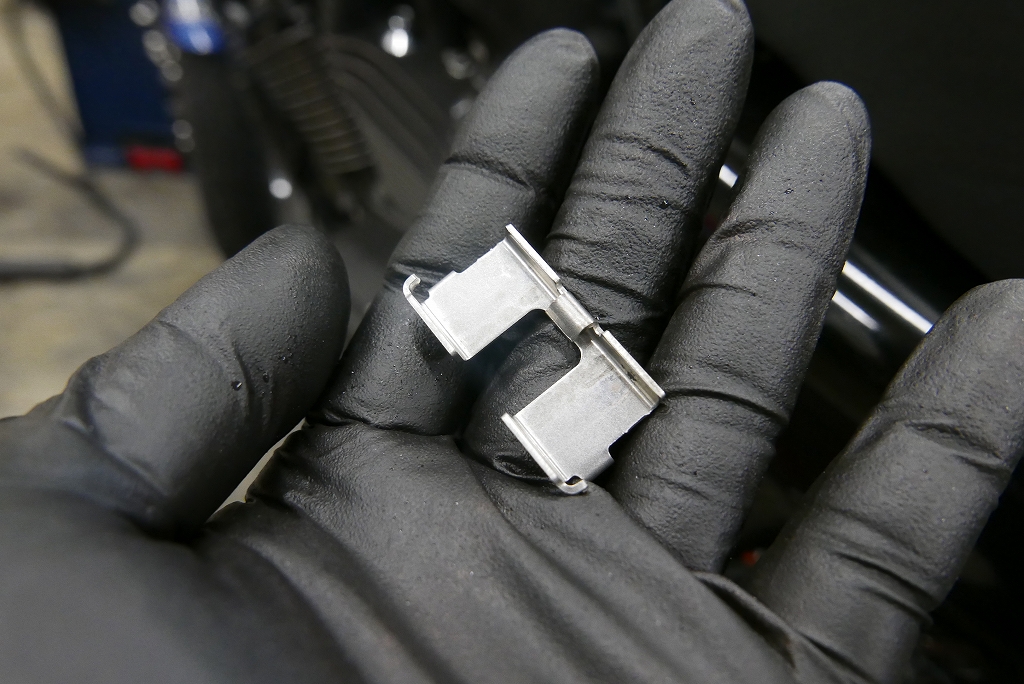
Polishing small parts feels nice too.
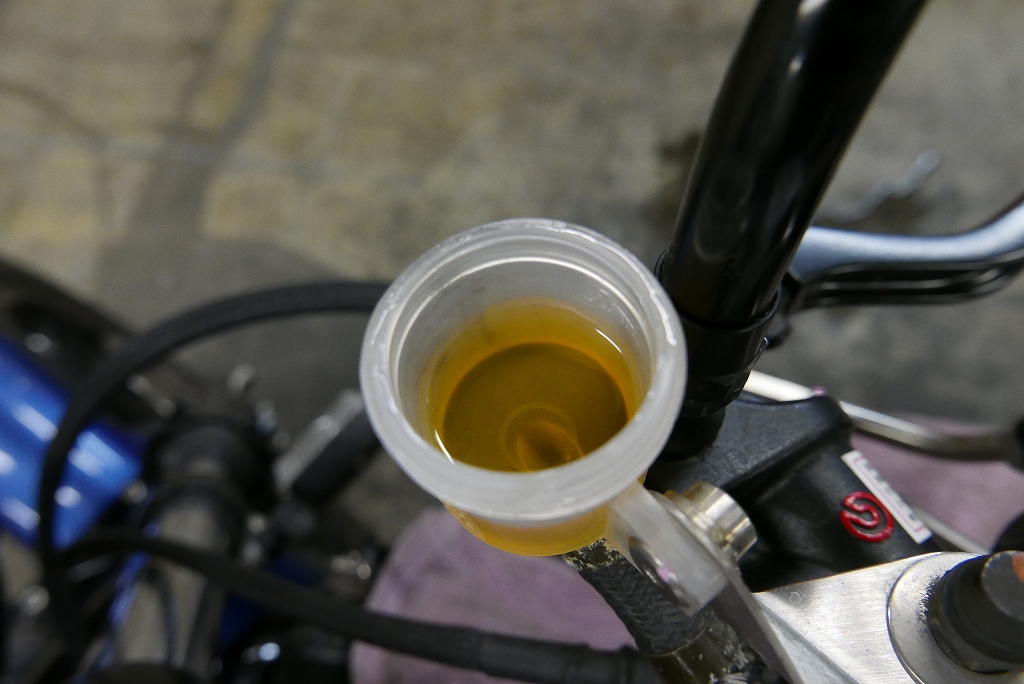
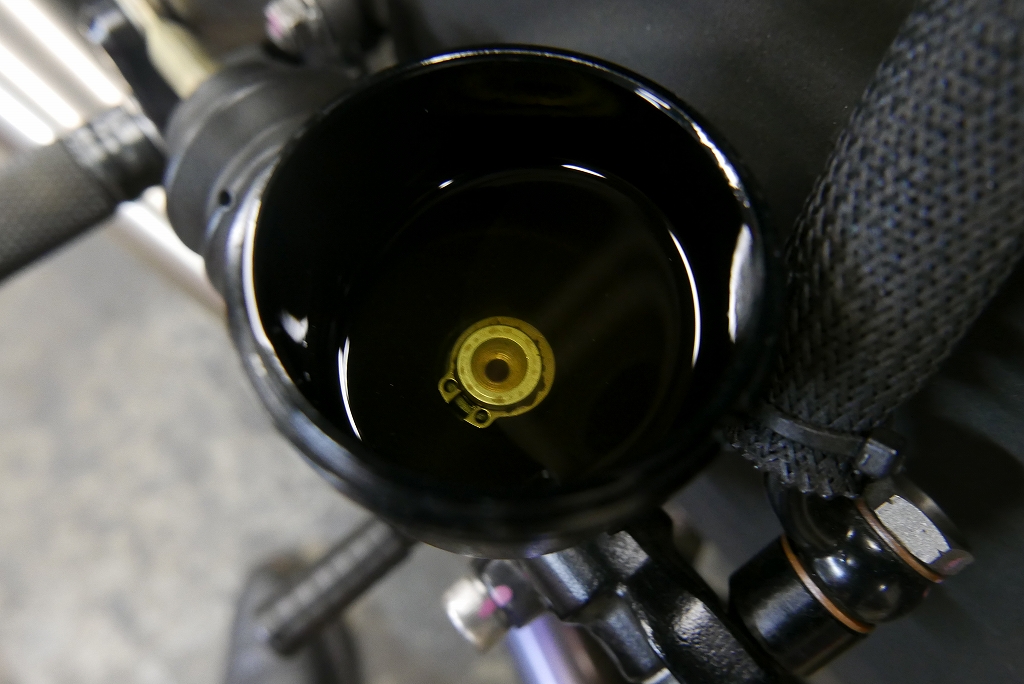
Front is Brembo so DOT4. Rear is DOT5 for this model year.
Harley marks it on the reservoir tank so you don’t mix them up.
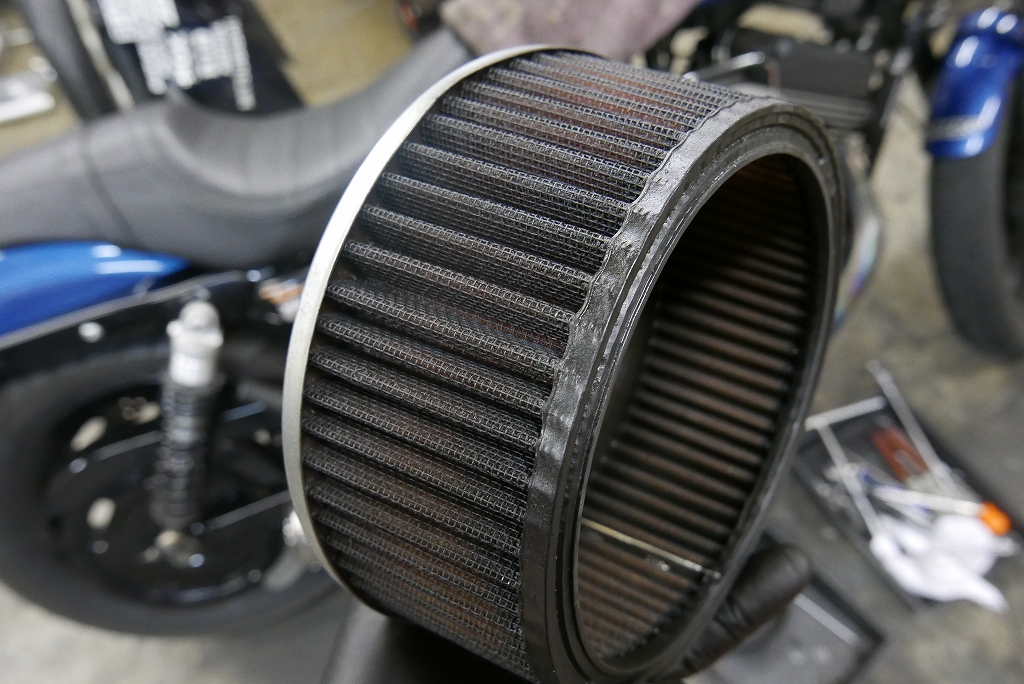
It looks pretty dirty.
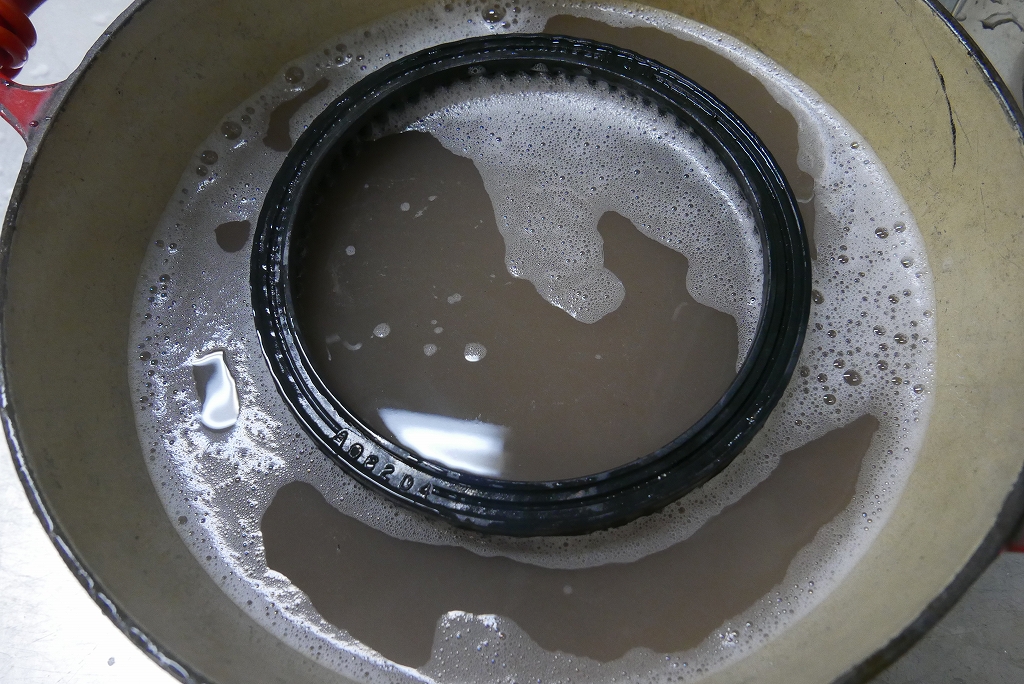
We’ll soak it in hot soapy water and let it sit.
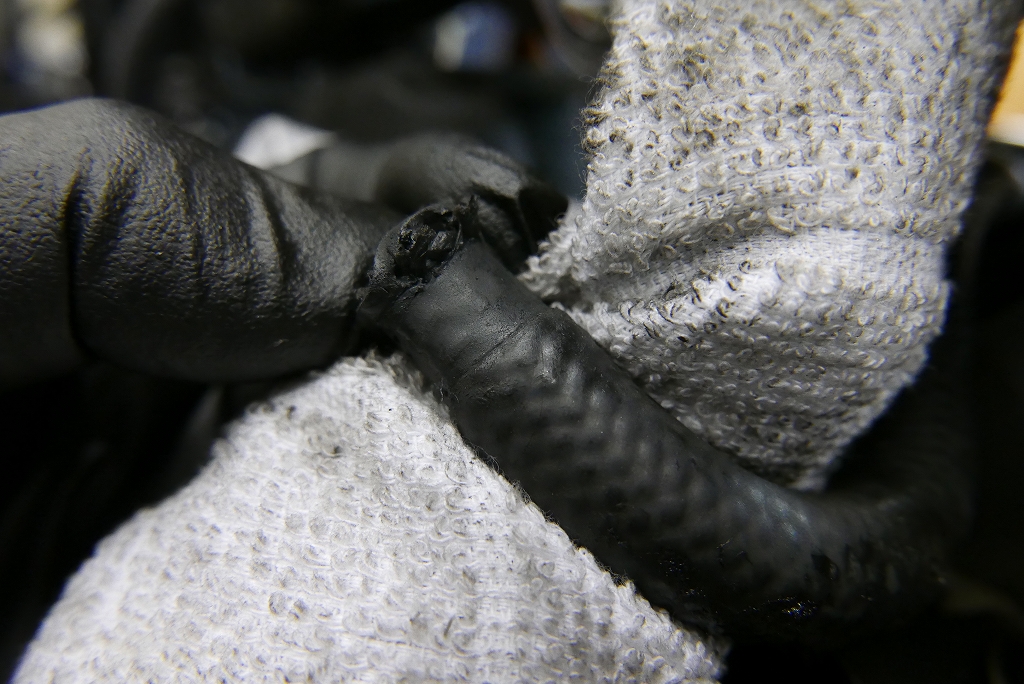
The fuel hose is leaking from the clamp area. I don’t use or have this type of hose, so we’ll crimp it and reuse it.
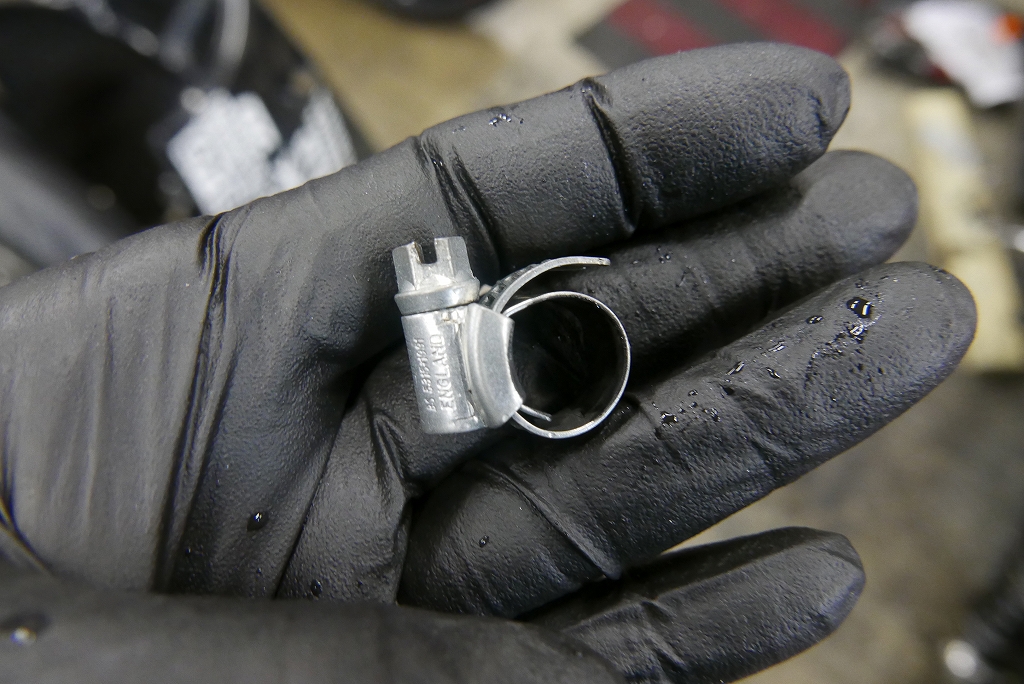
We cleaned up the clamp too.
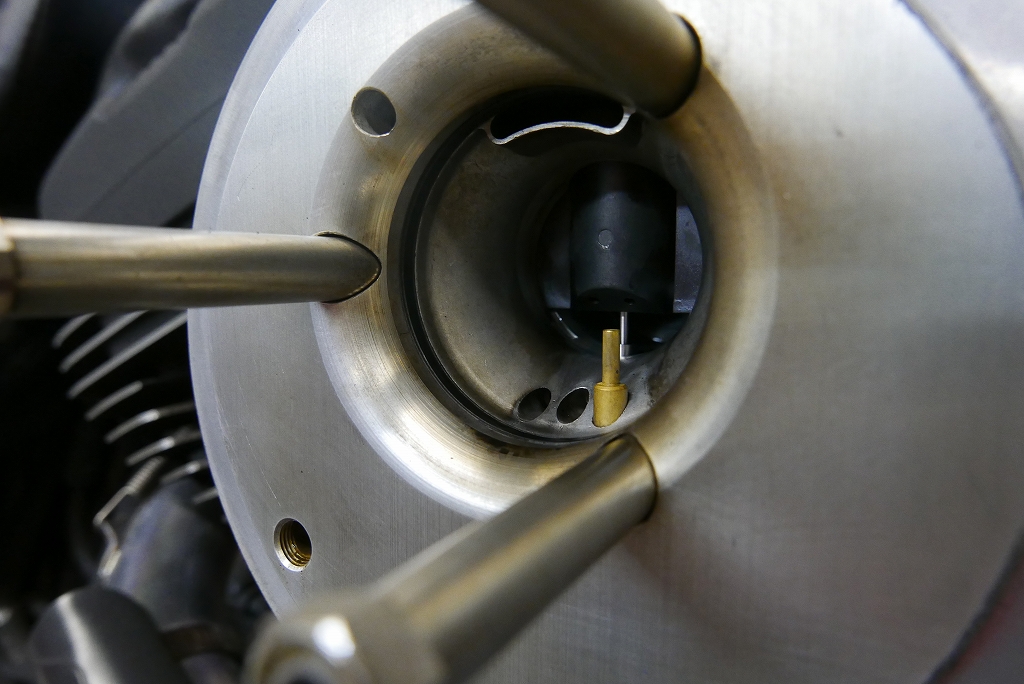
The blowback is dirty too, so we’ll clean that up.
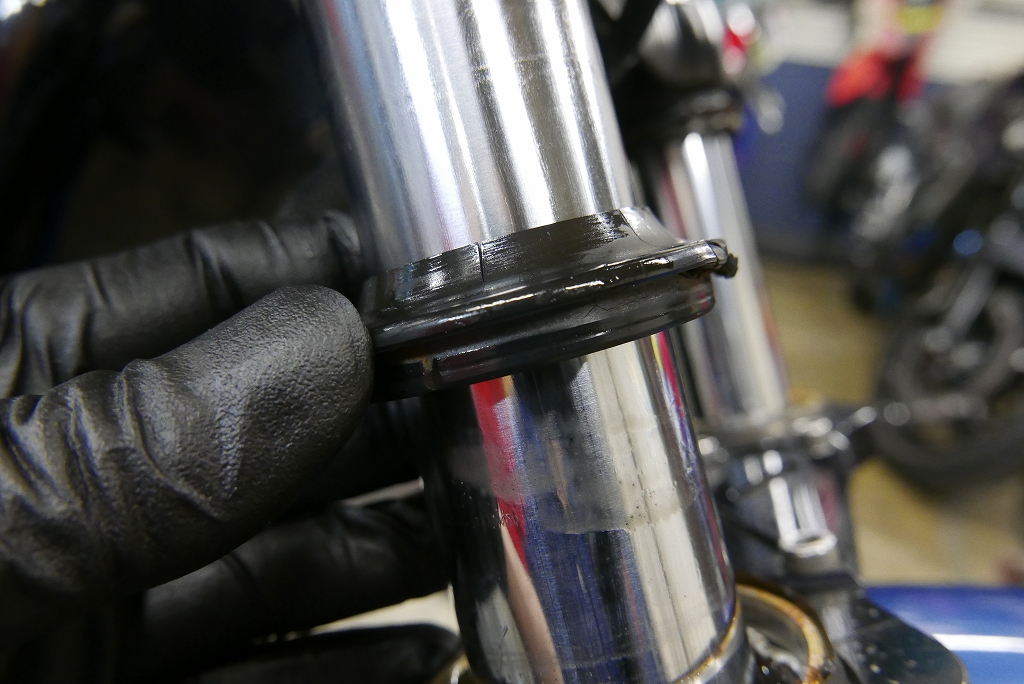
We’ll lift the fork dust boots and clean them. It’s in a condition where you’d think it would leak, but it doesn’t. For now, we’ll leave it as is.
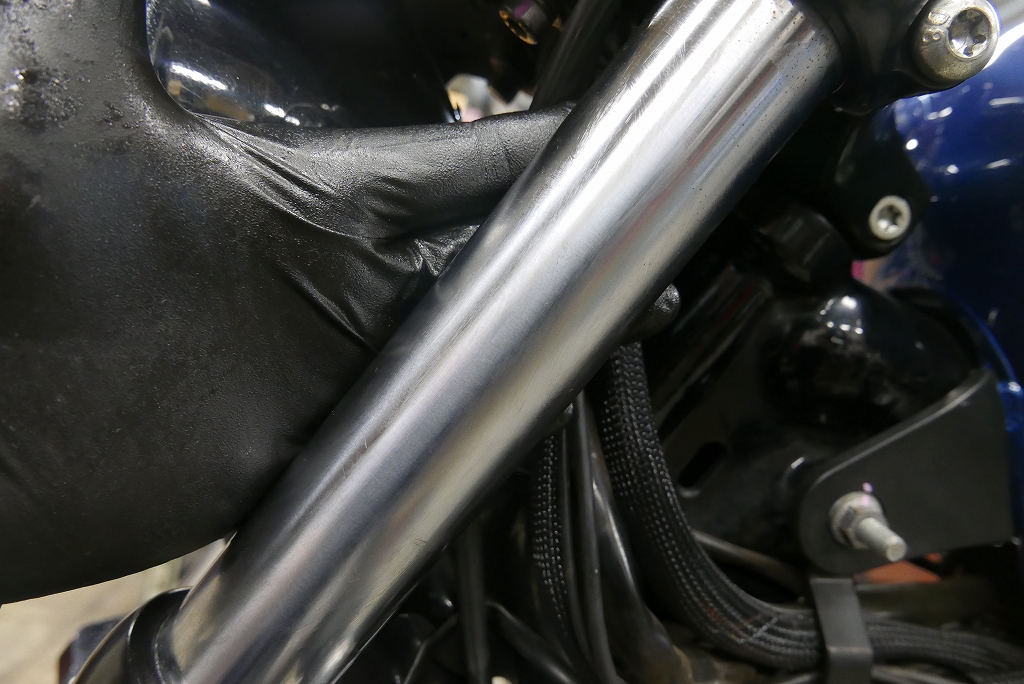
The area between TOP and LOW rusts easily, so we spray rust preventative, work it in, and wipe it off.
I think the key to keeping a bike looking nice is preventing corrosion.
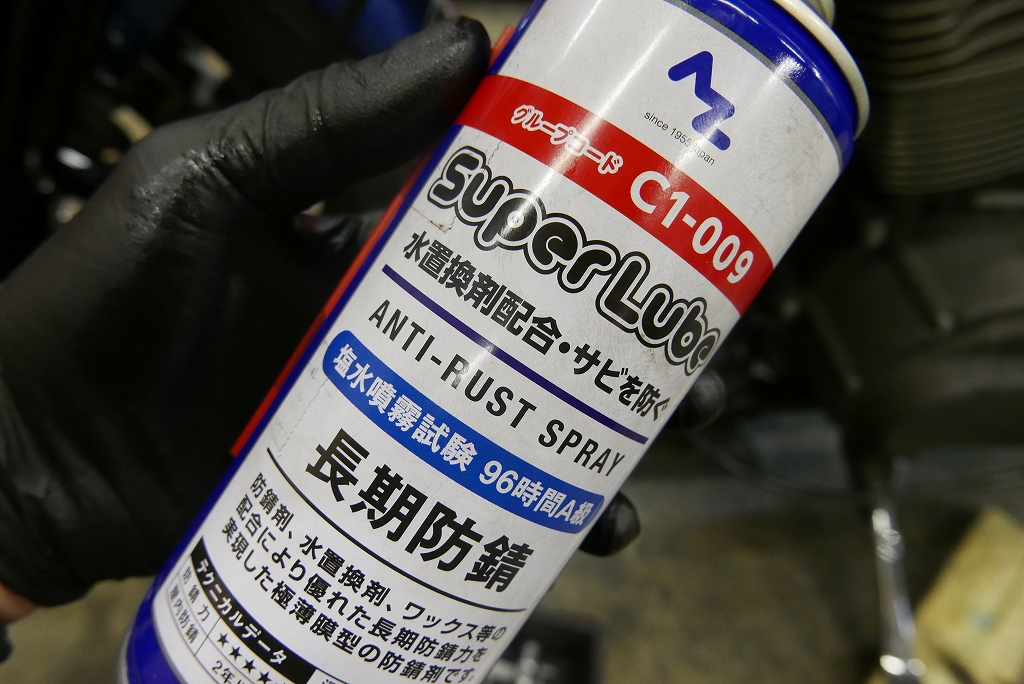
We try quite a few chemicals. People often ask if this is any good, but it works really well.
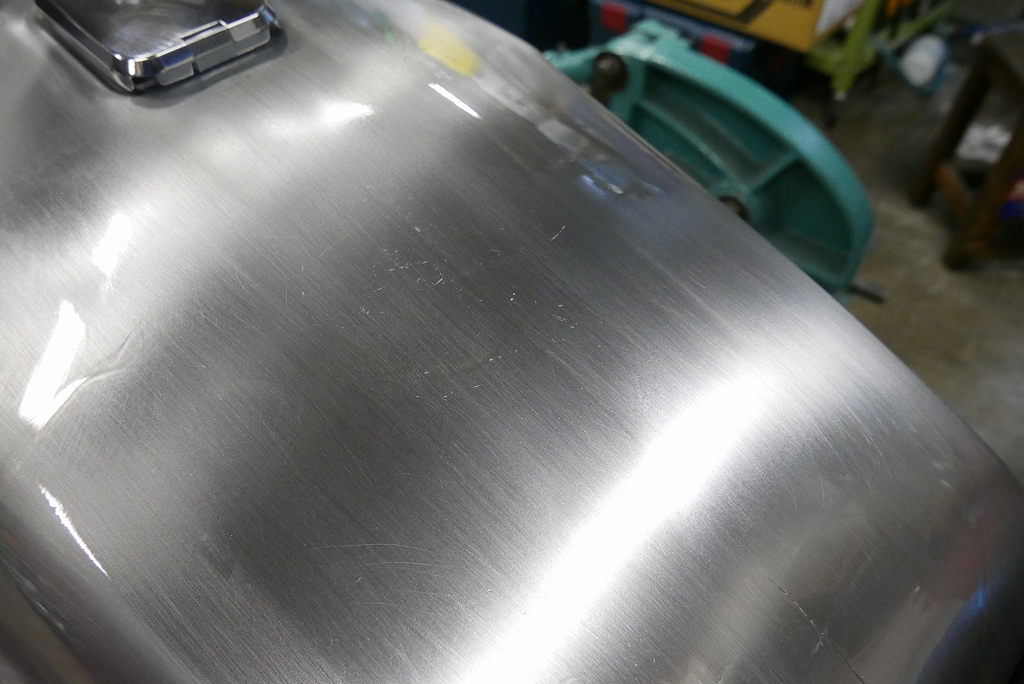
While we’re at it, I reapplied rust preventative to my own Z. This tank is steel with the paint stripped off, and it’s been holding up on just this rust preventative for quite a while now.
By the way, I hate dry air, so I keep a humidifier running in the shop all the time. Even this season it doesn’t drop below 40%, so I’d say that’s pretty good.
After a few minutes it becomes smooth to the touch, which is also great.
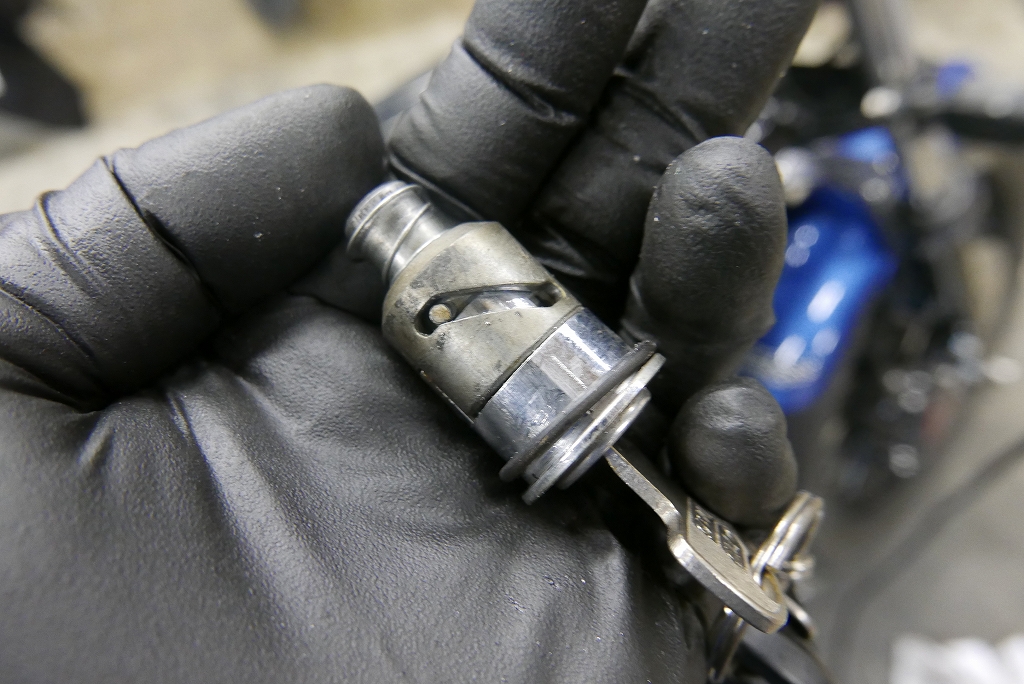
The handlebar lock wasn’t working. The inspection passed because we ran a wire through it, so that’s fine—wait, you mean it’s been without a lock this whole time? That’s surprising.
I worked the center pin and pulled it out. It came off. The workmanship was surprisingly sloppy.
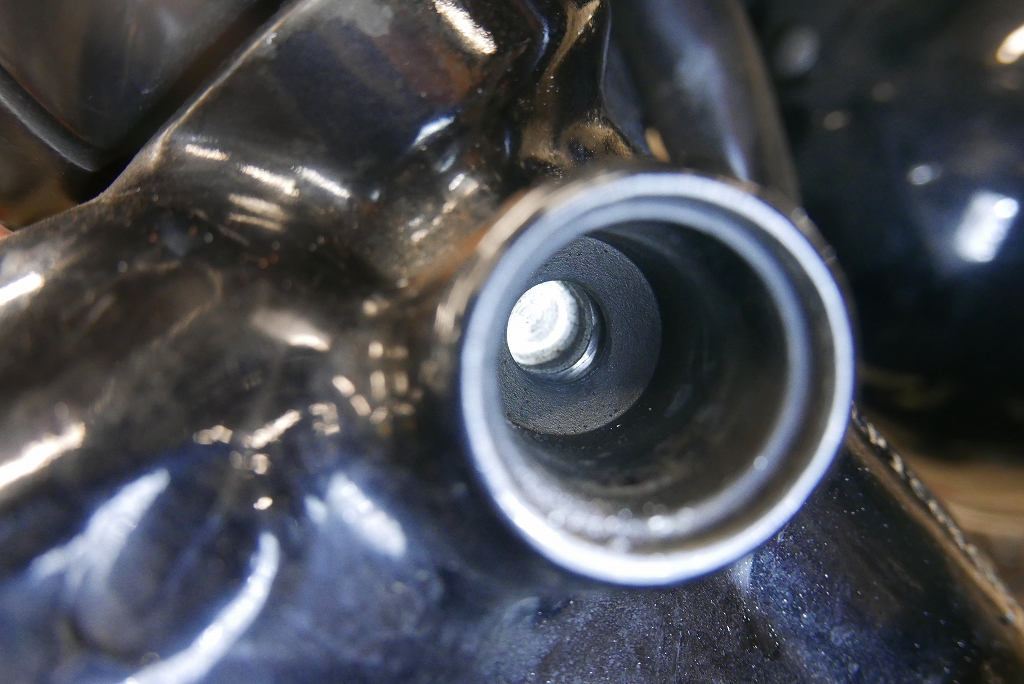
The image is tilted. The hole that’s not coaxial is at the bottom. They don’t line up at all—no wonder it won’t engage.
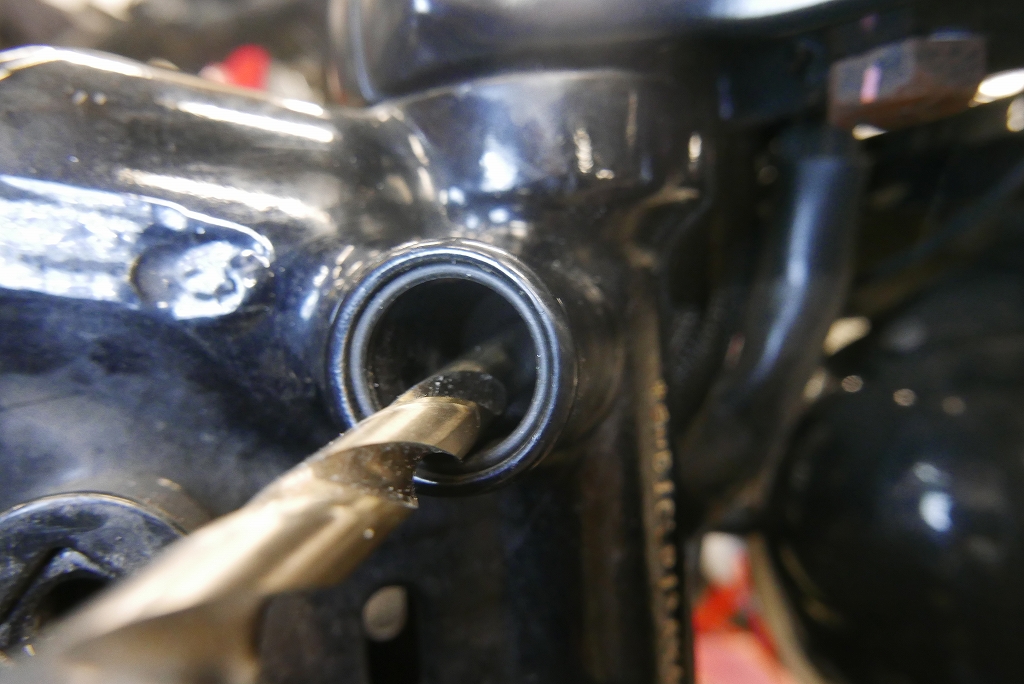
I don’t know what diameter the other side is, so I did a rough measurement with the back of a drill bit. It looks like 9.5mm would fit. (The lock key side should be 10mm.)
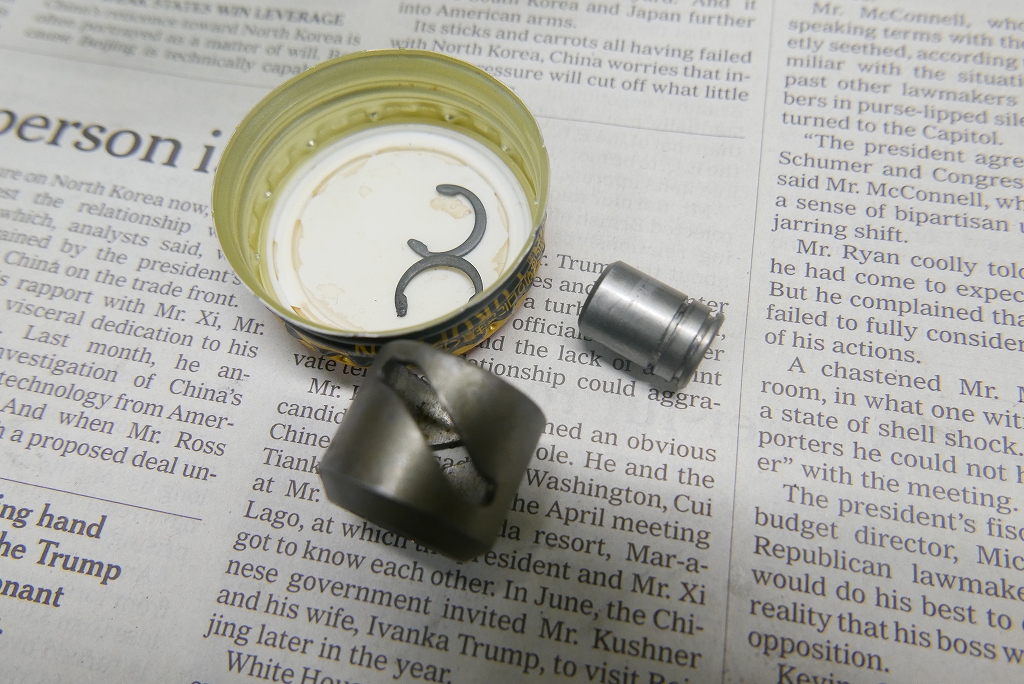
Plan: lightly disassemble the key and machine down the pin a bit.
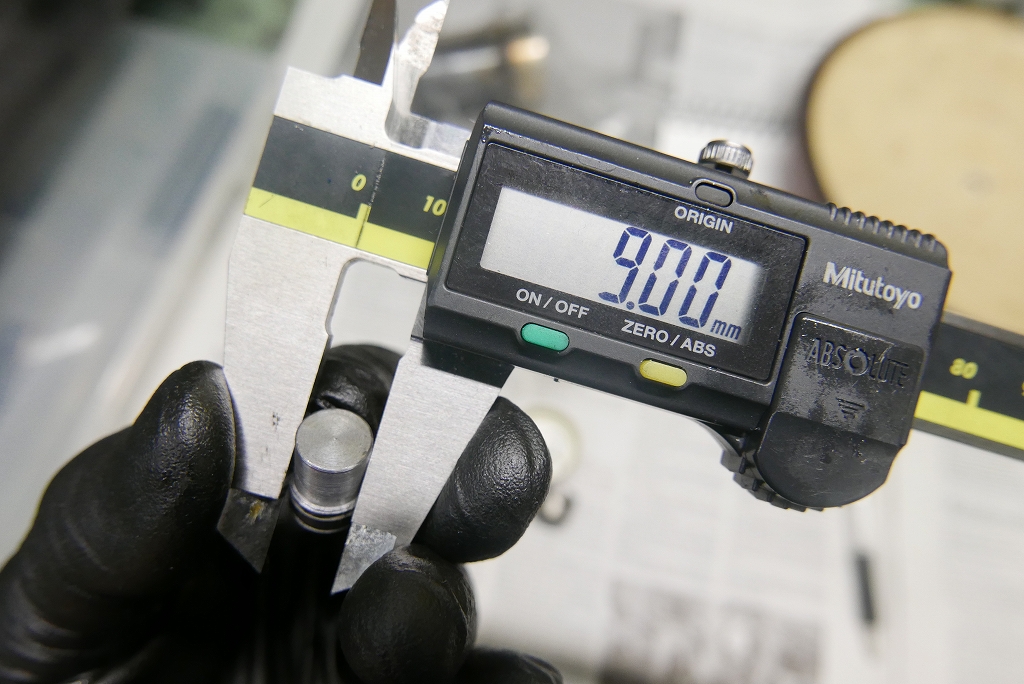
For now, I went with 10mm down to 9mm to be safe.
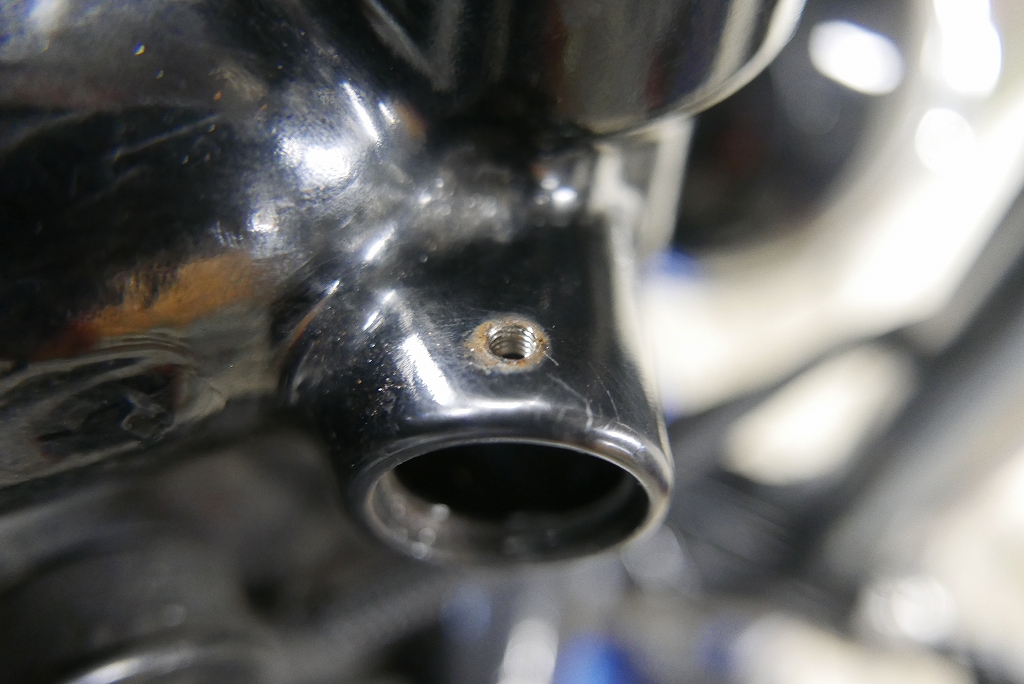
The press-fit pin is a pain to remove, so I tapped it with M4×0.7.
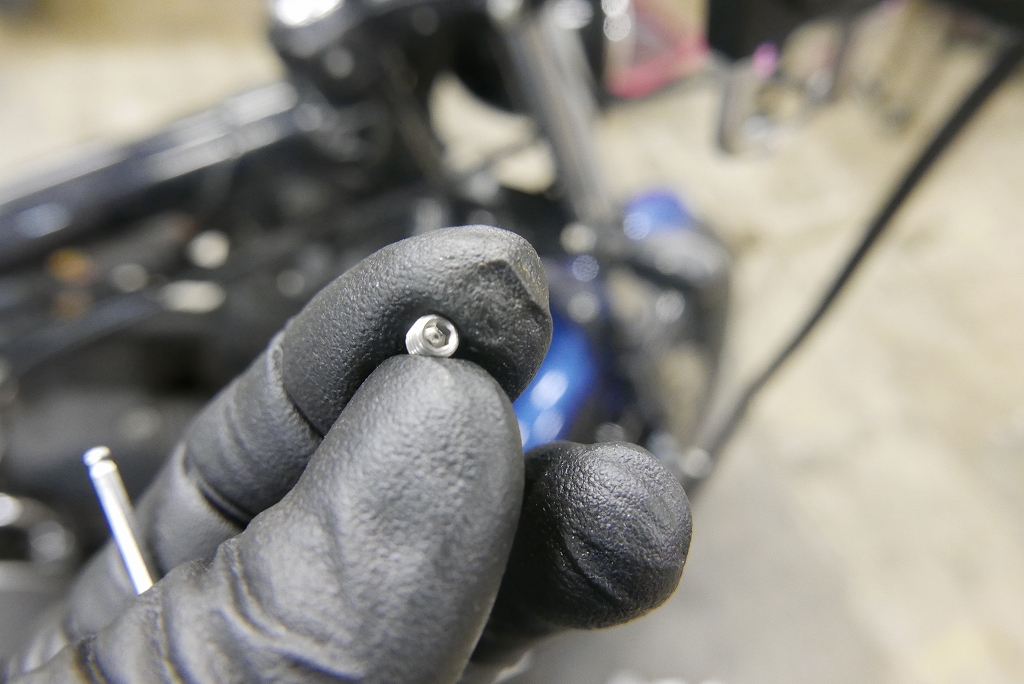 I’ll insert a point and seal it with liquid gasket. Long wait for the point.
And the handlebar lock is in a half-baked position too. That’s Harley for you.
Almost done!