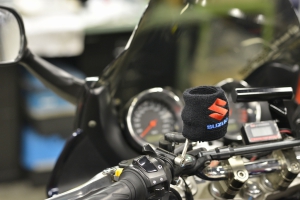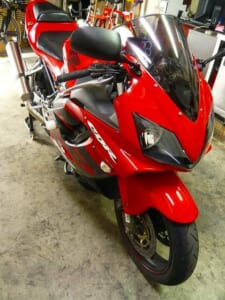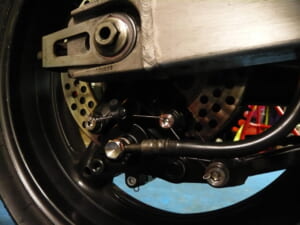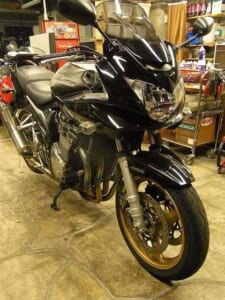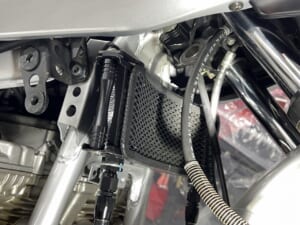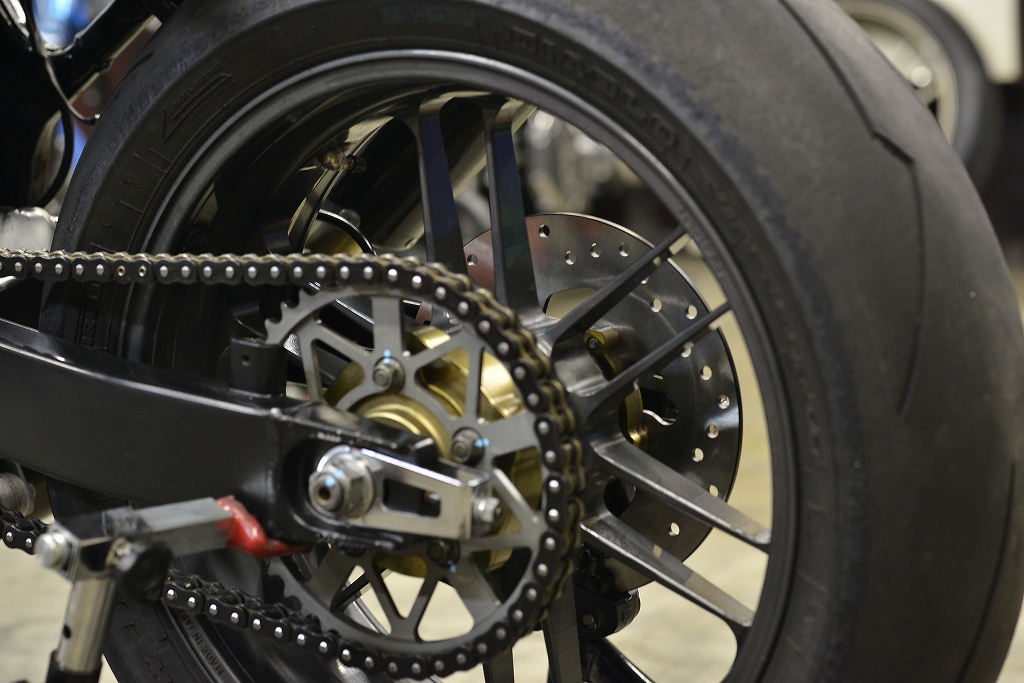
Now for the Exact wheel installation that was brought in.
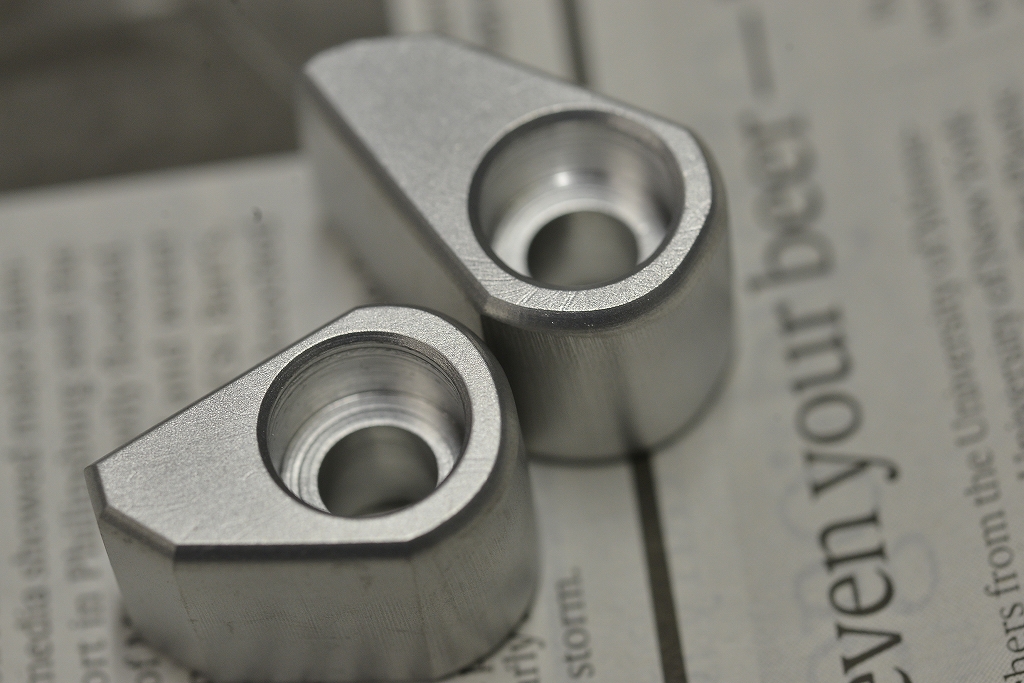
A stem from a previous swap. The handlebar stopper position was completely different, so I had to remake it.
When you get older, you can make a decent job of things even with a belt sander. Quite something…
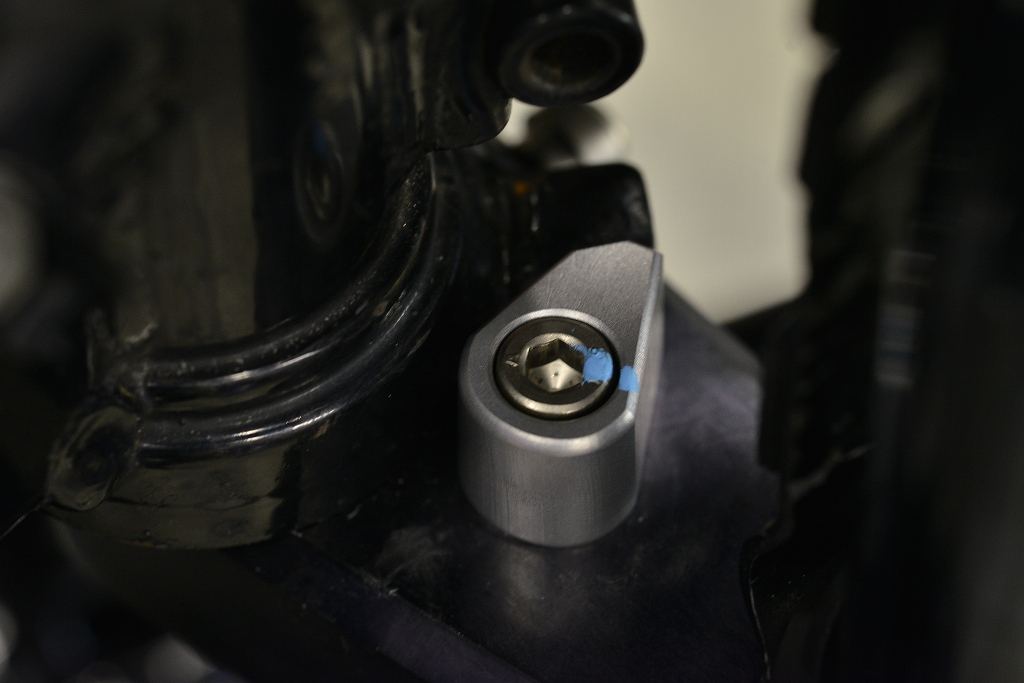
That’s how it turned out.
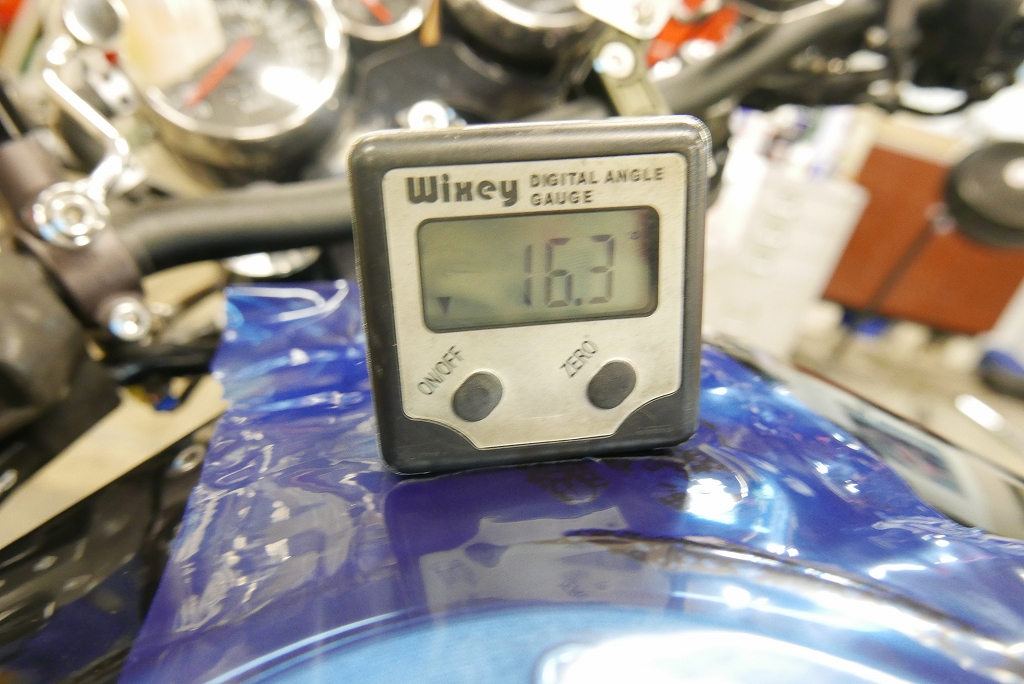
A long-time customer had been using an aluminum forged side stand that we used to sell, but the angle was a bit off and it had a slight flex to it, so we’re making a new one this time.
A rough check shows about 16 degrees. That’s quite a bit.
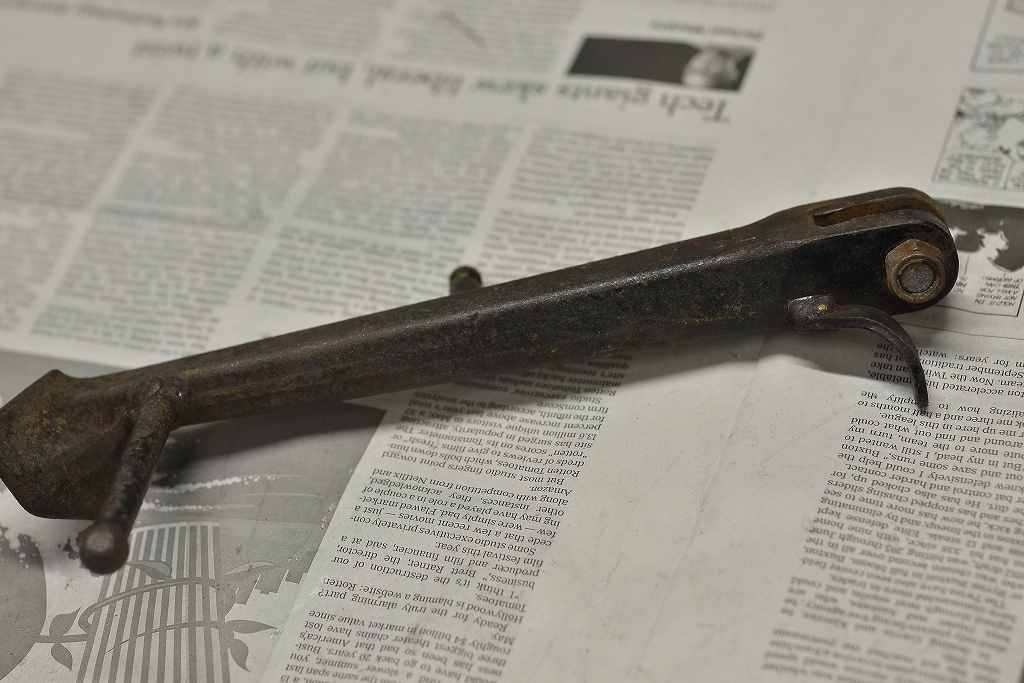
Since there was no stand, I sourced one from Yahoo Auctions. It’s pretty beat up.
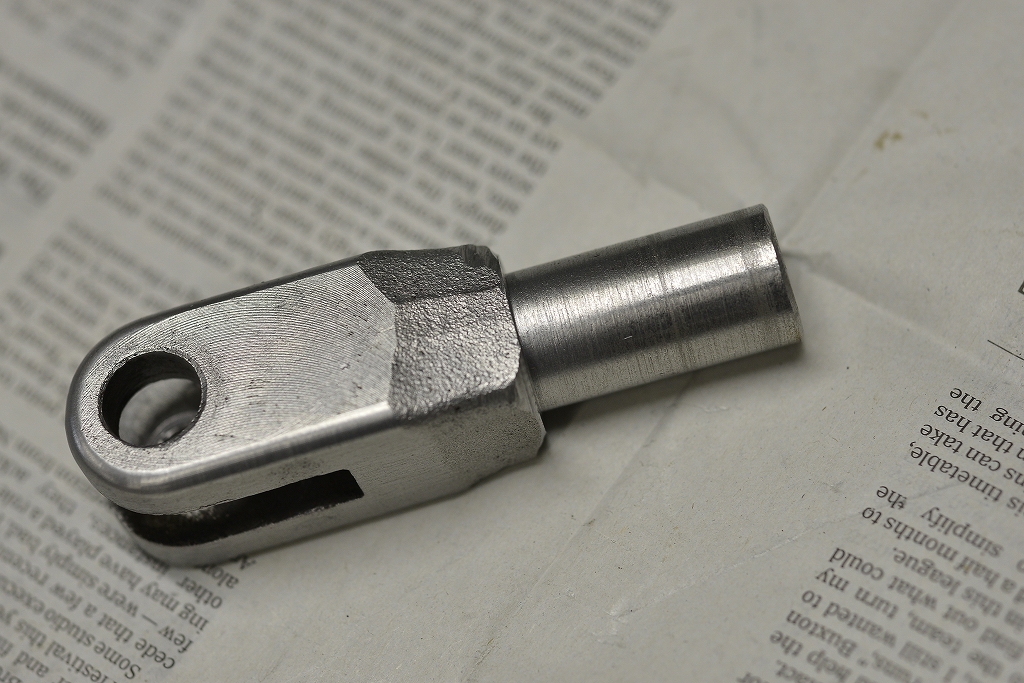
I only use the base. Cut it, prepare the tenon on the lathe, radius the outer edge of the U-shape, then polish.
I only do my own, but now that I think about it, making this in titanium isn’t really that hard. Quite something.
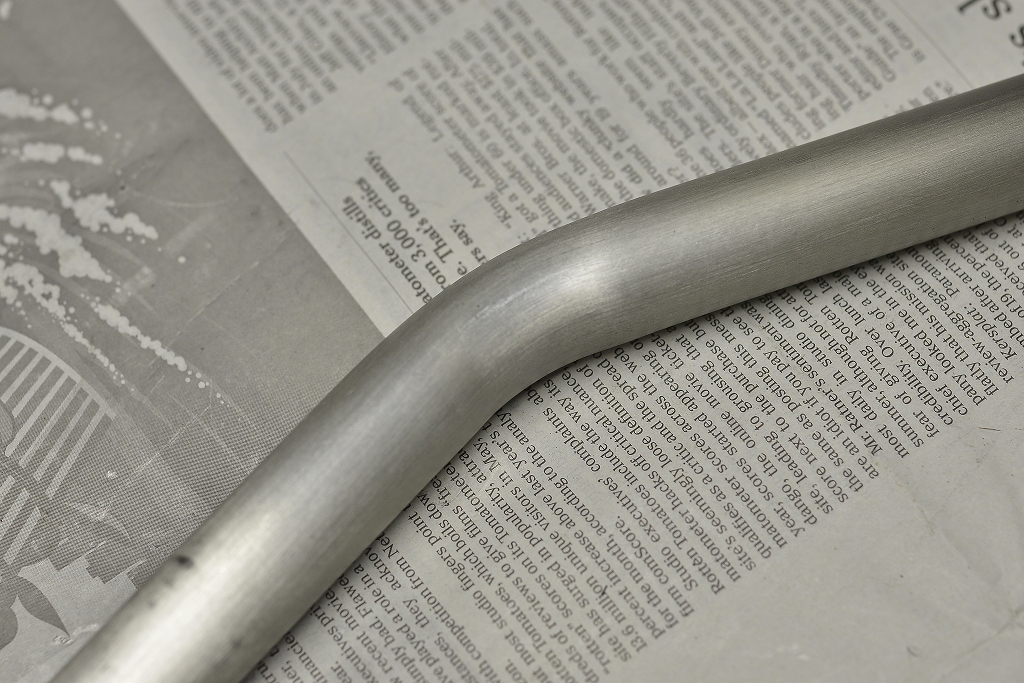
I bend SUS304-HL on the bender. Our bender is pretty good—it can even bend U-shapes without wrinkling.
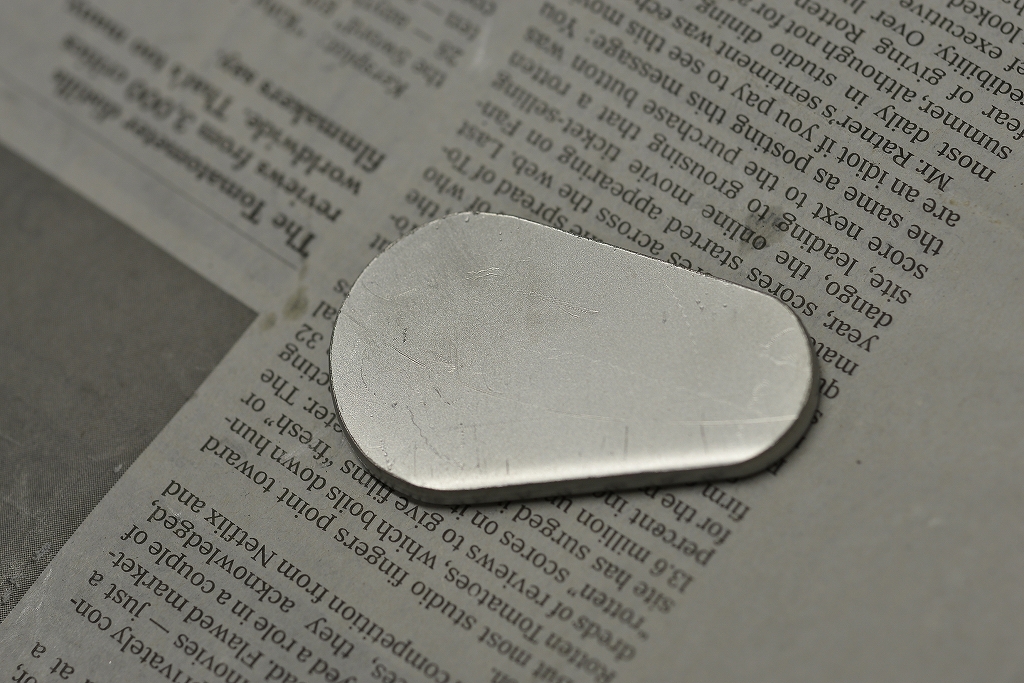
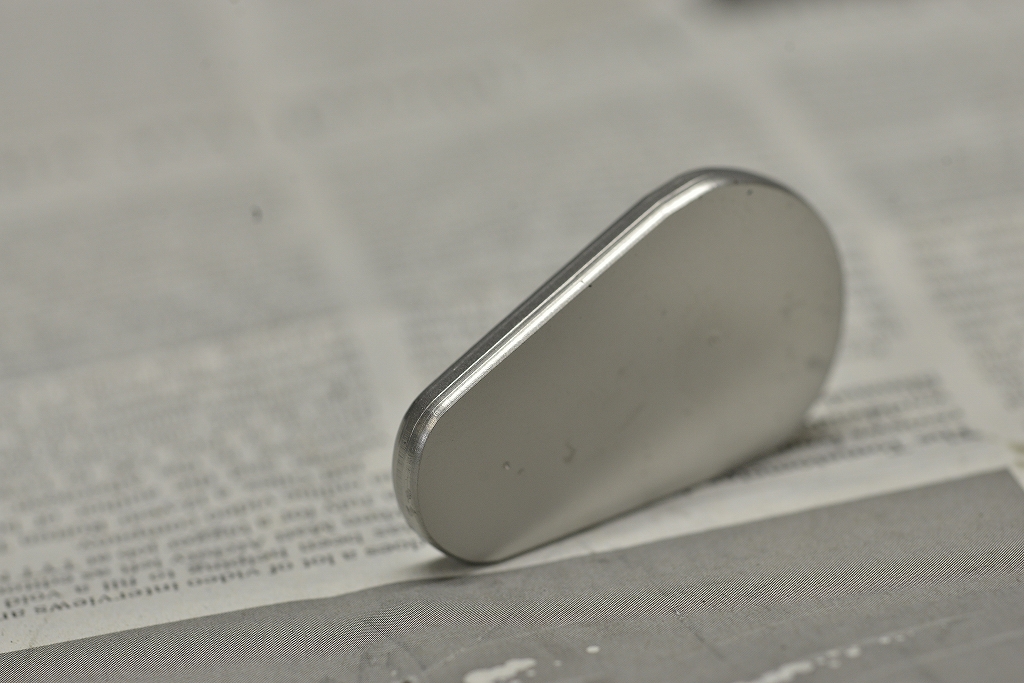
I cut SUS304 5mm thick on the contour cutter, clean it up with the belt sander, and radius the outer edge. I used to struggle cutting thick SUS304, but just changing the blade on the contour cutter makes it go so smoothly now.
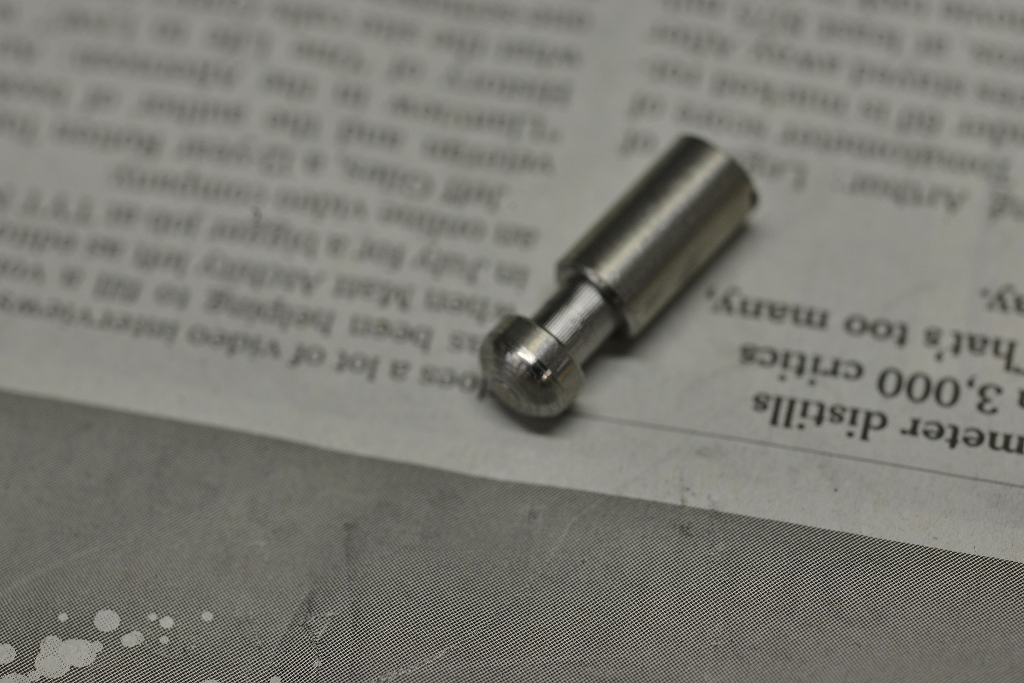
Next—the side stand spring hook. A rounded tip looks cute, doesn’t it?
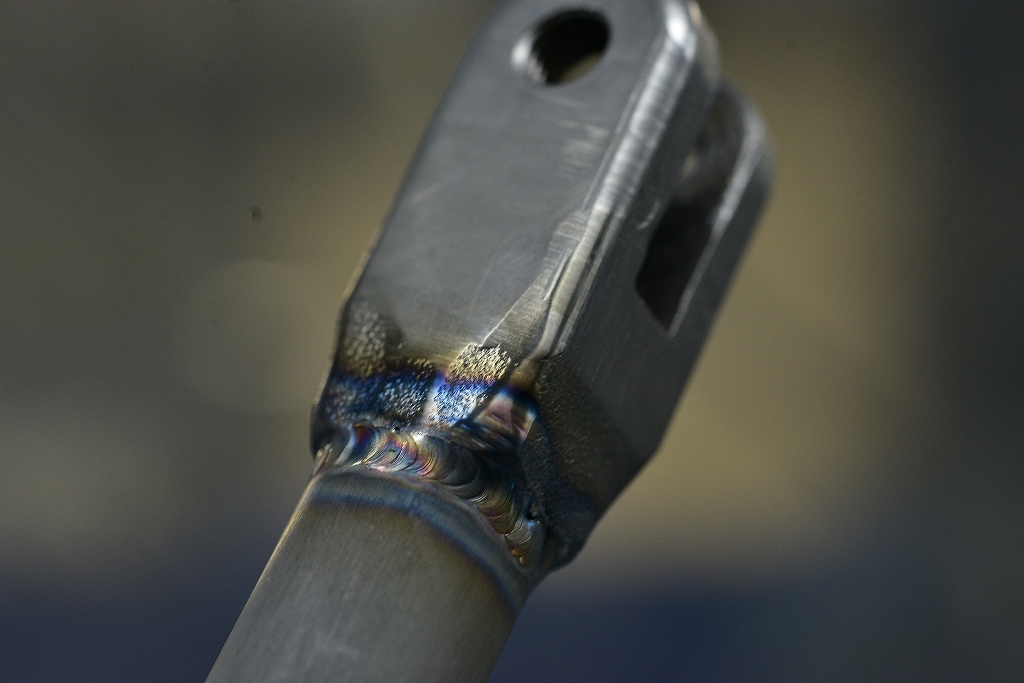
First I align the pipe height and tack weld. After confirming everything looks good, I weld it up.
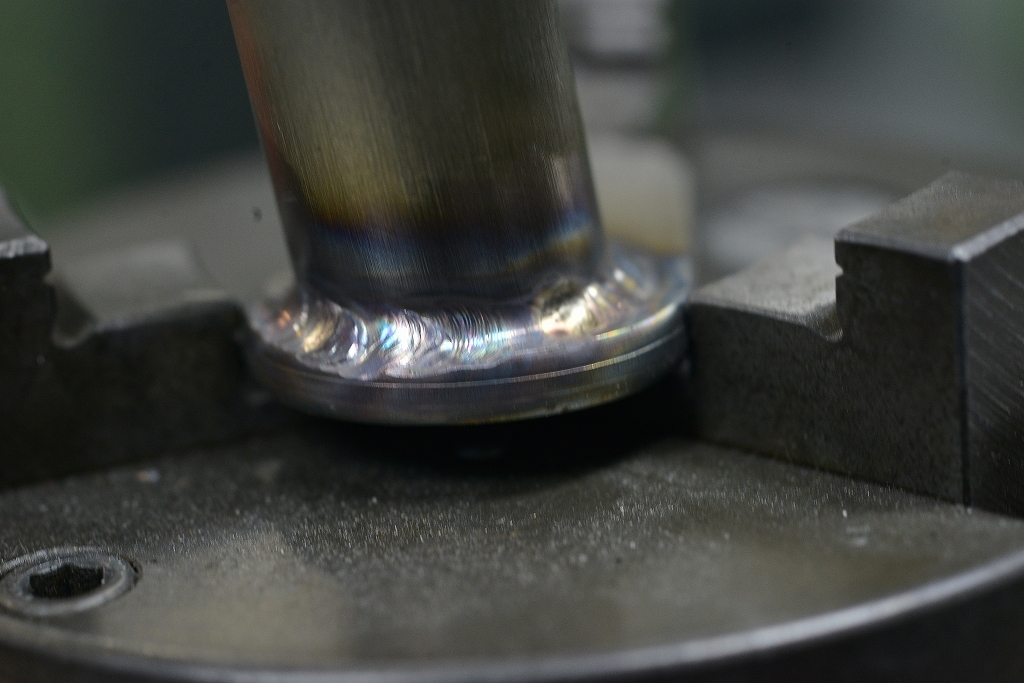
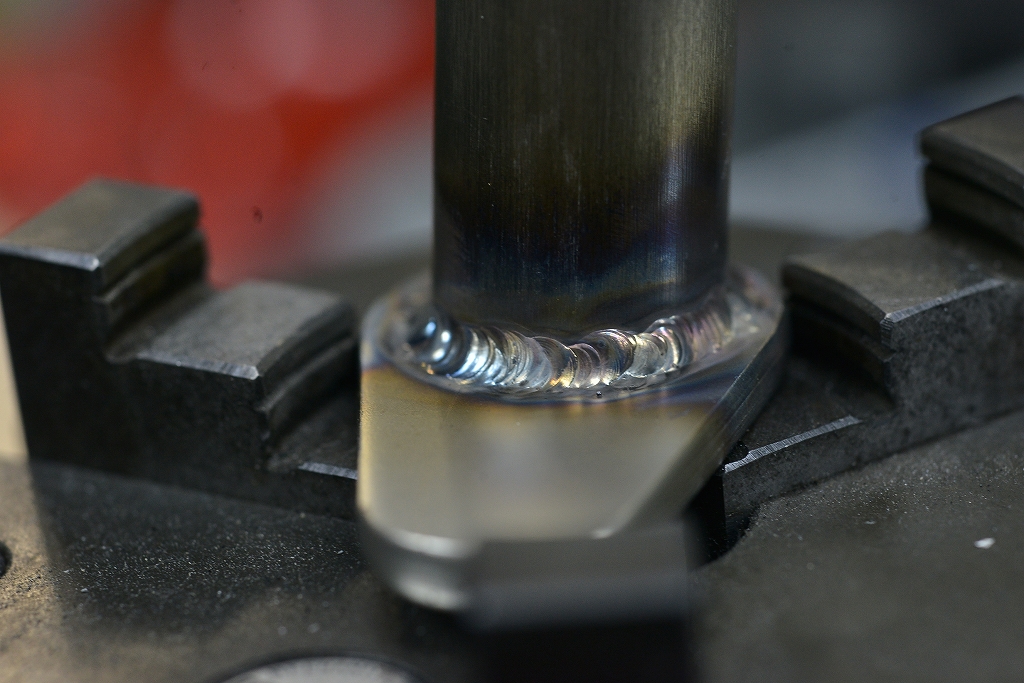
A troubled mind shows in a troubled bead. Then I do the sole joint.
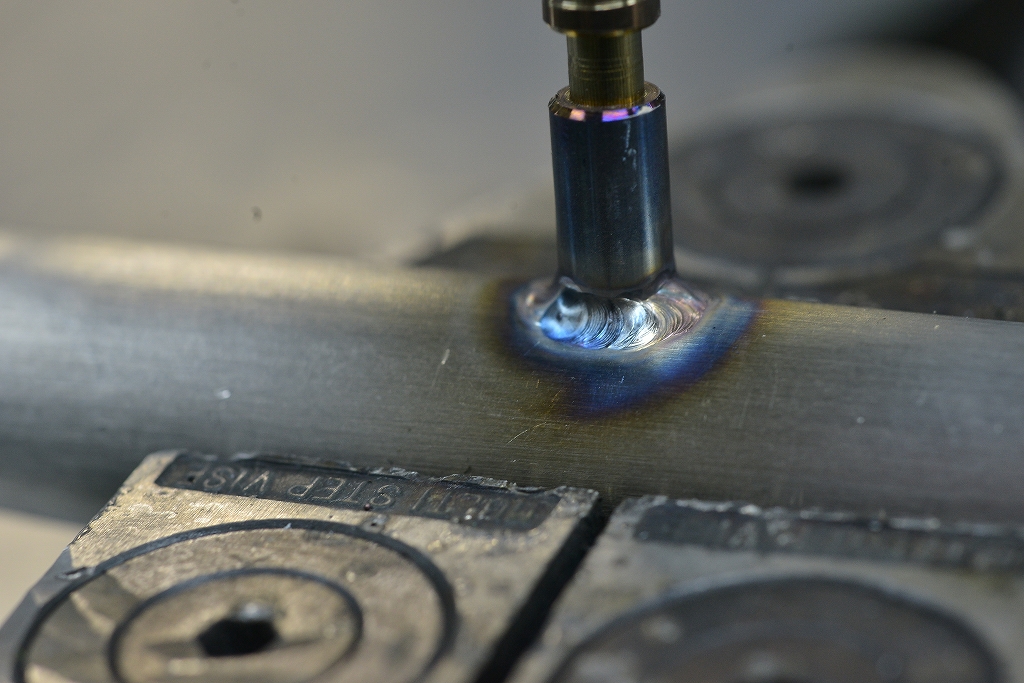
Fixing the spring hook.
The weight of a side stand comes mostly from friction and the spring. I’m a fan of Honda springs.
I make side stands from time to time, and this spring attachment position really varies by manufacturer. When I measure the extension and return lengths, I think, “Ah, Honda really thought this through well.”
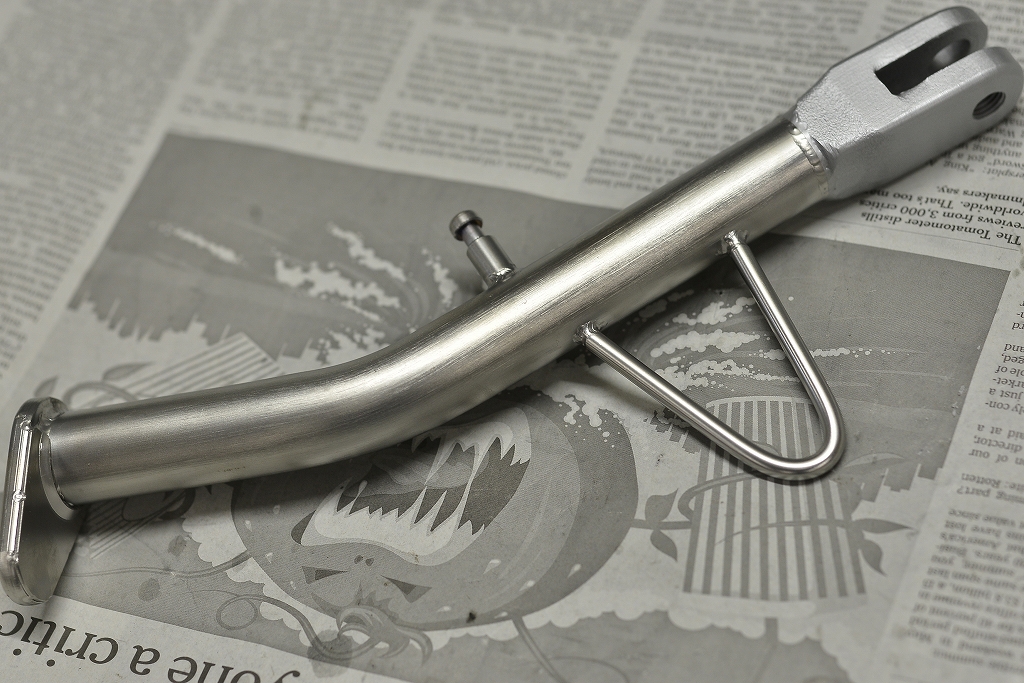
Jumping ahead—I fix the sole cover, polish it, and it’s done.
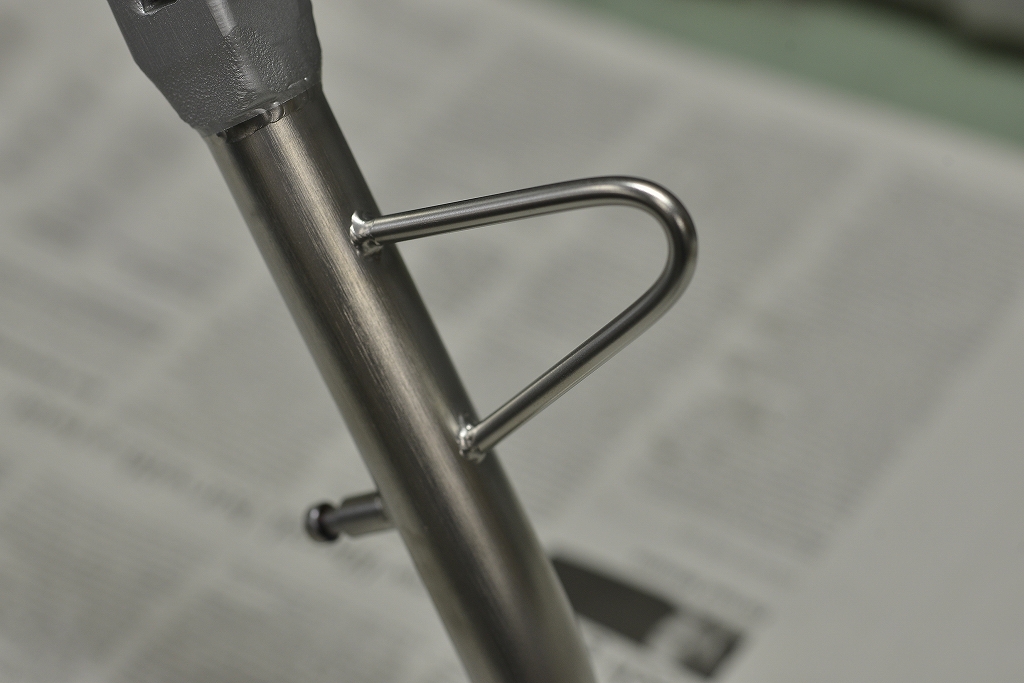
I designed it in a V-shape and made it narrow so it’s easy to deploy, and I think it looks good too.
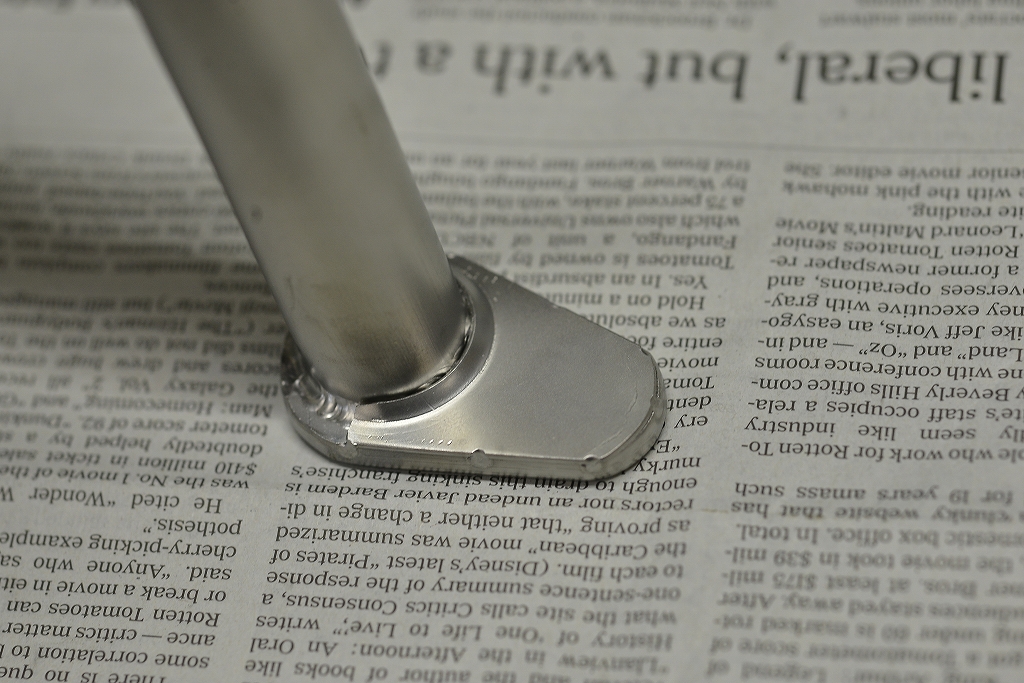
Since my welding isn’t perfect, I hide it with the sole cover.
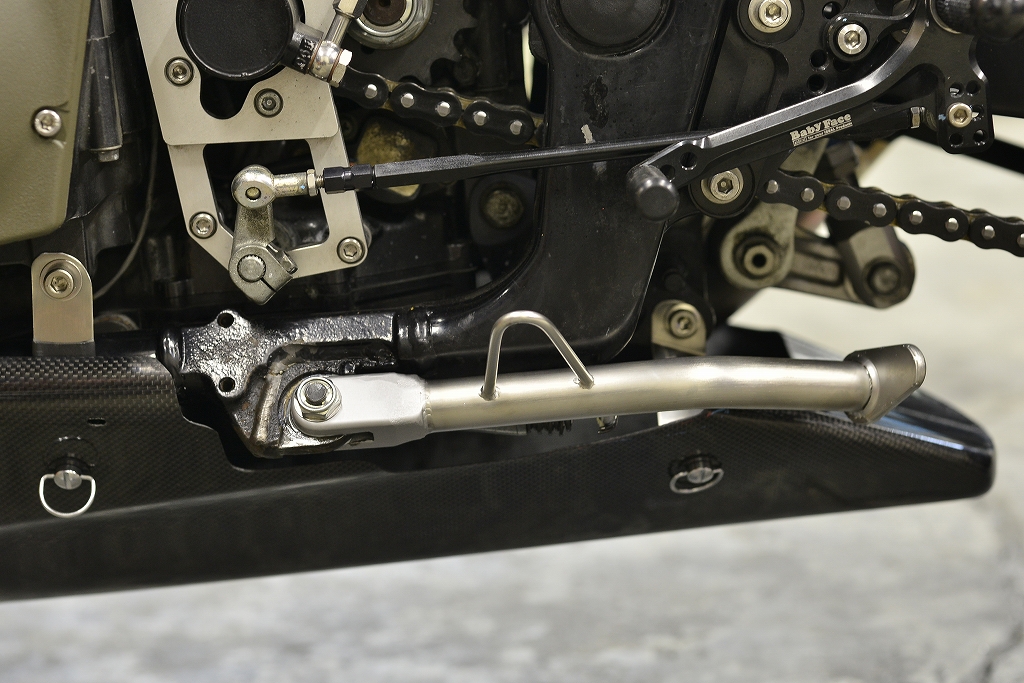
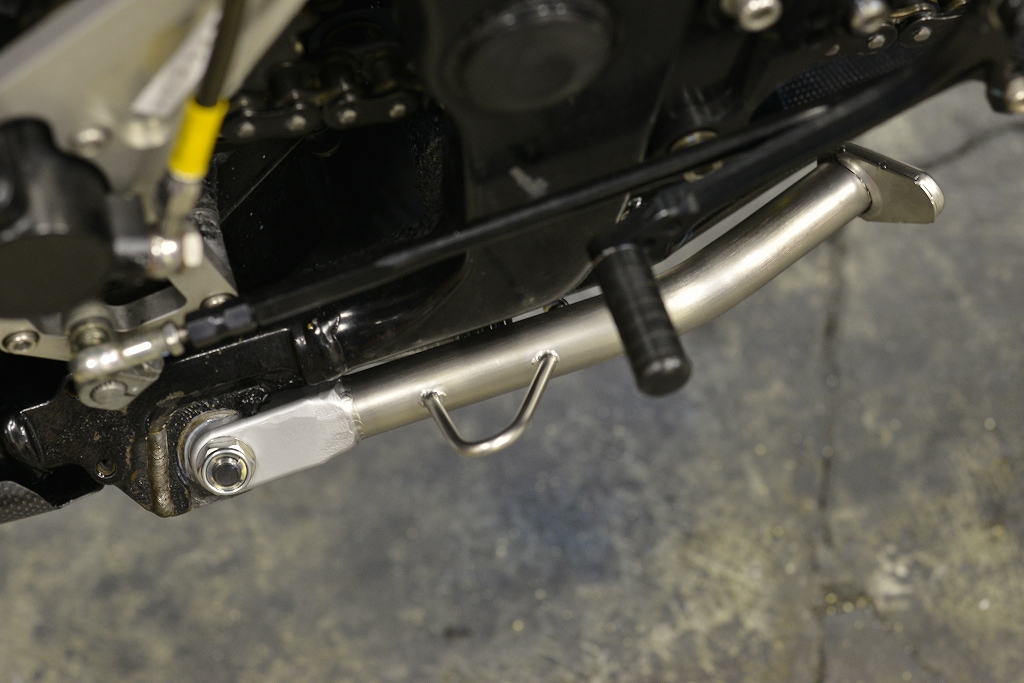
I raised the stand deployment rod slightly so it won’t scrape on the circuit.
When you bend a side stand once, the inner side goes in, so it should be harder to scrape. I bent it almost parallel to the undercowl.
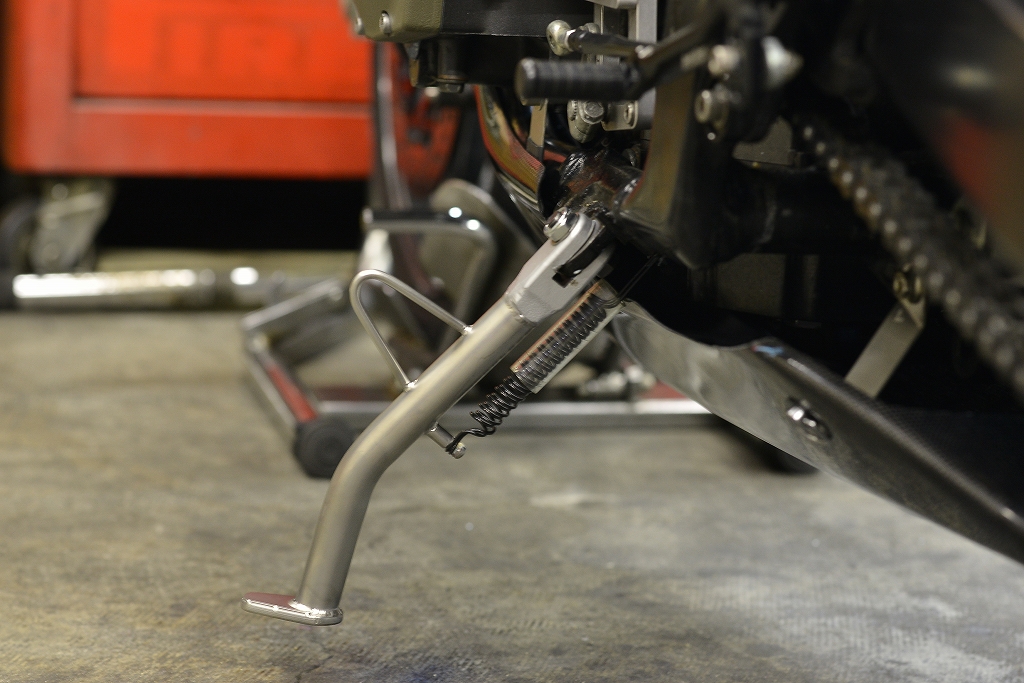
When you deploy the stand, it looks like this.
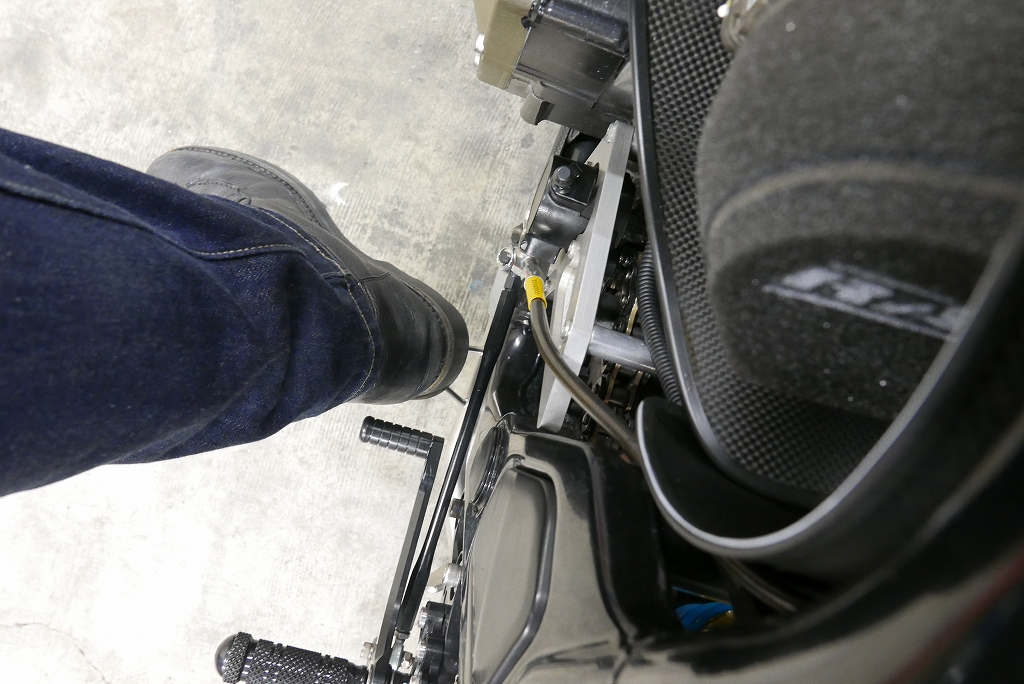
The easiest place to deploy it would really be between the shift pedal and the step bar, but putting it there causes all sorts of hassles, so I put it forward. It deploys smoothly.
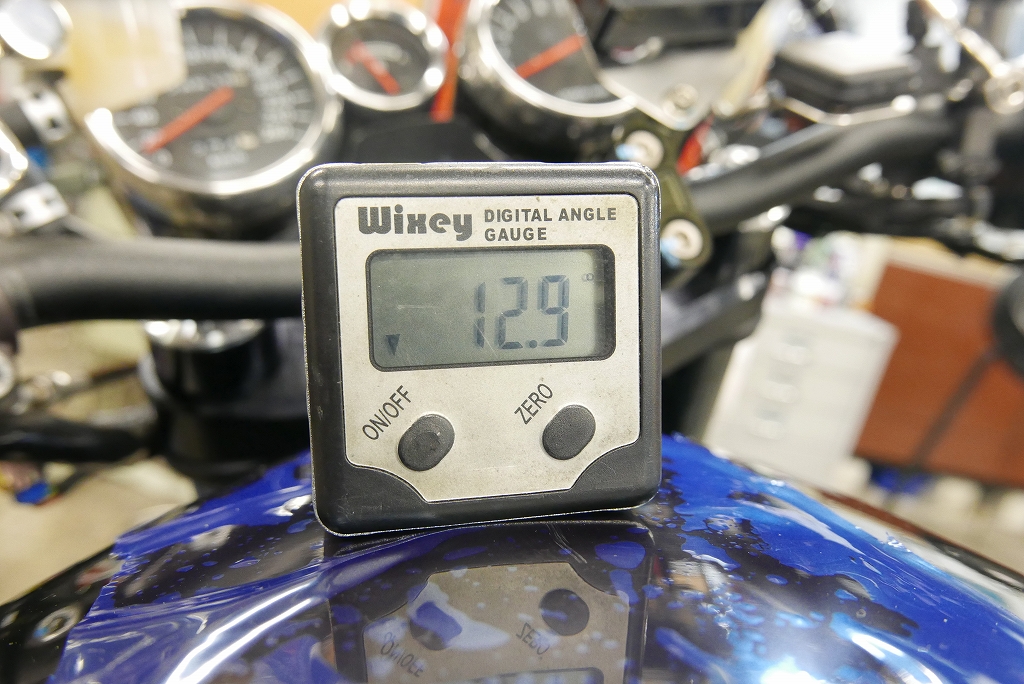
It came out to about 13 degrees.
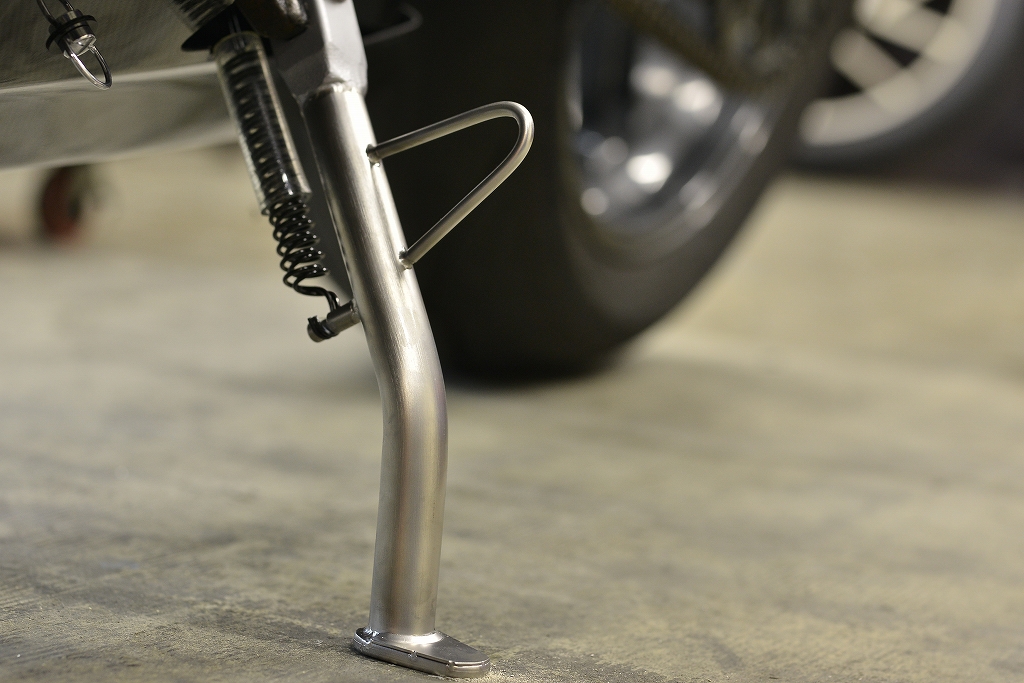
The sole sits perfectly flat on the ground.
Aftermarket side stands often seem inflexible. Some are tragic ballerinas, or only the heel touches the ground. Some have single springs, or are solid and heavy. The side stand is something you can’t do without, yet it’s surprisingly overlooked—a true unsung hero.
I often look at the height of the side stand pad on custom bikes in magazines and think, “This looks heavy to lift…”
*Basically, we don’t take on fabrication-only jobs. For work like this, please contact a custom shop.