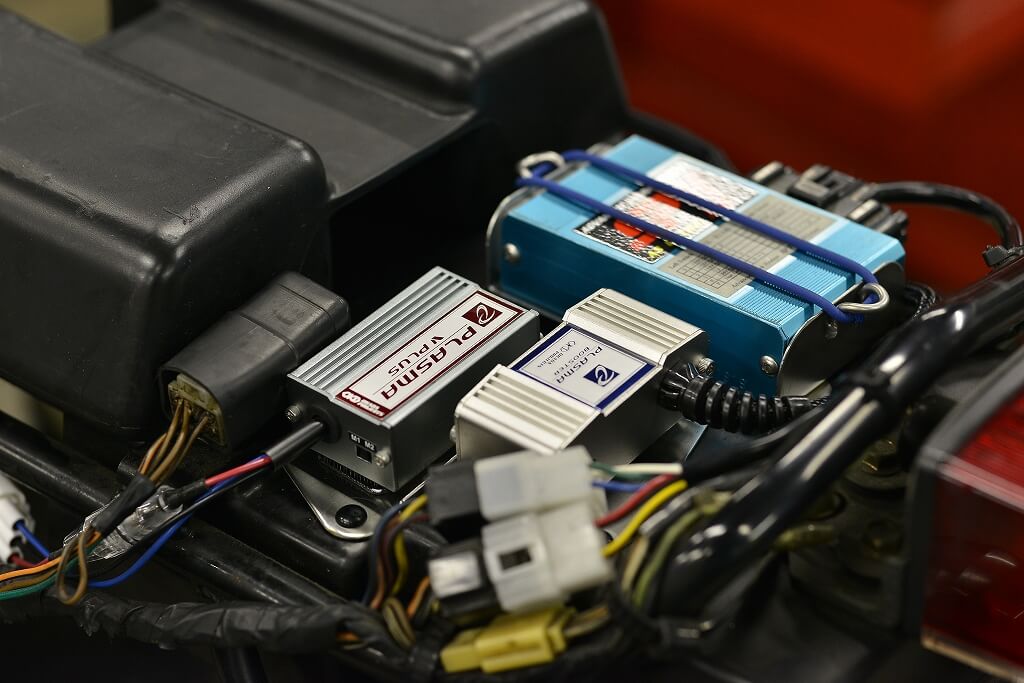
As an additional job, let’s install the Watanabe SP2 unit cleanly.
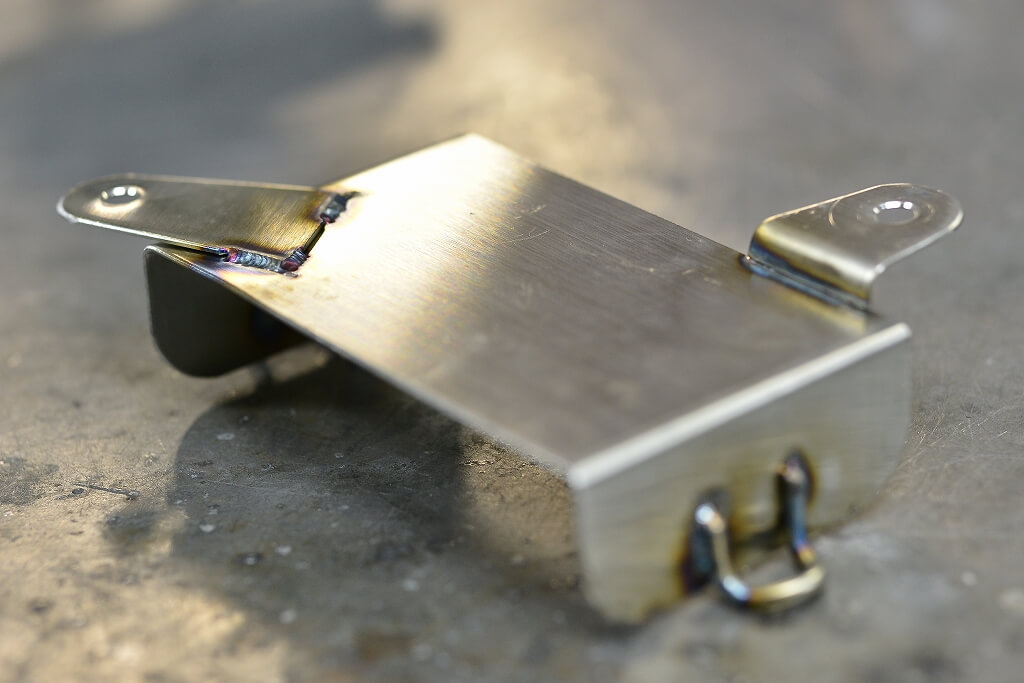
The mounting location is tight, but it’s suddenly complete. I forgot to take a photo, but from this state the final version has been center-bored.
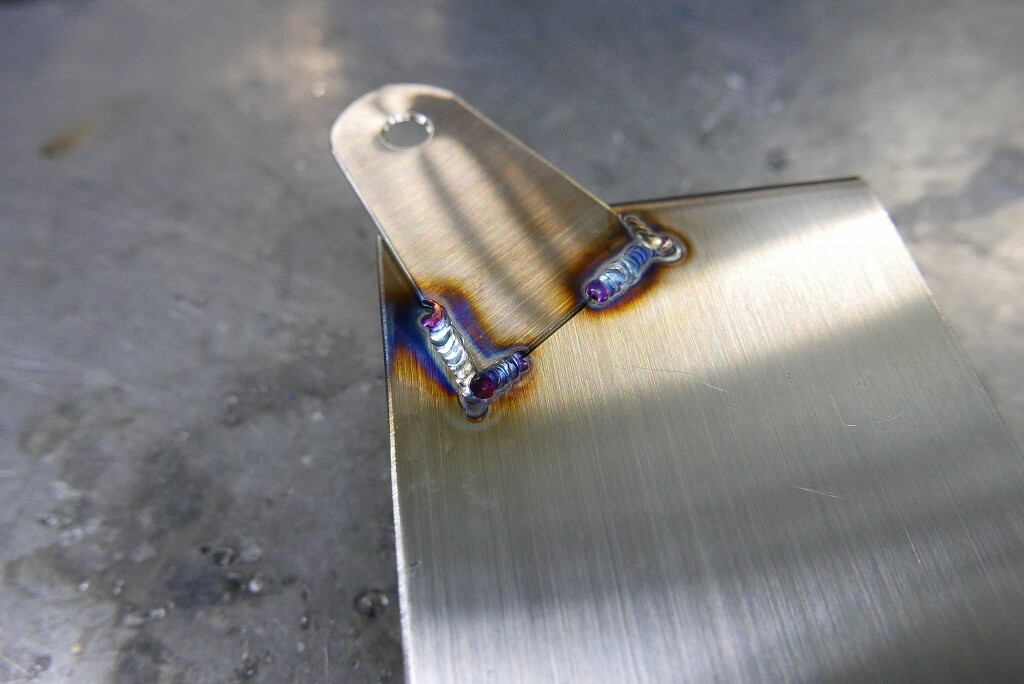
We decided to fix everything by welding so the position can be adjusted as needed.
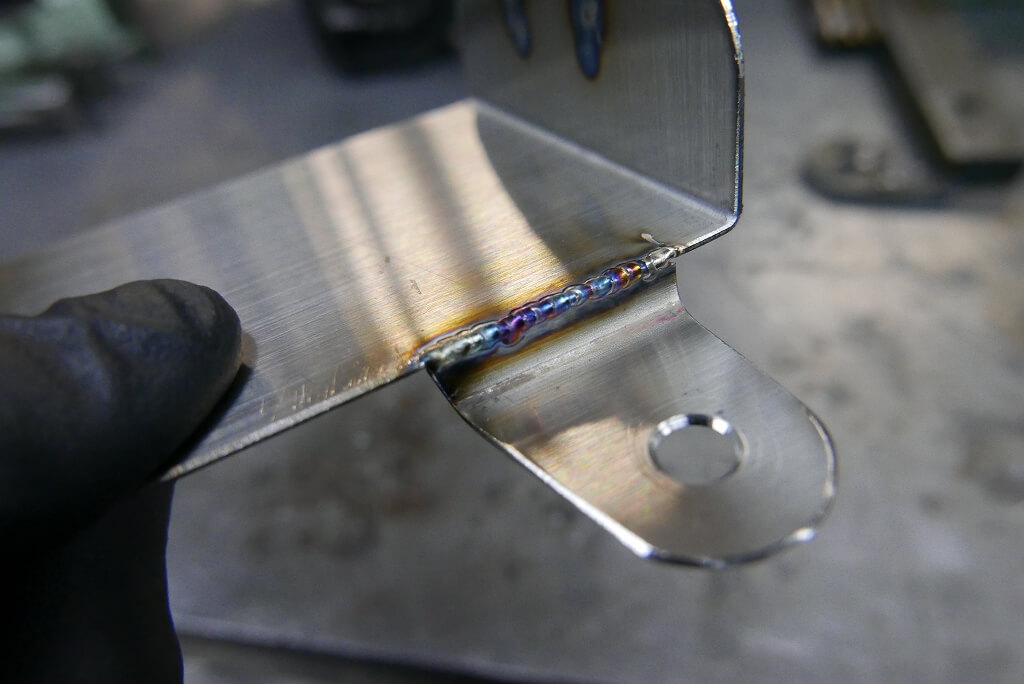
Since we need to lift it slightly, we slide a plate underneath and weld.
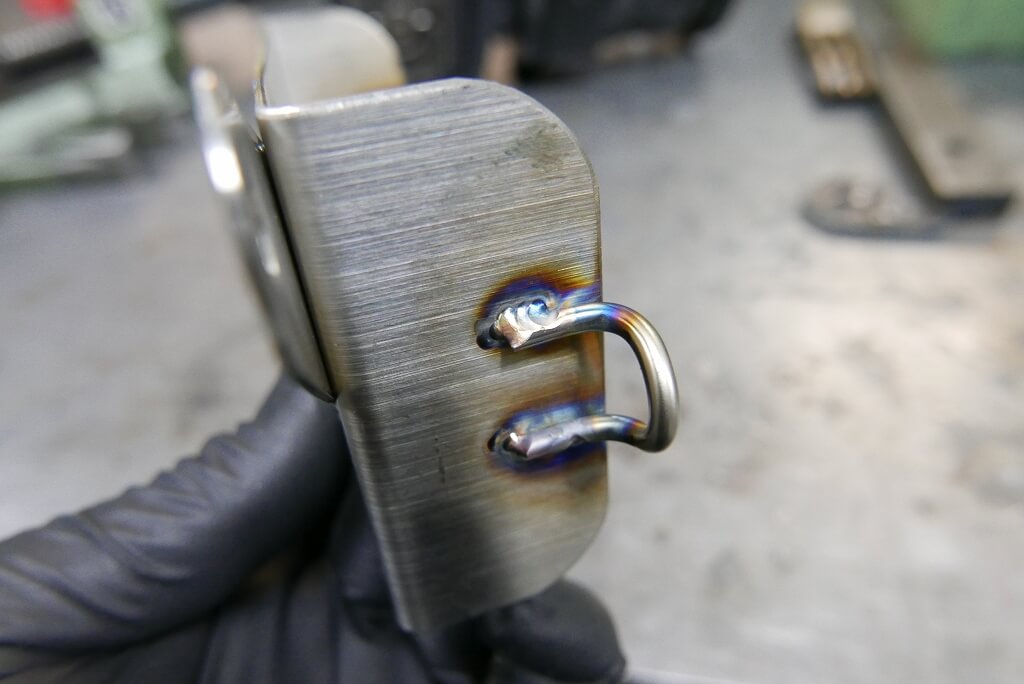
Bend a round rod and weld it.
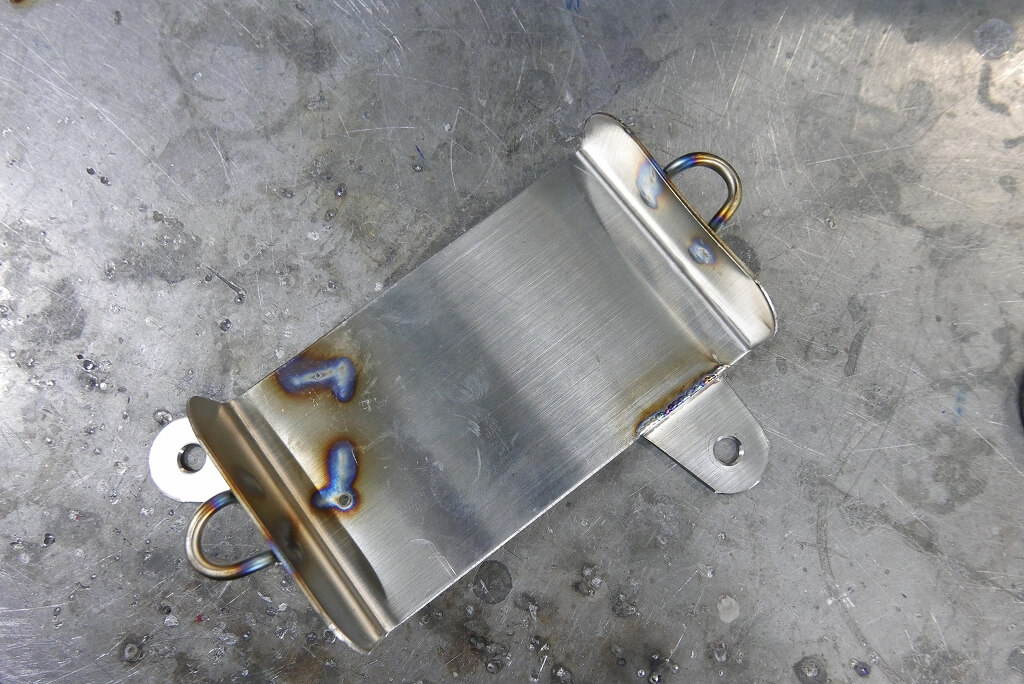
Then we grind and install it, and it’s complete.
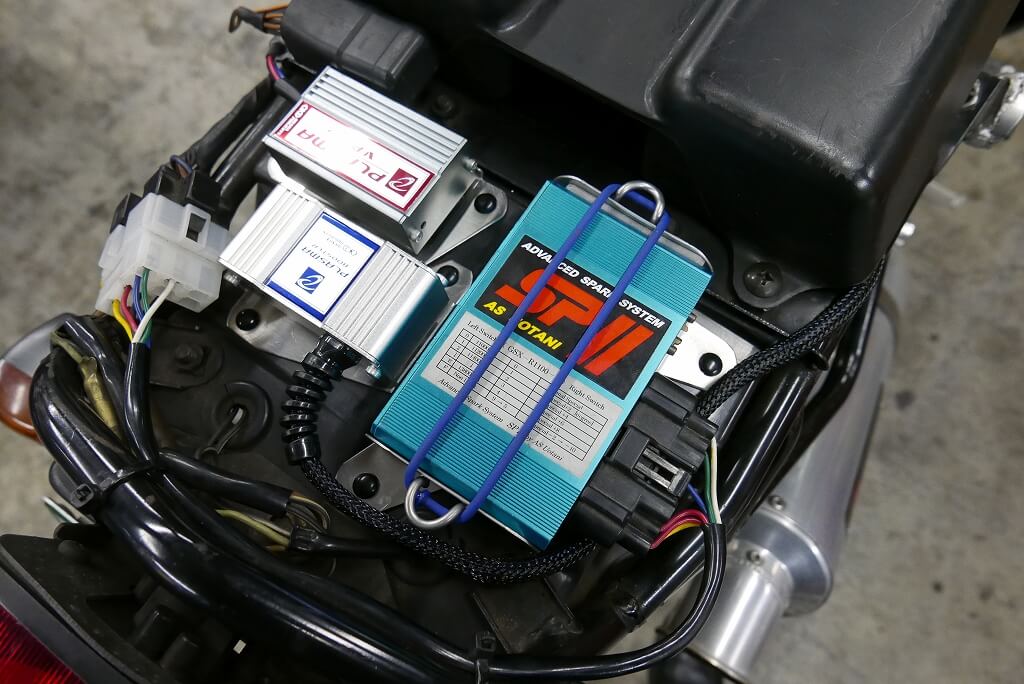
This is how we set it up.
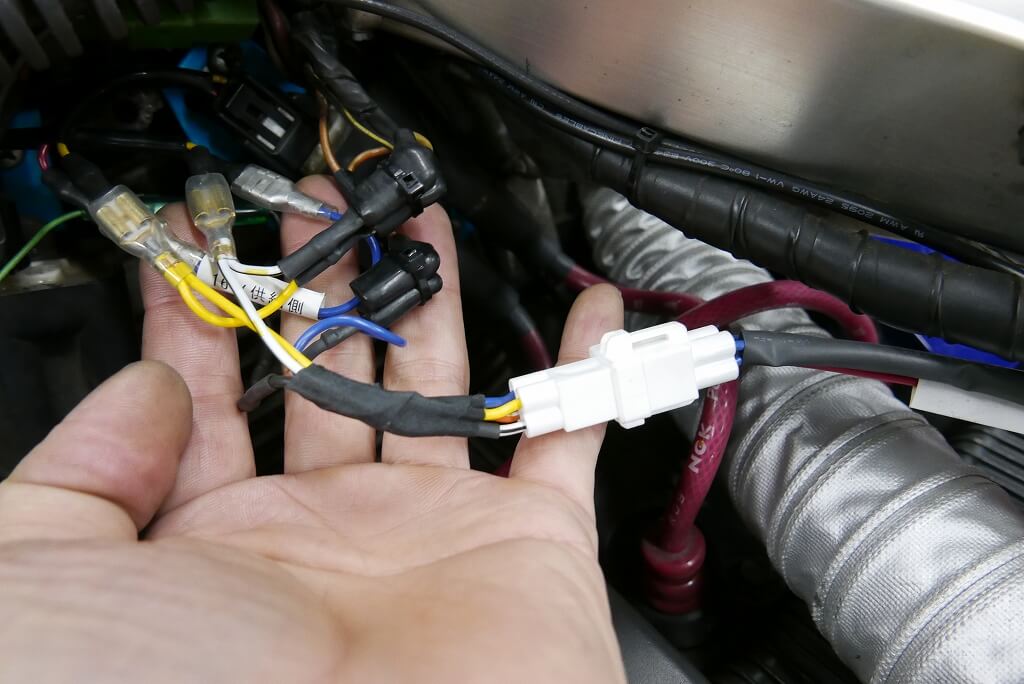
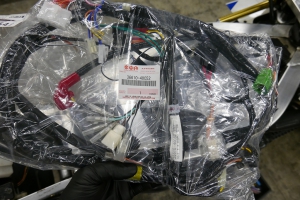
The shortest sub-harness possible. There are even cleaner ways to do it, but those come with their own challenges, so maybe we’ll explore that down the road.
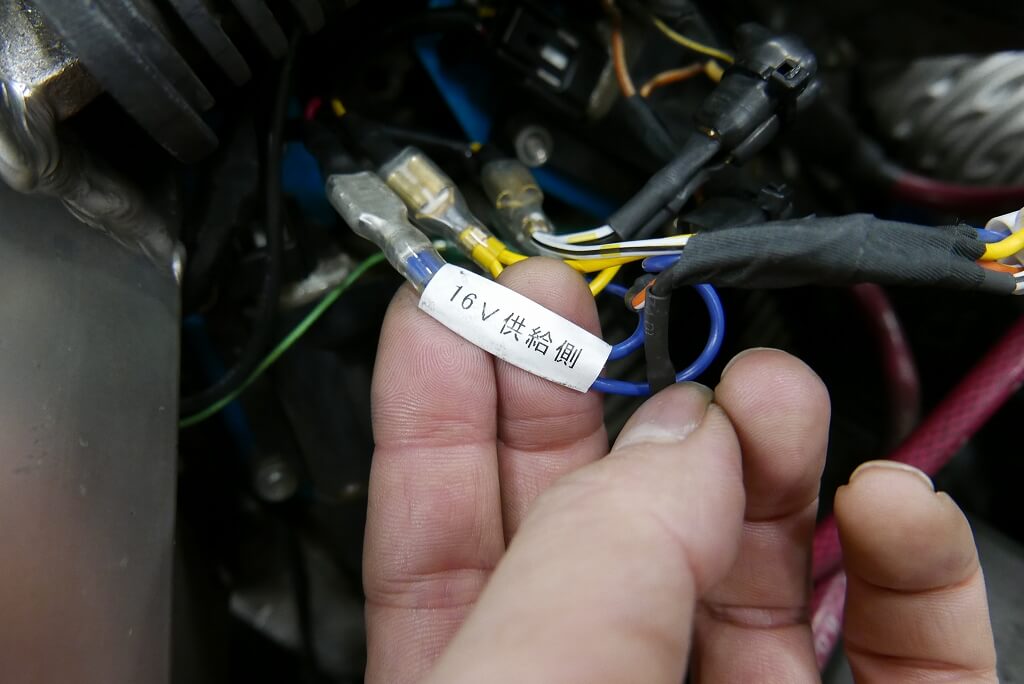
Each part is set up so anyone can remove and reinstall it. It’s clear for me too in the future.
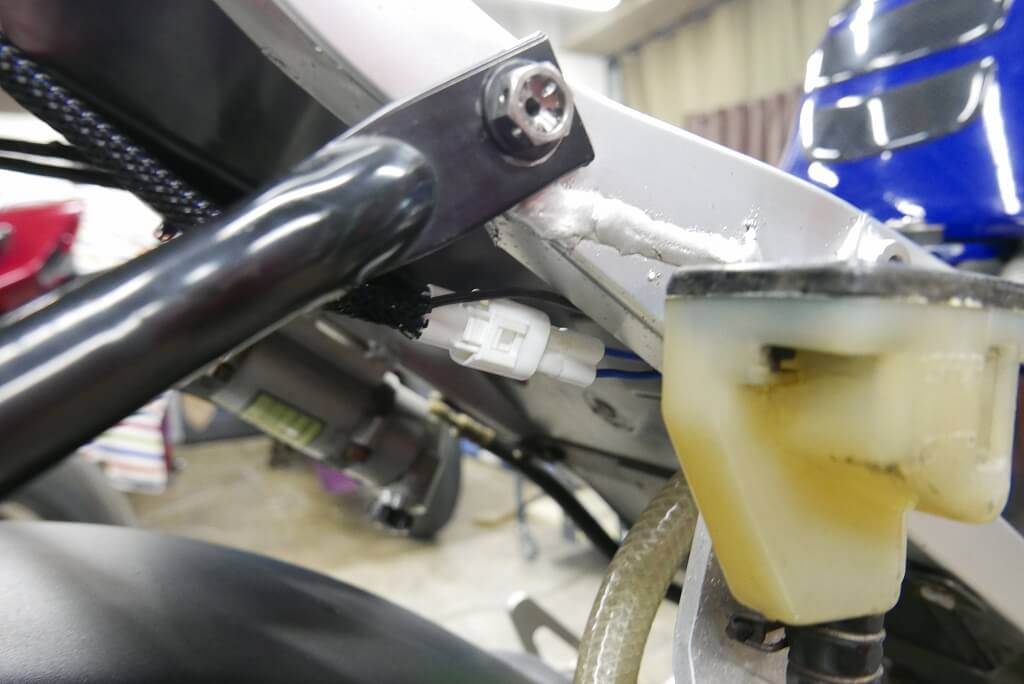
On the right side when straddling the bike is the Plasma Booster connector. Disconnect it and it turns OFF.
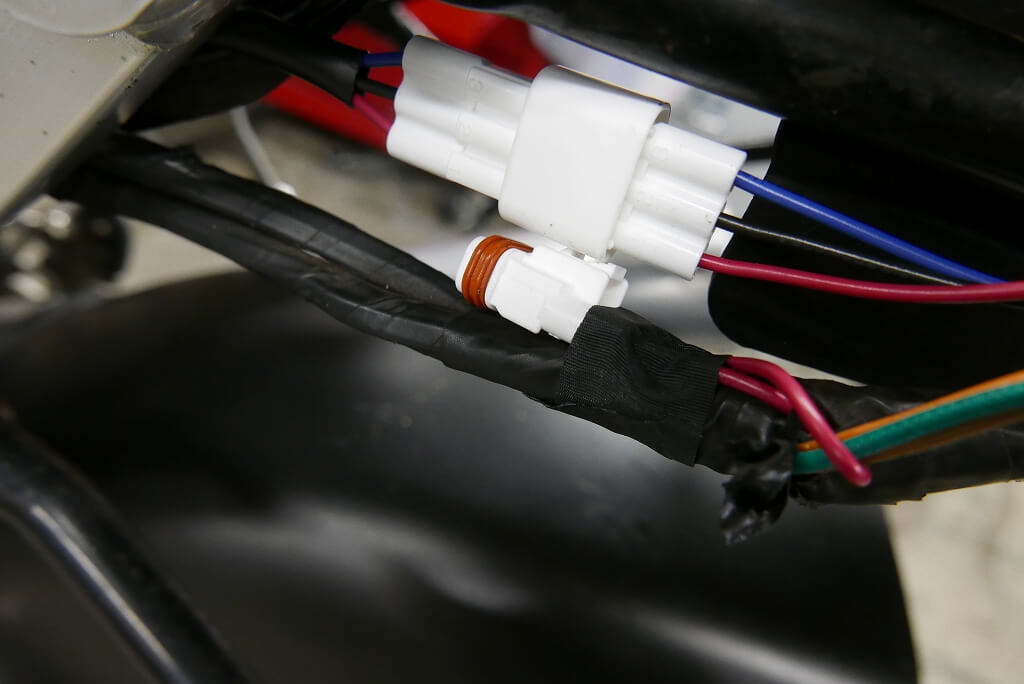
On the left side when straddling the bike is the Plasma V Plus. Swap the connector and it turns OFF. This is a safety feature to revert to stock in case of failure.
Like anything, when you install parts, everyone experiences a placebo effect that feels amazing, so it’s fun to be able to confirm ON and OFF states.
I sampled the area around here earlier too.
The Plasma Booster feels smooth, and that annoying micro-vibration is significantly reduced.
The Plasma V Plus feels like the engine power becomes strong and forceful with a “boom, thud!” Since we installed both, it’s a smooth, powerful “boom, thud!” feeling.
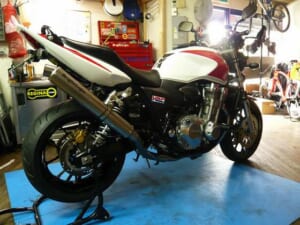
The throttle is pretty heavy for an FCR… and we’re done!