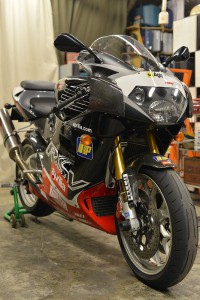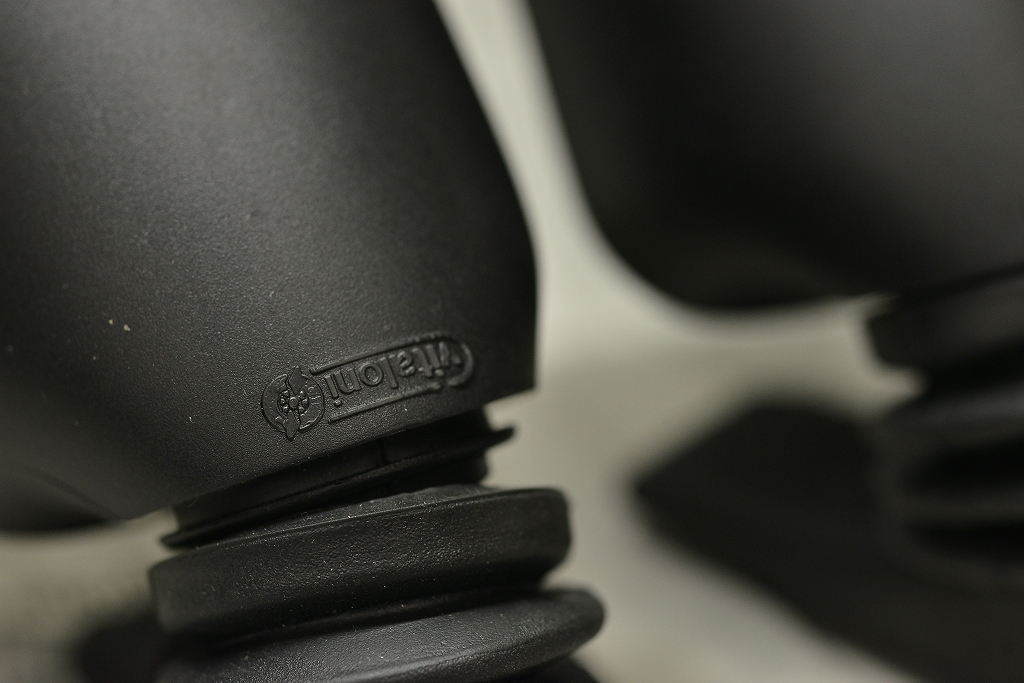
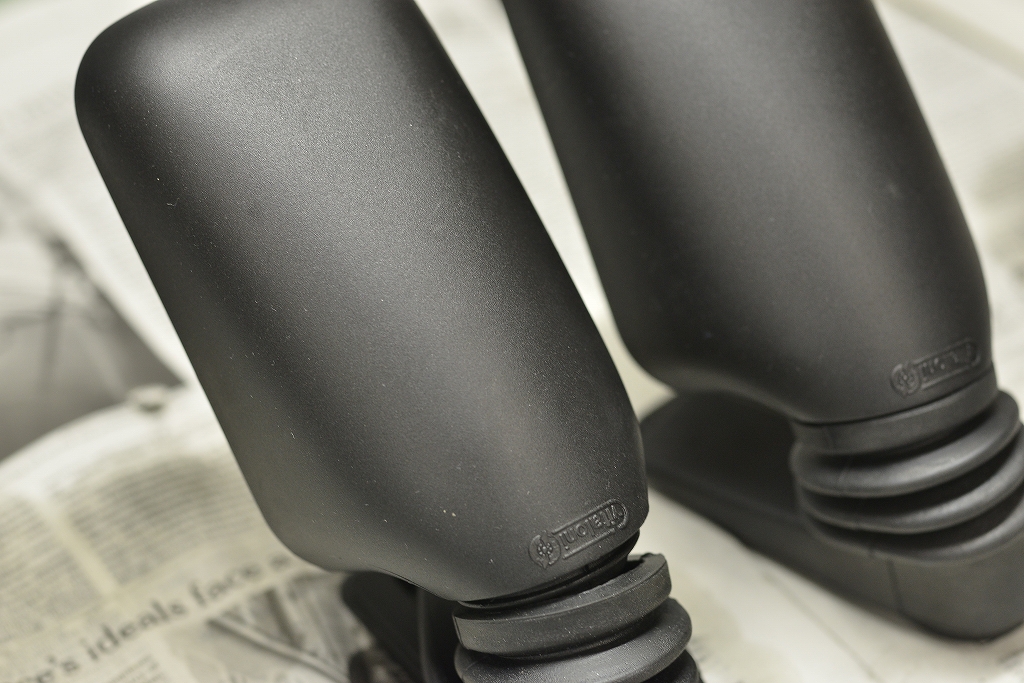
When it comes to sports cars, Vitaroni is the name. These are beautifully designed mirrors from Italy.
It got knocked over and broke, so we’re replacing it.
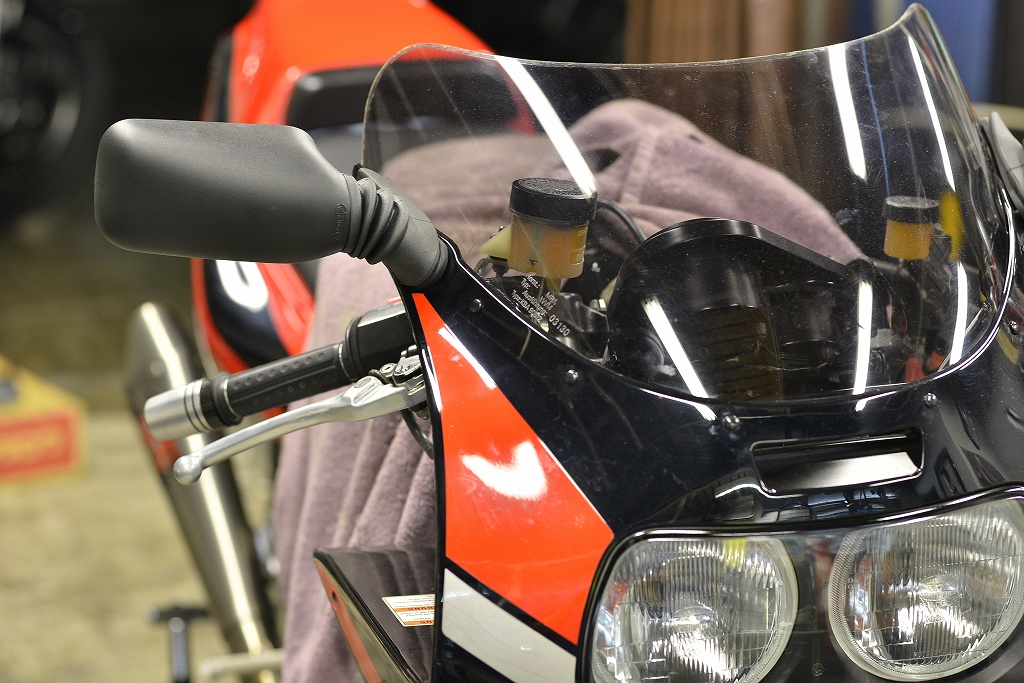
Since it was already designed to fit, the installation went smoothly.
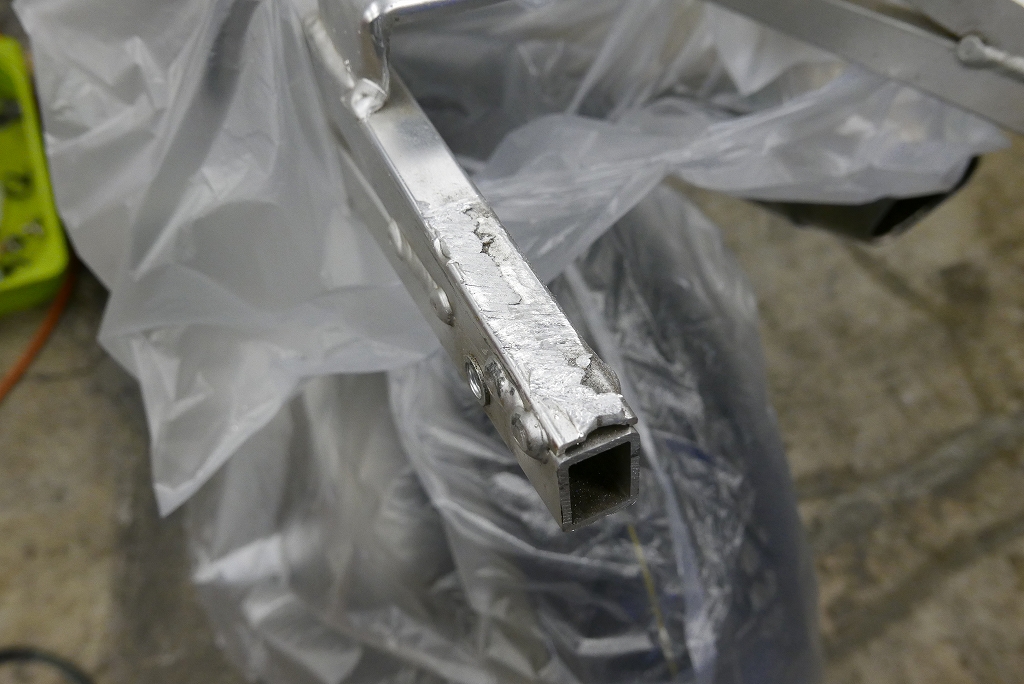
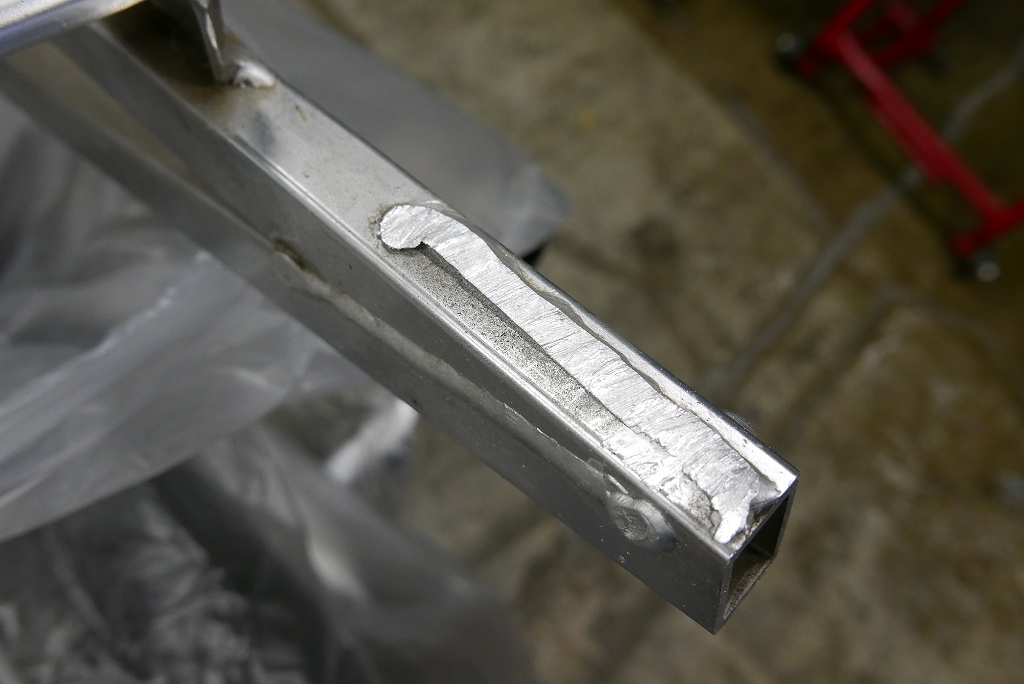
We’re removing the rear bridge. The owner plans to go with a single seat in the future.
I’m an air saw person.
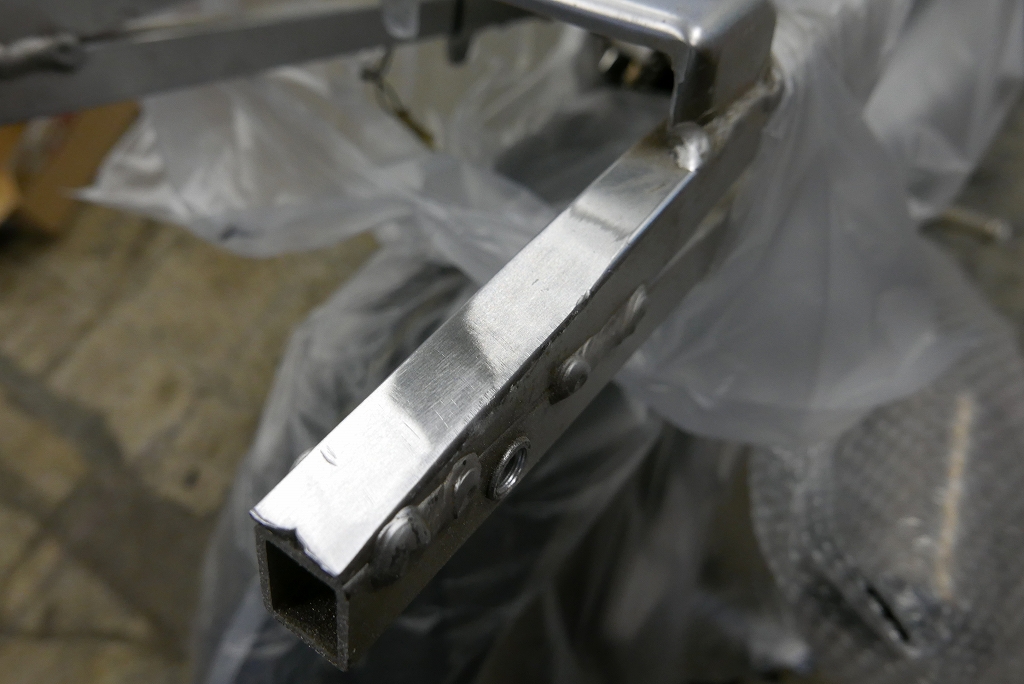
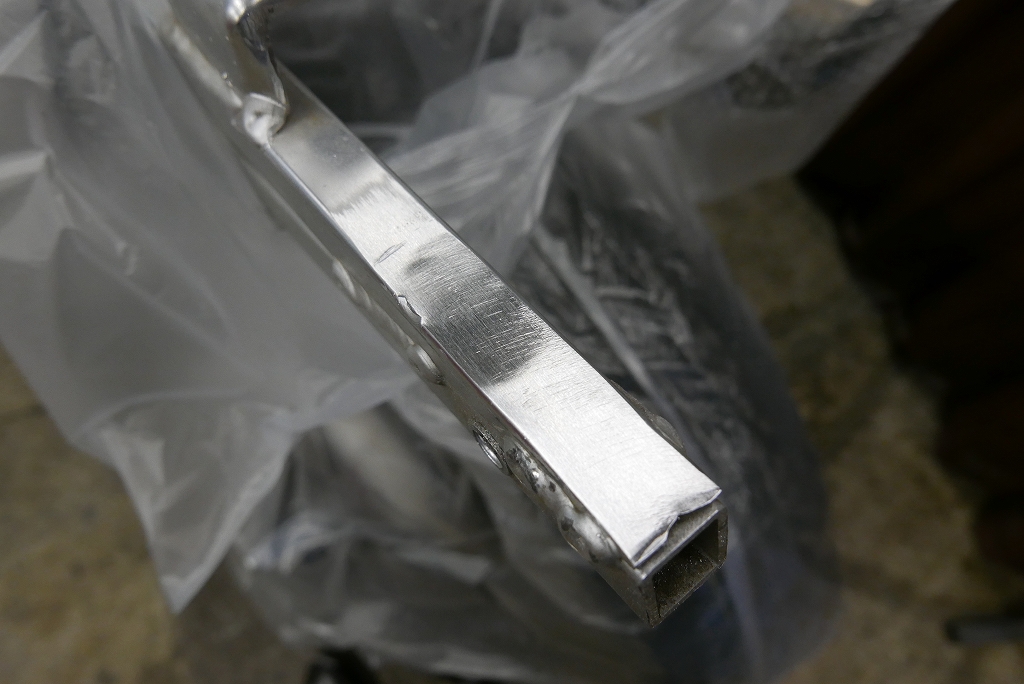
Leveled and done.
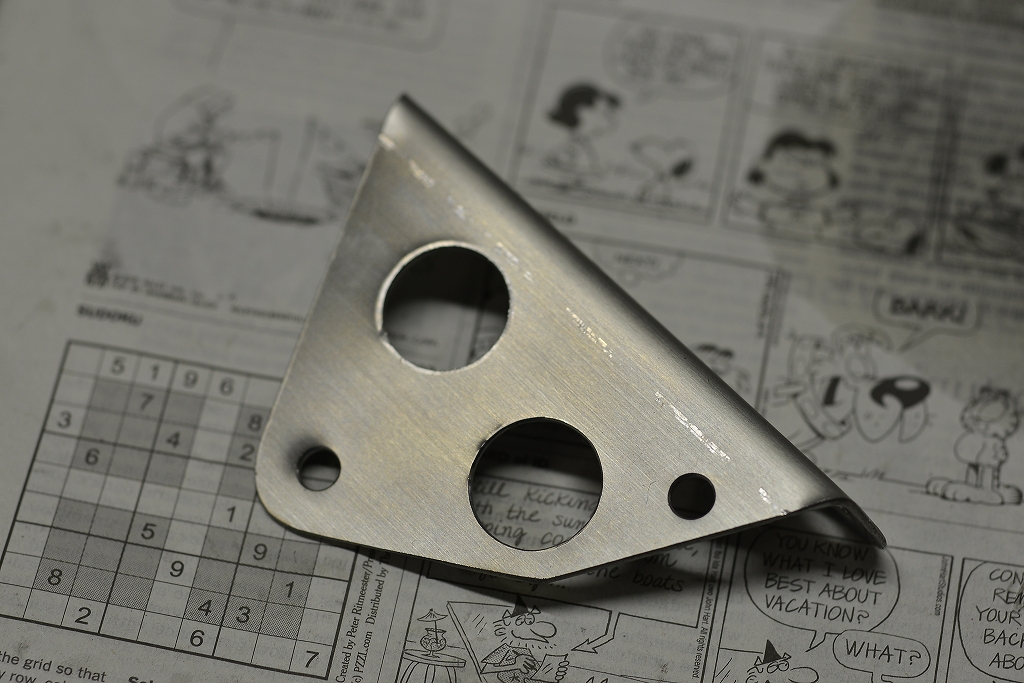
The key has been relocated, so the small box can’t be mounted at the original position. Let’s make sure it’s properly secured this time. We fabricated a plate like this.
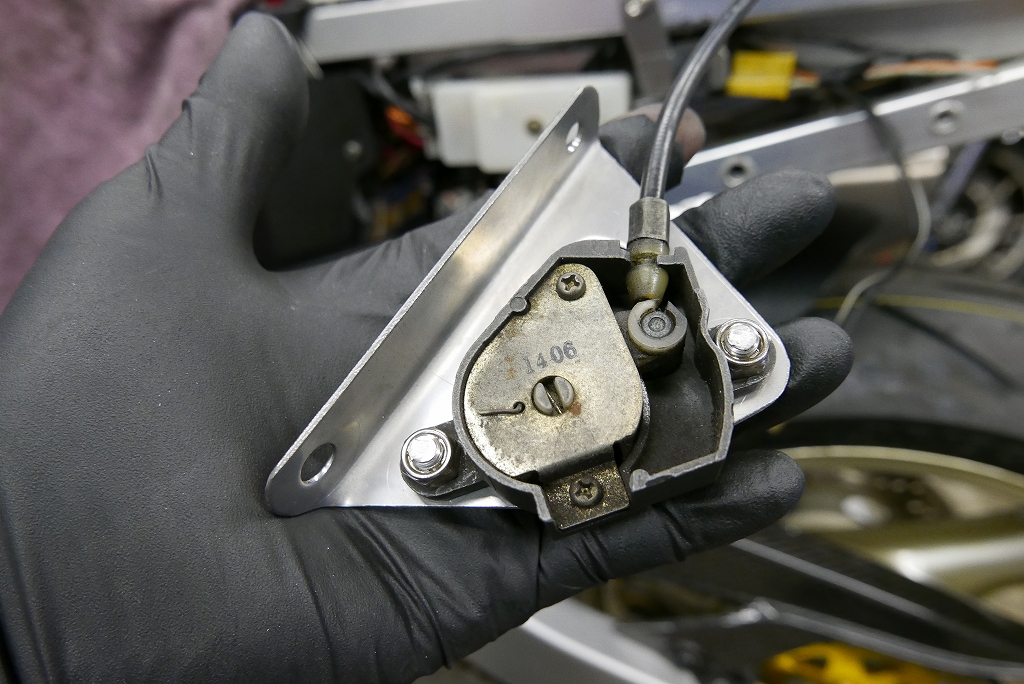
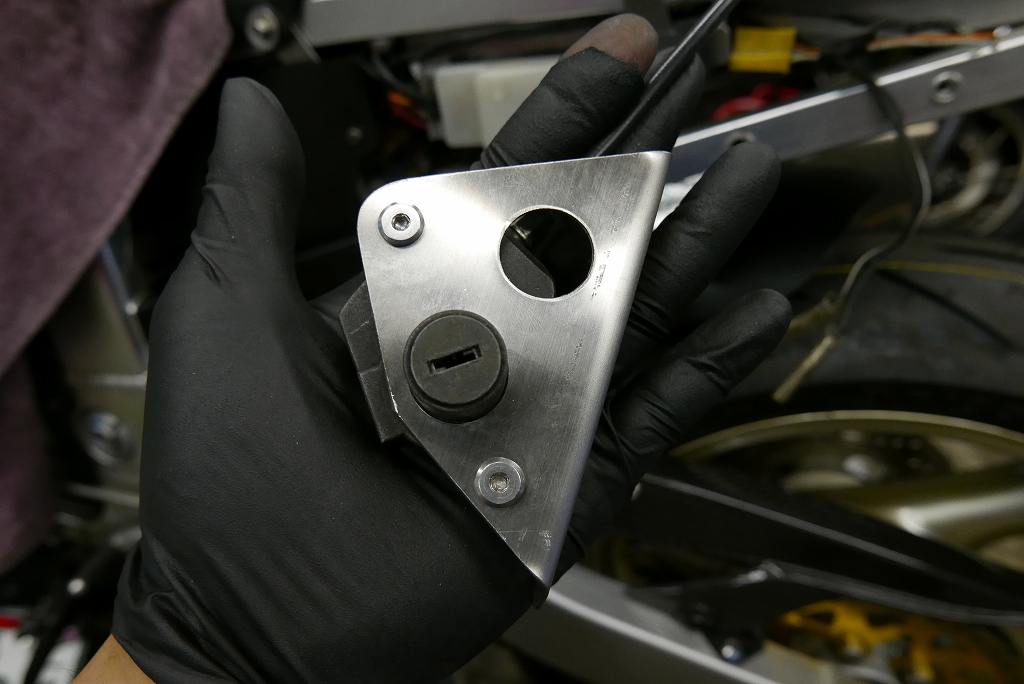
It looks like this. The 20mm hole is for measurement. It’s not a drilling mistake.
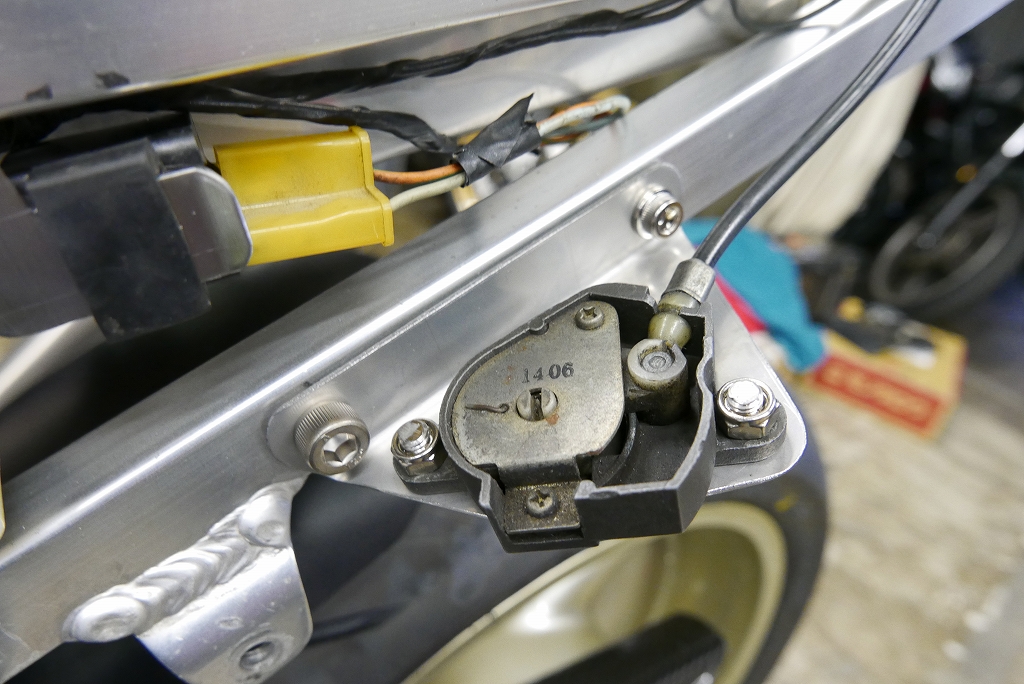
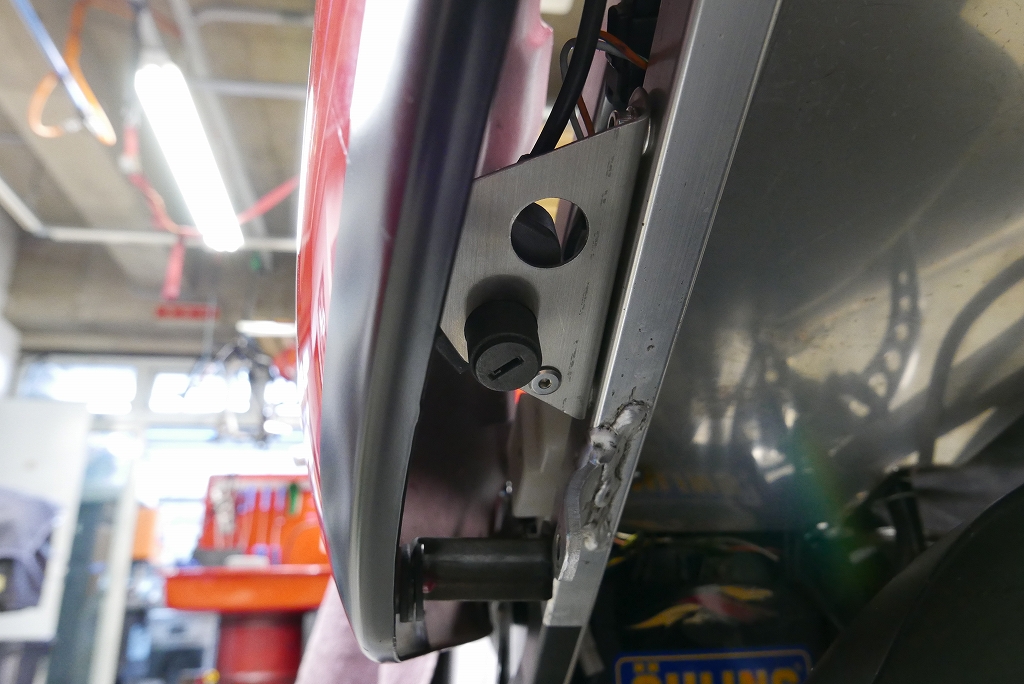
Since the fastening uses existing holes, we have an interesting combination of M8 and M6.
Of course, we’re asking for just 1 to 2 threads below the head.
Moving on to the next item.
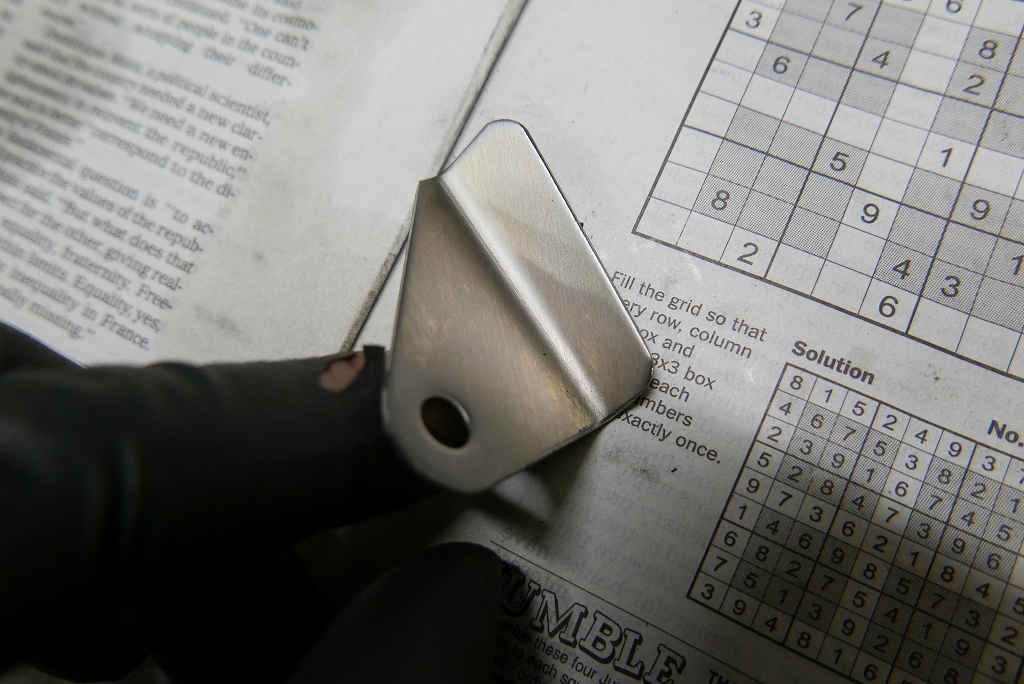
We’re relocating the fuse box to the rear so the storage compartment can be used more freely.
The tab we’re welding is a bit angled too—that’s stylish.
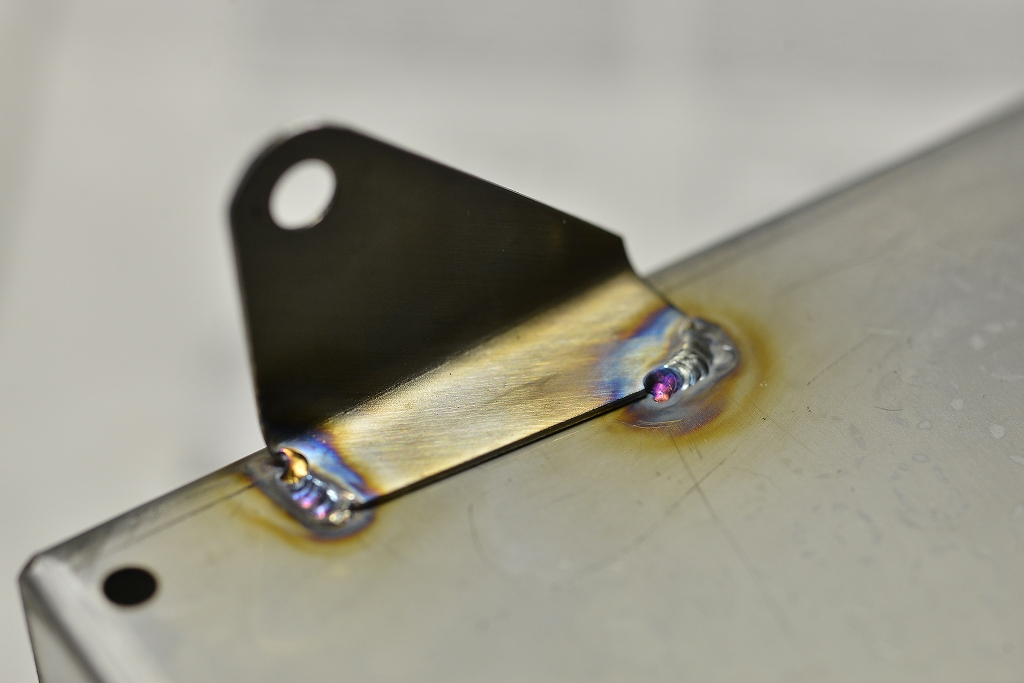
We’re welding it together…
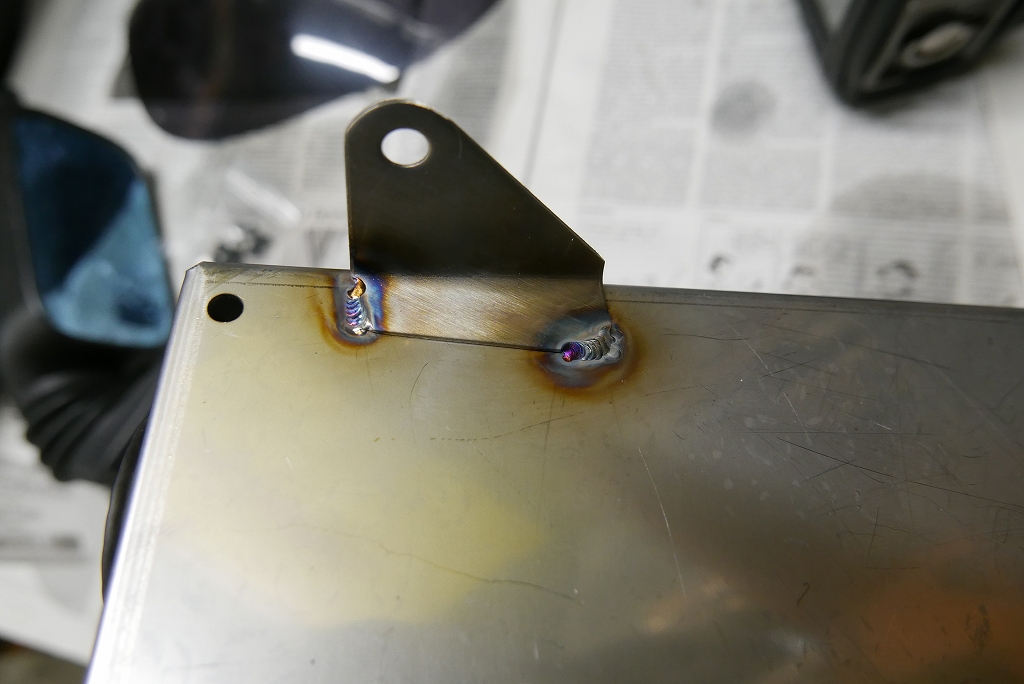
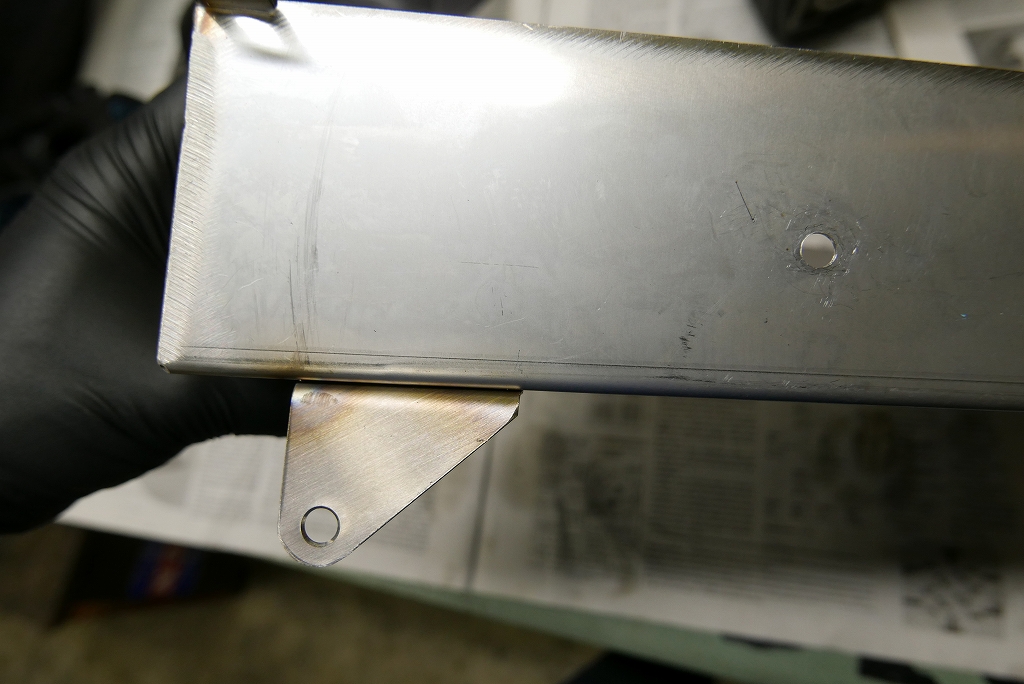
Our principle is always to keep it minimal and lightweight, without adding unnecessary fabrication work.
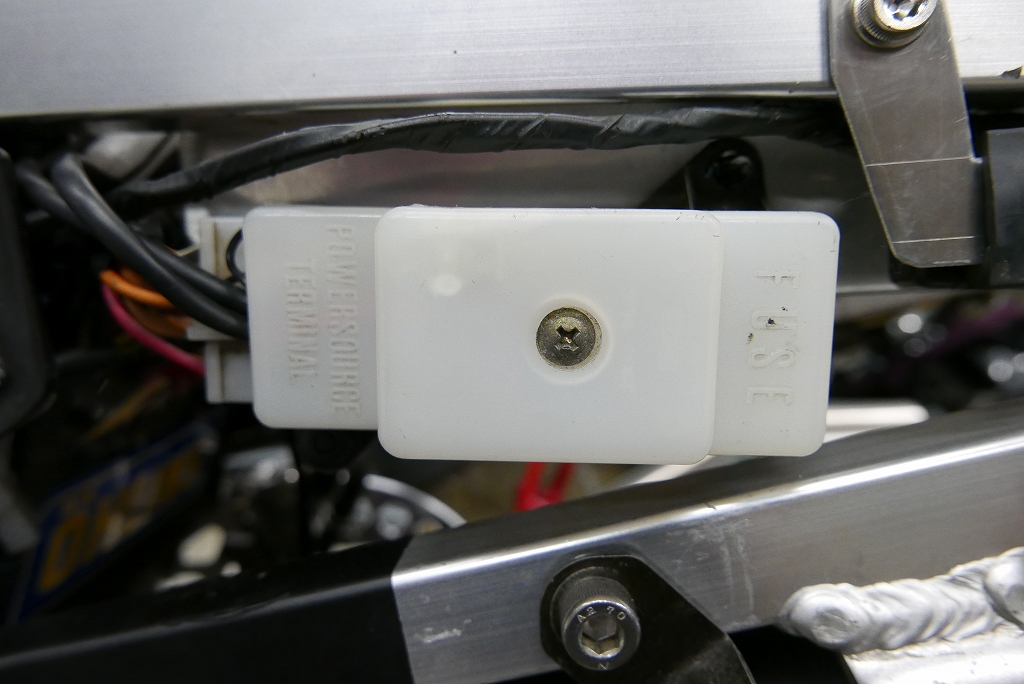
We mounted it on the side. You can’t see it unless you remove the tail cowl, but it’s not that delicate of a fuse.
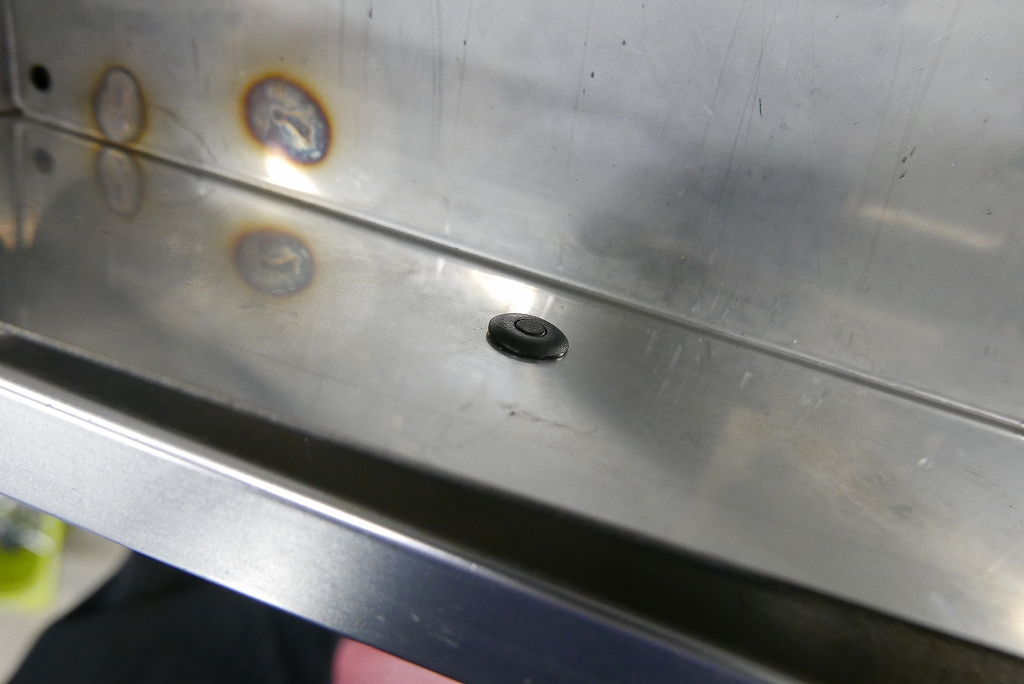
I basically don’t tighten plastic parts with metal bolts, so we’re using push rivets for fastening. The inside is flush, and it’s easy to remove. Not everything needs to be bolted and nutted together. Zip-tie fastening is basically not an option.
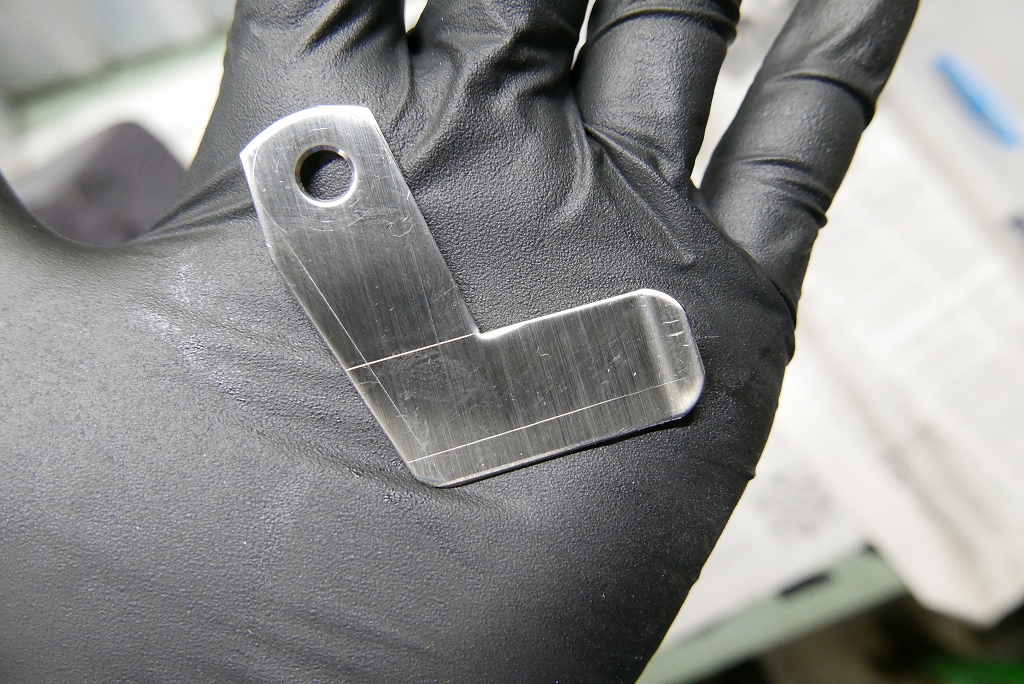
Next, there’s nowhere to put the turn signal relay, so we fabricated an L-shaped bracket like this.
The inside corner angle cut is tediously difficult to make. Using a contour tool is a pain. This time we cut it at 100 degrees sharp. It’s good practice to fold back the anti-rotation tab.
Leaving scribe lines visible is a sign of poor craftsmanship… I should be gentler… My apologies.
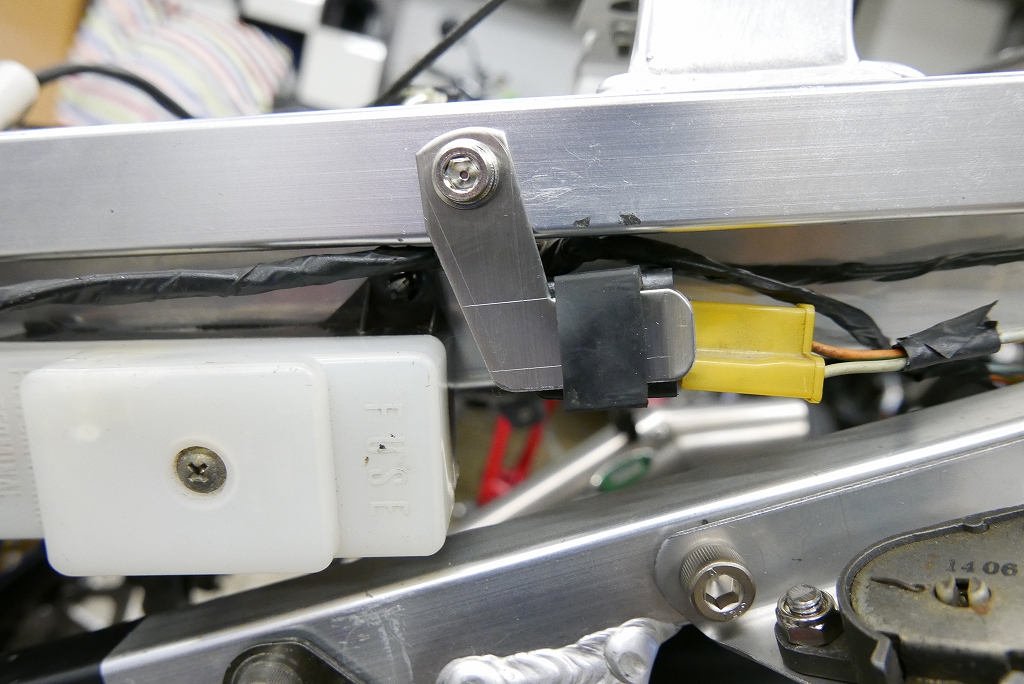
That’s what it became.
Next.
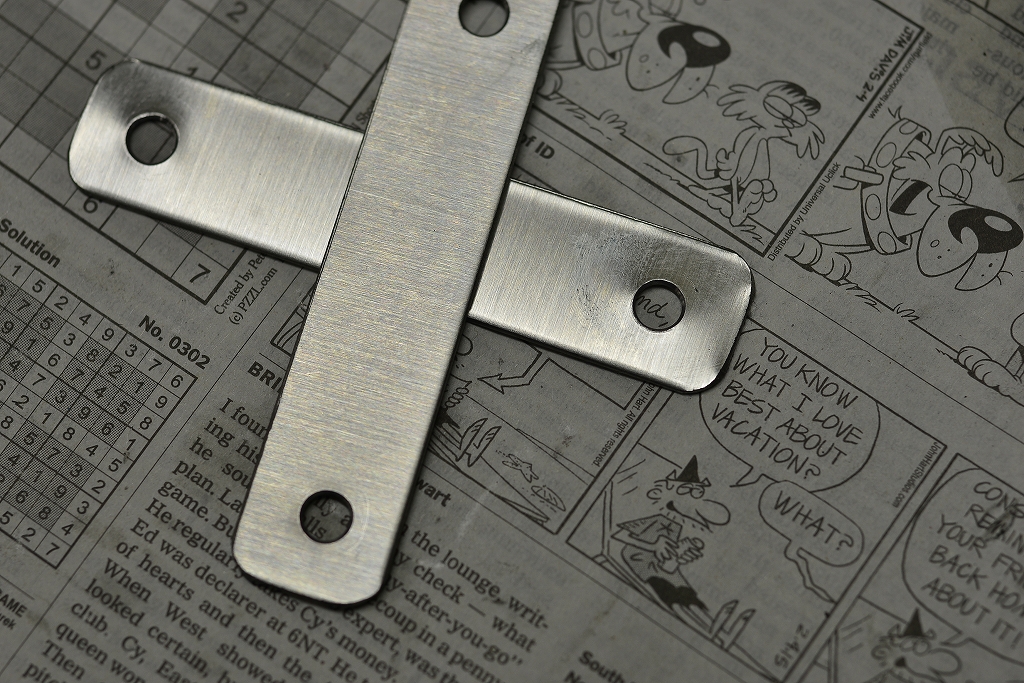
We couldn’t come up with a better idea, so we went with a rectangle…
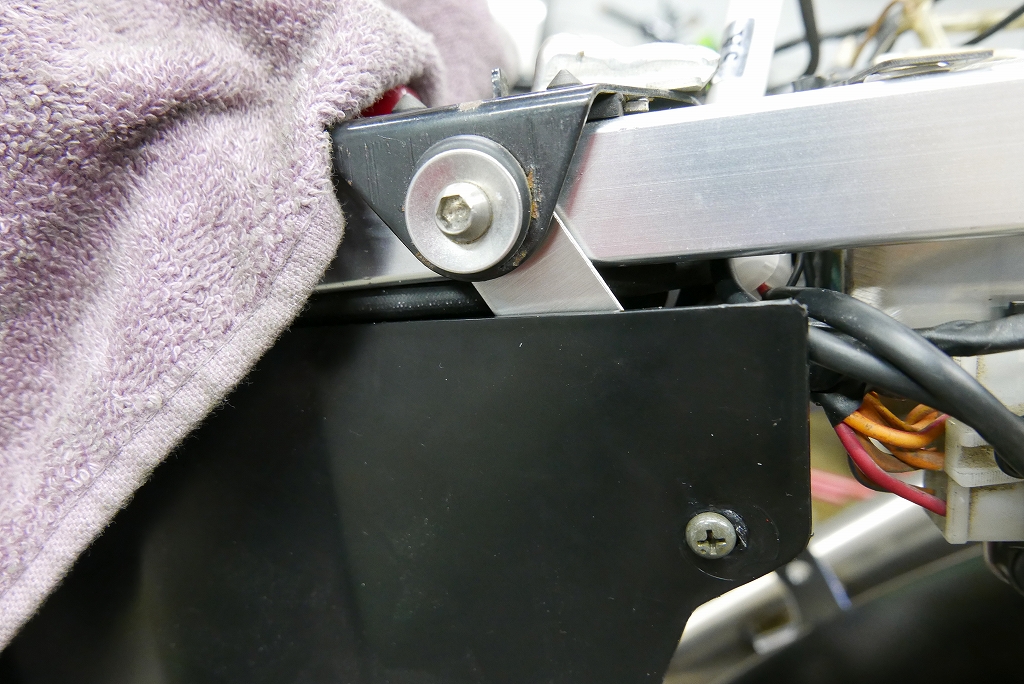
This way, we’re suspending the side plate with a co-fastening arrangement.
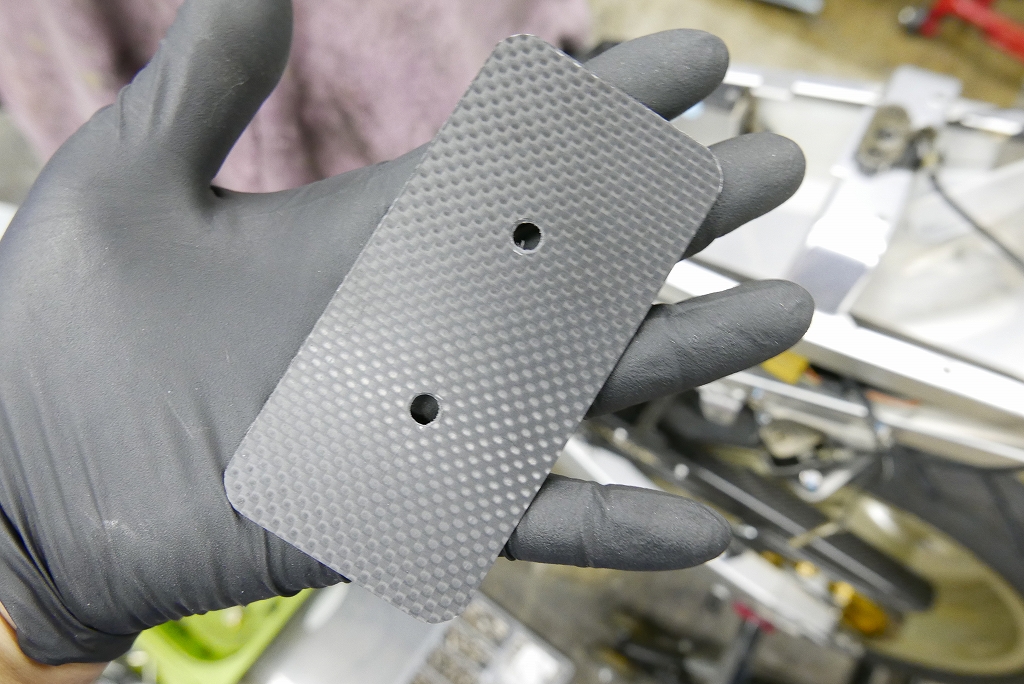
Completely unrelated, but we cut out this carbon piece and drilled holes in it.
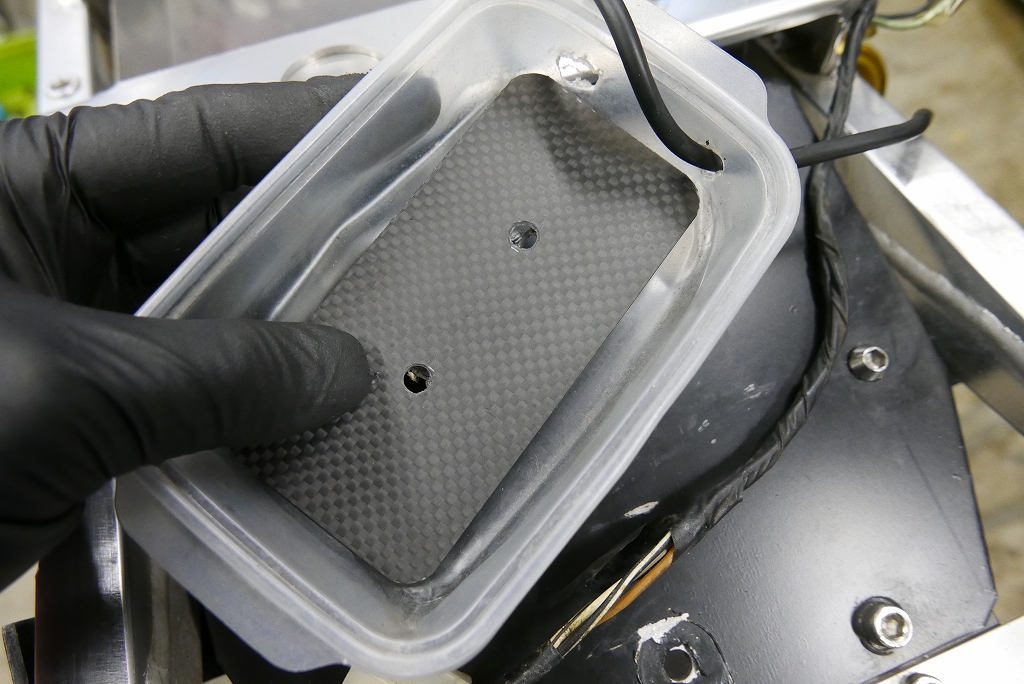
The box that was attached to the rear wasn’t secured properly, so we’re sandwiching it with carbon.
Now we can apply proper torque and secure it firmly.
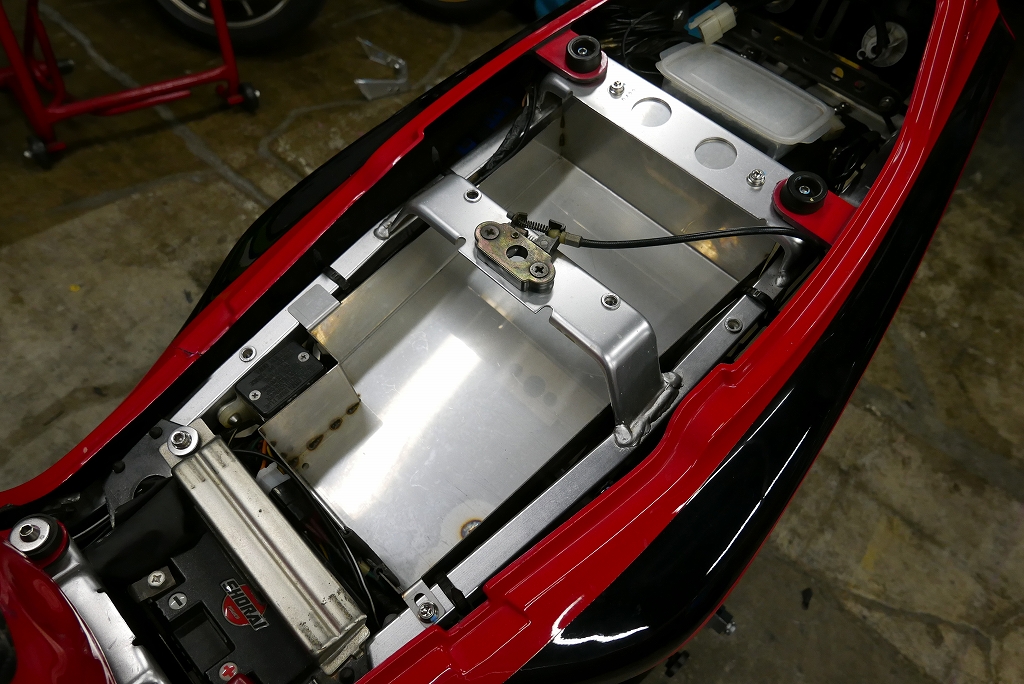
It turned out like this. This storage compartment is really nice.
When you strip away the bodywork, you see the true character of the bike. Even when expensive parts are scattered throughout and installed, you often see disappointing finishing when you remove the bodywork.
If it’s finished simply, cleanly, and lightly, the bike looks great even with the bodywork off.
That’s all for today.