Reuse and machining, etc.
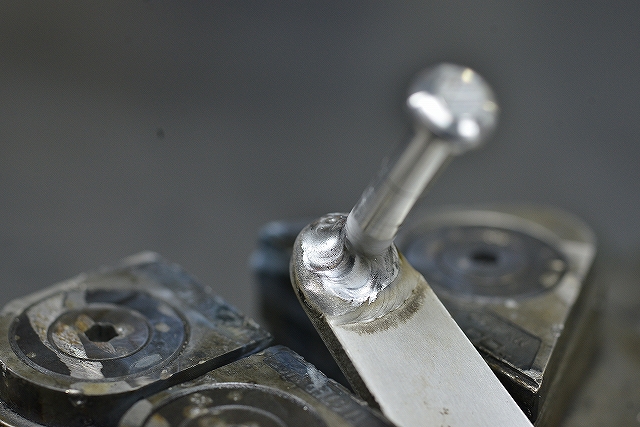
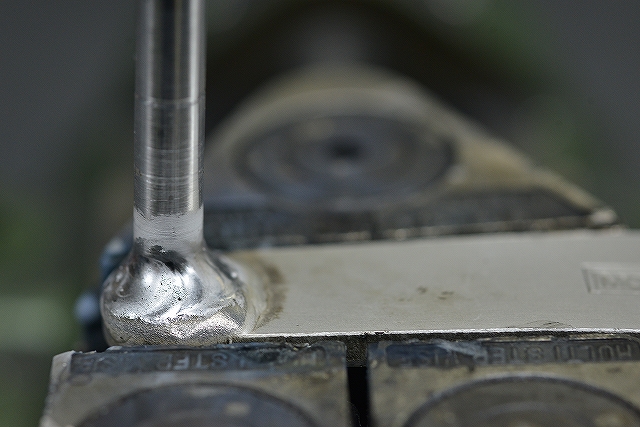
I’ll grind it down and weld it up.
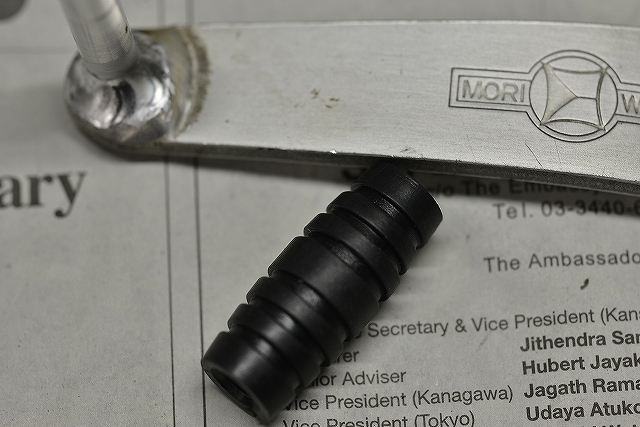
The shift rubber from a Suzuki GSX-R1100K-N is a bit stiff and feels great.
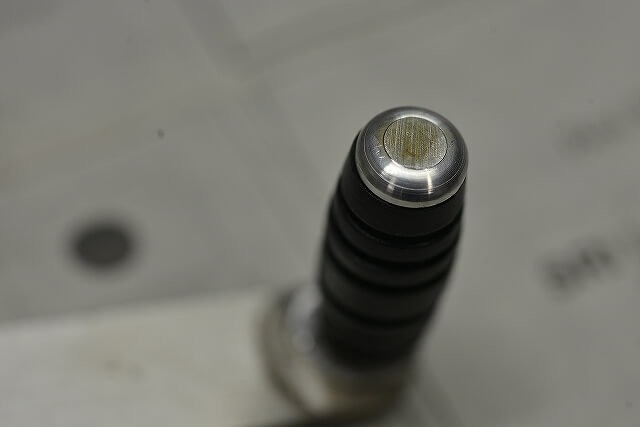
The tip is finished with an R profile.
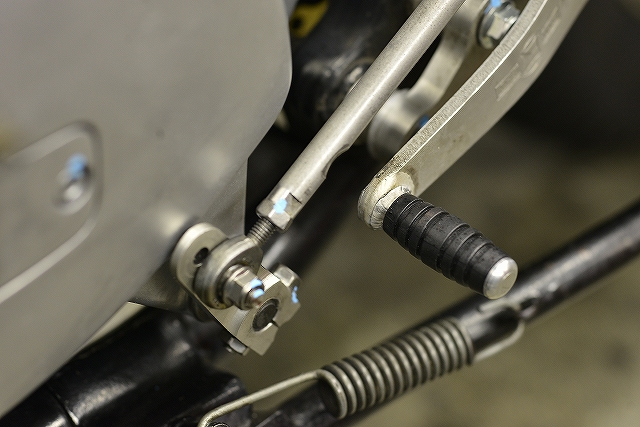
It’s become quite normal.
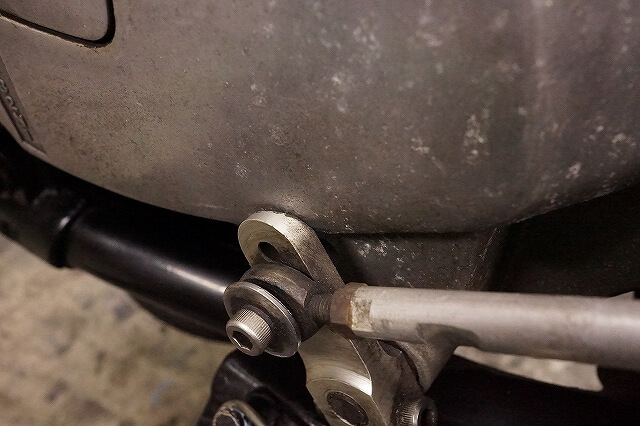
Contact point—grinder, okay for now?
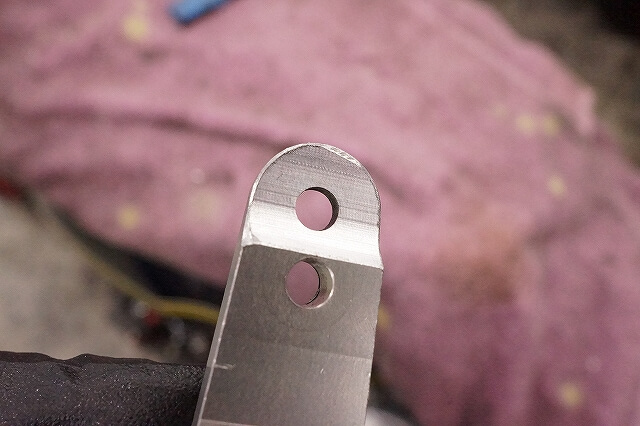
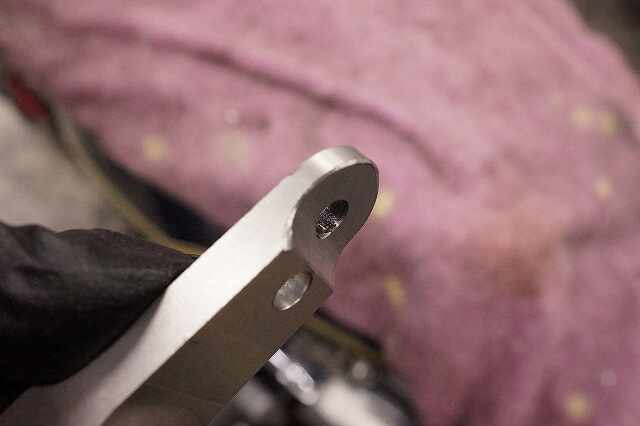
Using a ball mill gives a clean finish. If you use a circular tool to slope the shoulders, it looks even cooler.
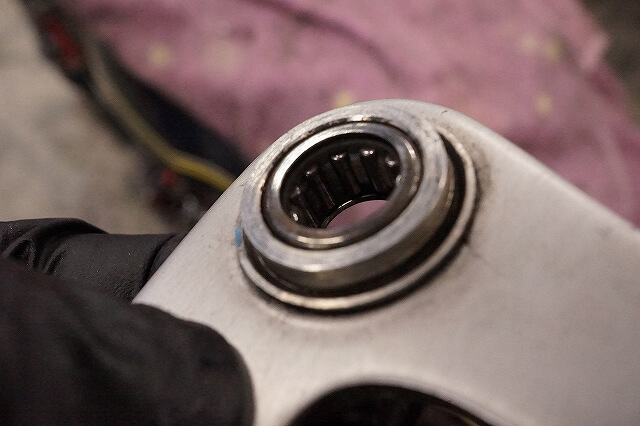
Let’s apply some oil while we’re at it. There’s quite a bit of play, so the pedal might be done for.
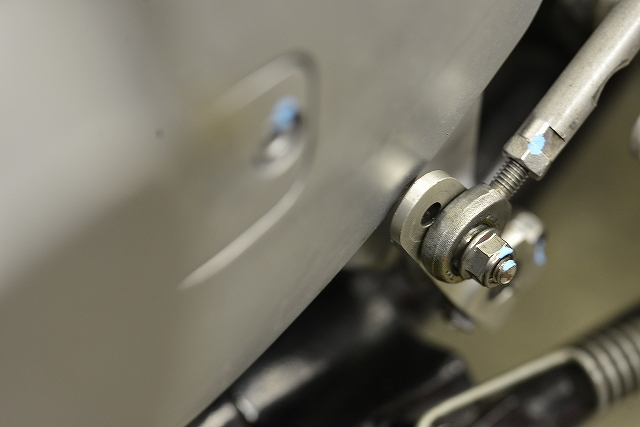
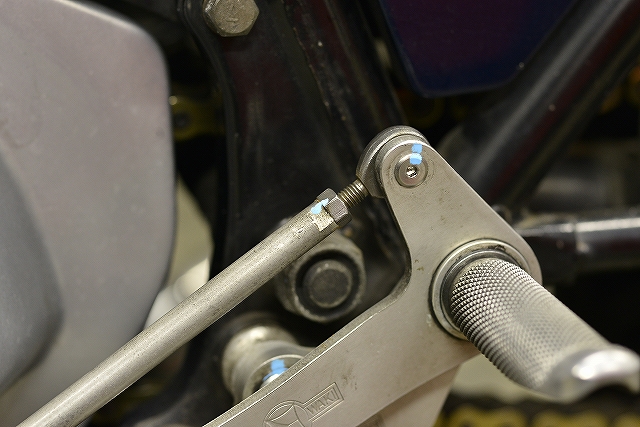
The ankle bone hits, so we need to make it flush. No pain equals safety.
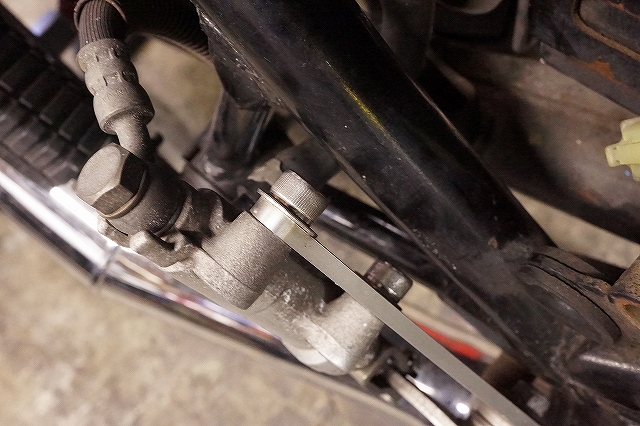
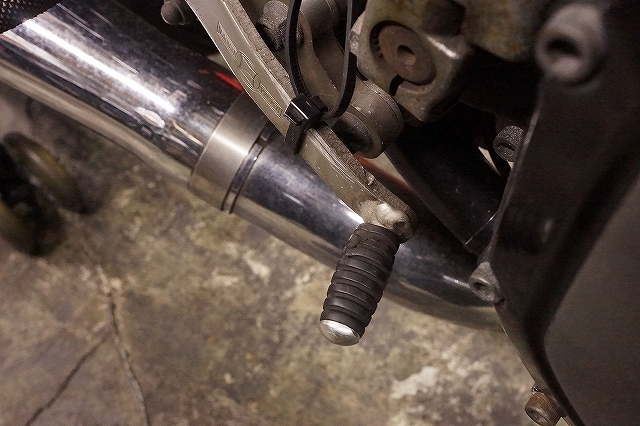
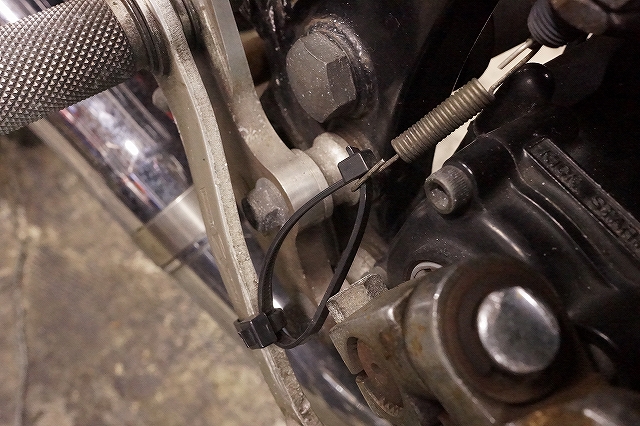
Master cylinder cap bolt from the back—won’t the side cover be hard to remove?
The pedal is bent. Switch tie-wrap, huh?
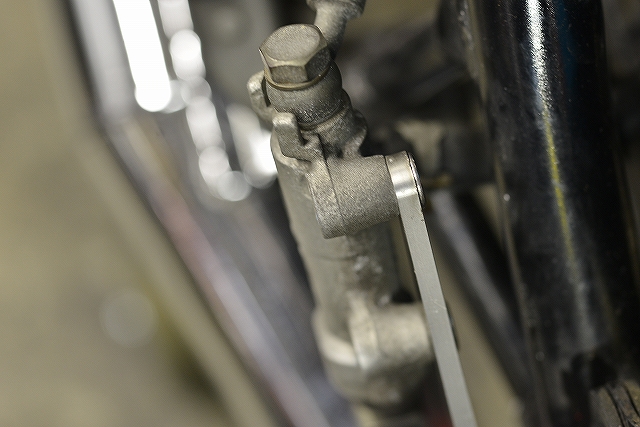
We should use ultra-low-head or slim-head bolts. With countersunk screws, the outer diameter needs to be quite large. This is where they come in handy. Of course, we’d like the screw length below the head to match to at least millimeter precision.
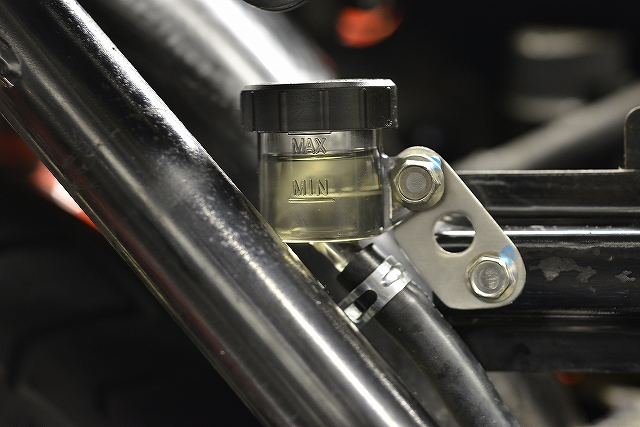
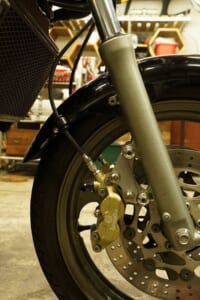
A reservoir tank should make fluid changes easy to work on. The fluid level should be easy to check from outside. It shouldn’t get in the way during other work. And ideally, if it breaks off, the fluid won’t splash onto the tire.
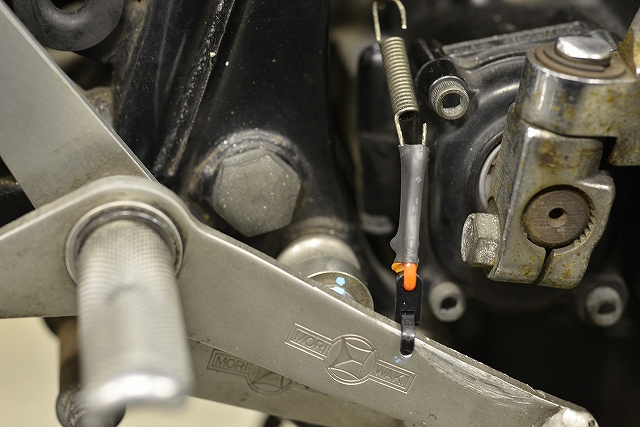
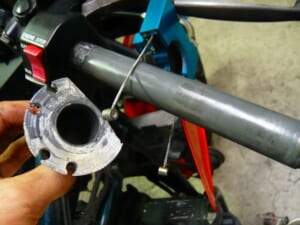
After thinking it over, I decided that if we attach the cable directly to the pedal, it will wear out. So I went with the strategy of pulling a tagged tie-wrap with a bungee cord.
It took a lot of work, but writing about it goes by in a flash. Please consider this a working state for now.