I’m going to continue from yesterday.
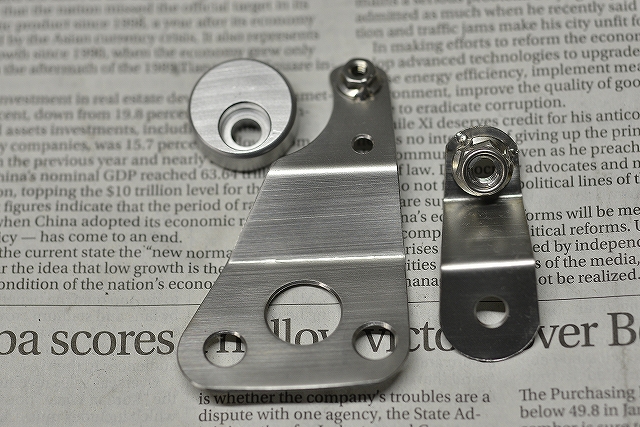
After much deliberation, I decided to go with a mechanical switch instead of hydraulic. If the hydraulic keeps having lighting issues and failures, mechanical is ultimately more economical and less hassle for both of us, so I’m going mechanical on my own judgment.
After a few minutes of thinking it over, I went with a straightforward, low-hassle design that minimizes the chance of mistakes.
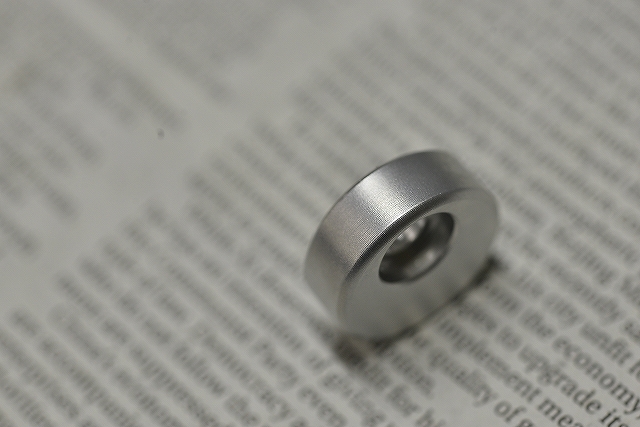

The switch actuator uses a hardened core, and I’m creating a flush, unified look by chamfering it.
I chamfered the edges with a 3R radius for a soft appearance.

Low-profile cap screws for a flush finish.

I’ve tack-welded a lock nut on the back, so adjustment is simple enough.
I believe fewer component parts and higher work efficiency are always better.
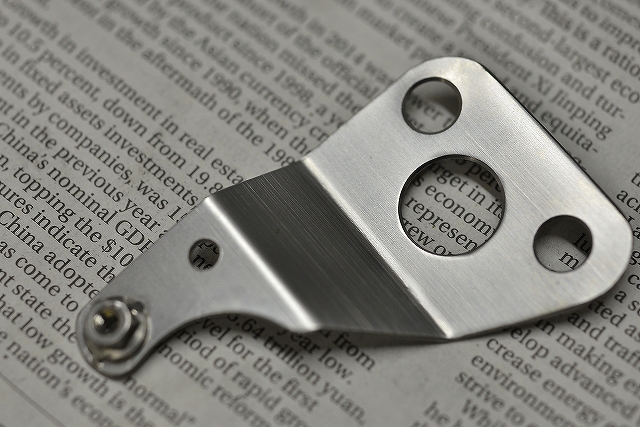
I always do the lightening cuts after machining, so the finish is a bit rough around the edges. The switch mounting nut is also tack-welded. Since this is a one-off build, I appreciate your understanding.
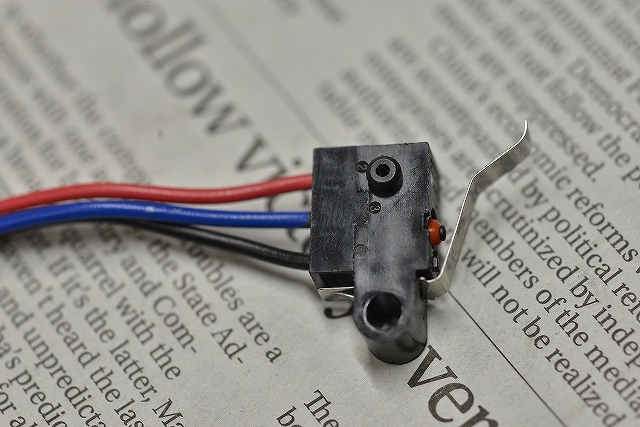
The microswitch isn’t held down by two bolts—it’s the pin-type that just snaps in.
Of course it’s Omron.
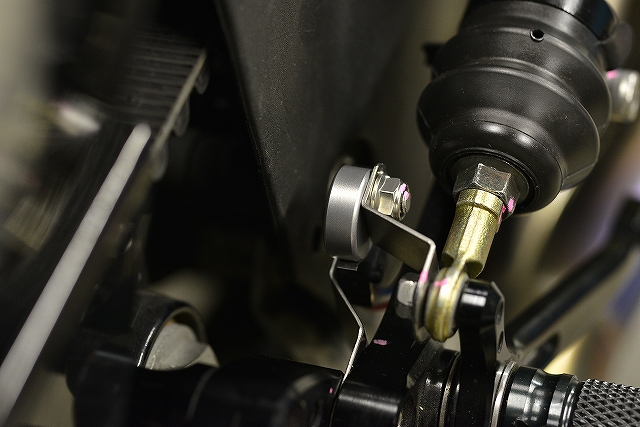
I generally prefer not to modify the main body, so I’m using an ON-type setup with existing component parts.
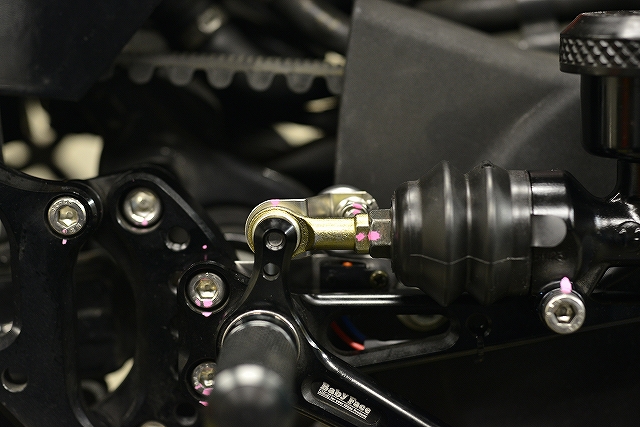
I could make it more complex to hide everything completely, but that takes more time, which means higher cost. So I’m always wrestling with that balance on my own.

I’m discarding the hydraulic switch and installing a PT blind plug instead.
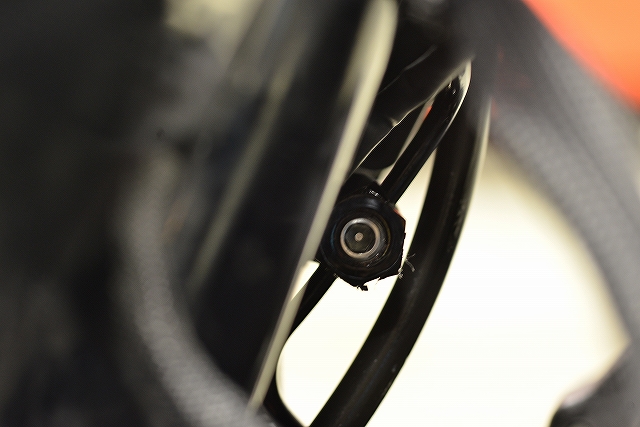
It looks clean and flush now.
The rear brake feel has improved too, so you’ll be able to enjoy riding with confidence.