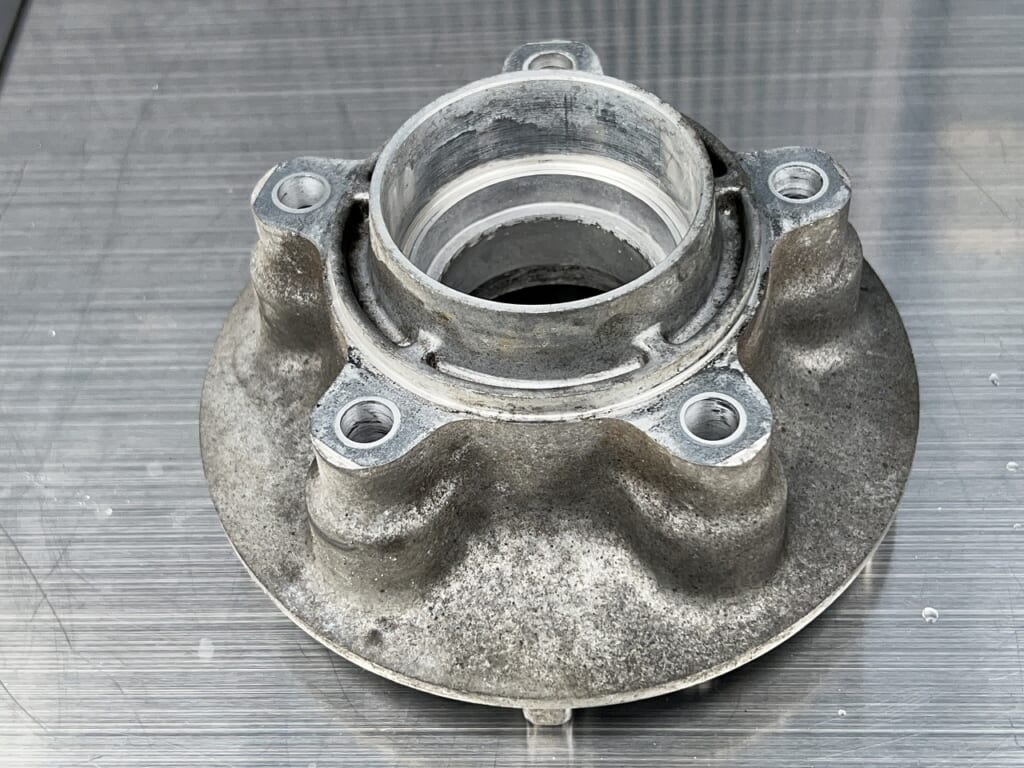
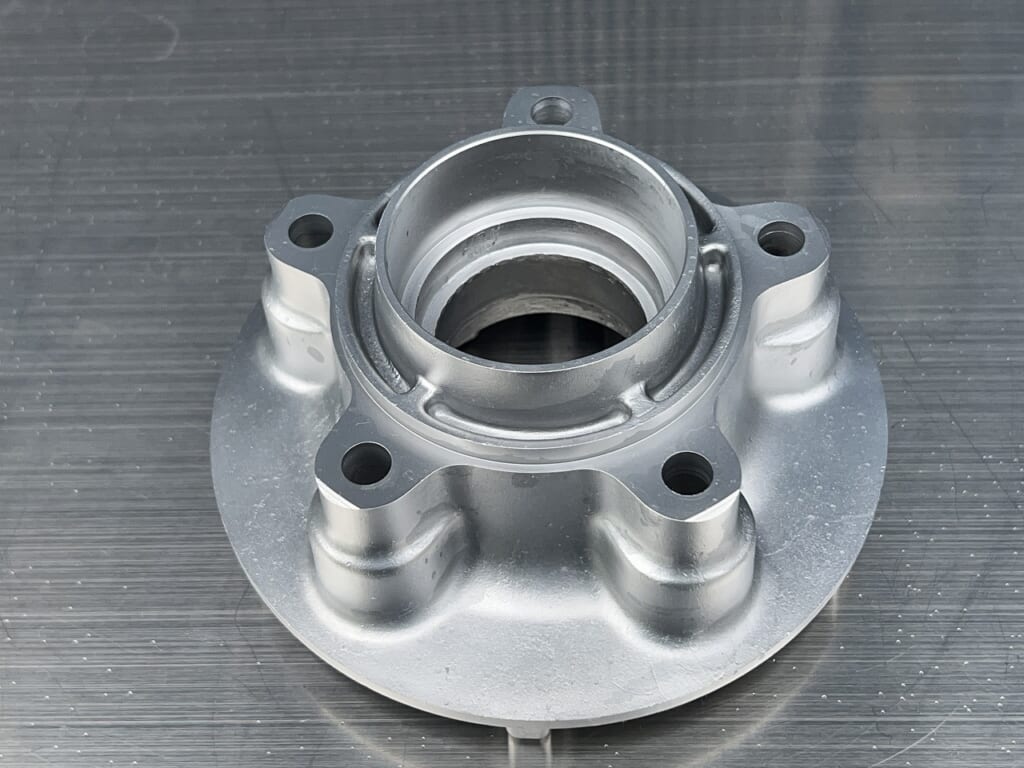
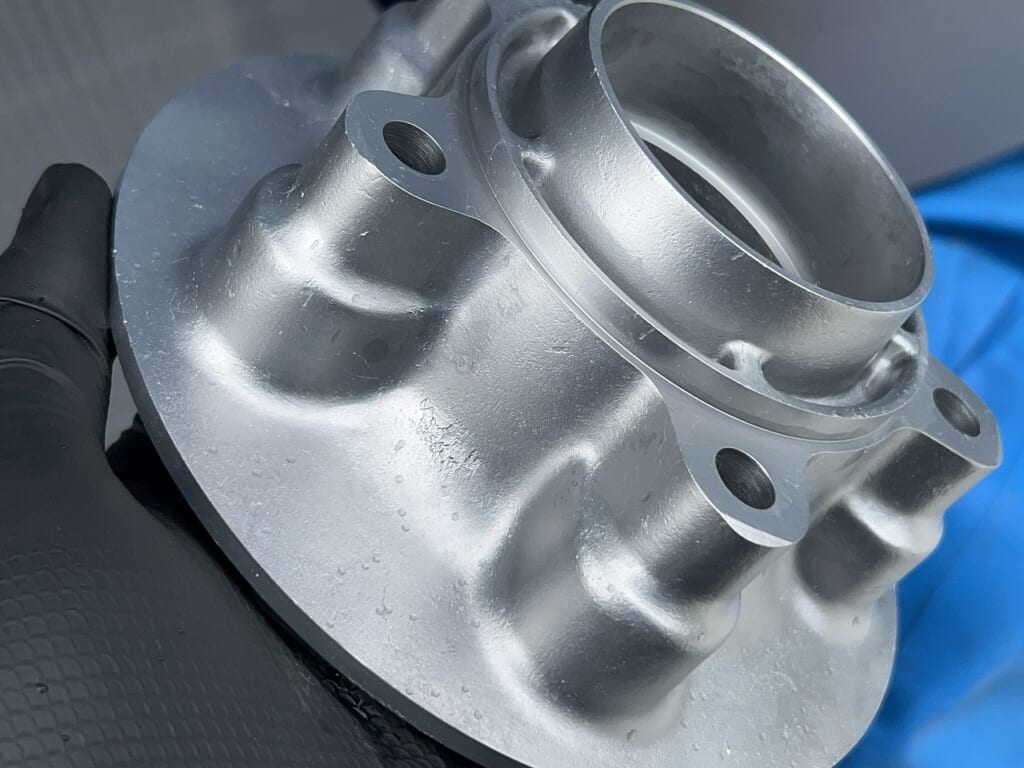
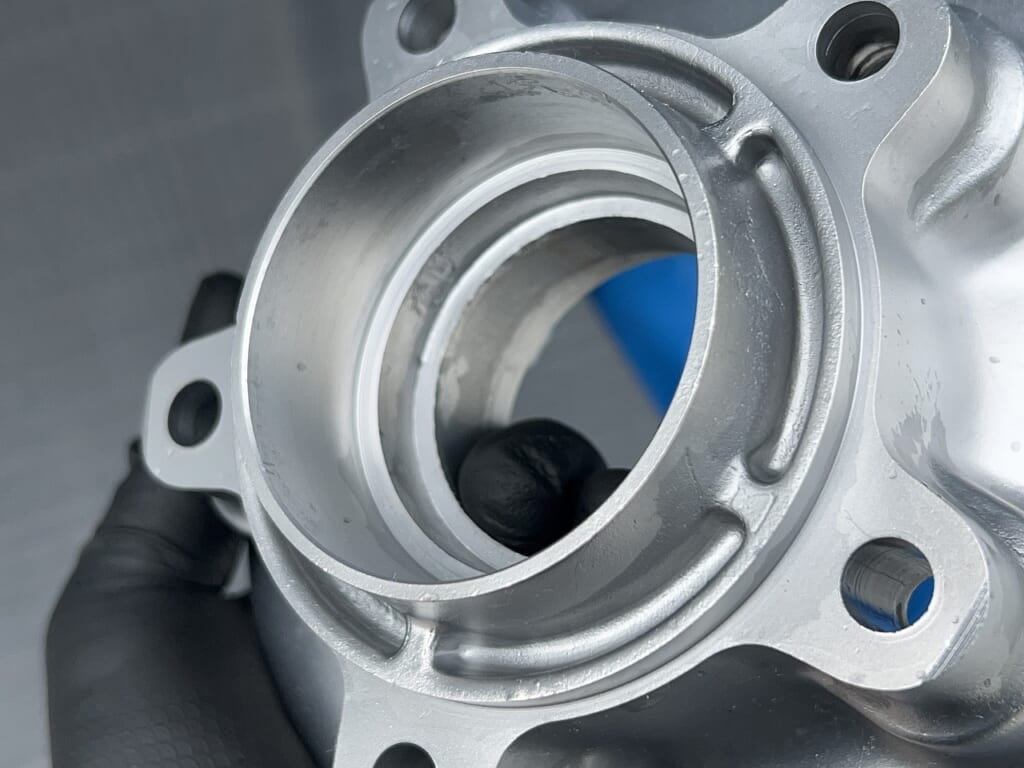
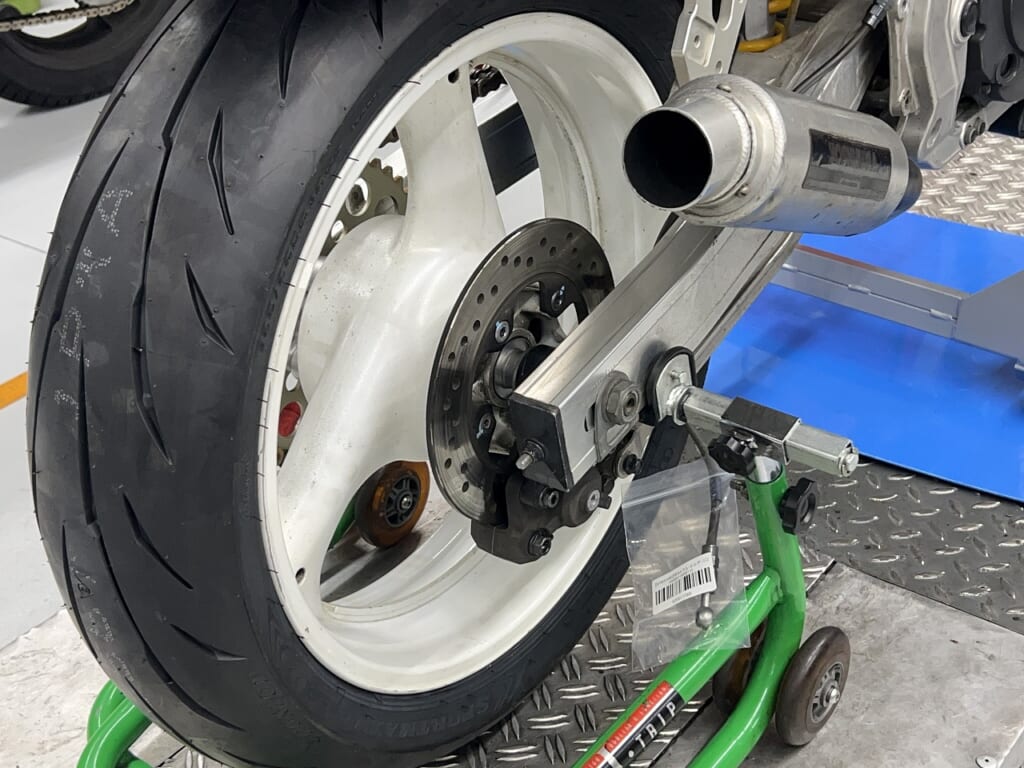
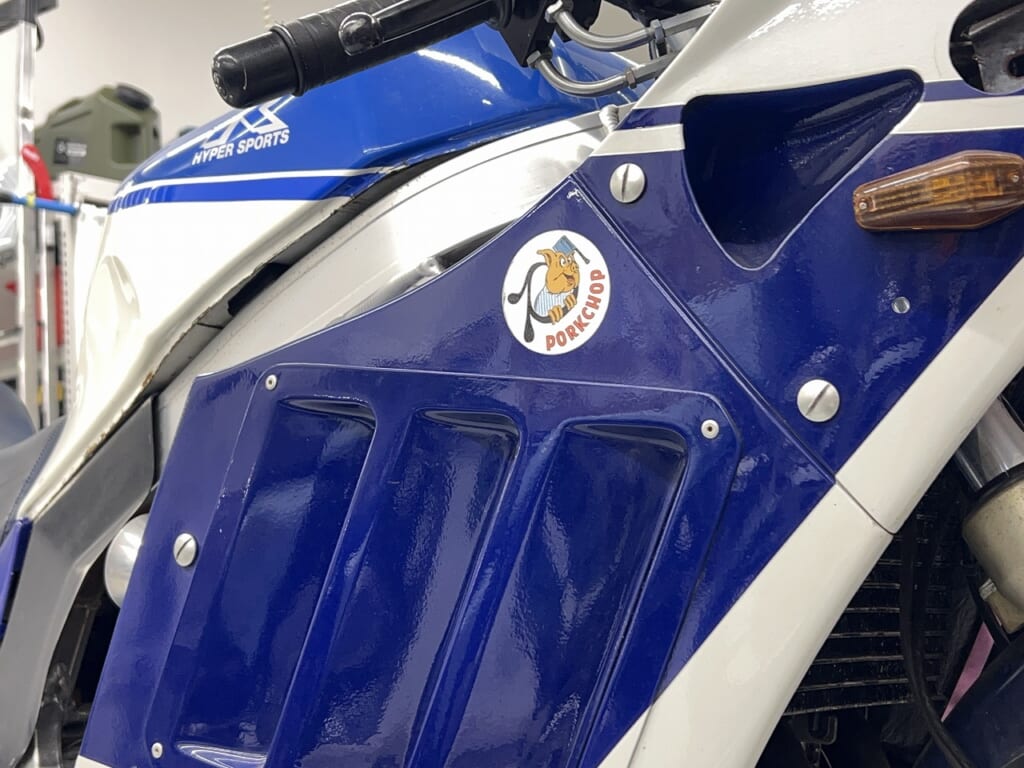
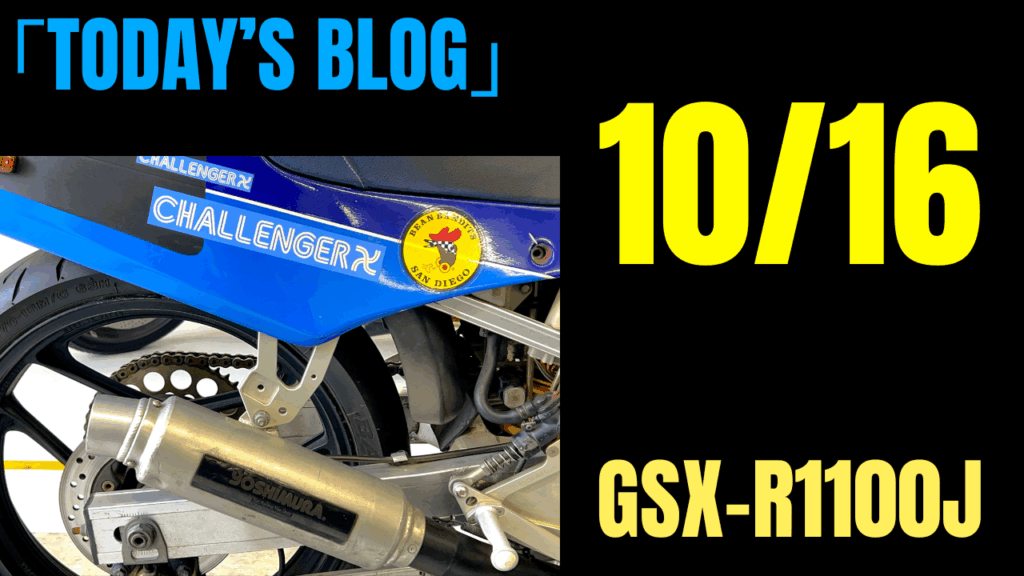
This is the GSX-R1100J model, which is the most popular in the oil-cooled GSX-R1100 series. It seems they’ve acquired a bike that’s been sitting for a long time and want to revive it and get it running.
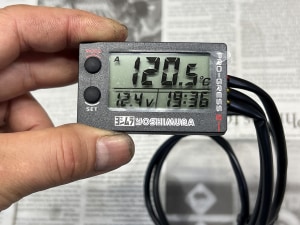
It’s got some Yoshimura parts on it, which gives it a great vibe. It’s more of a restoration than maintenance, but since I’m familiar with oil-cooled bikes, I’m going to work through it smoothly.
Another blog by Decoboco. “RURAL GARAGE”
A hidden room for things other than motorcycles. I share content about convenient everyday items, relocation, delicious food, and life philosophyand more. ←click
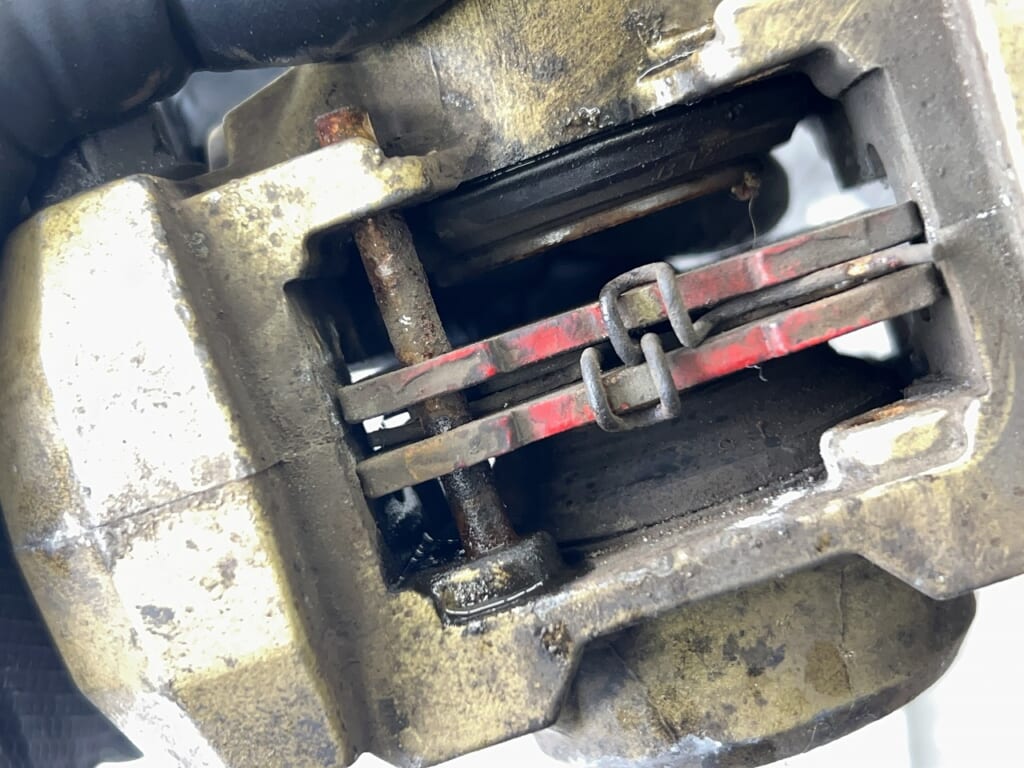
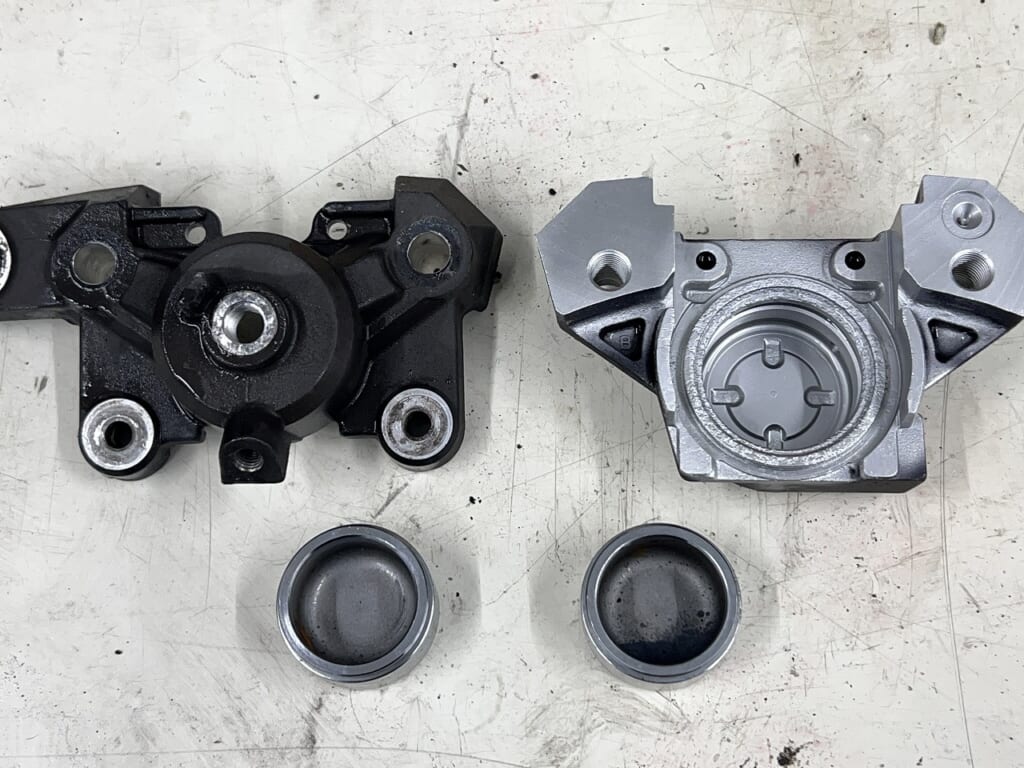
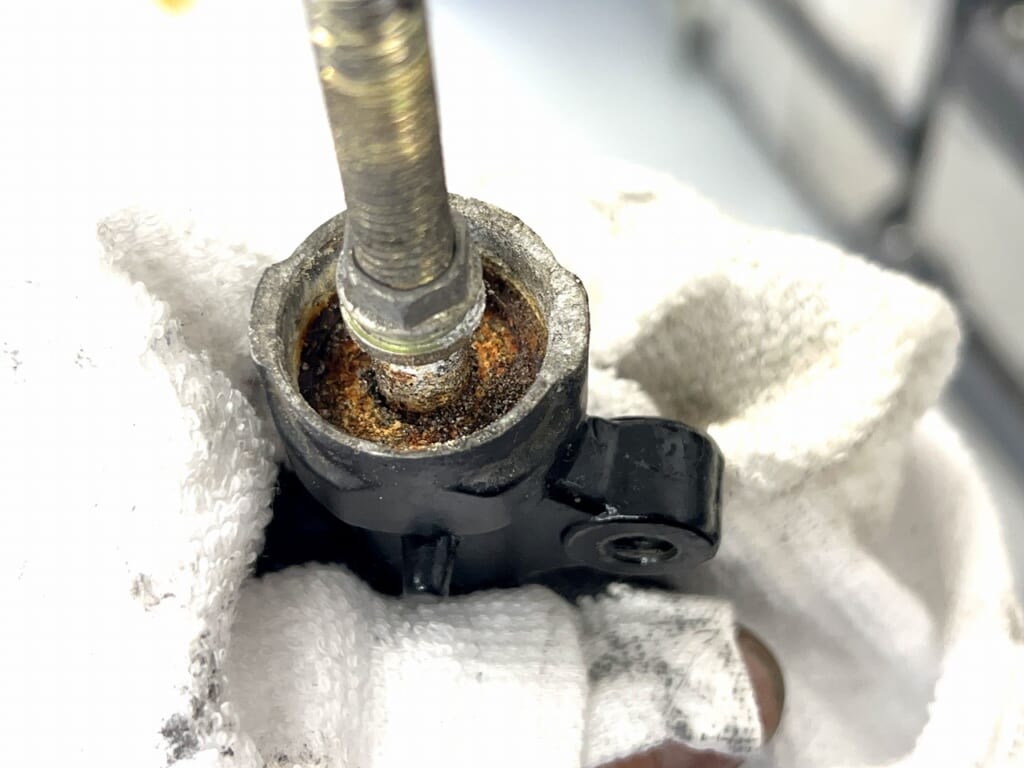
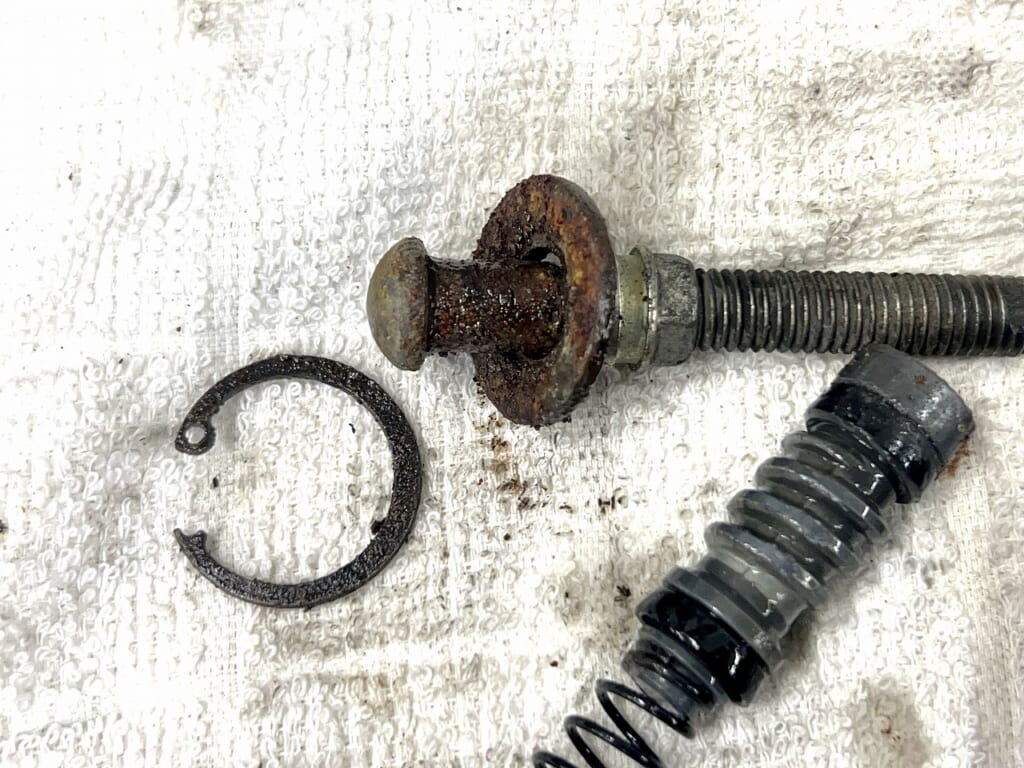
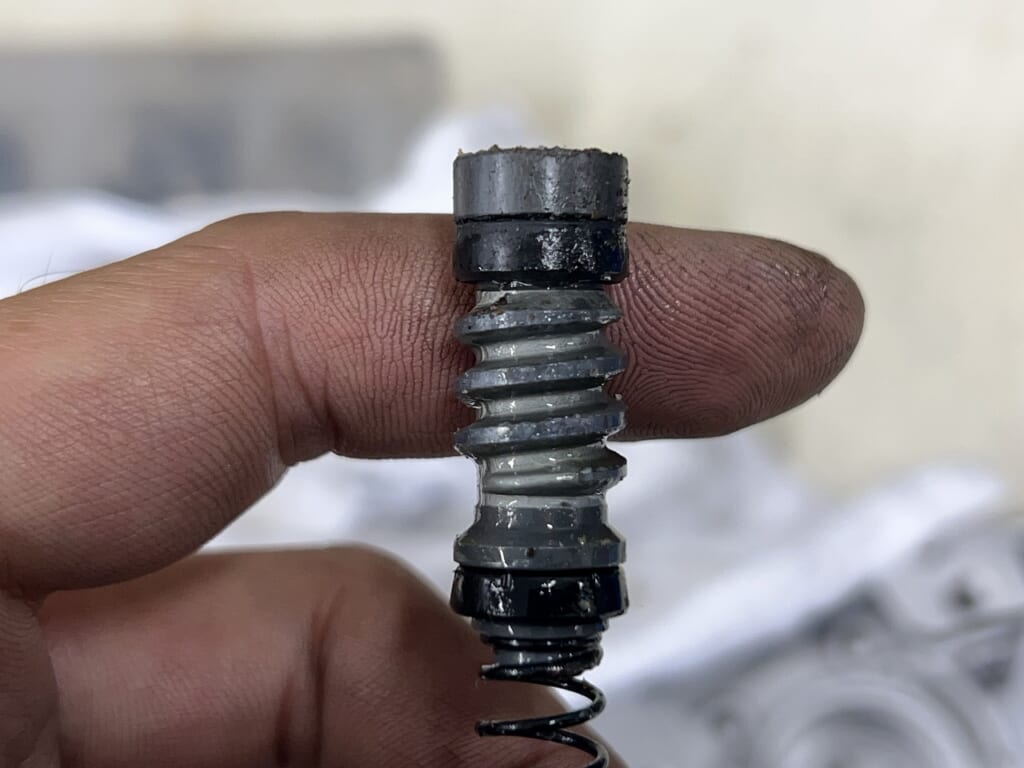
The brake pads are completely worn out, so I’ll replace them. I split the rear brake caliper, but the piston doesn’t seem to want to come out. I could force it, but it’s a hassle, so I’d like to use a more affordable caliper from the junkyard.
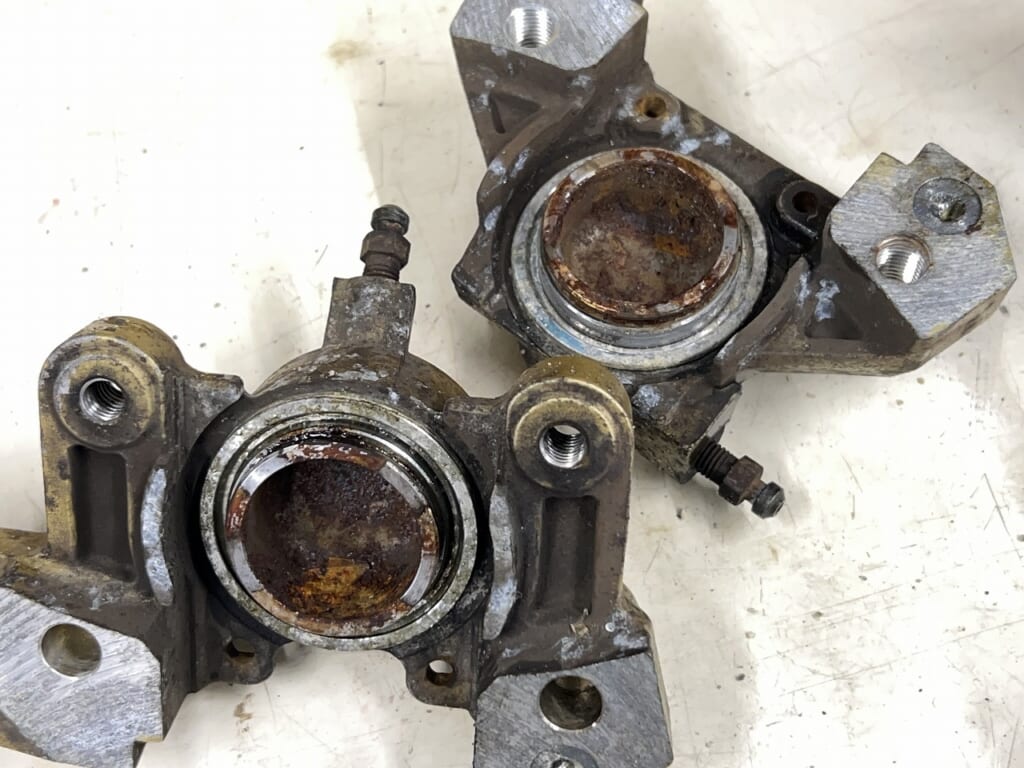
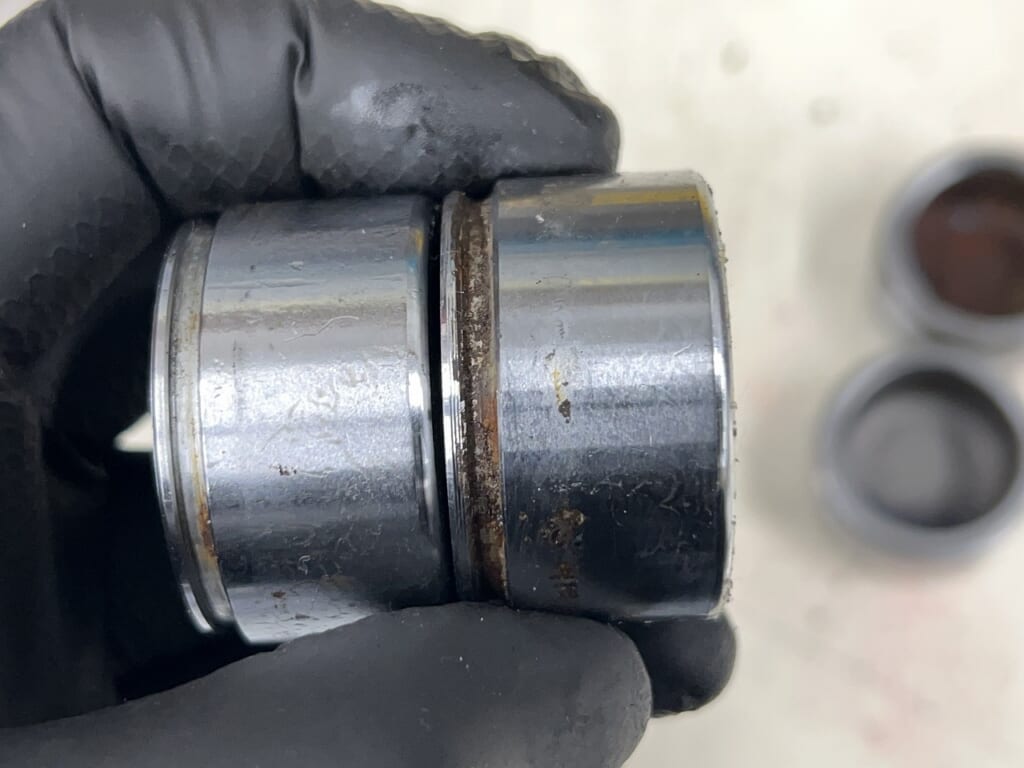
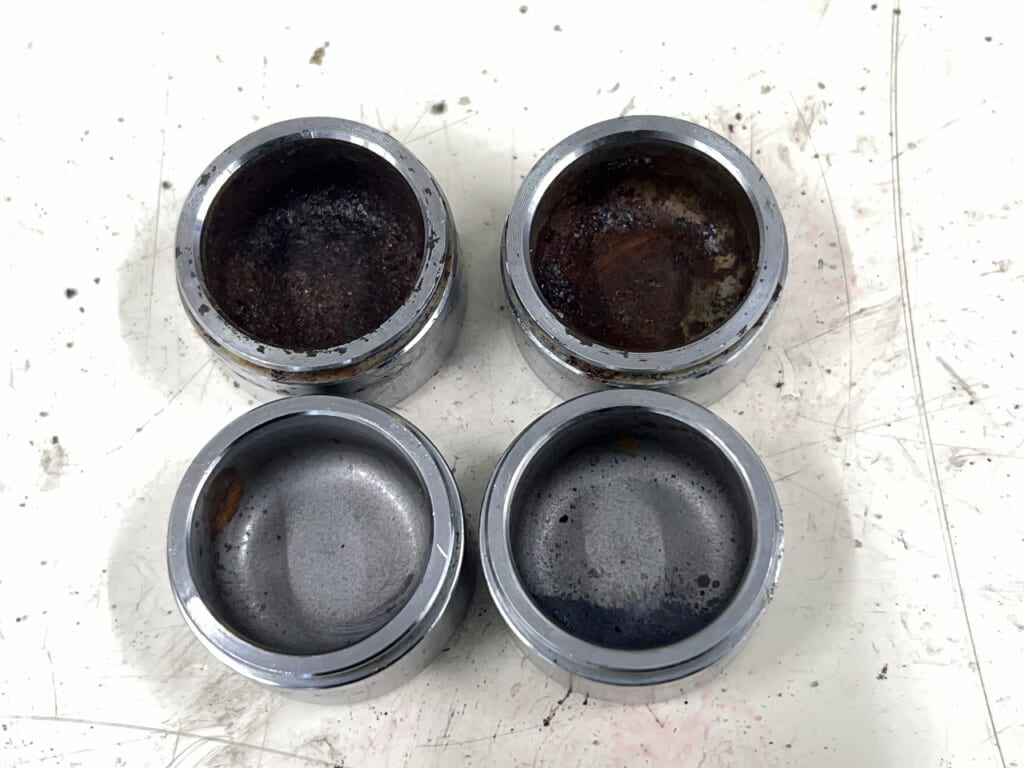
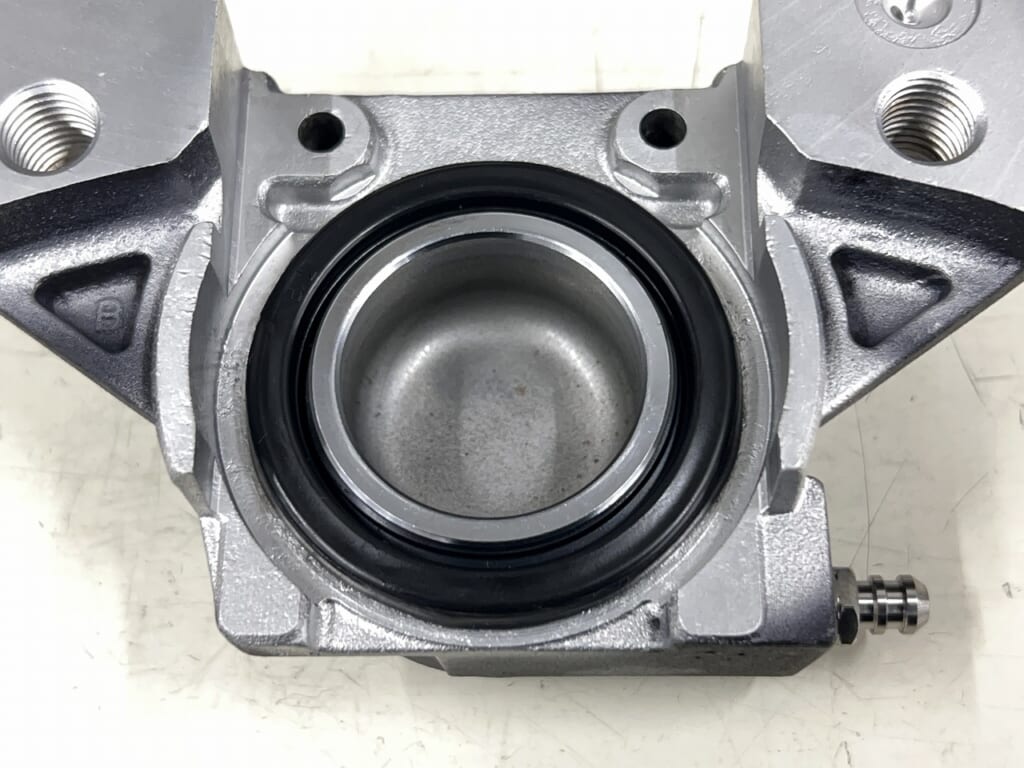
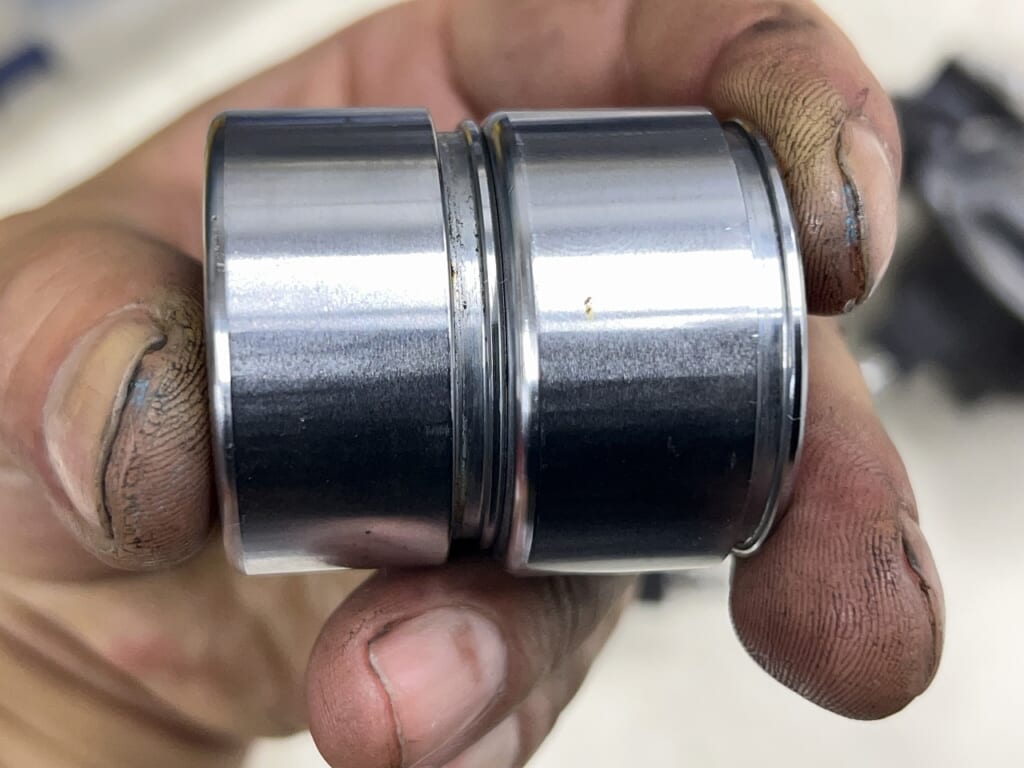
I picked up a gray caliper for the GSX-R1100MN from the junkyard—I want to use this one. When I disassembled it, the caliper piston was all rusty, so I searched the junkyard again and found a rear caliper piston that looked to be in decent condition.
I usually stock parts that customers have thrown away if they look usable. Of course, I’m not selling them—I’m giving them away for free.
I’m really glad I stocked up on junk like this—it comes in handy at times like these.
I want to wet blast the inside before assembling it.
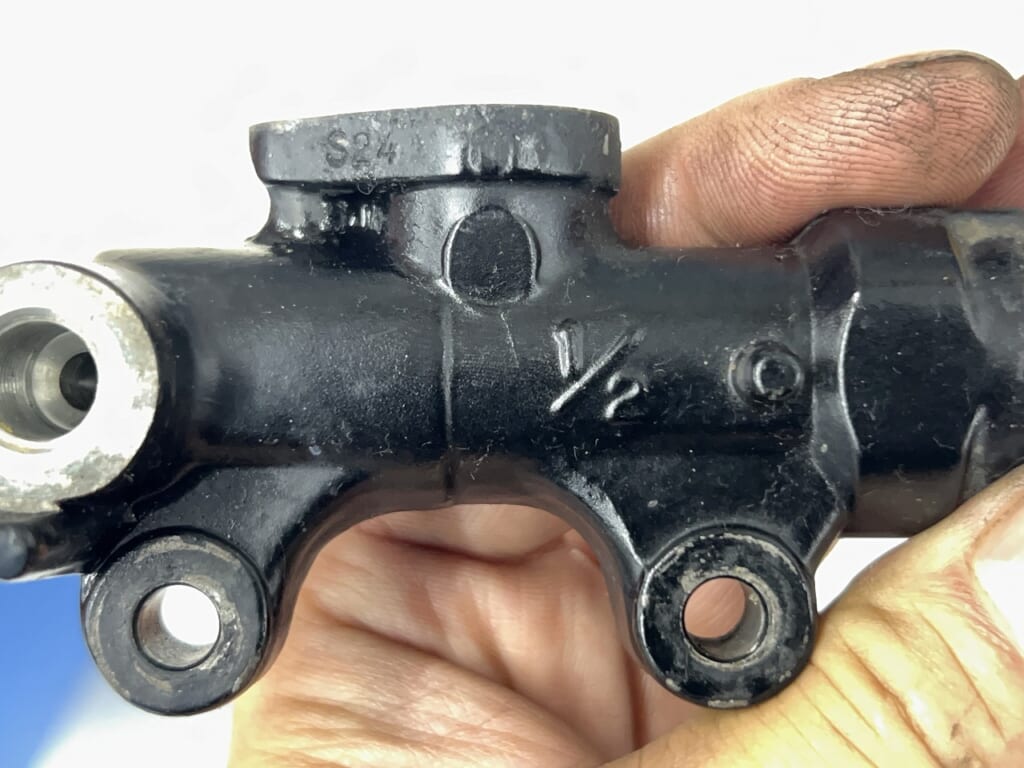
The rear brake master is somewhat special—1/2
Due to the reservoir hose layout, the mounting bolt position is upside down compared to the common type. It’s definitely a hassle dealing with this era’s design quirks.
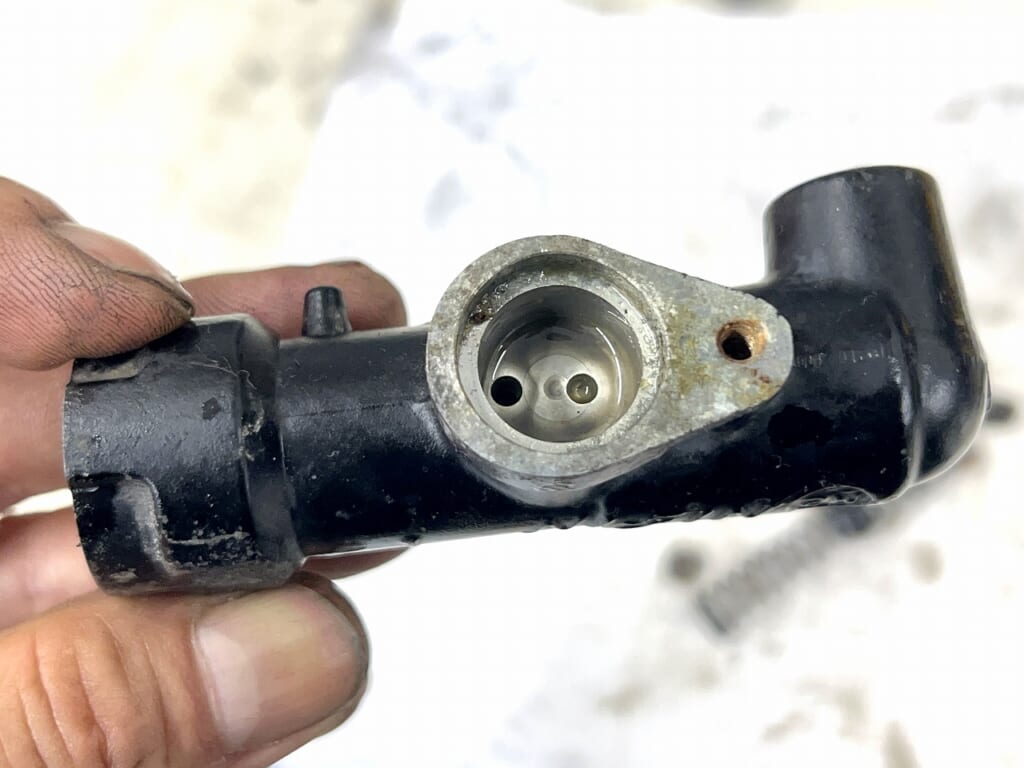
If you’ve never overhauled a rear brake master, you really need to be careful. Even if you change the fluid regularly, the inside is often pretty gunked up.
If the return port gets clogged, the brake stays engaged and can lock up. You need to think about whether to replace it with a new one or schedule an overhaul—it’s dangerous if you don’t.
And the next day, I steadily assembled the parts that arrived.
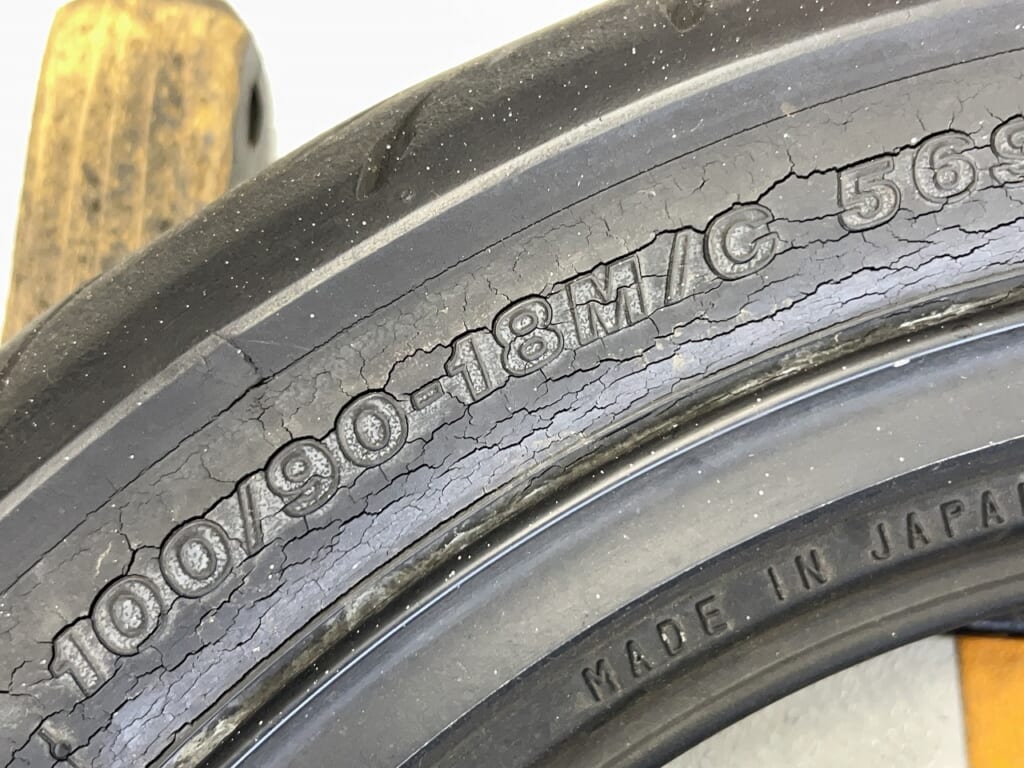
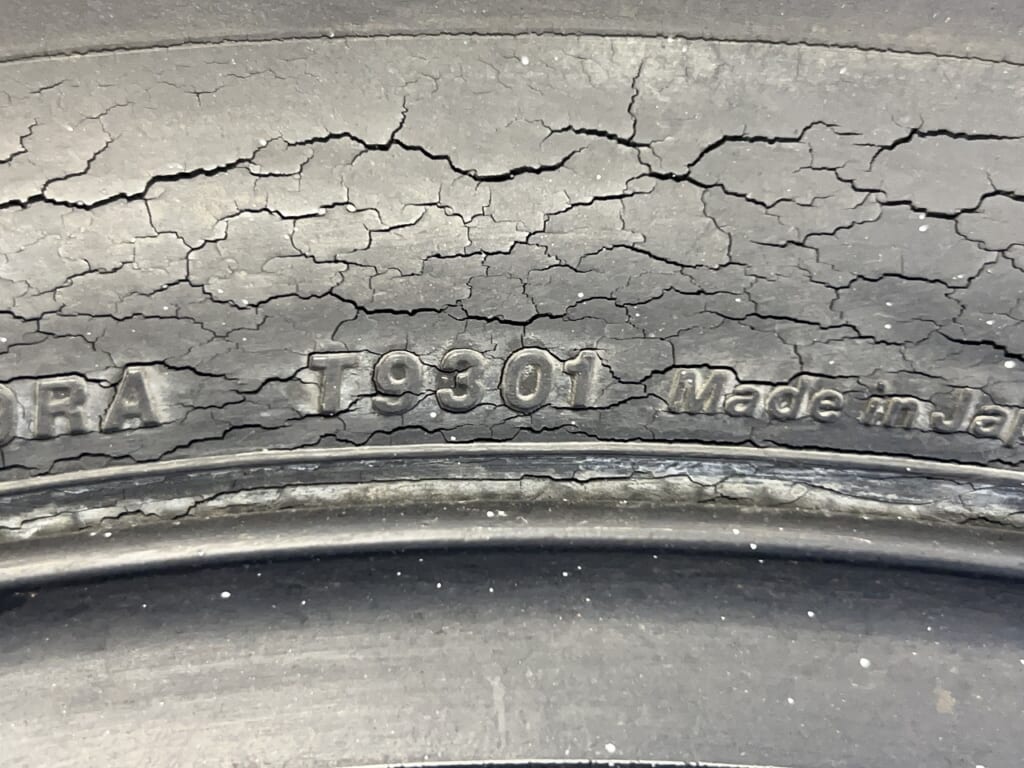
The old tires are in a state where they could burst at any moment. Let’s hurry.
It’s cracked so badly that I’m even afraid to pump air into it. Looking at the manufacturing date, it’s from week 93 of 2001… that’s terrifyingly old.
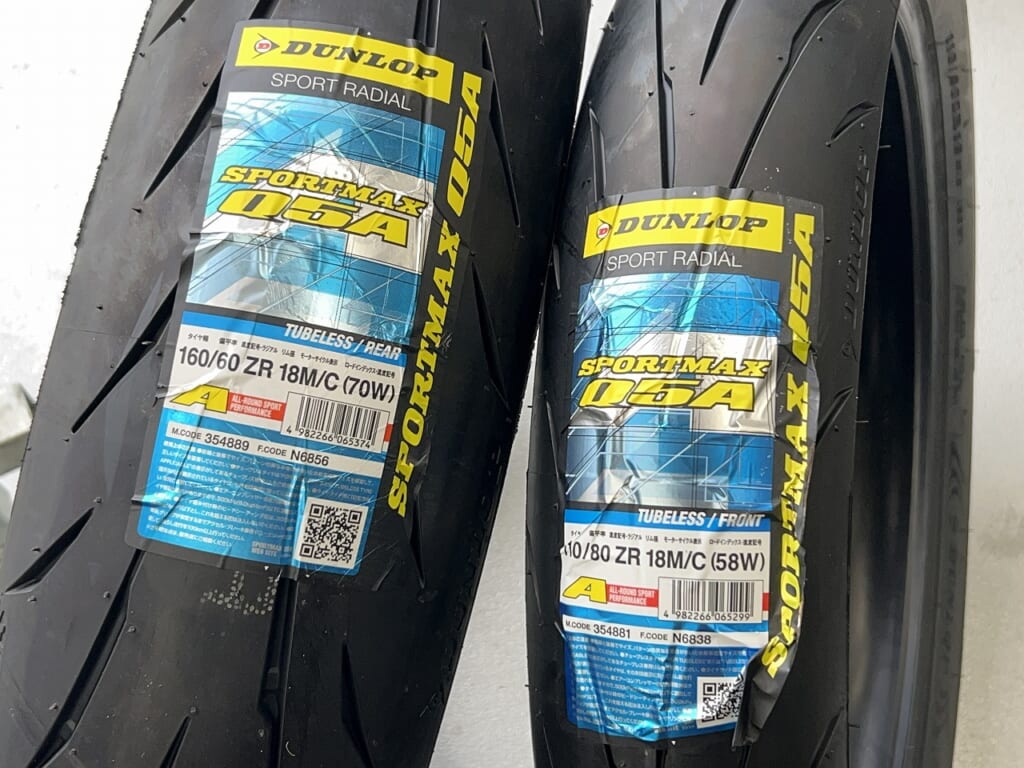
Since I’m switching back to the 1100 J wheels, I’ll mount Q5A tires.
First, let me polish them up with wet blasting
The power of tools is truly amazing. Of all the tools I’ve bought, the one that’s impressed me the most is definitely the wet blaster. Of course, it’s by far the most expensive, but it saves time and produces clean results efficiently, so if you’re thinking about it, you should definitely invest in one.
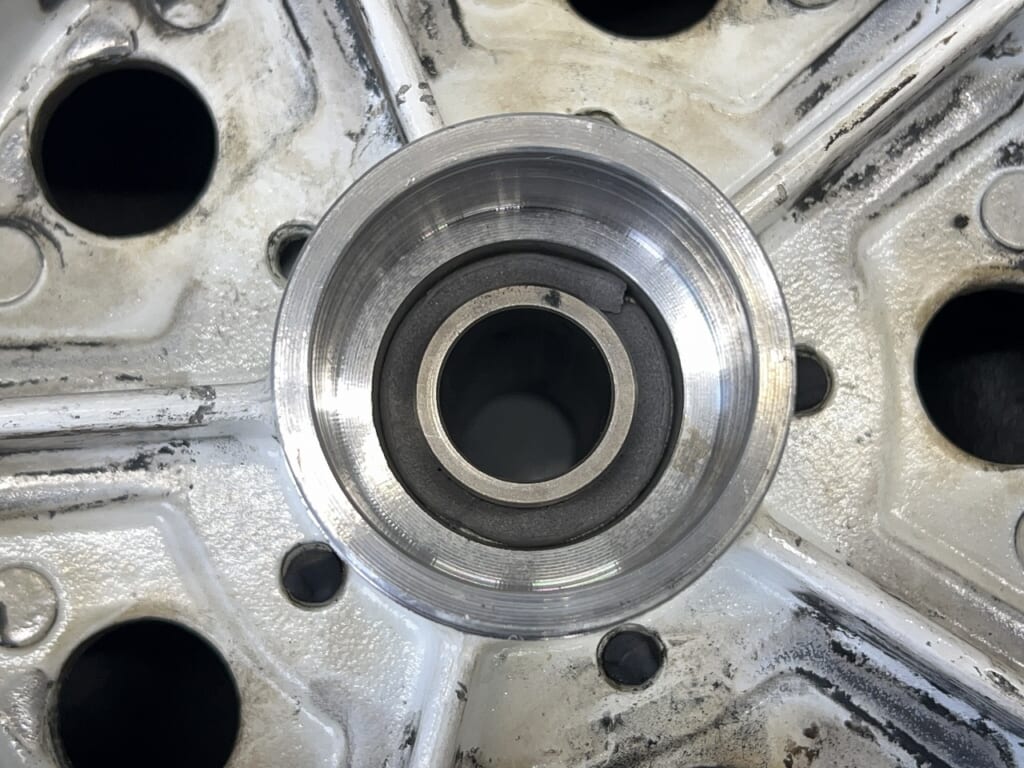
Suzuki’s bearing press clearance is surprisingly loose. And you can see that bikes from this era have thin walls.
If you don’t work with care during removal and pressing, they’ll become loose quickly.
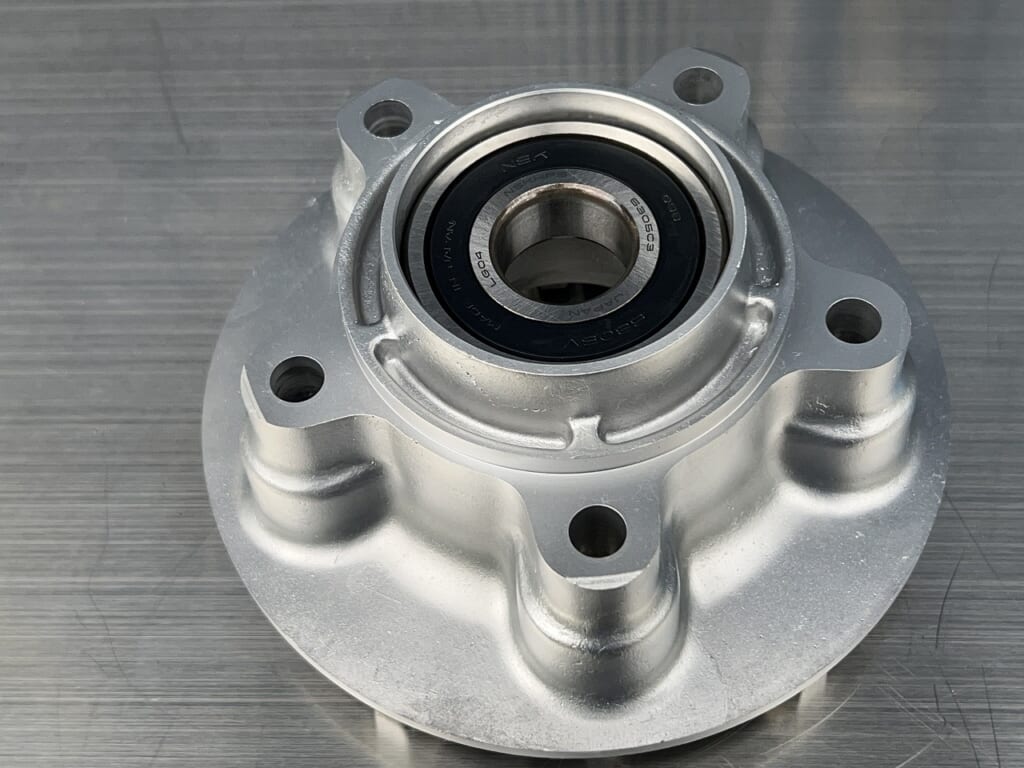
Let’s install the wheel bearings
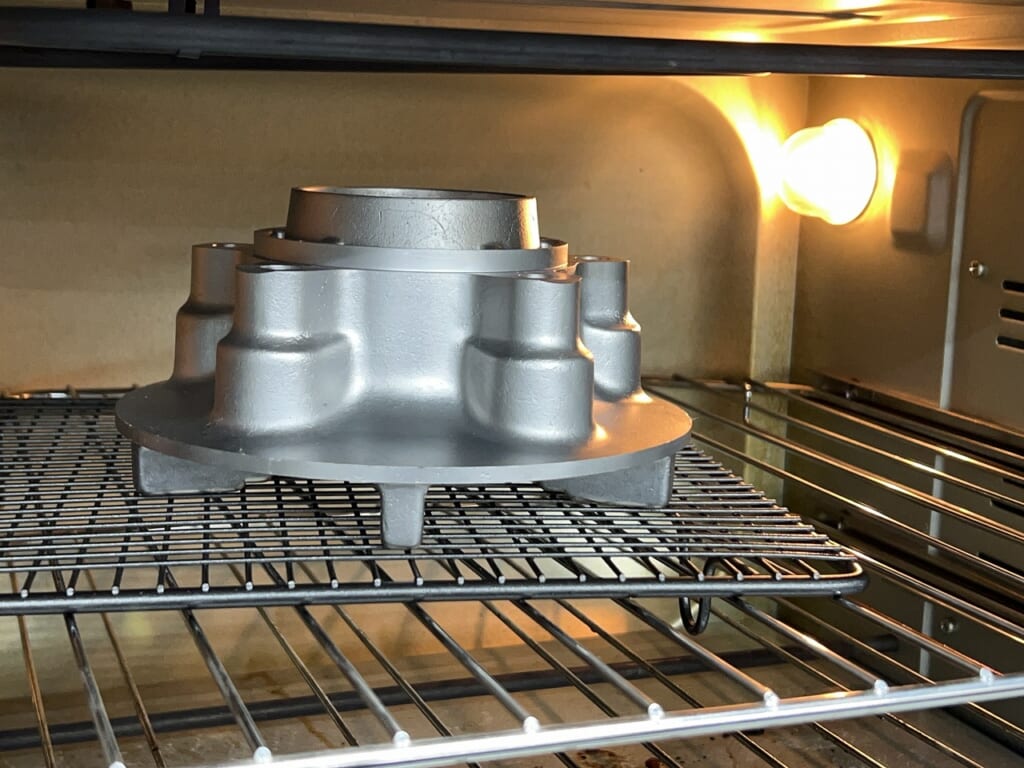
If you warm it up in the oven first, you can just drop the bearing in. It’s amazing how much metal expands with heat.
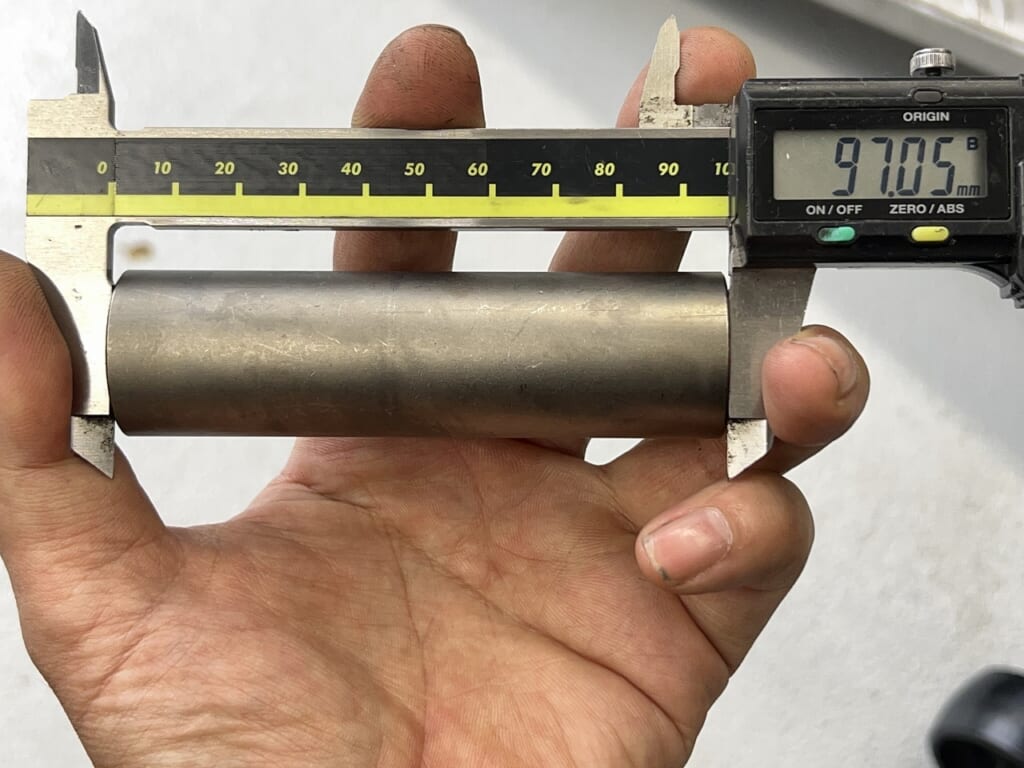
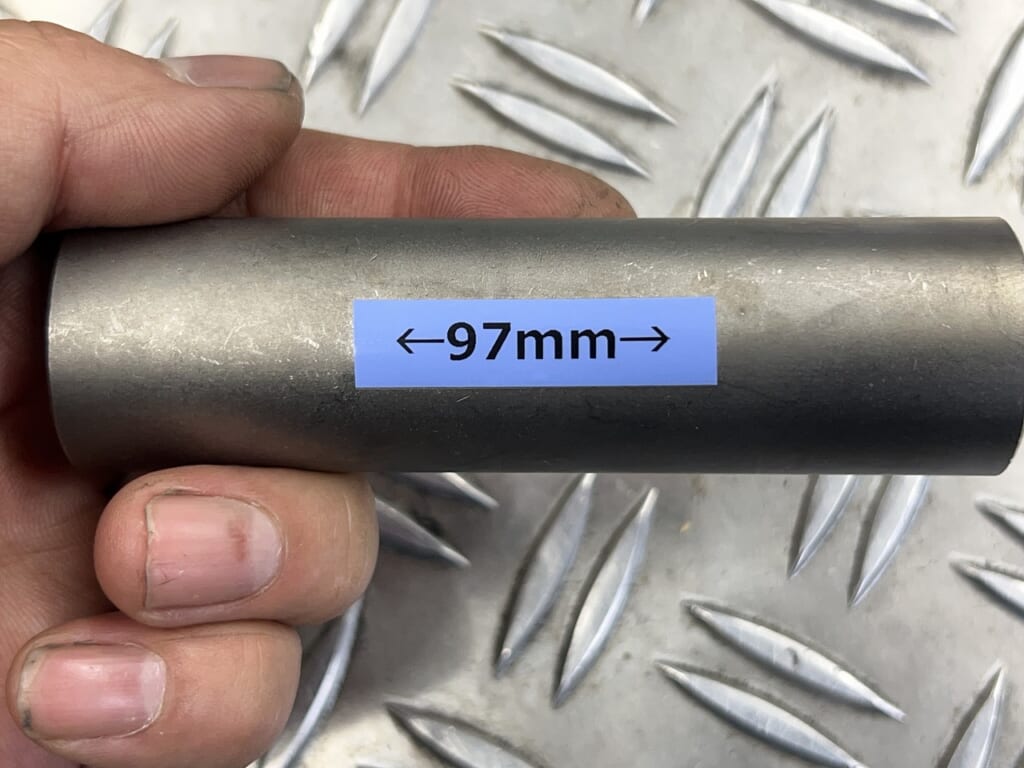
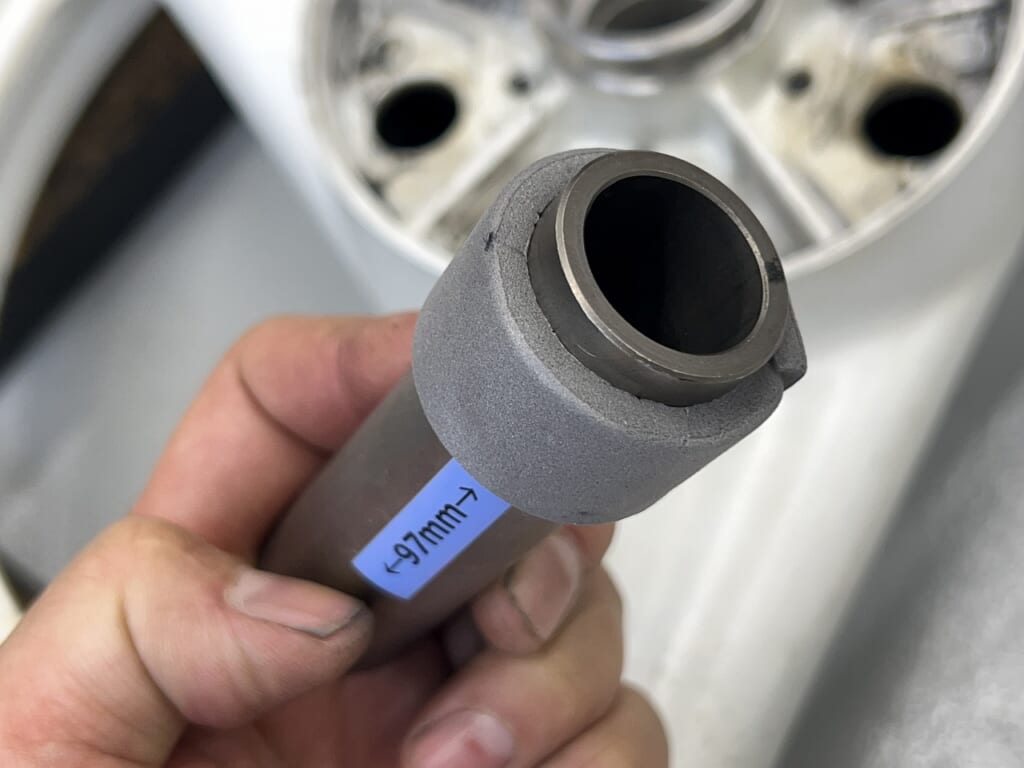
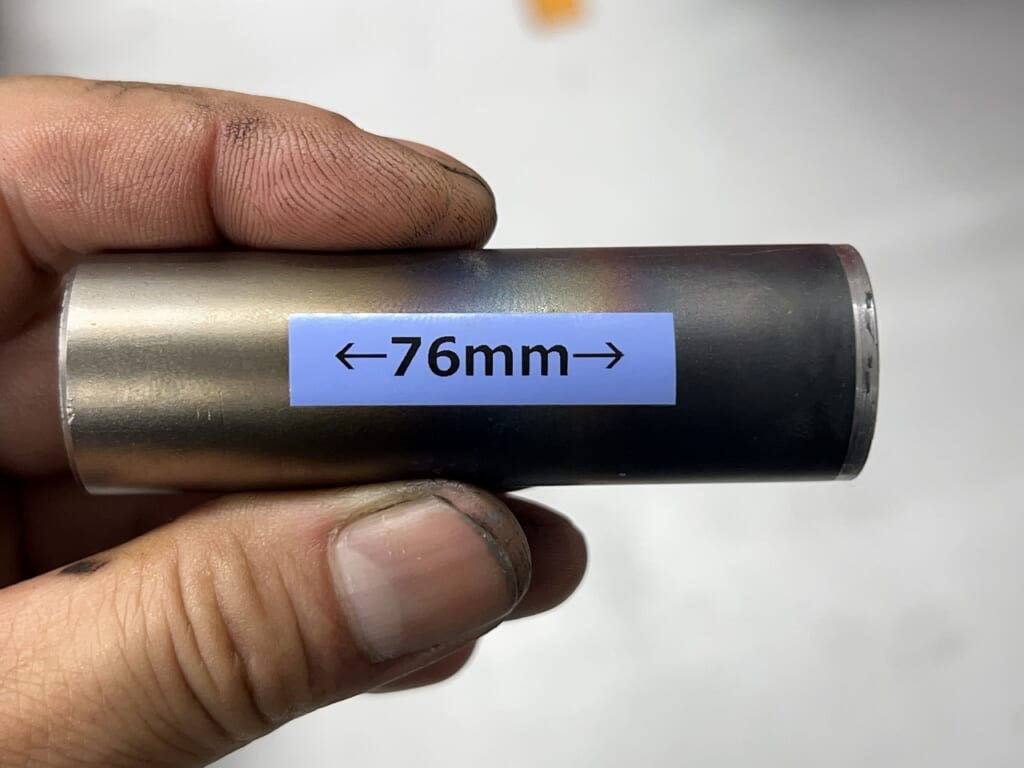
It’s surprisingly helpful to know the distance collar dimensions in advance. The front wheel distance collar had been modified, so my information came in handy. Of course, you could just measure it, but that’s a bit of a hassle.
Labeling the distance collar with P-touch like this makes a difference.
This is a matter of preference, but you can also wrap sponge around the distance collar. Basically, it prevents the bearing position from shifting and the distance collar from rattling inside.
It also makes it easier to insert the axle shaft and reduces bearing damage. If you make it too tight, it becomes hard to insert, so keep it somewhat loose.
Cleaning the wheels was incredibly tedious… I thought about buying some powerful cleaner, but since we’re surrounded by nature, I wasn’t sure about using that kind of thing, so I finished it by hand.
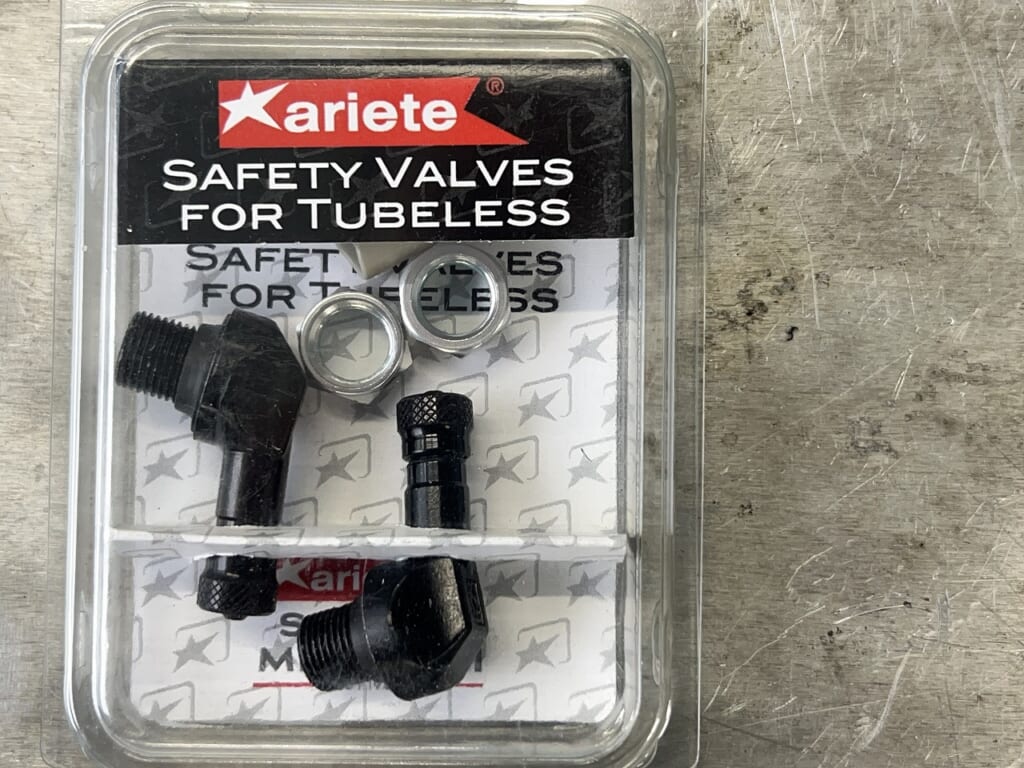
I’m forcibly replacing the air valve with an aluminum one. It lasts incredibly long, &and since there’s almost no risk of it tearing, the reliability is extremely high.
The OEM wheels are 11.3φ, so be careful. *Aftermarket wheel valves won’t work.
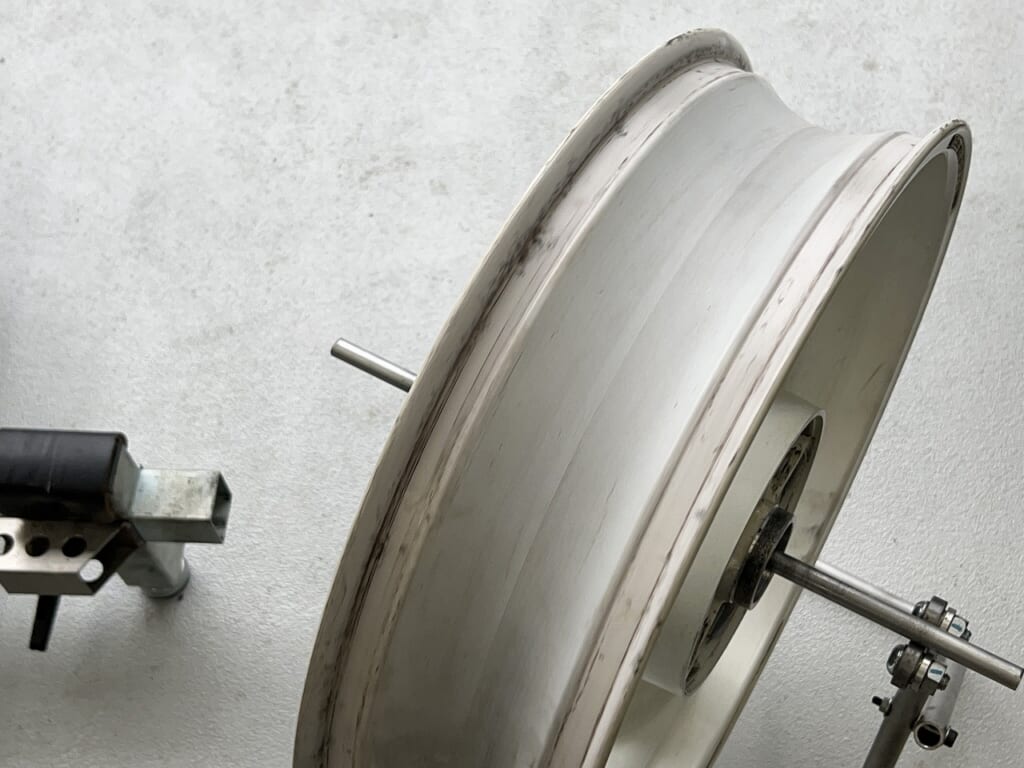
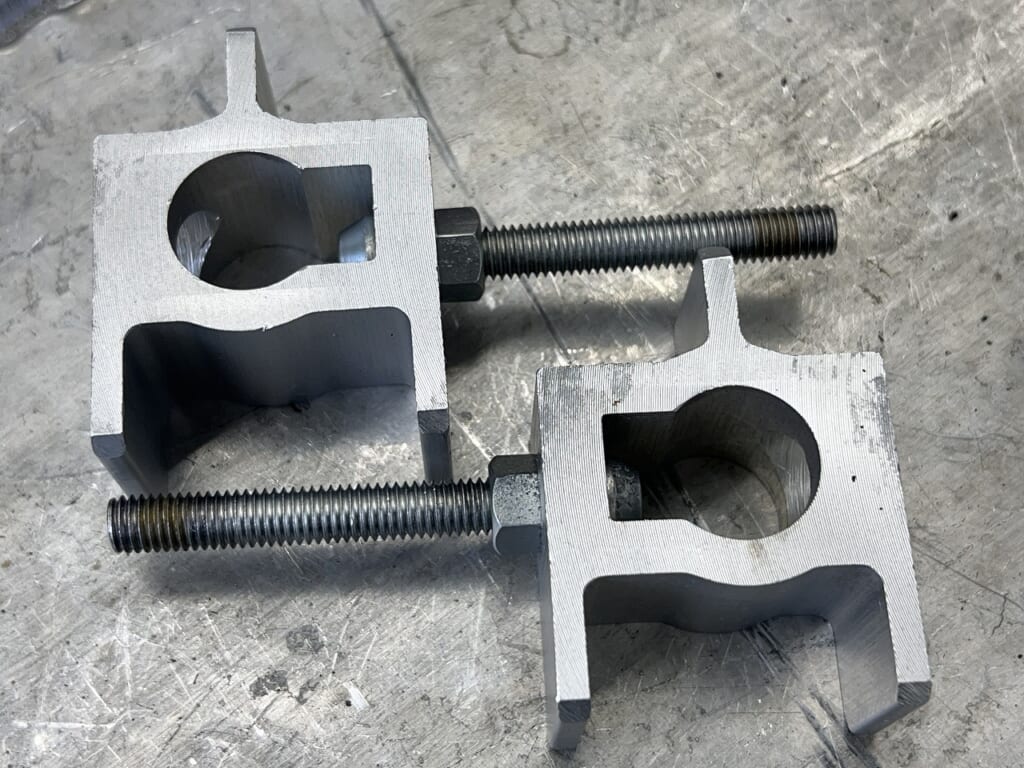
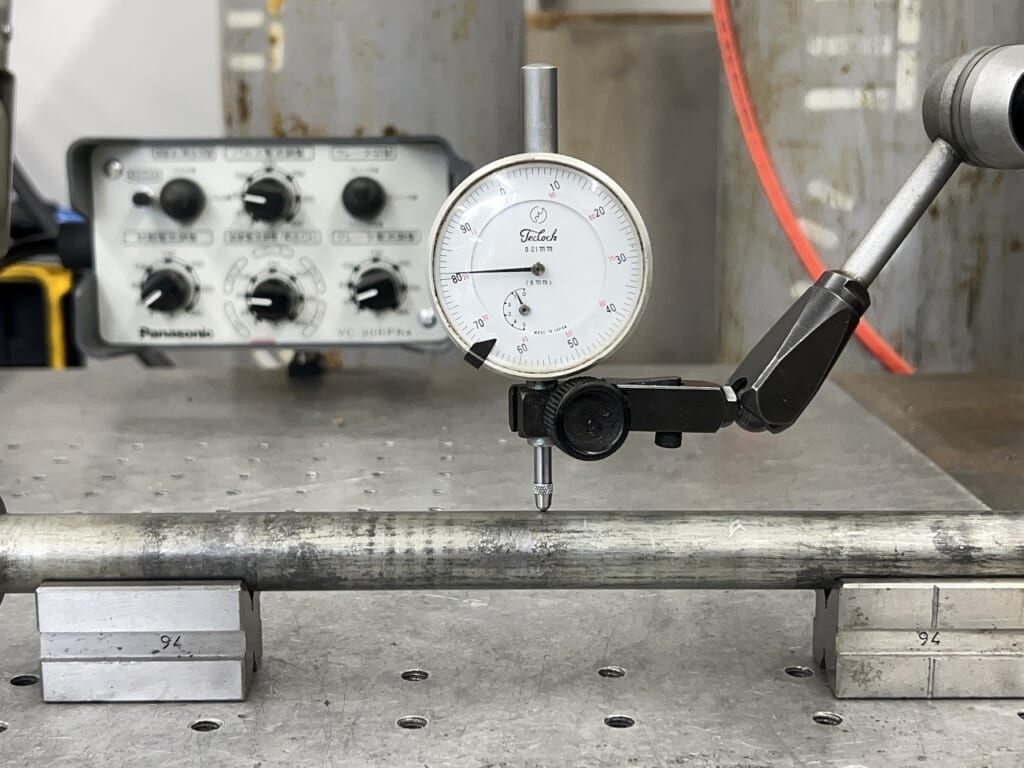
Even chain puller blocks and such can be finished so beautifully with wet blasting—I’m truly amazed. The rear axle shaft runout should be fine.
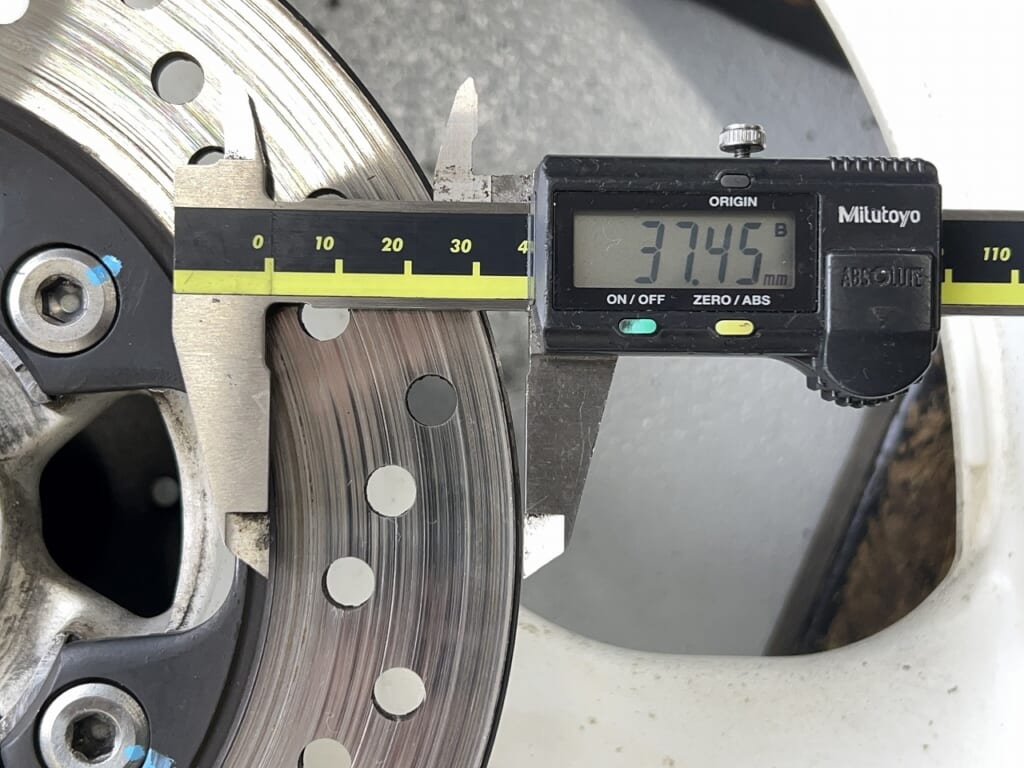
The GSX-R1100/750 220φ T=6mm rear disc is somewhat special, so be careful. The GSX-R 1000K series disc is almost the same dimension, but the pad contact width is different. GSX-R1000=narrow, oil-cooled GSX-R=wide
In other words, if you use an R1000 rear disc on an oil-cooled GSX-R with the standard Tokico 2P caliper, there will be areas where the pad doesn’t contact. It’s only slight, but be careful when adapting. A Nissin 2P like those used on the GS1200SS won’t have this issue.
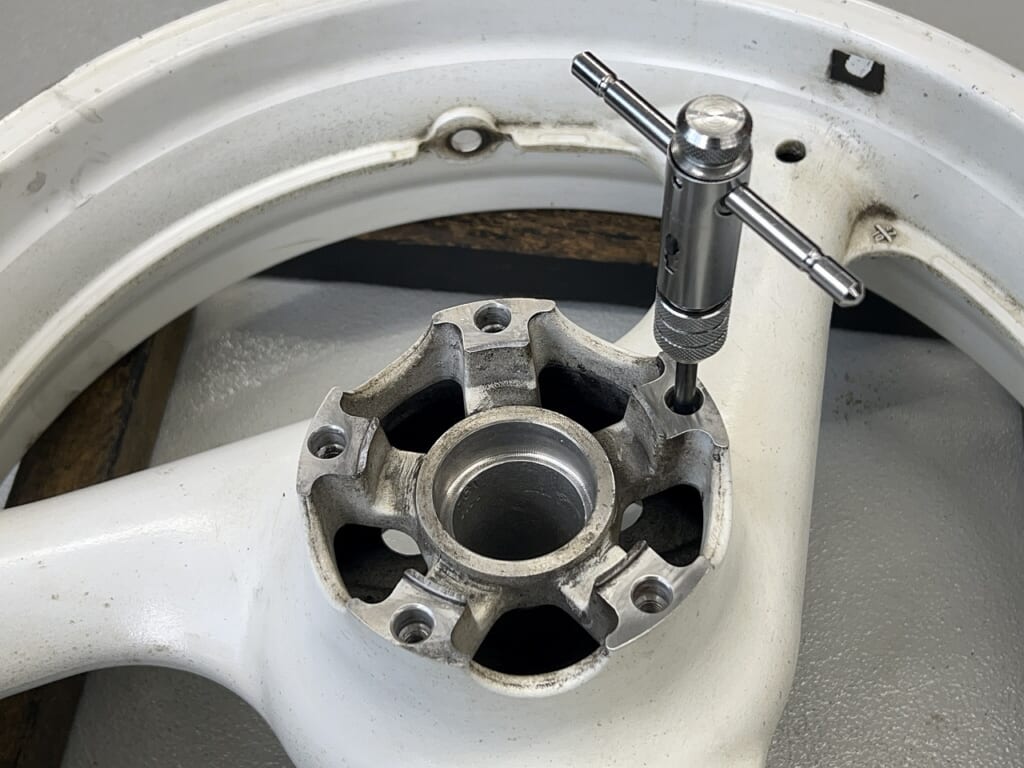
If you want a solid tightening, clean the threads first. The tightening will be stable and feel satisfying.
If you don’t understand the GSX-R, it becomes quite a puzzle to assemble.
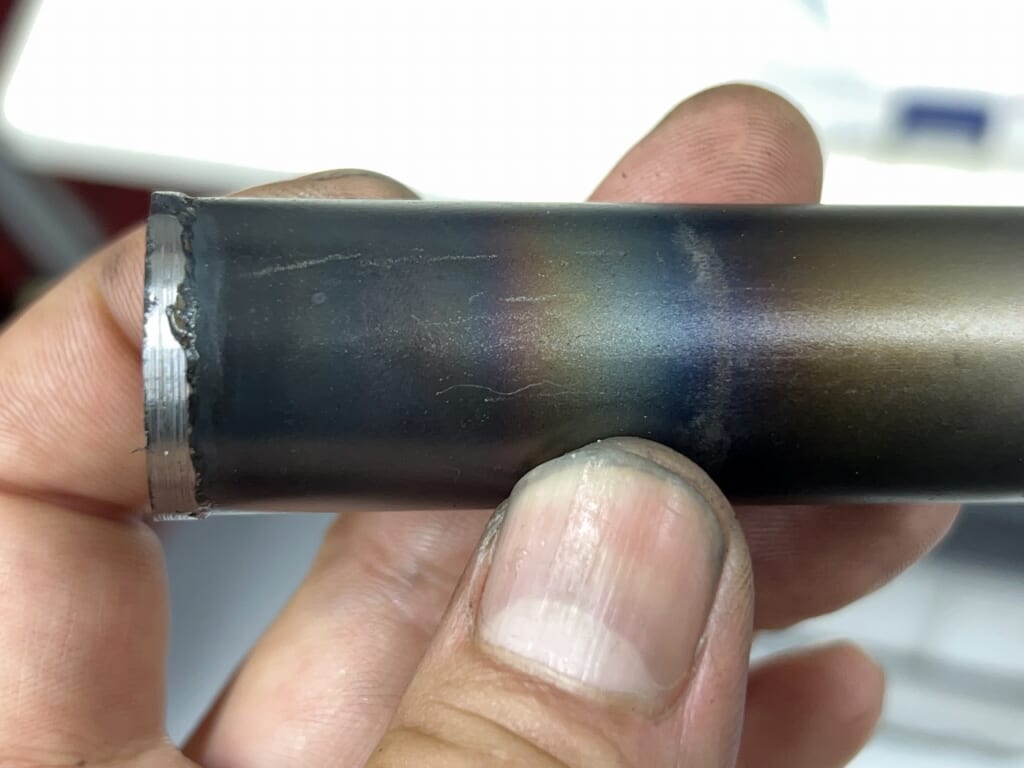
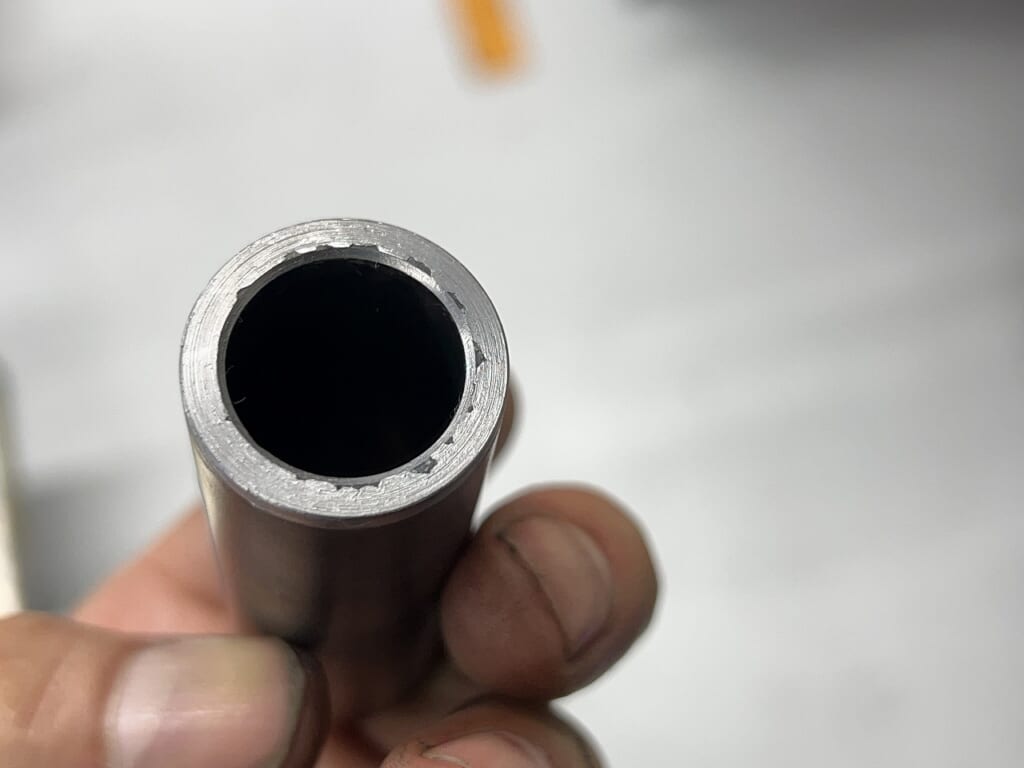
The wheels had been modified from G-type to H-type. Since H is 17φ, they seem to have reused and extended the J-type distance collar. I could remake it, but parts like this are tedious.
I finished it at about 76.05mm and decided to reuse it.
The rear section is pretty much assembled like this.
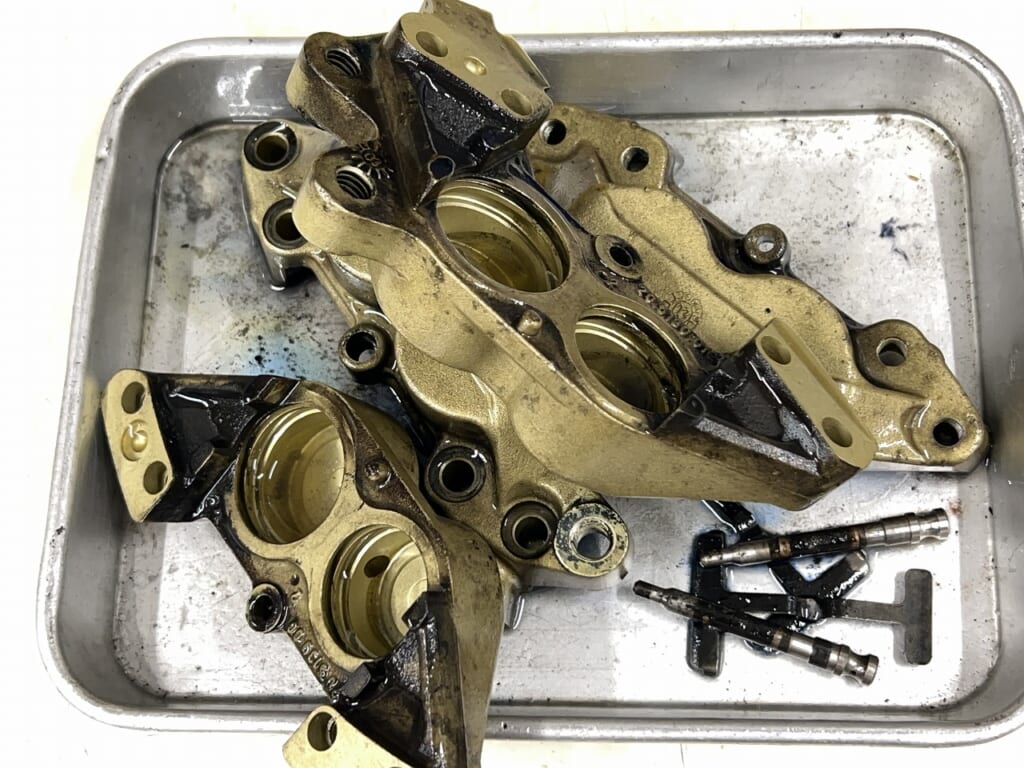
I’ll overhaul the front calipers too.
It’s surprisingly fast, so you need to make sure the brakes are solid. In this condition, it’s much more efficient to replace the seals than to wash it.
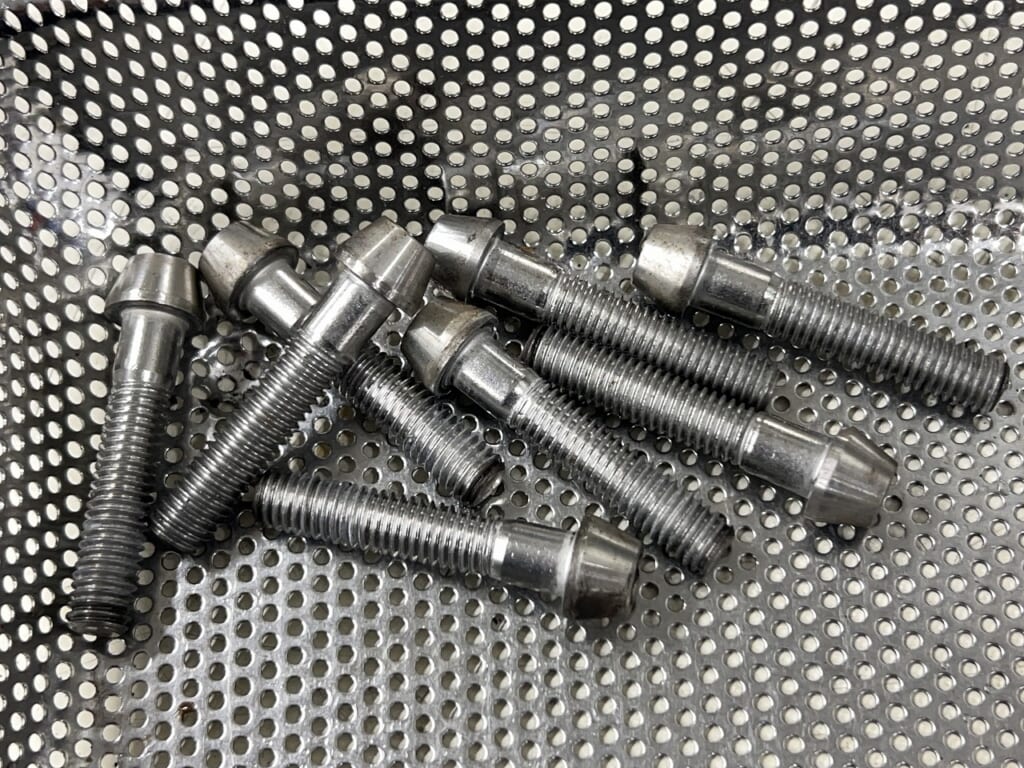
These bolts were popular back in the day… The hex socket gets stripped easily, and I really dislike this design.
I’m replacing all of them with regular steel bolts.
It doesn’t look like much in the photos, but I was exhausted. It was basically just cleaning the whole time.


 ポチップ
ポチップ