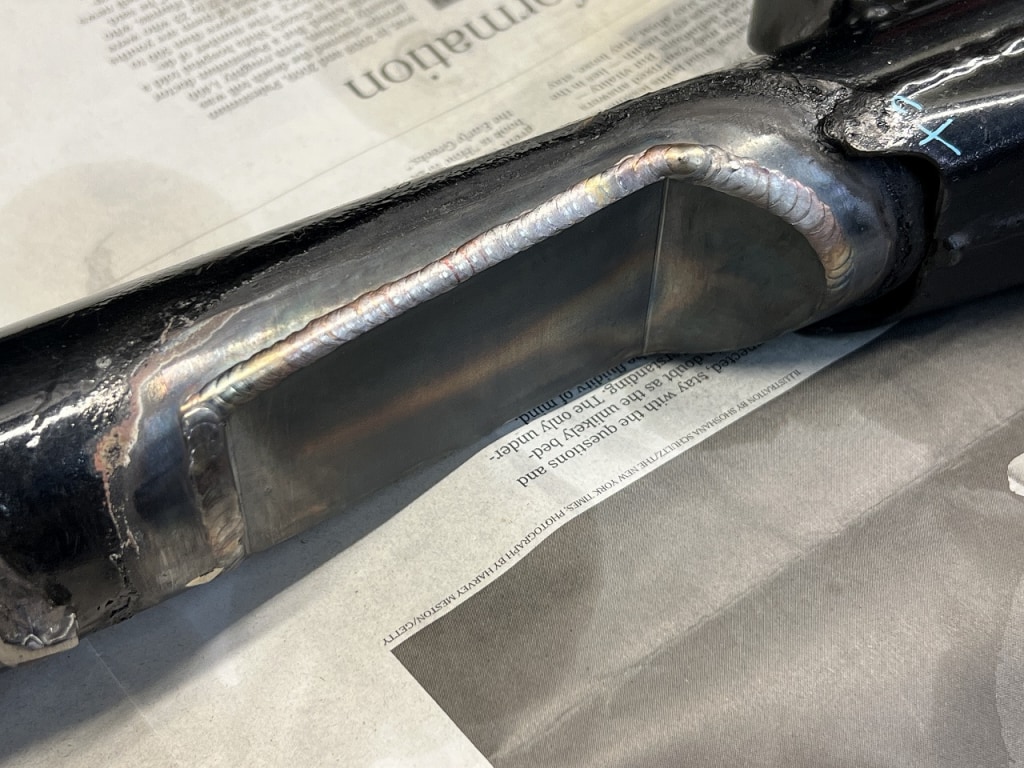
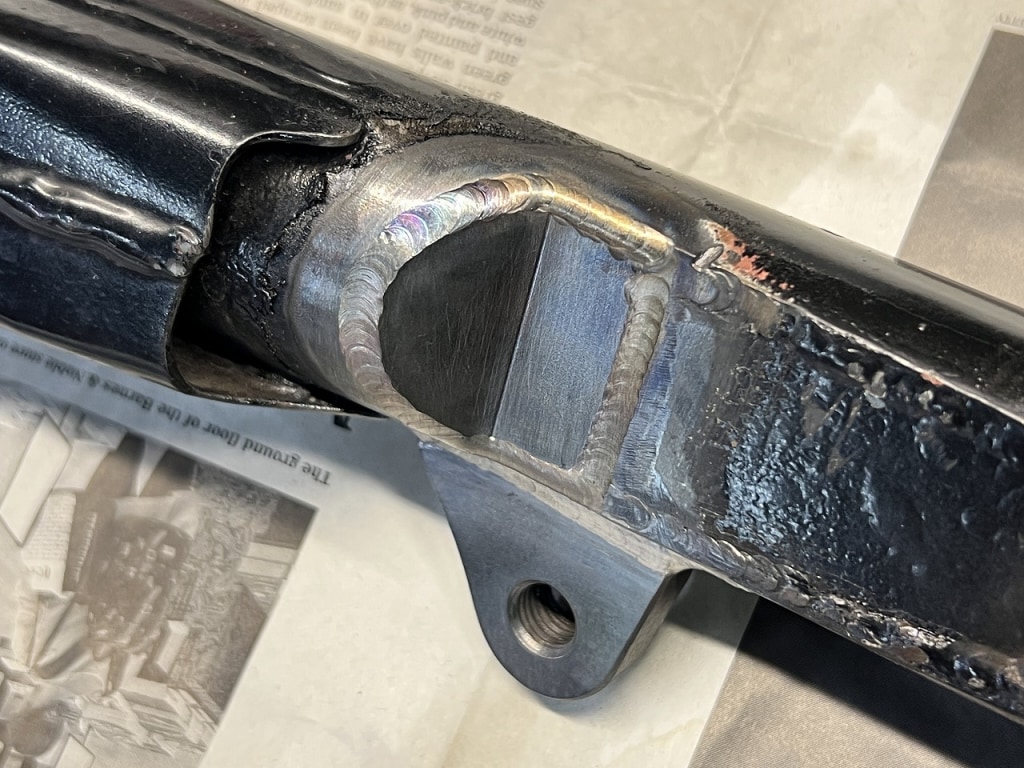
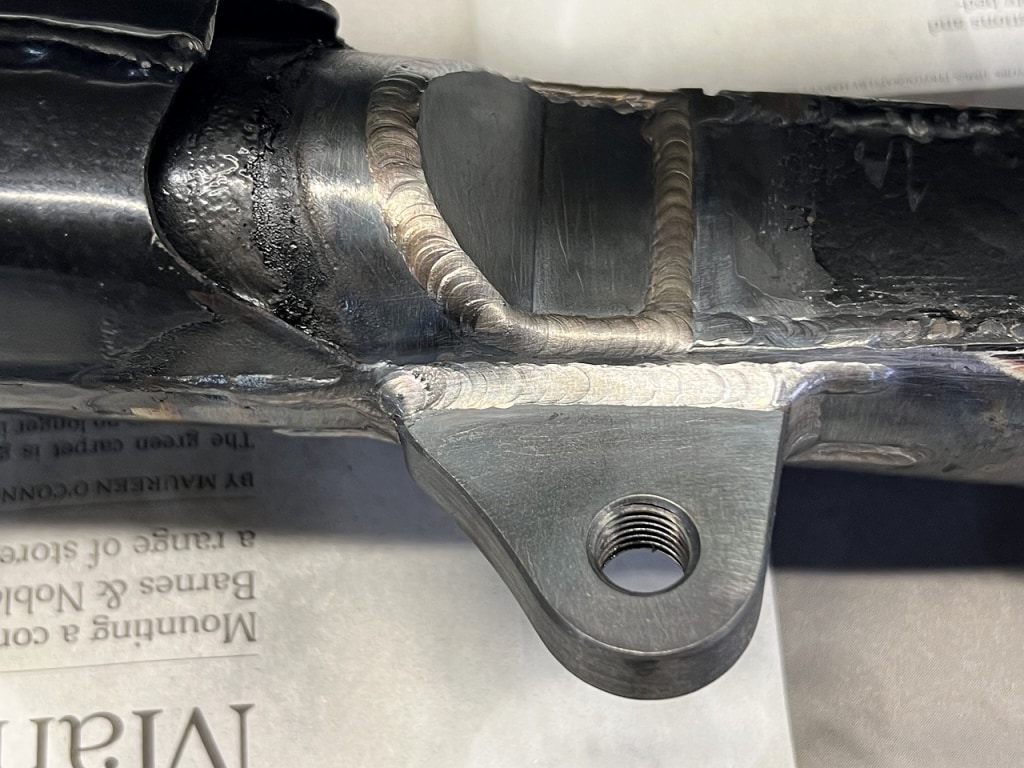
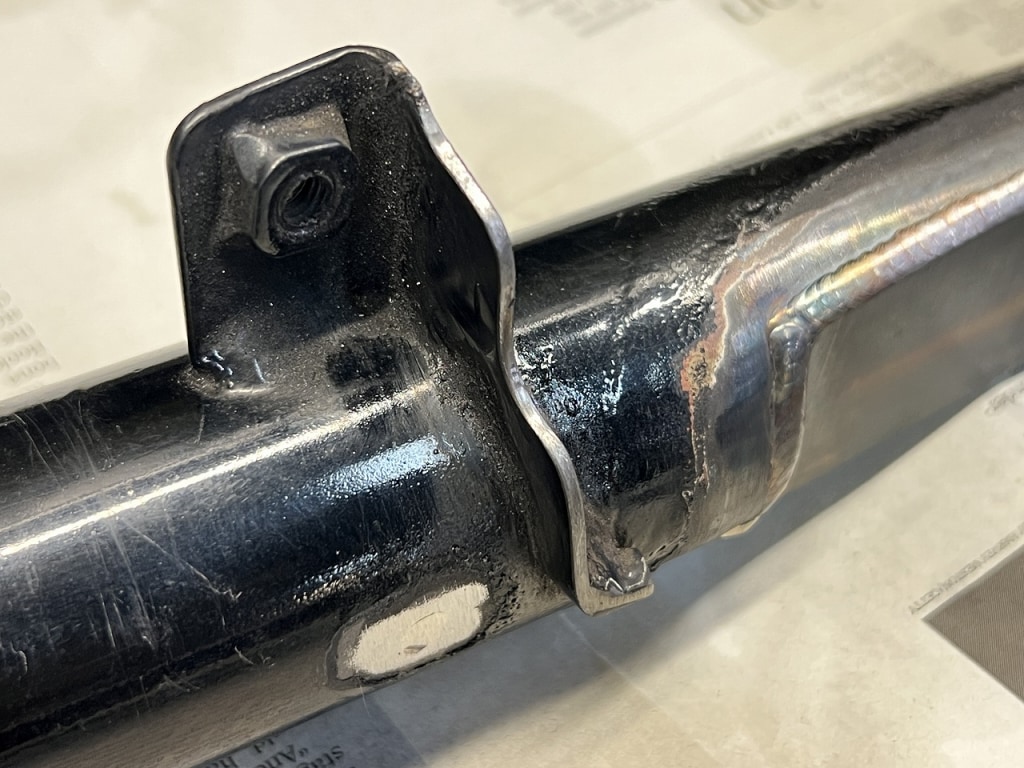
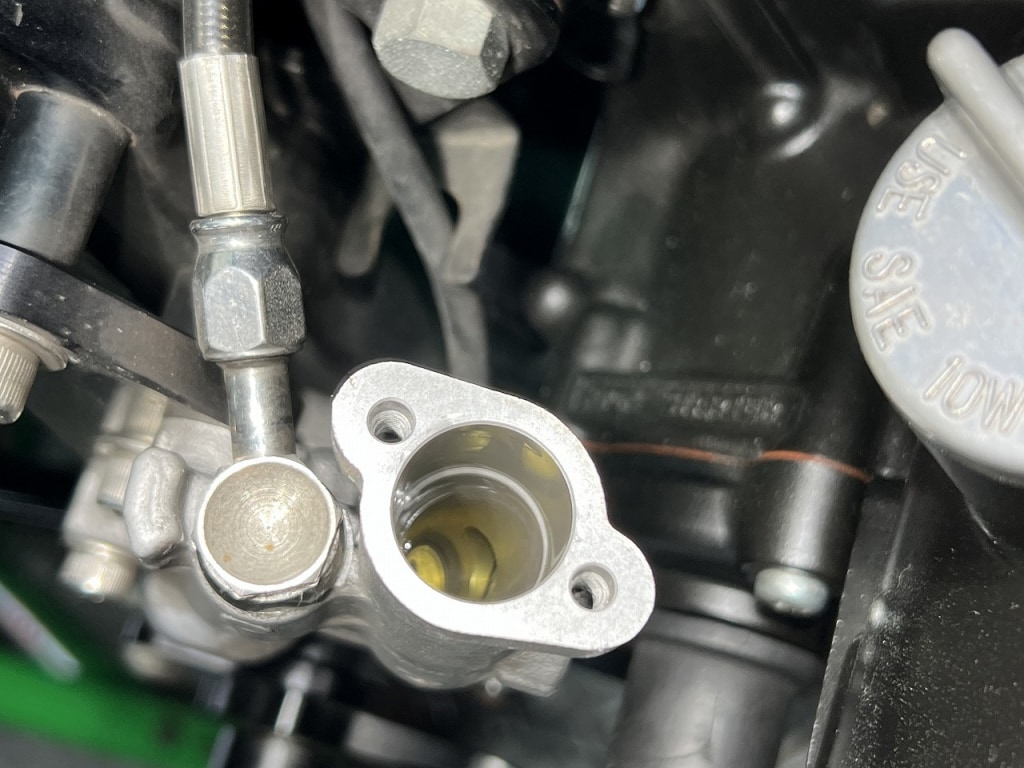
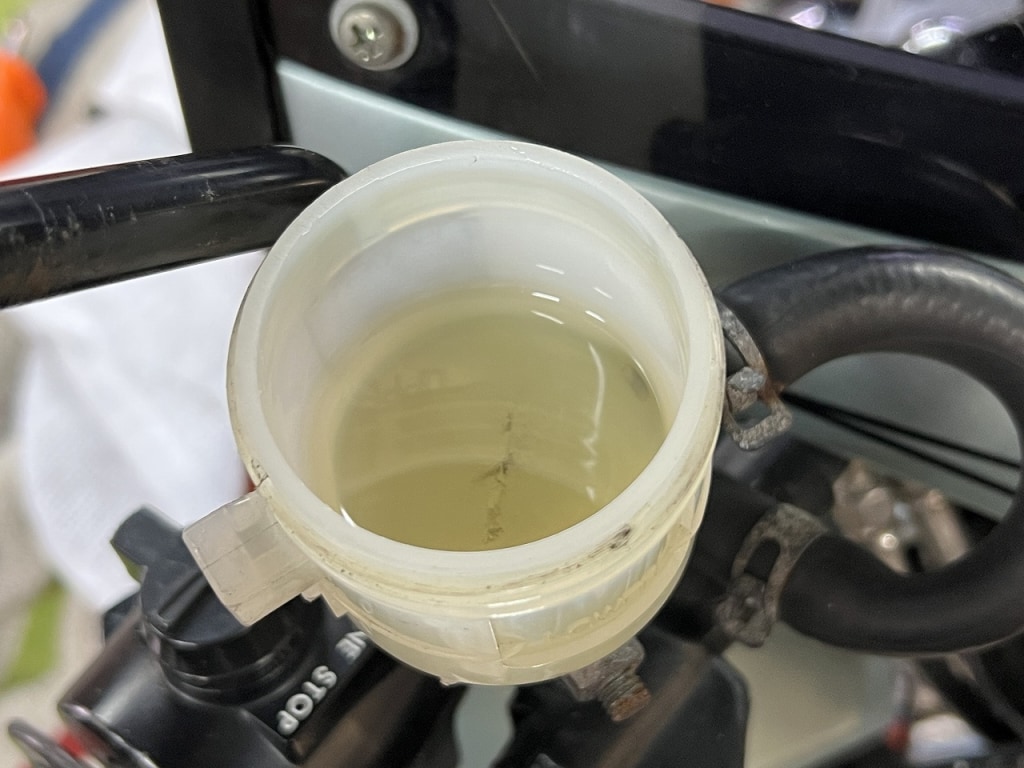
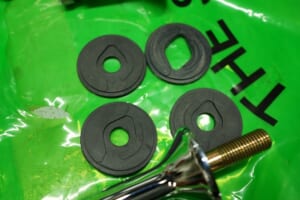
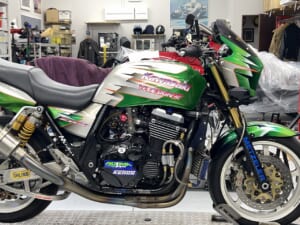
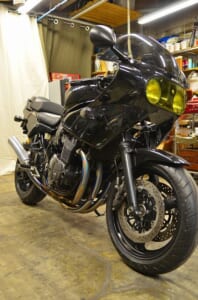
During the work process, we ran into trouble with the existing counterbore plate mounting—we thought we might need to remove it entirely. We also had to create a new torque rod plate, but we overcame these issues and finally got it done (*´ω`*).
We gave the swing arm a quick spray with the gun.
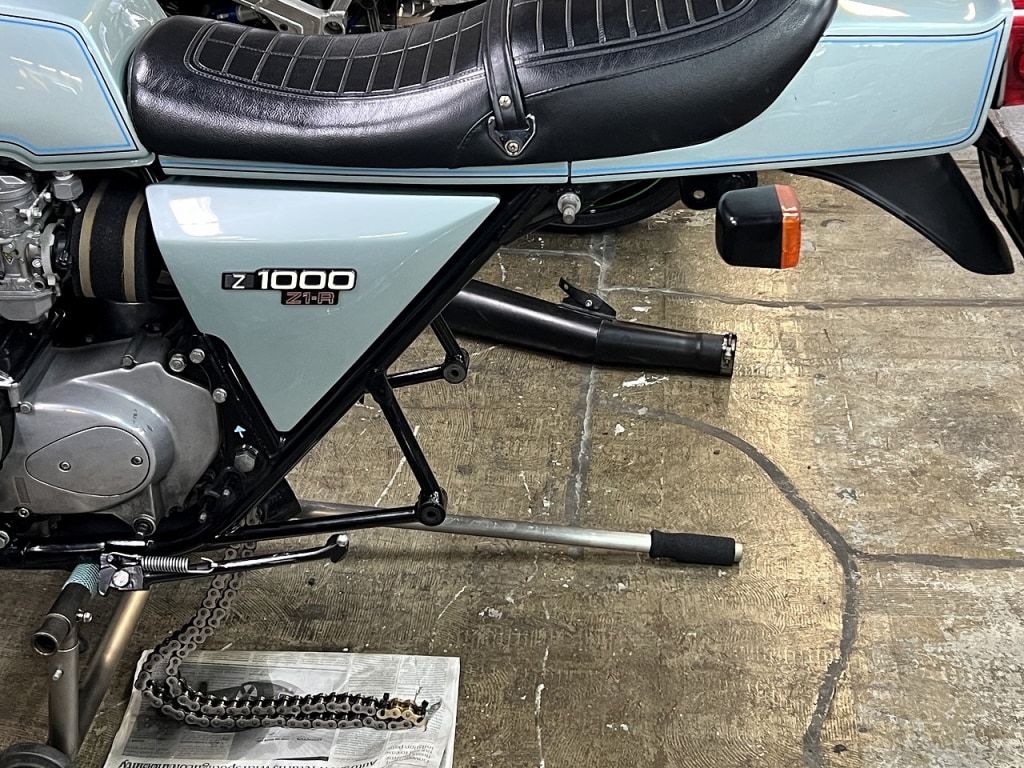
We’re assembling things smoothly. The part of the swing arm that got stripped during welding, we lightly sanded and gave it a quick spray with the gun.
We also greased up the swing arm pivot area.
The left side is hard to photograph because of the chain, but it’s machined straight and clean like this.
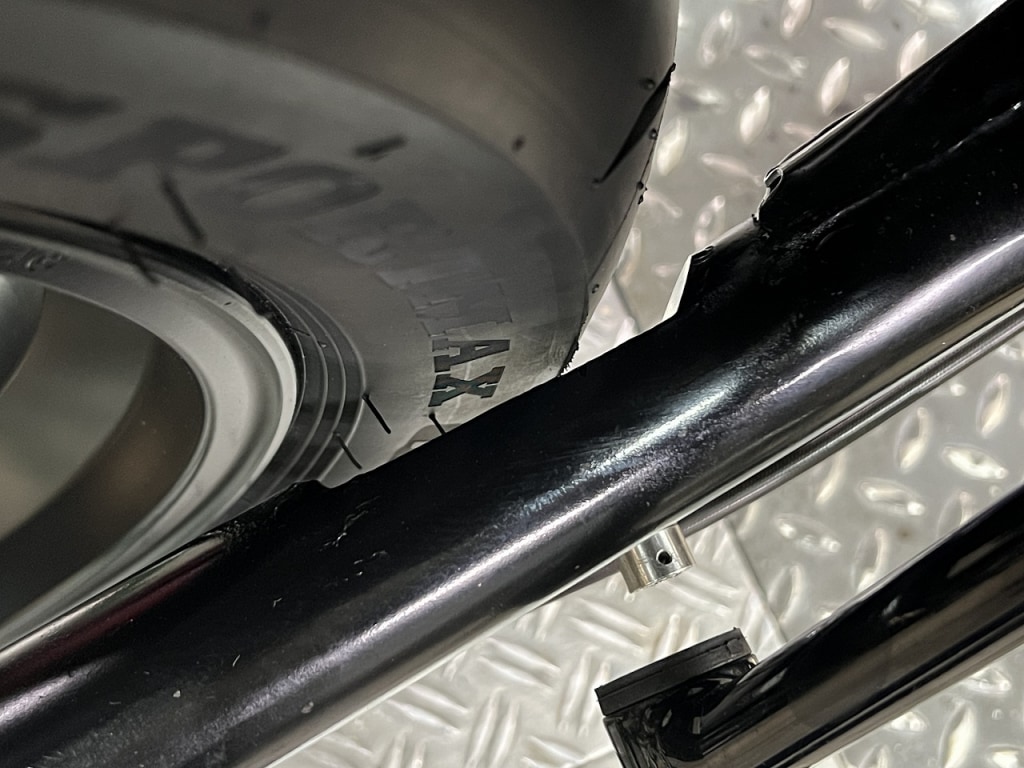
We’ve accounted for tire removal clearance, so maintenance is perfect.
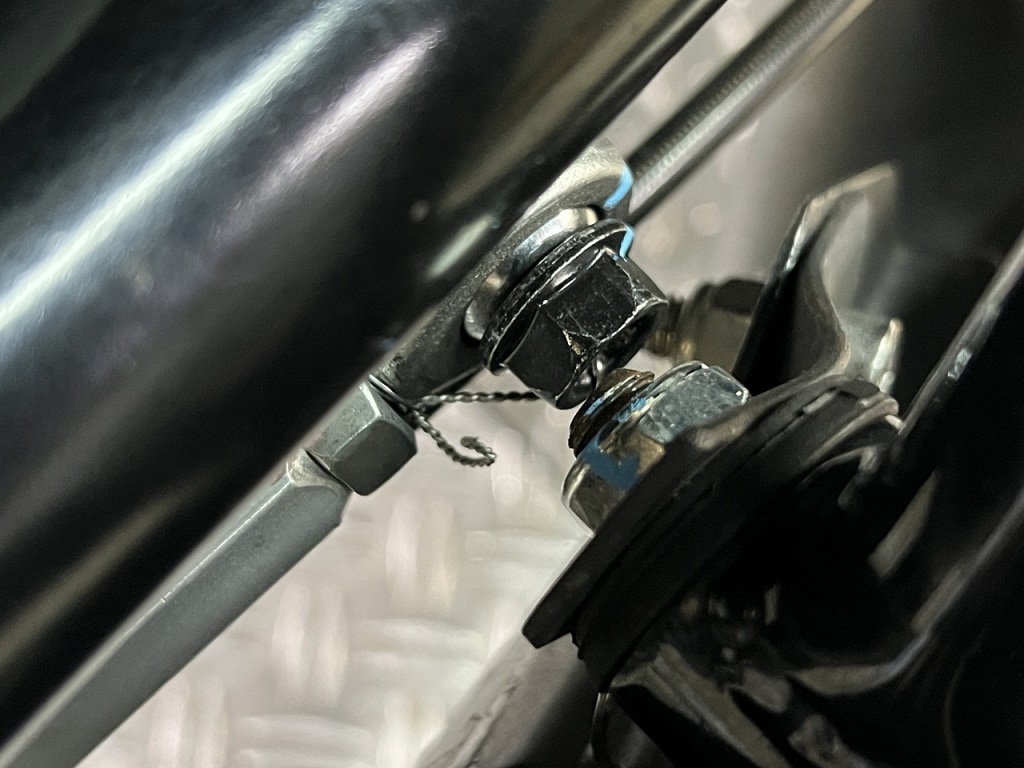
It was a bit close to the torque rod mounting point, so we routed it carefully. For easy maintenance, we used flanged hex bolts.
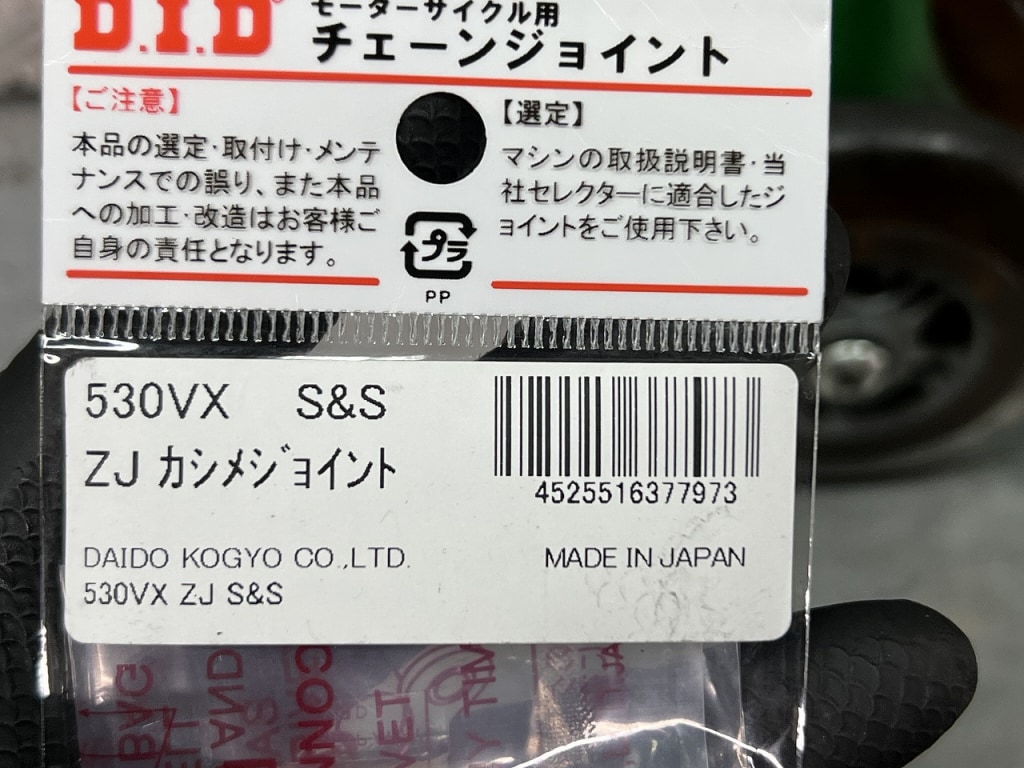
We couldn’t find the DID 530VX chain rivet link and got pretty worried. We even thought about replacing the whole chain, but after looking carefully, we found it on Amazon.
After that, it’s just oil and fluid replacement and we’re done.
Once the swing arm and rear wheel were installed and we moved it to the lift, there was a palm-sized pool of oil on the lift.
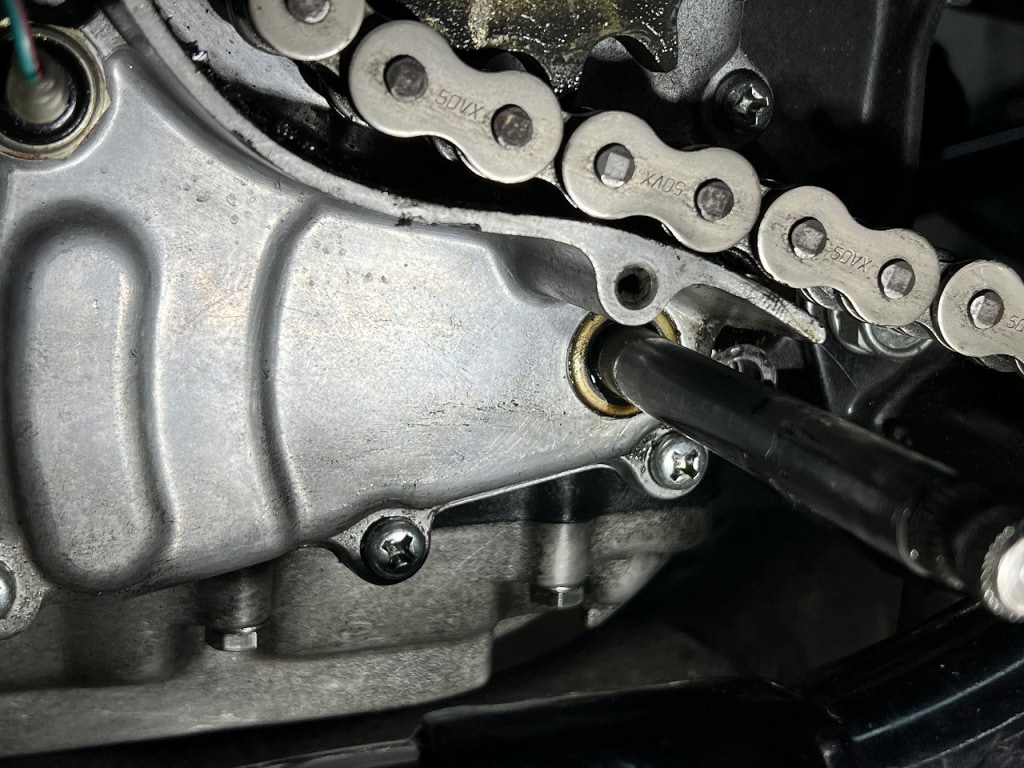
When we nervously removed the sprocket cover, oil was steadily leaking from the shift oil seal. Kawasaki’s design here is really problematic and prone to leaks.
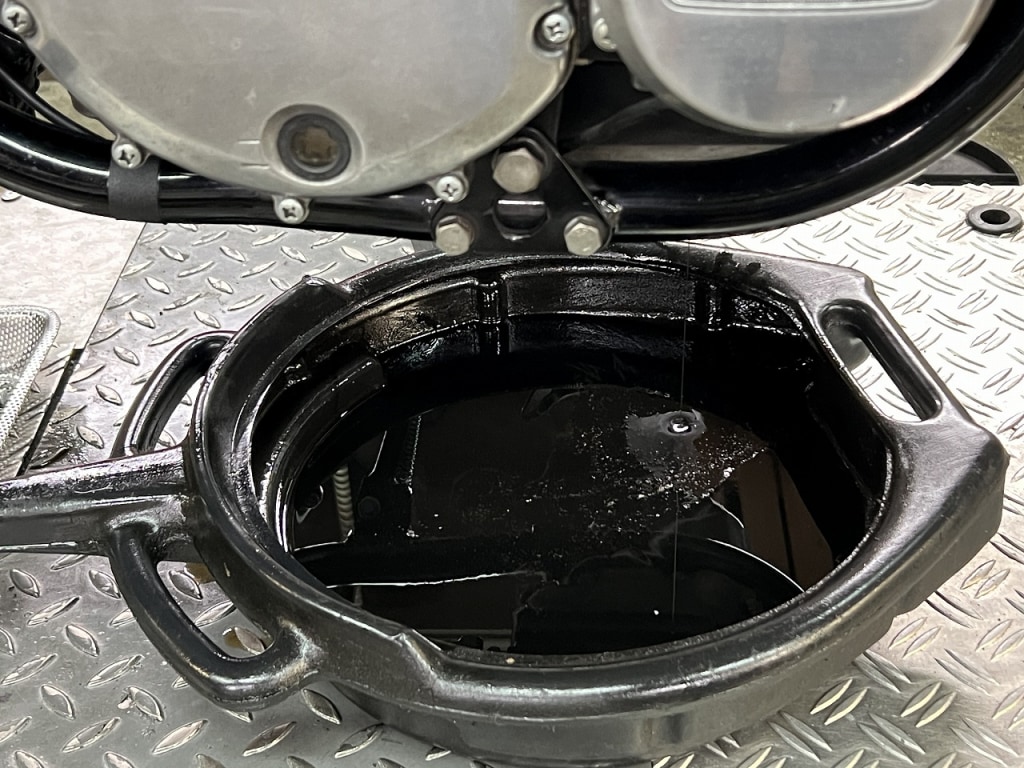
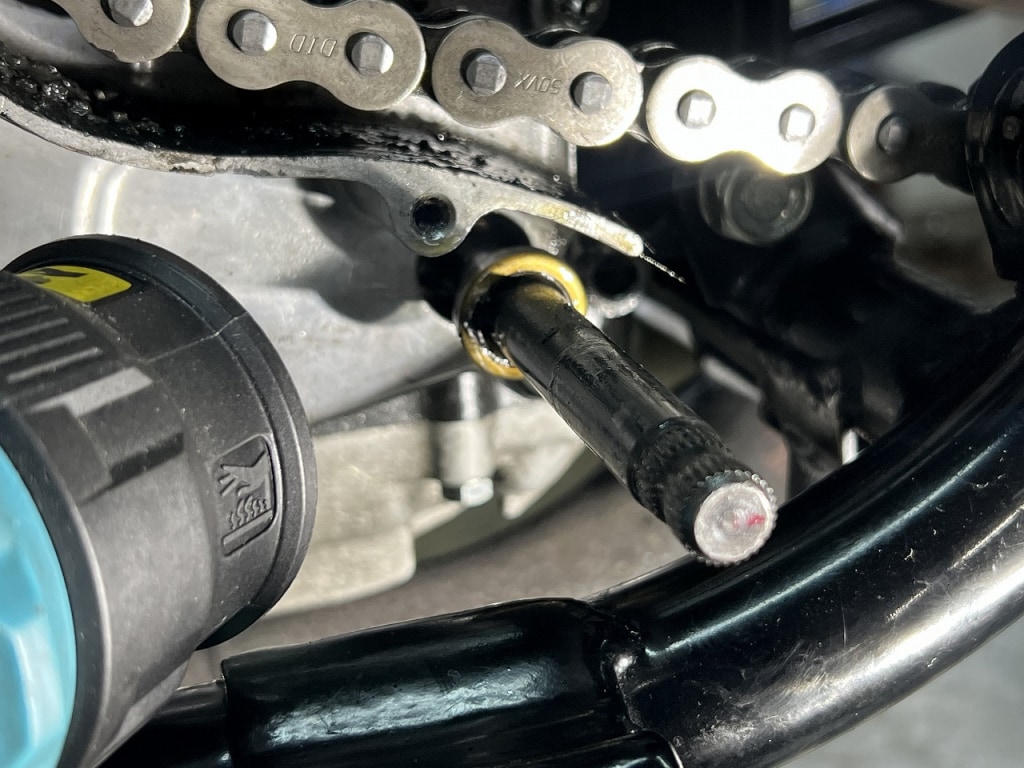
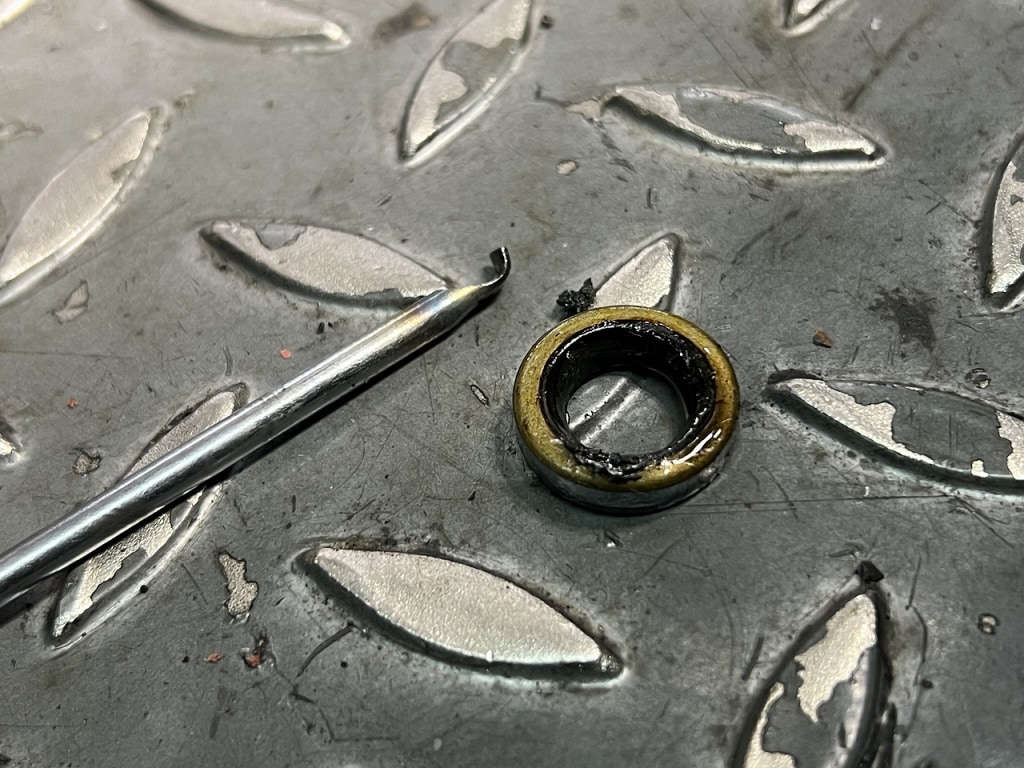
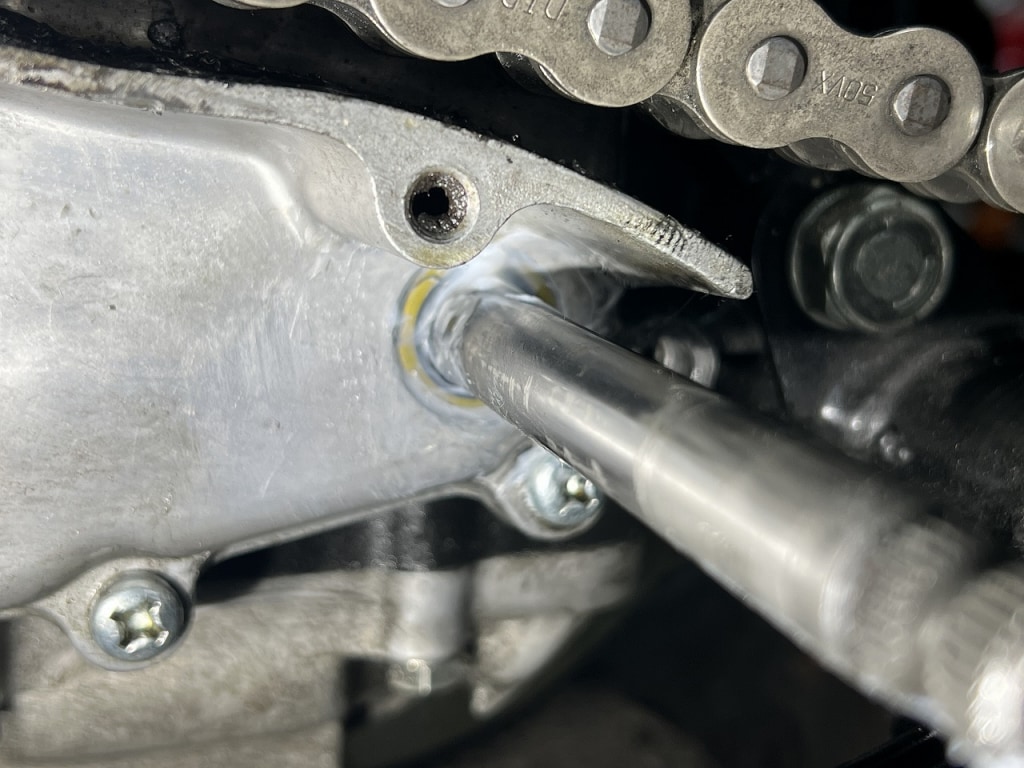
First, we drained the engine oil and then removed the oil seal.
We struggled a bit, but managed to extract it. Using an ear-pick-shaped tool with a slide hammer makes the job easier.
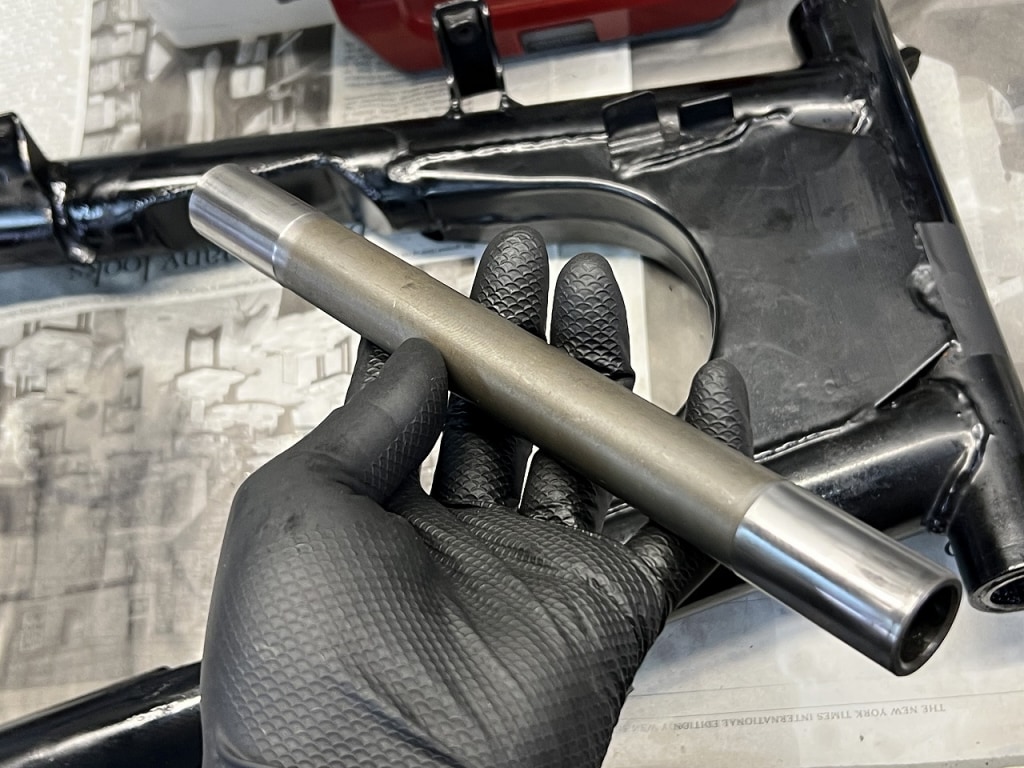
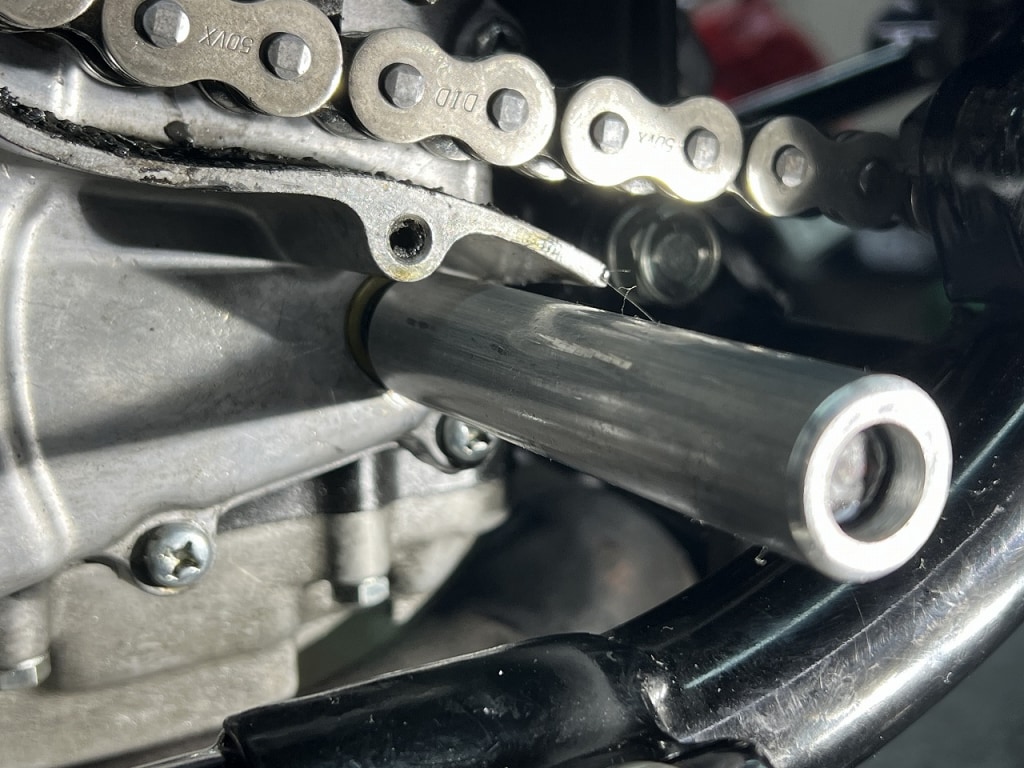
It’s easier for next time if you make a collar that fits snugly to the inner diameter of the shift shaft.
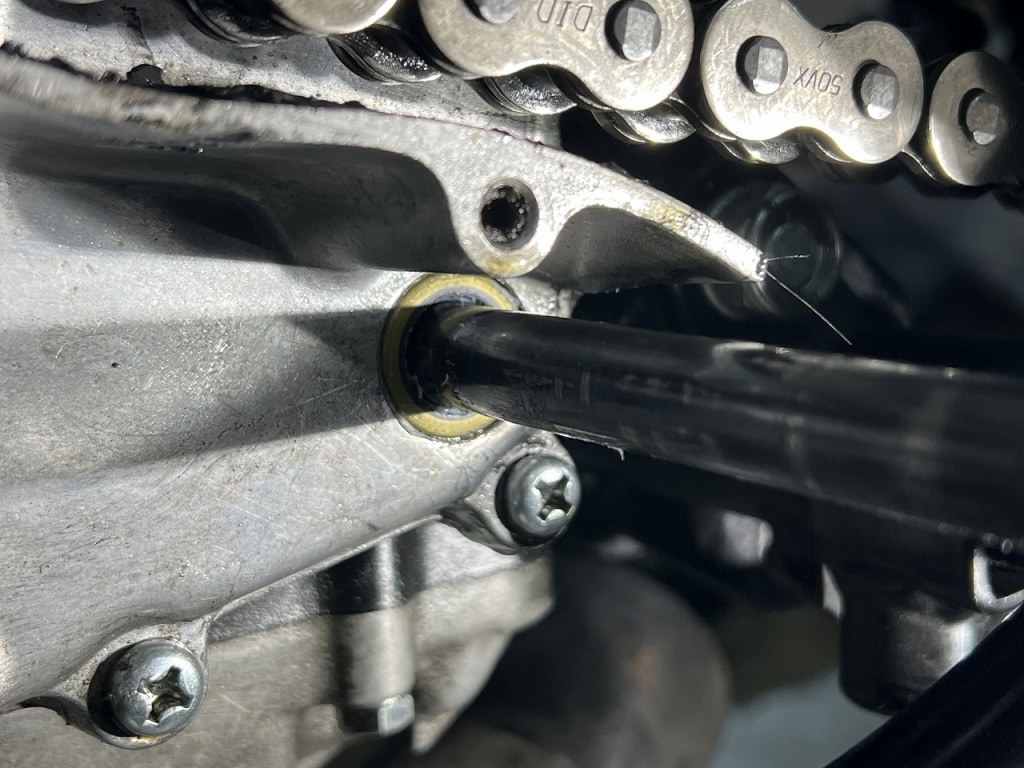
This oil seal has a metal retainer. *Don’t match it to the case first—it’s easier to position if you don’t. Match it snugly to the collar side and press it in, and it goes in with a few taps.
We packed fluorine grease into the oil seal’s lip. It should help suppress engine oil from leaking through.
It won’t completely stop leaks, but applying fluorine grease around the perimeter is even more effective.
↑It’s a bit—or rather, quite—expensive, but the effect is worth it. Having one fluorine grease on hand is incredibly useful.
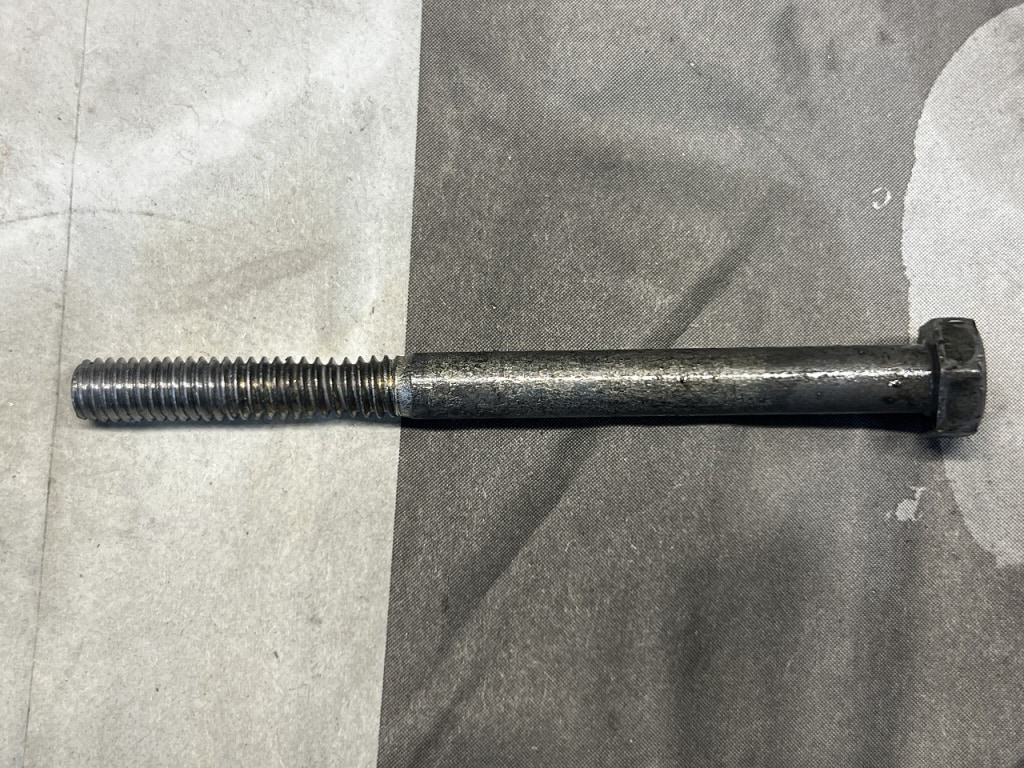
While cleaning the bolts, we checked the threads.
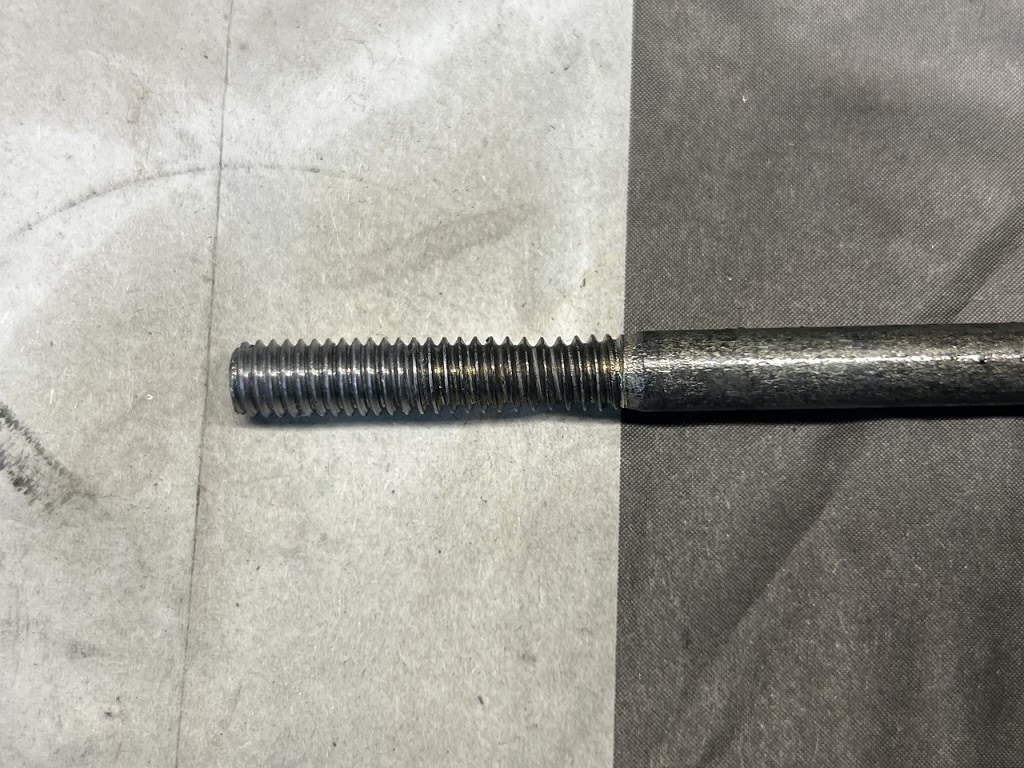
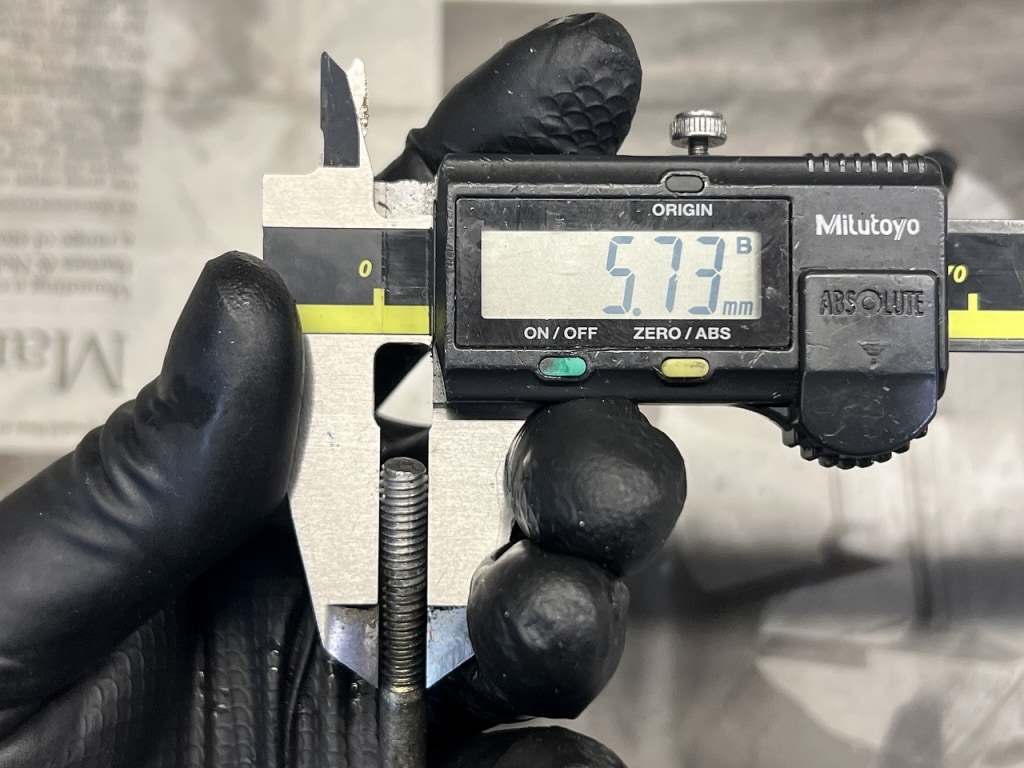
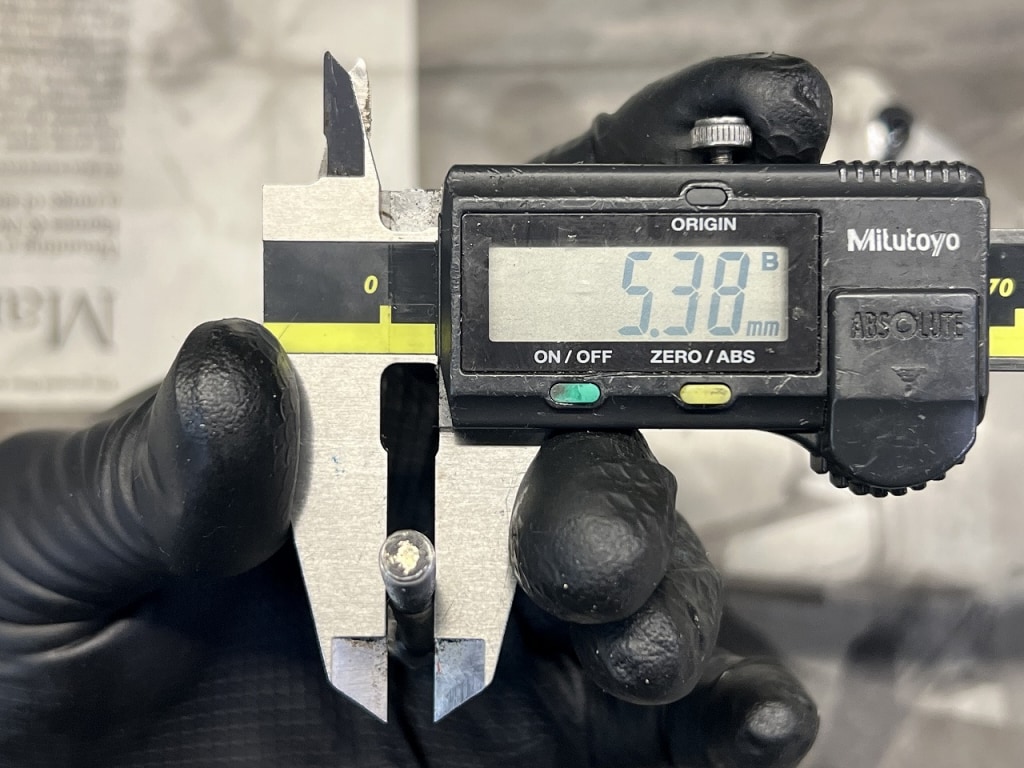
While washing the bolts, we noticed something wrong. The pitch is off and you can see it’s pinched.
Just before it snaps and breaks, it looks like this.
It’s thinned out and stretched by about 0.3 millimeters. If you don’t notice and keep tightening it, it’ll snap and you’ll have to extract it— a real hassle.
“Did it break, or did I break it?” Checking a bit more carefully definitely reduces headaches. “Slow and steady wins the race.” Tackling each issue methodically is the way to go.
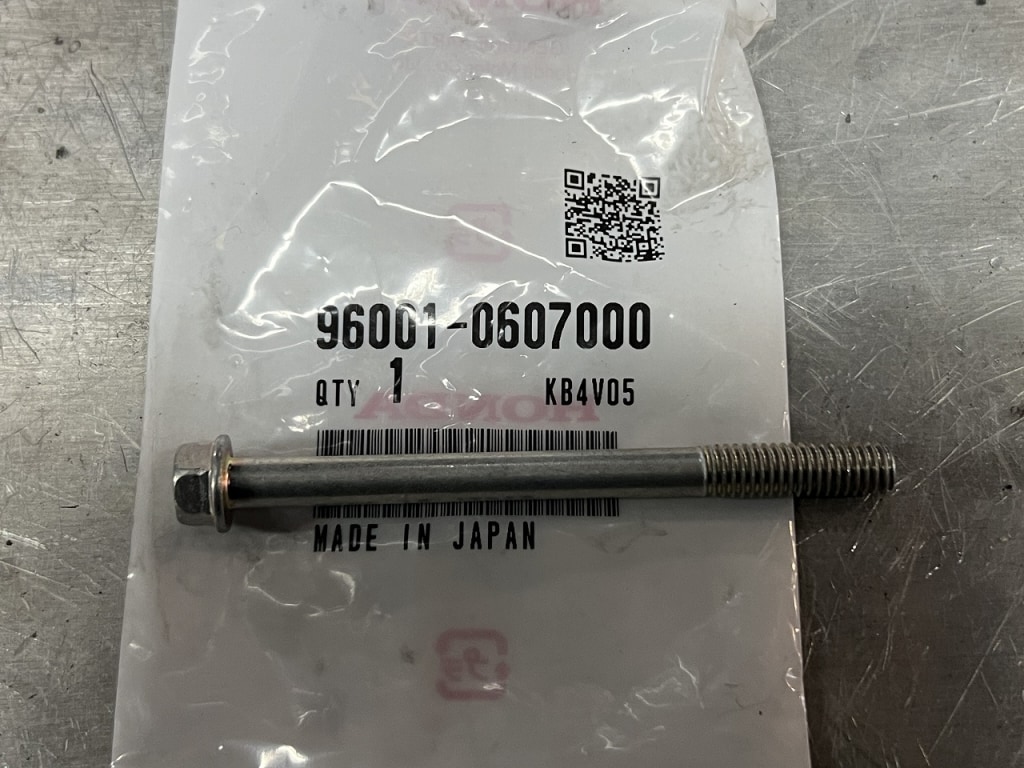
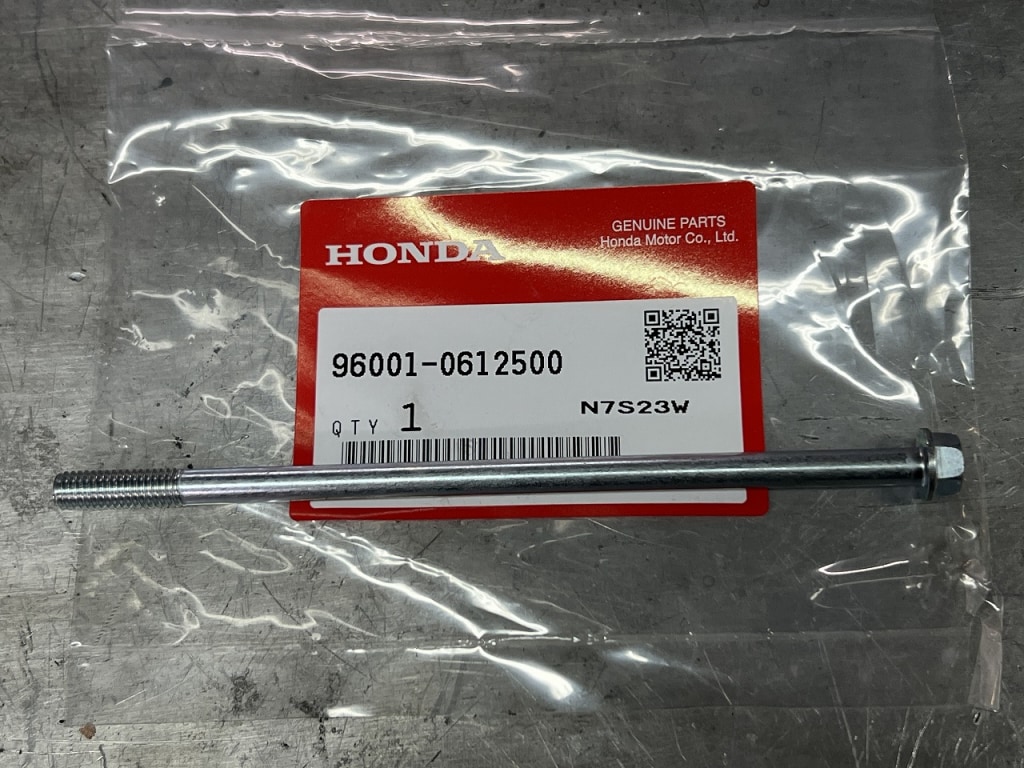
We actually sourced Honda OEM bolts for the Z1R.
Honda 96001-0607000 M6*70 Honda 96001-0612500 M6*125 Flanged hex bolts, 8mm across flats. We’ve actually prepared another type for the other Z1R.
If you check the length, you can get Honda OEM bolts easily. They’re affordable and beautifully finished. Choosing not to use Kawasaki OEM is a nice touch.




 ポチップ
ポチップ