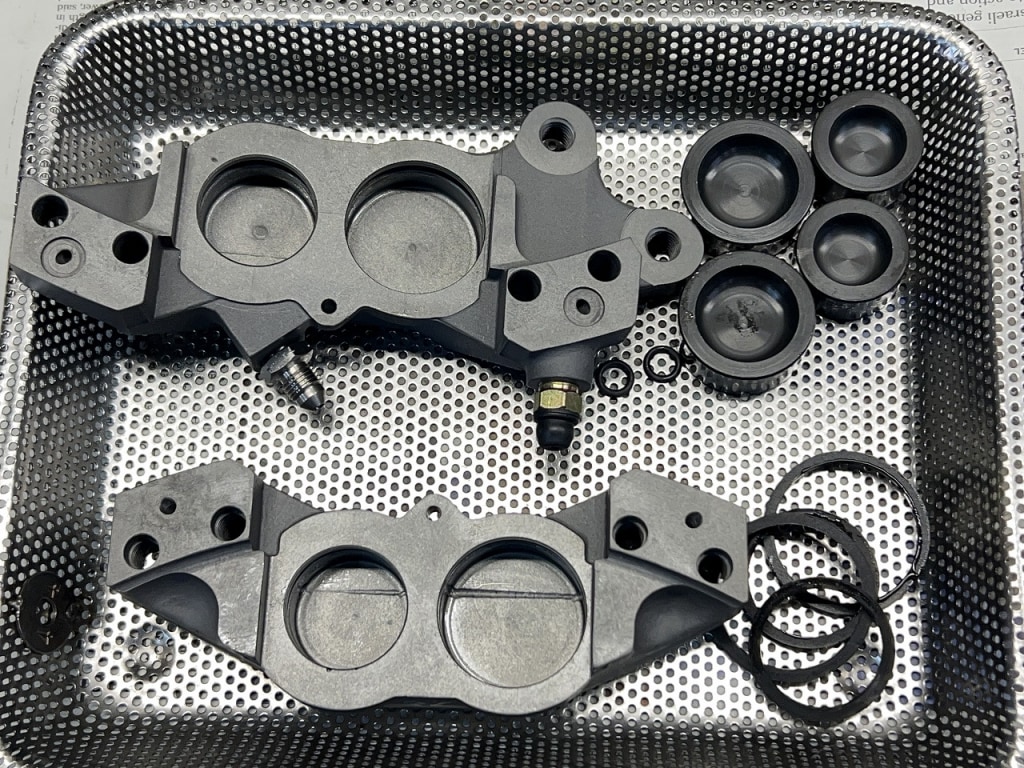
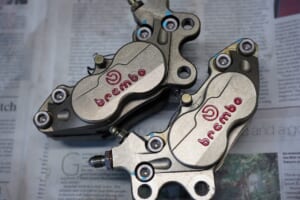
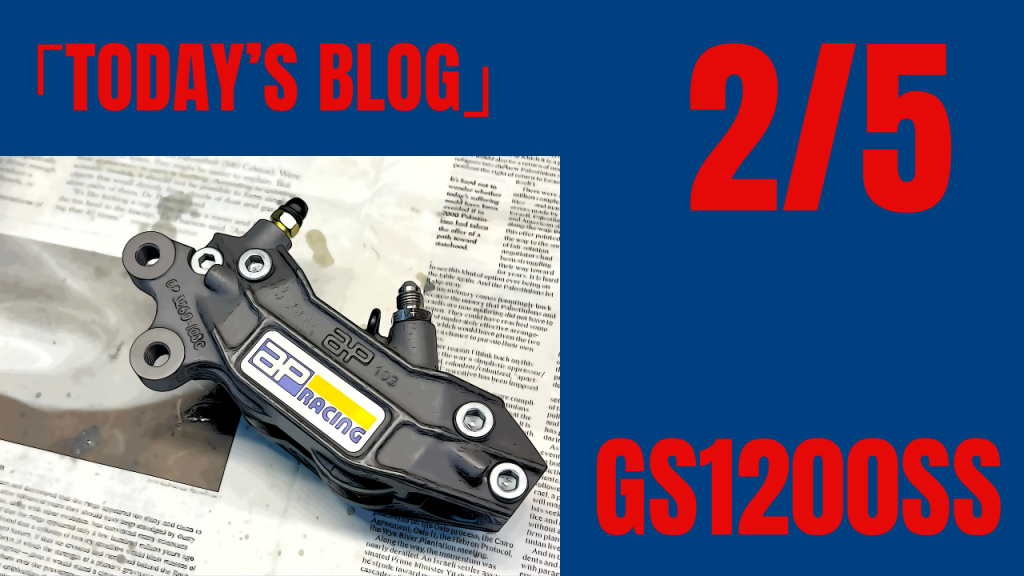
Brand-new brake calipers actually benefit from being disassembled once to achieve a better quality feel. Simply put, it means “problems are less likely to occur.”
The definition of trouble is tricky, but if you use them as-is, you get “no feel,” which people describe as something spongy. Just disassemble before assembly, apply medal rubber, and reassemble—it makes a huge difference.
Now that the brake hose is done, let’s disassemble.
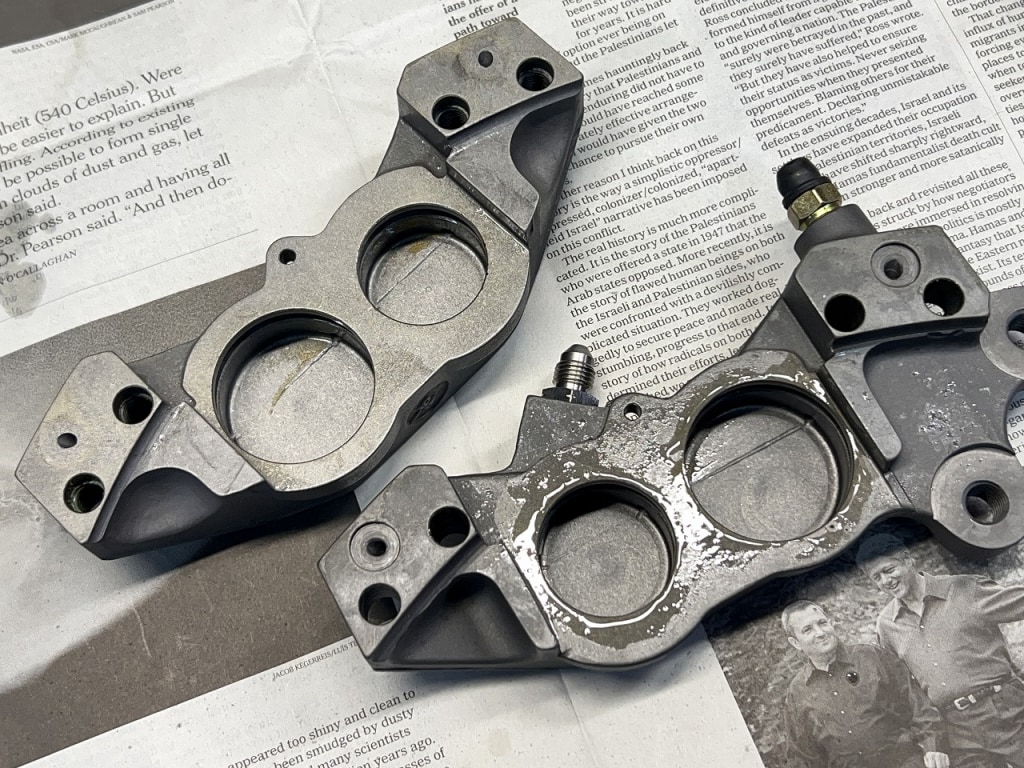
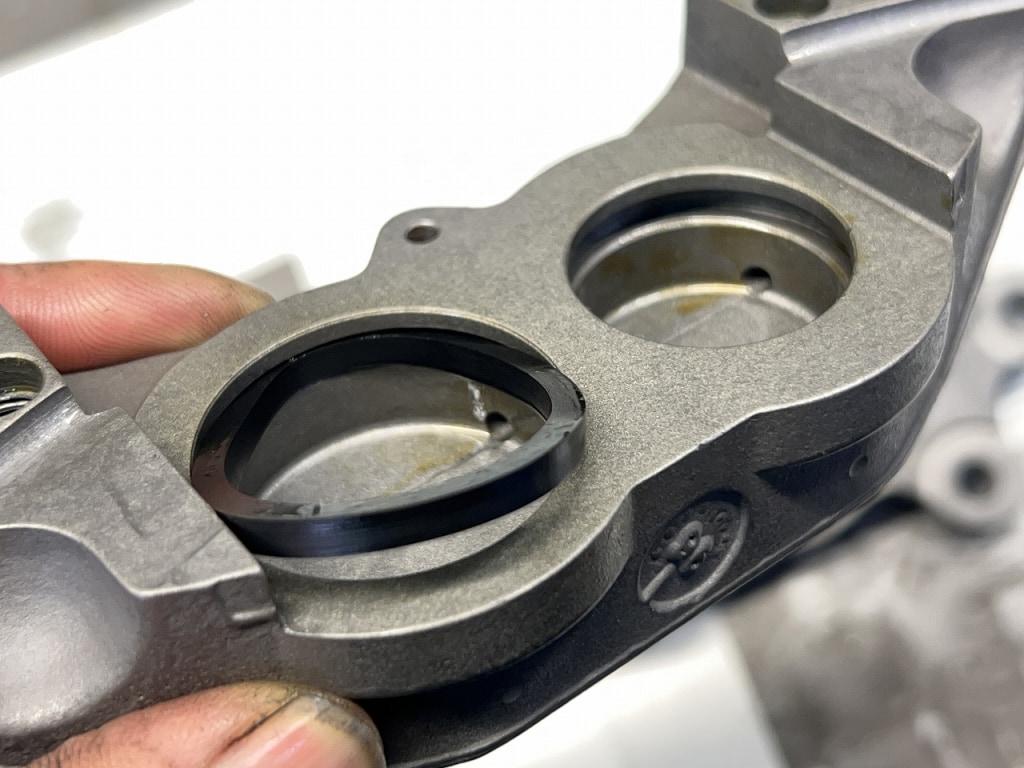
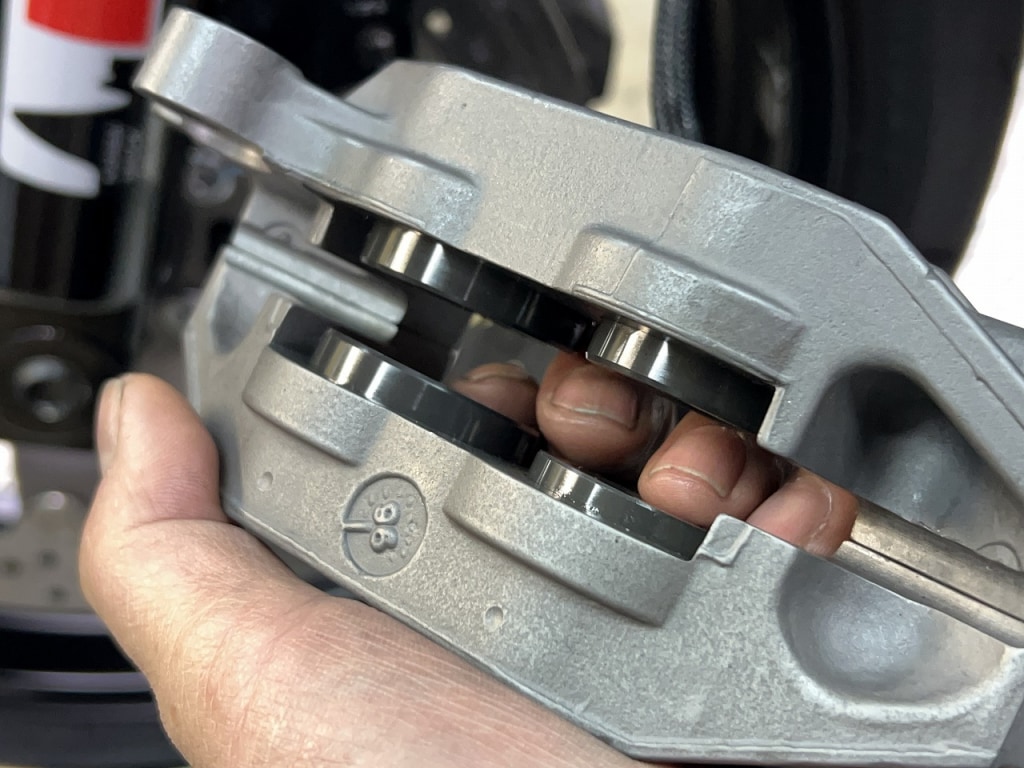
By the way, the piston wouldn’t come out—I was like “seriously?” That’s how poorly the seal and piston were lubricated. Some resistance is unavoidable, but
if you assemble it like this, the feel almost always becomes soft.
By the way, it took nearly an hour just to extract both pistons. You can probably tell how much of a struggle it was.
Since it’s “supposedly new,” disassembling it definitely increases reliability. With brakes especially, you want to assemble them properly and safely.
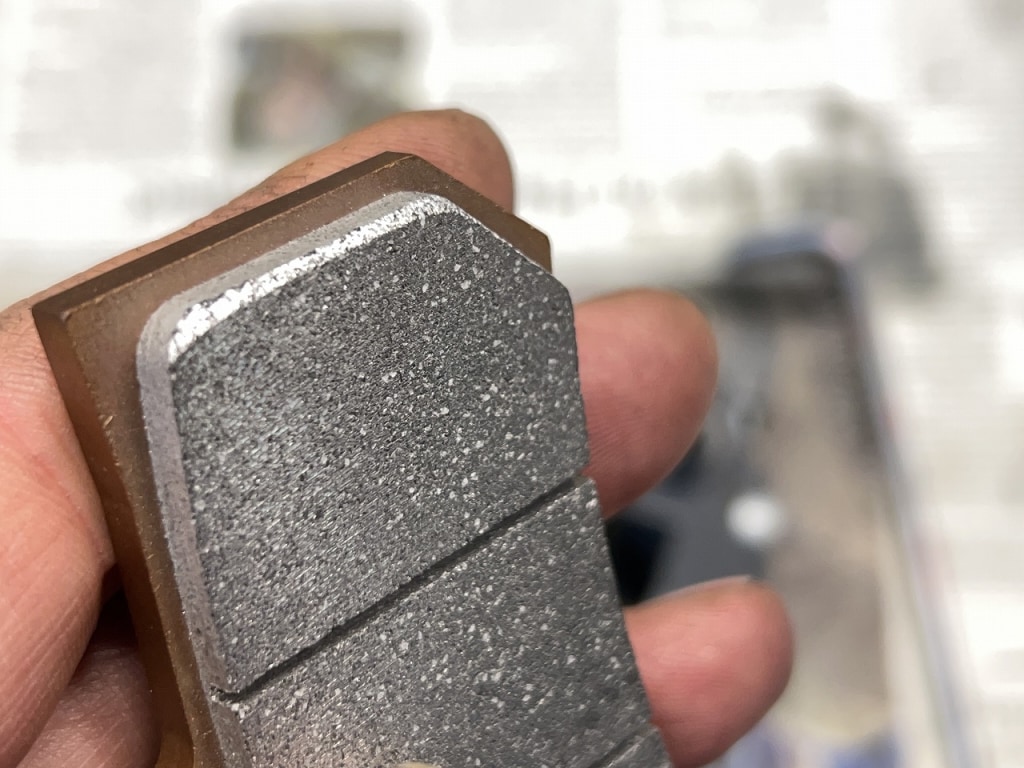
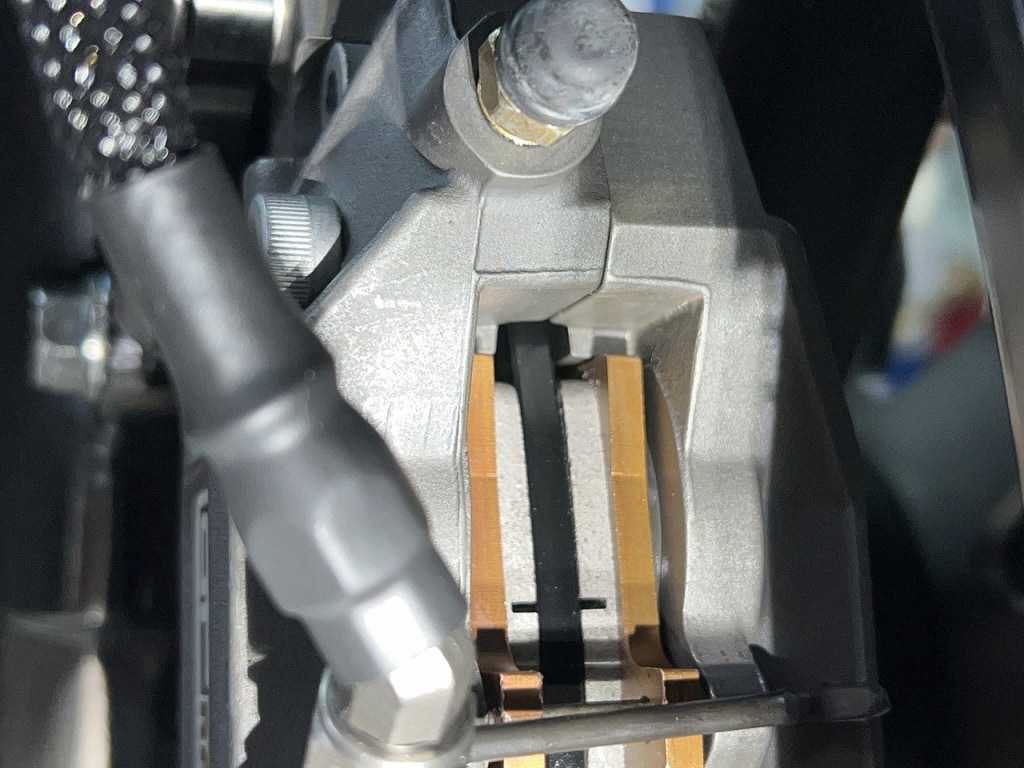
The brake pad chamfer is front-to-back direction and…
Chamfering the pad face in the front-to-back direction only should let the disk enter smoothly, hopefully. Never chamfer the top-to-bottom direction if the brake disk is in good condition.
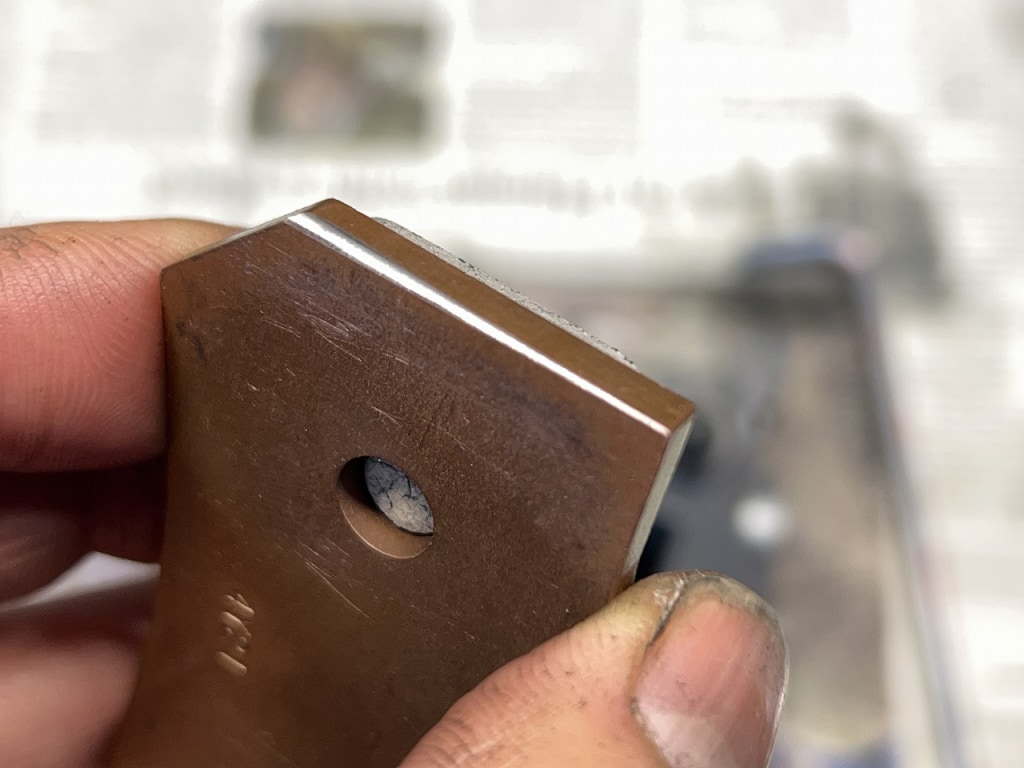
Chamfering top-to-bottom narrows the contact area, so be careful. Nowadays most brake pads come with a clean backing plate, but we chamfer it slightly anyway. We do this because we want the brake pad to return smoothly.
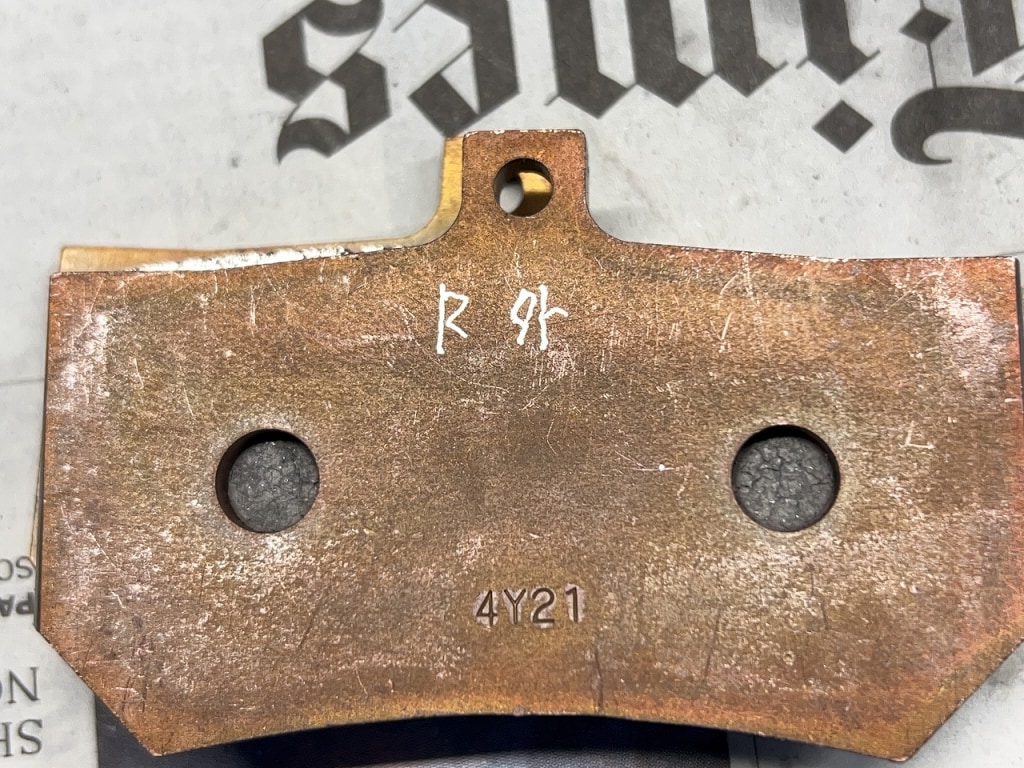
Lately I’ve been lightly routing it with a rotary tool. That means the outer pad on the right caliper.
I try to avoid markings that others might find unclear or confusing.
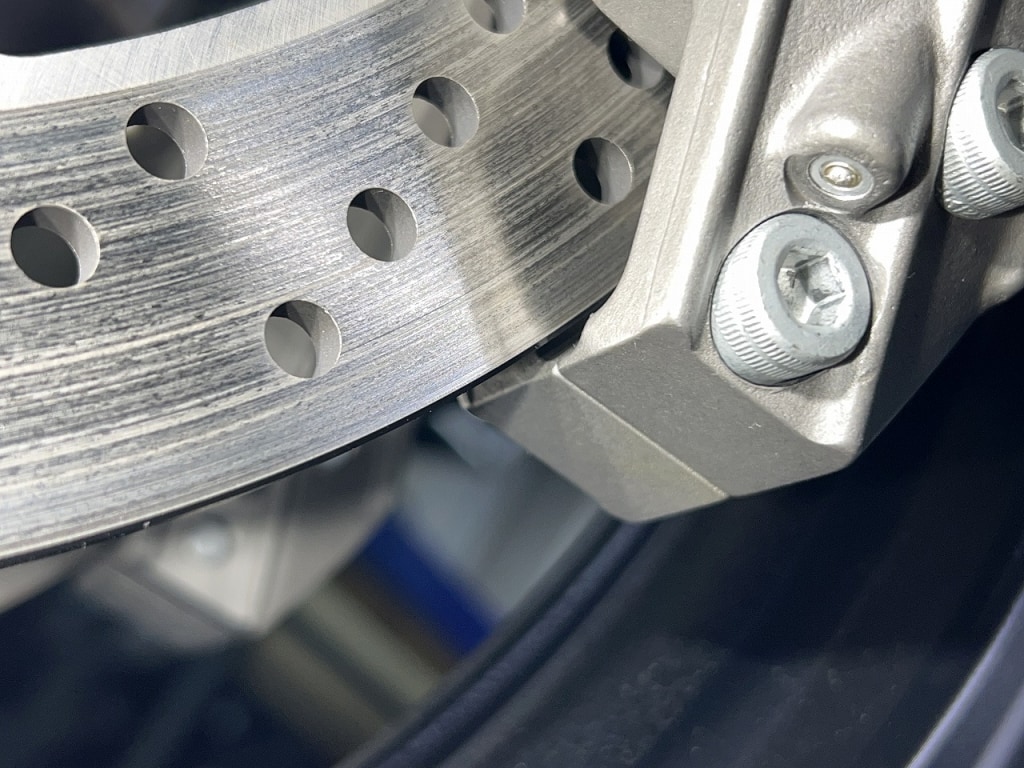
After assembly and fluid bleeding, we check piston movement.
While not quite Brembo level, the piston returns smoothly and easily. “Piston returns easily = minimal drag = lighter push and pull on the bike.” That’s how it works.
You want to get the full 100% performance out of aftermarket parts, right?
We also check the caliper center, pad-to-disk contact, and contact with the caliper body. Checking the caliper body contact too makes it more reliable.
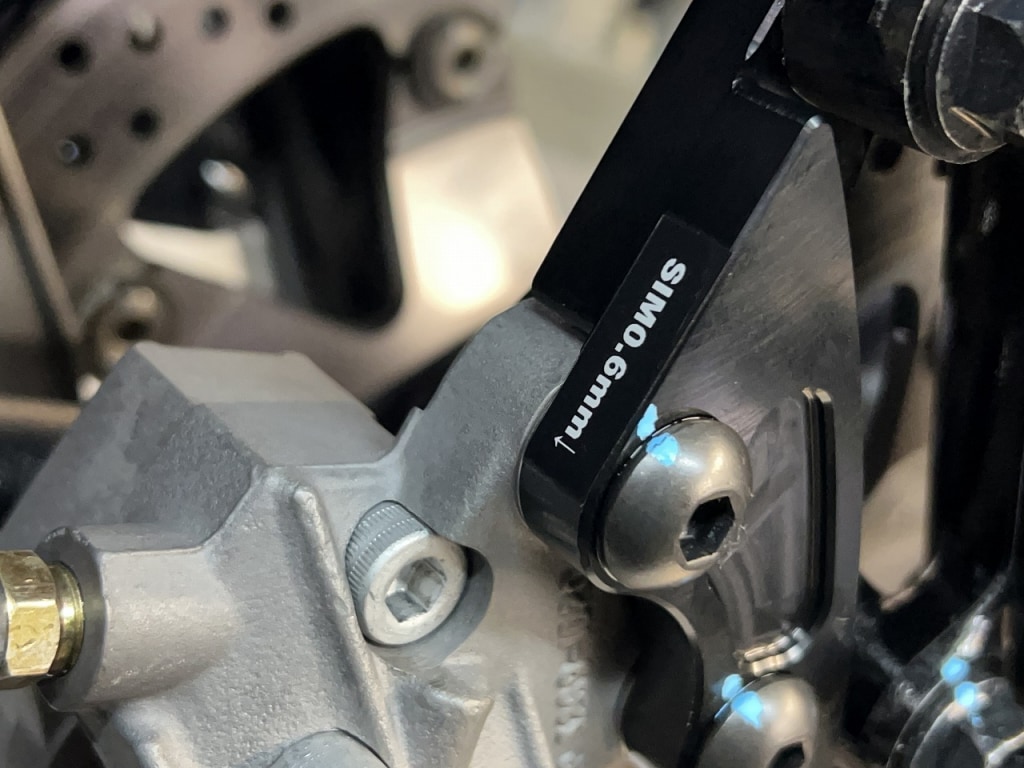
Since you never know who might touch it, we apply Loctite to spots with shims.
You know how custom bikes sometimes shed shims or washers everywhere? It’s fine if there’s an even number, but an odd number gets a little stressful. The thing is, it might be 2 mm one piece and 1 mm two pieces combined.
You have to measure with calipers each time.
I think it’s important to set things up so that whoever works on it next won’t have problems.
This is getting long, so we’ll continue again today.




 ポチップ
ポチップ