There’s an endless barrage of bolt-and-nut fastening, so I’m going to lightly break in every spot where it can be secured.
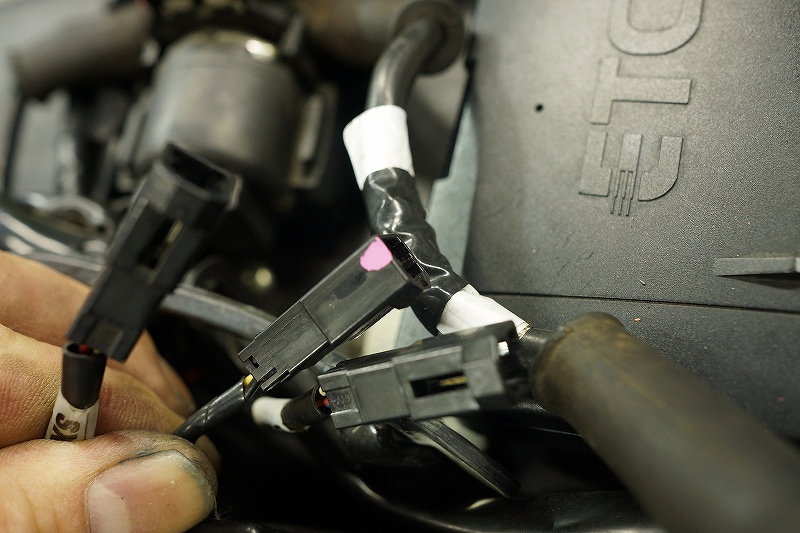
All the connectors are identical—what’s up with that? And there’s a color mismatch with the harness too. Is this really how it’s supposed to be?
I marked them with heat-shrink tubing, so it’s all good going forward.
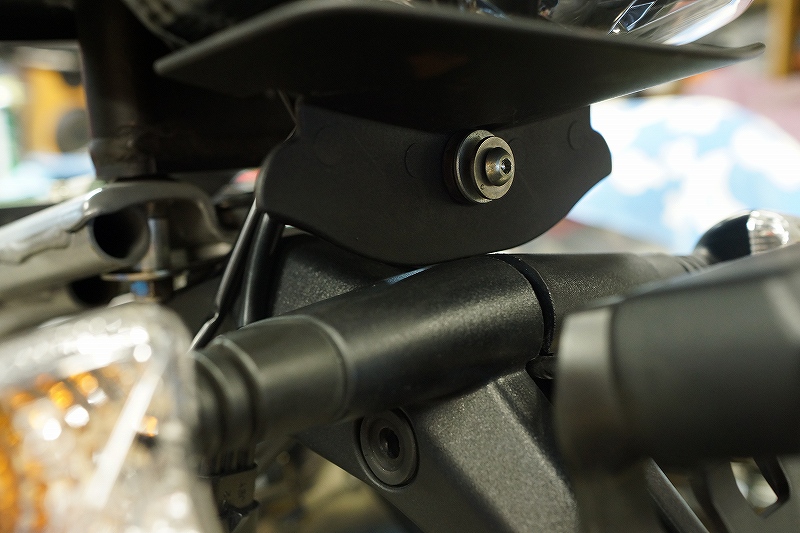
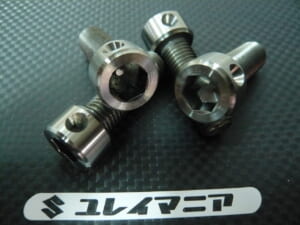
I’ll secure it from the base above with a through-bolt, but the included one is too short and isn’t fully threaded, so it won’t work.
I had to rush out and buy bolts. Next, it contacts the part above, so I had to file it down. The wiring also came up a bit short, so I extended it.
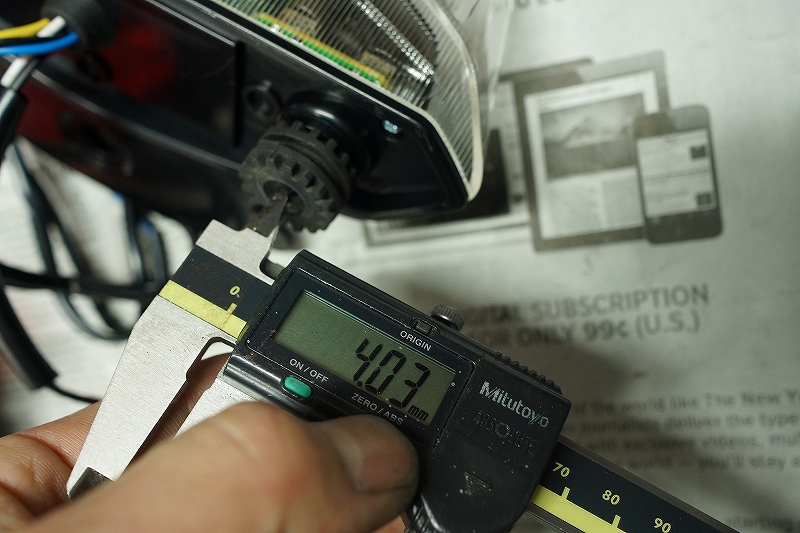
The hole is pretty loose. The tail light mounting bolt contacts the carbon tail cowl, so I had to cut it.
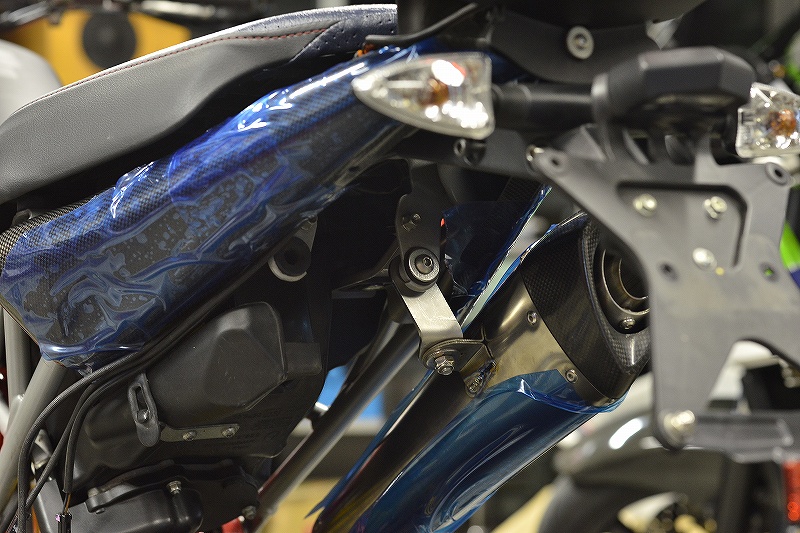
No instructions—that’s a powerfully bold move. Basically, the included parts are in puzzle mode. I’ll do a temporary delivery tomorrow, but I think a new muffler bracket will be necessary.
The tail pipe-to-silencer connection is crooked and feels really awkward to insert. The connection to the exhaust pipe side also has plenty of clearance, so I tightened it with a band clamp. The muffler bracket floats in the left-right direction.
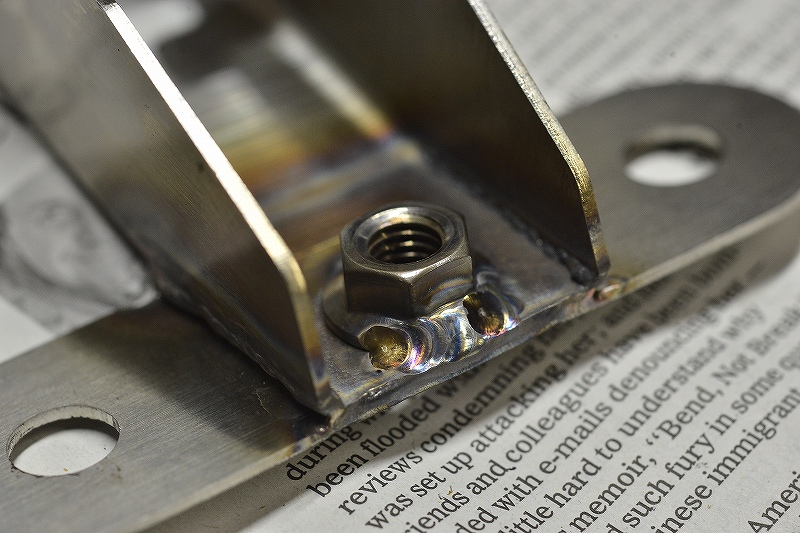
The bushing hole is 10 mm, but I threaded the included 8 mm through it and secured it with a lock nut. The included tail section bracket also needs modification and review—it’s quite a sharp product, I’d say.
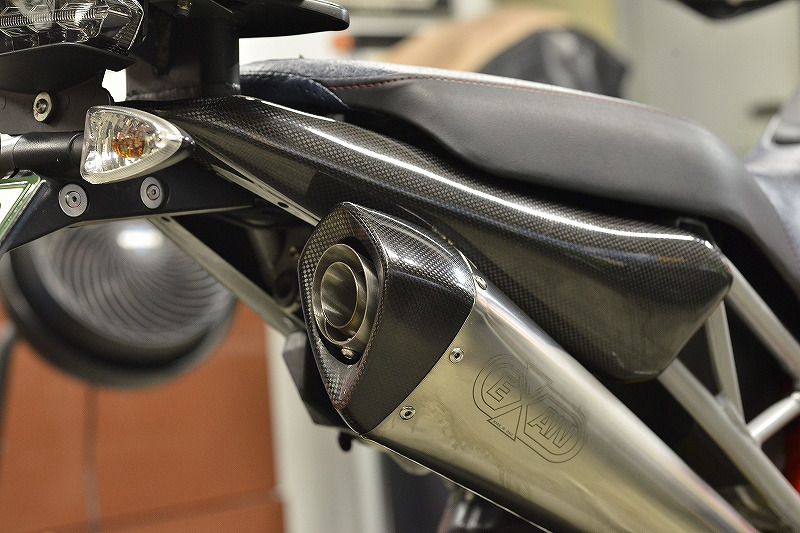
I figured it would take about 2 hours, but it ended up taking more than half the day. I’m beat.