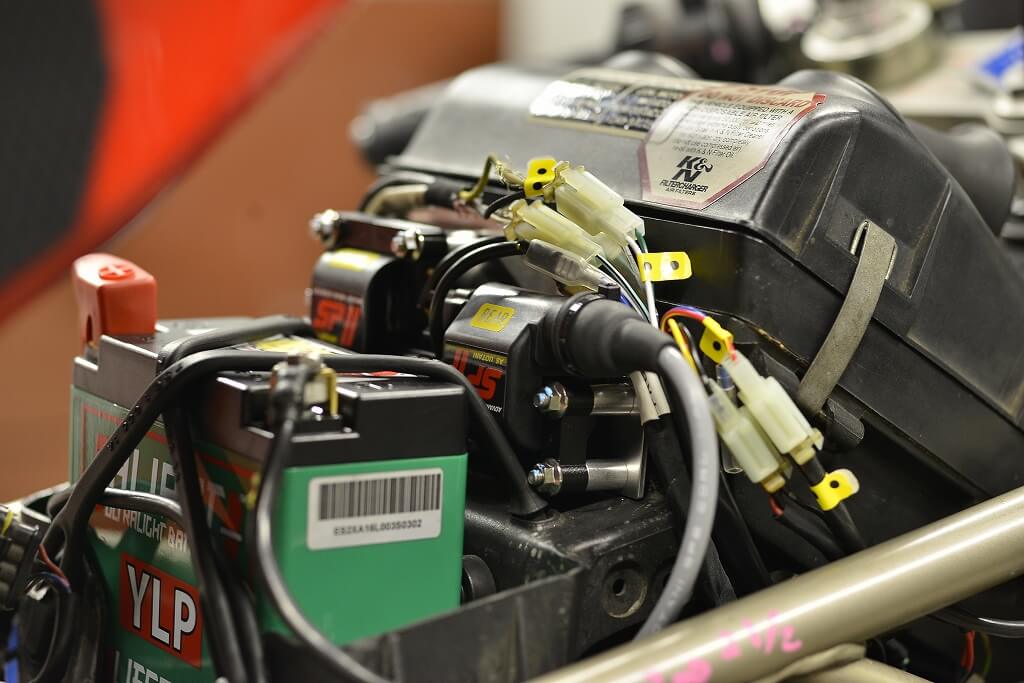
After quite a bit of deliberation, making a sub-harness turned out to be the quickest approach.
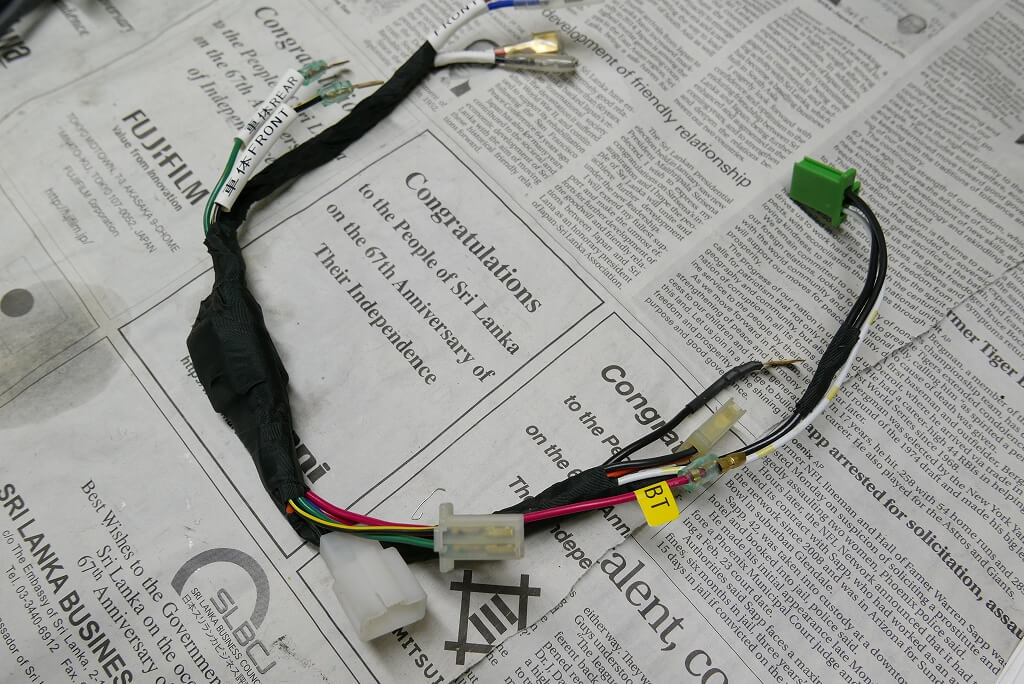
With so many components involved, installing everything as-is would create a tangled mess.
Plus, it would be a pain to remove if something goes wrong. Thinking it through, I decided the smartest approach was to keep the wiring on the main unit short and improve the convenience of disconnecting and reconnecting.
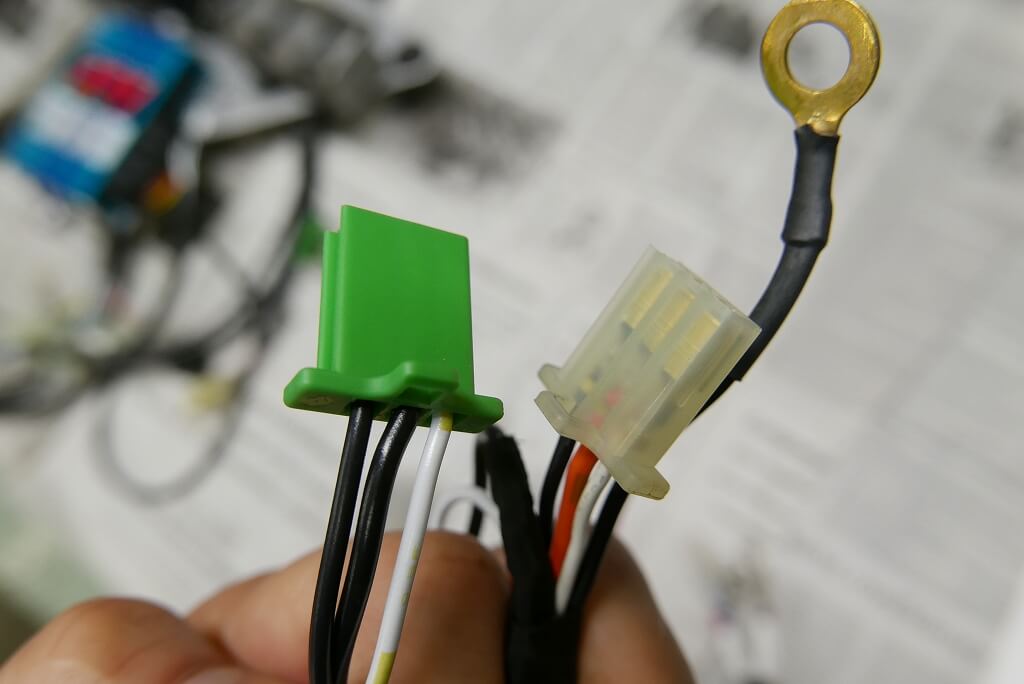
Even though 110 amperes isn’t strictly necessary since the current draw is minimal, the benefit is being able to choose colors. I also made sure the connectors match so there’s no risk of plugging something in wrong.
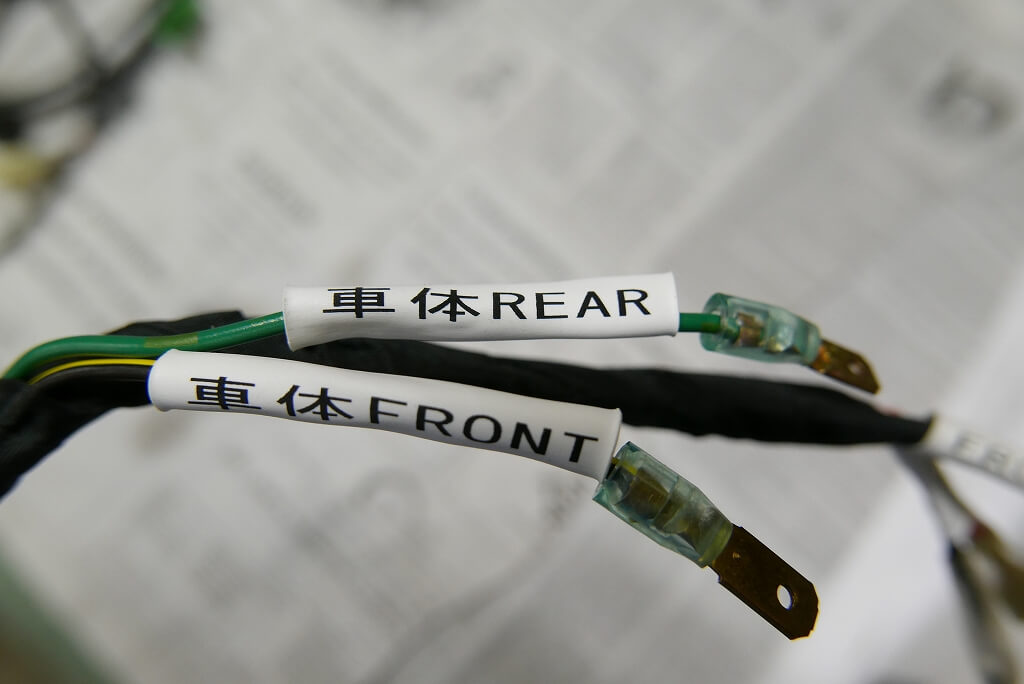
I’d like to match the sub-harness colors too, but we don’t have that wide a variety in stock. It’s good practice to make sure nothing gets mixed up here either.
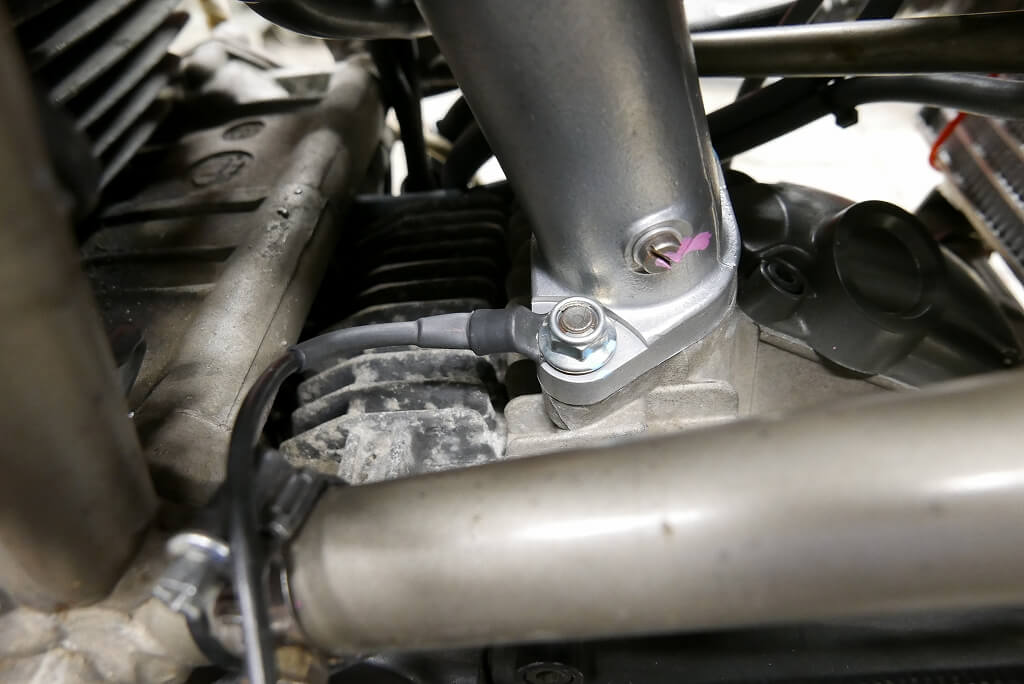
I prefer not to share the battery terminal posts. Let’s add an extra ground point and pull the connection from there instead.
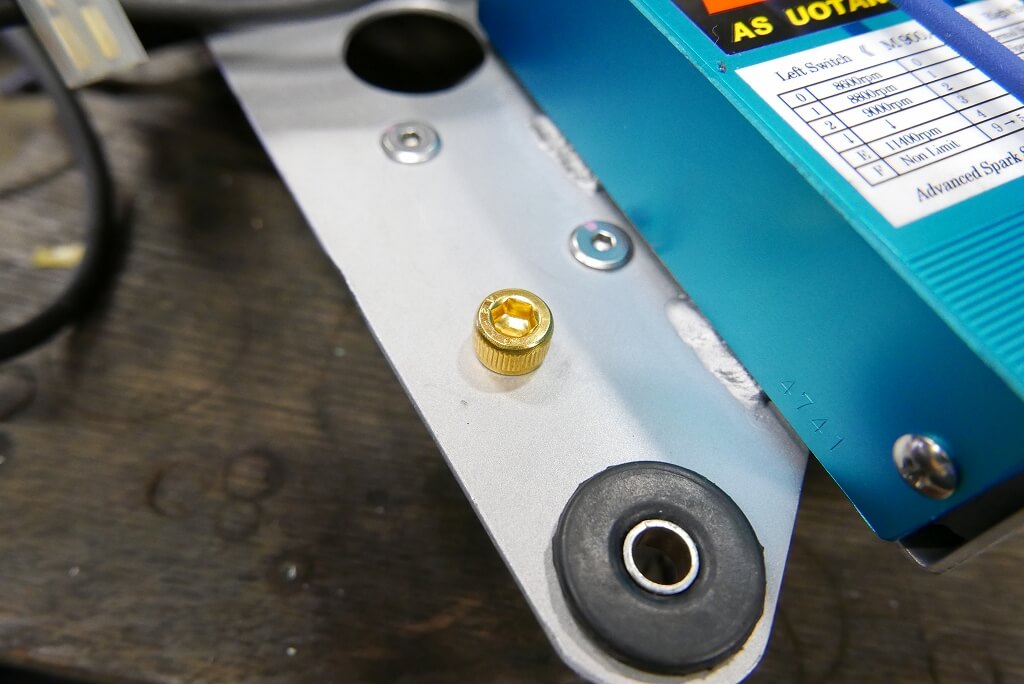
There are gold-plated bolts used in semiconductors, so I’m using those.
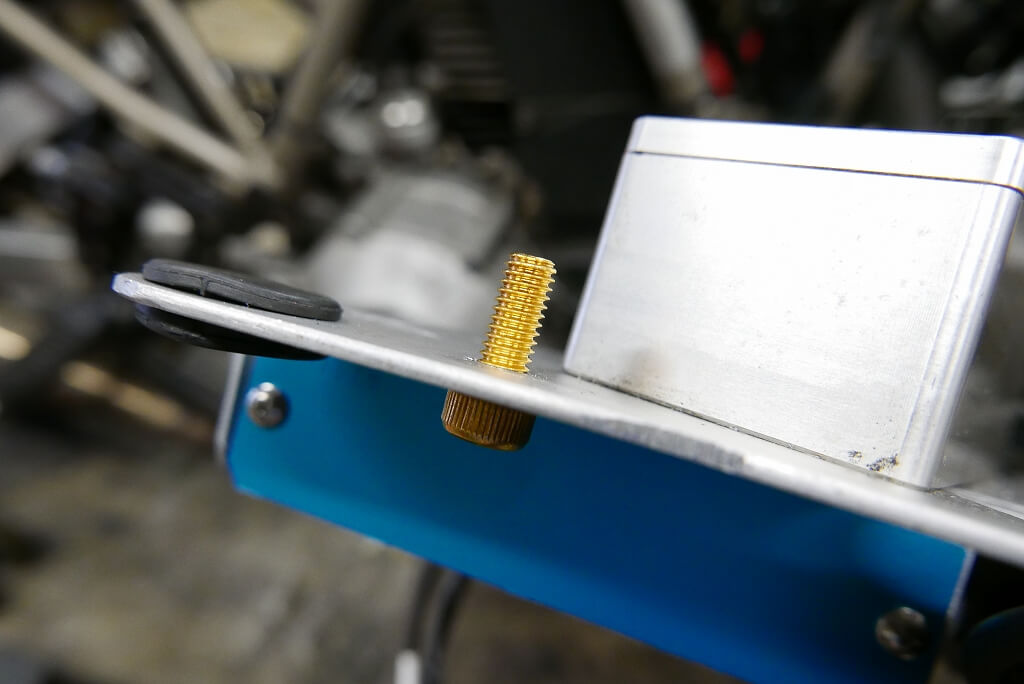
Even on thin sheet metal, a light thread-cut keeps the bolt from falling out. A little extra effort now pays off in easier work down the road.
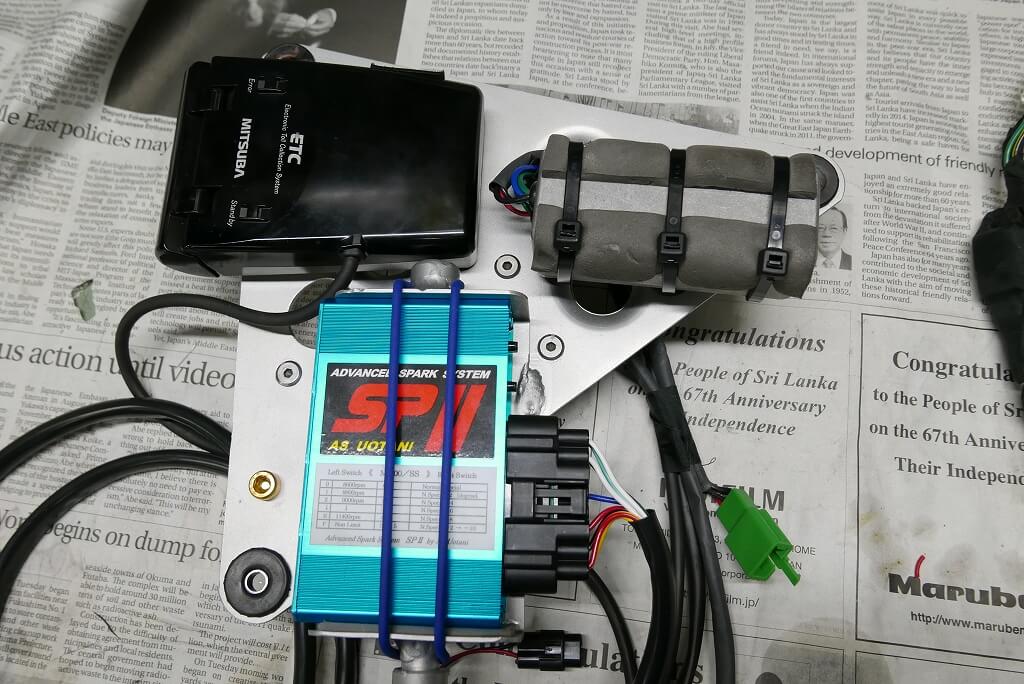
For reasons I’d rather not get into, one ended up being secured with a cable tie, which I’m not thrilled about.
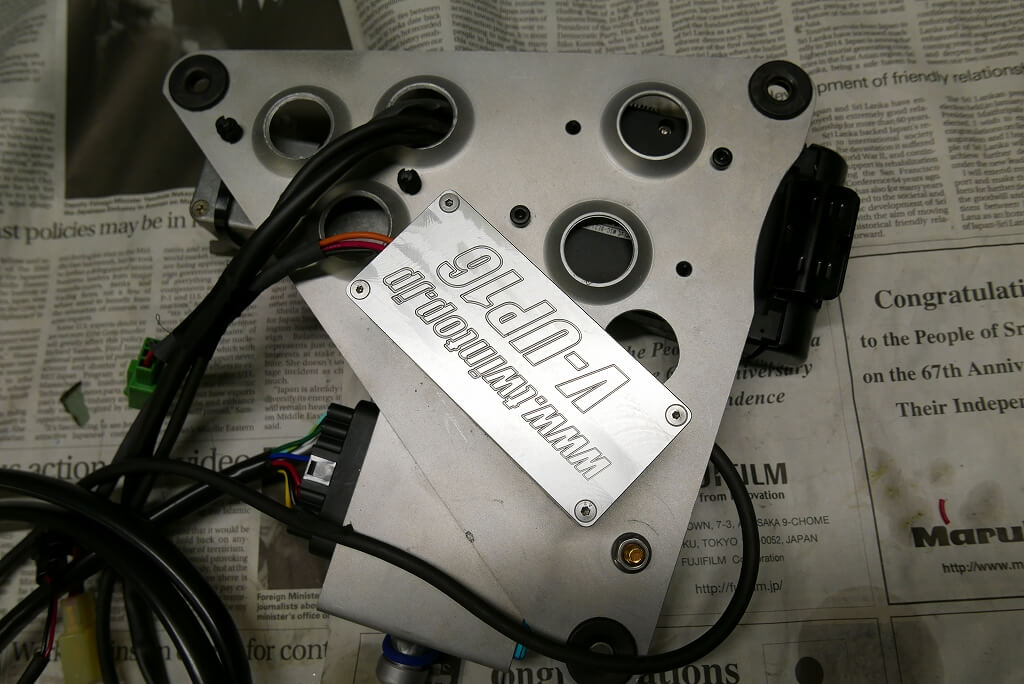
Basically, everything else is bolted down and floats on a plate to reduce vibration.
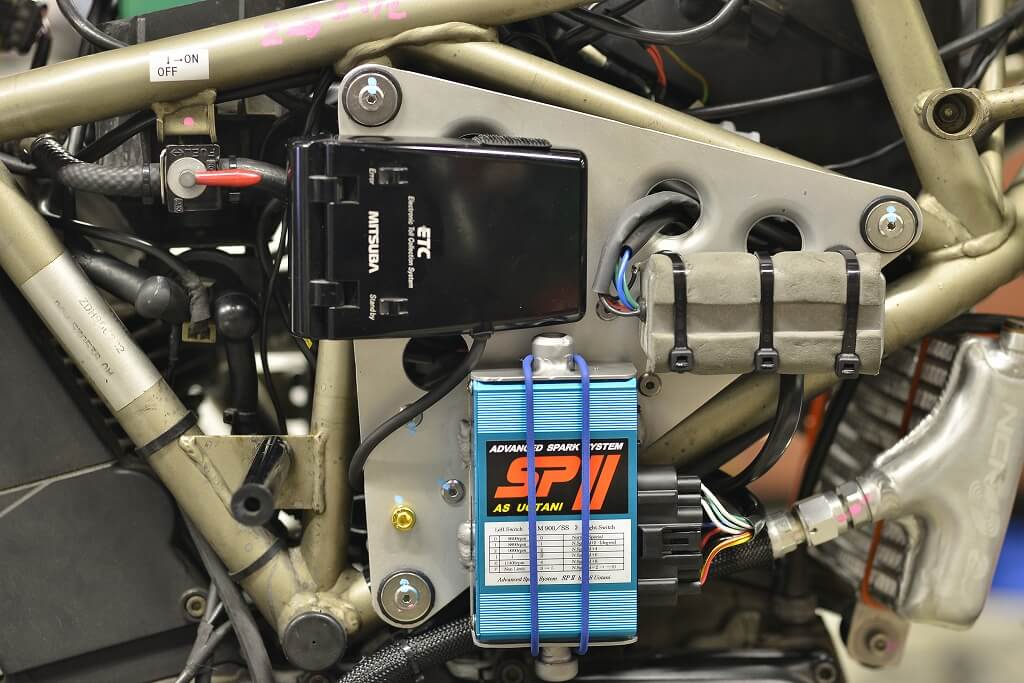
Installation complete.
The main harness and Watani side connectors are the same shape, so I labeled them with a label maker.
I always think about this: running wires and connectors parallel creates bulges, which I really wish people would avoid. I get that it’s easier to cut the same length and run them parallel, but still…
I found myself wondering how everyone else typically installs this kit on the 900SS.