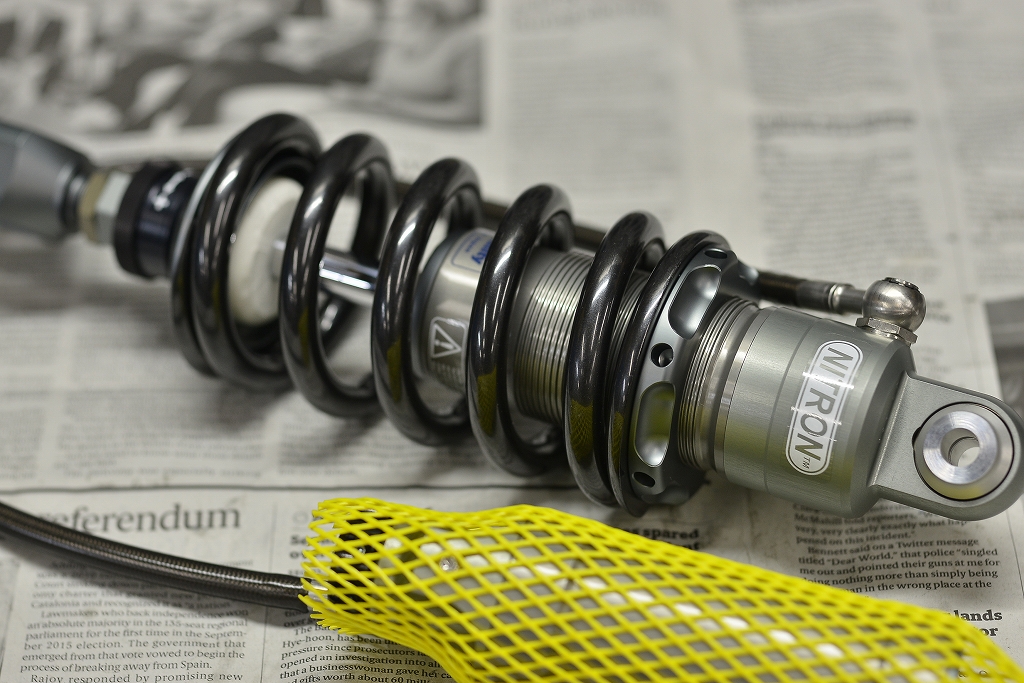
Let’s get that rear shock nice and smooth with Nitron.
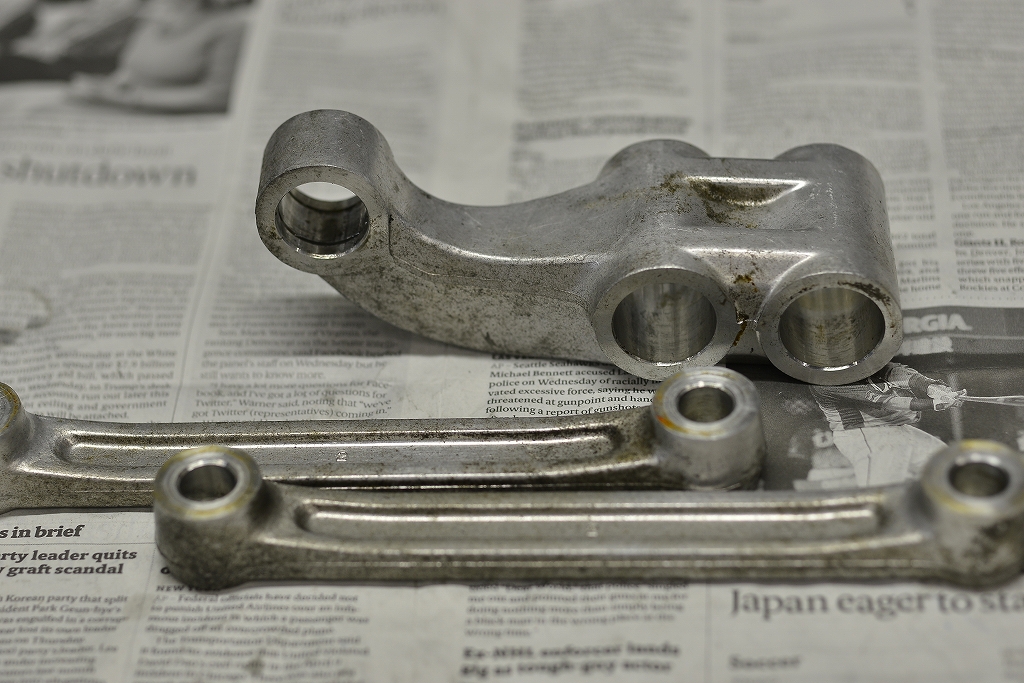
There’s quite a bit of corrosion here. With the right equipment, it doesn’t take forever—but it’s not instant either—to clean it up properly. Both the technician and the owner feel good seeing it in pristine condition.
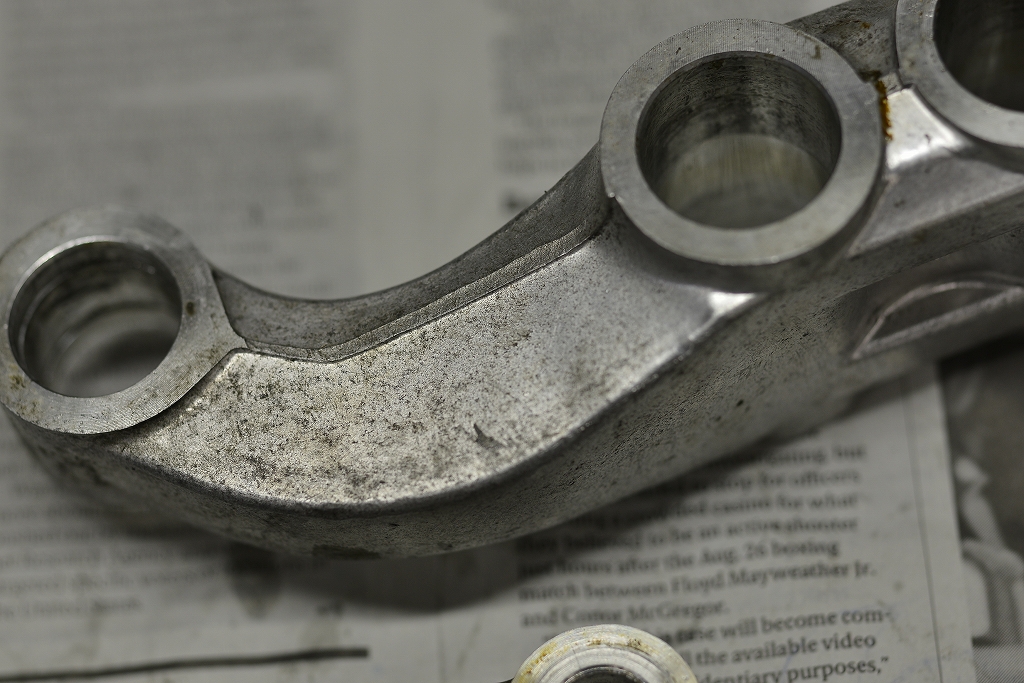
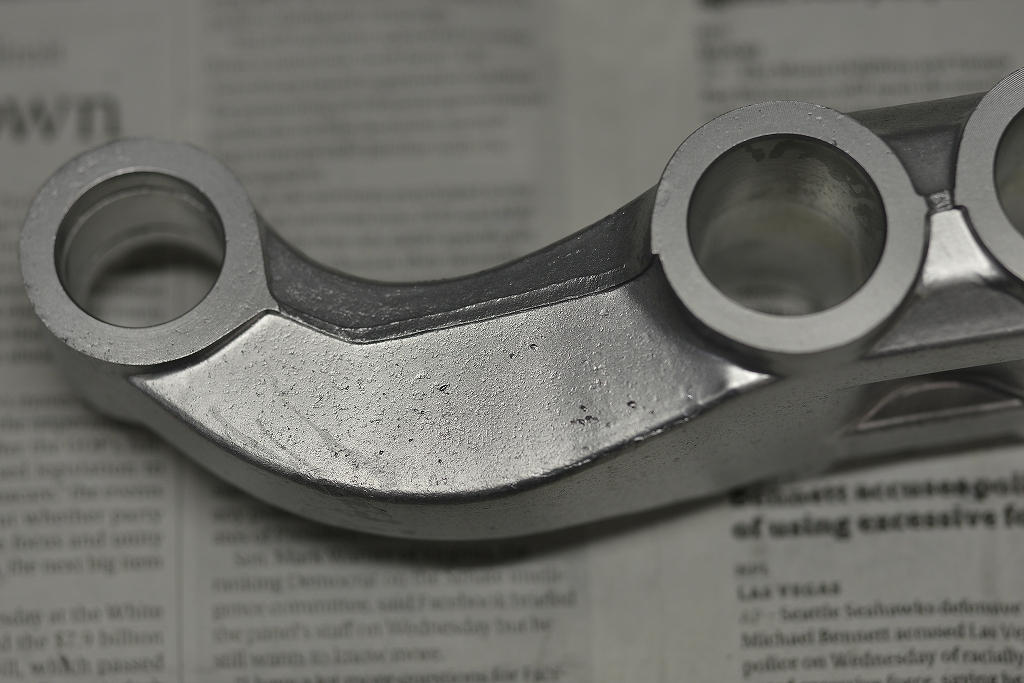
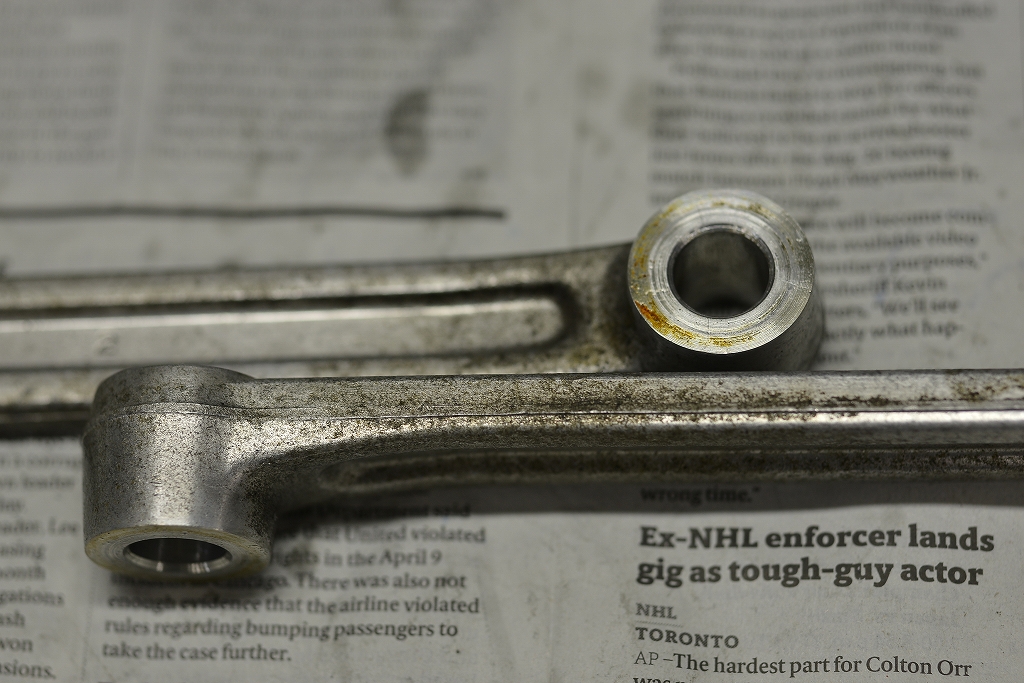
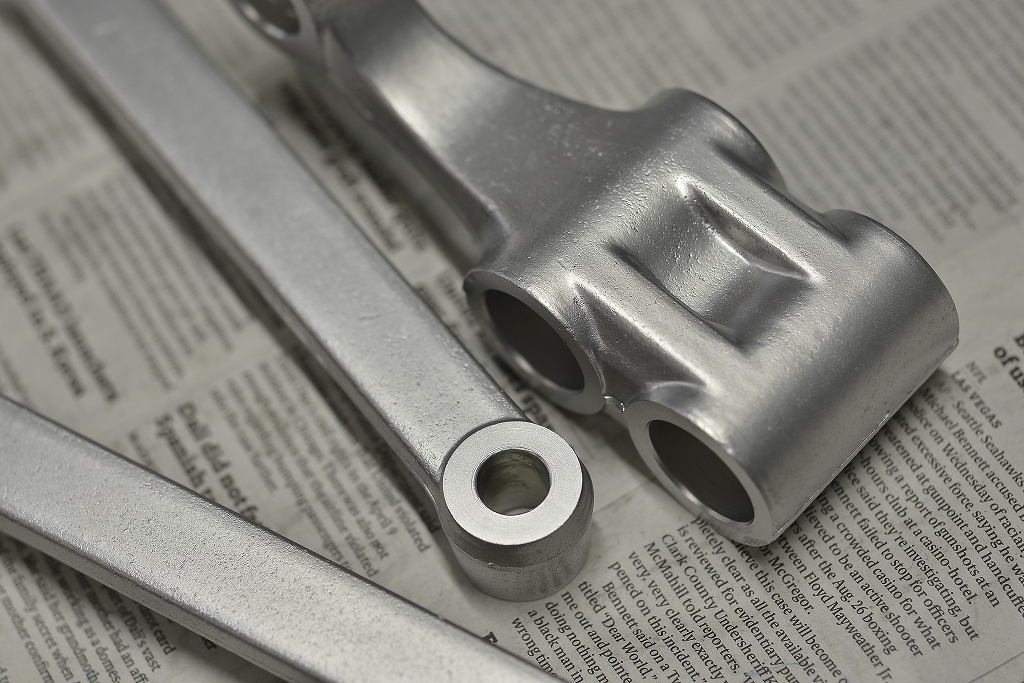
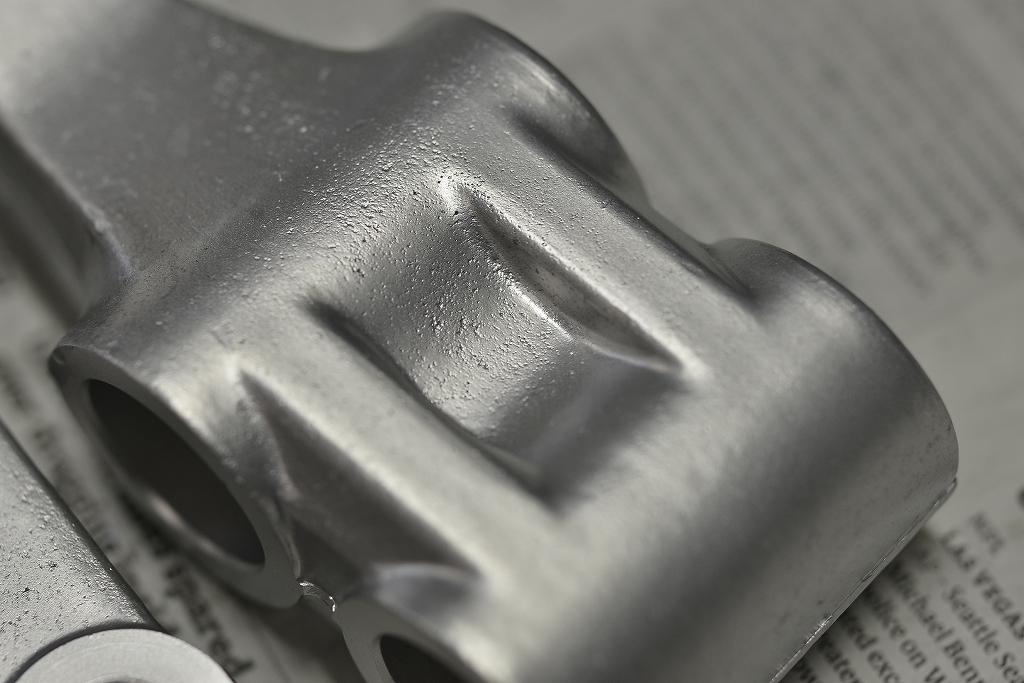
Wow, it came out even better than new—our motivation and energy go way up.
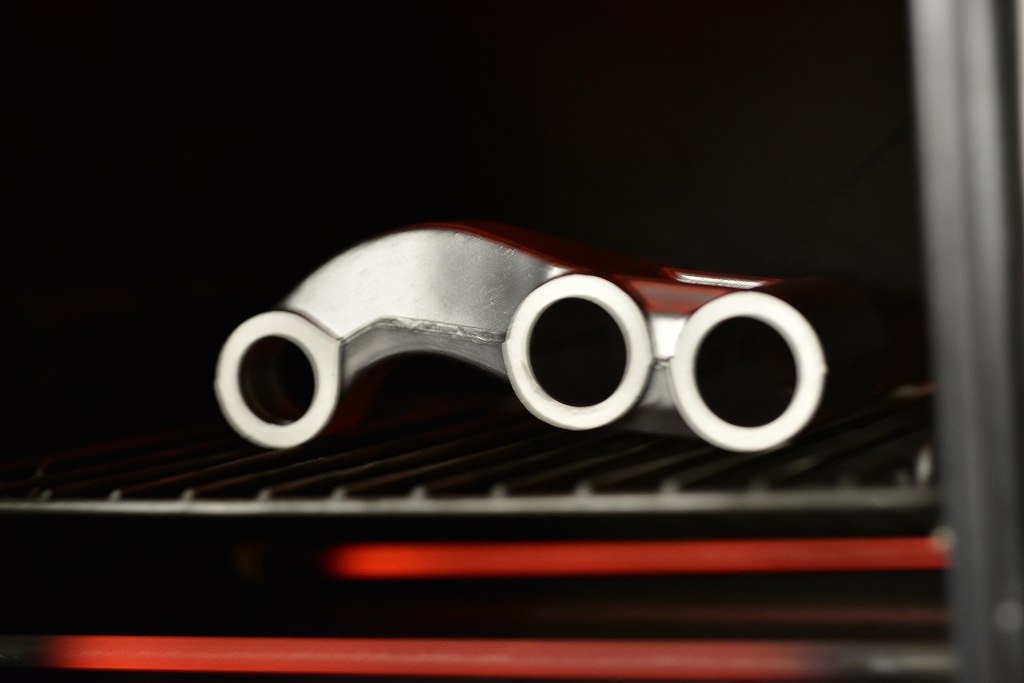
We’ll be reassembling it, so let’s get everything nice and hot in the oven.
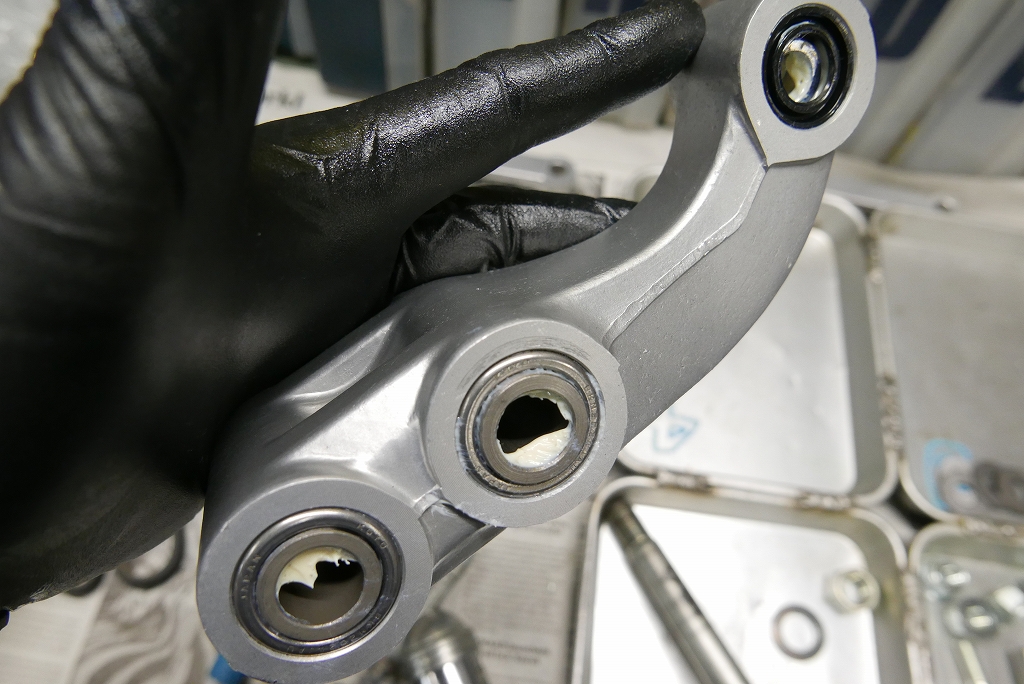
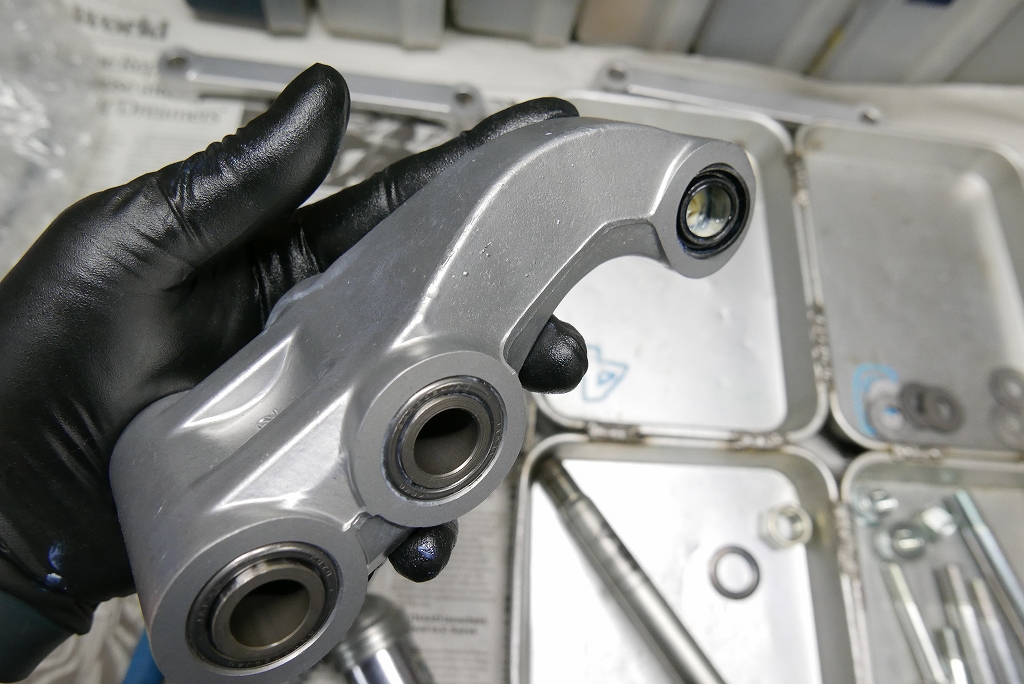
Pop in the bearings and we’re done.
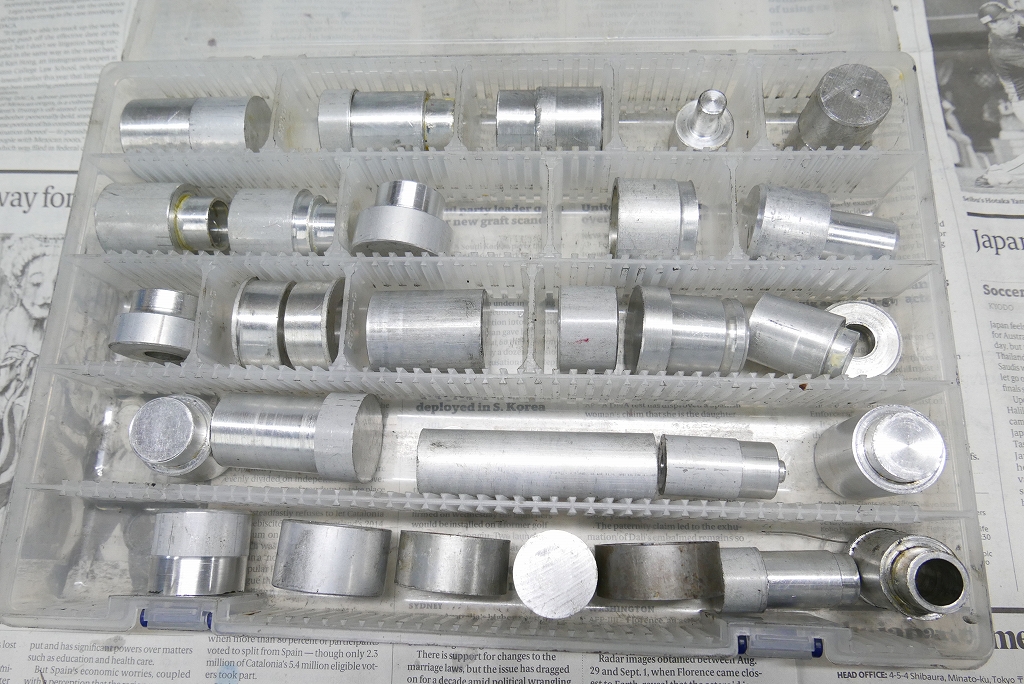
Pulling or inserting with a box is pretty tight, so I wouldn’t recommend it unless it’s a perfect fit.
If you make a stepped collar for each job, you can work cleanly and without runout on future jobs too.
Once you make it, don’t just throw it anywhere. Store it properly and it becomes an asset for the shop.
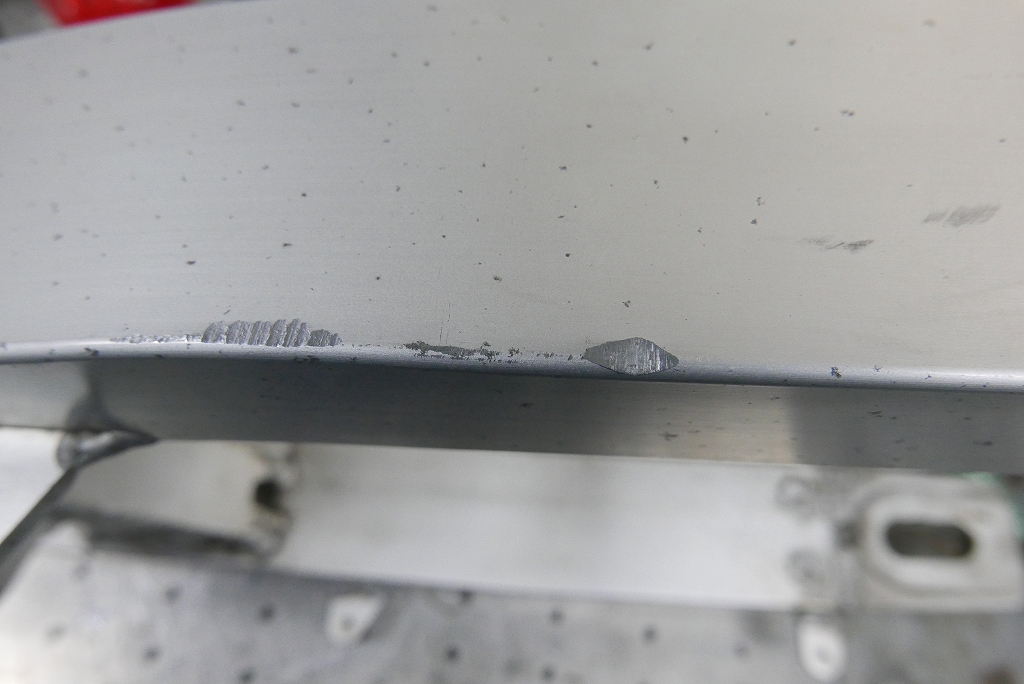
One thing leads to another—there are marks where the muffler was rubbing. While we’re at it, let’s touch that up a bit.
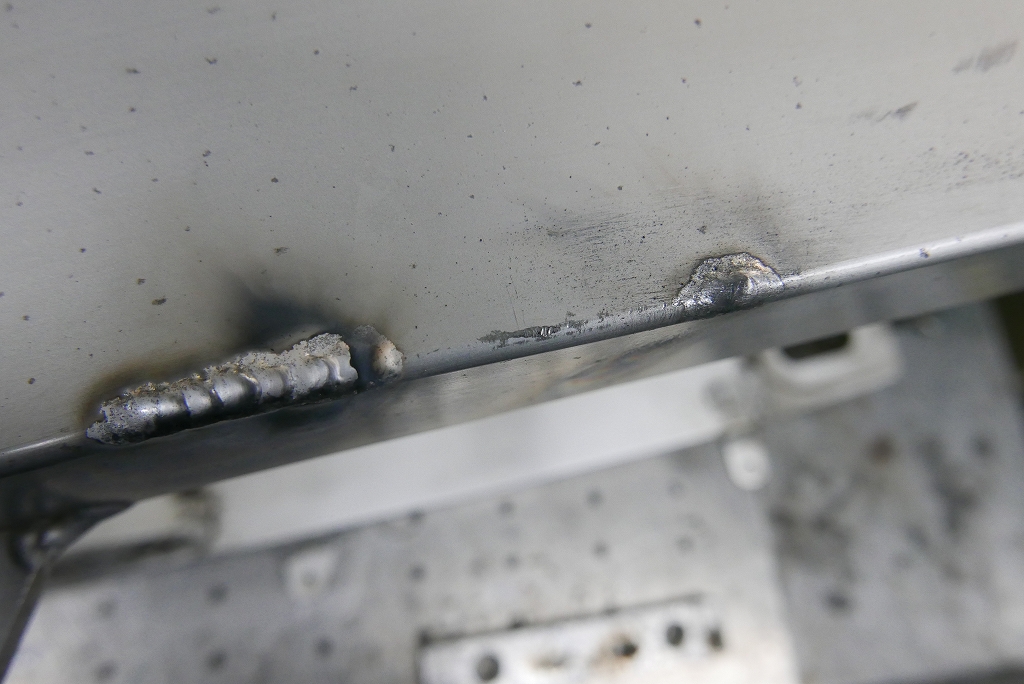
We preheat it and then tack-weld it with a few quick spots.
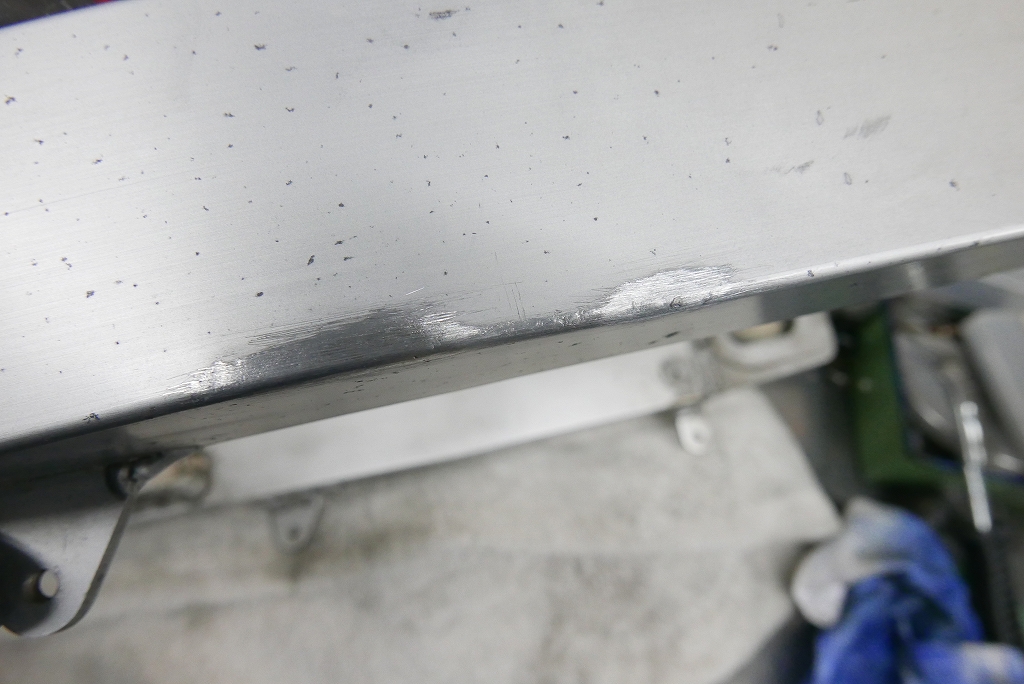
Looks great. I’d recommend having this done at the same time if you’re removing your swingarm.
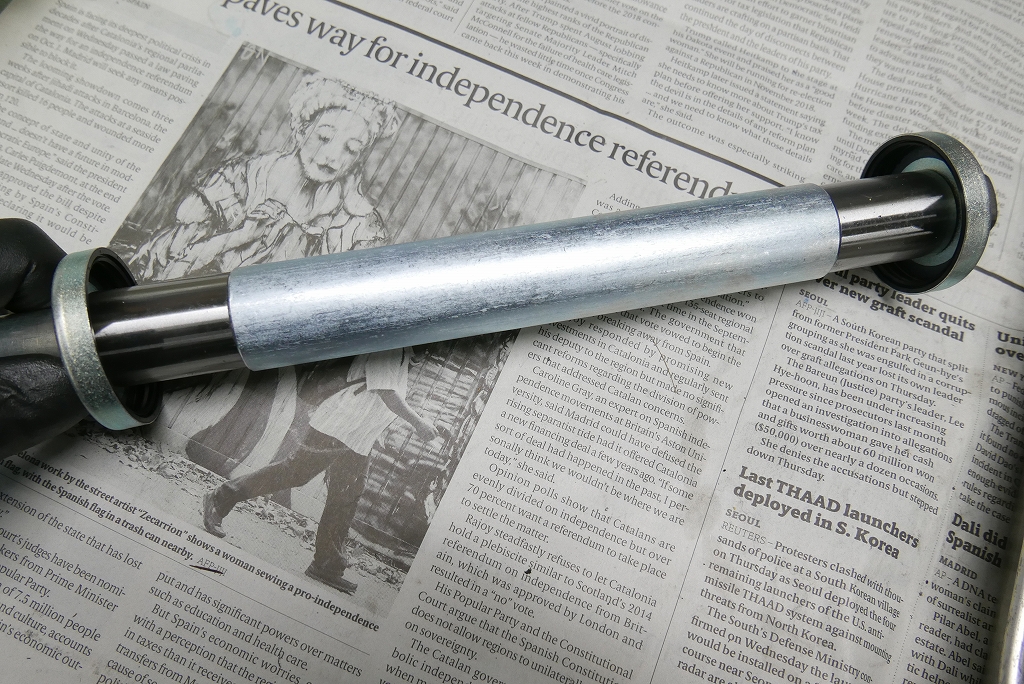
First, we set the pivot width.
Dust seal, shim, sleeve, distance collar, sleeve, shim, dust seal.
The image shows it without shims.
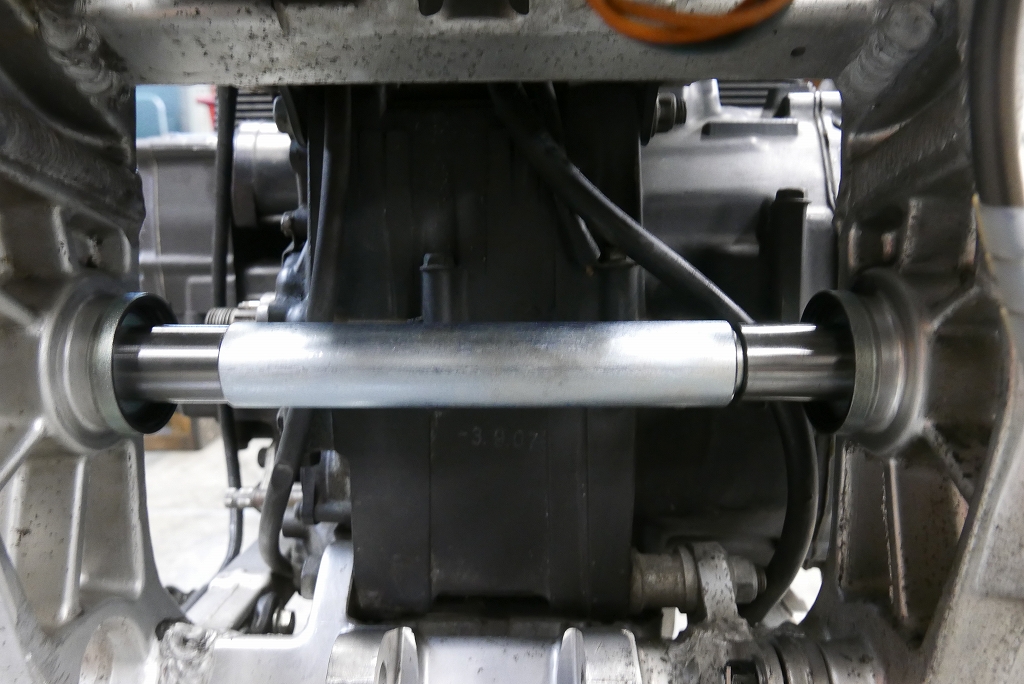
These component parts bottom out and get clamped. The swingarm just spins freely. If you get the shim clearance right in this state, it’s easier.
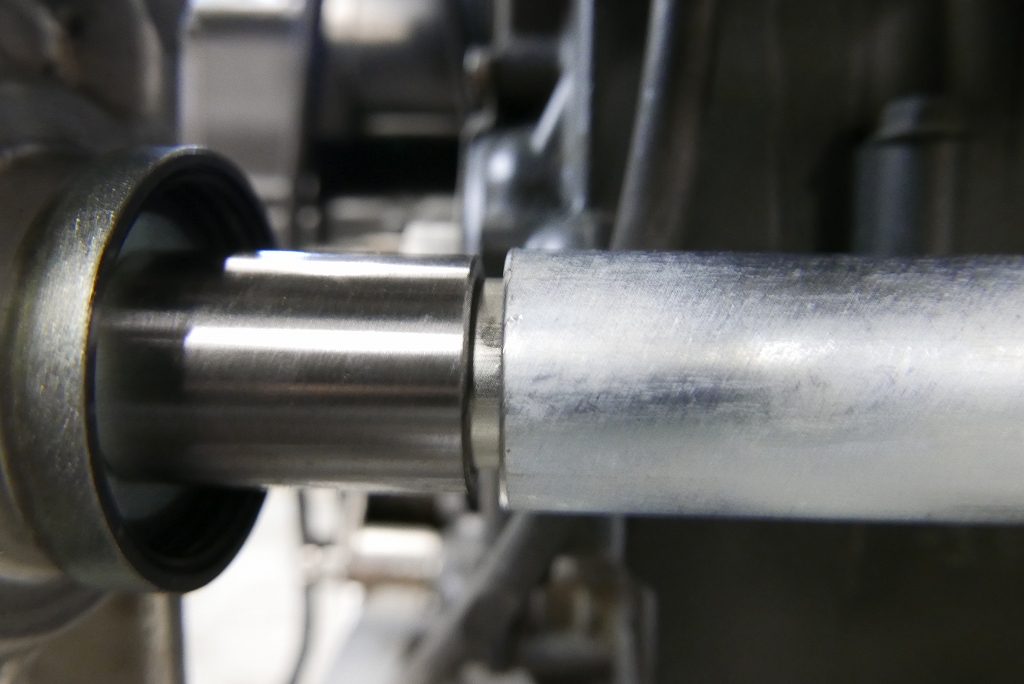
There’s a limit, but the less gap you have, the less stress on the frame and the less play.
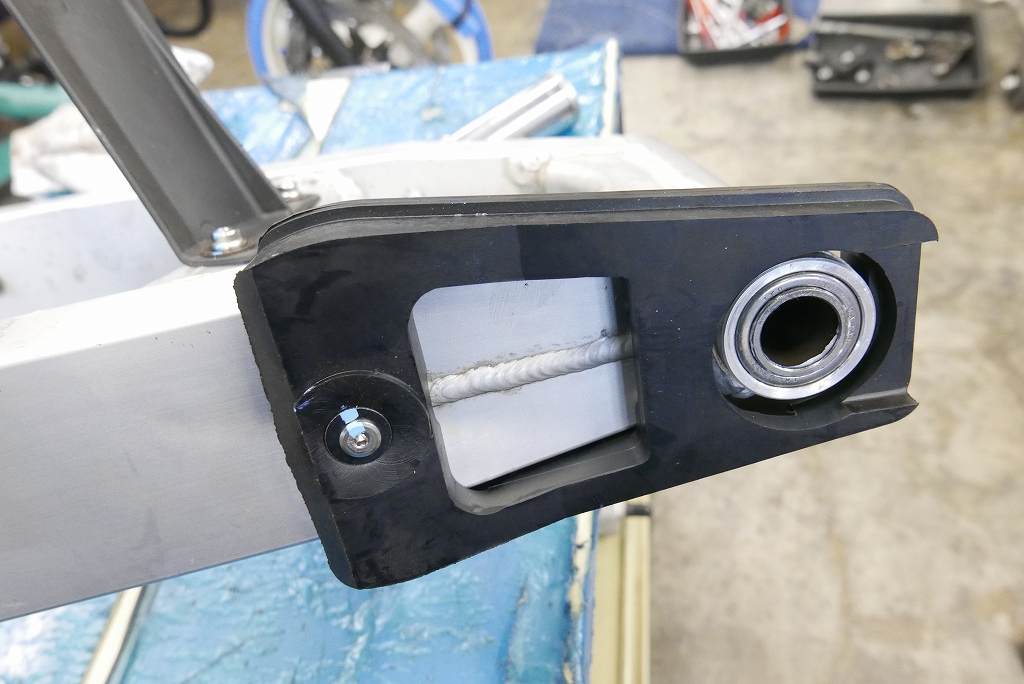
Always use a new chain slider.
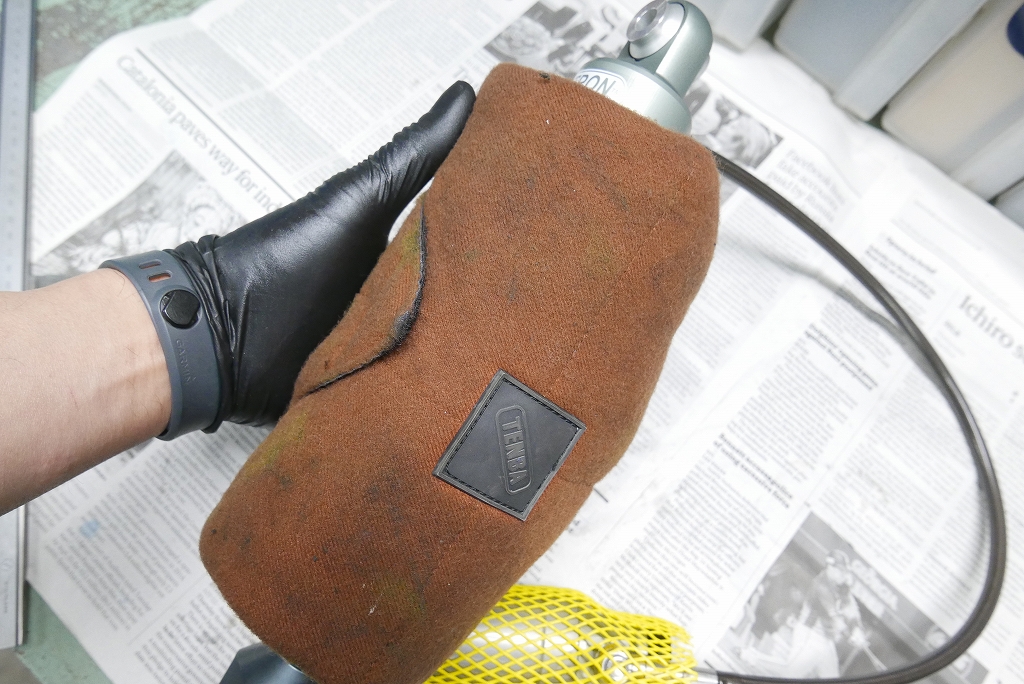
Zero damage is best if possible. You should use reusable protective tape that can be used multiple times.
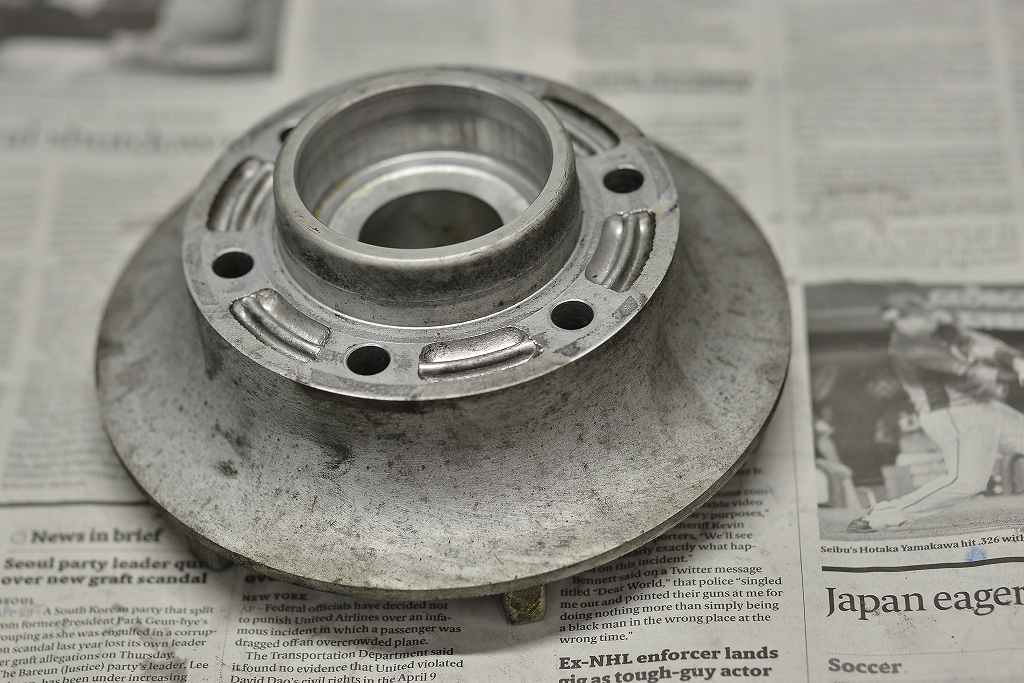
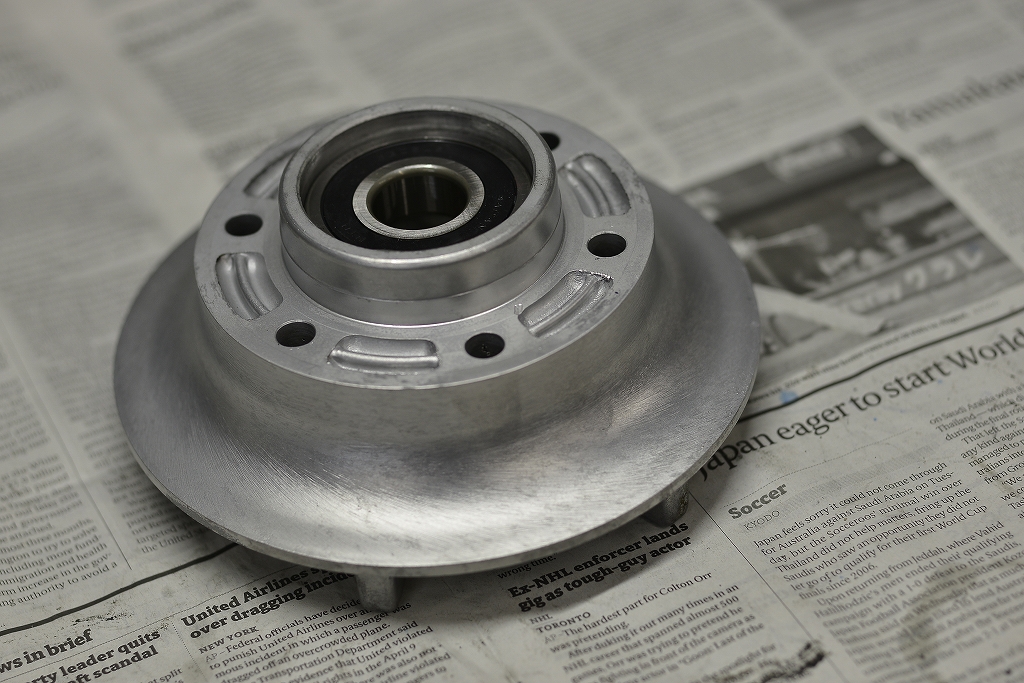
It was pretty dirty, so we polished the hub as a bonus. The rough marks coming up from below—that’s so Suzuki, right?
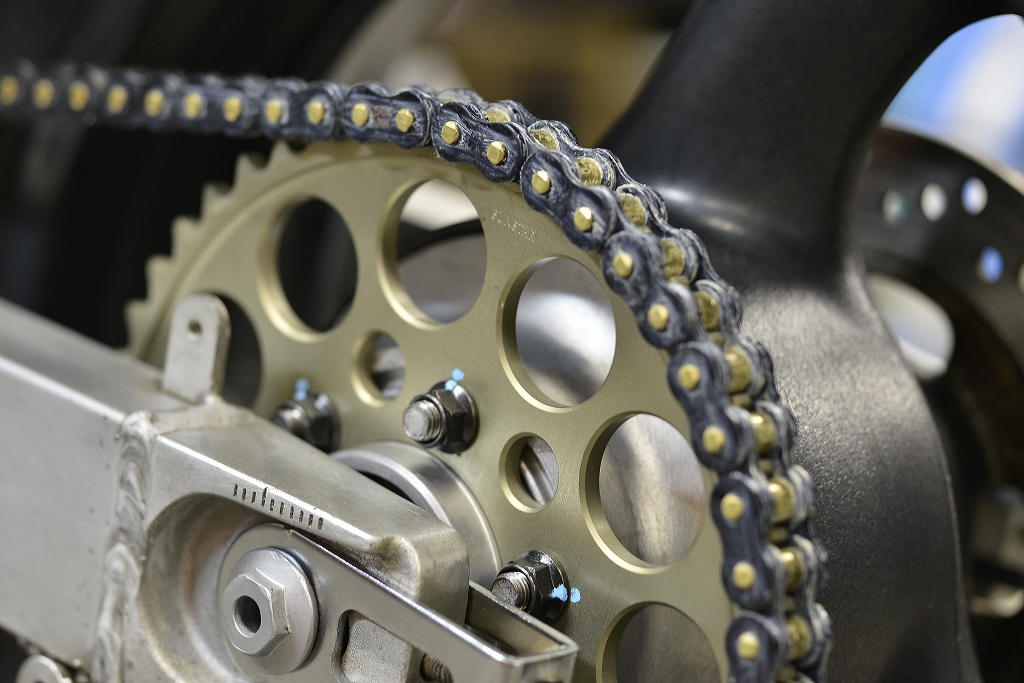
Chain is RK, sprocket is Sunstar.
It goes by in a flash when you look at photos—that’s all for today.