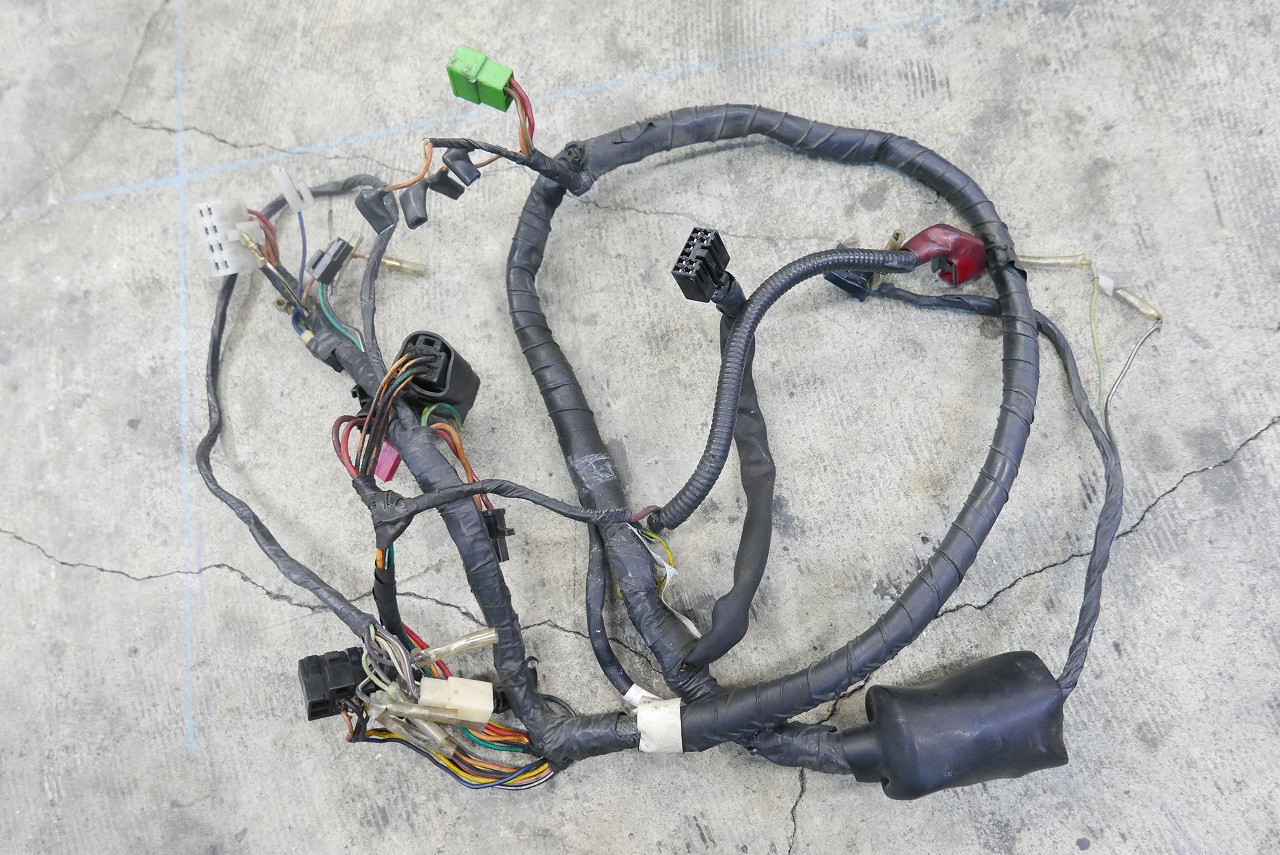
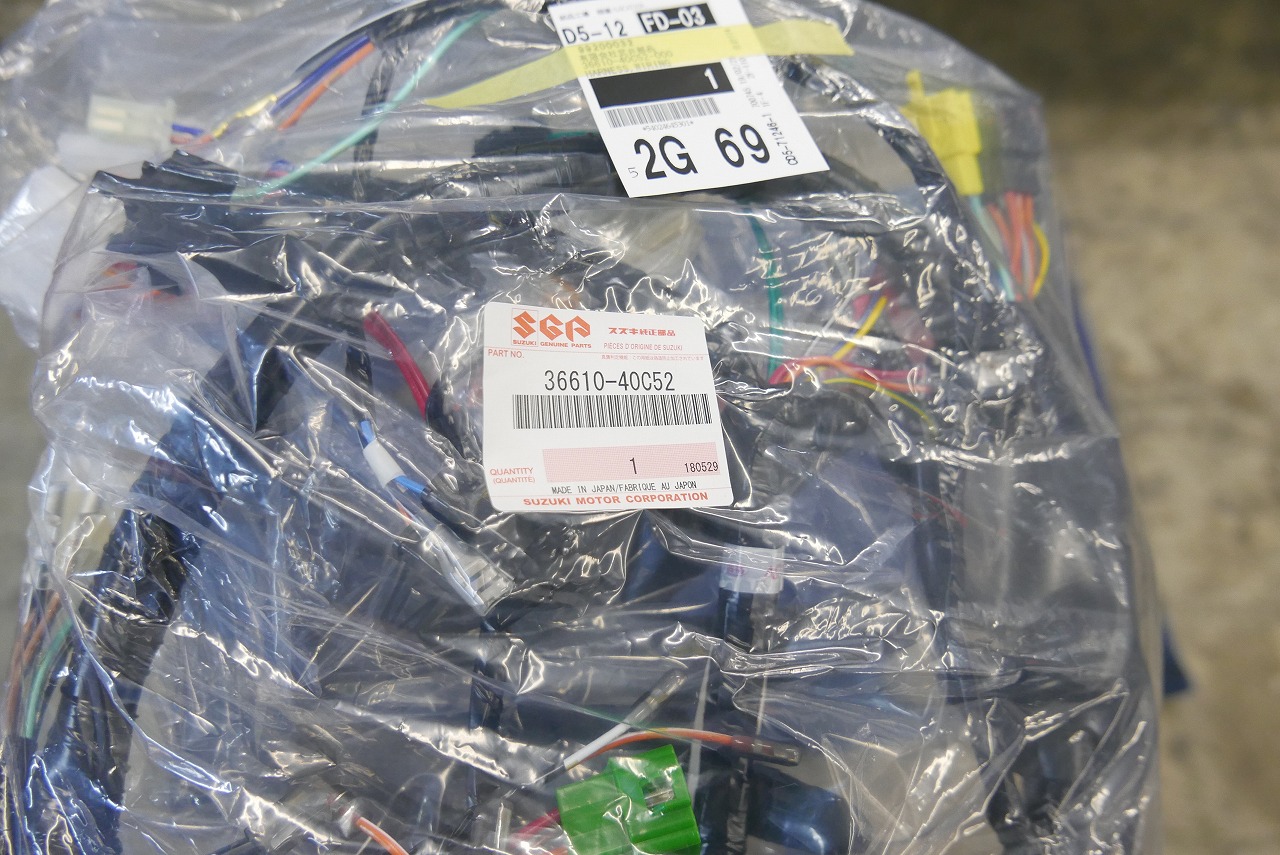
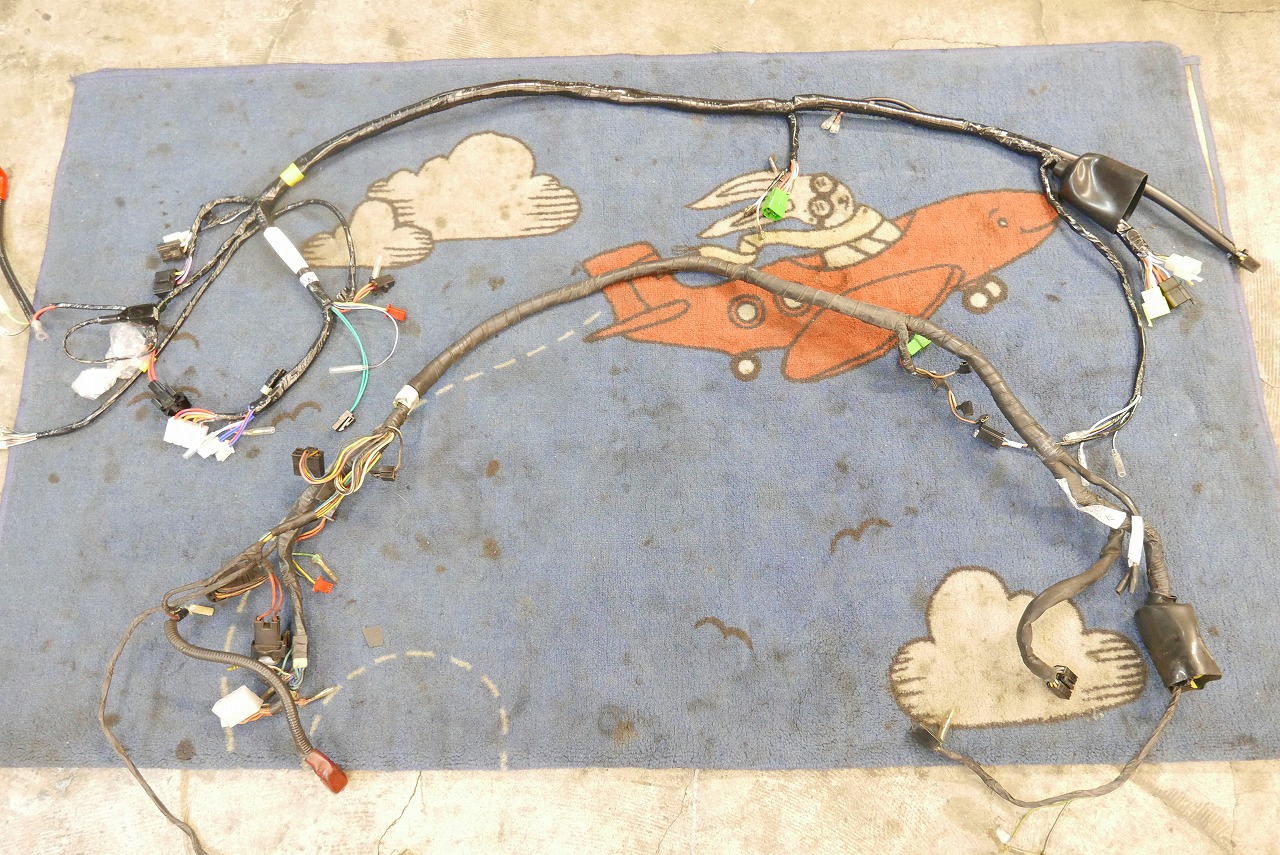
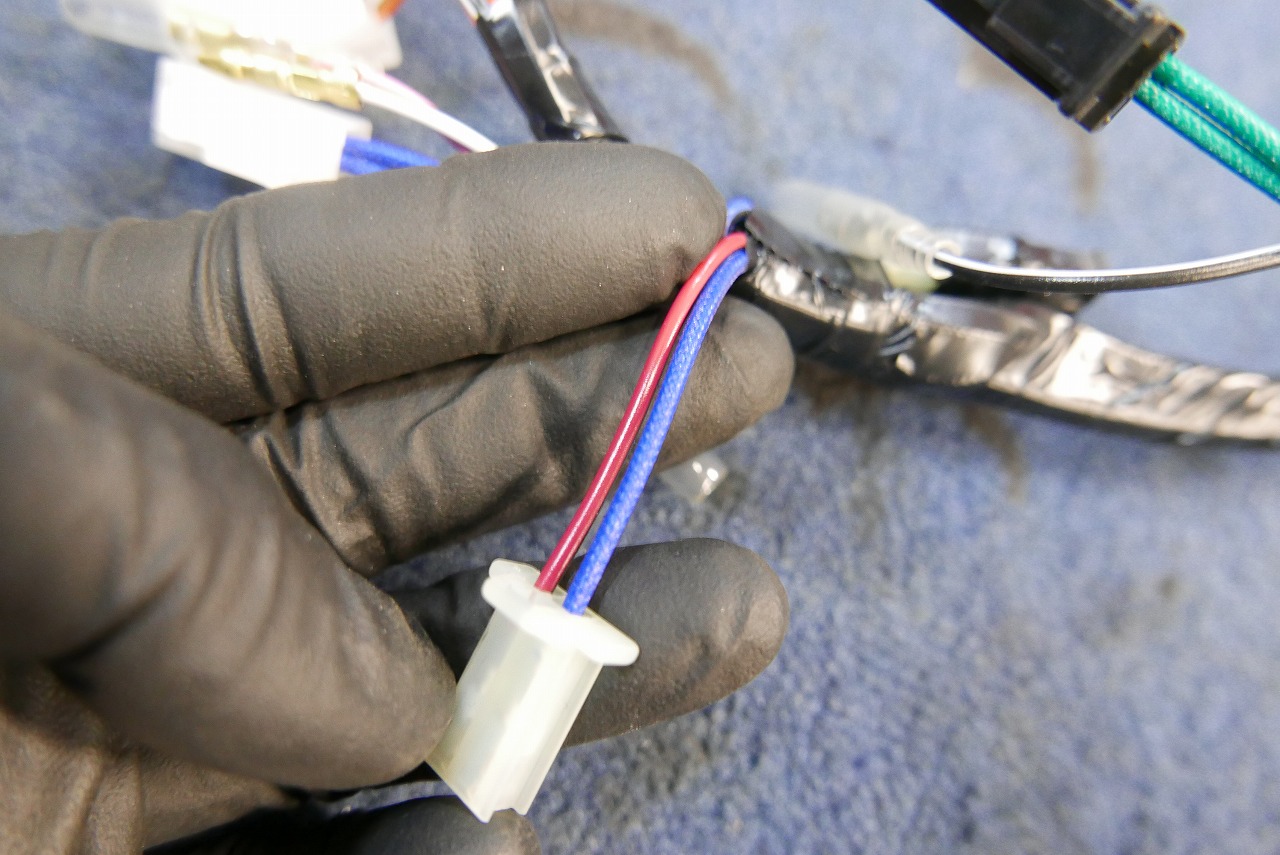
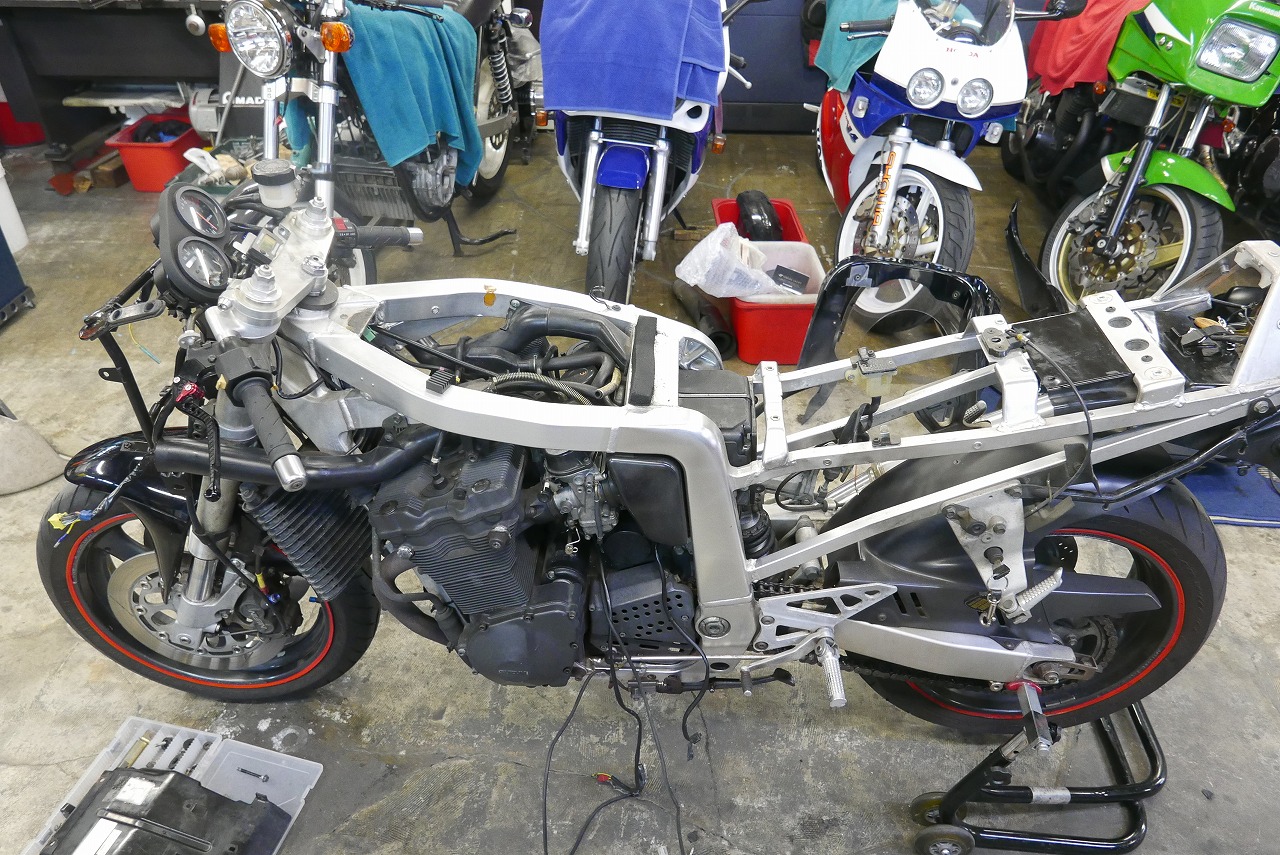
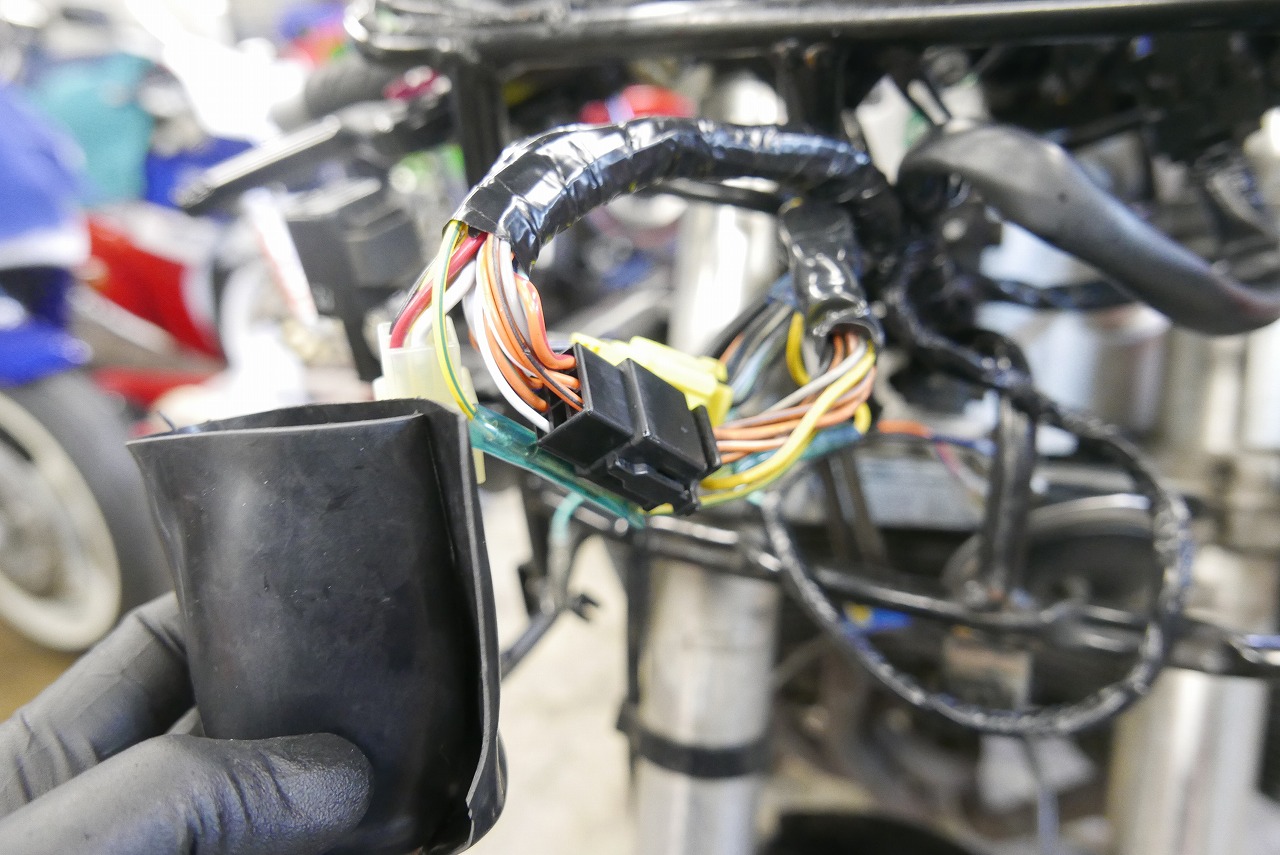
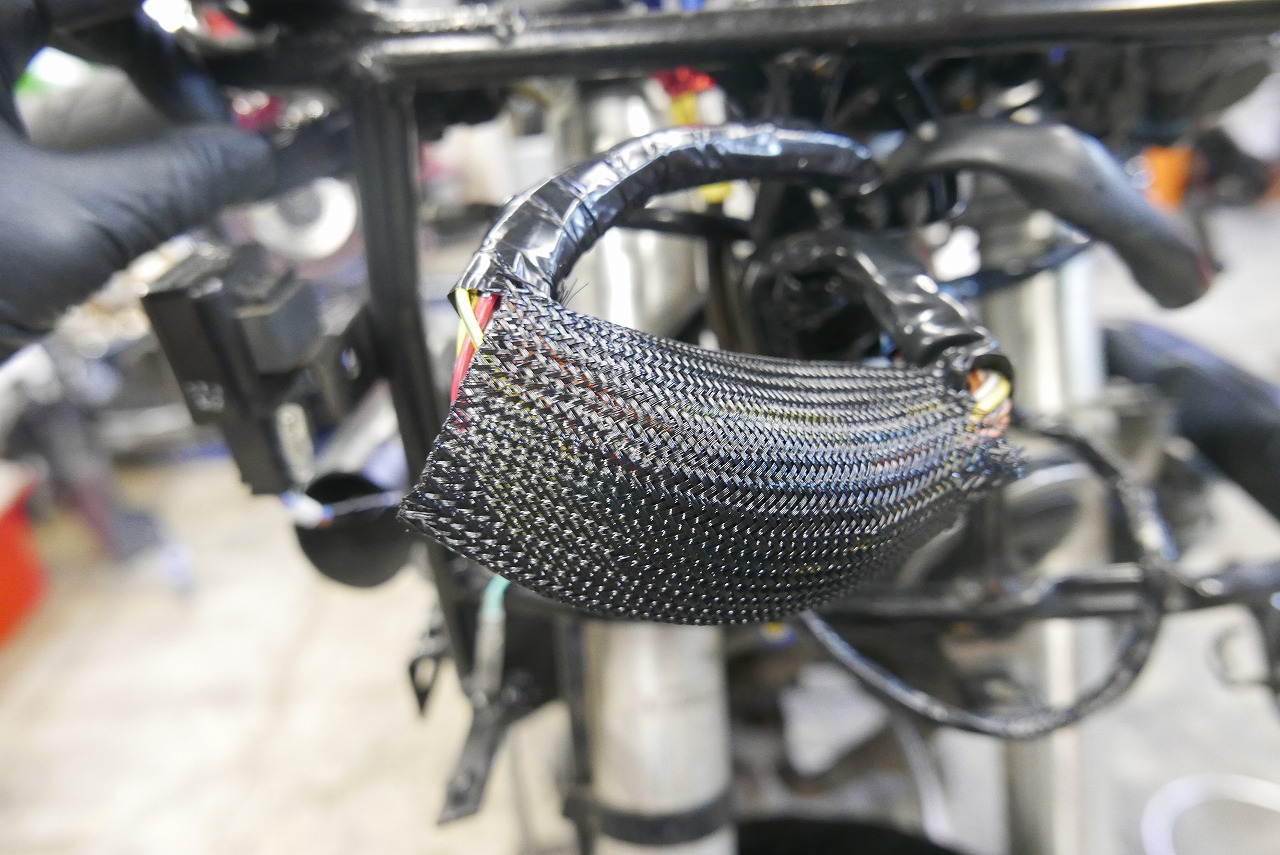
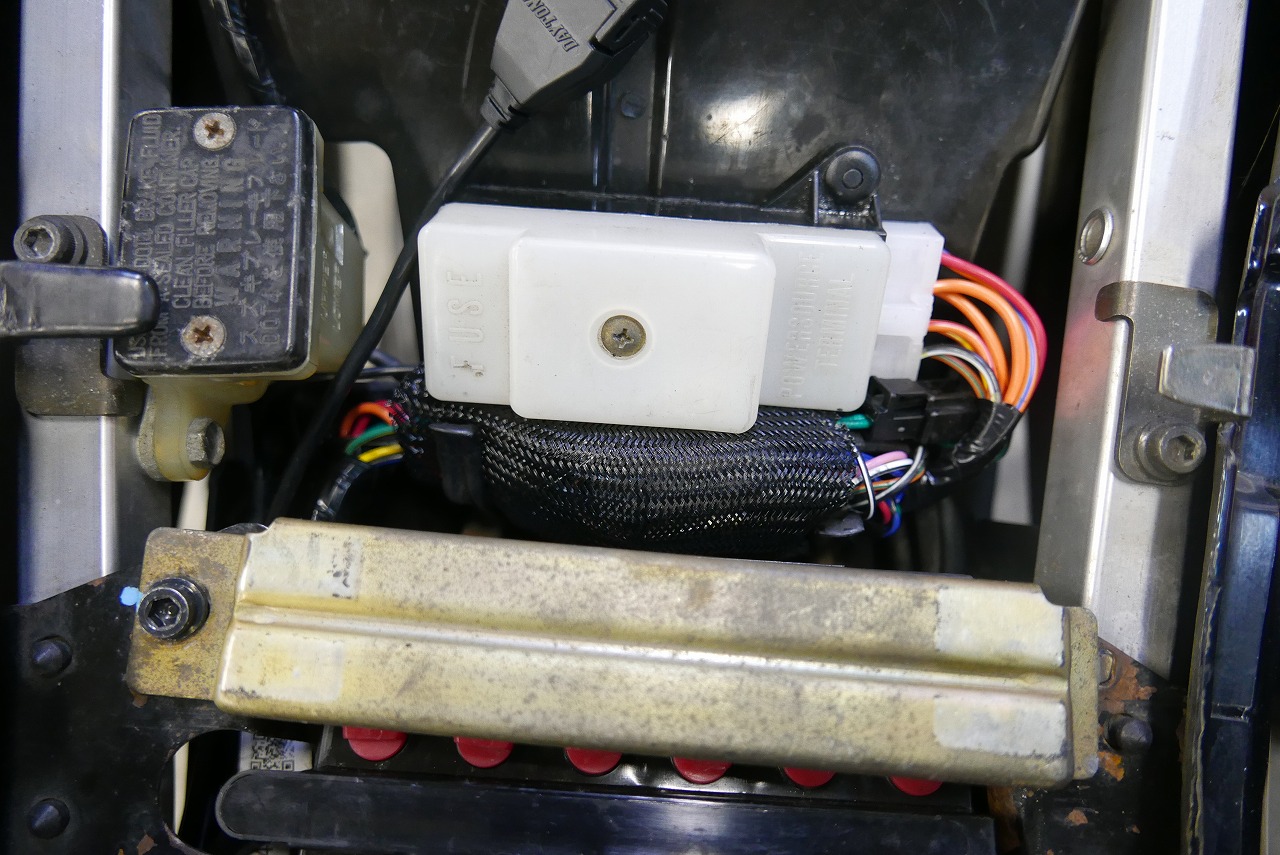
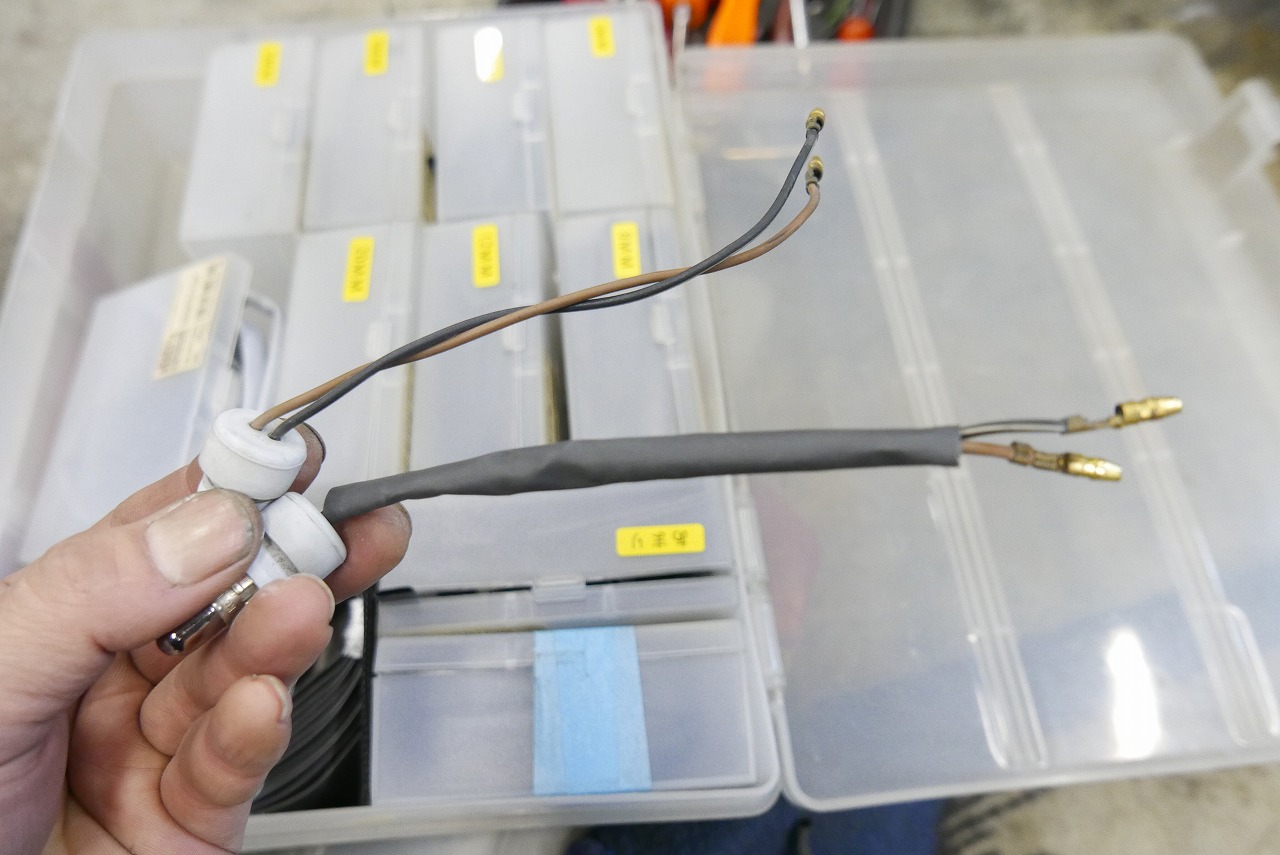
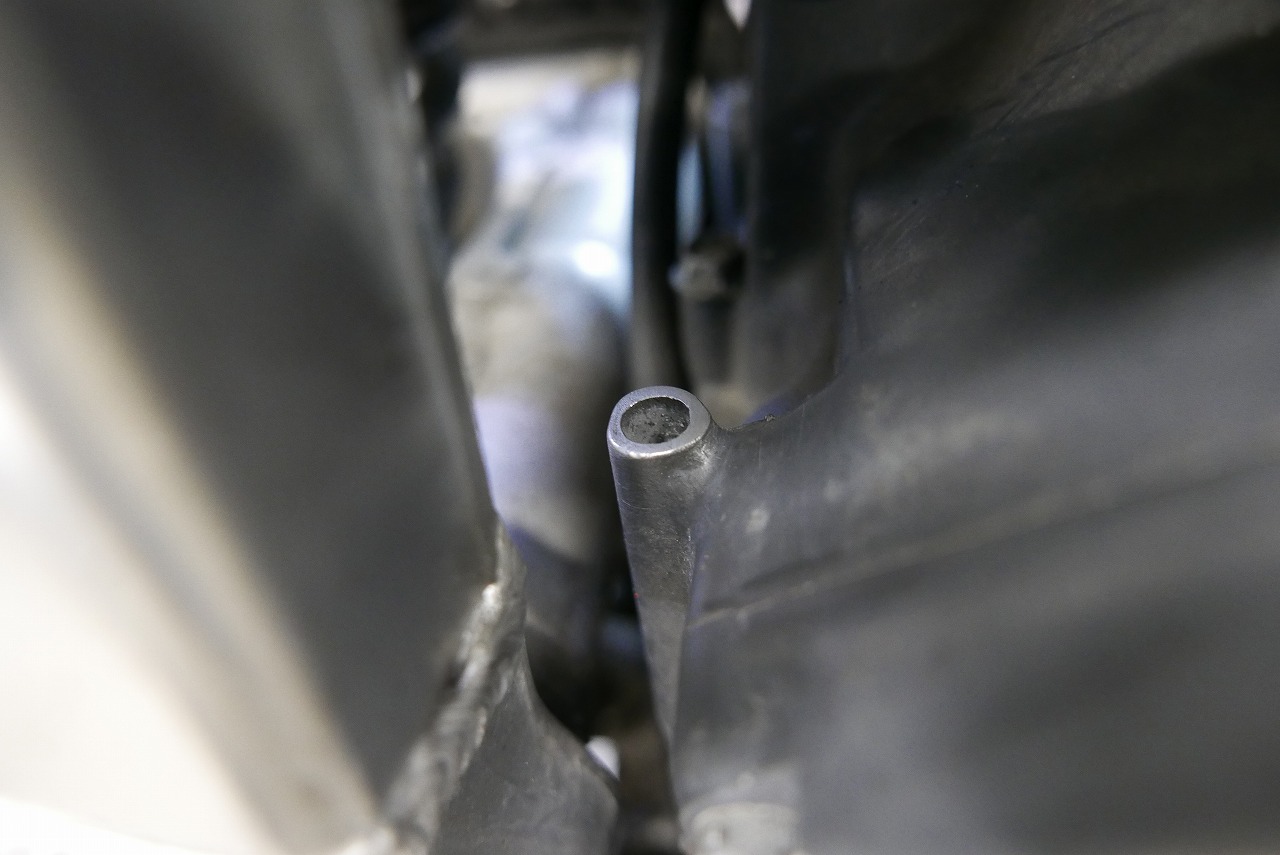
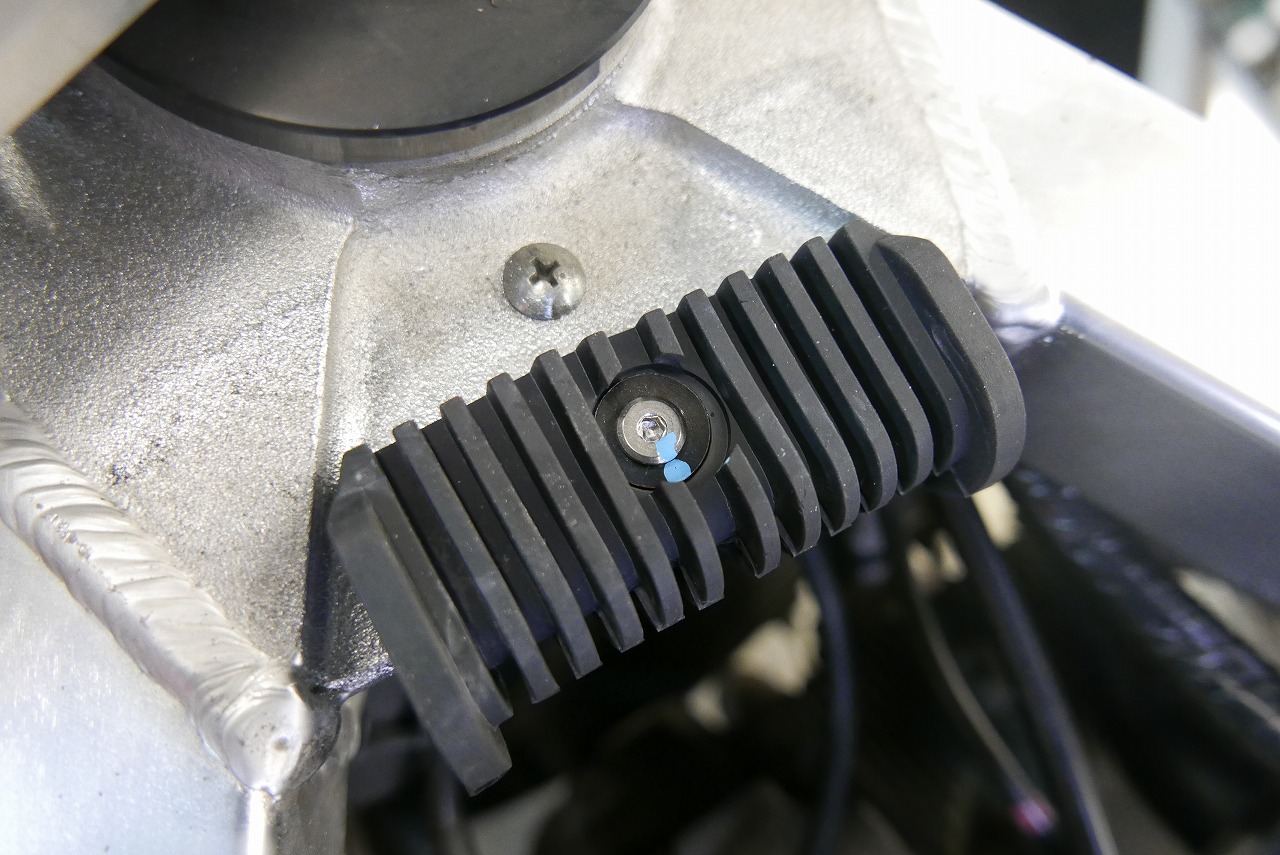
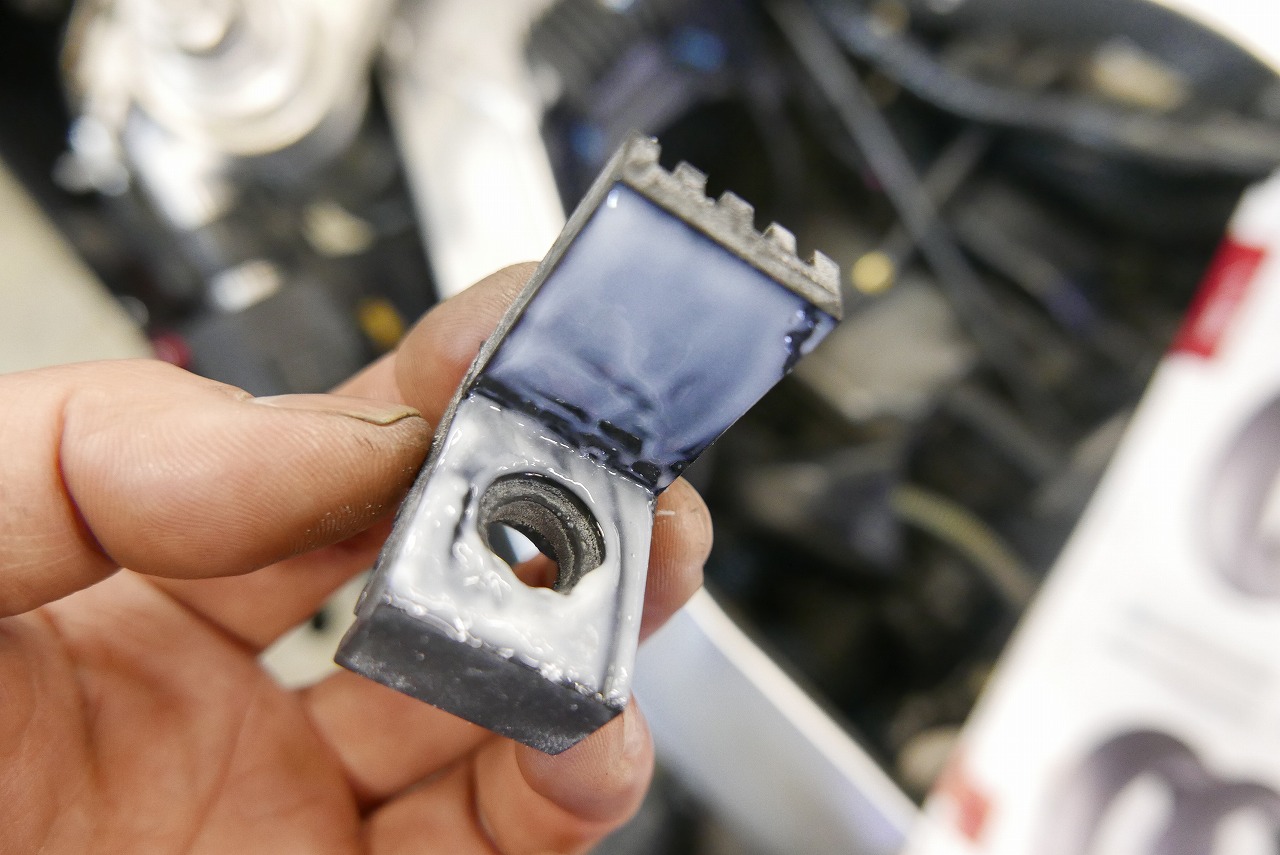
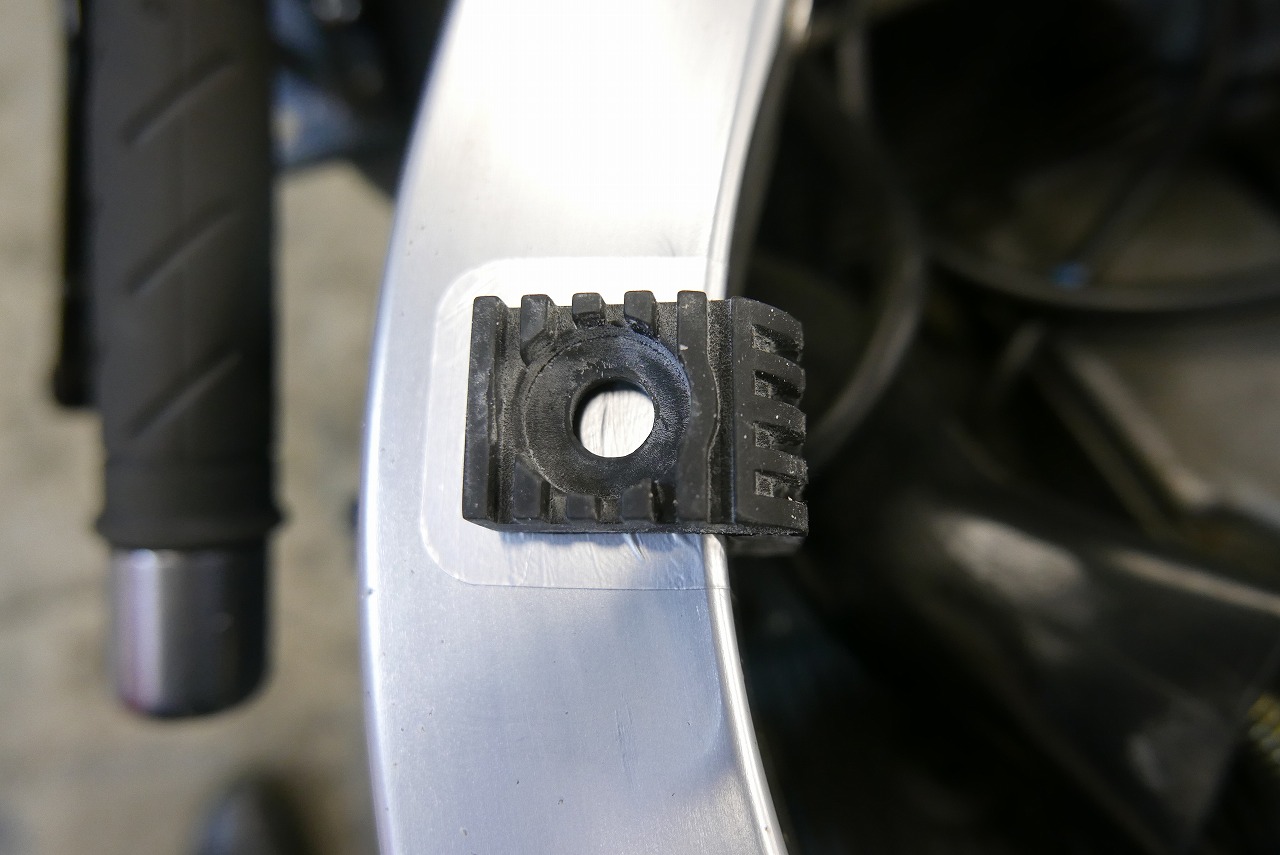
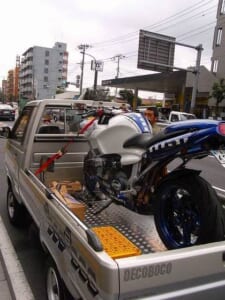
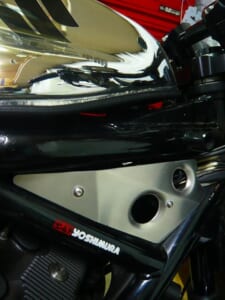
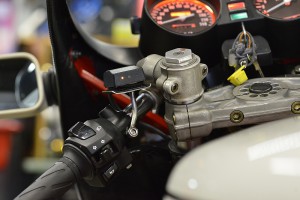
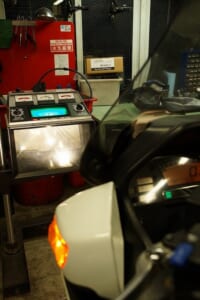
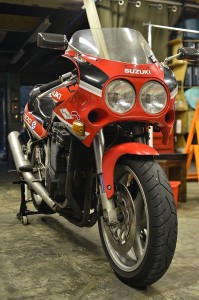
A rare 750 that you don’t see very often. We received a request for main harness replacement. I’m amazed that parts are still available. For carbureted air-cooled or oil-cooled bikes, a straightforward OEM main harness replacement isn’t too difficult. The layout and fitting take more time than removal. The customer brought the manual and parts list, so everything went very smoothly. Comparing old and new parts is very important. New parts often have improvements or consolidations, which can leave you with extra connectors. We double-check so we don’t end up wondering “Wait, what was this again?” after assembly. You see these extras on newer 1100s and such, but I’m not sure what they’re for. The rear brake switch circuit comes in two lines, which is actually pretty useful. When it’s completely stripped down, it looks surprisingly racy. Something this simple would be nice. We cut off any awkward boots without hesitation. If any issues come up or you need to swap a switch, you’d have to remove the upper cowl and headlight to access it. We always keep maintenance in mind. If you want to bundle everything neatly, just slip on some mesh. It’s easy to remove, easy to put on, and looks great. We wrapped it neatly with mesh for a clean look and good access. OEM position lights. Just leaving the heat-shrink tubing off and turning them on looks good aesthetically. We relocated the ground to an easier-access location. Stripping the paint off the case before mounting might improve current flow by maybe 1 percent. The cushion in front of the tank was bonded on, so we switched it to bolt-on like the 1100. The side is bolted on, but the only option is a pop rivet (rivet nut). I really dislike this item because • it spins easily • when used on bag-like parts, if something goes wrong, debris can get stuck inside during removal. I don’t want to use it carelessly. For a defensive approach, after degreasing we apply aluminum tape and apply two-part epoxy generously. Then crimp it firmly. I think it’s probably pretty strong. And it should be easier to replace later. I noticed the aluminum tape has rounded edges, and I wonder if I’ll ever get to use that detail…
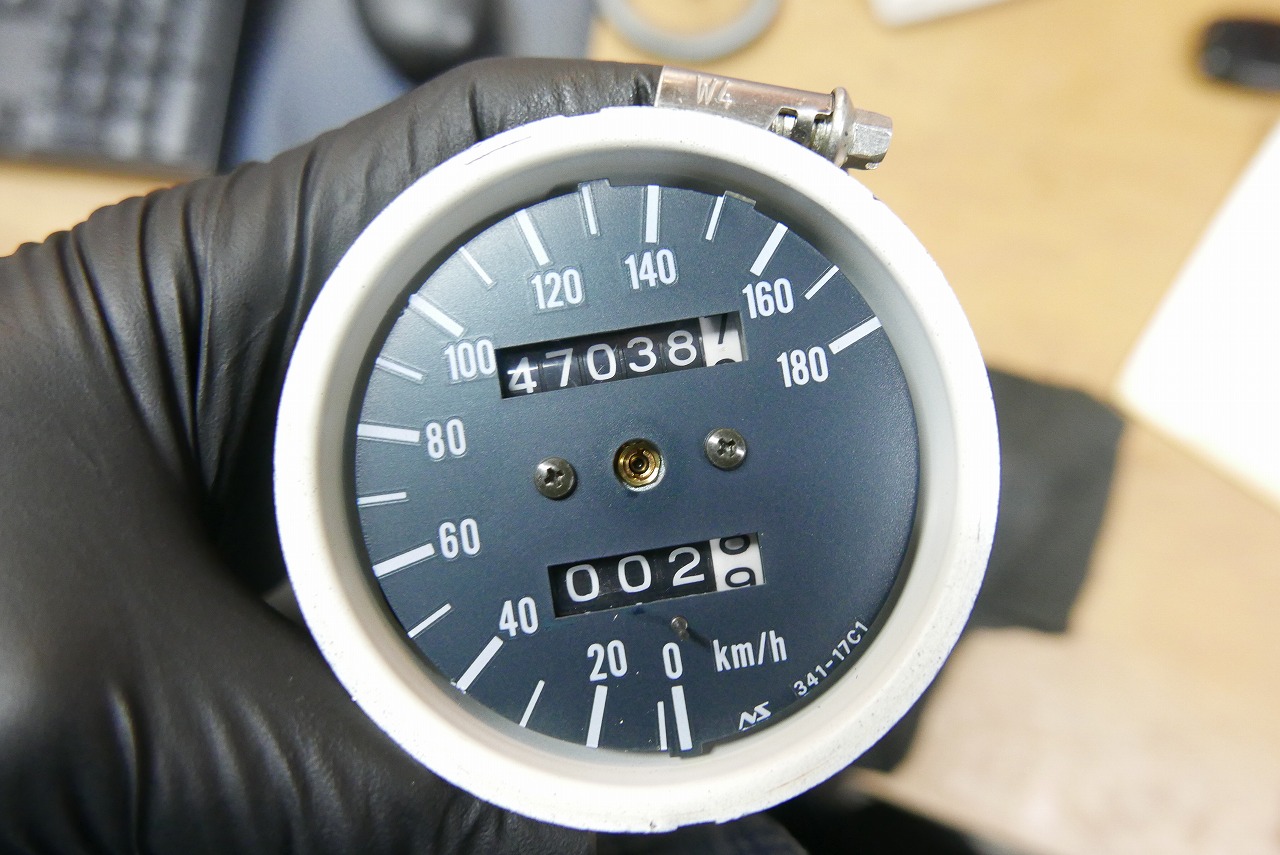
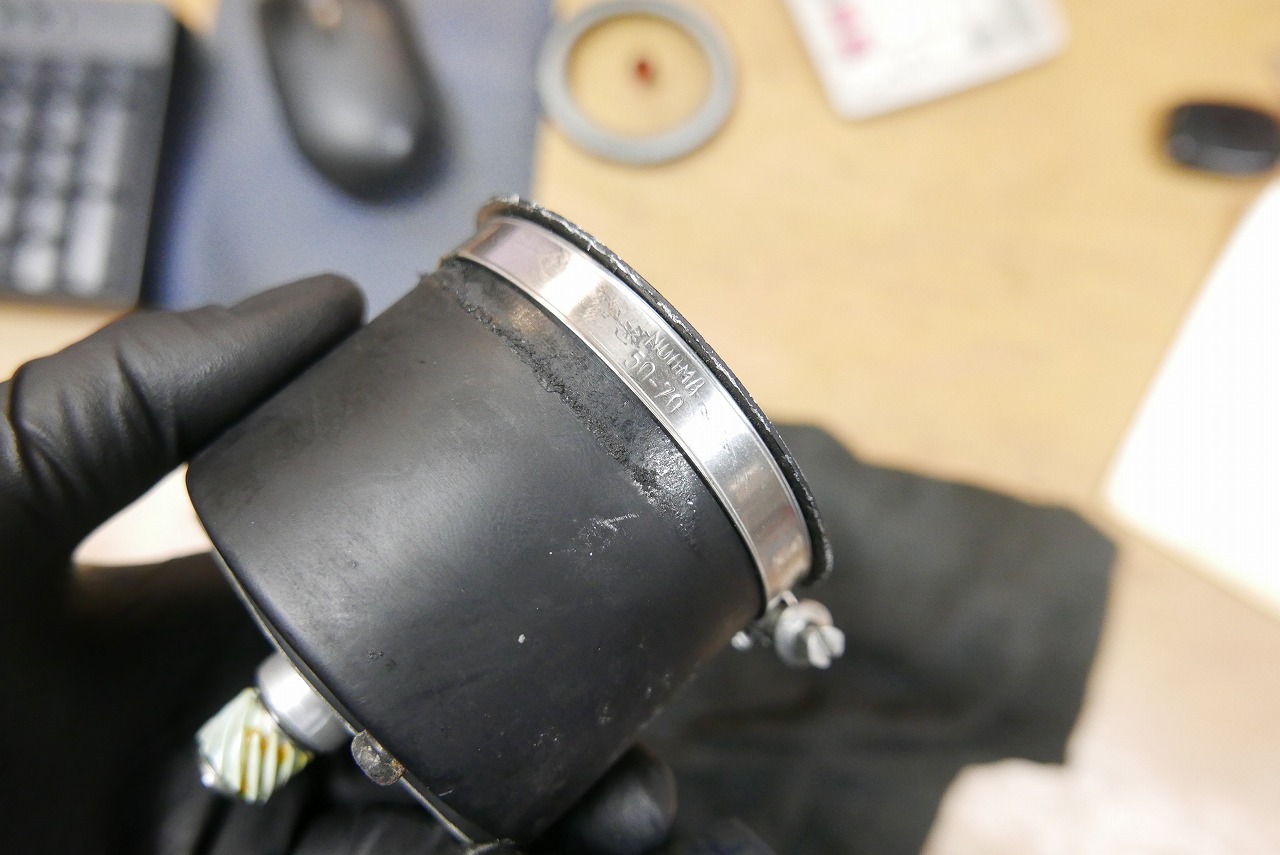
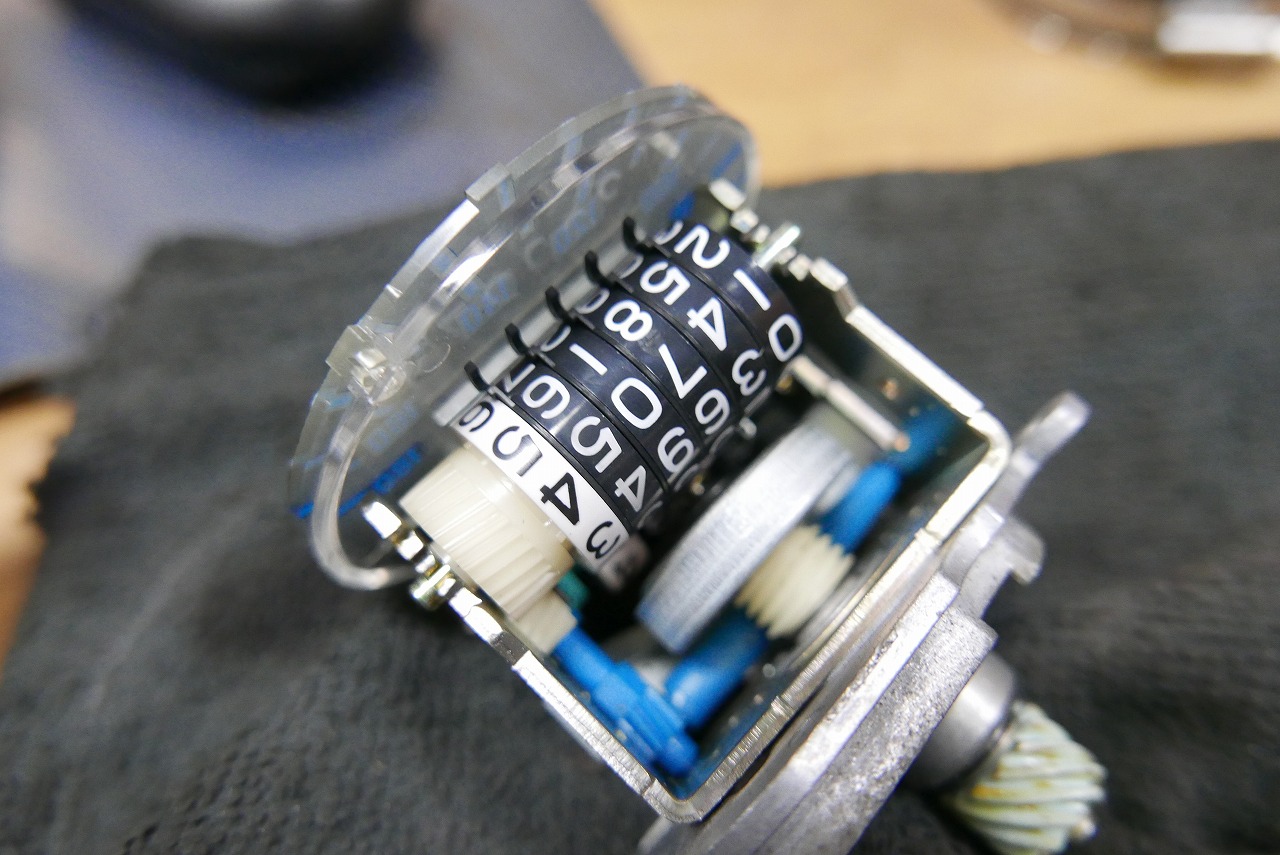
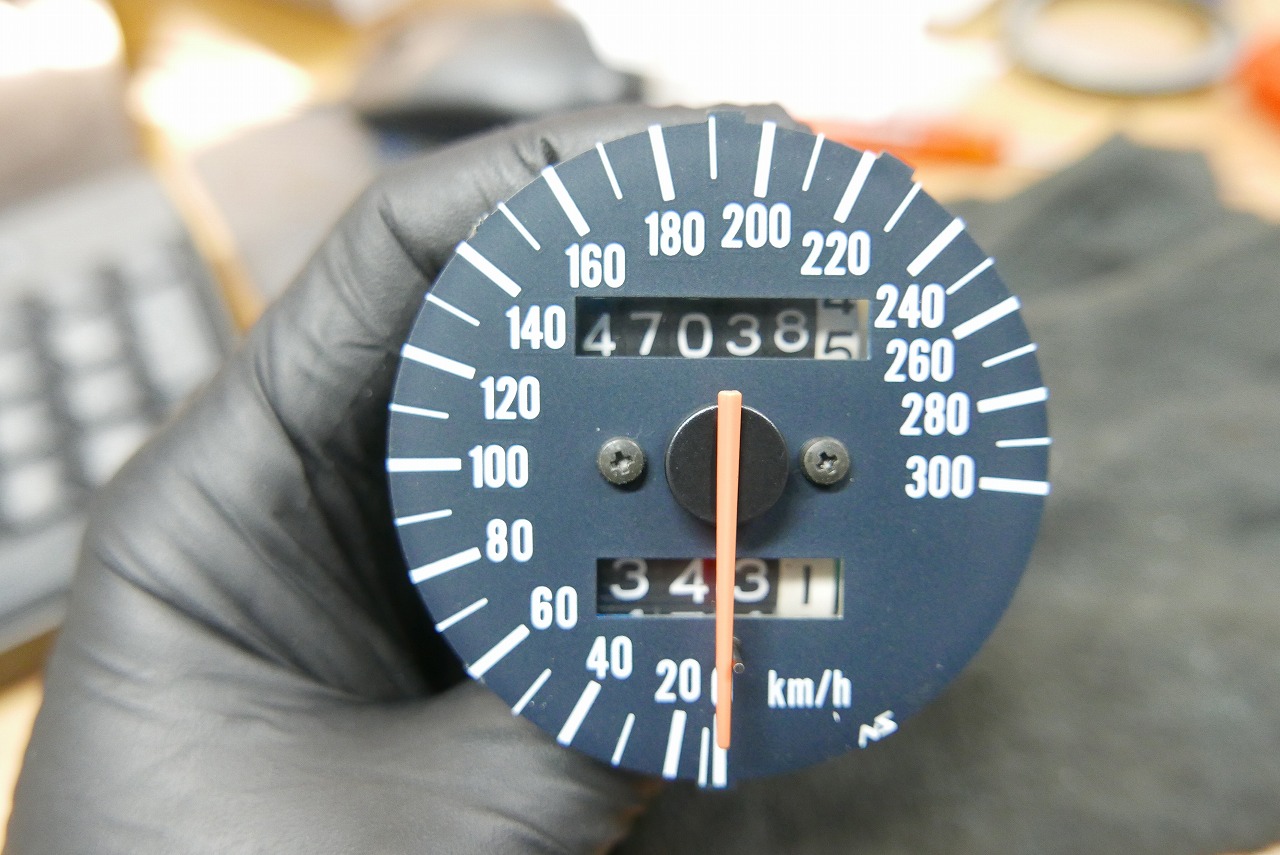
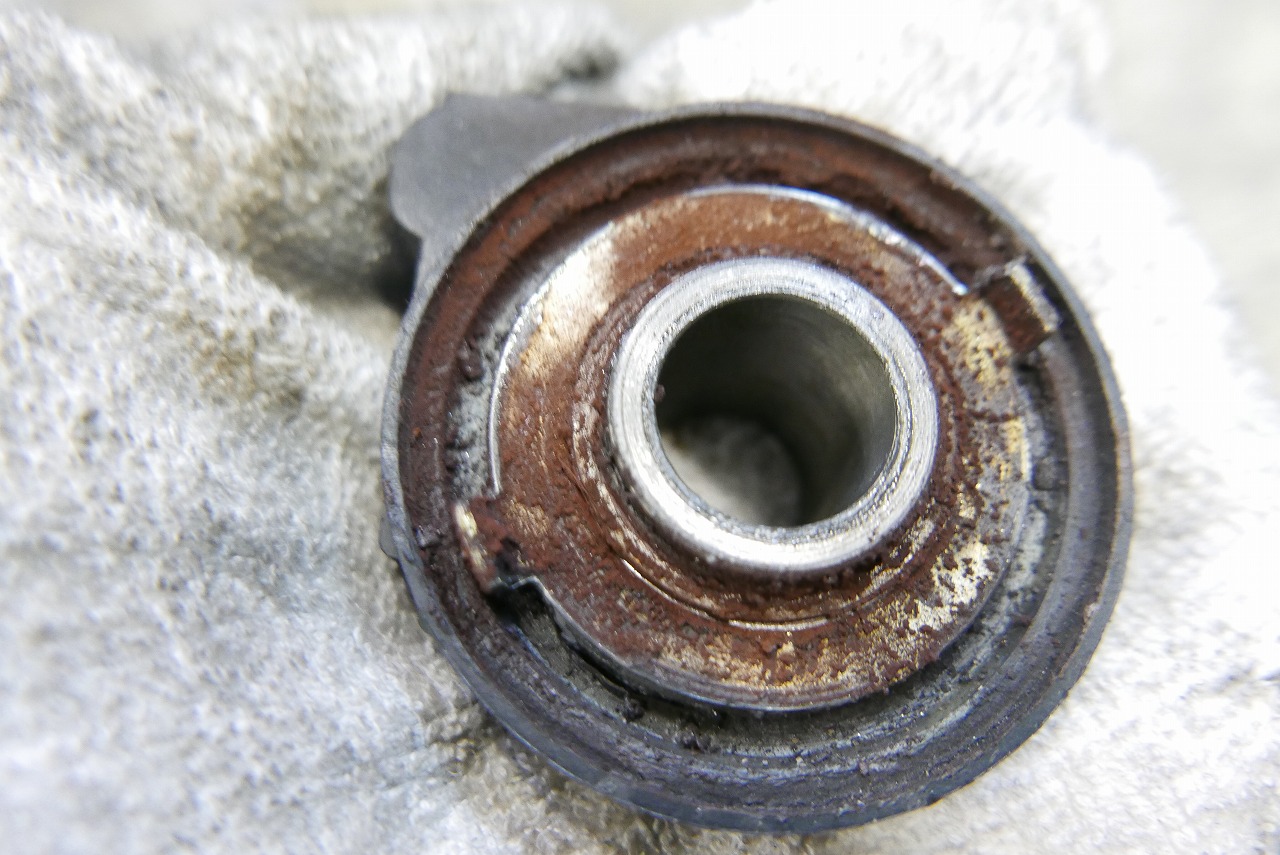
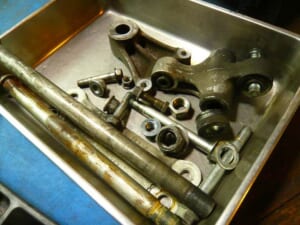
The customer said a spring came off on the way from Nagoya. I’d never seen that before—pretty wild. We took it apart to learn about it. A trick to avoid damaging the edges: loosely tighten a hose clamp and work it back and forth. It works surprisingly well. When swapping to a full-scale meter, the customer wanted the same mileage. I’d never done it before, so it’s always a learning experience.
I think Google is amazing—I realize that every day. I never knew it worked that way… Drilling it out is unthinkable, but you can match the distance in just a few minutes.
I’ve picked up another skill, though I’m not sure how useful it’ll be.
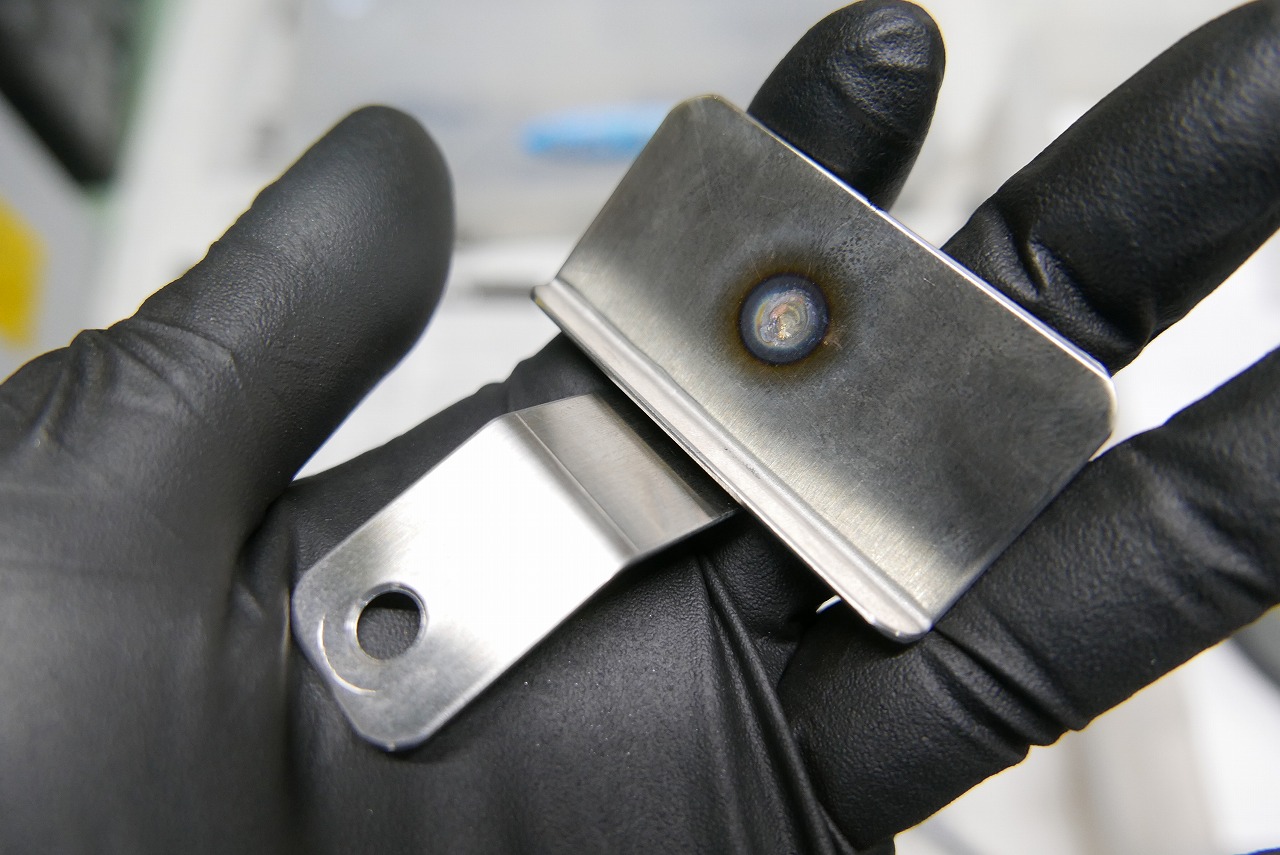
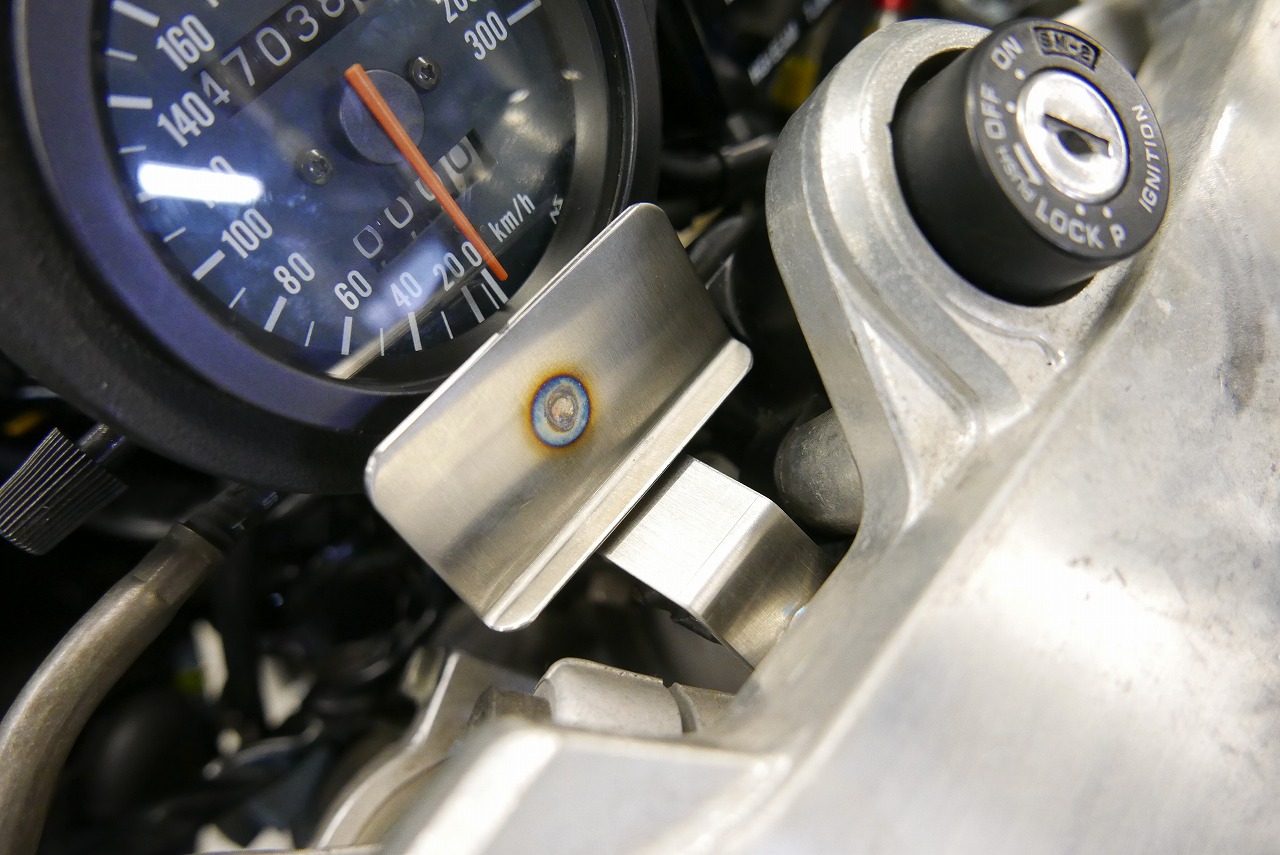
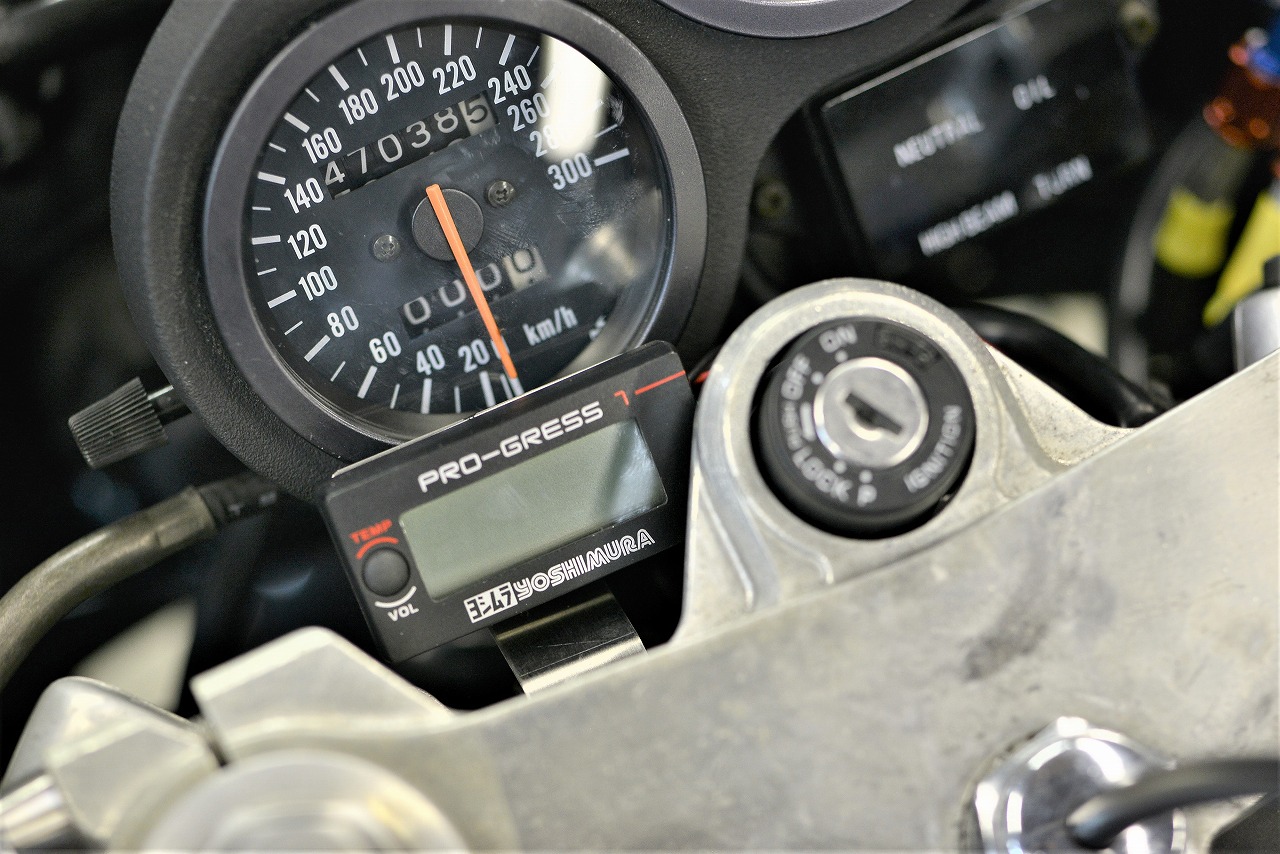
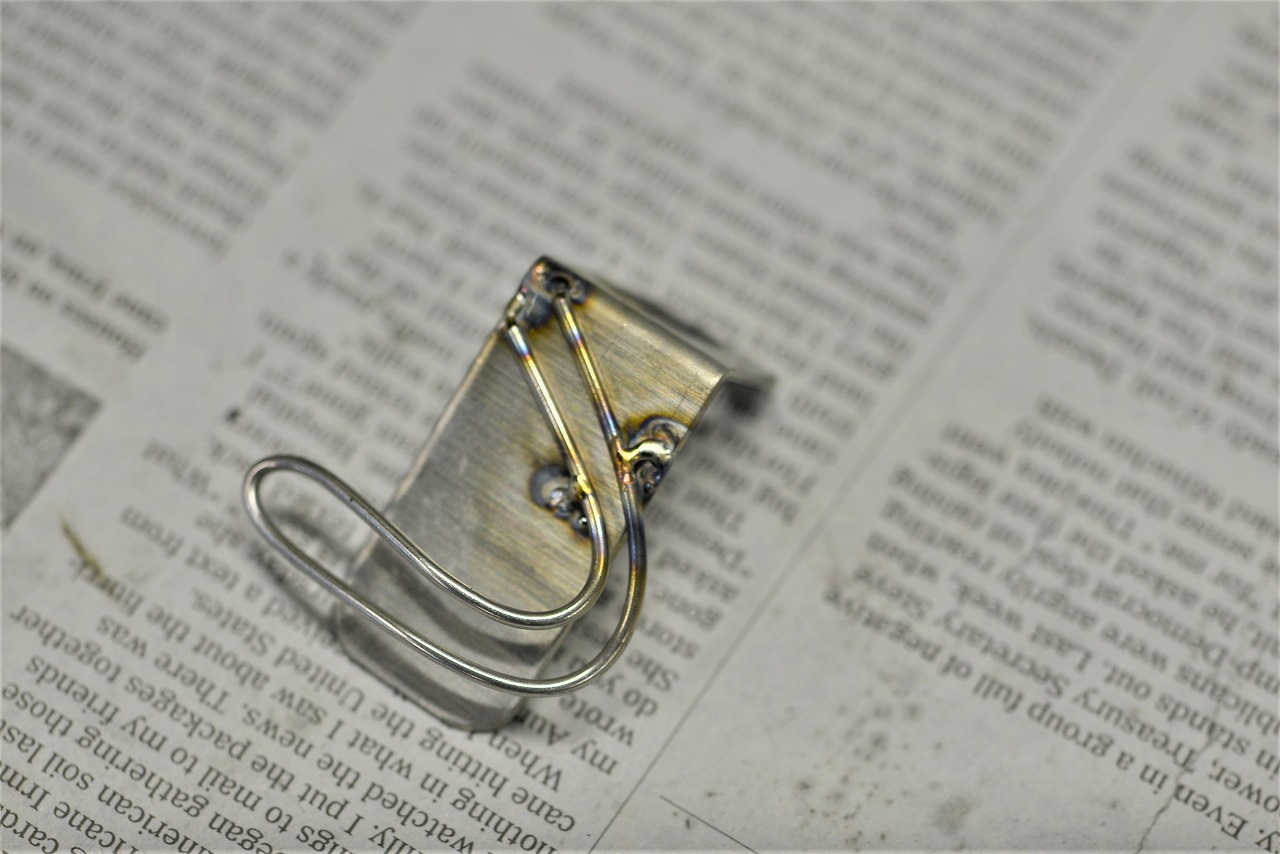
This is adjustment to the same value, not rollback, so please don’t misuse it. And now it shows the same mileage. We made a digital tachometer bracket using a fail-proof patching method. We relocated the digital tach using a Young’s modulus bracket for a low, easy-to-read position. The meter area looks cohesive and clean when it’s all integrated.
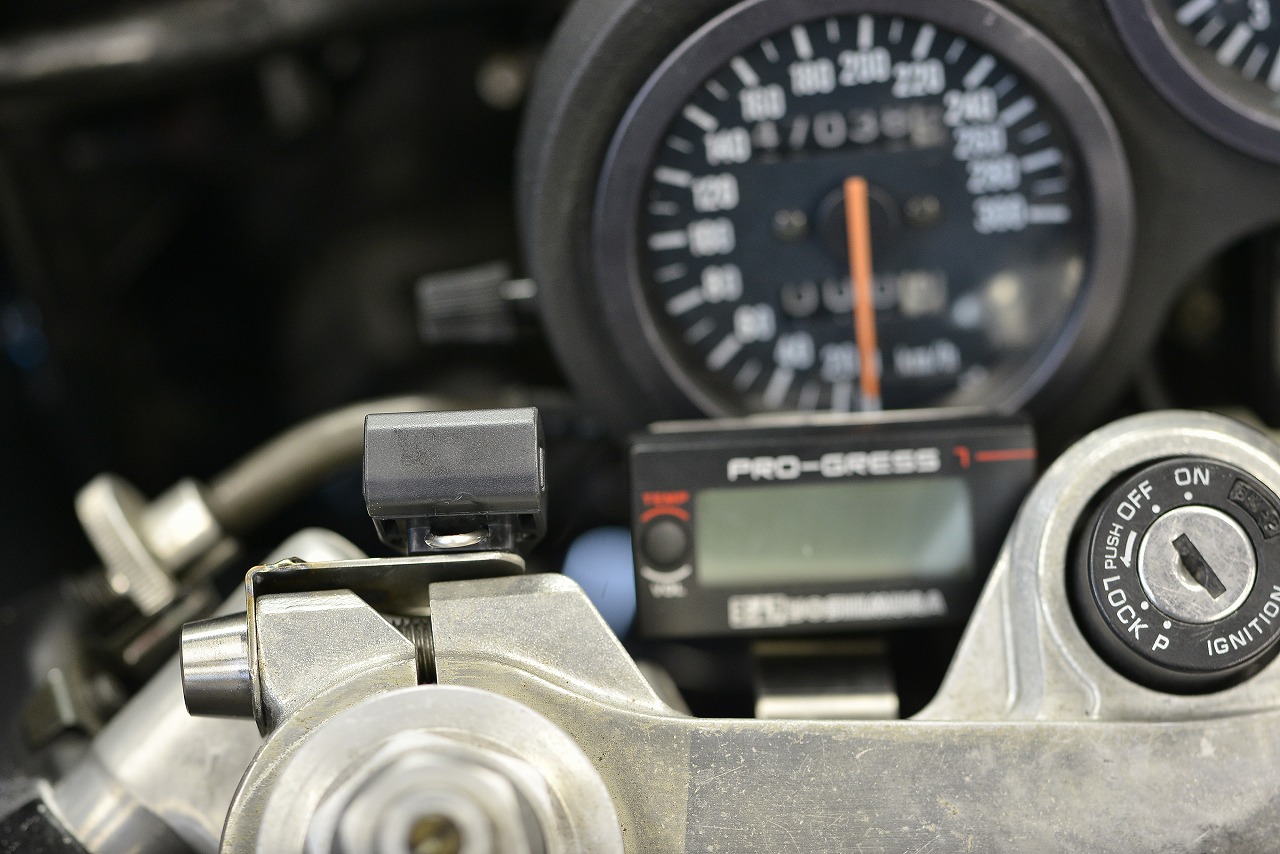
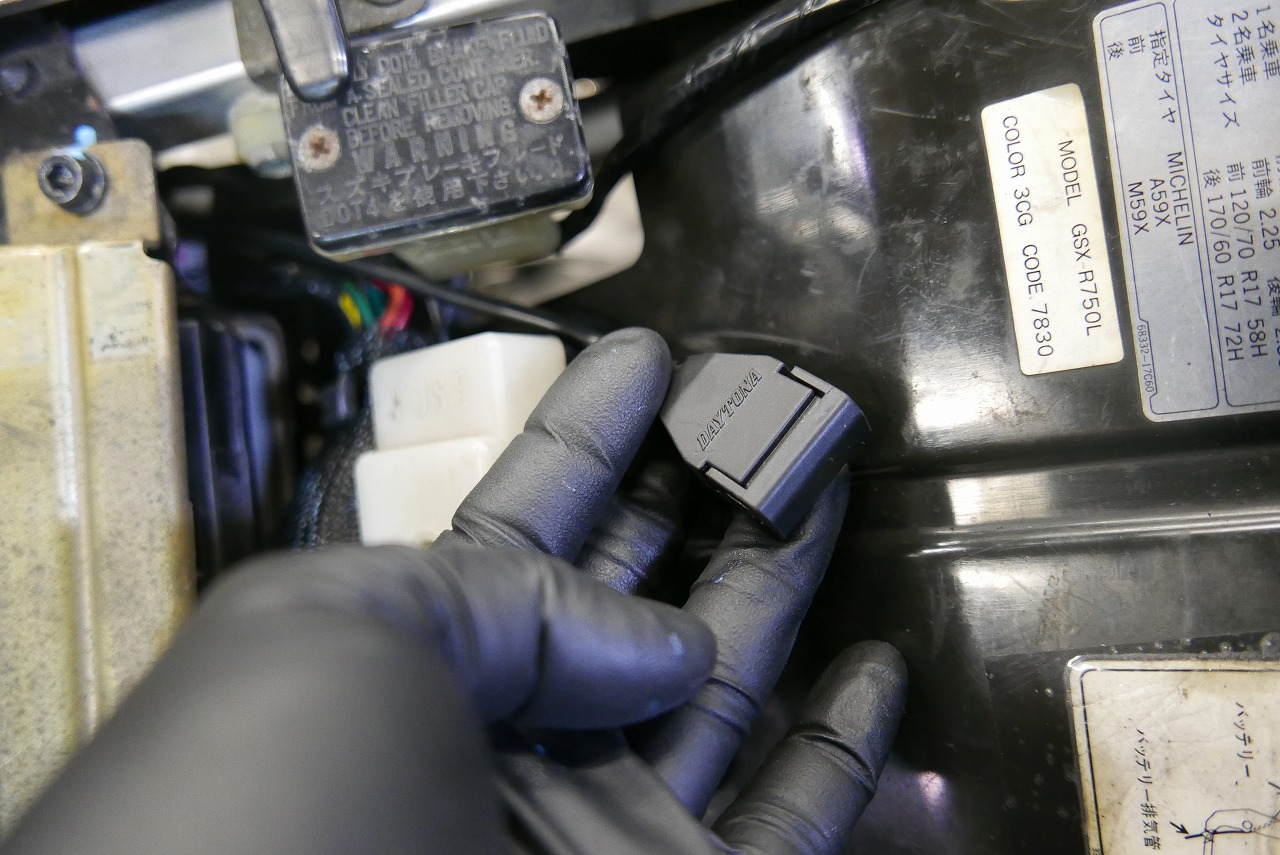
Of course, the most important thing is that it doesn’t get in the way when working on the front. Daytona’s USB is a really good product, but it’s designed so much with DIY users in mind that it’s actually hard to install. I discovered that breaking a welding rod and inserting it gives surprising spring tension and makes it easier to secure.
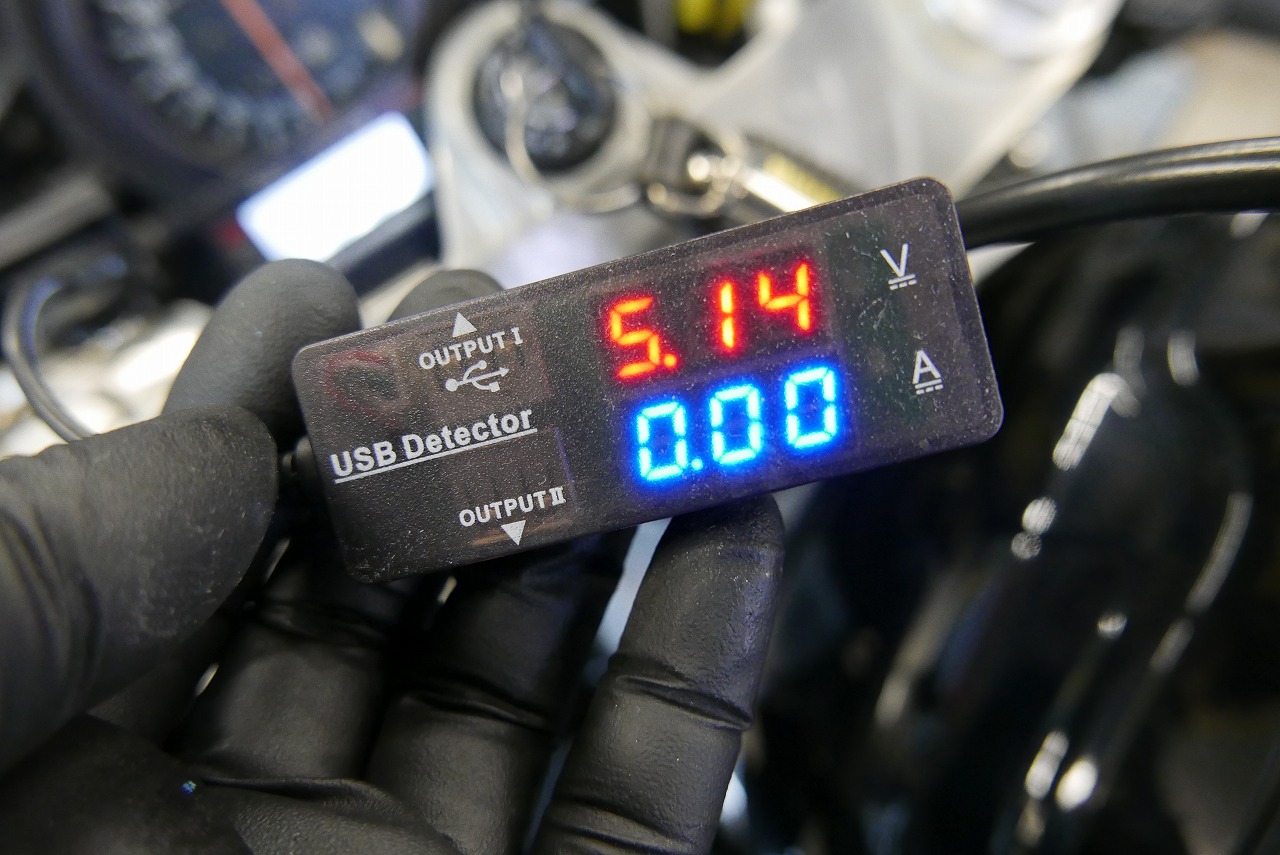
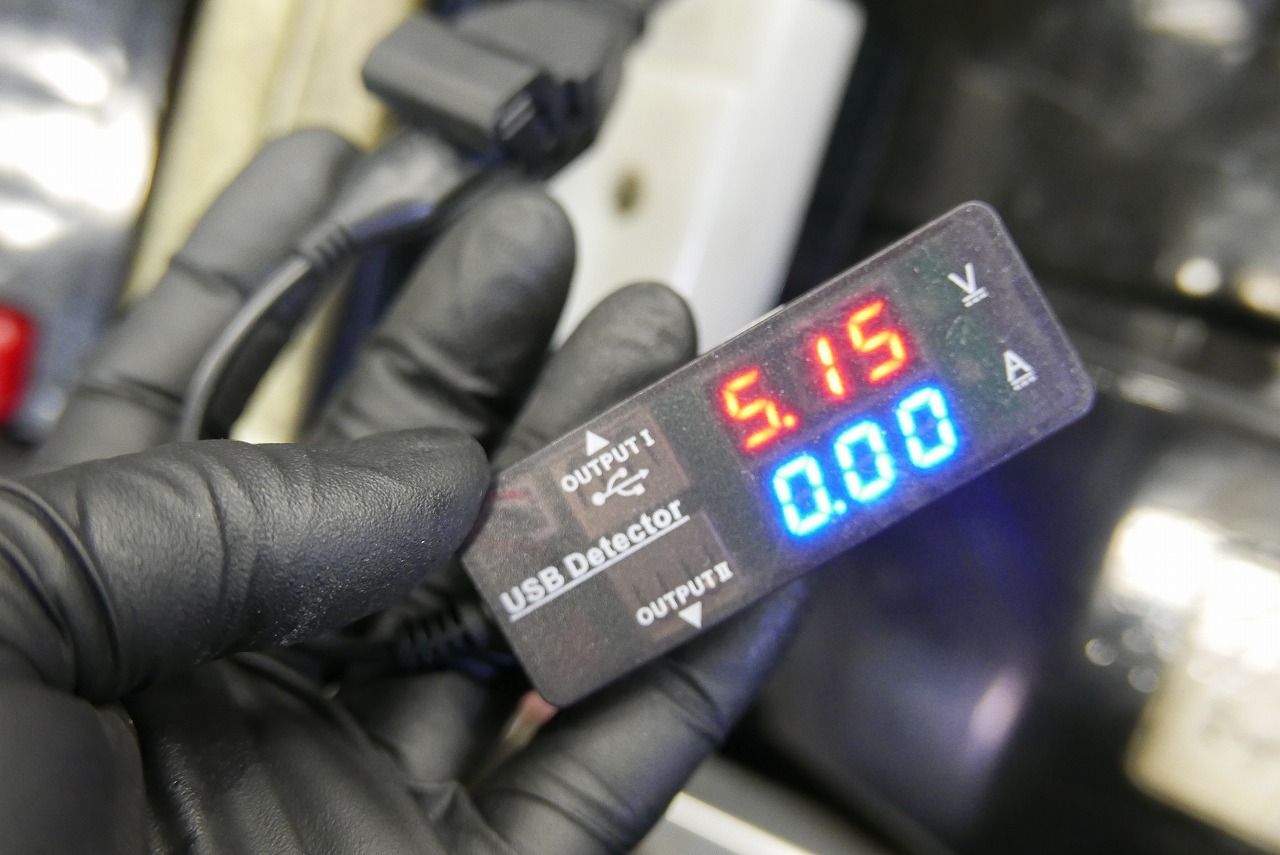
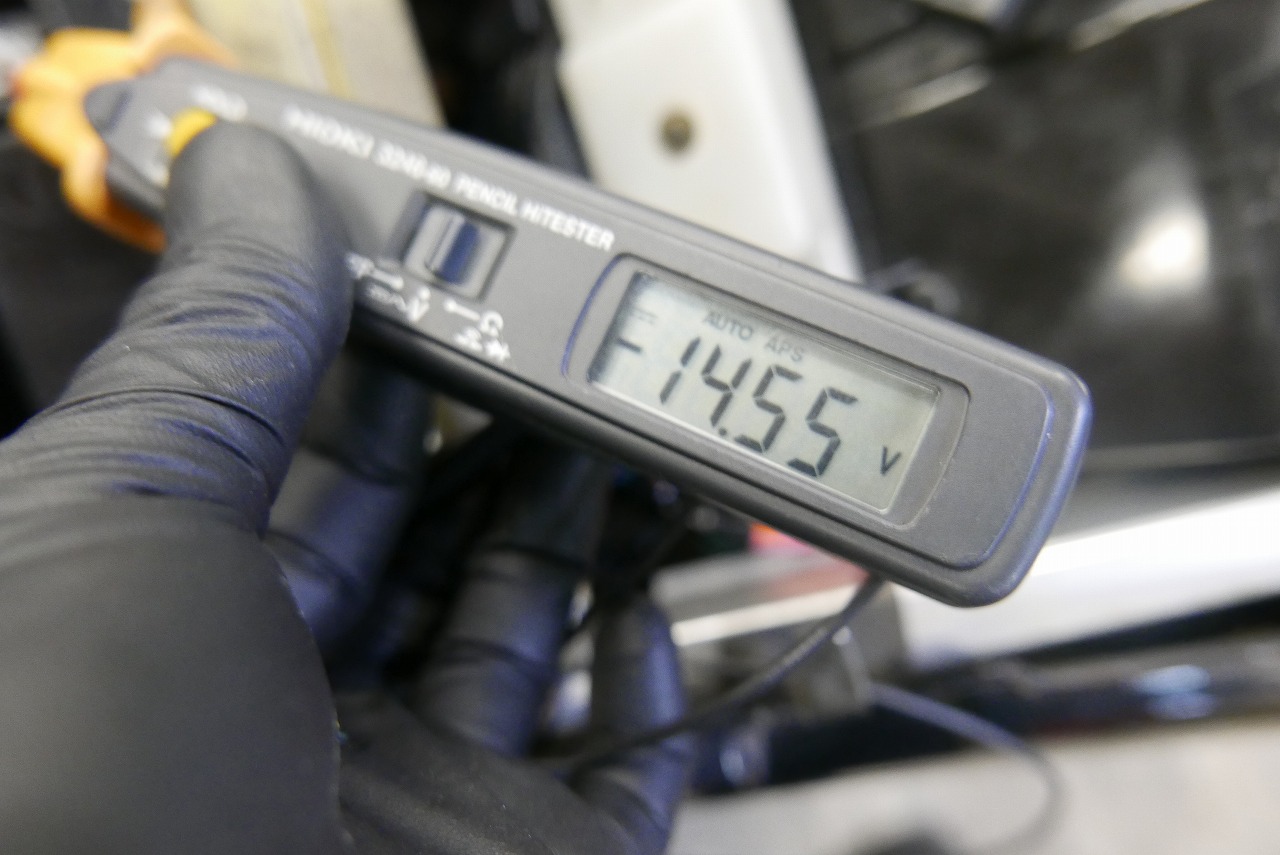
*After making it, I realized that if I’d bent the welded part into a U-shape instead of folding it back, it would’ve been smaller and simpler. That’s for VR2 next time. It clips in nicely. The rear will be changed to a storage box, so we left it loose. Let’s check that both front and rear USB ports are generating voltage. The output voltage is solid, so we’re good. OEM trim with double-sided mounting is the worst. I generally think you shouldn’t use double-sided tape at all. It peels off over time, and reattaching it is a hassle.
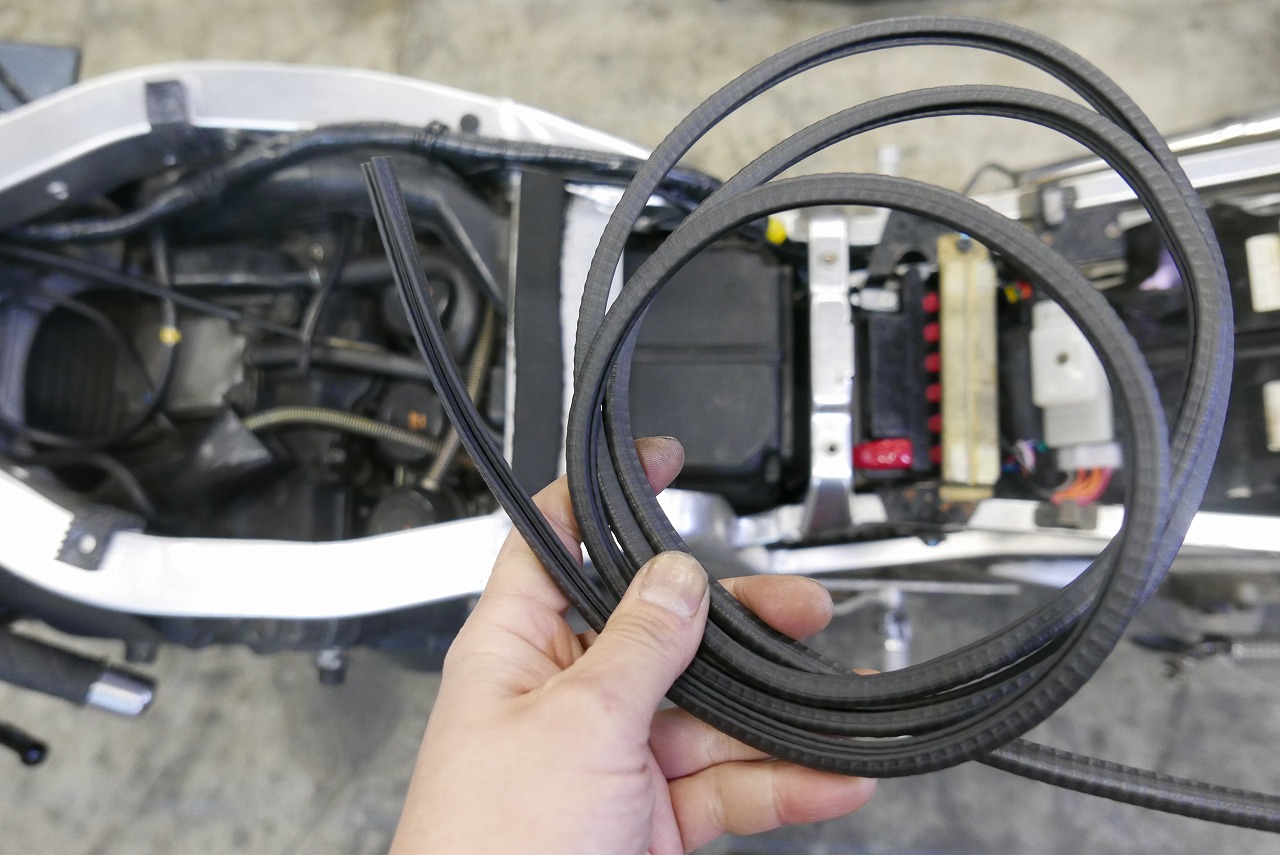
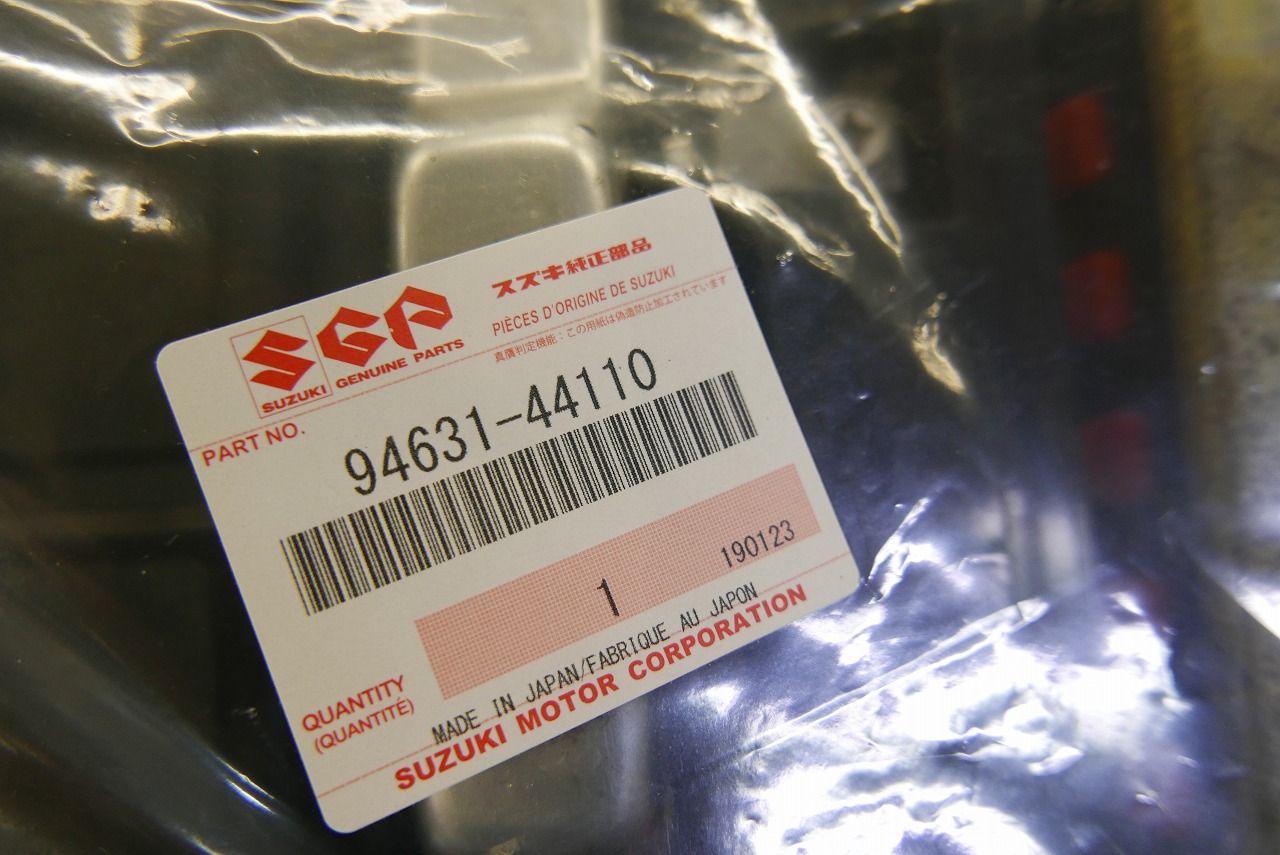
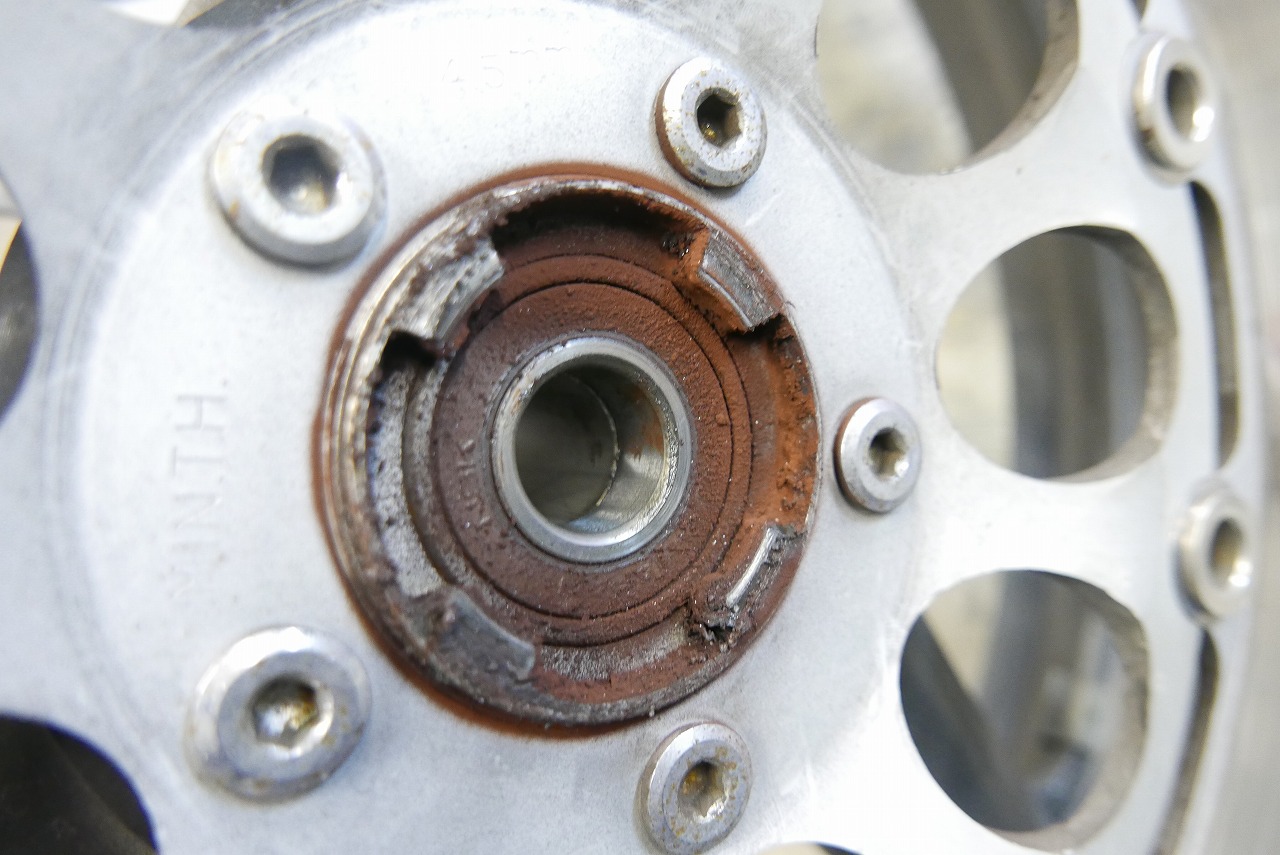
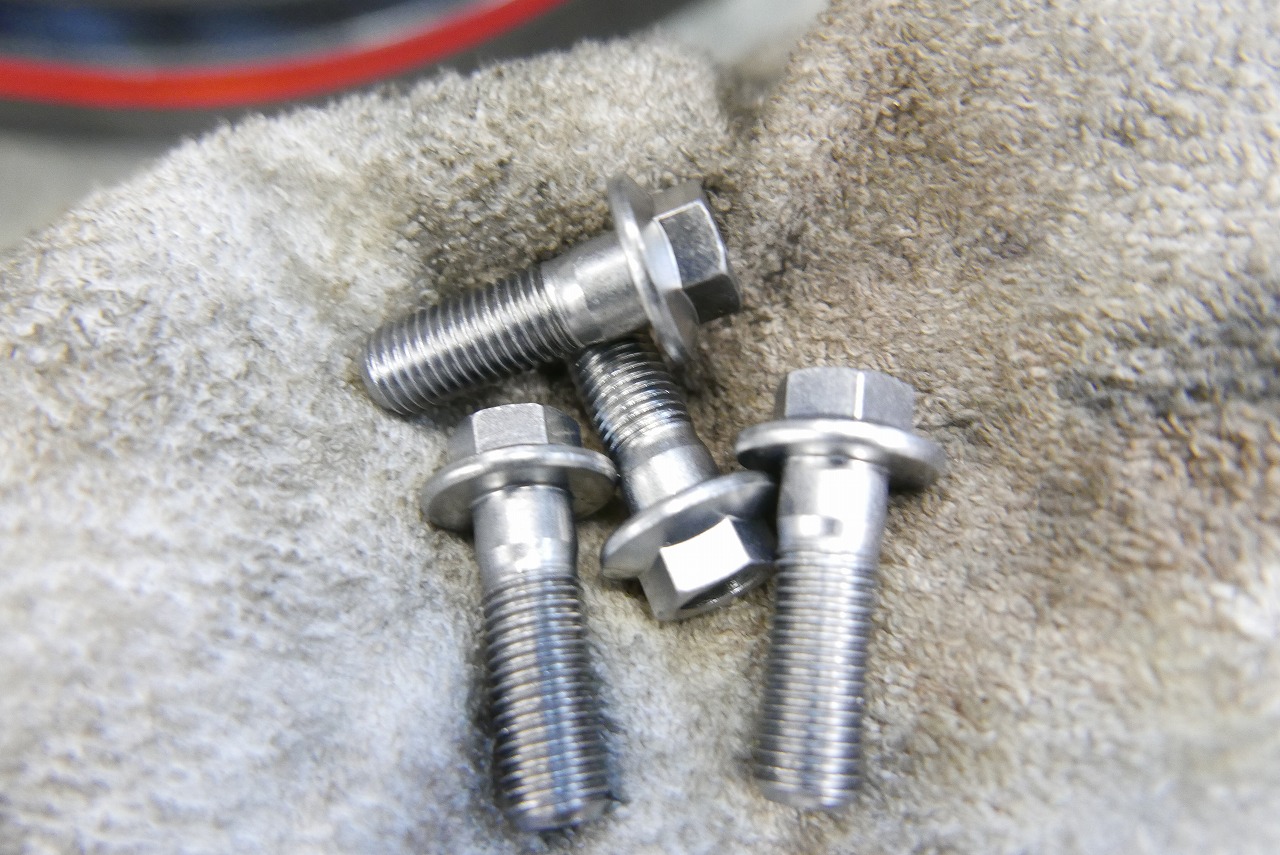
Trim with metal inside is best—you can spread it when you need thickness and compress it when you need it thin. If it gets loose, just compress it again and you’re done. Helpful OEM part info: Suzuki part number 94631-44110. The length is more than enough—it goes all the way around the tank and still has leftovers. I use it at work when removing the tank to protect the frame from scratches. It’s reusable, which is great. It looks like there’s been some history here. I thought the bearings might be sketchy, so I peeked under the seal and found plenty of grease, which was reassuring. But I’d still recommend replacing them. We replaced the caliper bolts with Yamaha OEM ones. That completes this job.