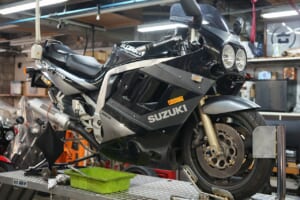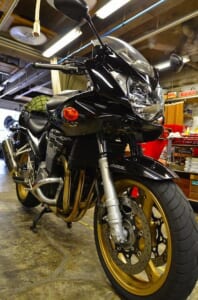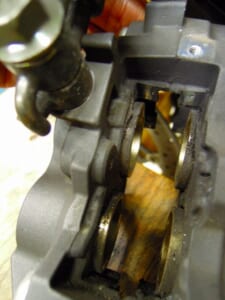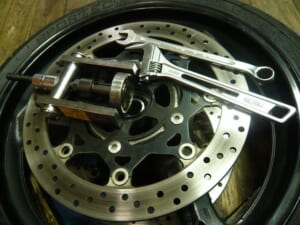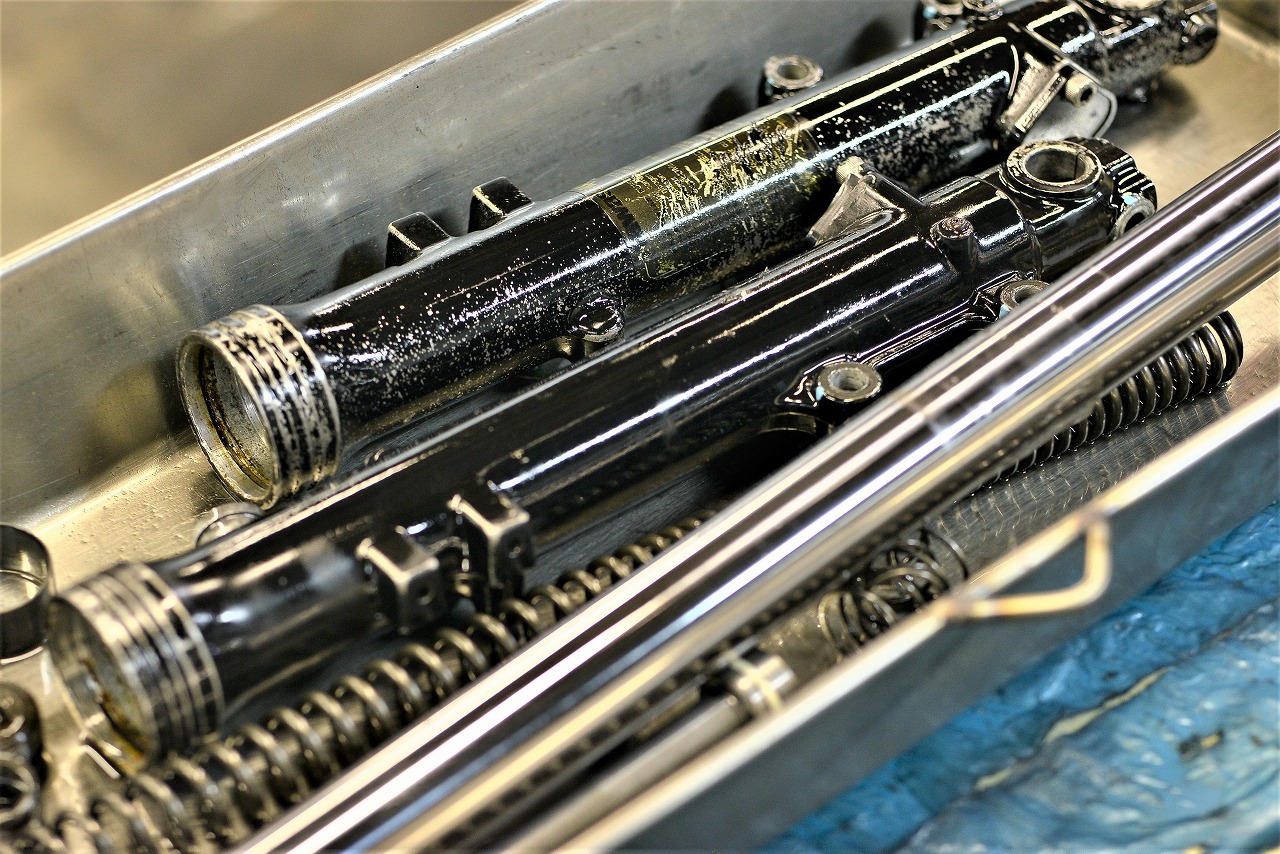
It took some soft damage… so we’re starting with work on the front end.
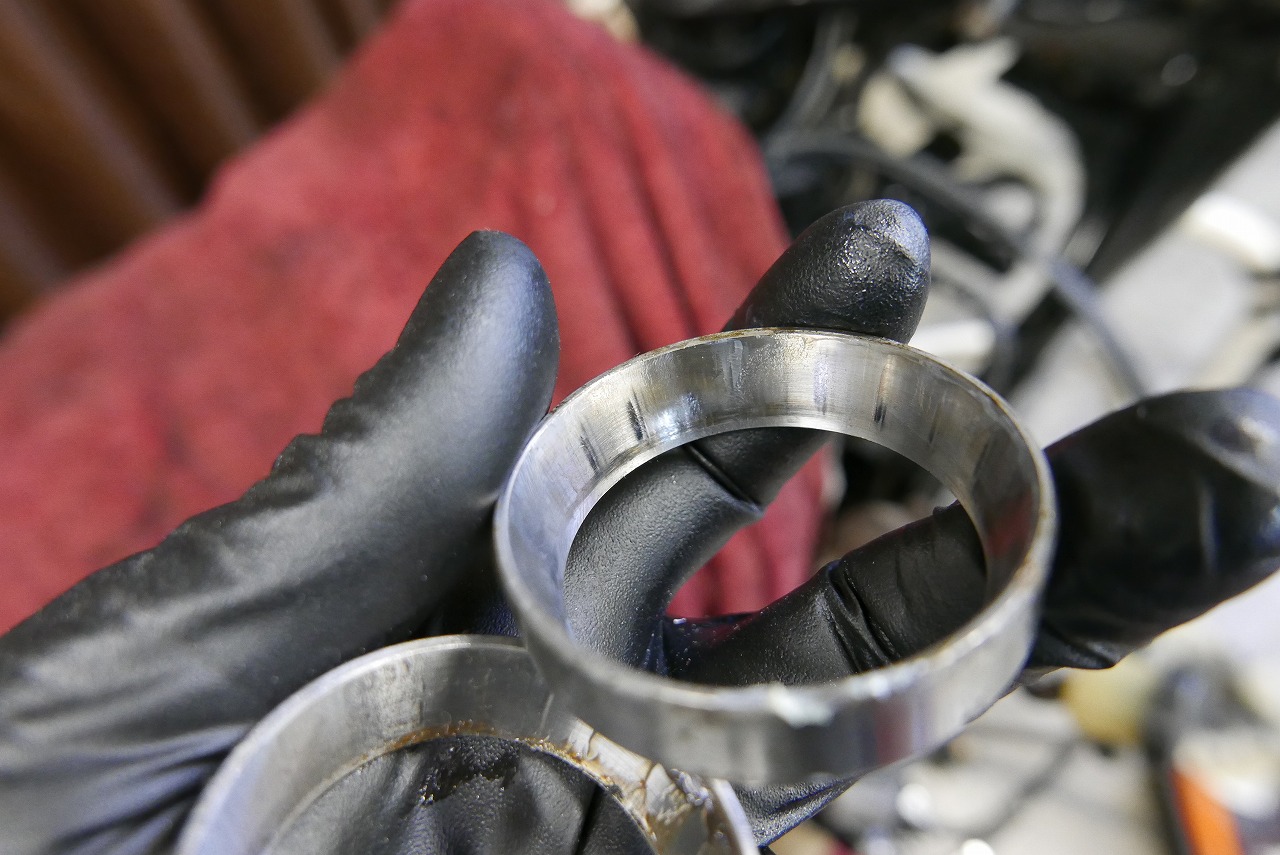
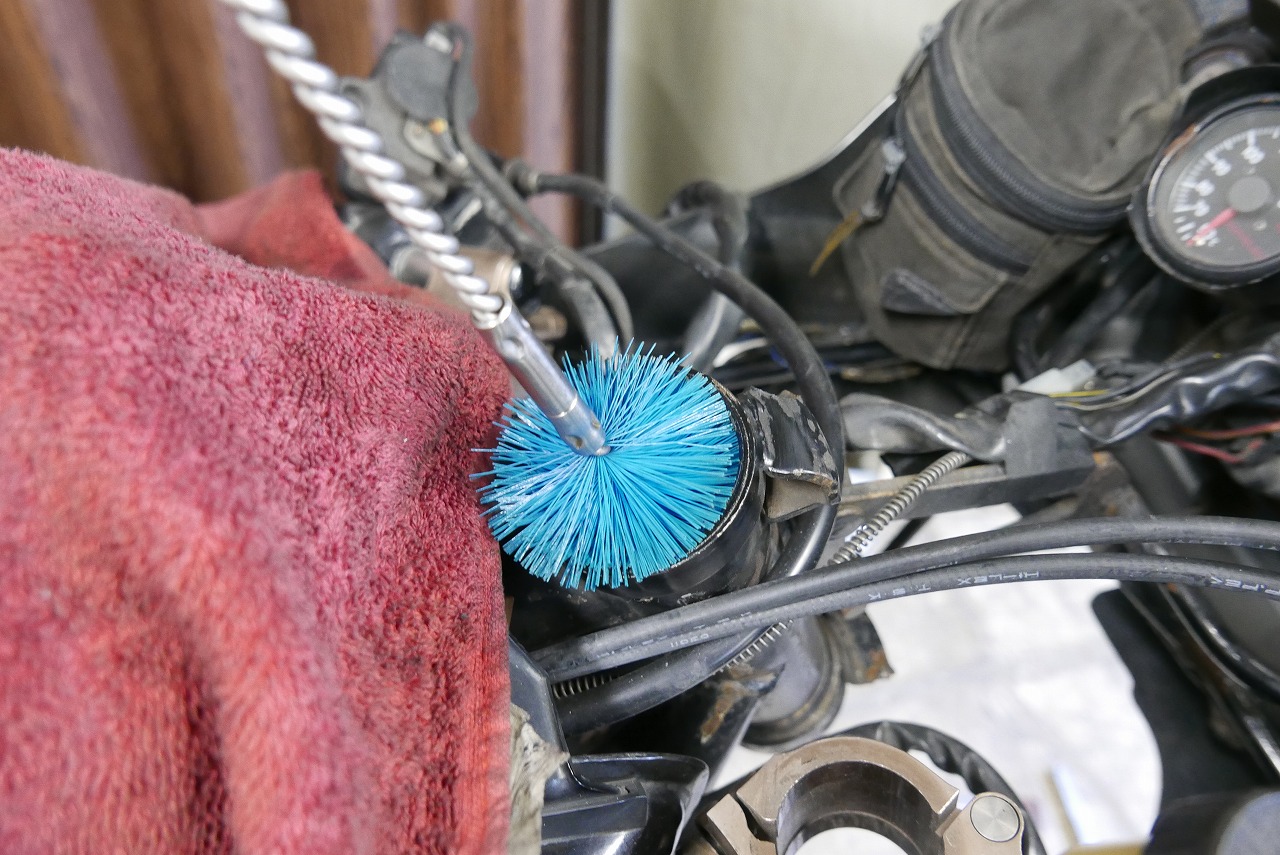
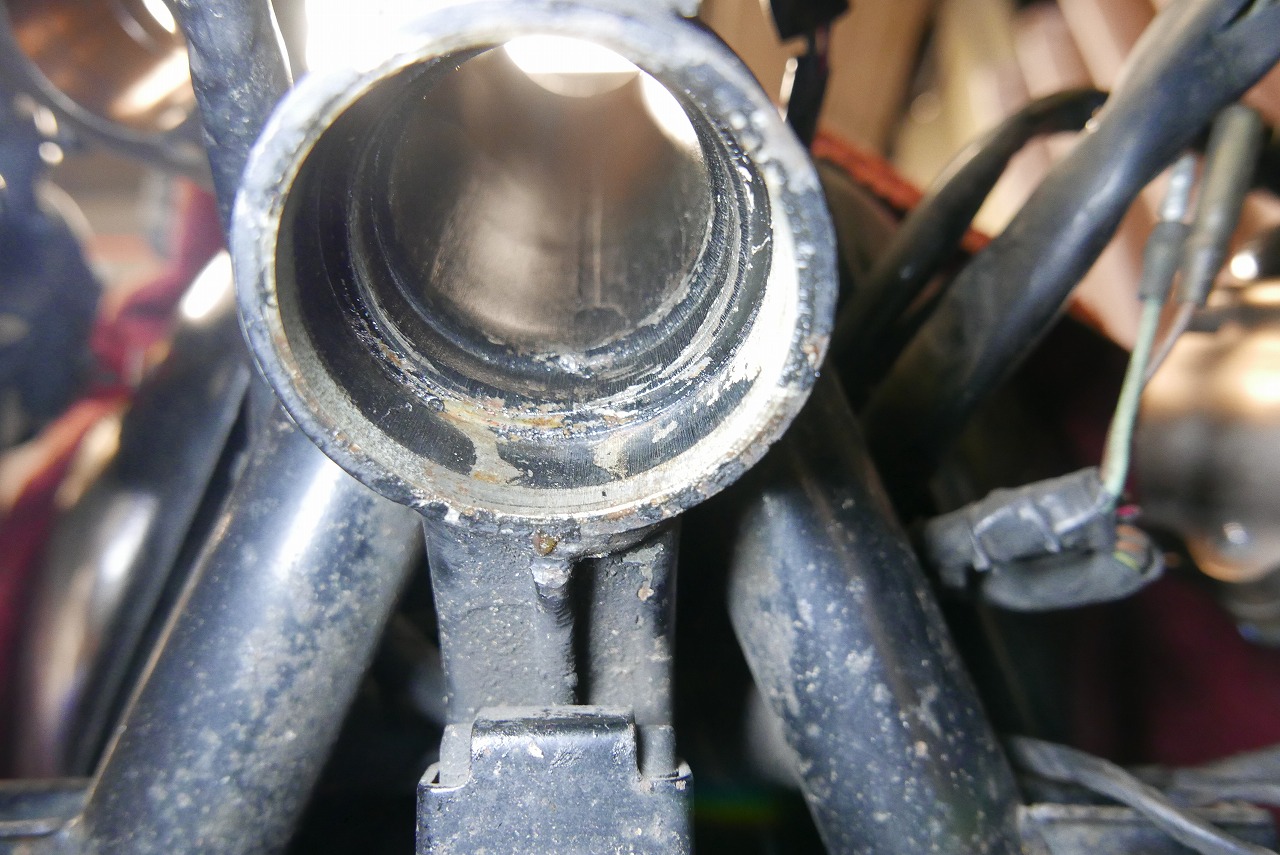
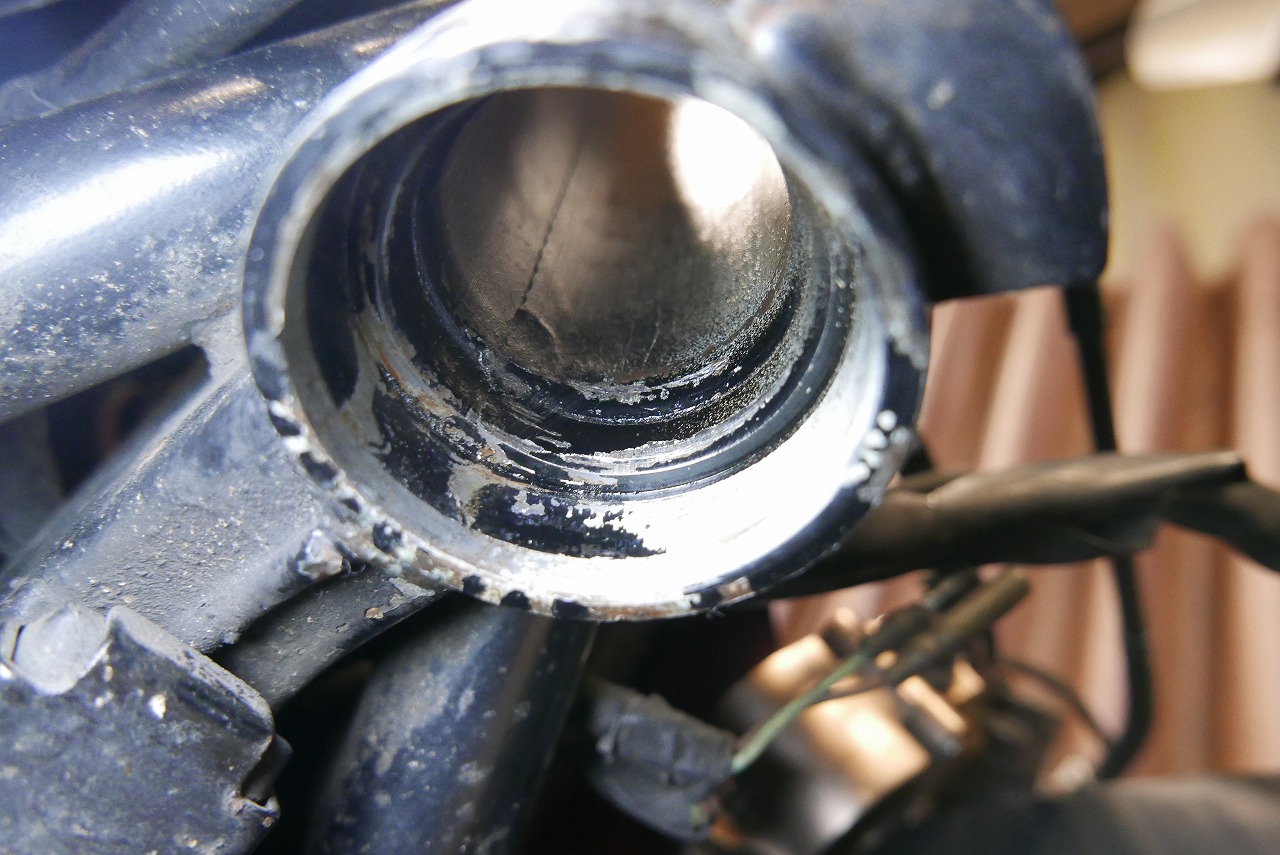
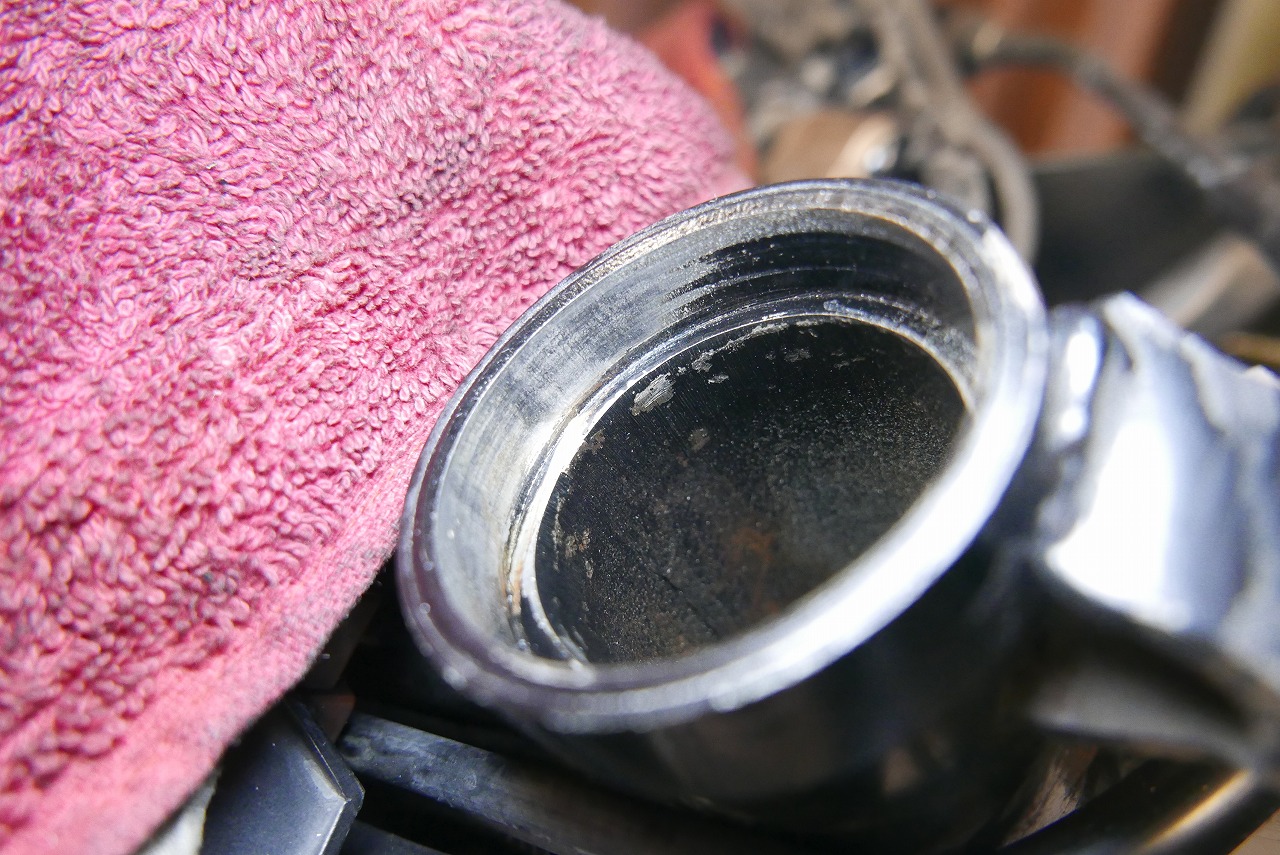
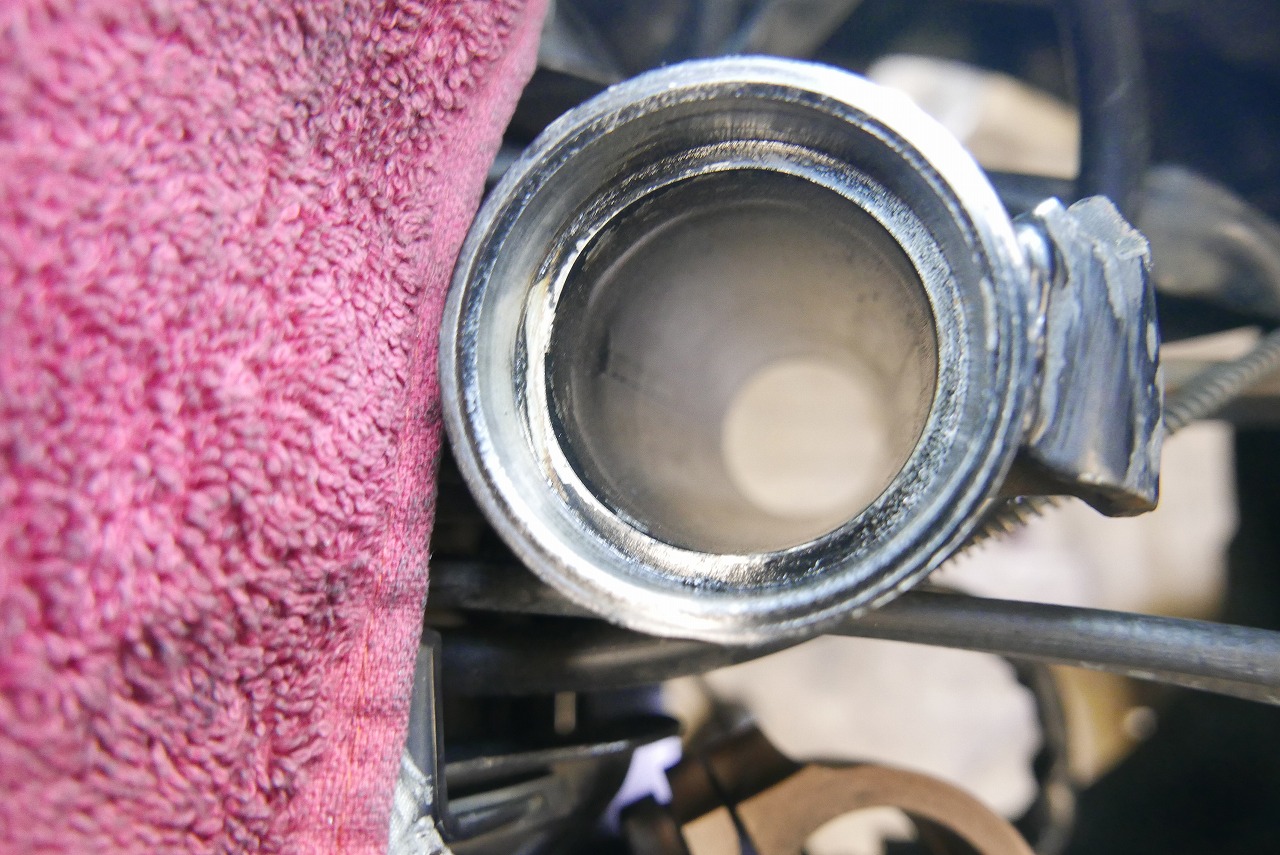
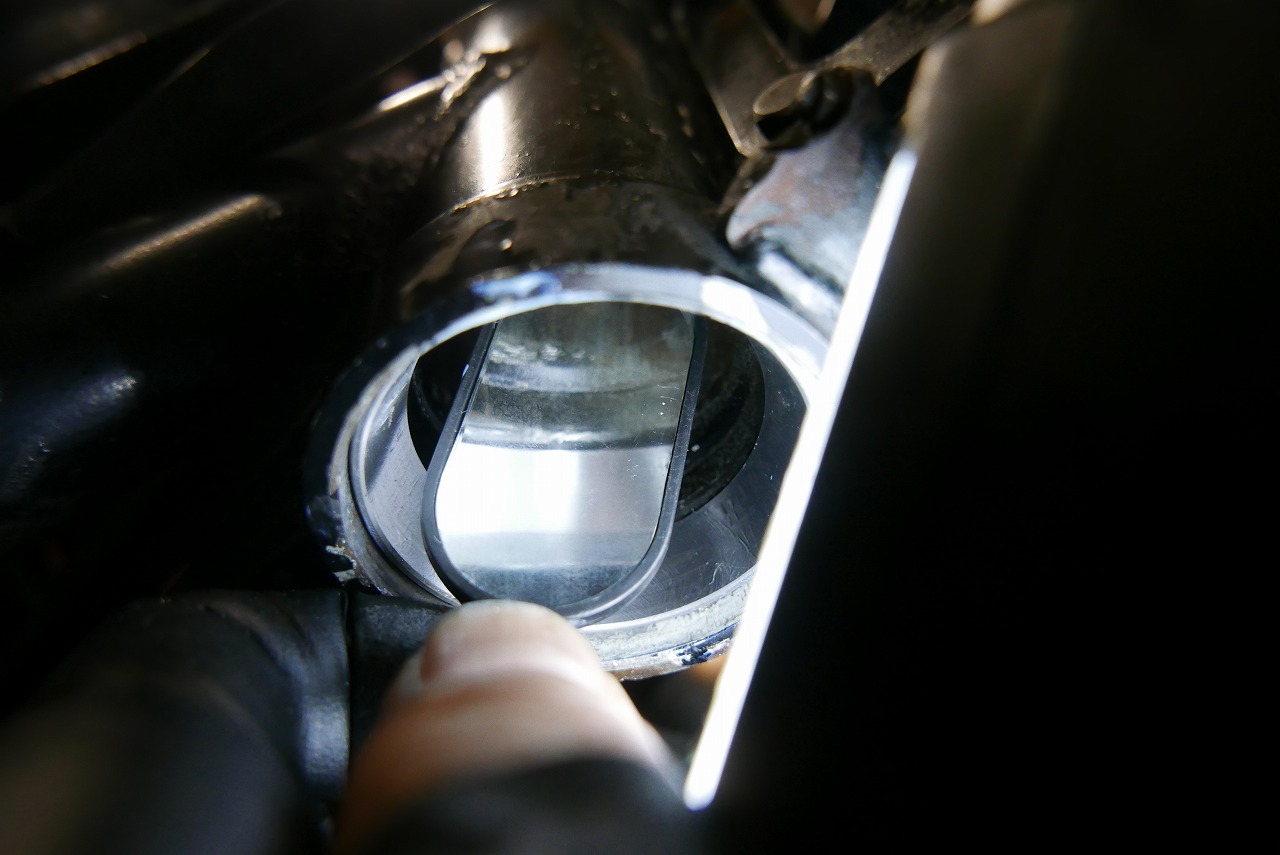
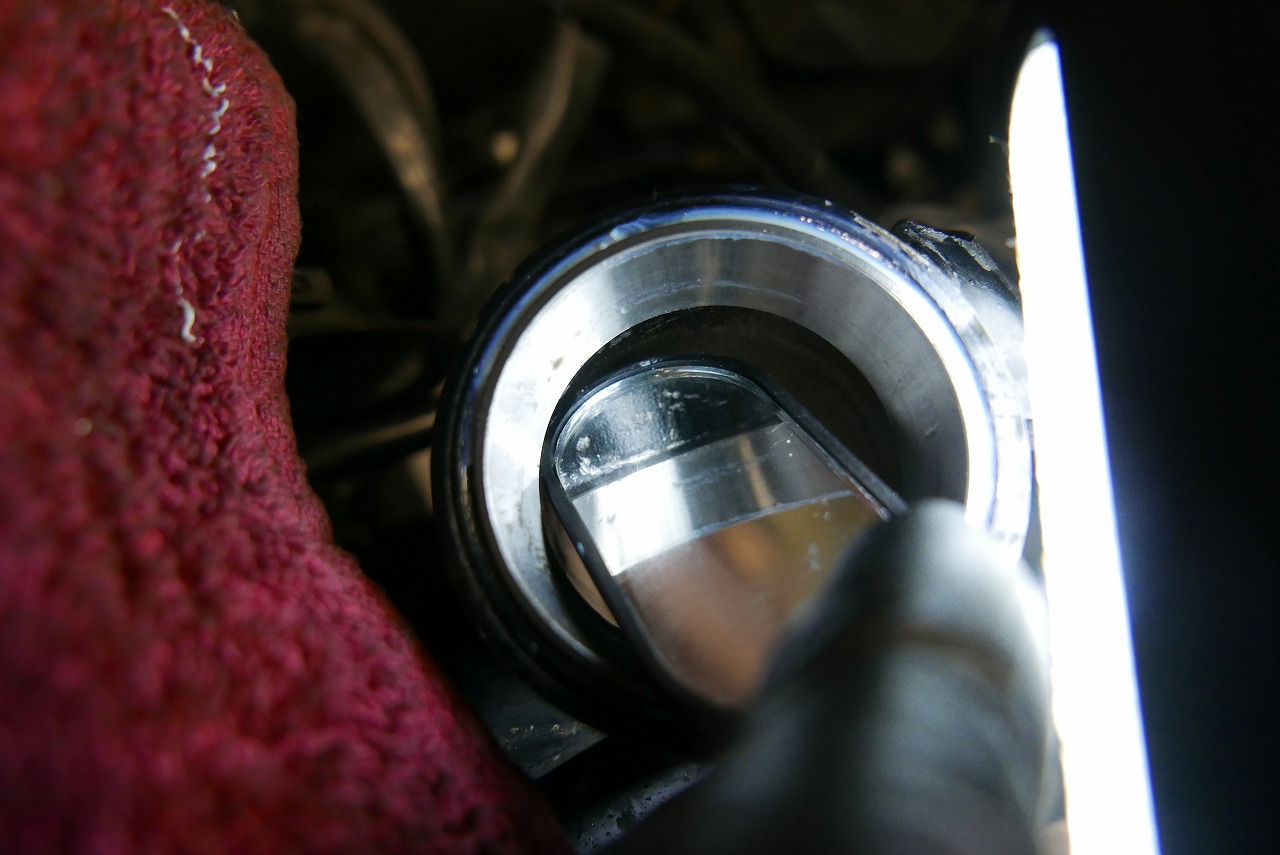
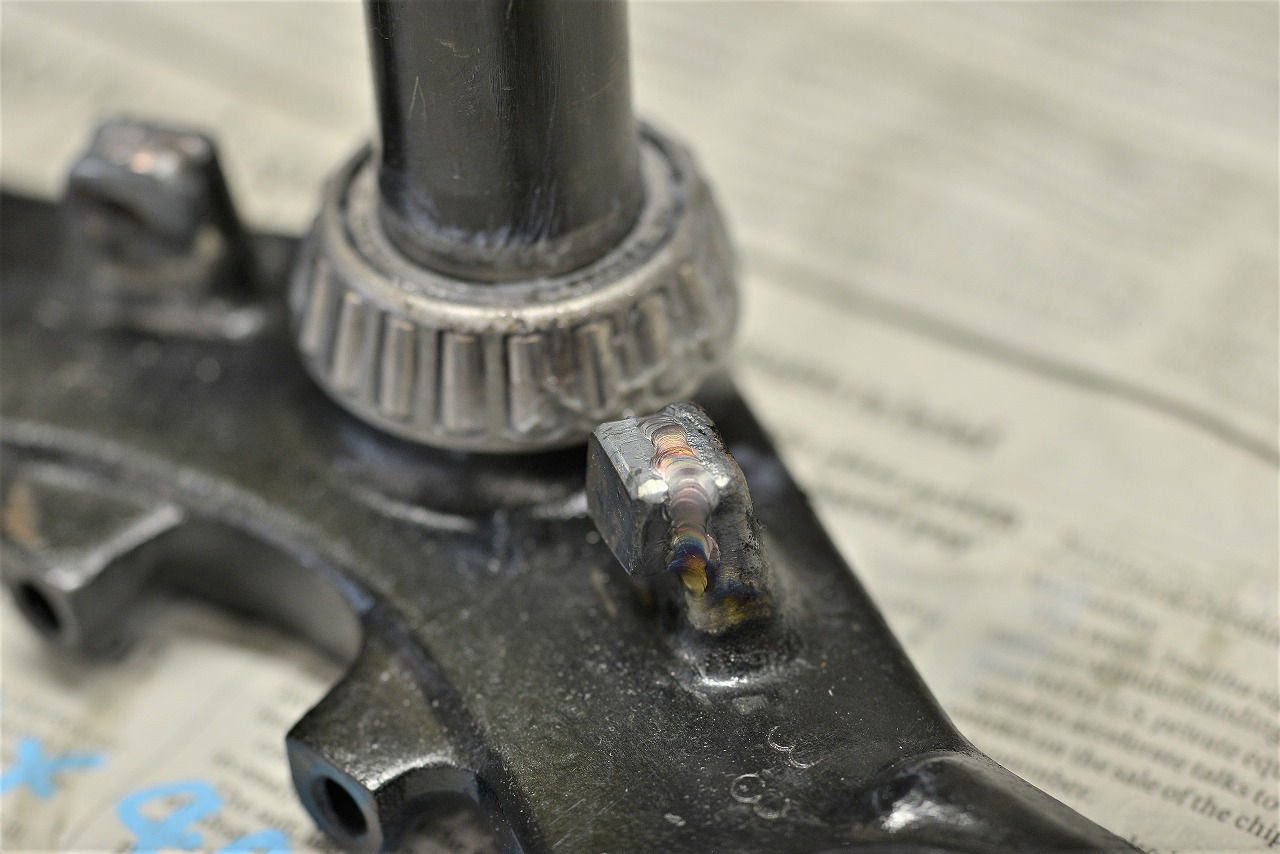
When you use bolts and nuts as a stopper…
• There’s no flat surface on the stem stopper side, so the lock nut doesn’t grip well = it loosens easily
• It’s surprisingly thick and doesn’t allow for flexibility.
And so on.
In recent years, the final consensus has been that welding a plate to the stopper is the fastest and most reliable way.
We’re locking it down to the point where the handlebar lock just barely works. Handlebar locks (steering locks) are checked in inspections these days. Used bikes with customized front ends—watch out!
It sounds simple to say, but…
Leave the old bearing in → tack weld the thick plate → check → grind → check → grind → remove bearing → mark with a touch pen → apply oil and press fit. That’s the workflow.
I really think about how much faster and easier it is to service a stock bike…
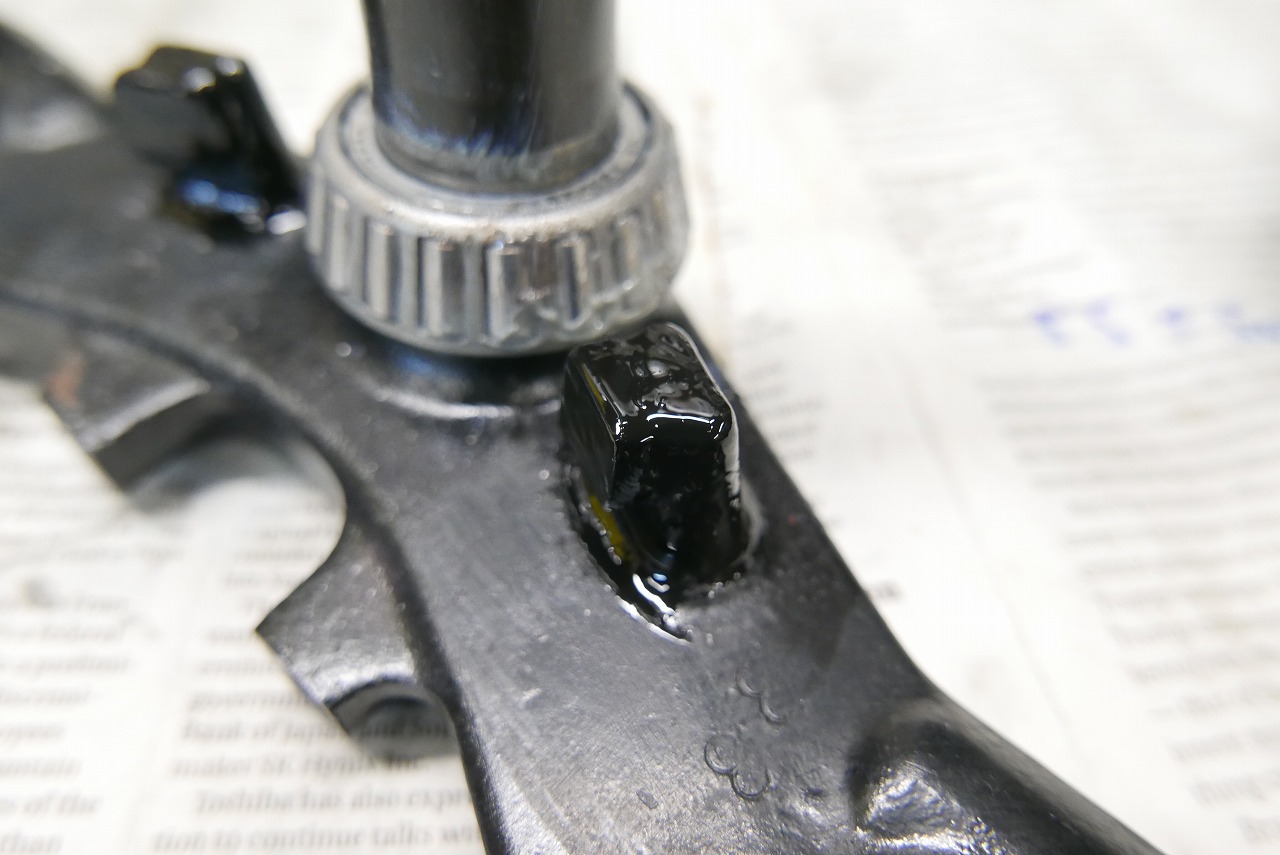
If the gate gets wet, it should be fine…
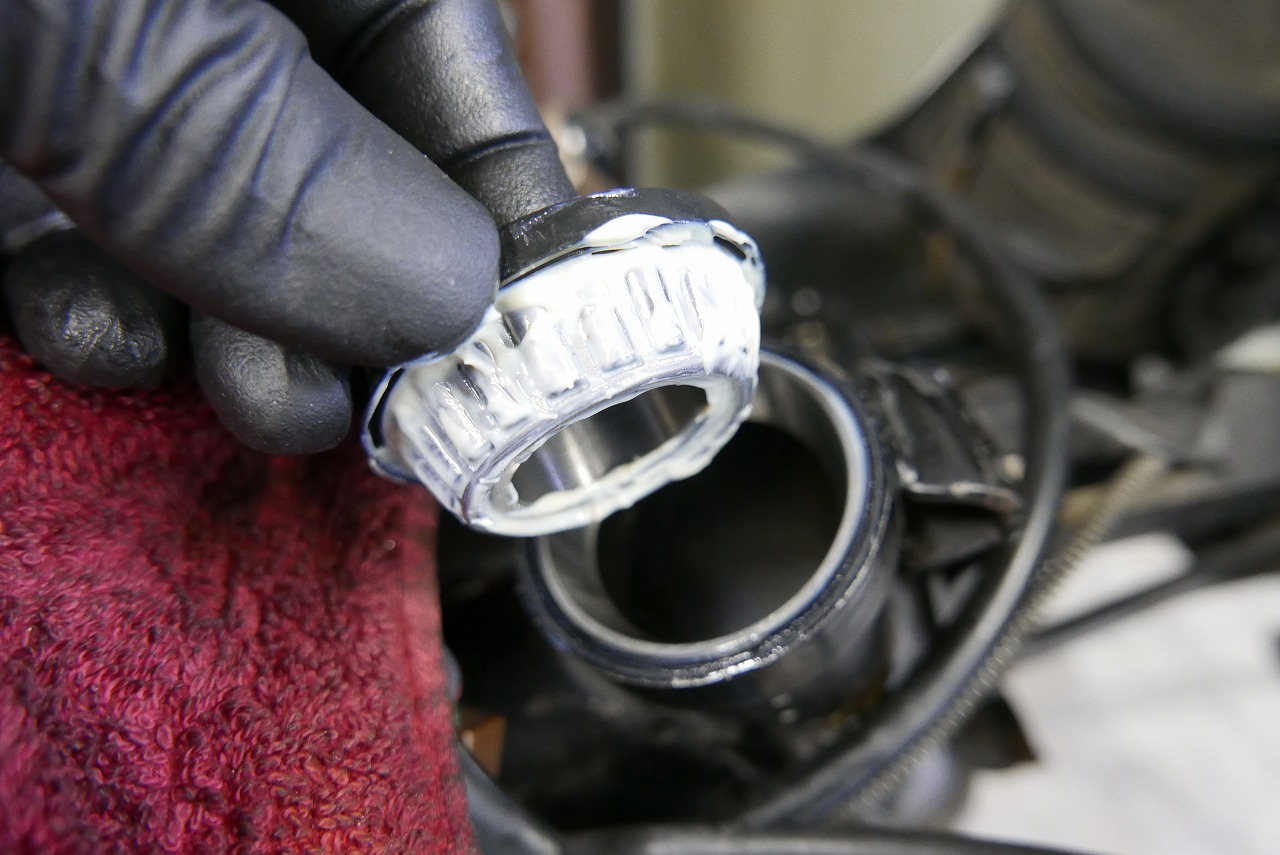
I think the quality of chemicals becomes clear when many people use them for years and tens of thousands of kilometers and you get that “Yeah, it’s reliable” result. This grease is truly trustworthy.
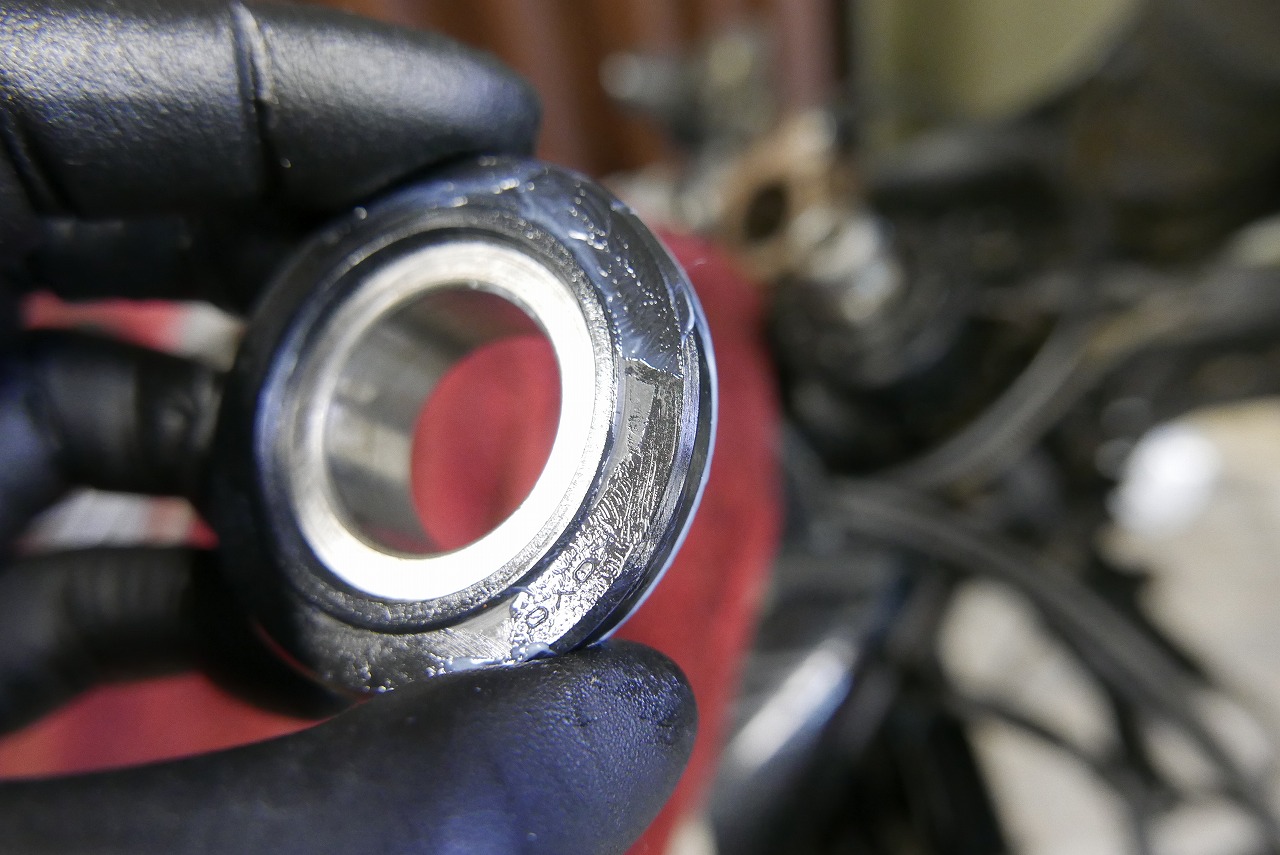
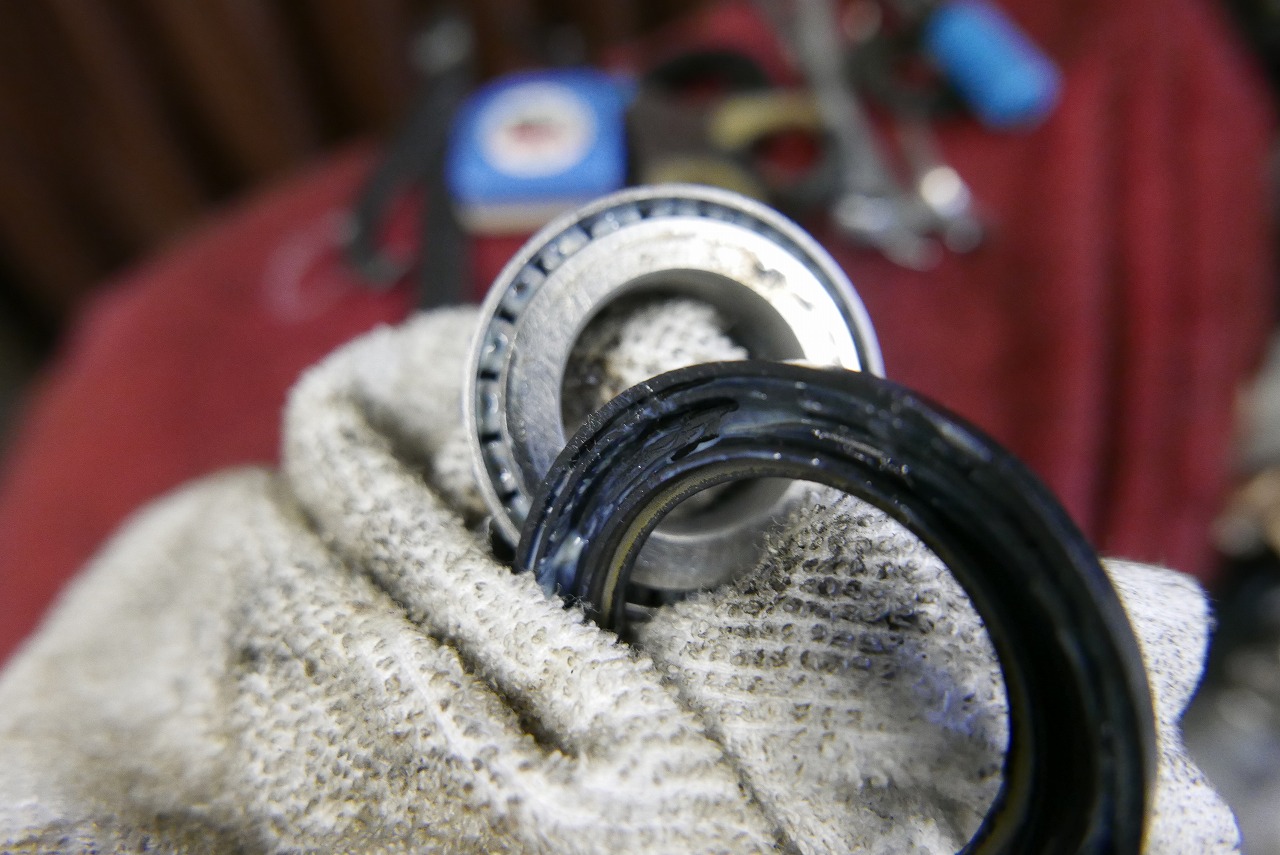
If you assemble with a seal that grips this tightly, it’ll probably get sloppy pretty quick.
We compress the seal quite a bit, so if someone says “Isn’t the steering really heavy?” we loosen it “somewhat” and reassemble.
At first the seal grips well so play is hard to detect, but after some distance the seal wears out and you get play.
We want to make assembly easy and effective too.
This is just personal experience, so take it as reference.
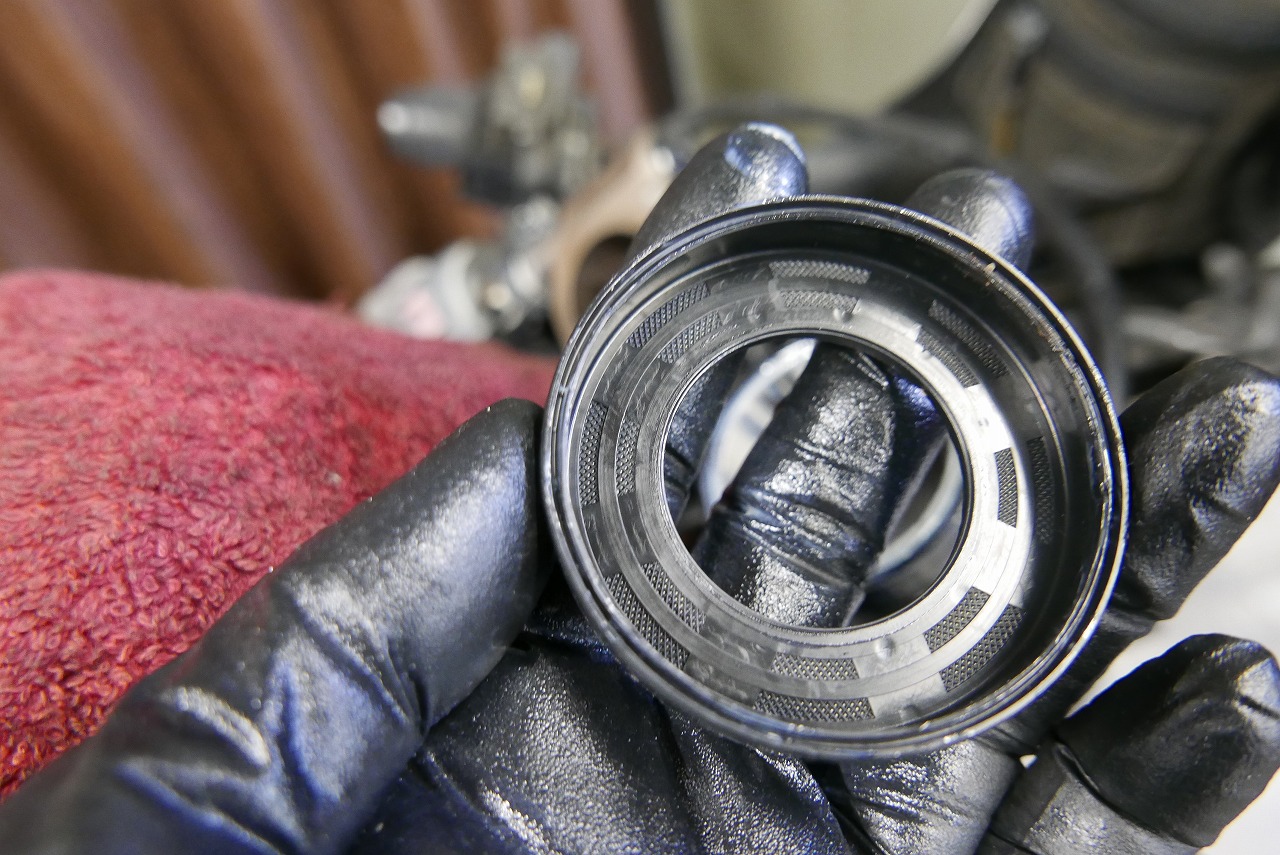
This design looks old now too. Honda has been using upper and lower seals for smooth operation for quite a while.
Even HRC manuals have items like “cut the seal lip with a cutter.”
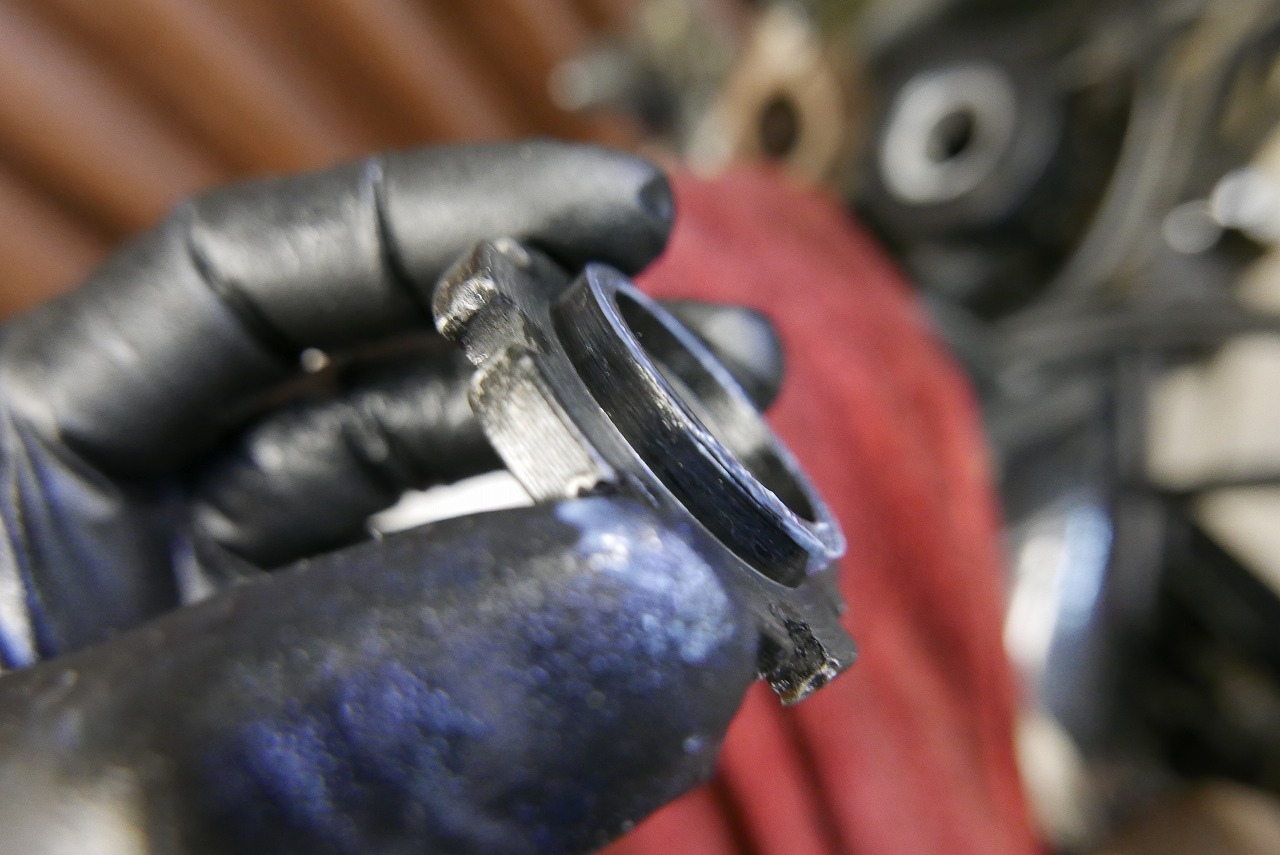
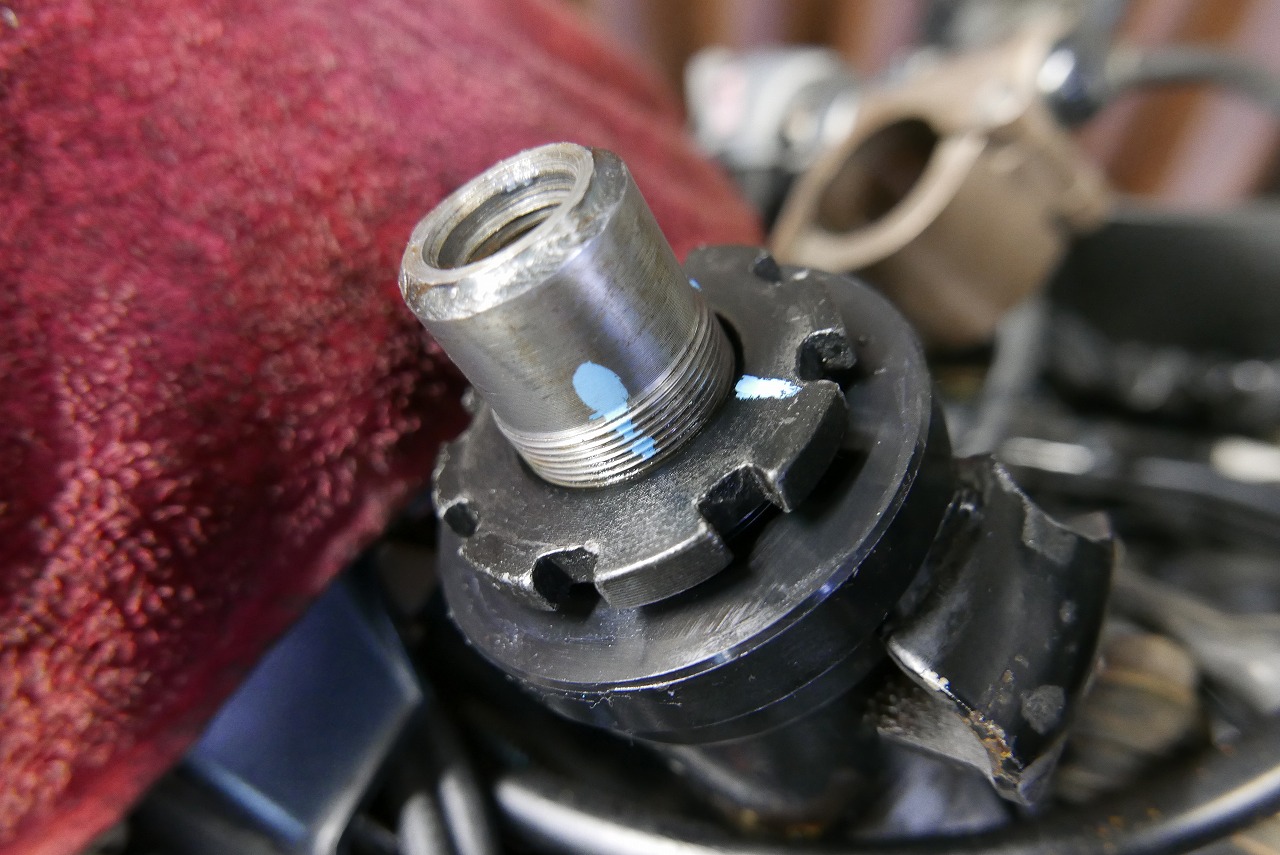
Roughly speaking, you adjust between “it won’t tighten any more” and “play starts here.” Then you add the top bridge and tighten the nut, so there’s a lot going on…
I think steering play is easy to confuse with other things.
• Brake disc pin play
• Brake pad play (especially if you’ve removed the pad spring)
• Expansion of the caliper’s pad bore
• Wear on the upright bottom case (the deep part below center; be a bit careful if there’s no inner metal)
• Damage from disassembling the inverted inner lower bracket or loosened fit.
• Loose race press fit on the frame side (sloppy)
For example, if a problem comes up and you can confidently say the stem bearing is fine, you can suspect other things and solve it faster, I think.
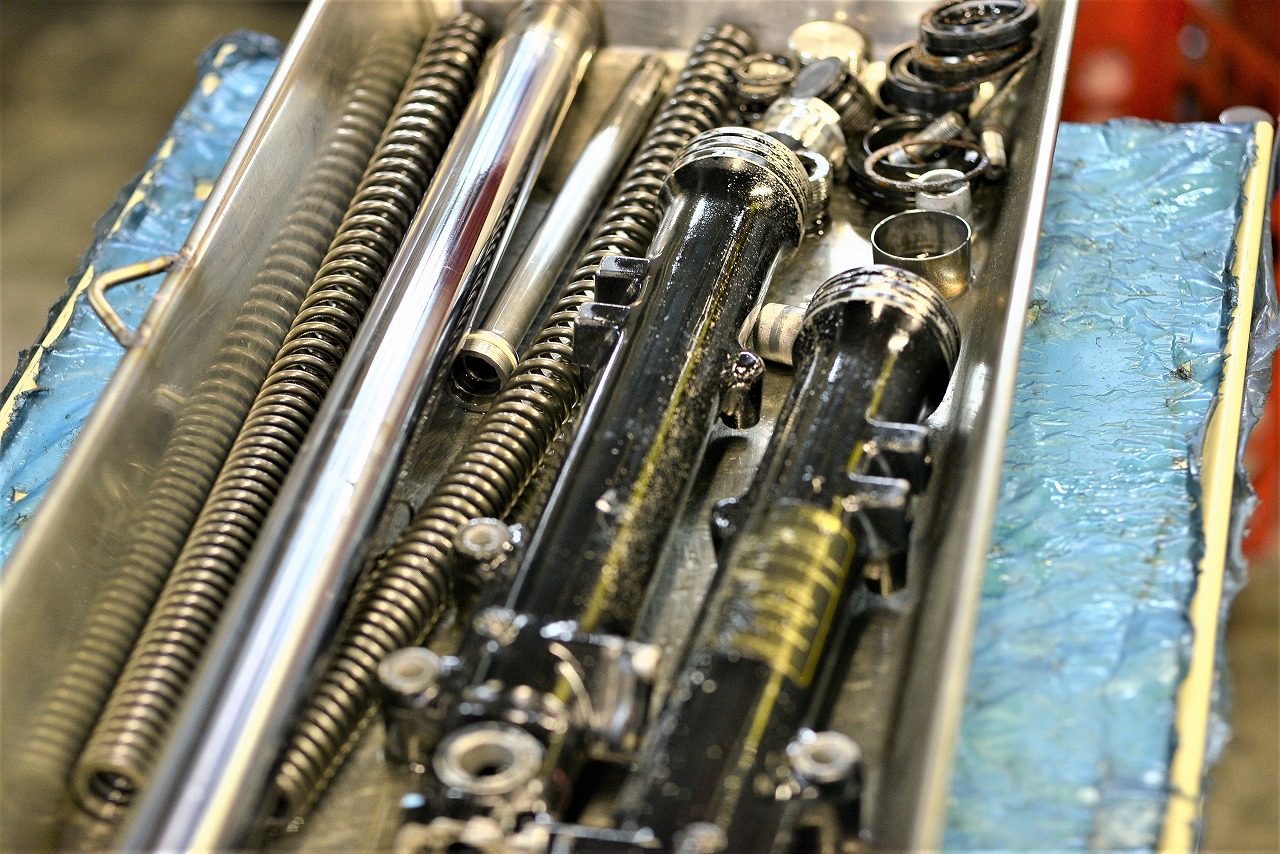
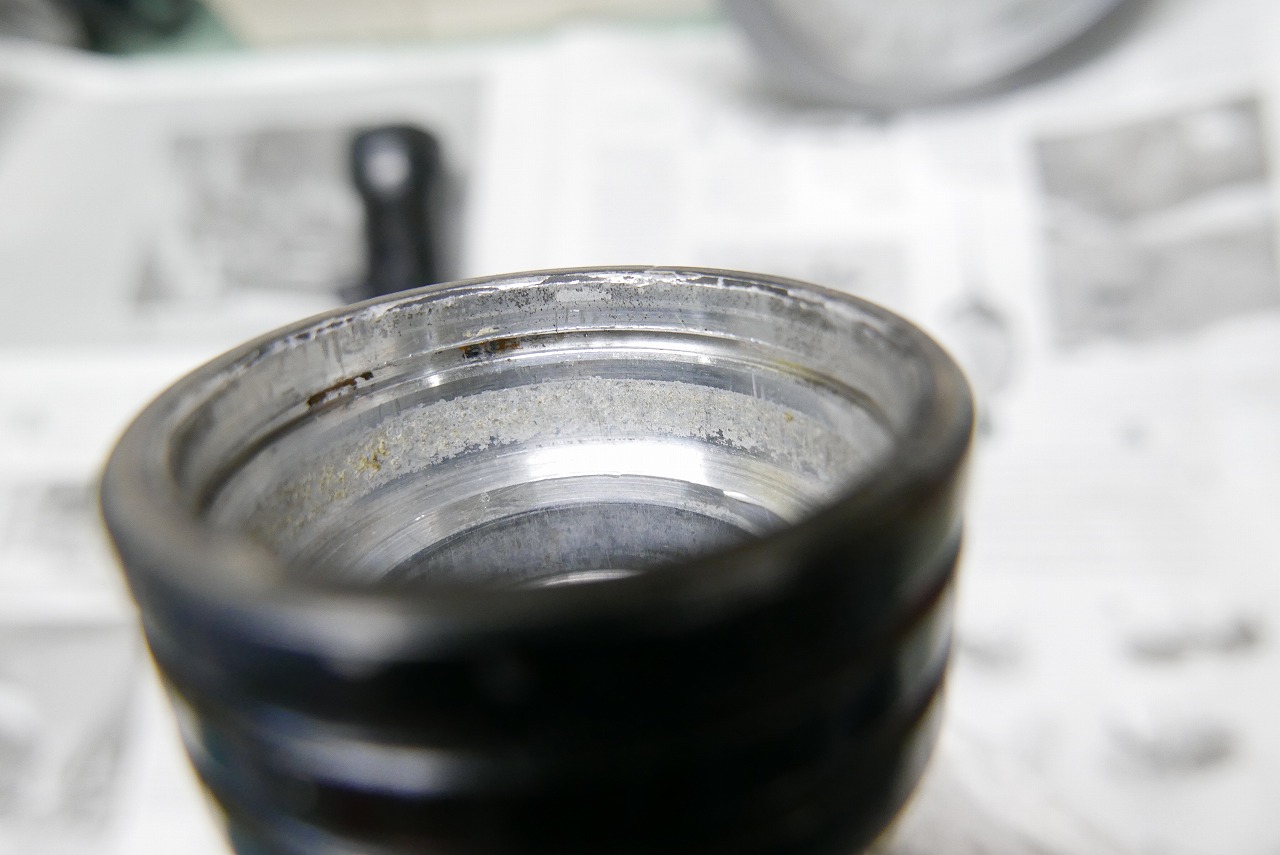
The same goes for the snap ring groove. If this is rough and pitted, we don’t force the seal in with “bang bang!” If you don’t remove the corrosion from the snap ring groove, it’ll invite more rust, so be careful.
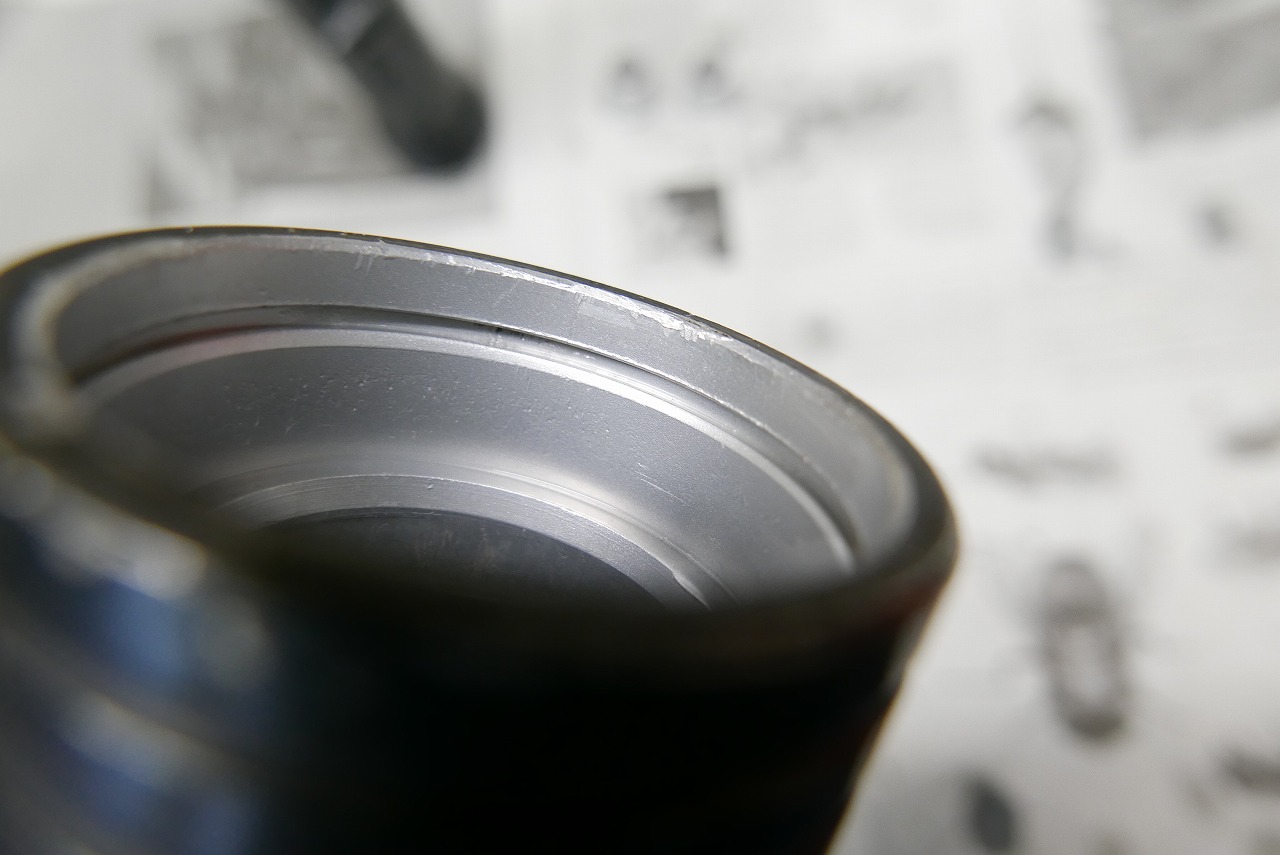
Ideally, a job finishes in one go with no trouble.
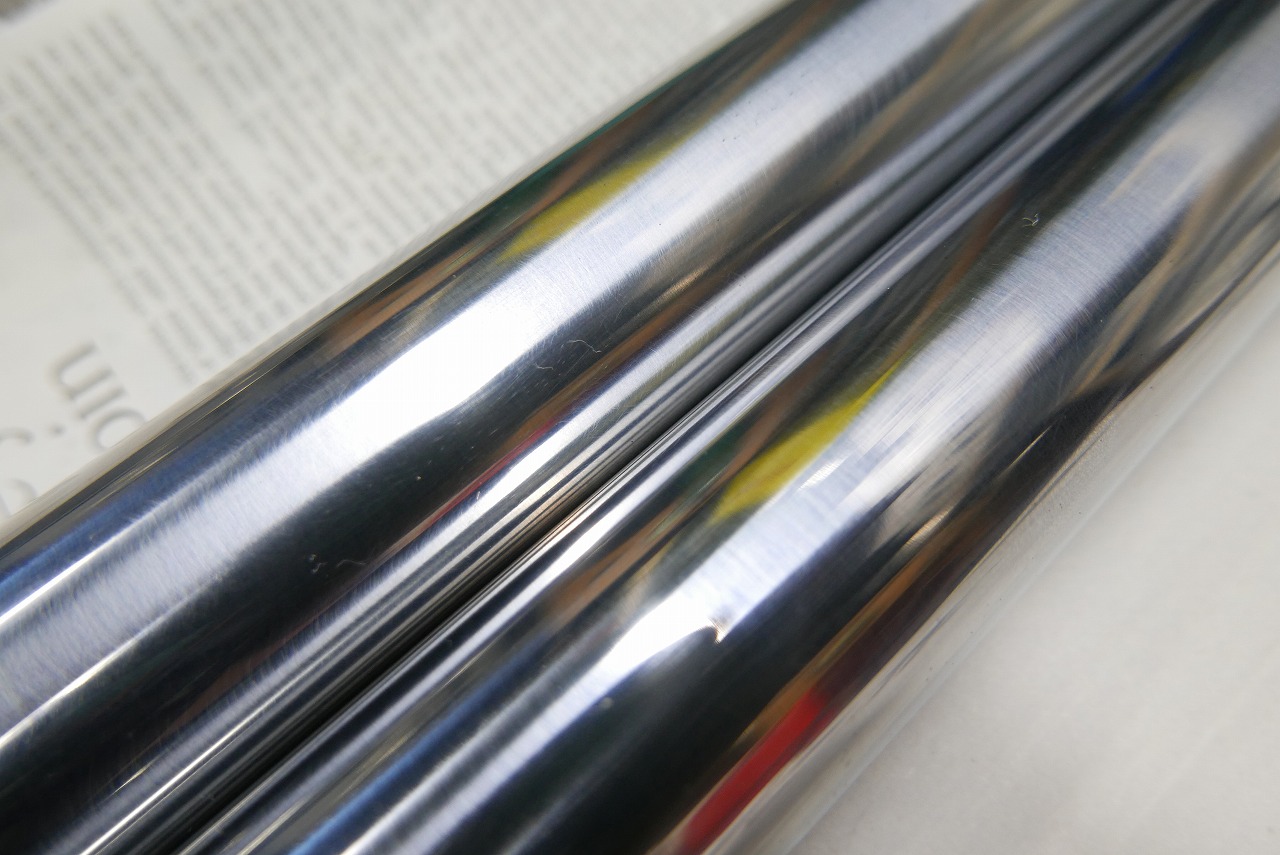
The stroke area at the front inevitably gets shiny. The fork moves while tilted, so the fork has it tough too.
When it’s mirror-shiny, there can actually be friction…
By the way, even if plating wears down to sag, it’s in the 100-micron range. The inner tube dimension from top to bottom is also 100-micron range. It’s a long part so some variation shows up.
We thought the leak was because the inner diameter wore down, so we ordered a new OEM inner tube and it was thinner than the used one…
How to avoid damaging the oil seal and keep operation smooth is what matters.
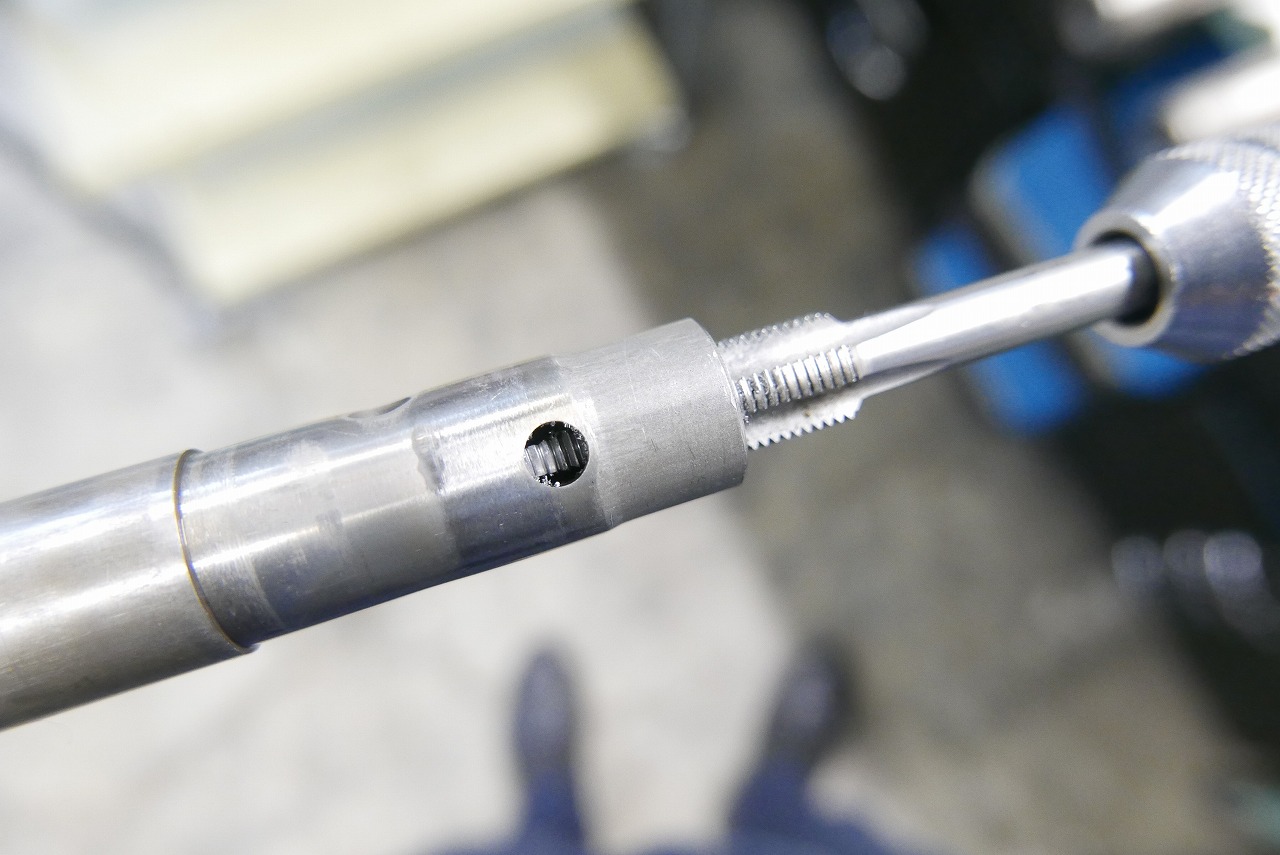
A little effort gets you peace of mind.
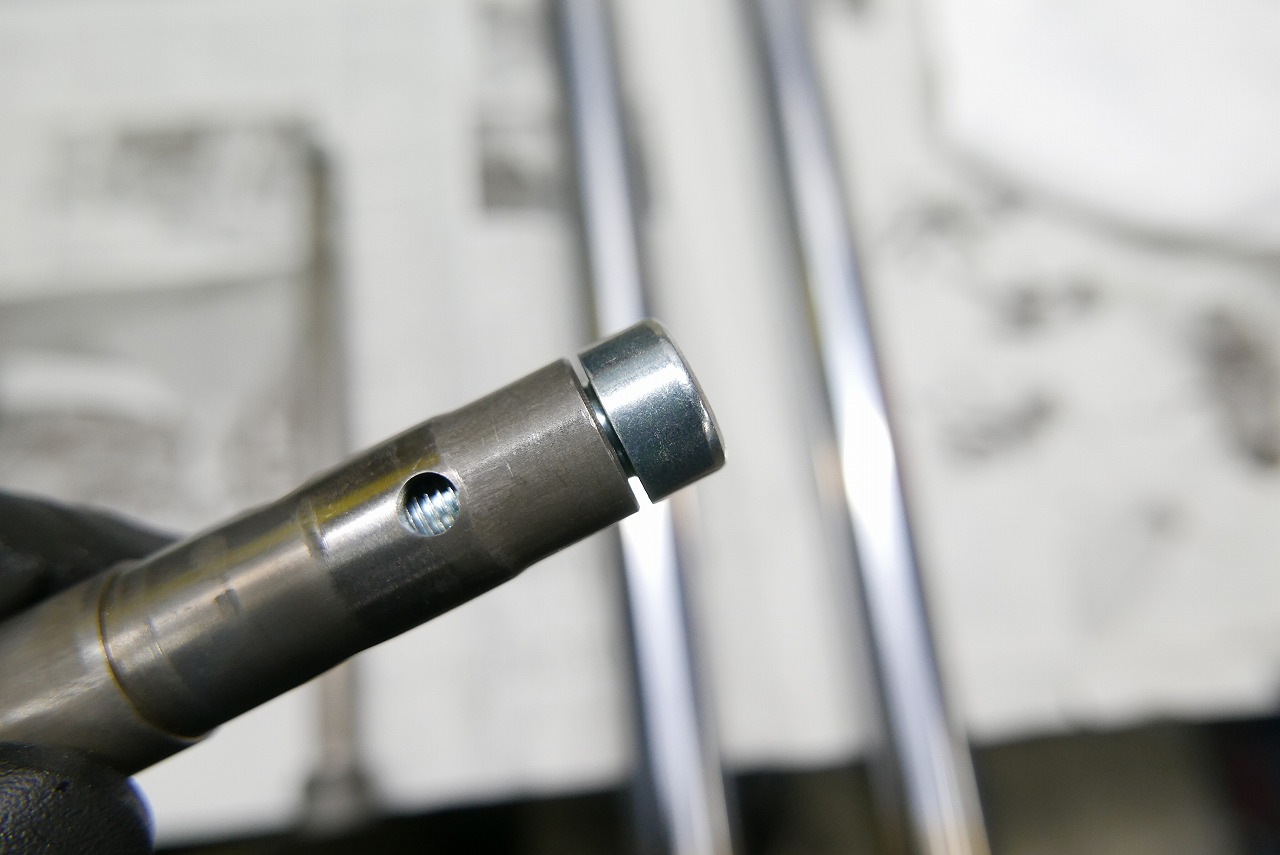
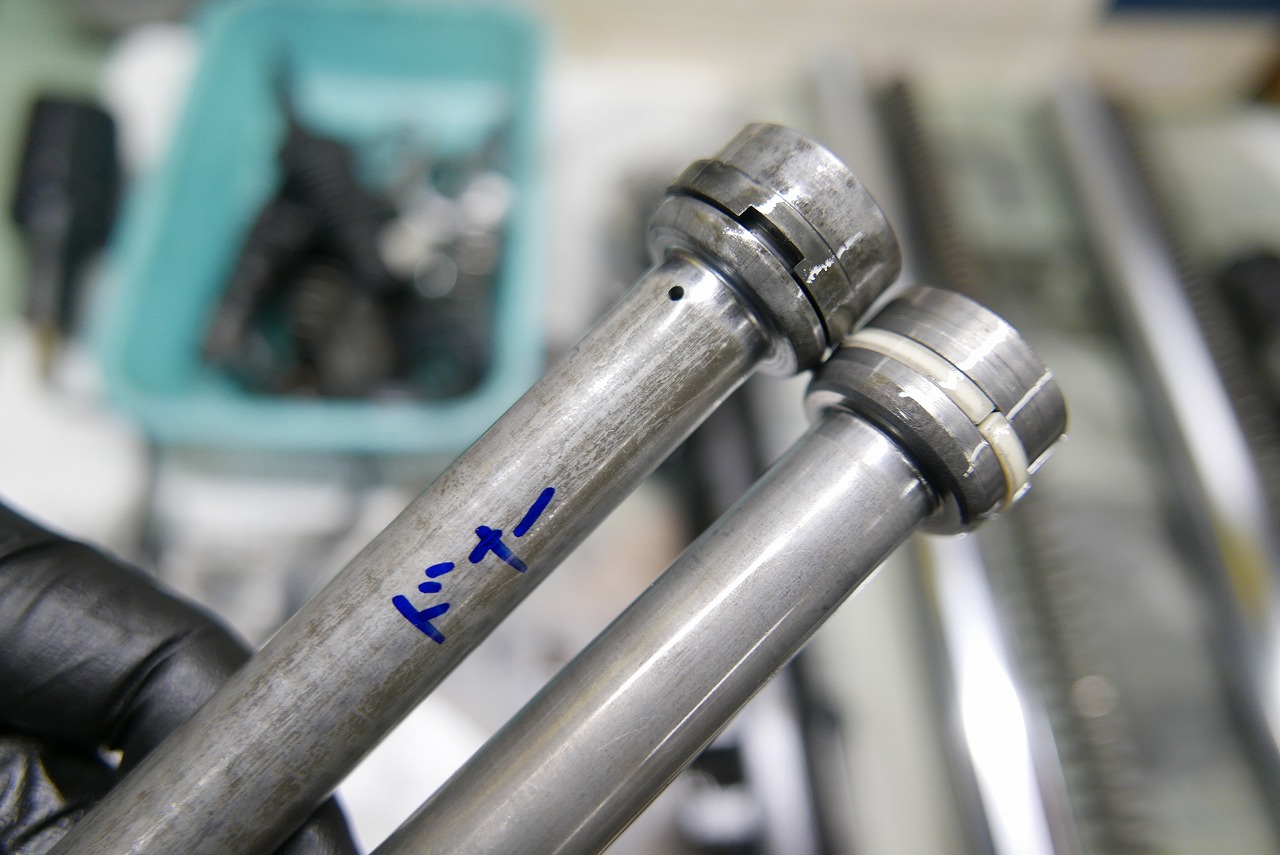
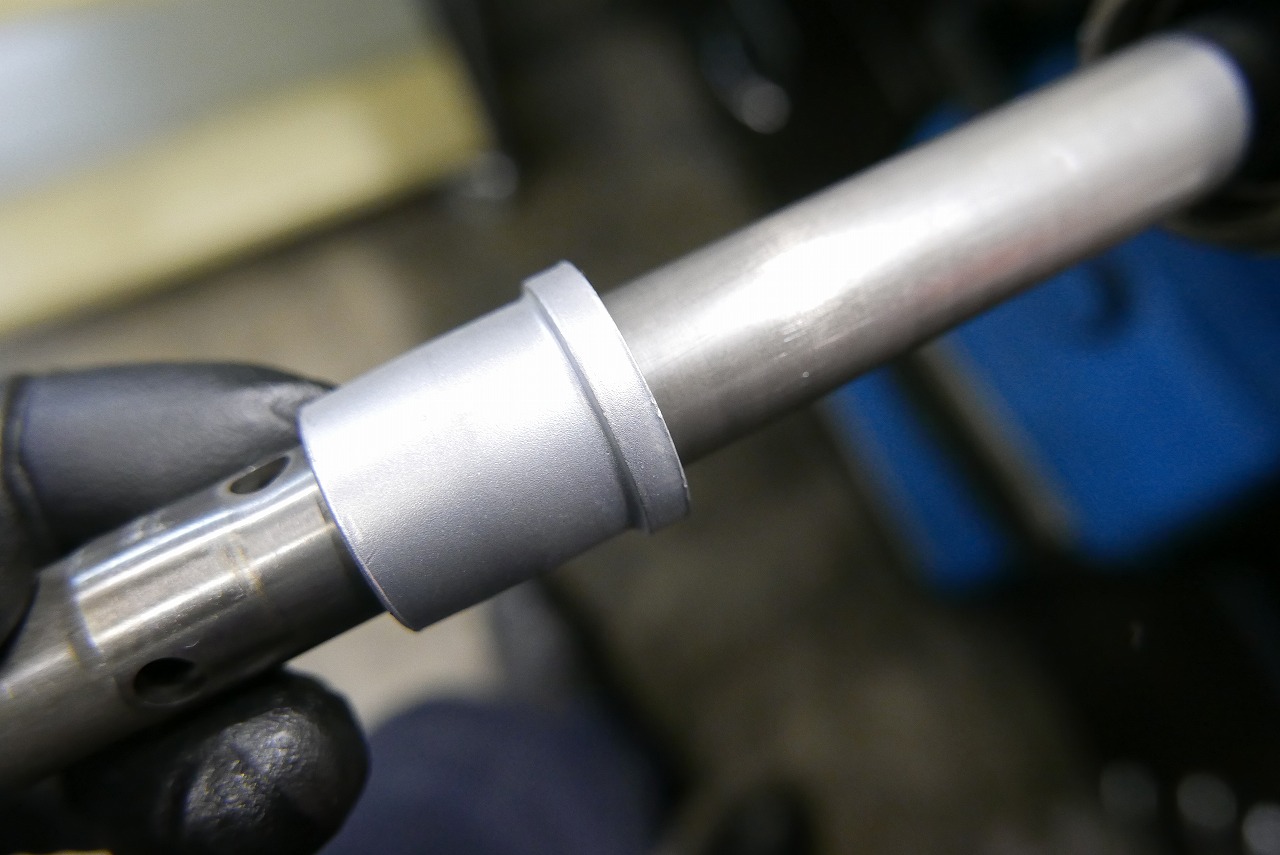
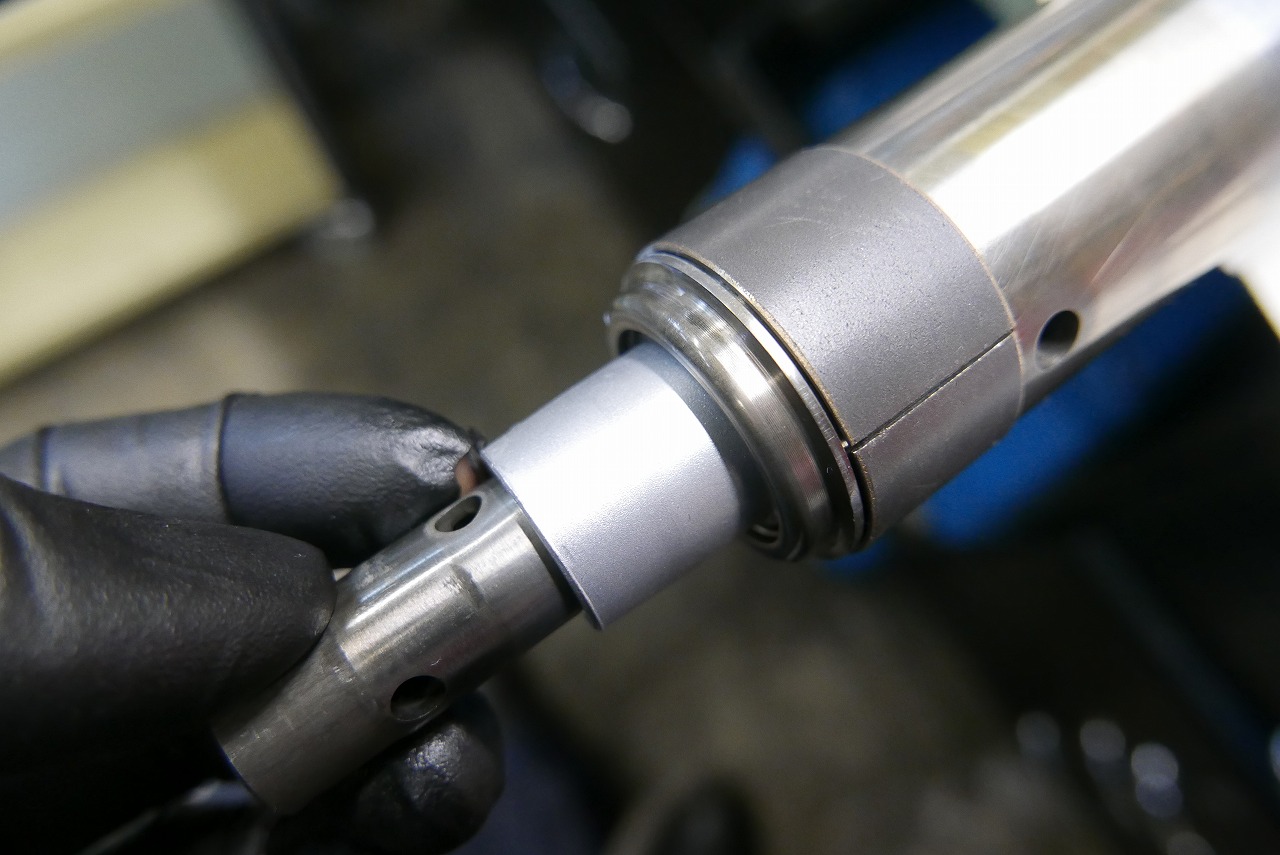
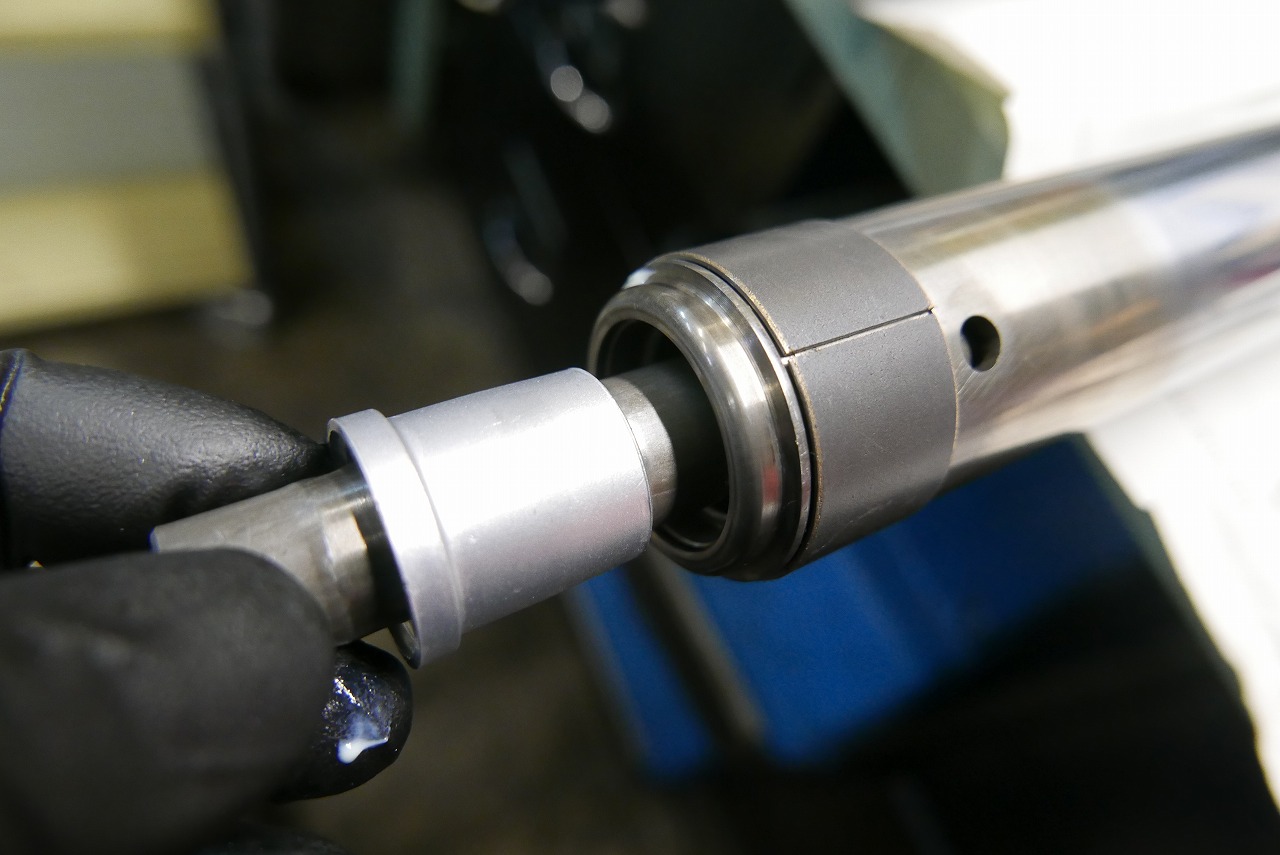
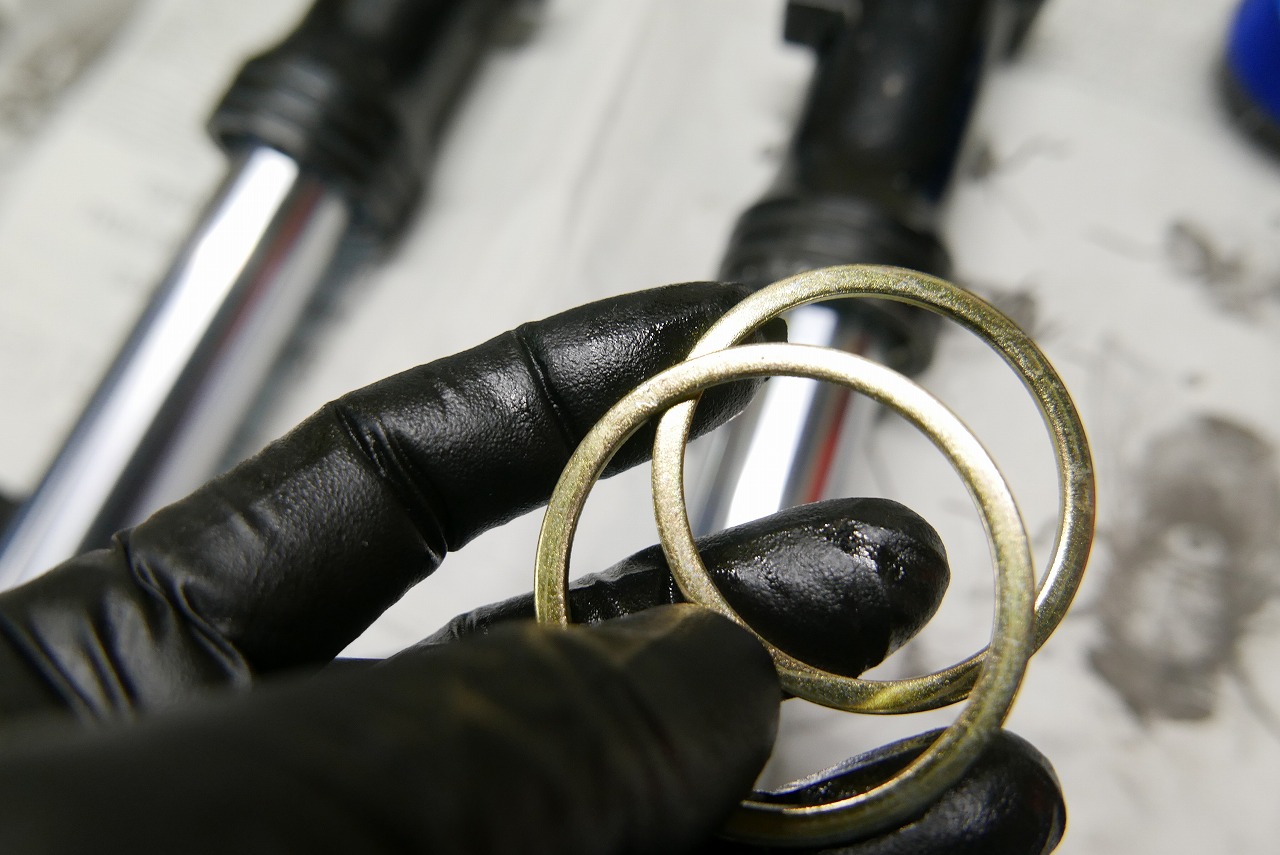
I think the GSXR1100 H-J might have been the same…
You could probably build up the backup ring and it’d be fine.
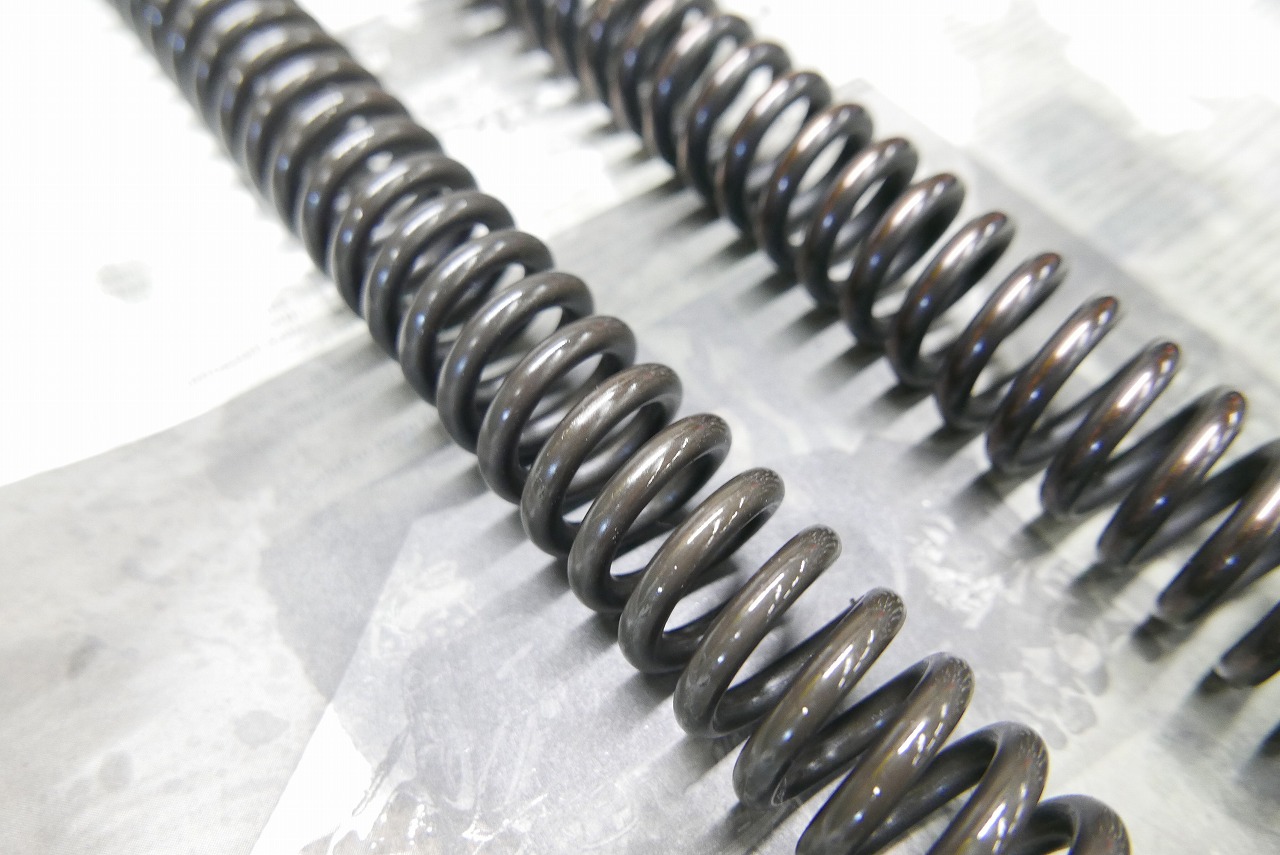
The spring that was being used was unknown, so we decided to reset it for now.
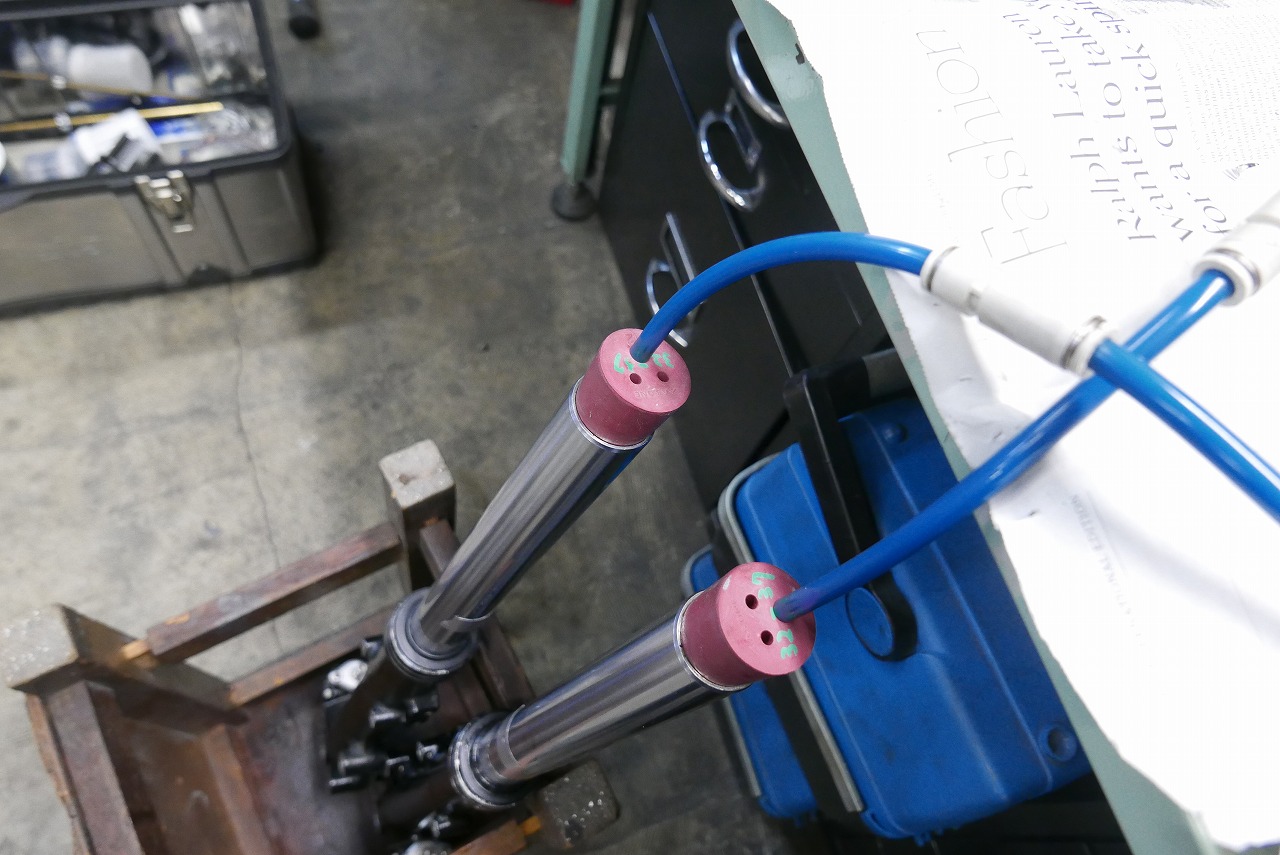
A weird fork that shows the era. The top cap sinks deep inside the inner tube.
When we first disassembled it, the oil level was super low? Is it because it’s a pressurized fork? But it’s both.
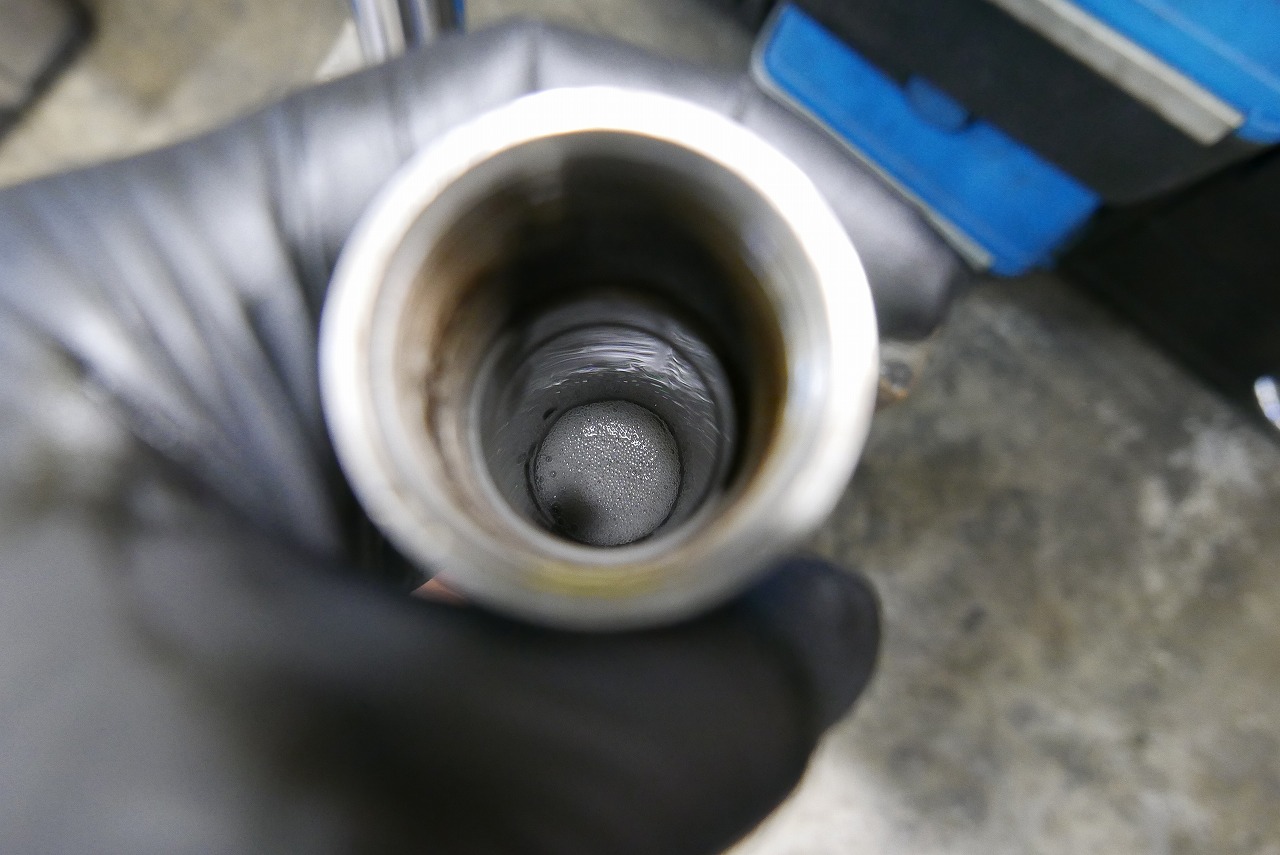
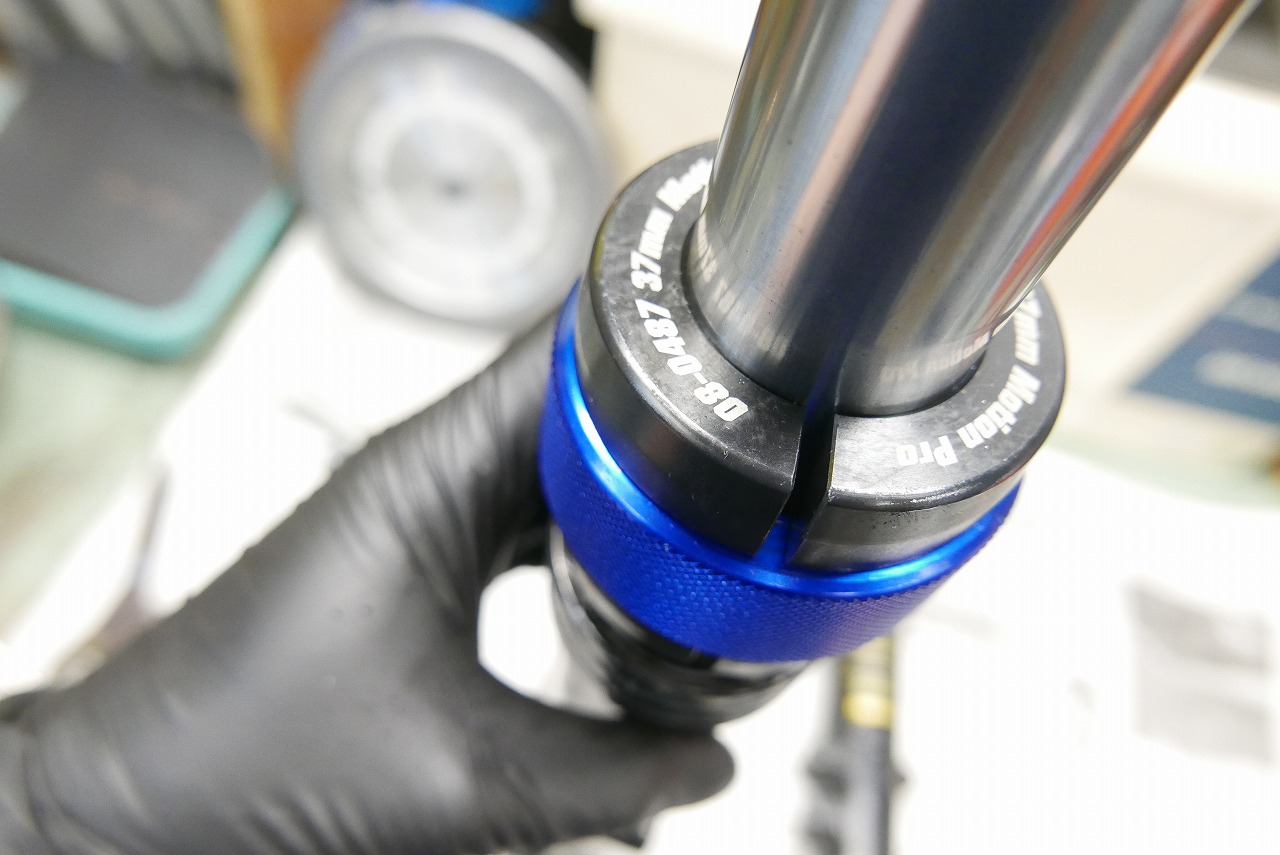
has great design, usability, and pricing—GOOD.
To be continued.