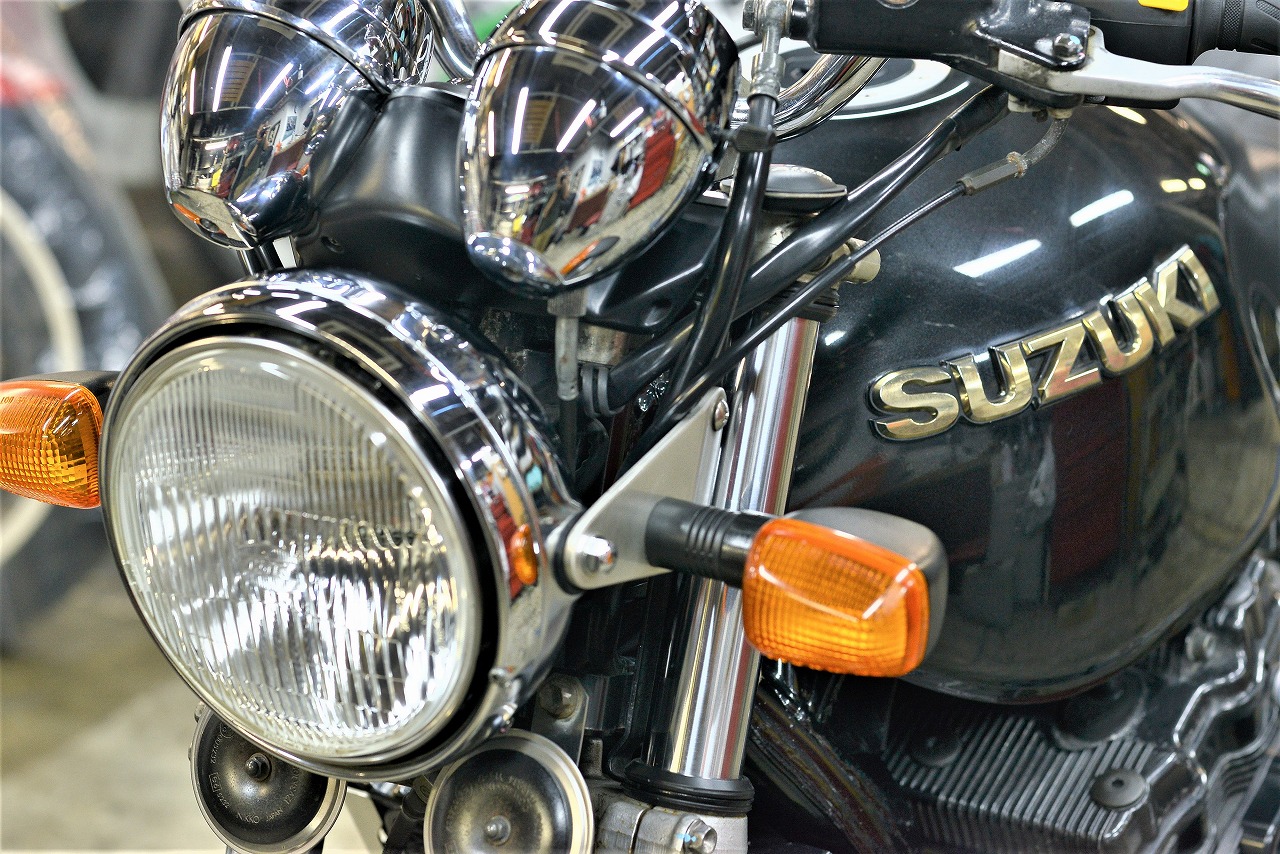
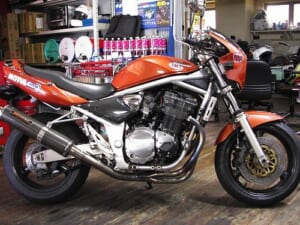
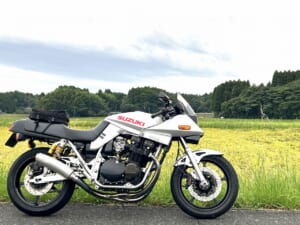
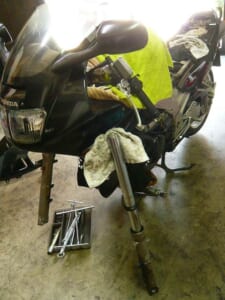
Around 2000, oil-cooled 1200s were sold side by side: GSF1200 and Inazuma 1200, Bandit 1200 and GS1200SS. Same engine but with monoshock and twin shock. There must have been some mysterious circumstances that deepened the puzzle.
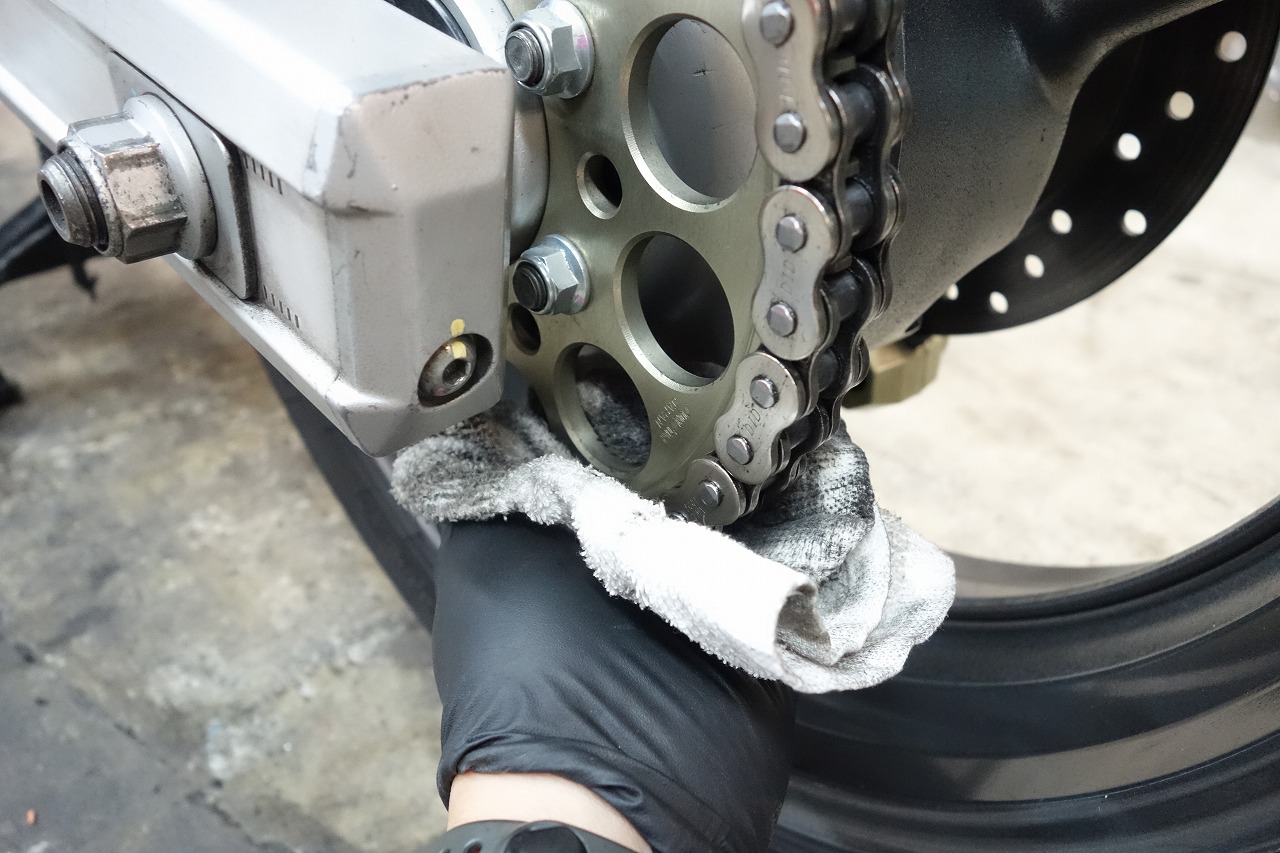
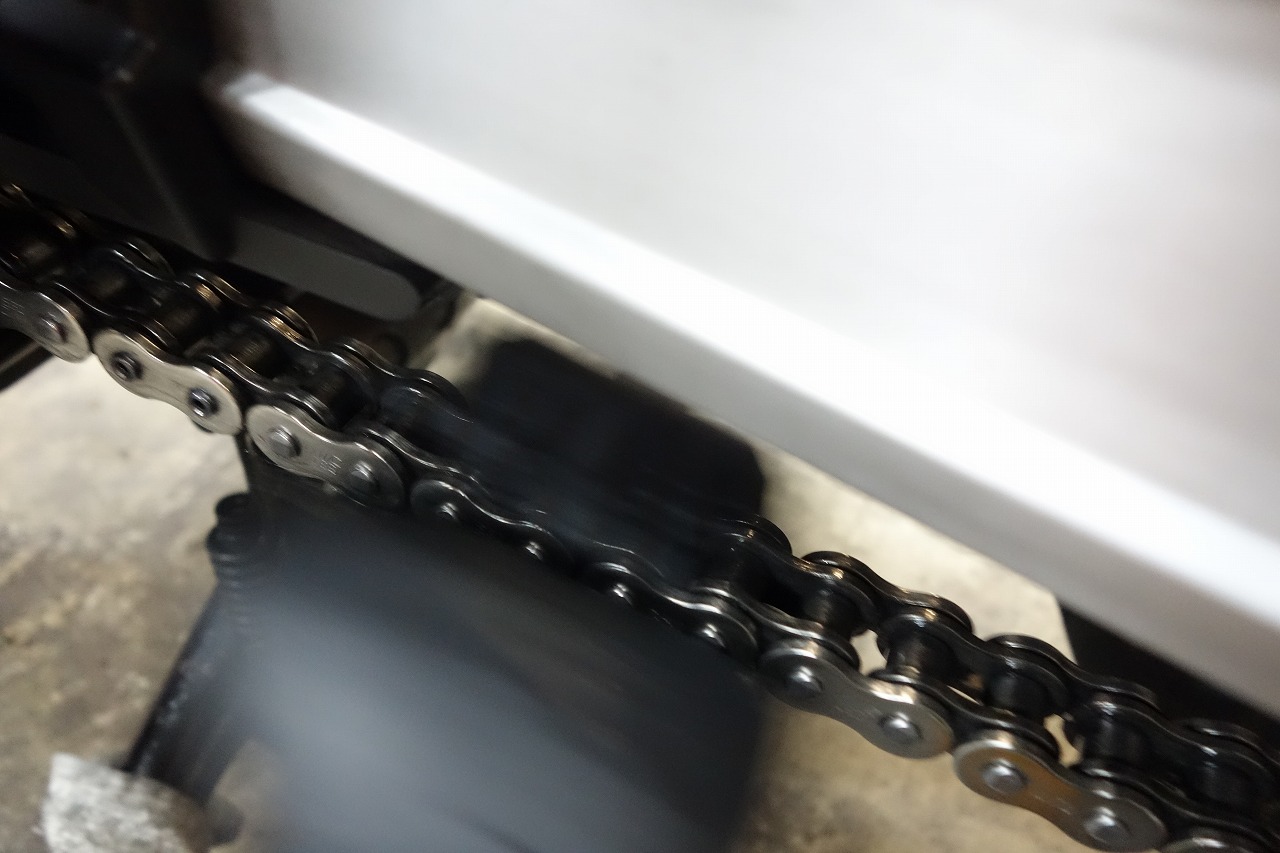
Inspection and Deco-mainte requested. We wipe the chain thoroughly and clean it well. At our shop, we apply wash oil to a rag and wipe it down.
For example… If you want to clean it yourself with DIY, AZ (A-Z) MCC-002 Motorcycle Chain Cleaner something like this would work fine. *It’s good for storage and ease of use.
If you scrub with a brush it’ll spray everywhere, so I’d use Model Robe No. 1100 Mechanic Gloves and hold a rag in one hand while applying cleaner and wiping it down to remove dirt.
With gloves on, direct wiping turns out to be the cleanest and fastest way… For your reference. Apply chain lube thoroughly so it soaks all the way in, then work it in with your hand, deep into the chain. Scrub, scrub… squeeze, squeeze!
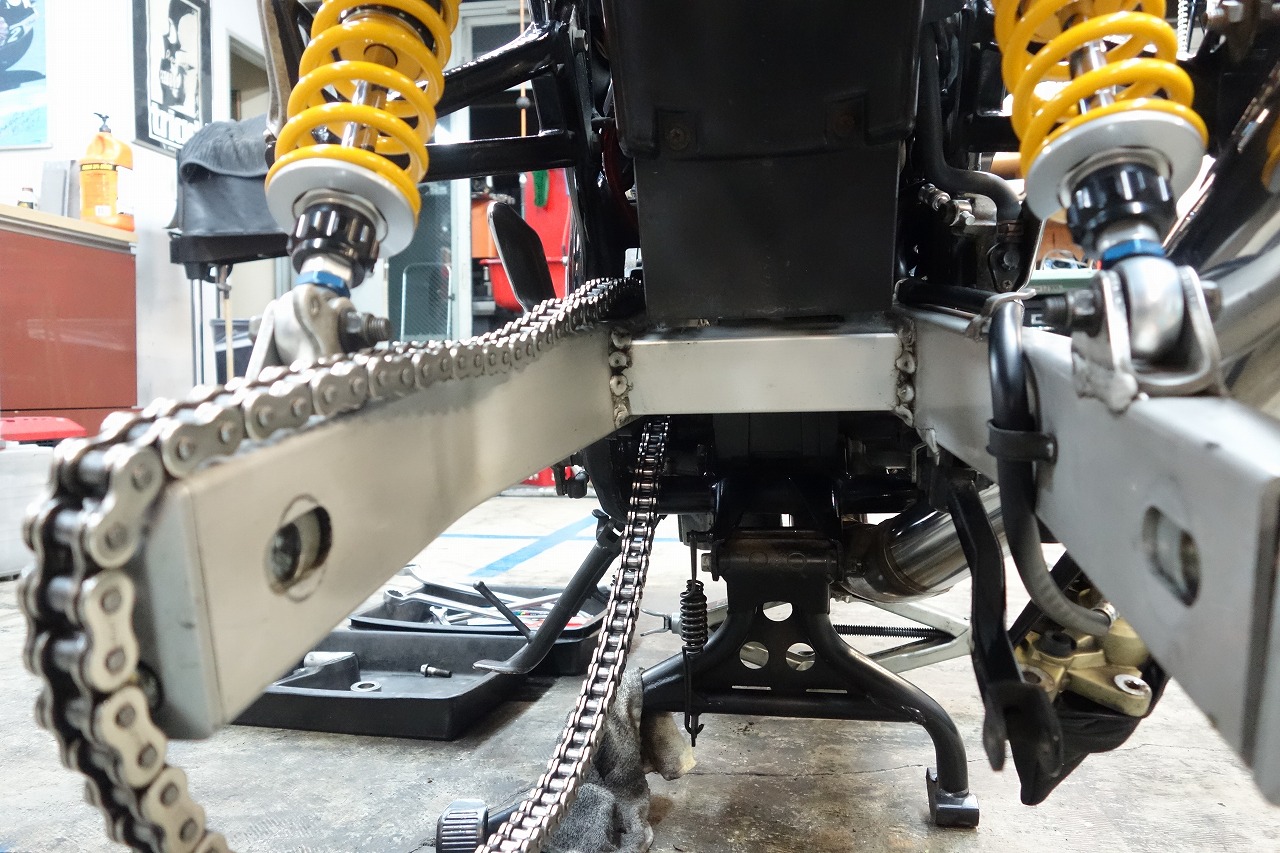
You’ll feel the chain click right away in your hand. You’ll sense the roughness diminishing too. All five senses matter. Once the rear wheel is off, thoroughly clean the spots your hand can’t reach.
Everyone thinks cleaning is a hassle. The trick might be, image-wise, not to be too meticulous about it.
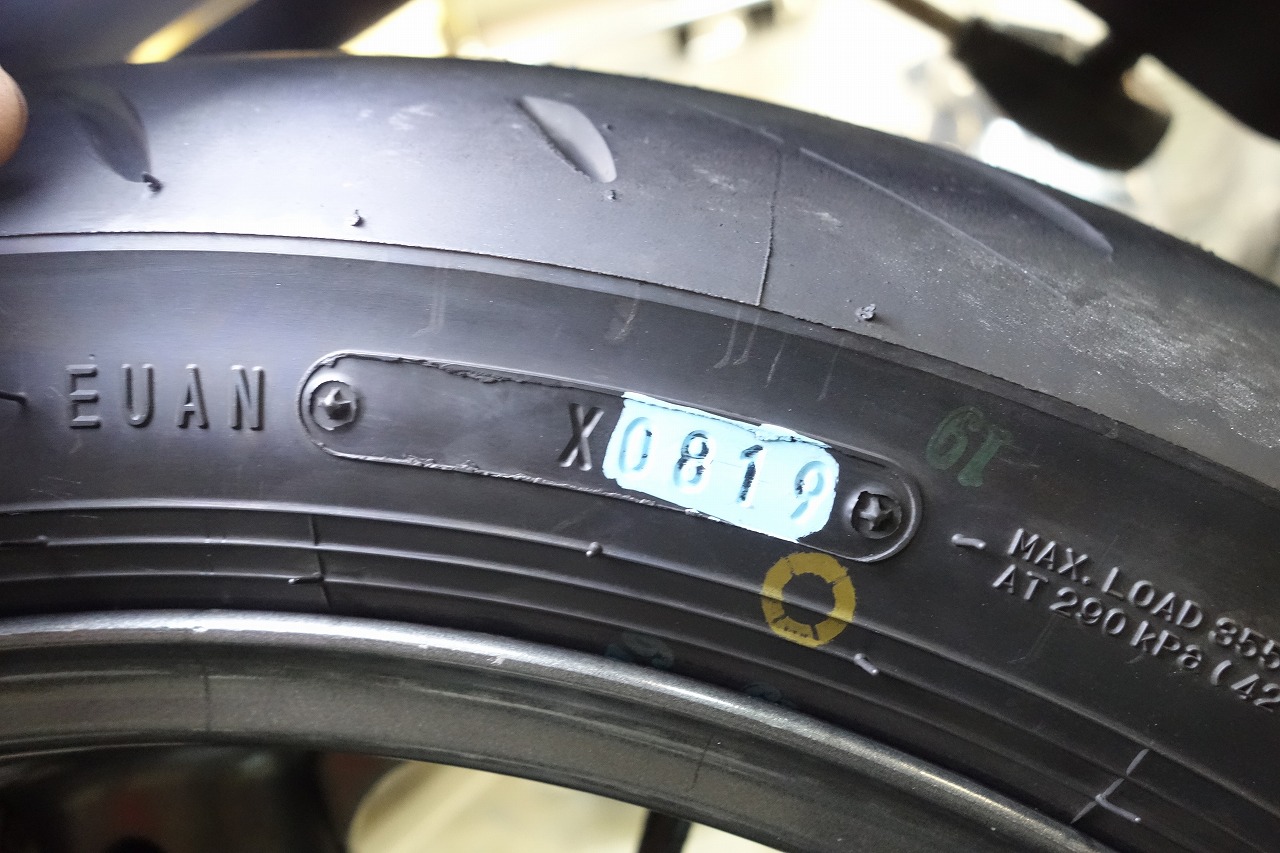
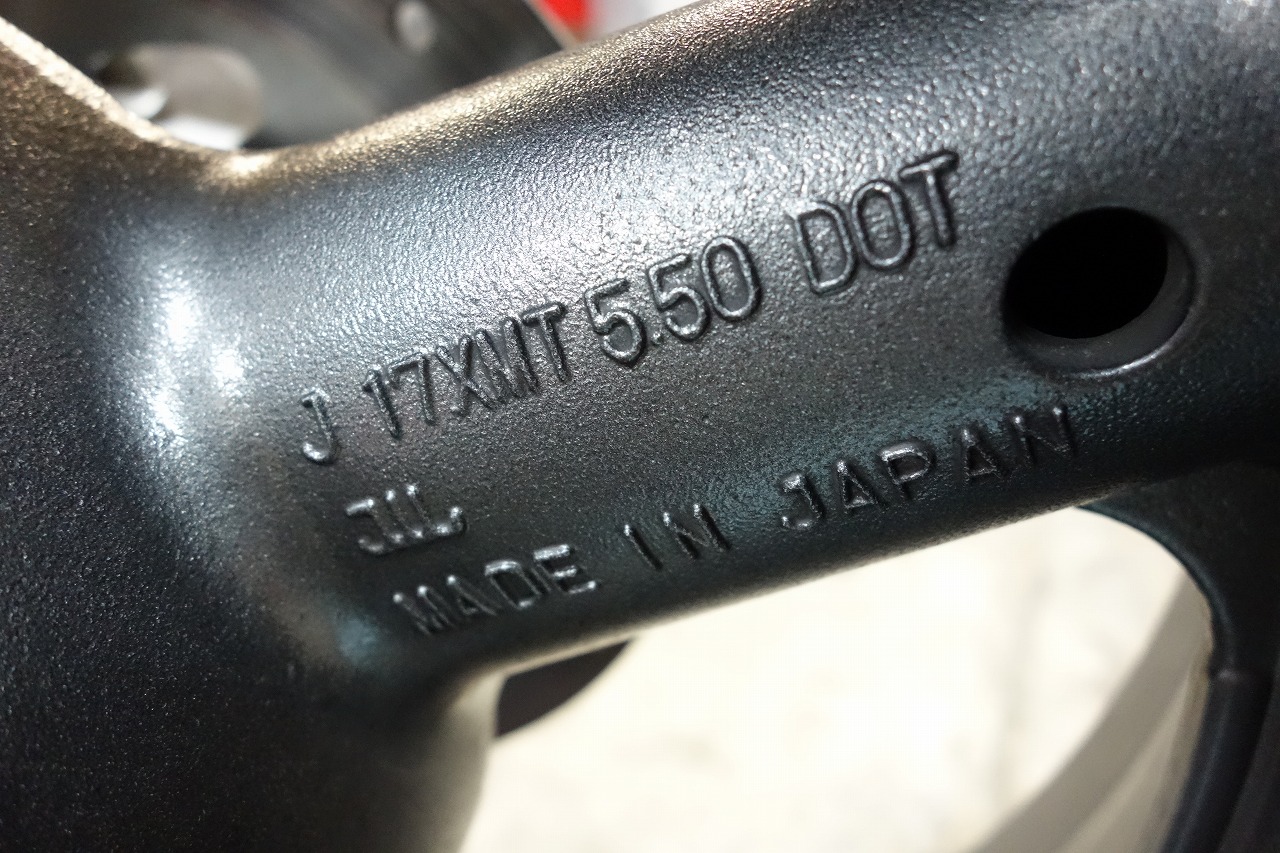
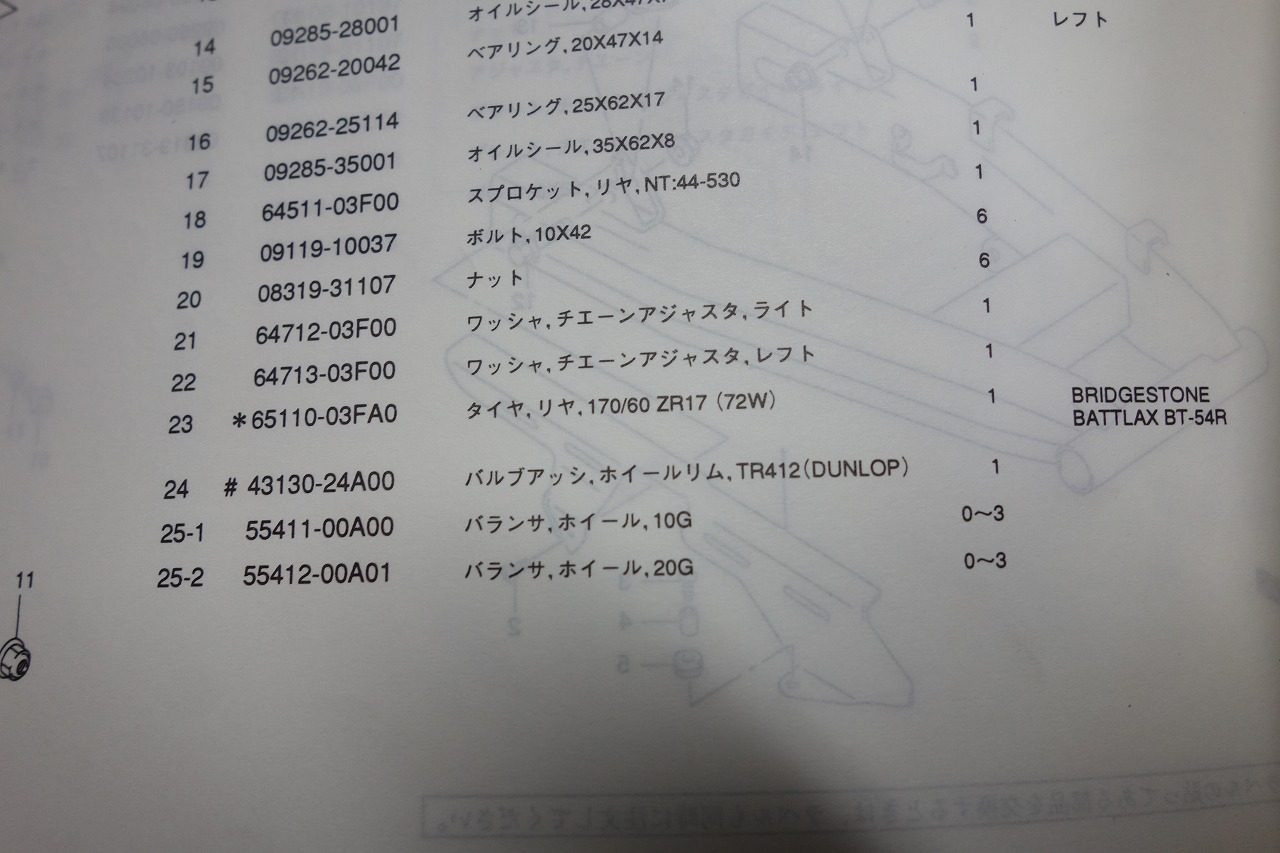
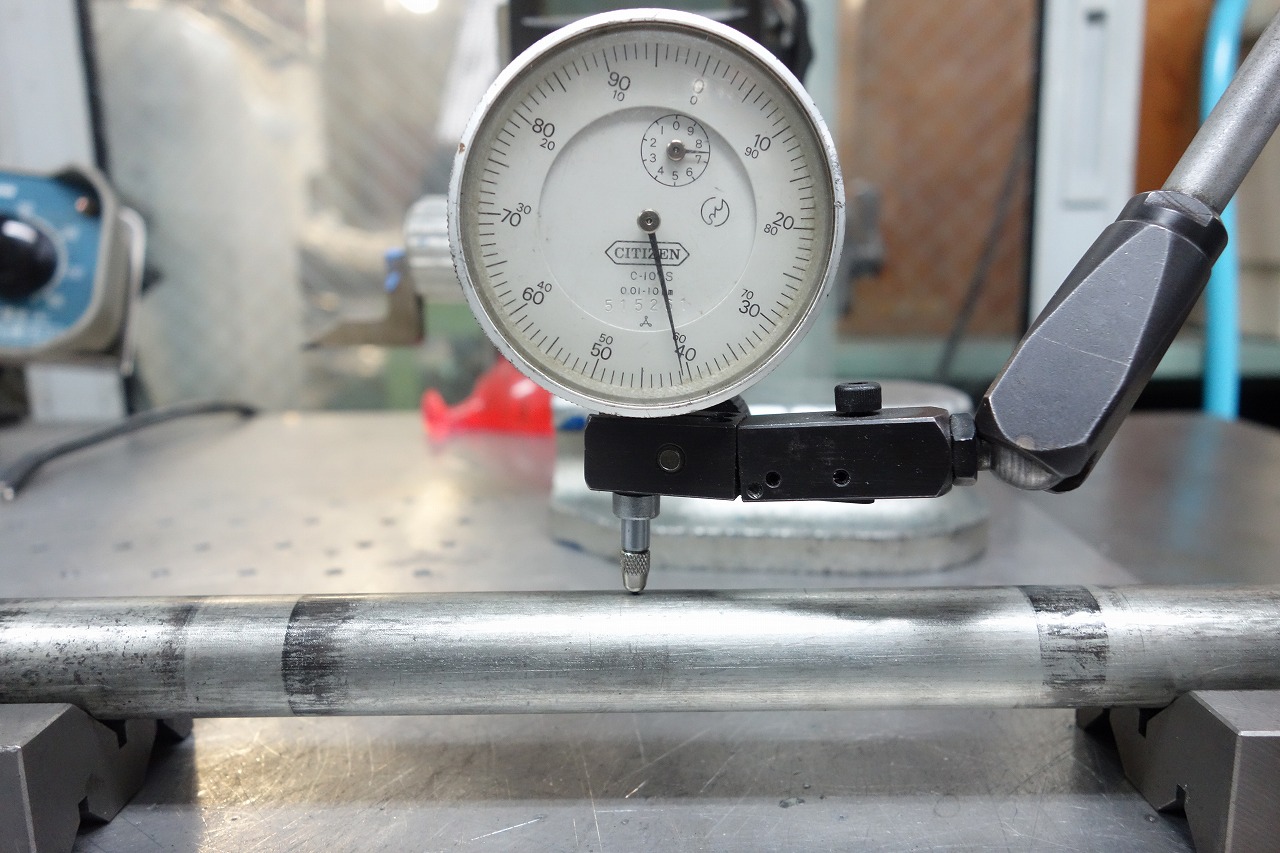
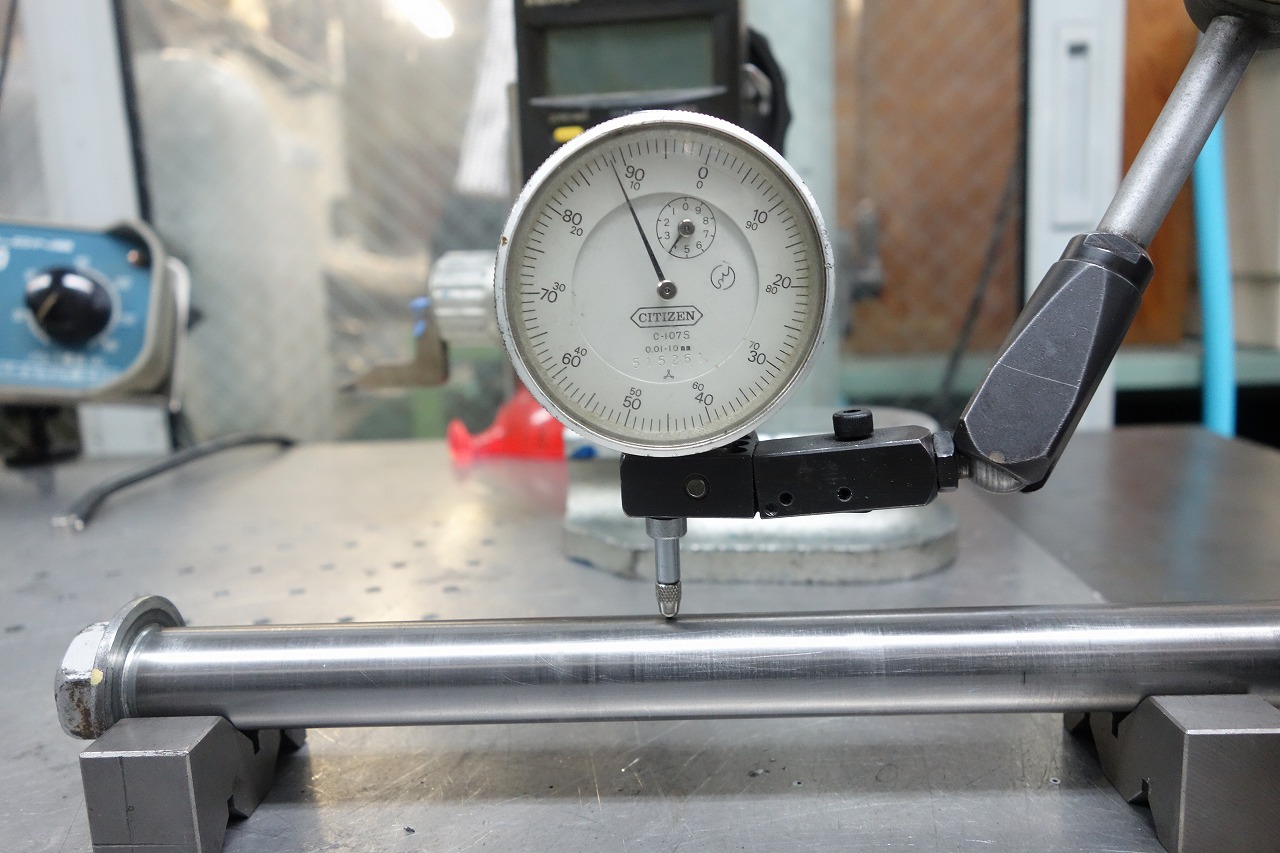
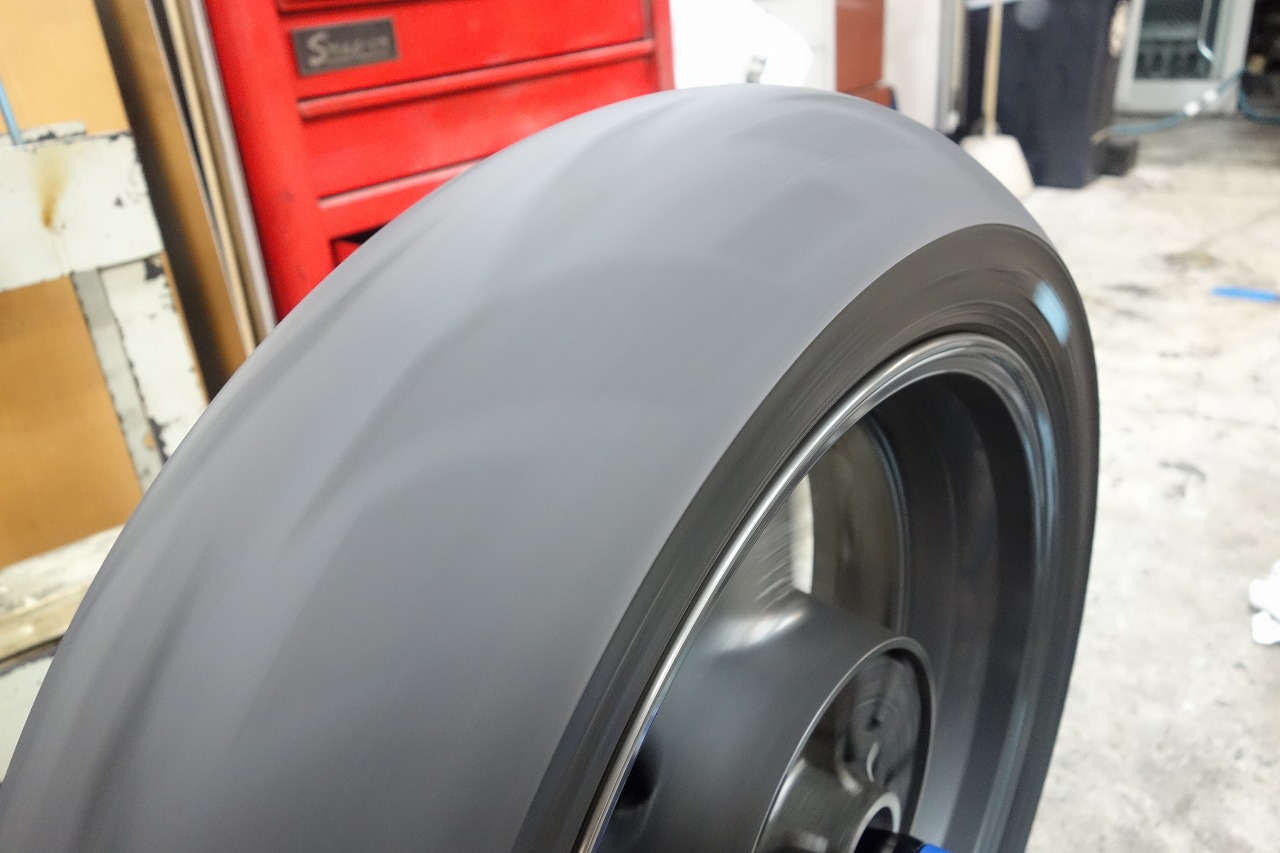
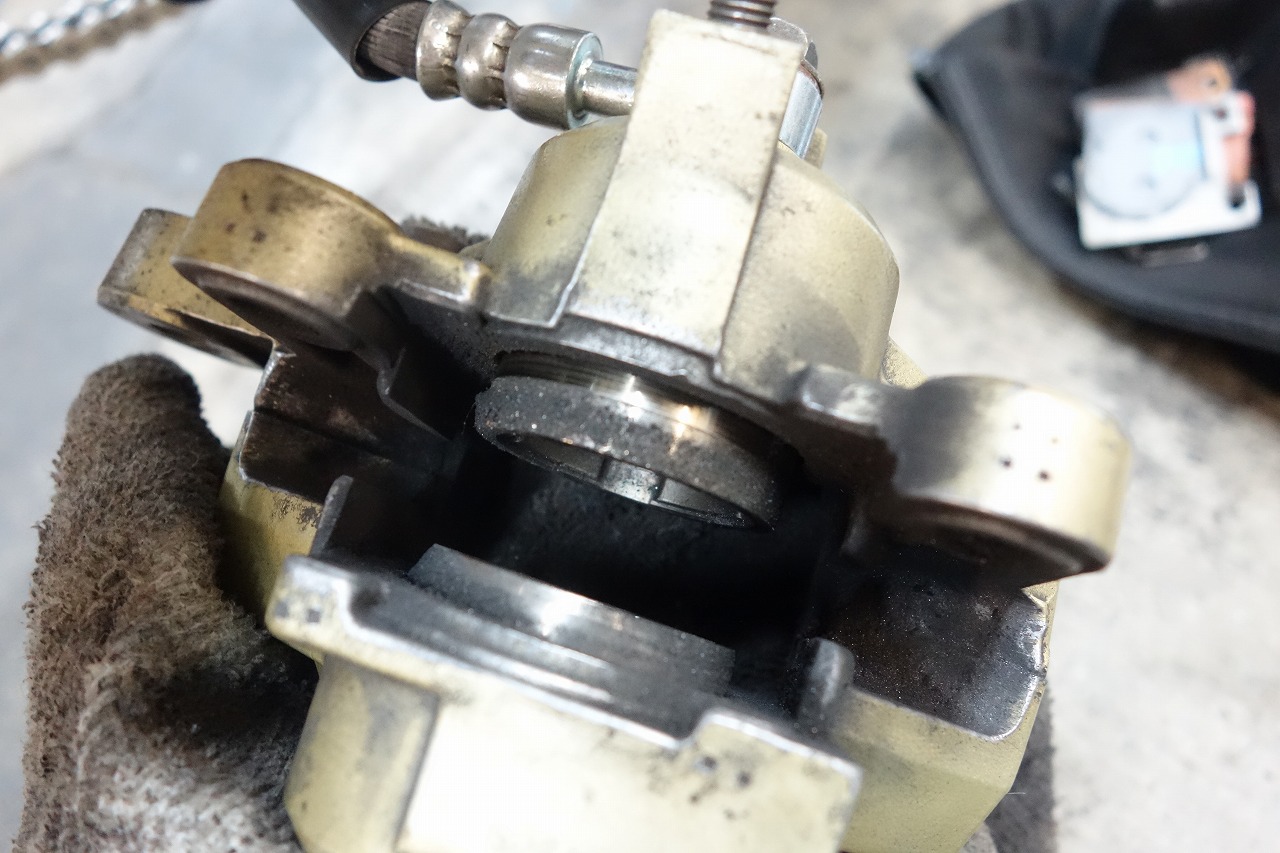
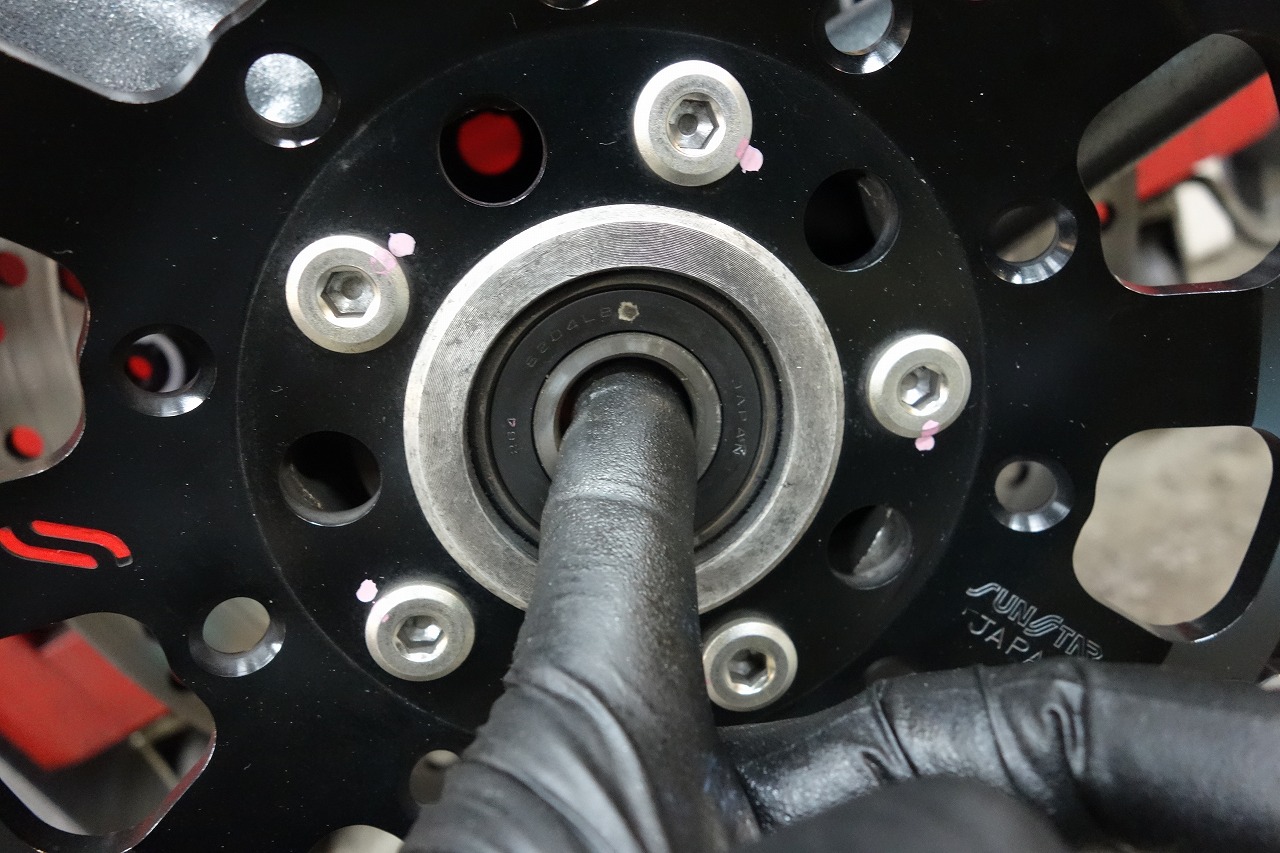
Dirt buildup actually takes years to accumulate. If you wipe lightly after each ride and keep repeating it, the dirt should gradually disappear. At this time, we also note the tire manufacturing date, size, and brand. It’s good to know the wheel size too. Back then it was 170/60-17. ← I wrote about this a while back, so if you’re interested, please check it out. Checking the axle shaft runout will reduce those “huh?” moments. (No issues found.) This time we added “Gun Coat Flat Black” to our regular lineup, so we tested it right away. Hmm, the finish of matte black really is sneaky… (meaning it looks great.) The rear wheel bearing is solid with no issues. Rear wheel and tire runout also checked out fine. The rear caliper action is very smooth. Even this Tokico functions properly and returns snappily like a Brembo.
Smooth feel equals light rolling. If it feels stiff, an overhaul is better.
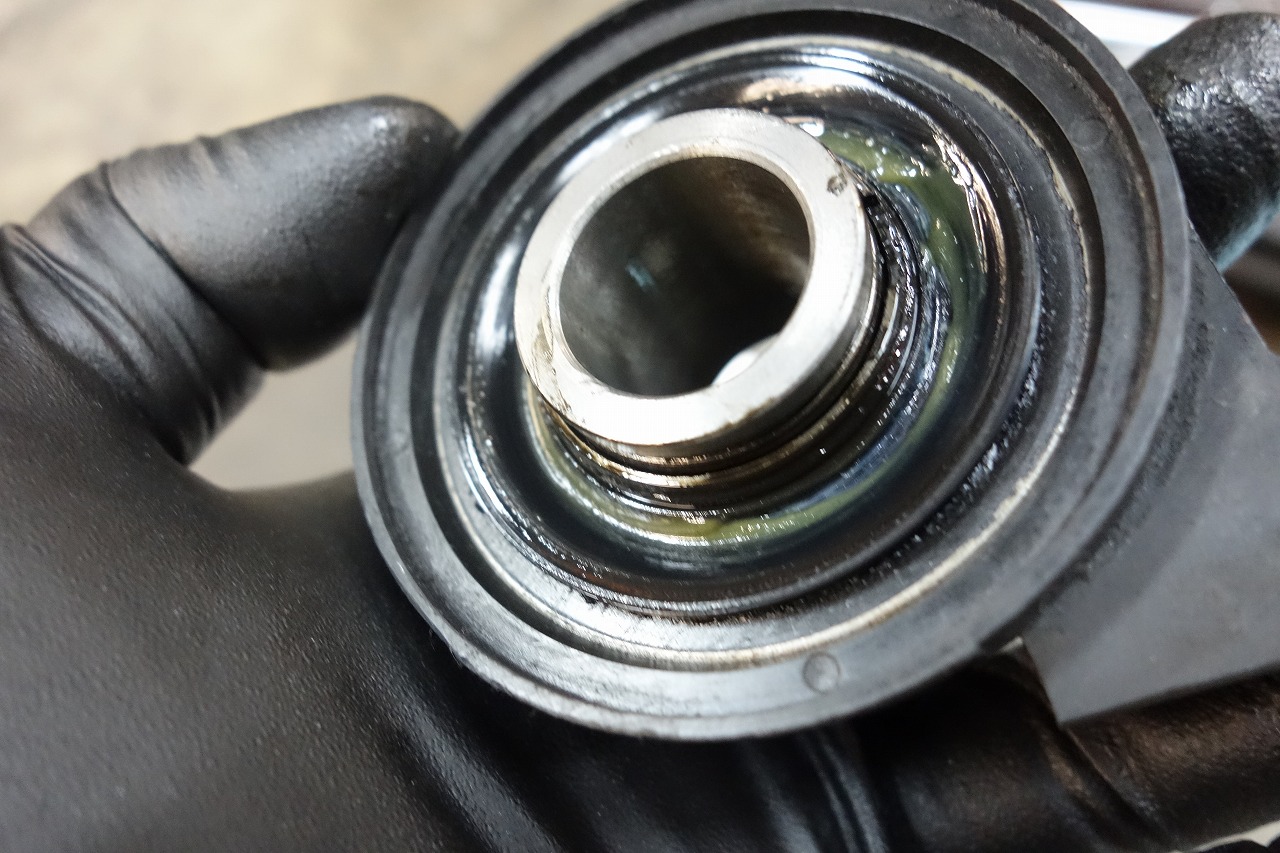
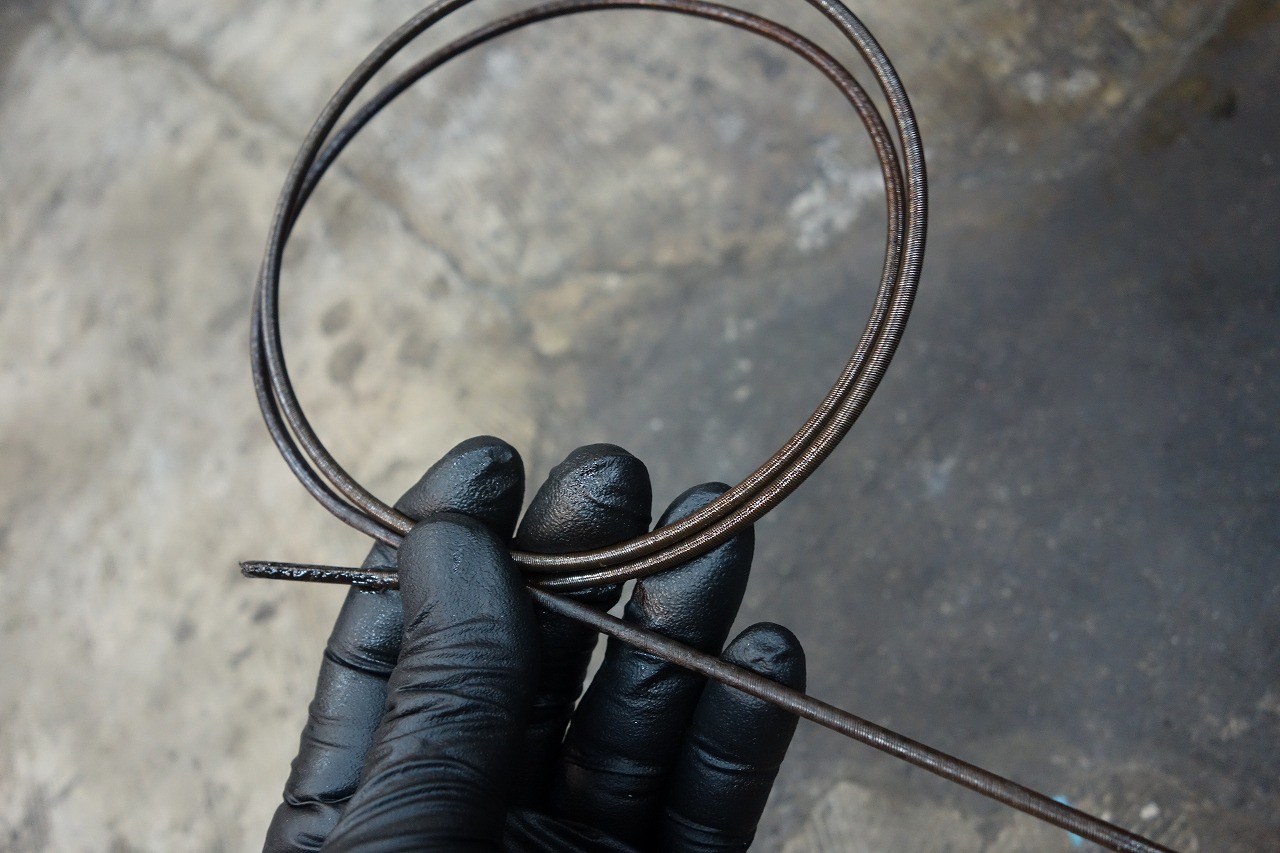
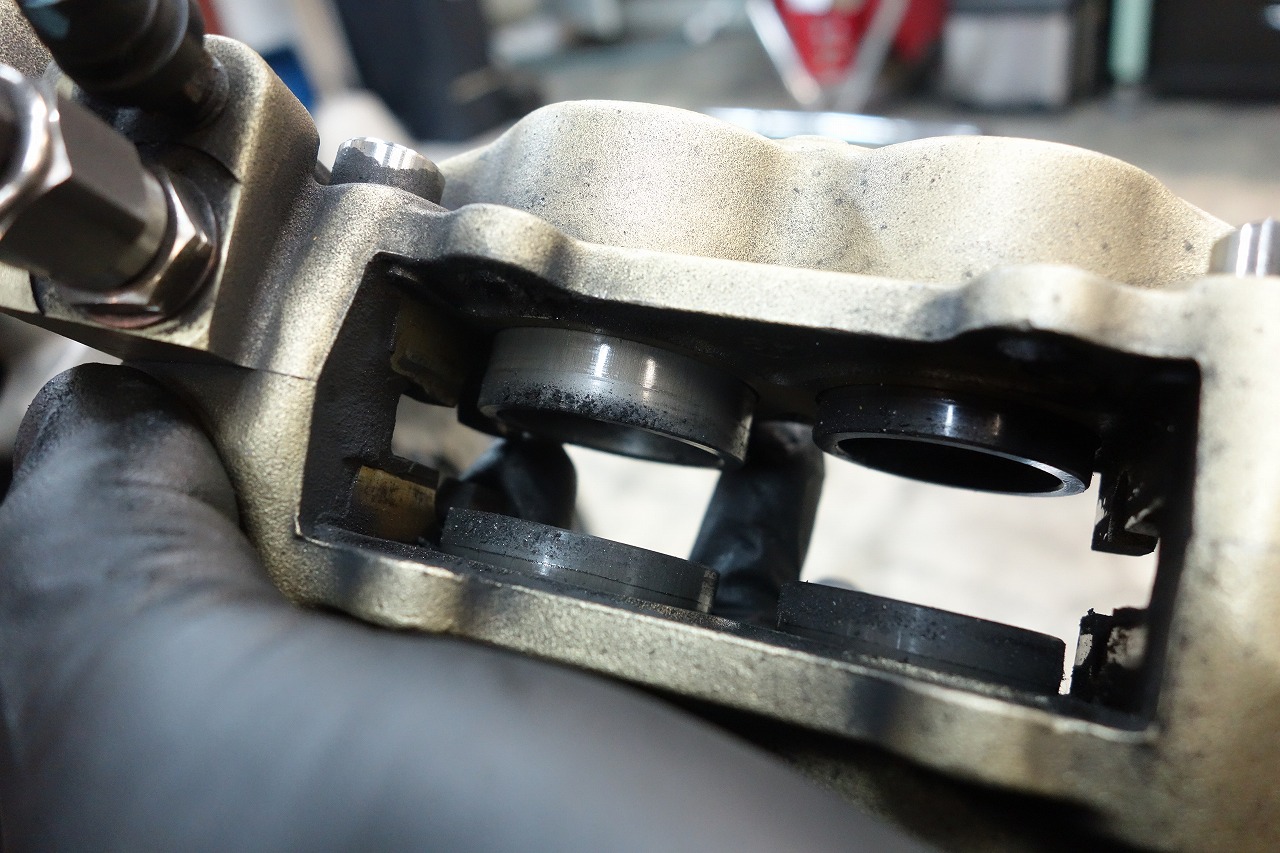
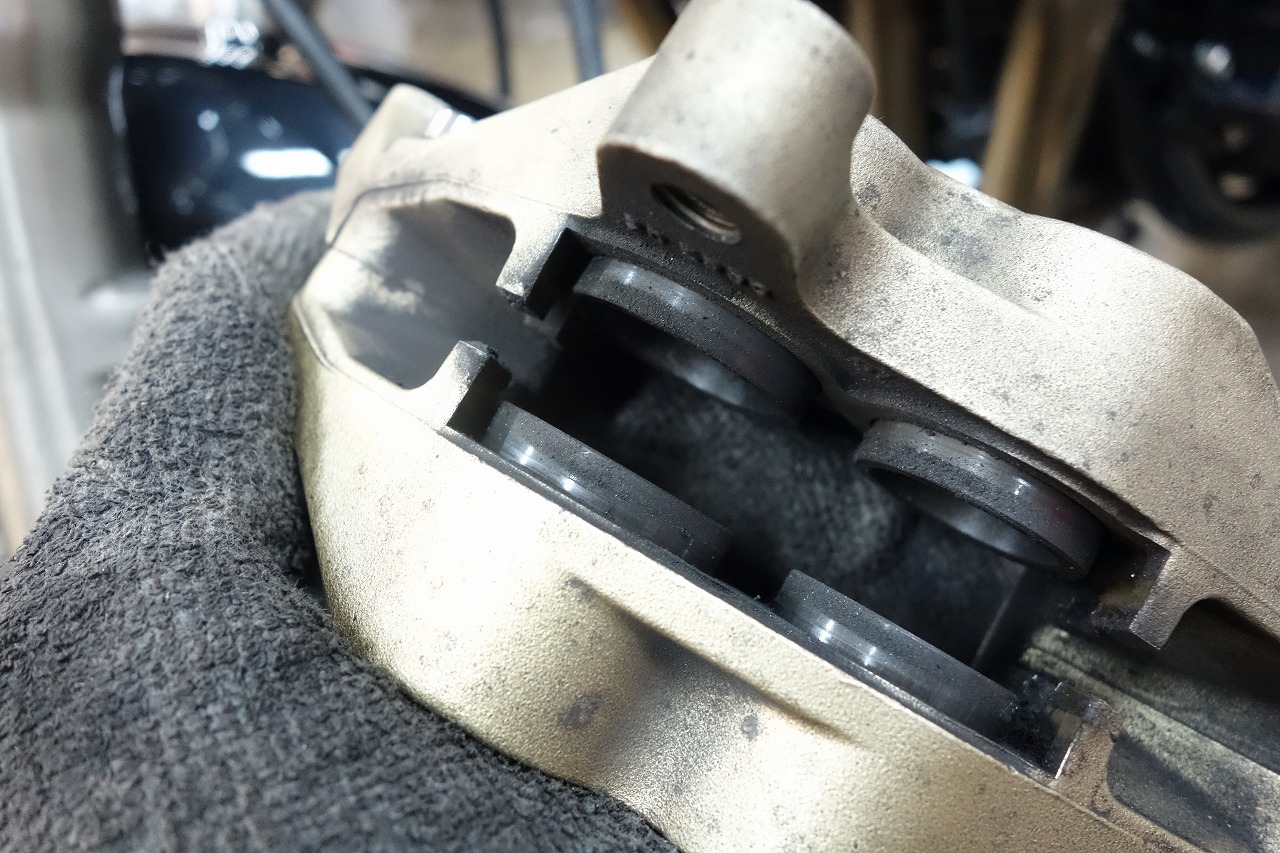
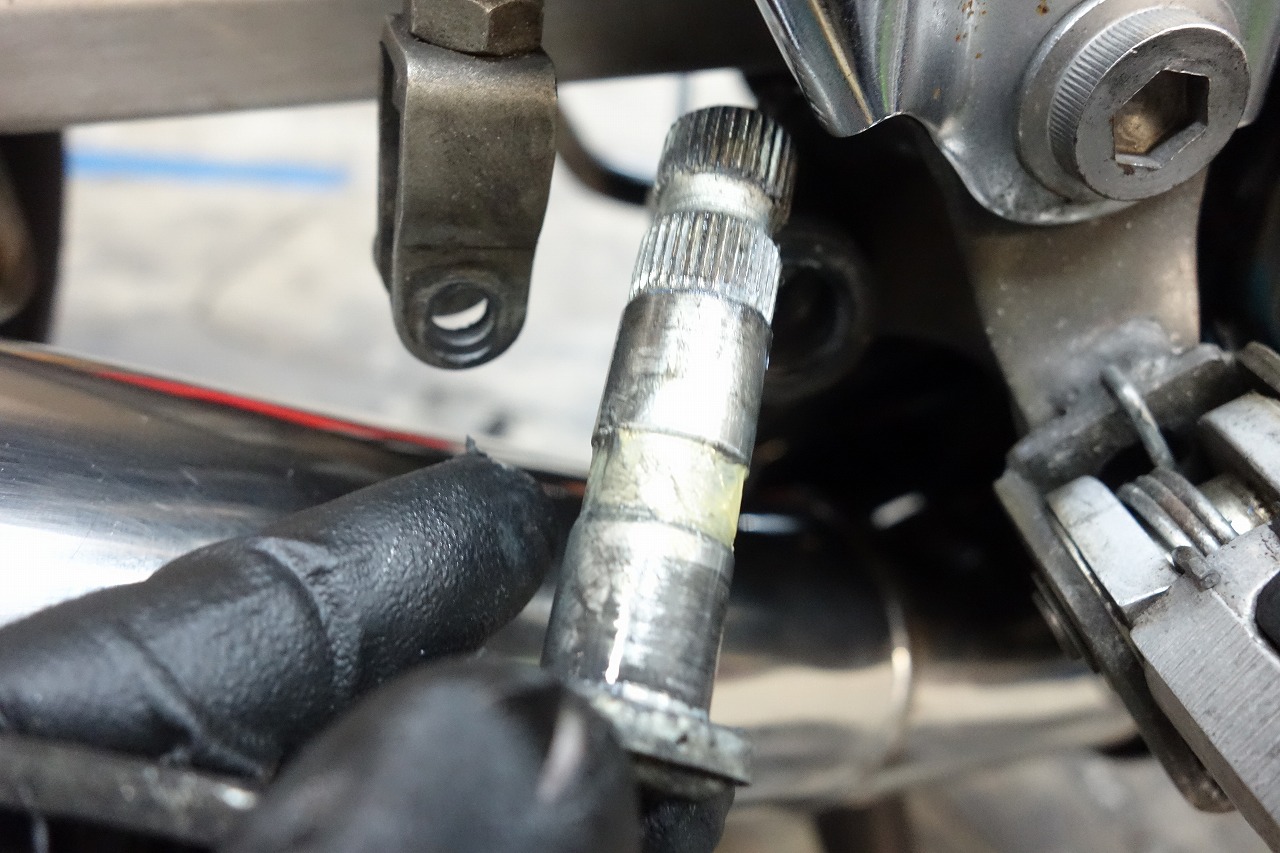
Stiffness won’t improve much even with thorough massaging, and it won’t last. If massaging could match overhaul performance, that would be godlike. Moving on to the front. Remove the speedometer gear as far as you can and check it. A little oil and cleaning matter. Wipe the speedometer cable inner, oil it, and put it back. The wheel bearing condition looks good. The original Brembo caliper operation is fine.
That gold color on the Brembo casting really shows dirt… For calipers, a smooth surface in black seems most practical.
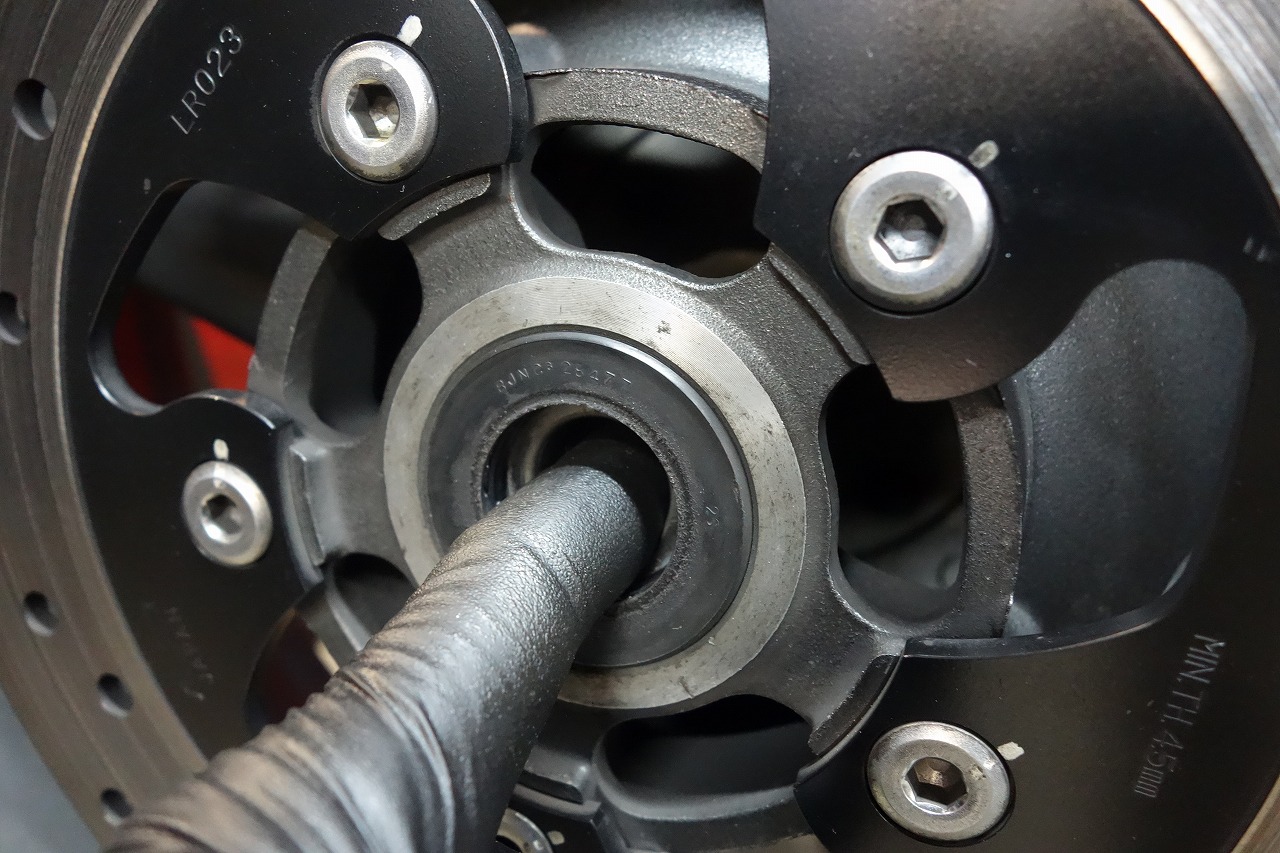
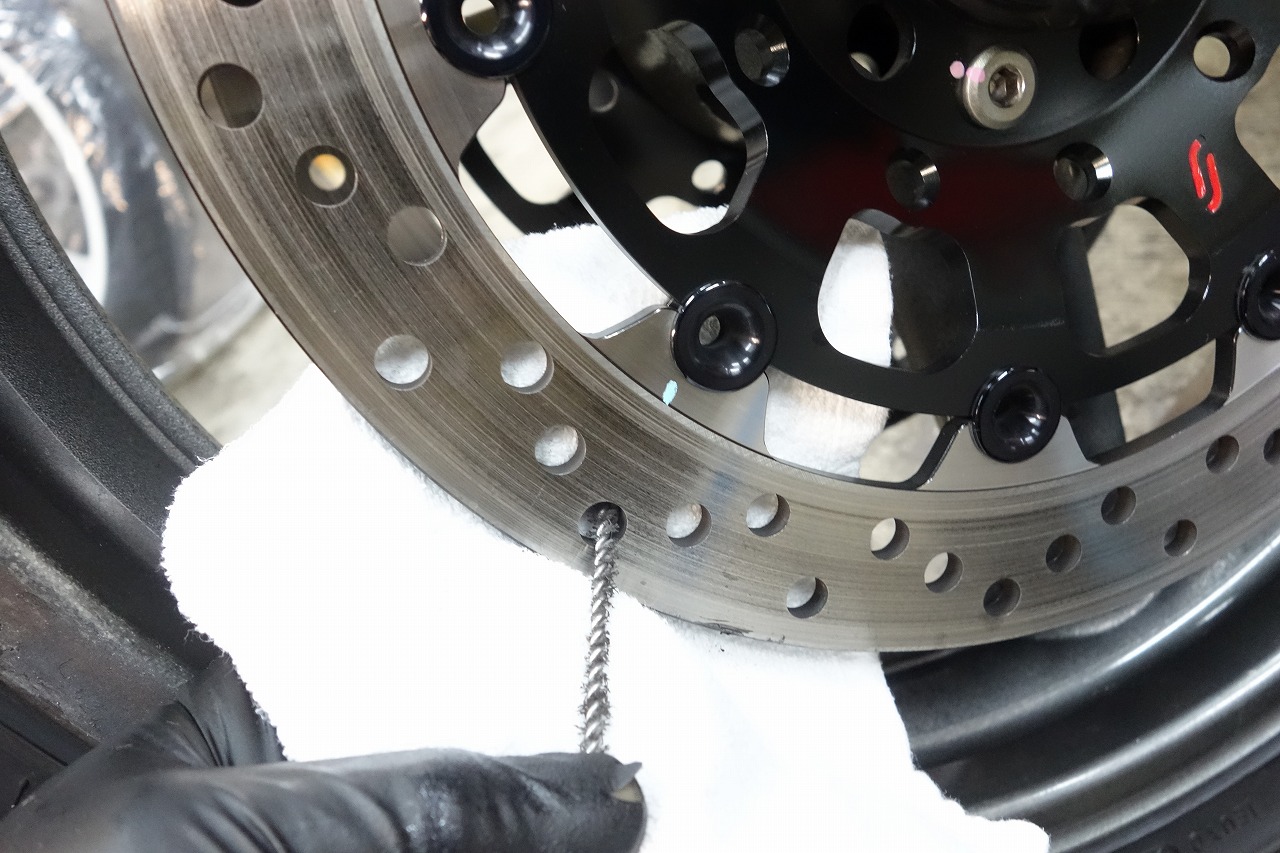
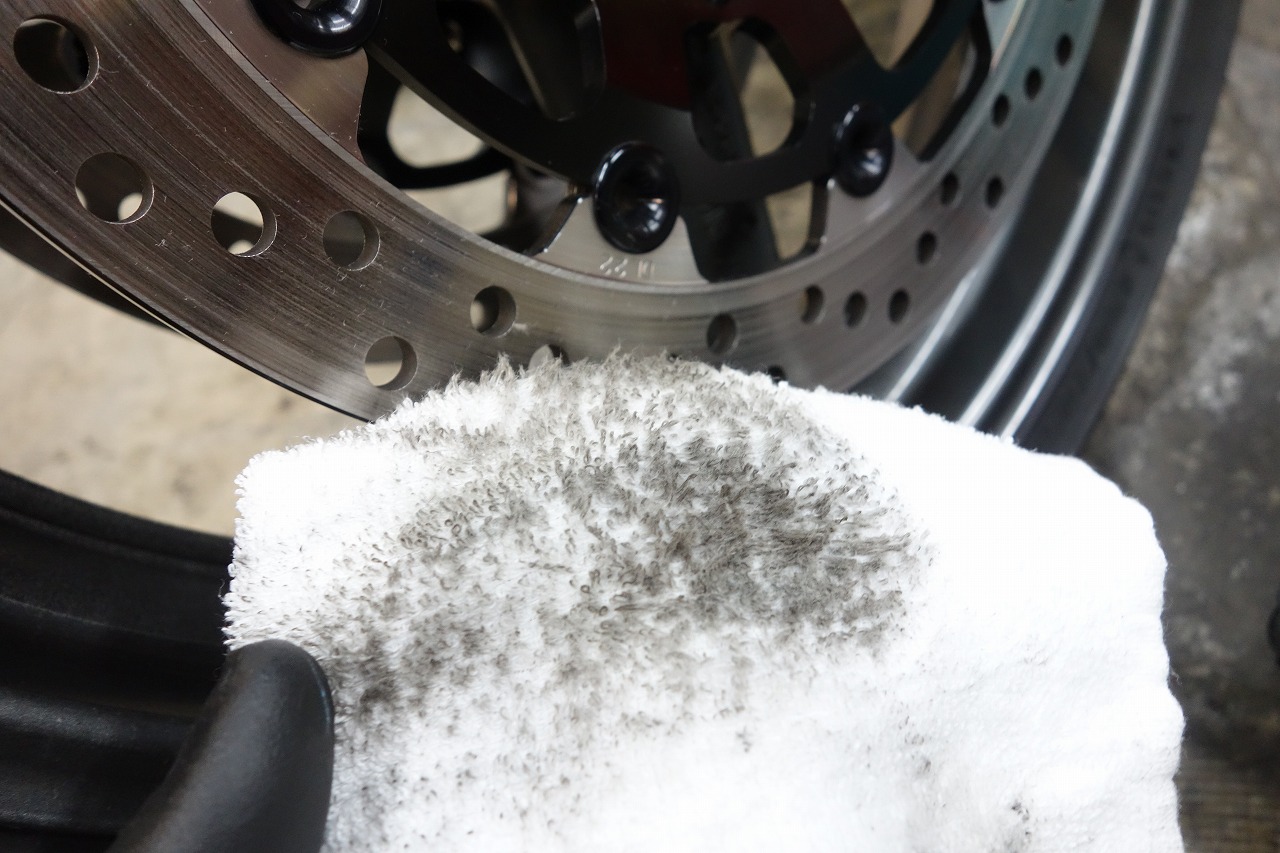
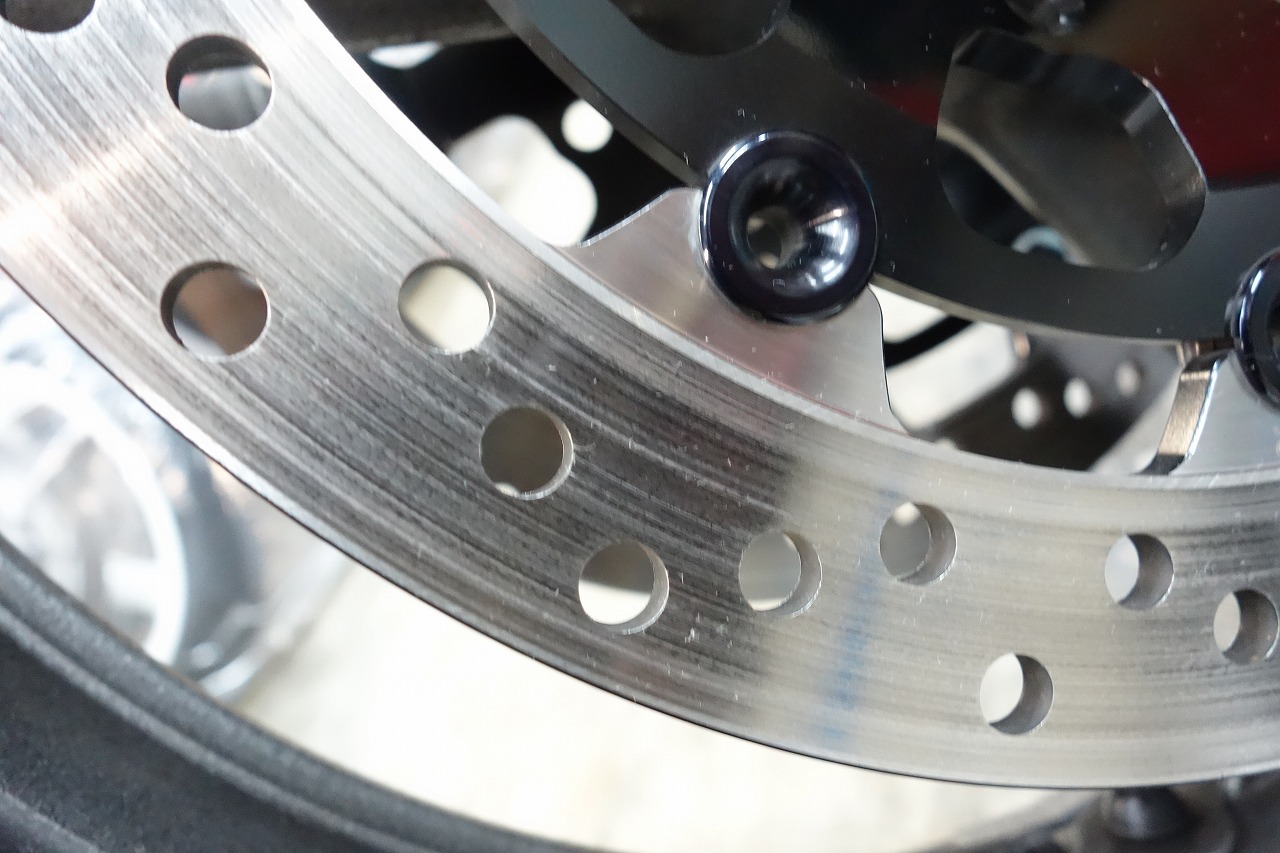
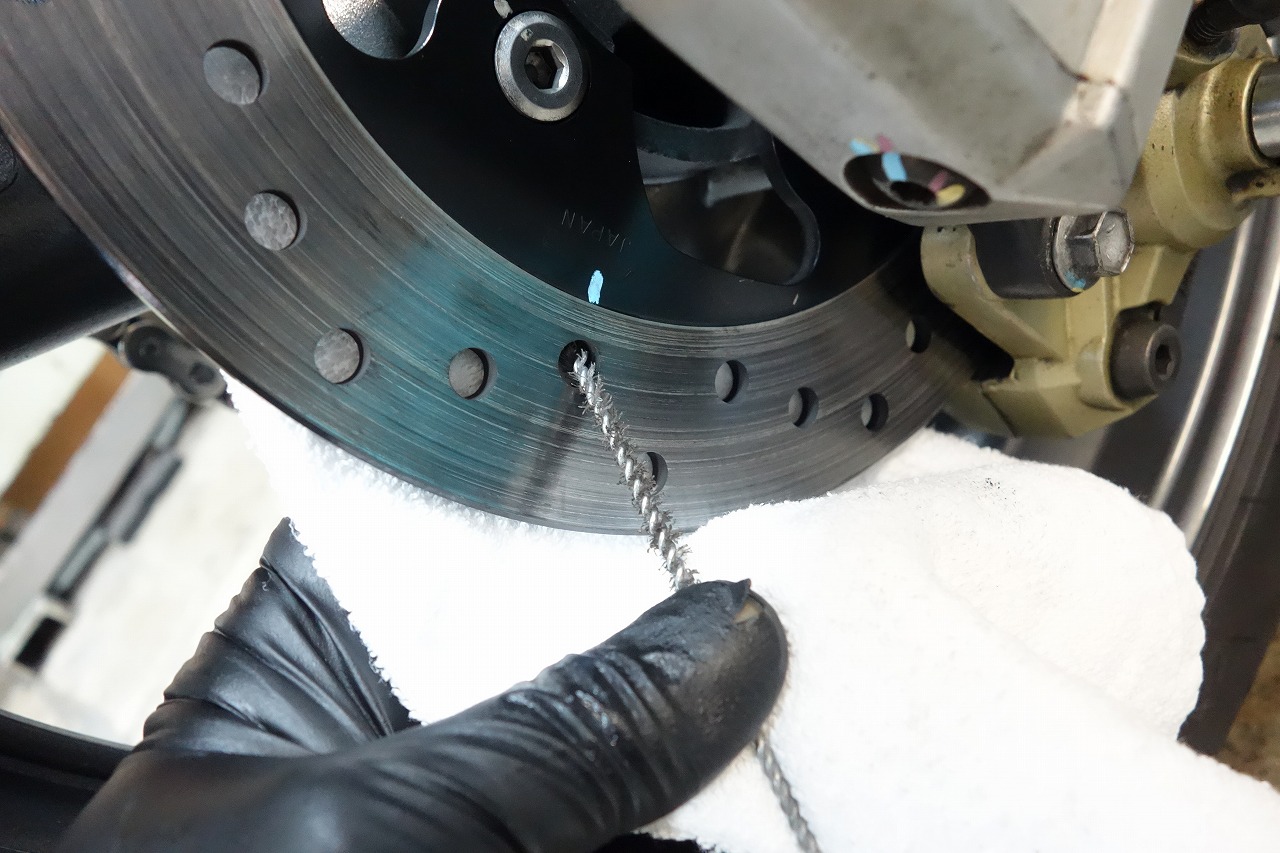
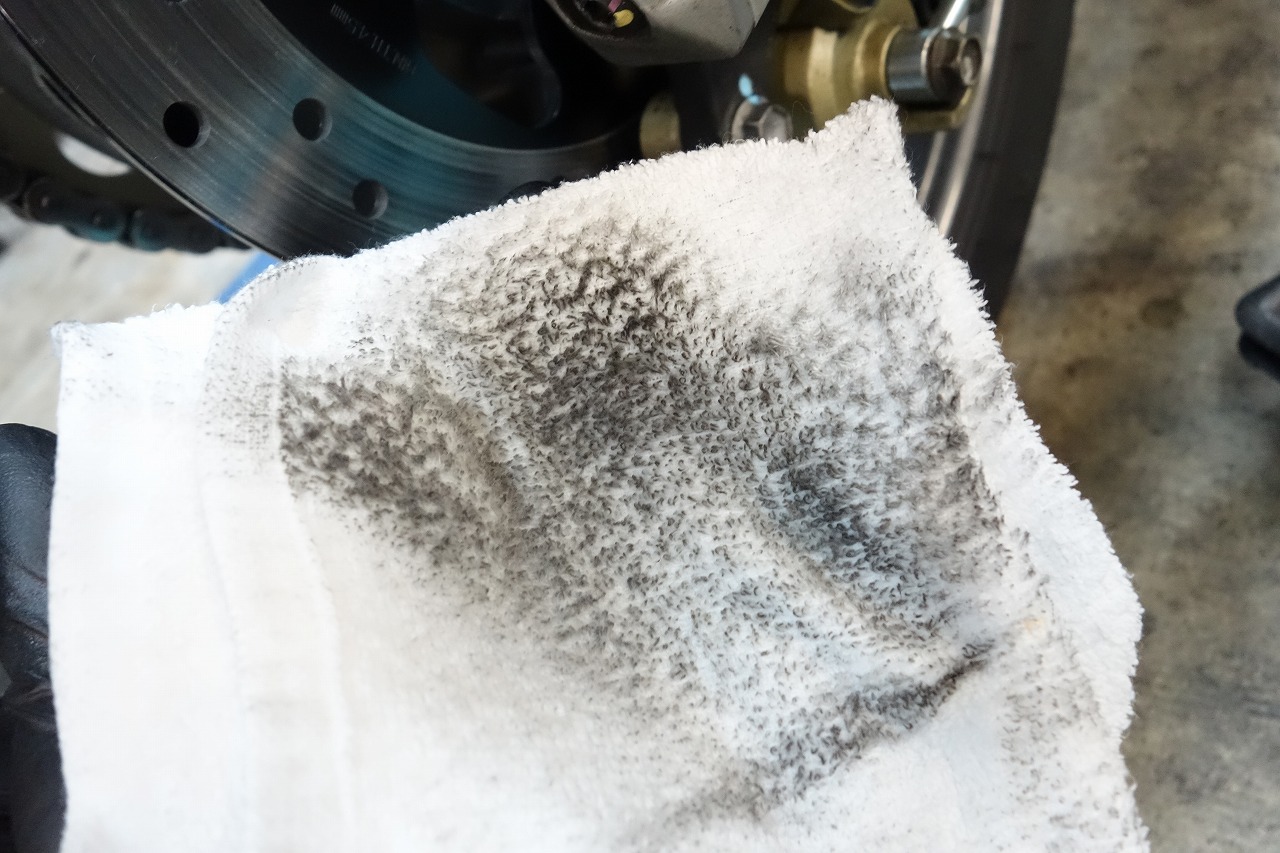
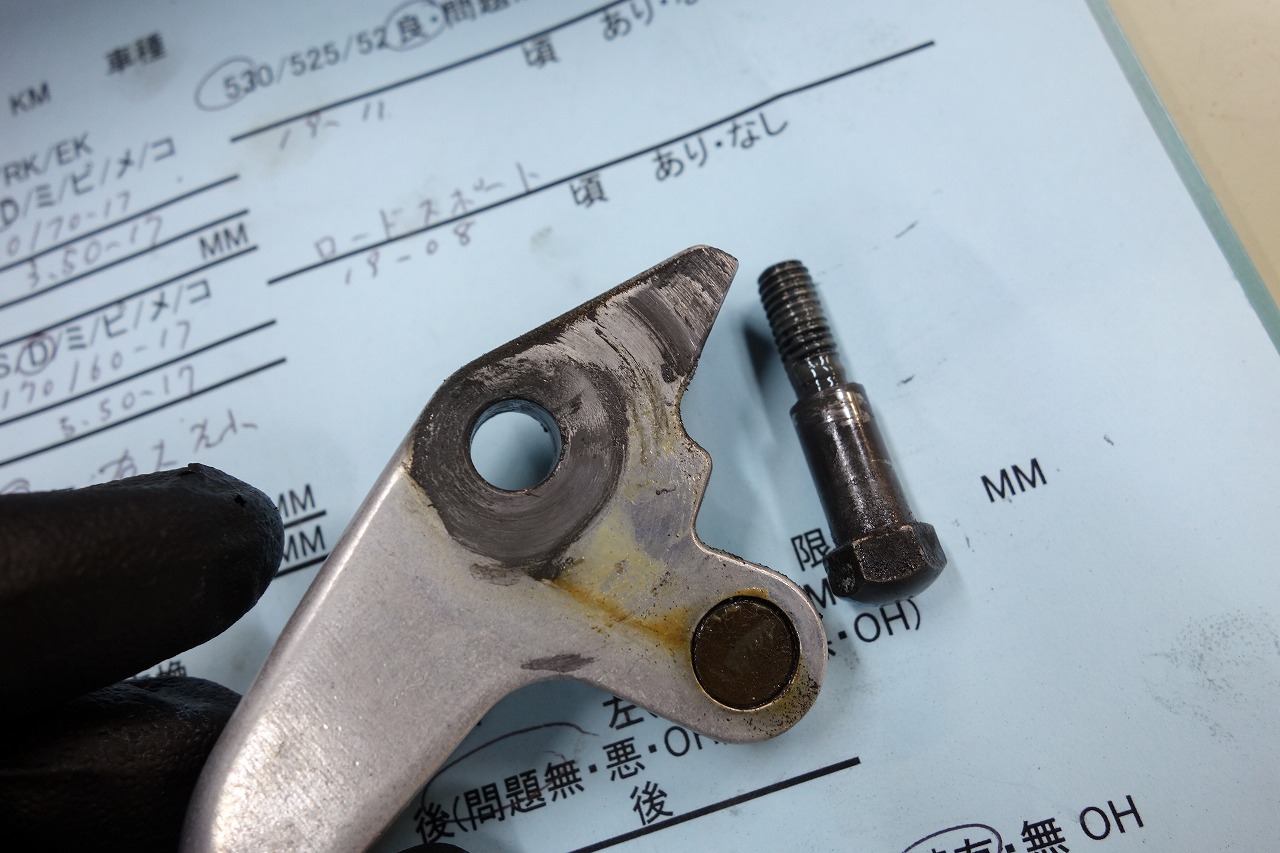
The front wheel had a slight runout, so we’re reporting it. We thoroughly clean the brake disc holes. Dust quietly builds up in there. It’s the kind of spot worth poking around every couple of years. It was relatively clean. Things quietly get dirty. Apply brake cleaner to a rag and scrub vigorously. The glossy surface emerges.
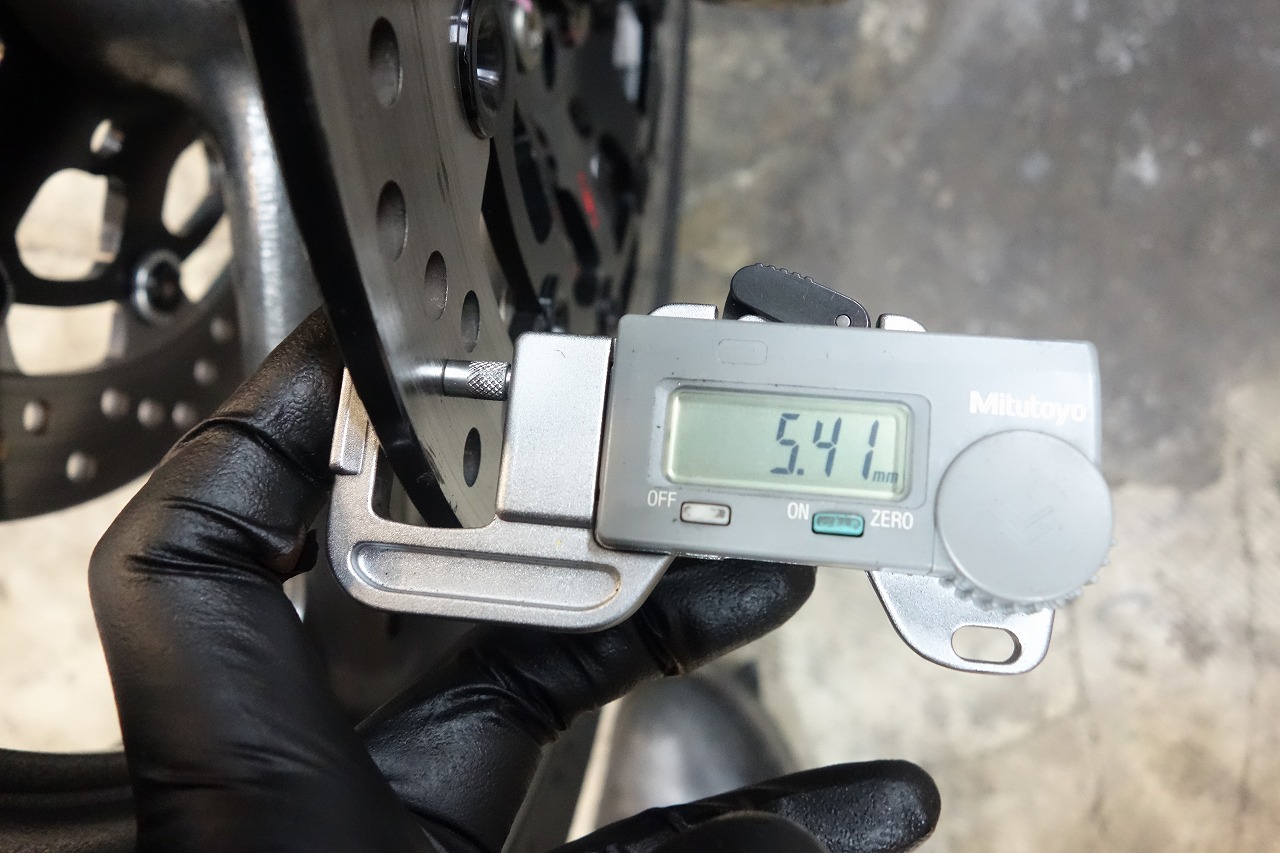
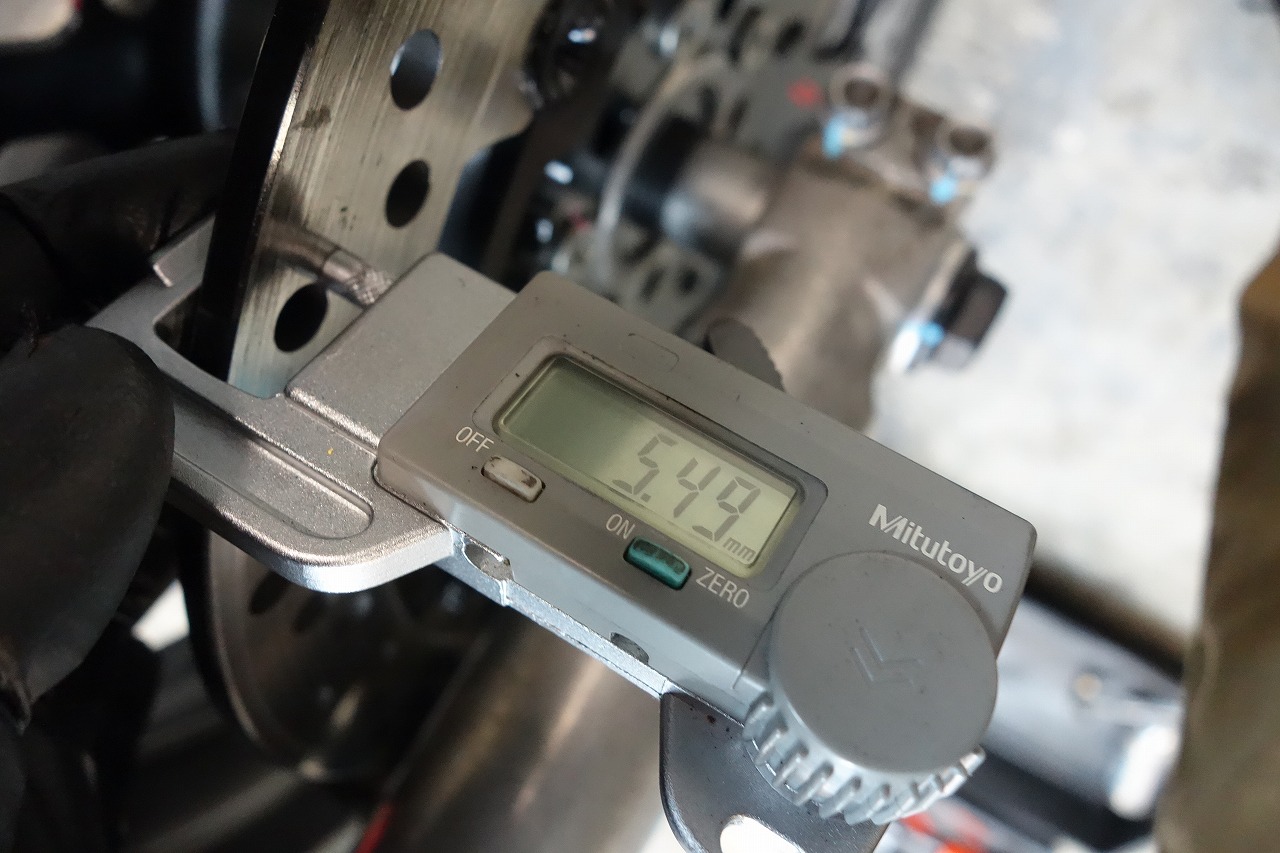
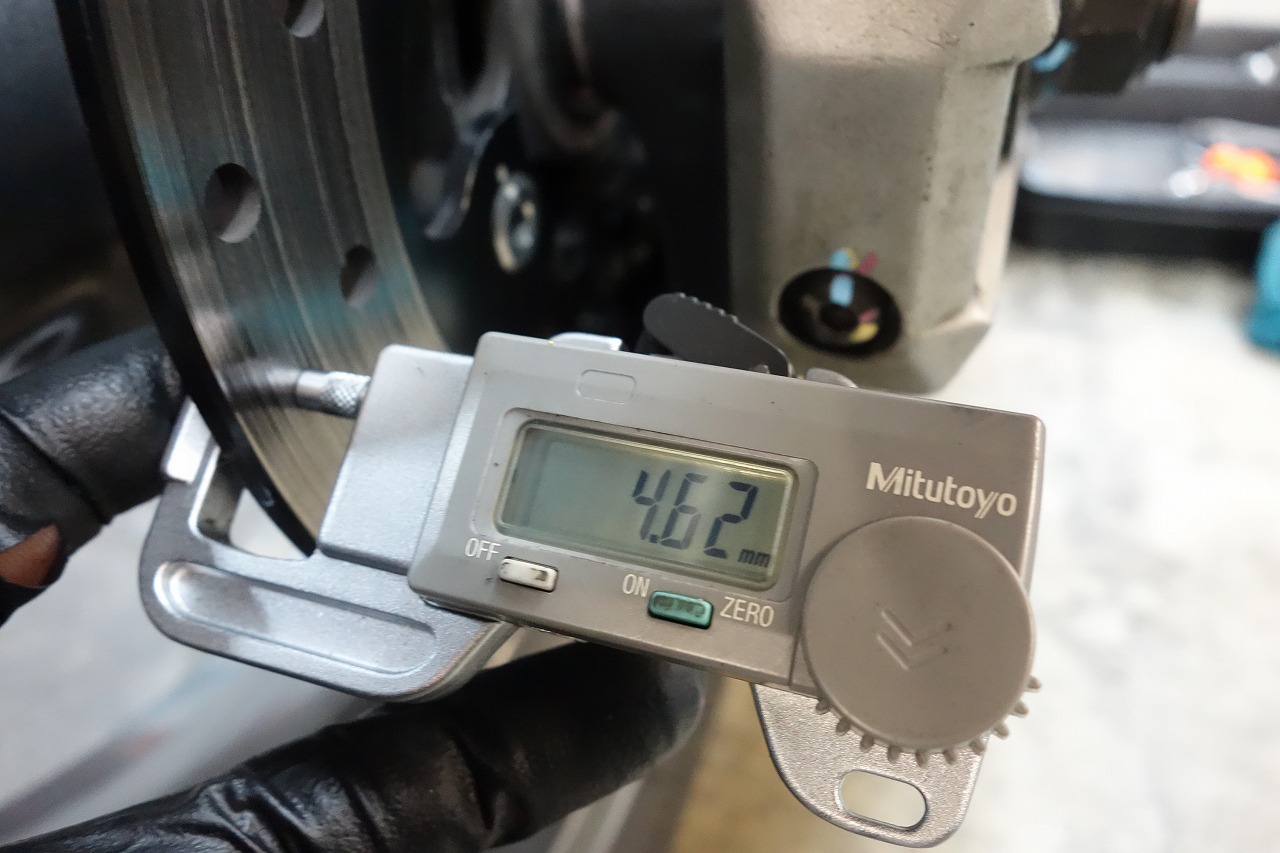
*After this, braking feel weakens, so you need to re-bed the pads. Same with the rear brake disc. The rear was pretty dirty too. Front is a hidden menu option at T=5.5mm. Depending on the caliper and pads used, it may not be possible, so caution is needed.
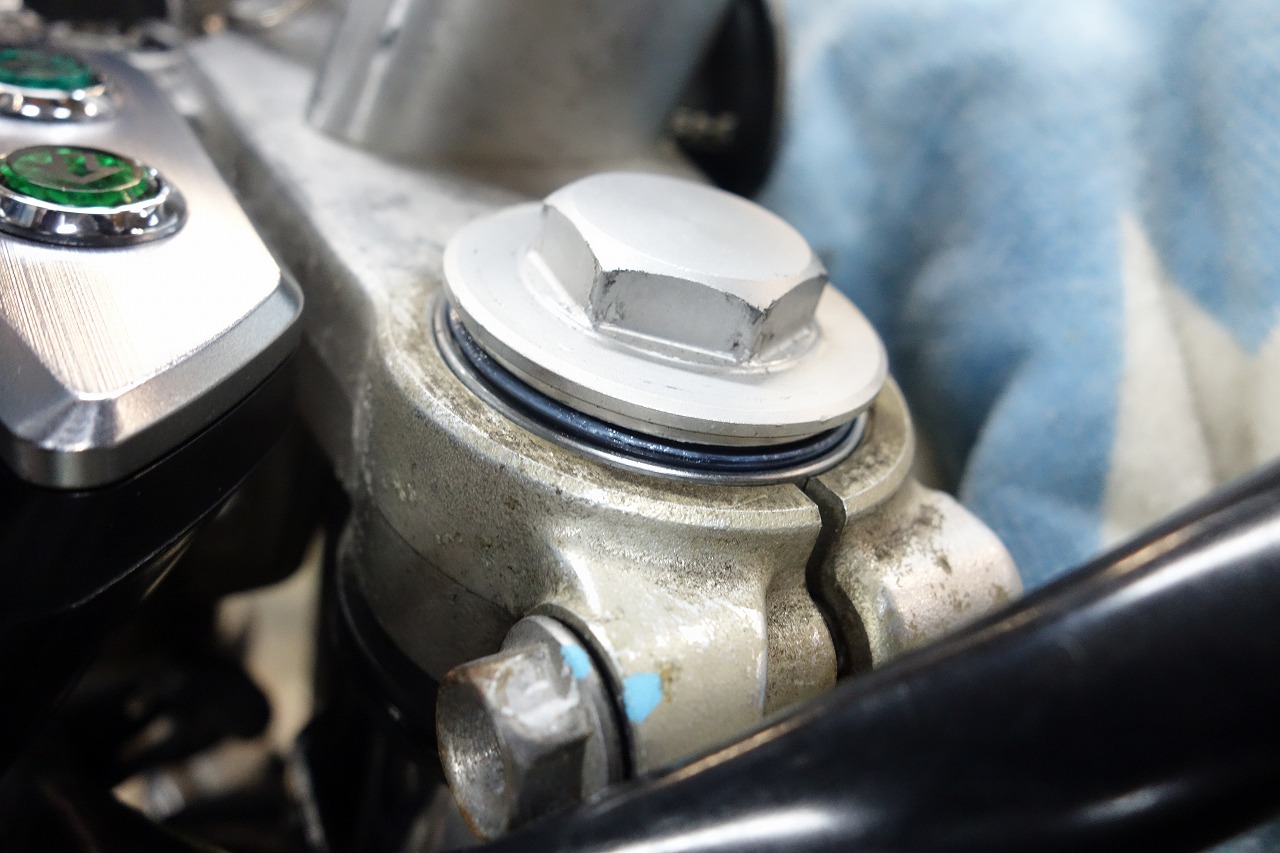
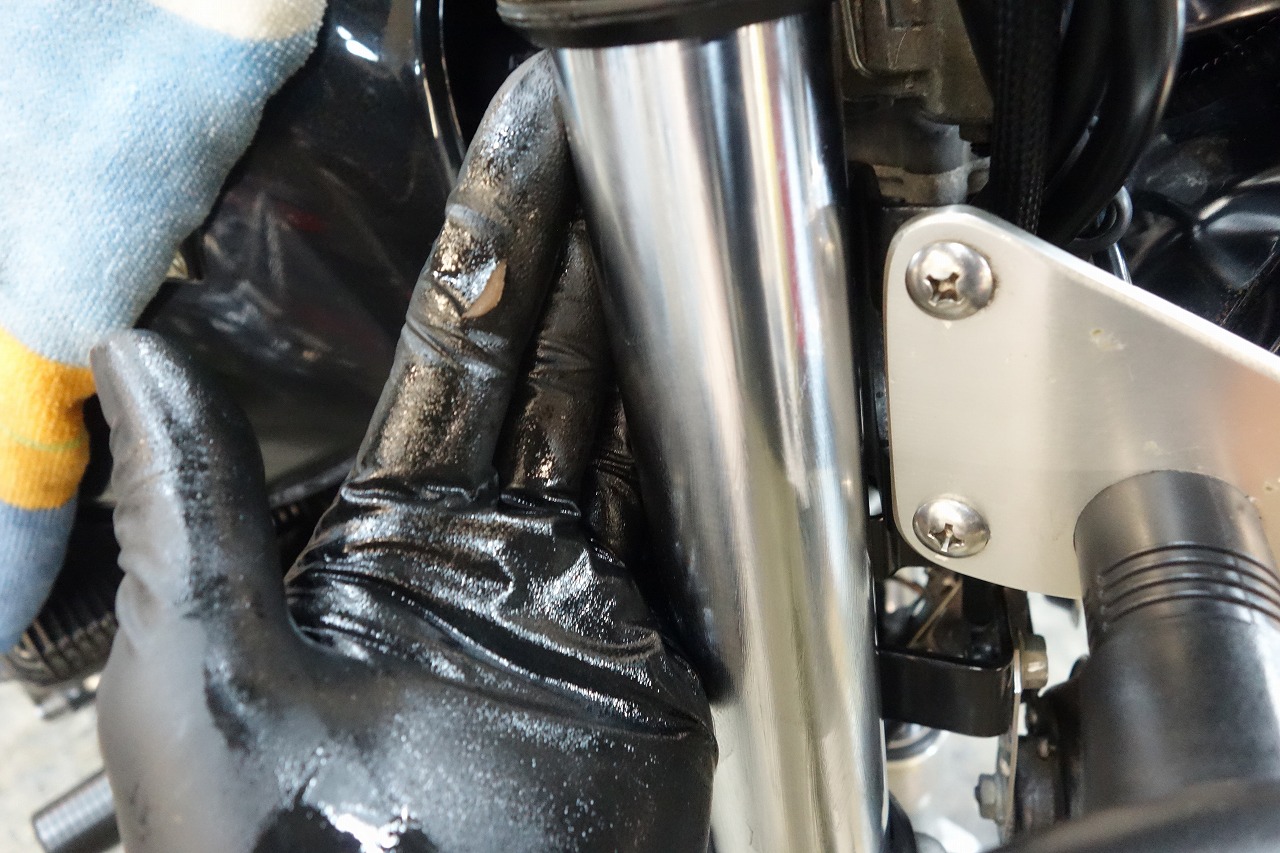
*Inner and pin are common at 5.0 and 5.5; only the outer differs in thickness, so you can swap just the outer later. The rear was getting close to limit. With the fork lifted, loosen the cap to ventilate.
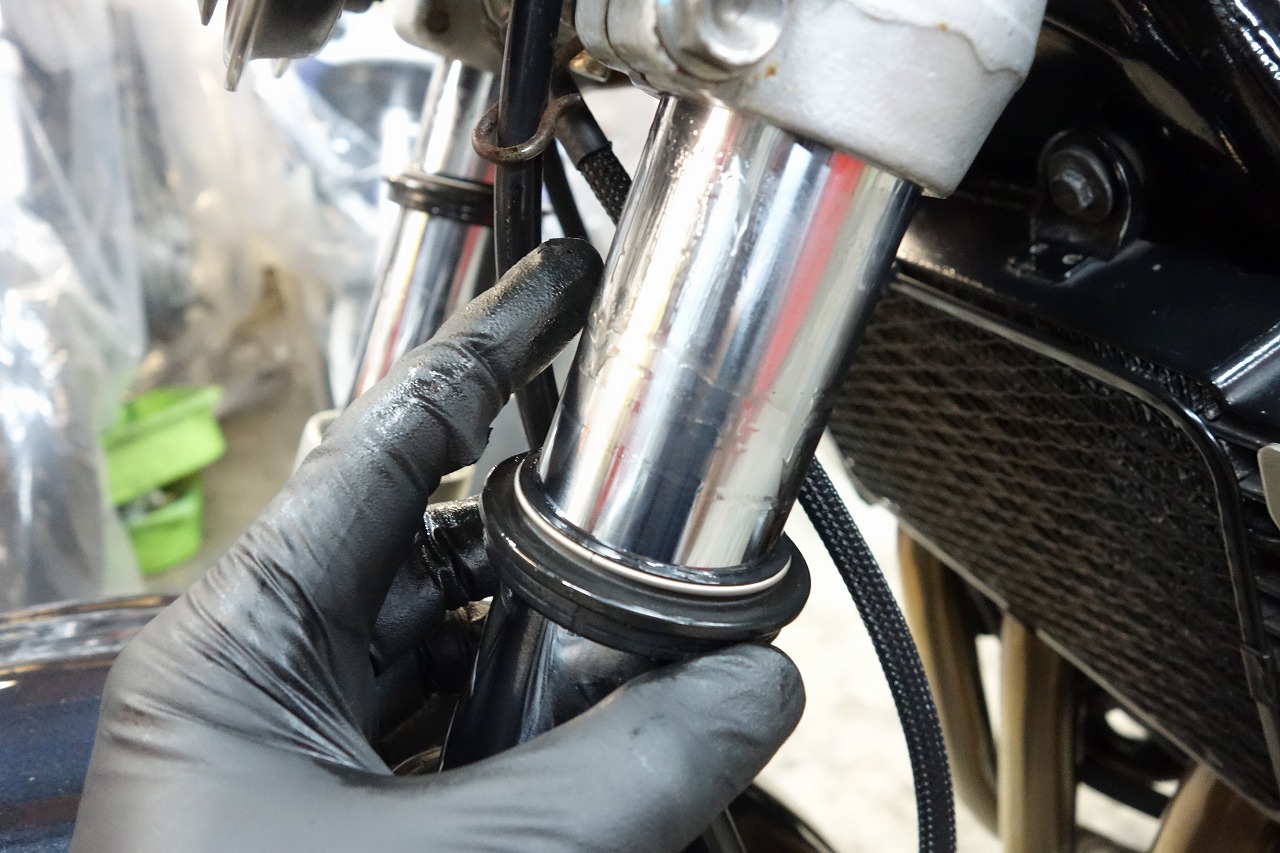
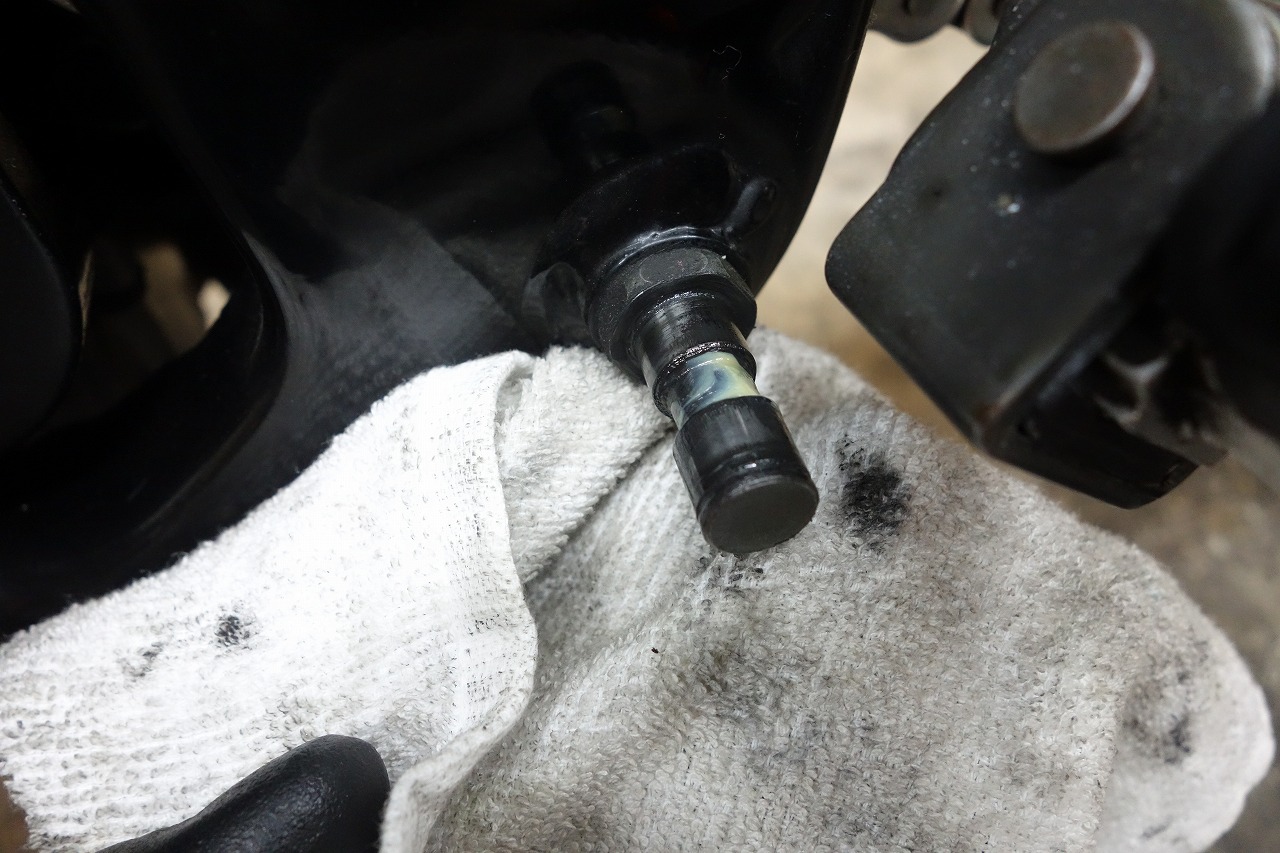
Leave it sitting long and it smells like rotten eggs… The moisture is intense. We apply fork oil to the stroke side for cleaning and lubrication.
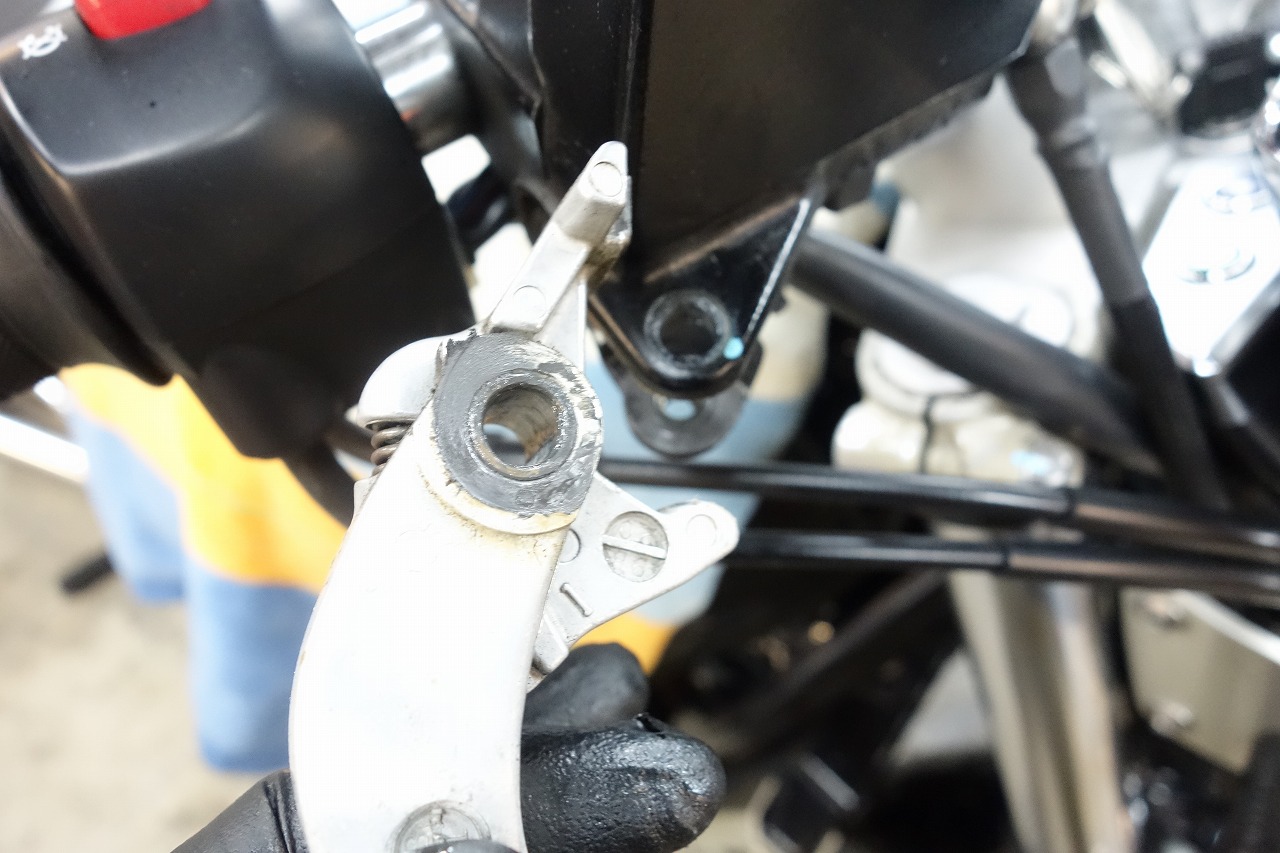
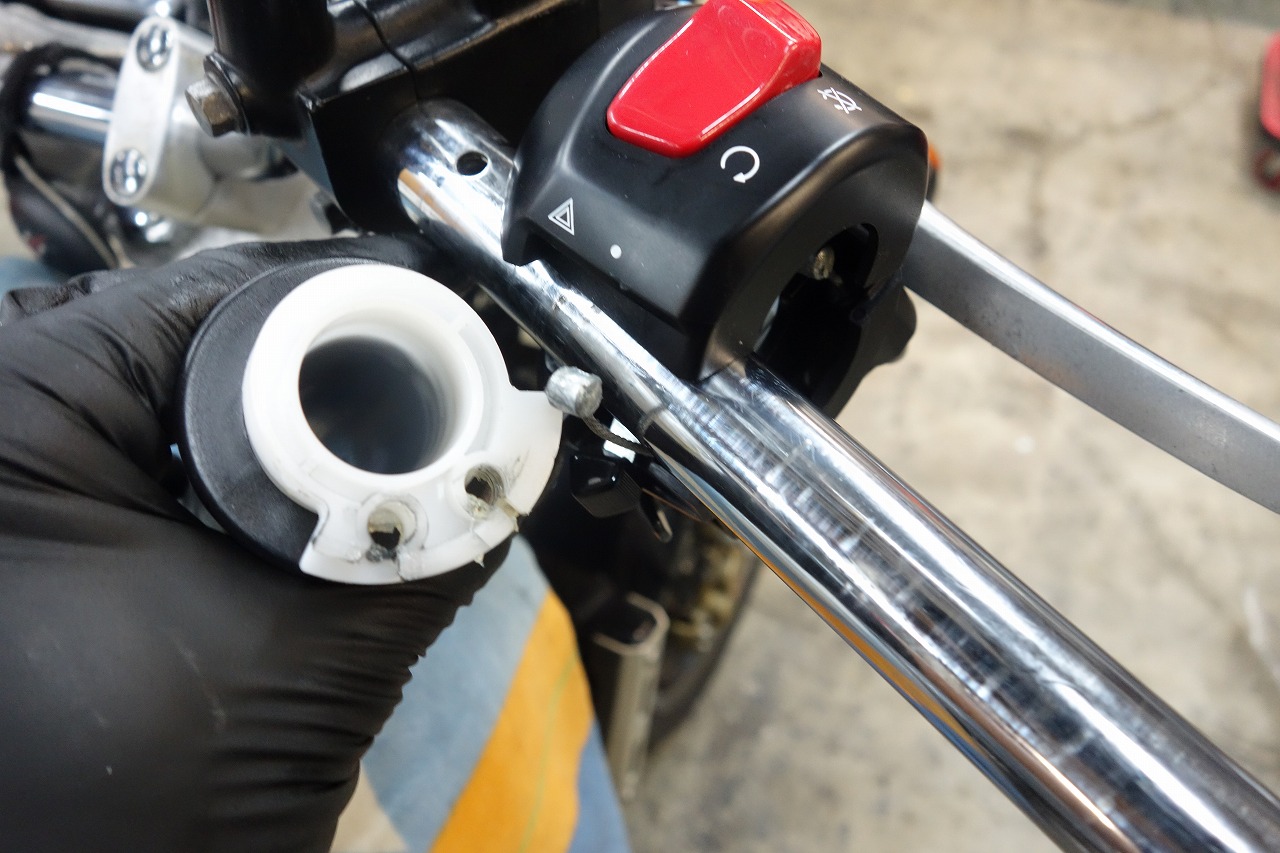
Between top and bottom, apply rust preventative, let it dry a bit, then wipe—it resists rust well. AZ (A-Z) C1-009 Long-Term Rust Preventative ← This one’s pretty useful. *It dries well (though it’s a bit sticky). Clean and oil the control systems too. Smooth input and return feel great. We cleaned and oiled the throttle sleeve and cable.
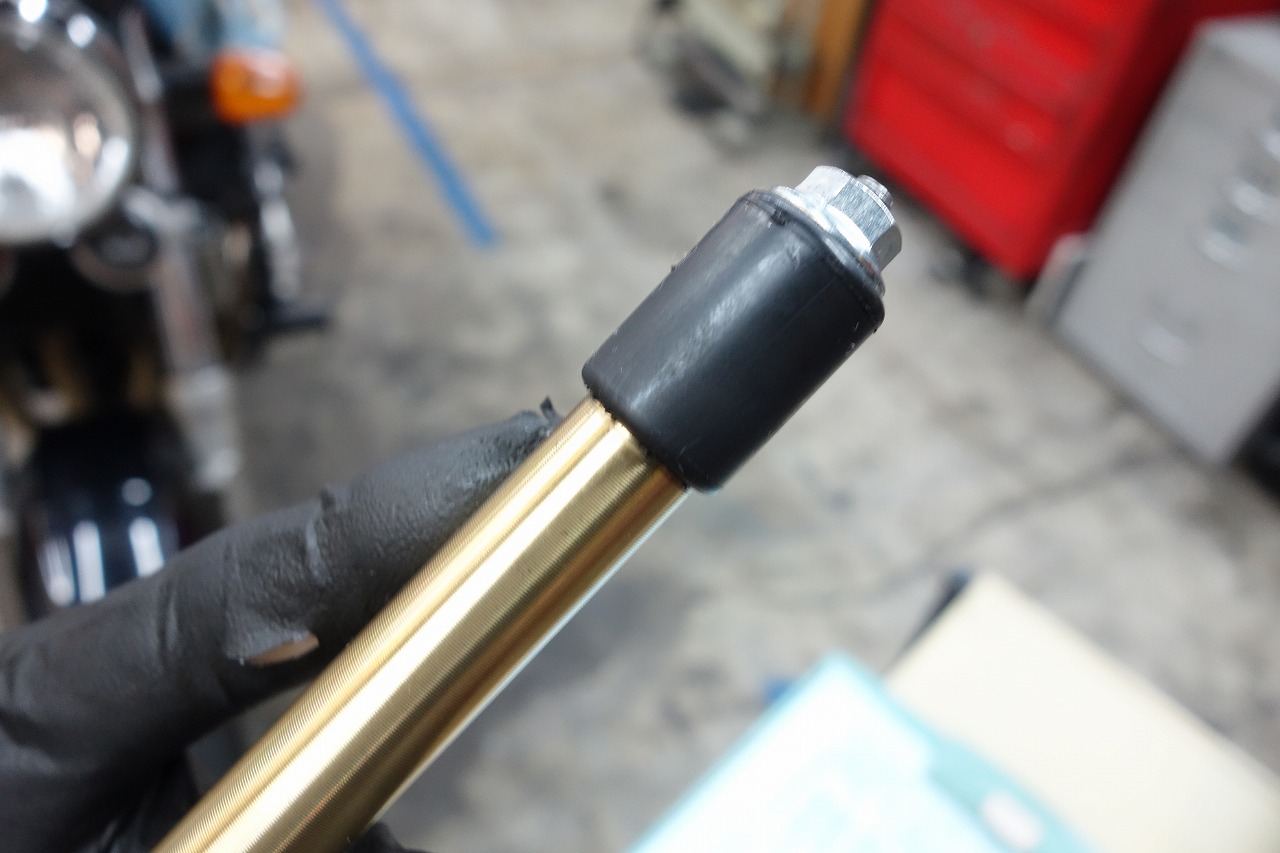
The sleeve is either unlubricated or very lightly oiled (with thin stuff; grease is bad). Don’t you think these bar ends still use the rubber-crushing method?
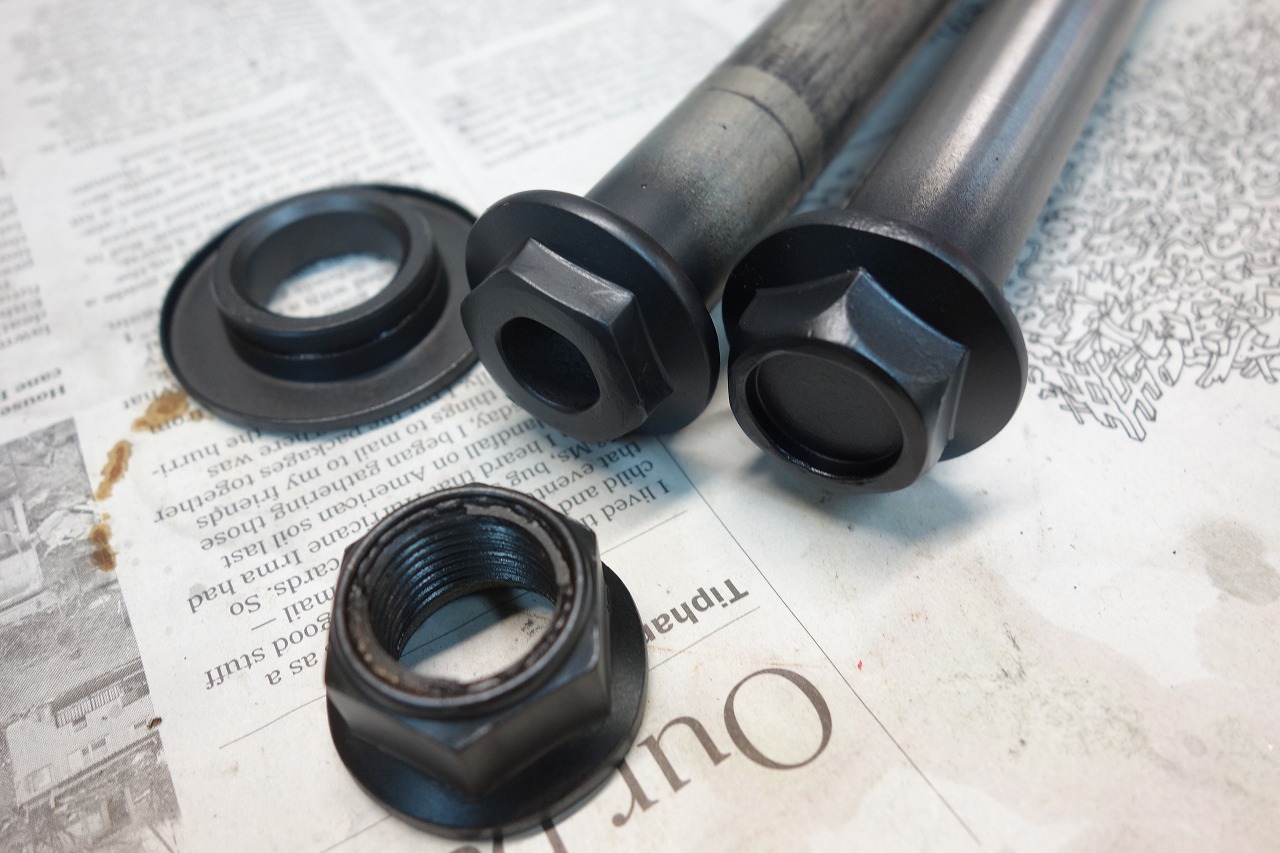
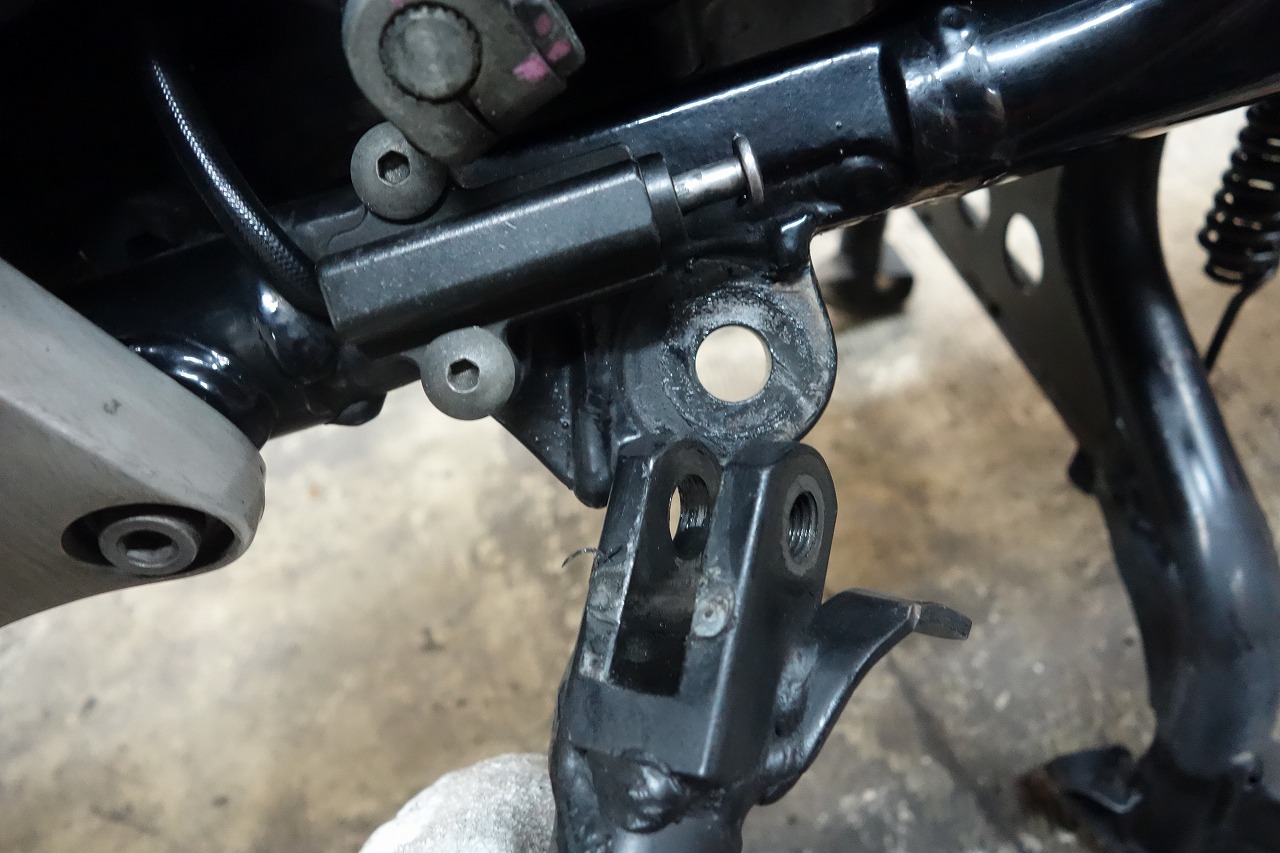
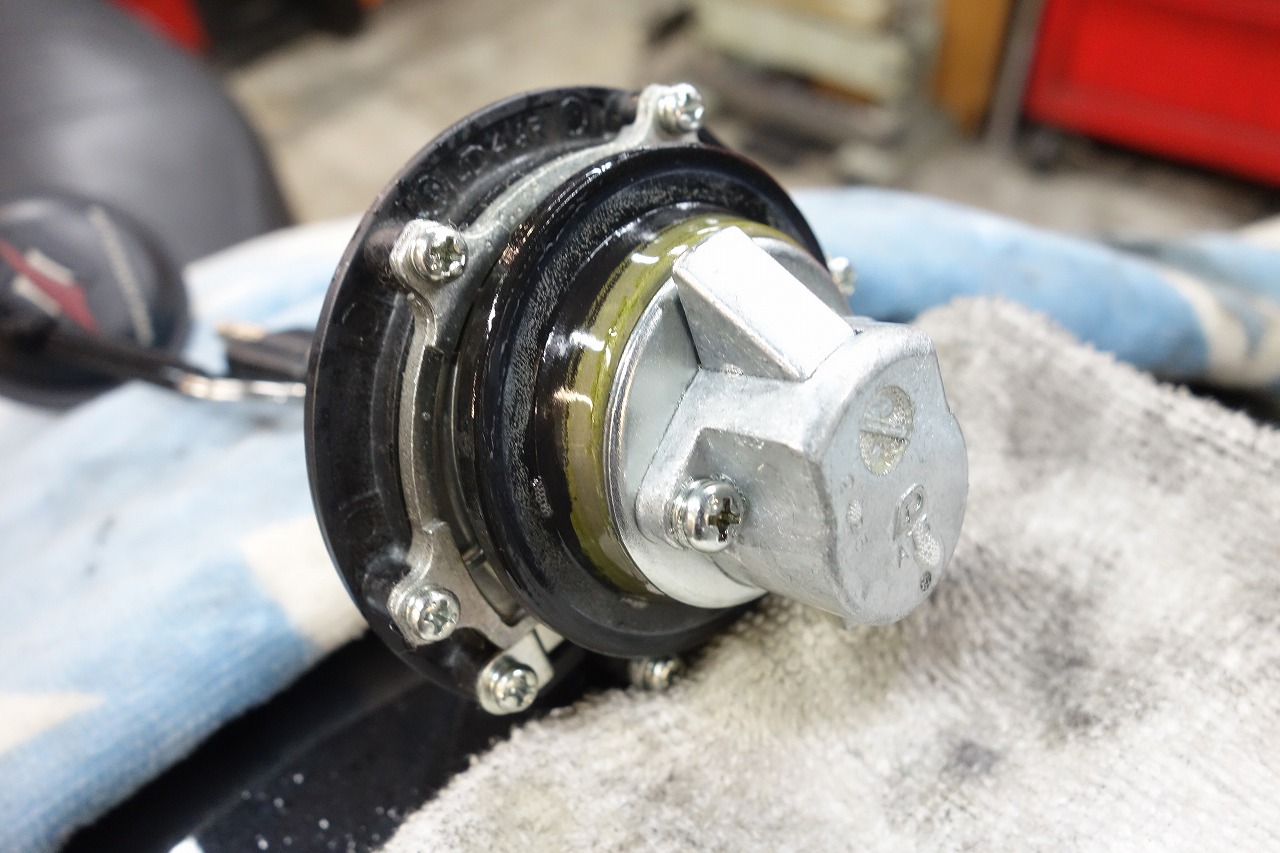
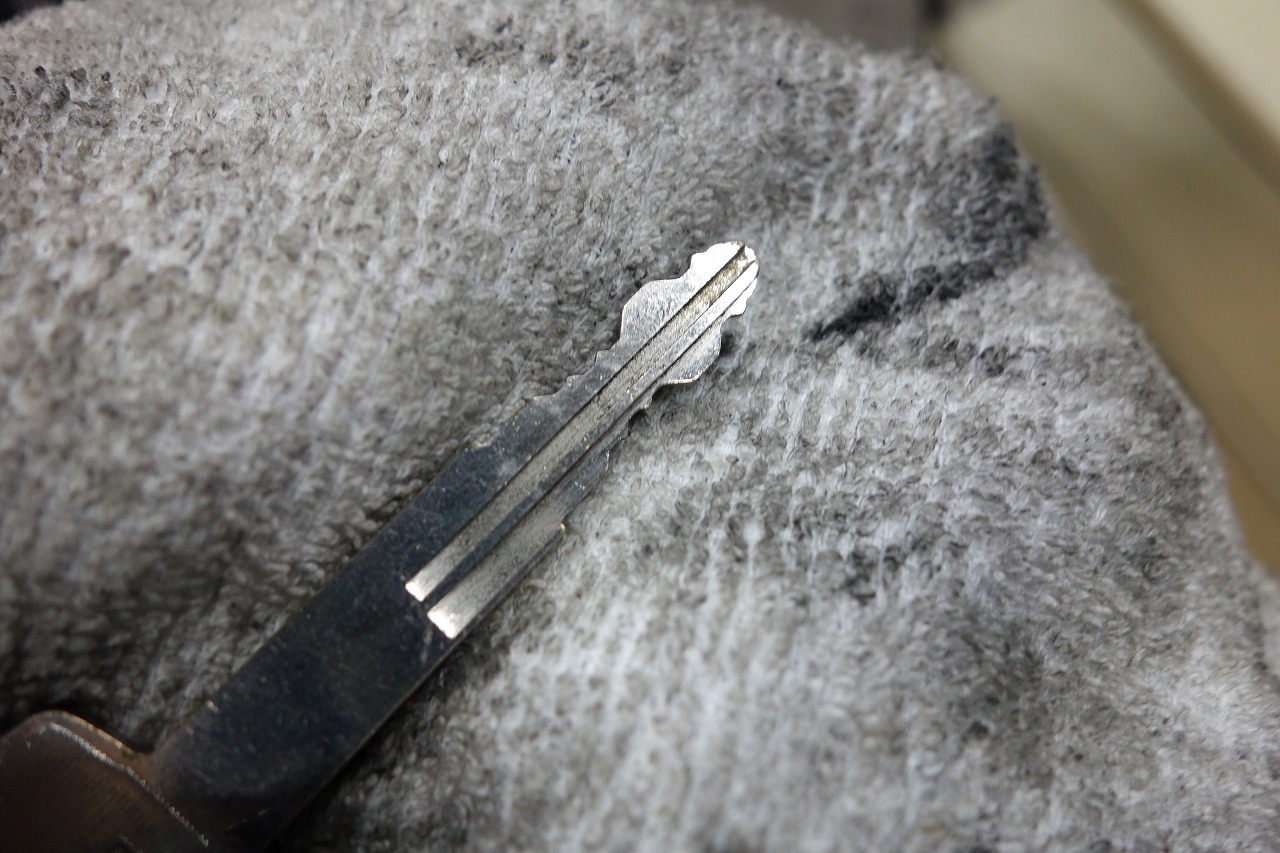
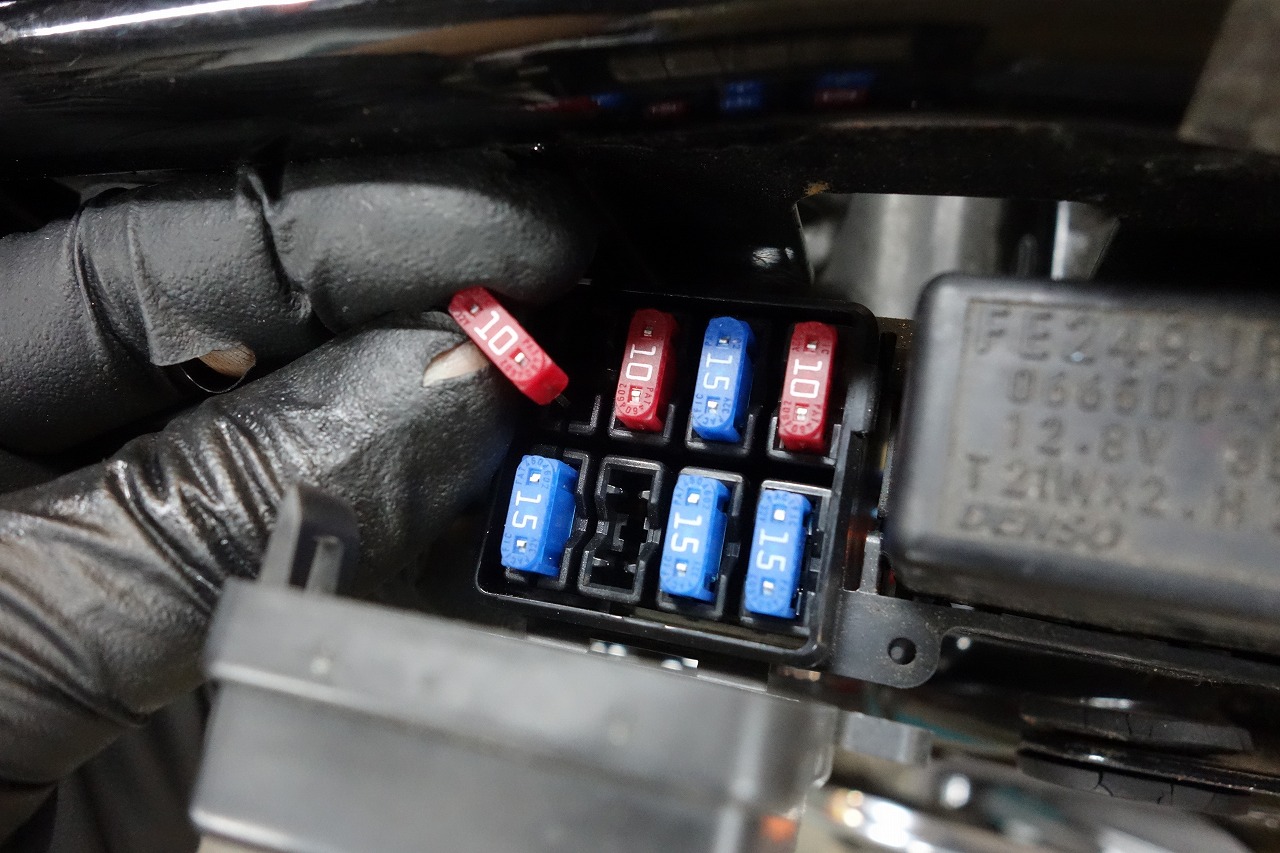
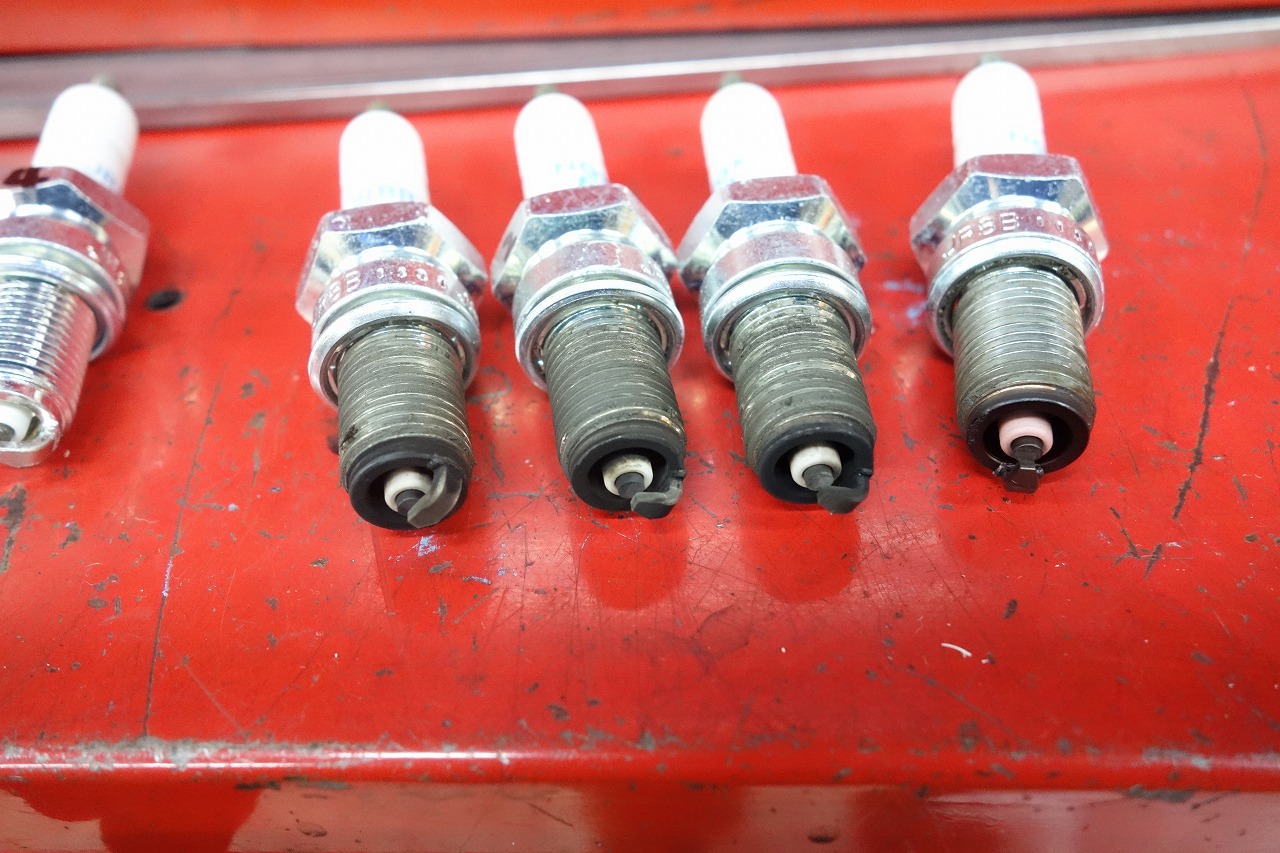
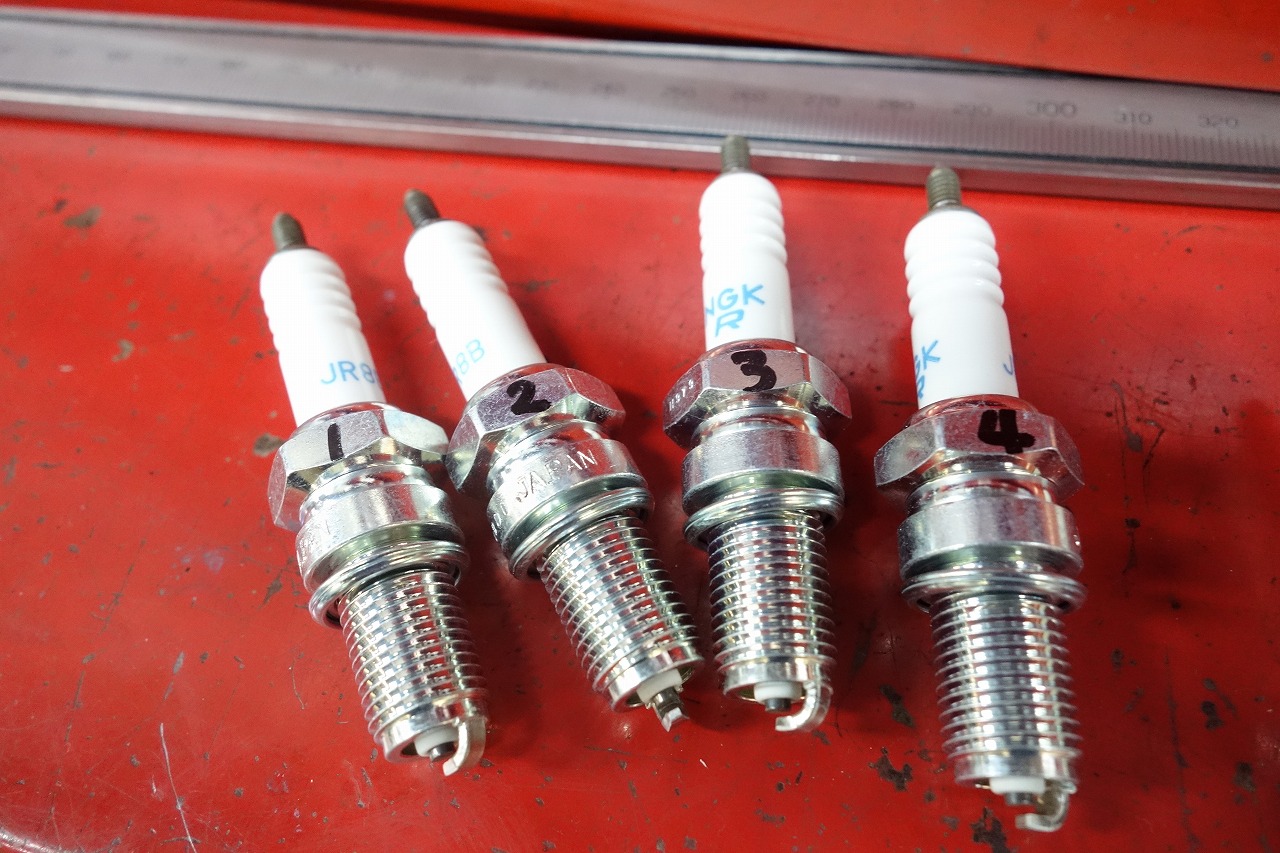
If they were like bicycle quick-releases, removal would be easier and clamping would feel better. The “squish” feeling when tightening is really unpleasant… and removing them is a hassle… Don’t you think? Pedal area serviceability is top-notch! Smells a bit Honda-ish. When the sidestand is smooth, you think “oh!” Conversely, if it’s stiff, you think “ugh, come on!” Really, little things being smooth makes a huge difference in fatigue. The fuel cap sometimes condenses inside, so occasionally rust prevention and cleaning. Clean the key at times like this too. Nobody really sees this spot anyway. It’s also a little wish. During inspection and maintenance, check the fuse too. It rarely blows, but if it does, all electrical functions stop. We replaced the spark plug with a JR8B. Marking the number makes future changes easier.
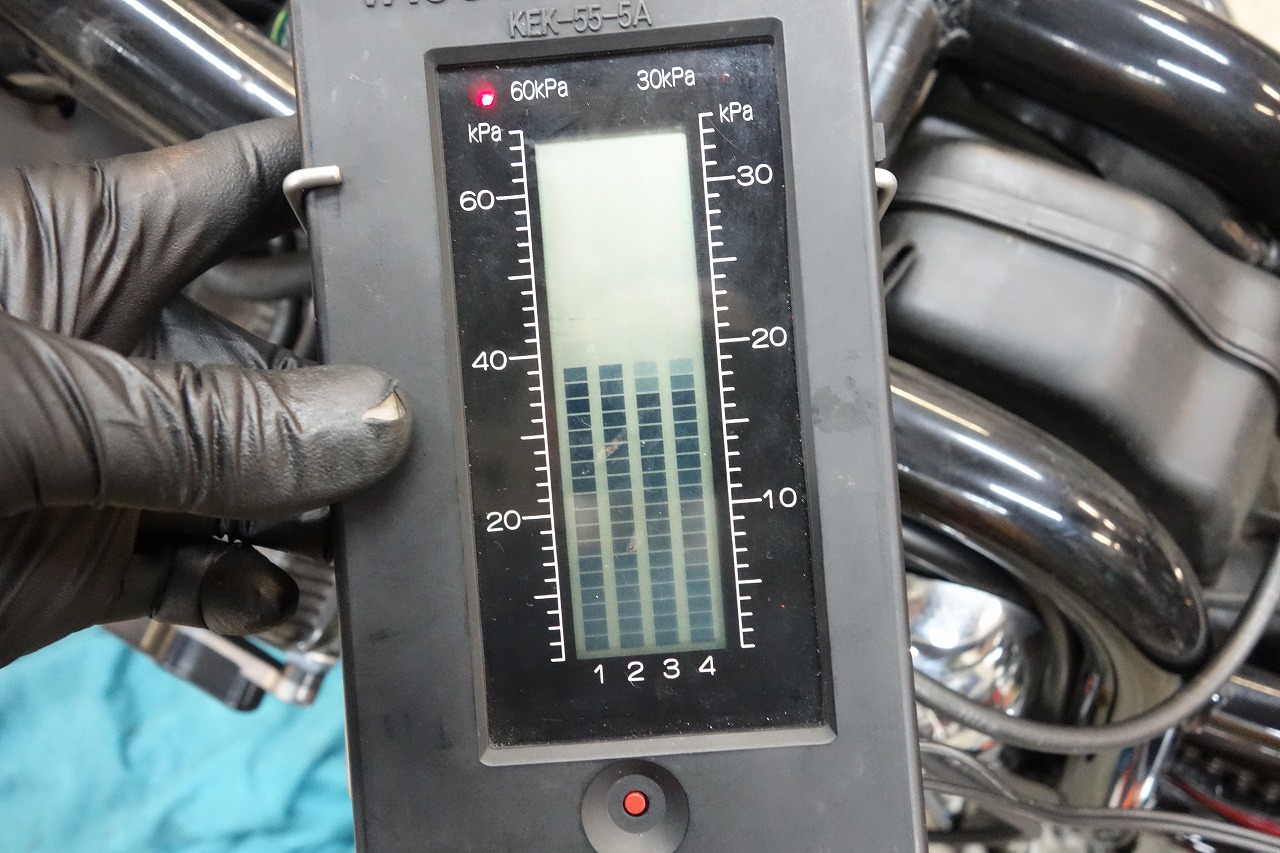
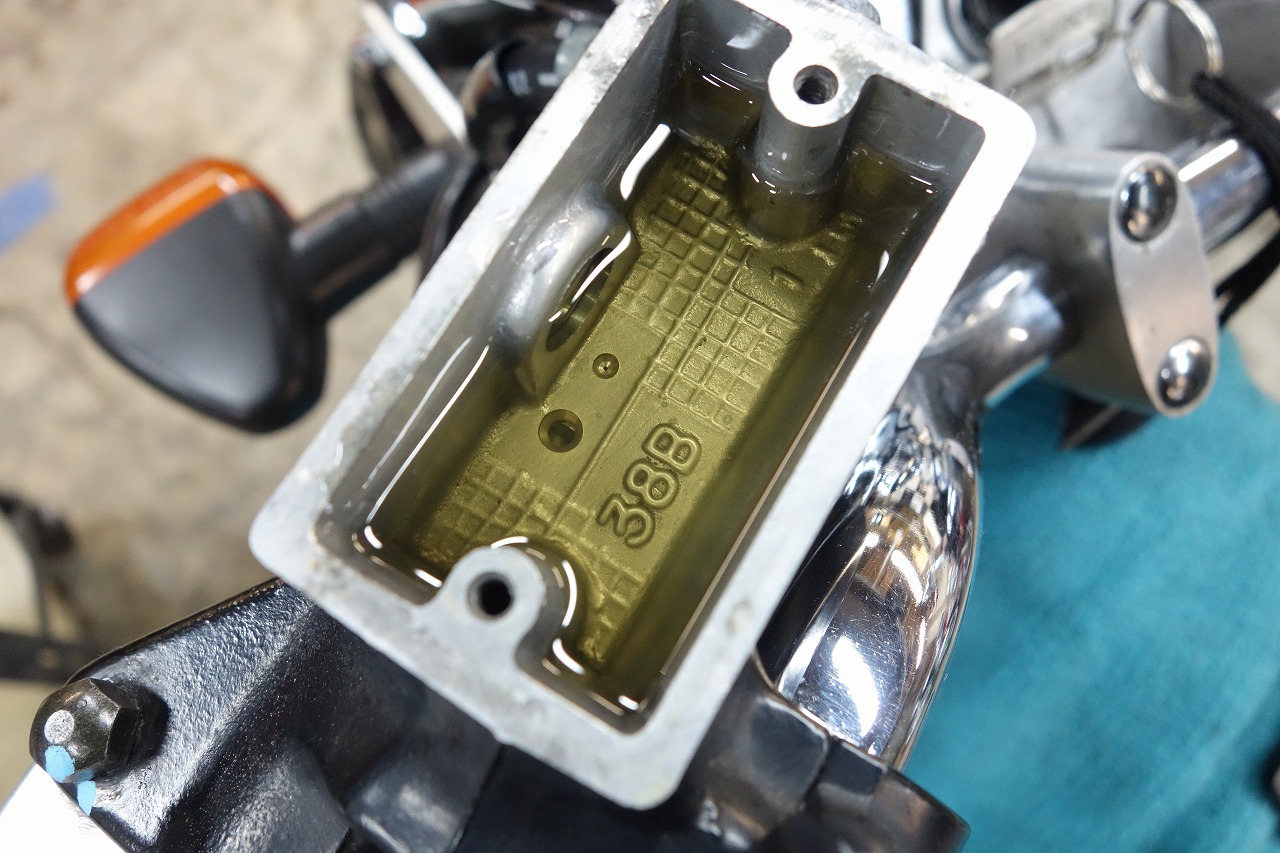
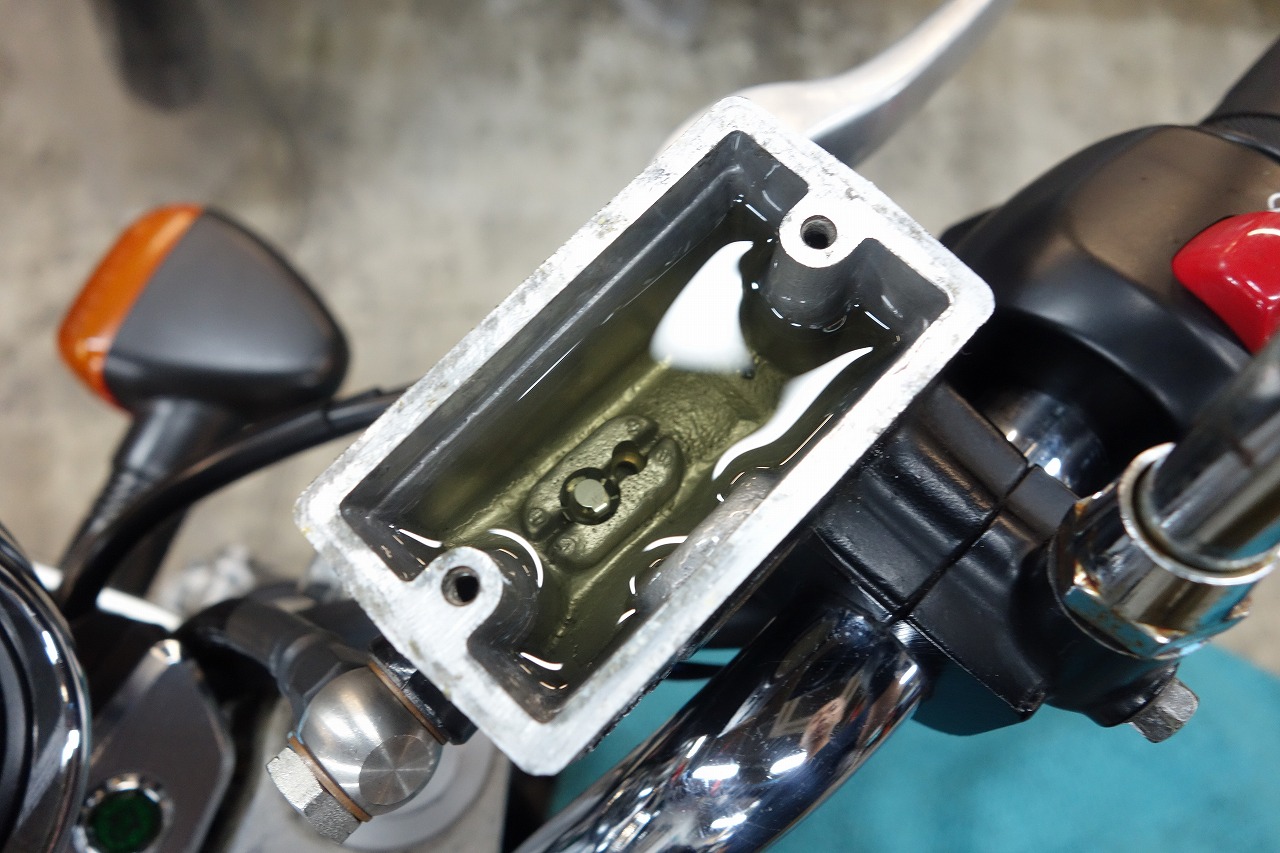
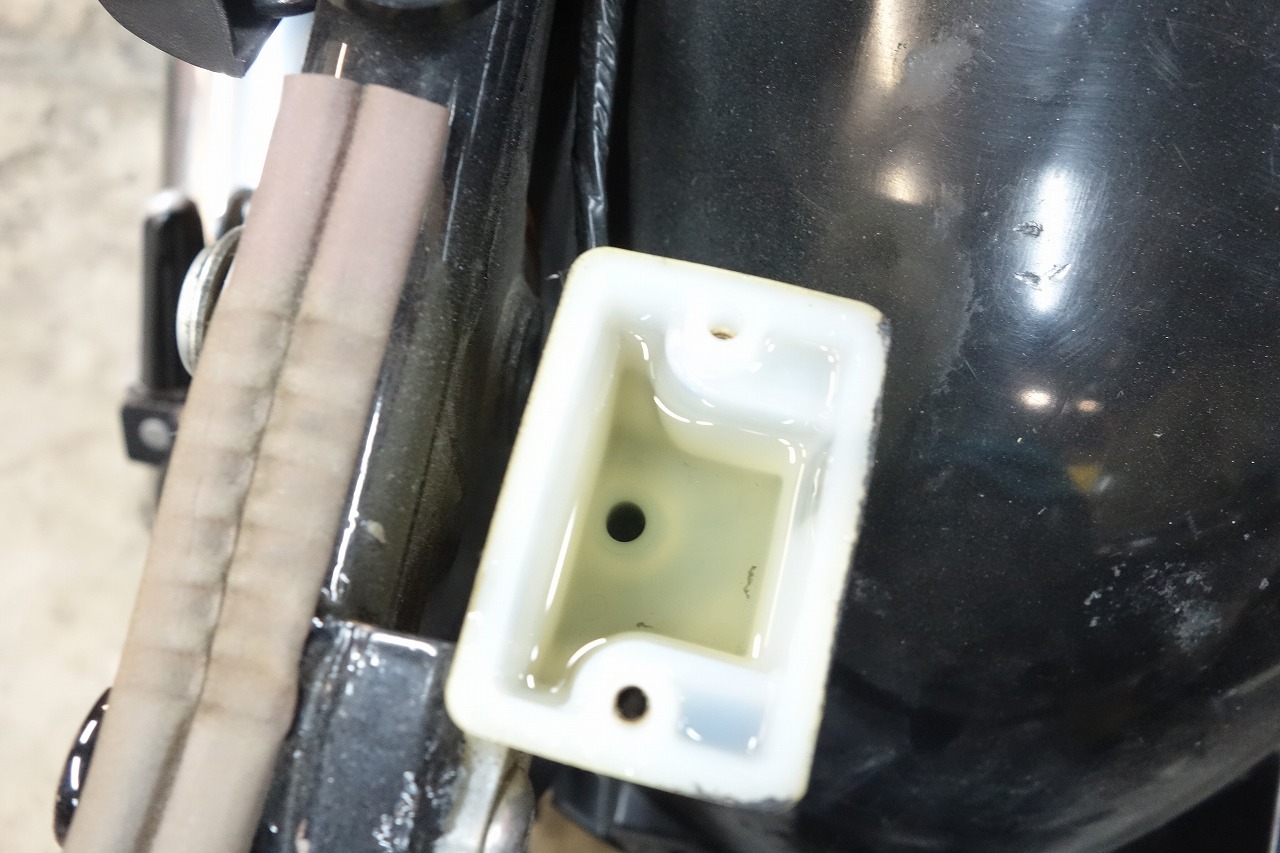
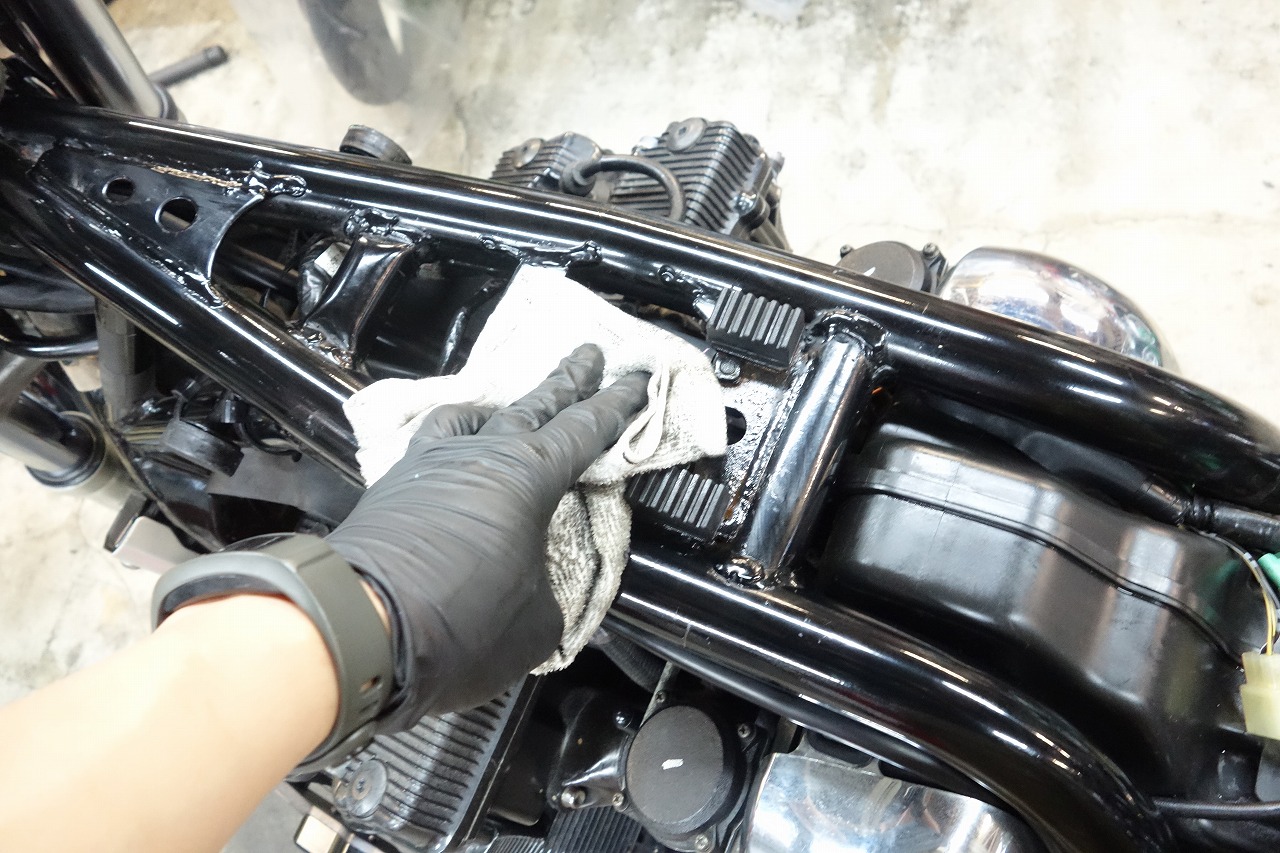
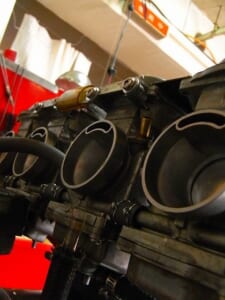
Spark plug video. For reference. The heart of a four-cylinder! We balanced the carburetors. Brake fluid is Golden Cruiser DOT4. So far, the balance of durability and performance is excellent. Racing fluid is good too, but for street use by the general public, there are things to consider. Where we removed the fairings, we wipe with No Touch much better than silicone spray. It removes some oil grime too.
For reference, after the air filter replacement, we’re done.