At a training session, the oil temperature was climbing rapidly! Basically, without airflow hitting it, things get tough… Let me give this a shot.What if we added a fan? Interesting idea… but when I searched, I found articles from people who came before saying “it doesn’t make much difference,” so I scrapped that. But is that really okay? I questioned myself on it.
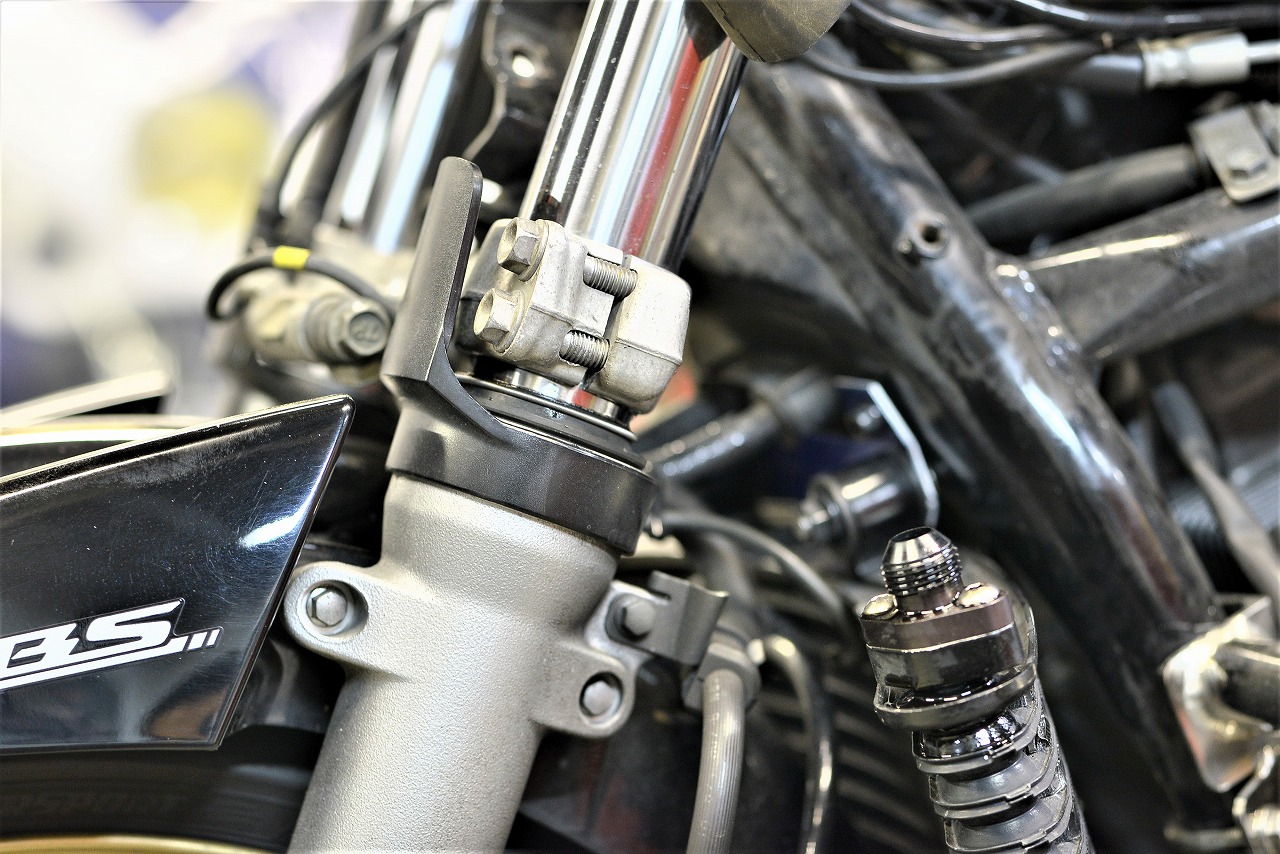
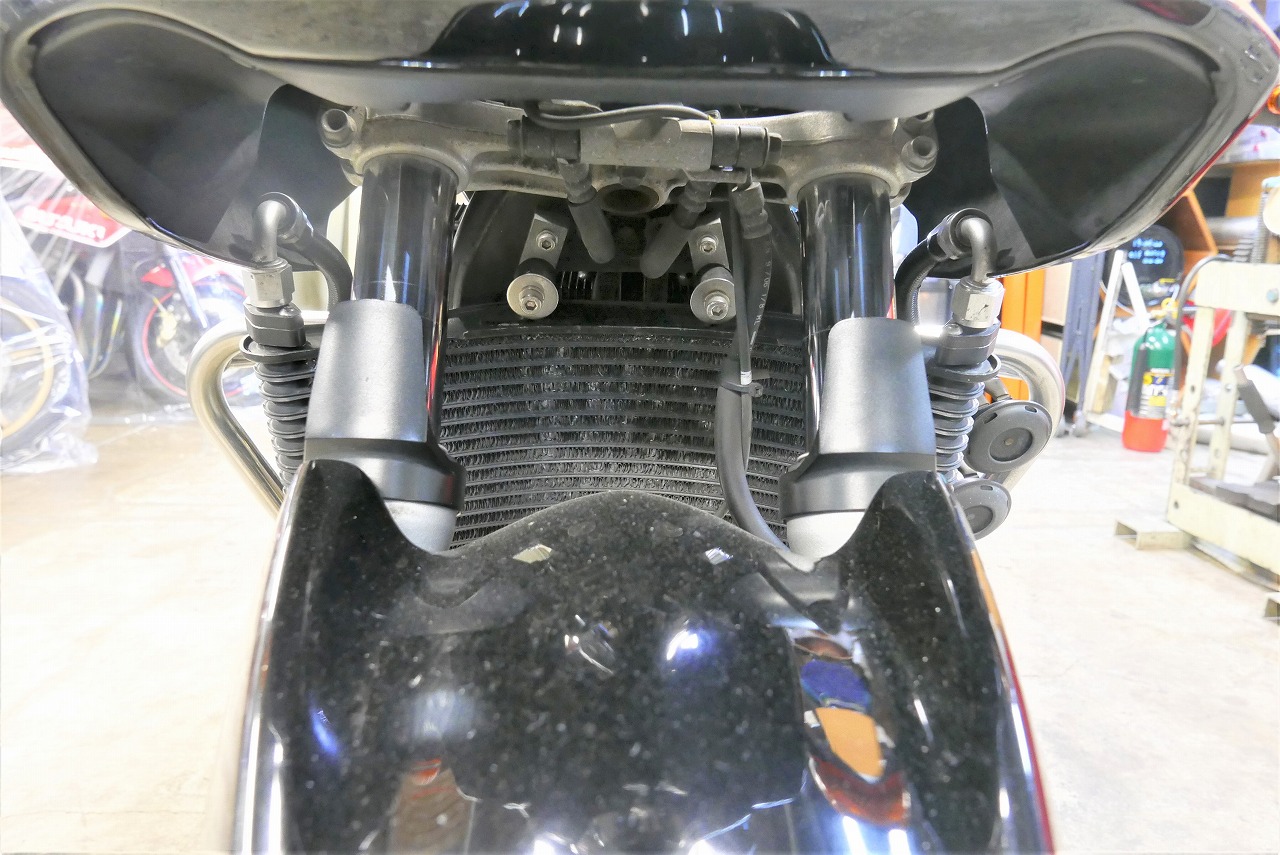
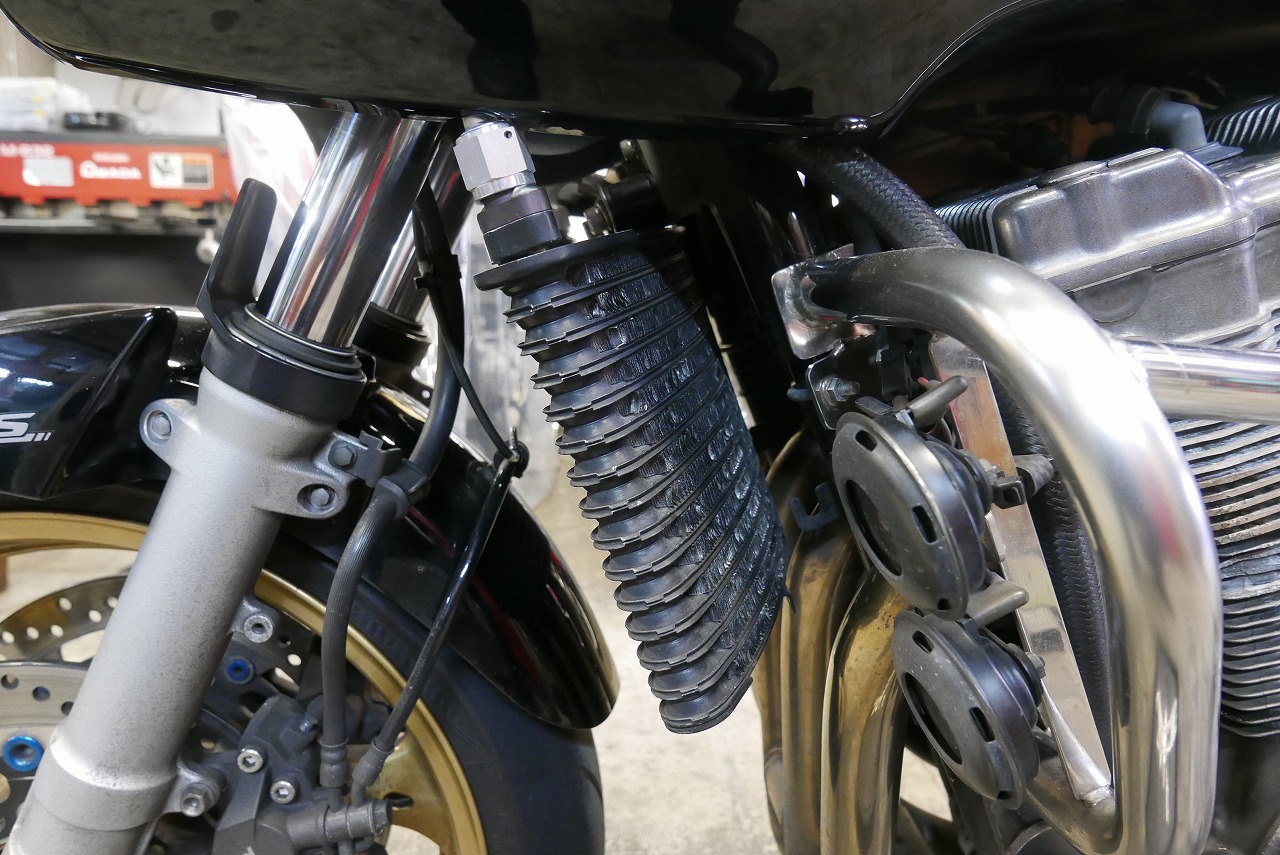
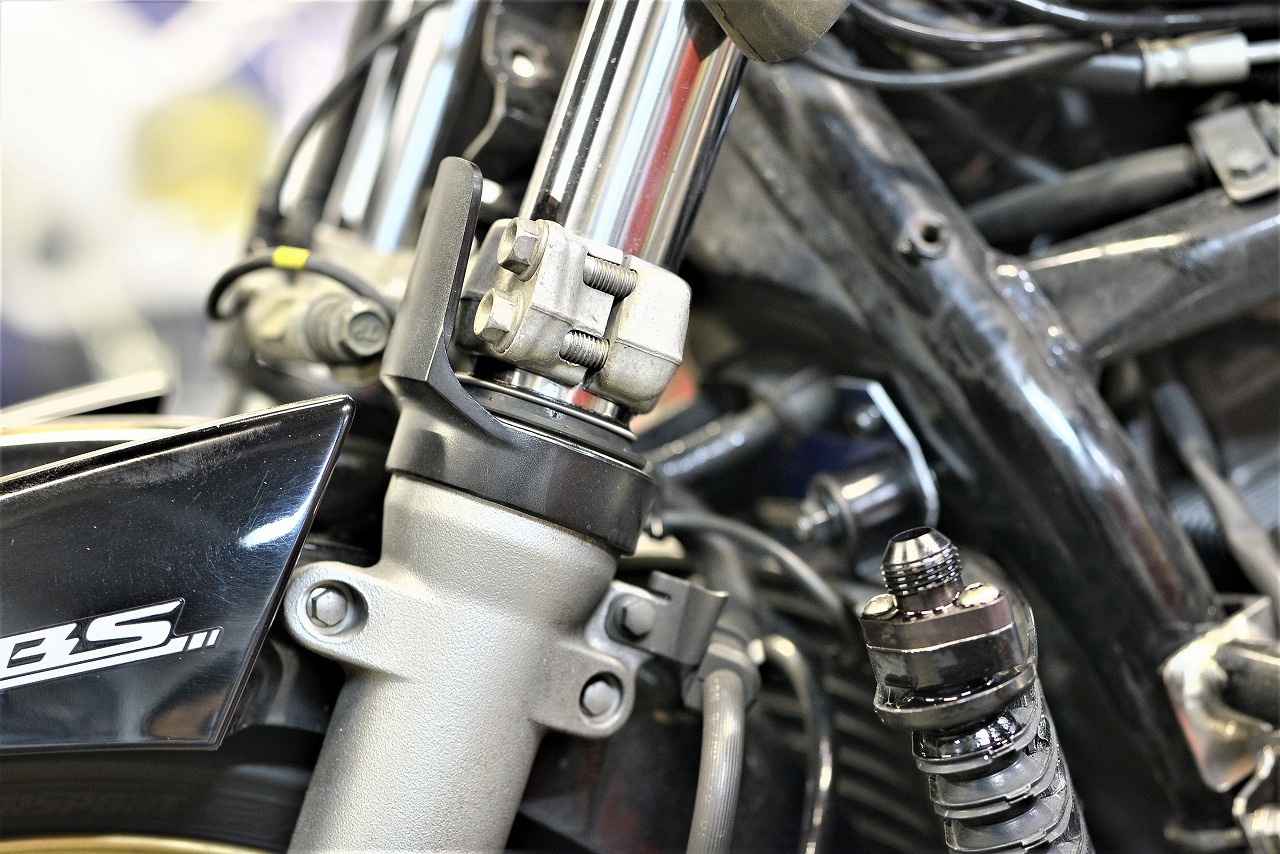
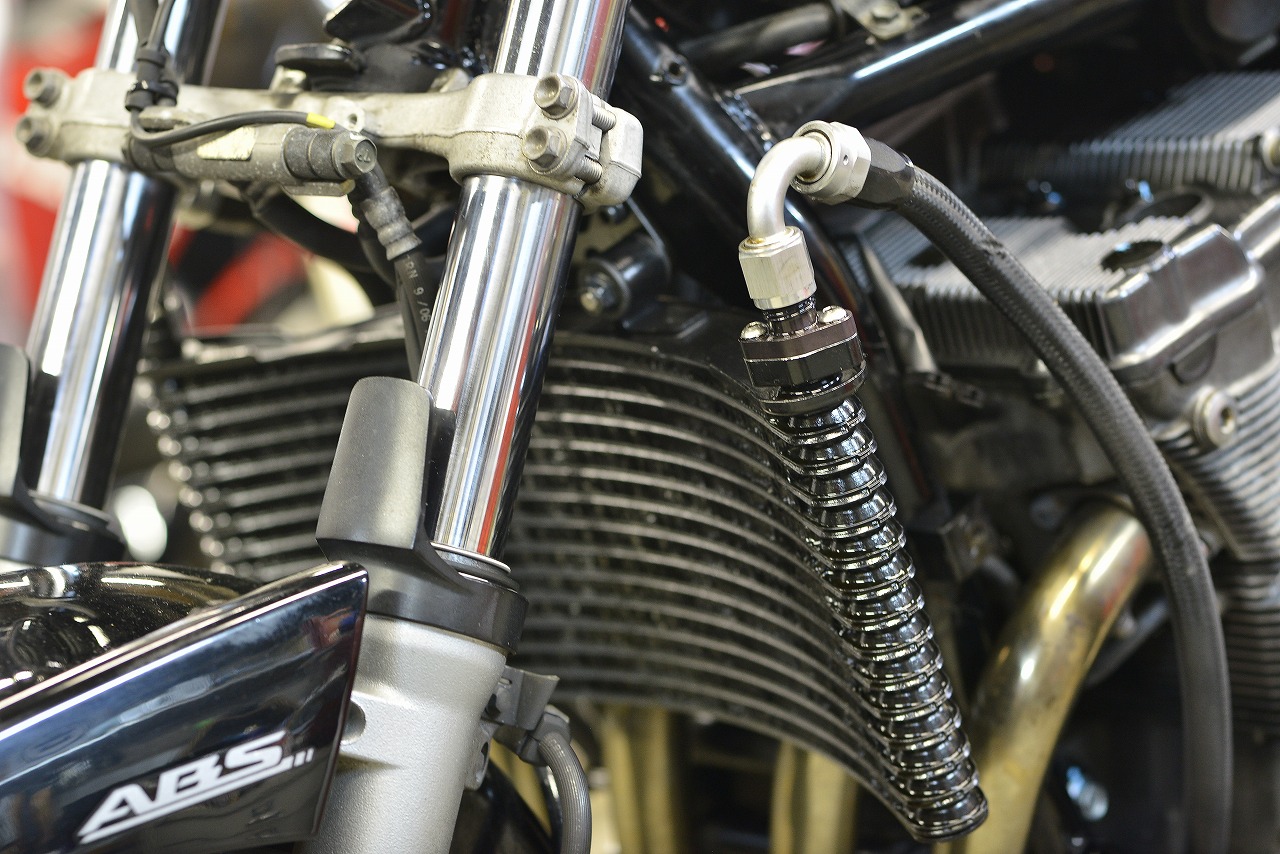
We’re moving forward with a plan to get as much airflow as possible. Looking at it from the front like this… it doesn’t have that much surface area… I’ll position it as high as possible and stand the oil cooler upright (so it doesn’t create wind resistance, sort of). That’s the plan.The lower mounting isn’t installed, so it’s probably just bouncing around—when wind comes, it moves? That kind of situation. First, I’ll make a dummy out of aluminum just to get a rough idea. If we’re going thin, I think a stud-and-nut setup would be better.Loosened the fork cap to check “virtual full stroke”… it’s incredibly tight. I mean, it’s impossible—the clearance is that bad.
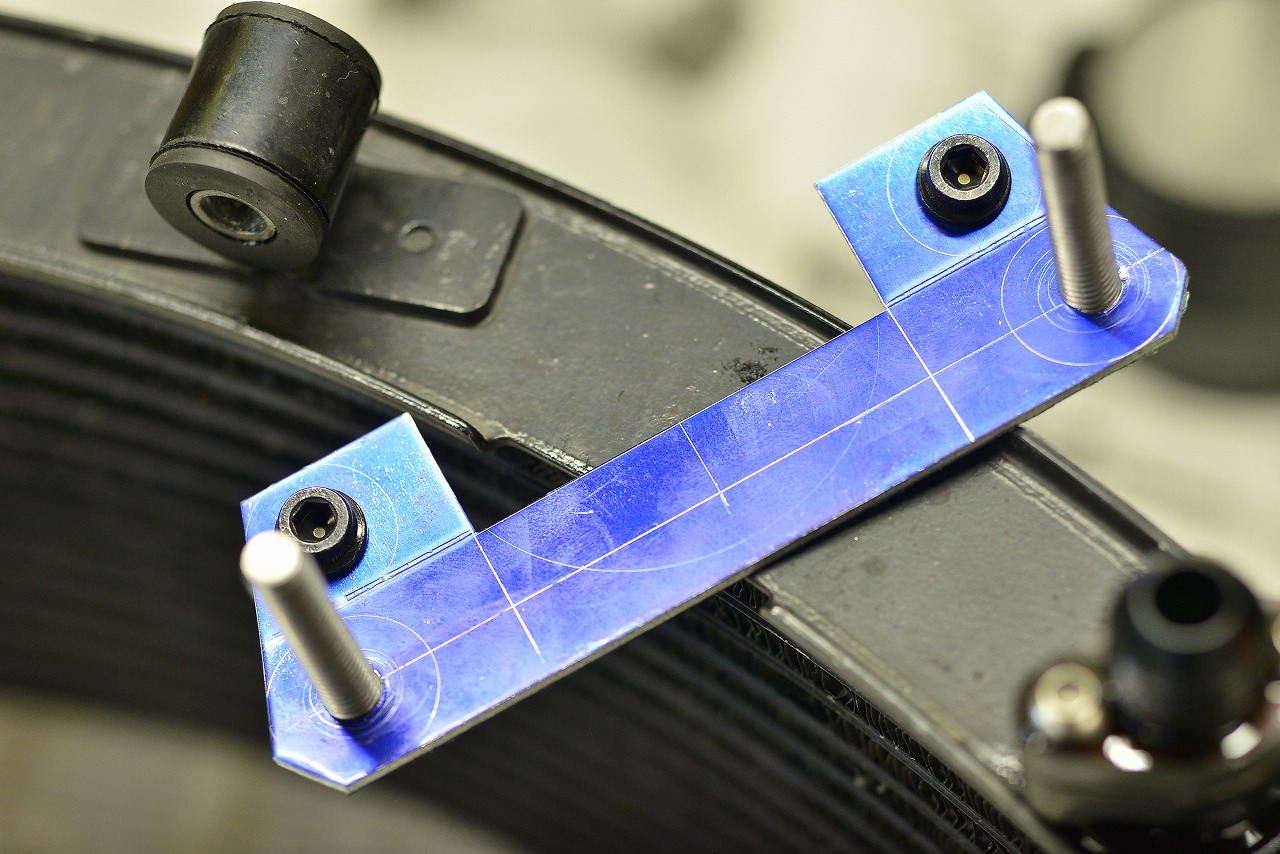
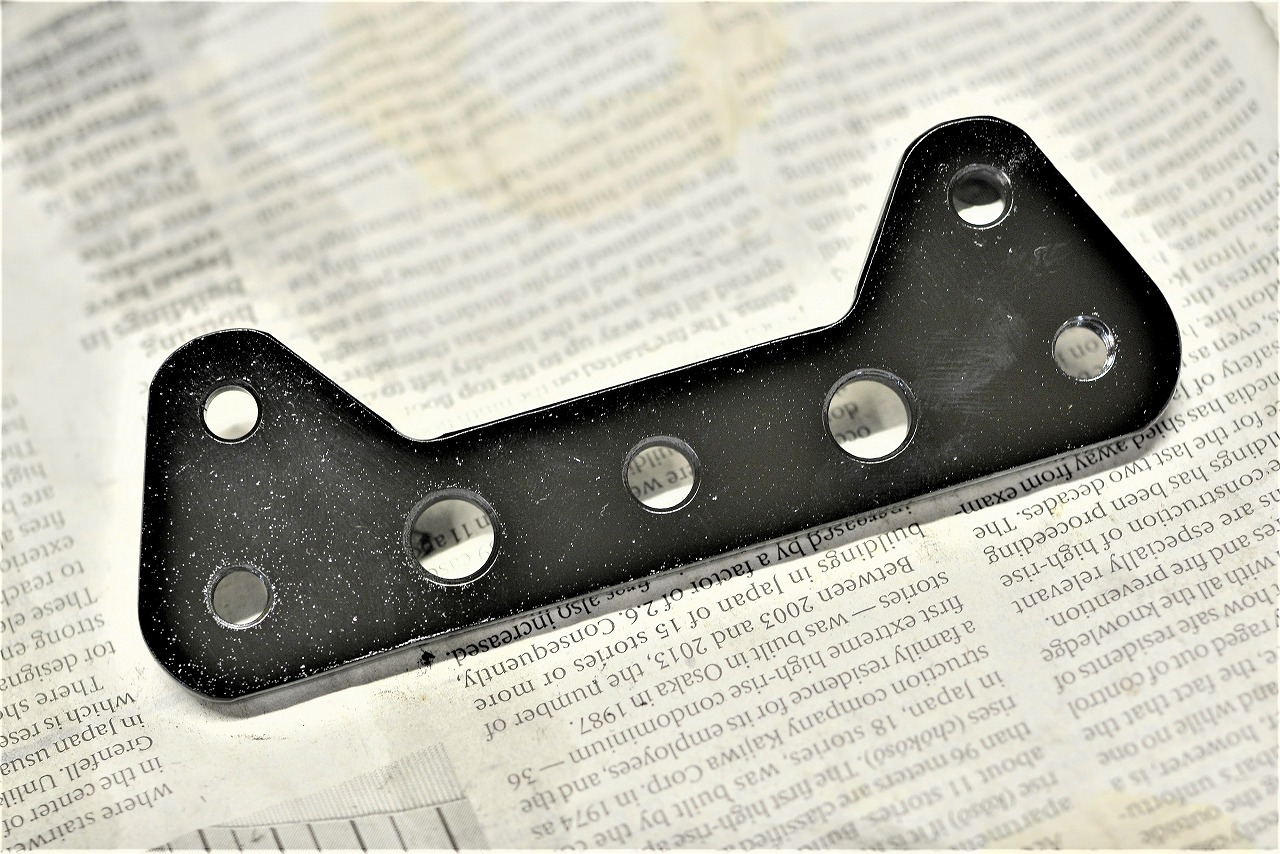
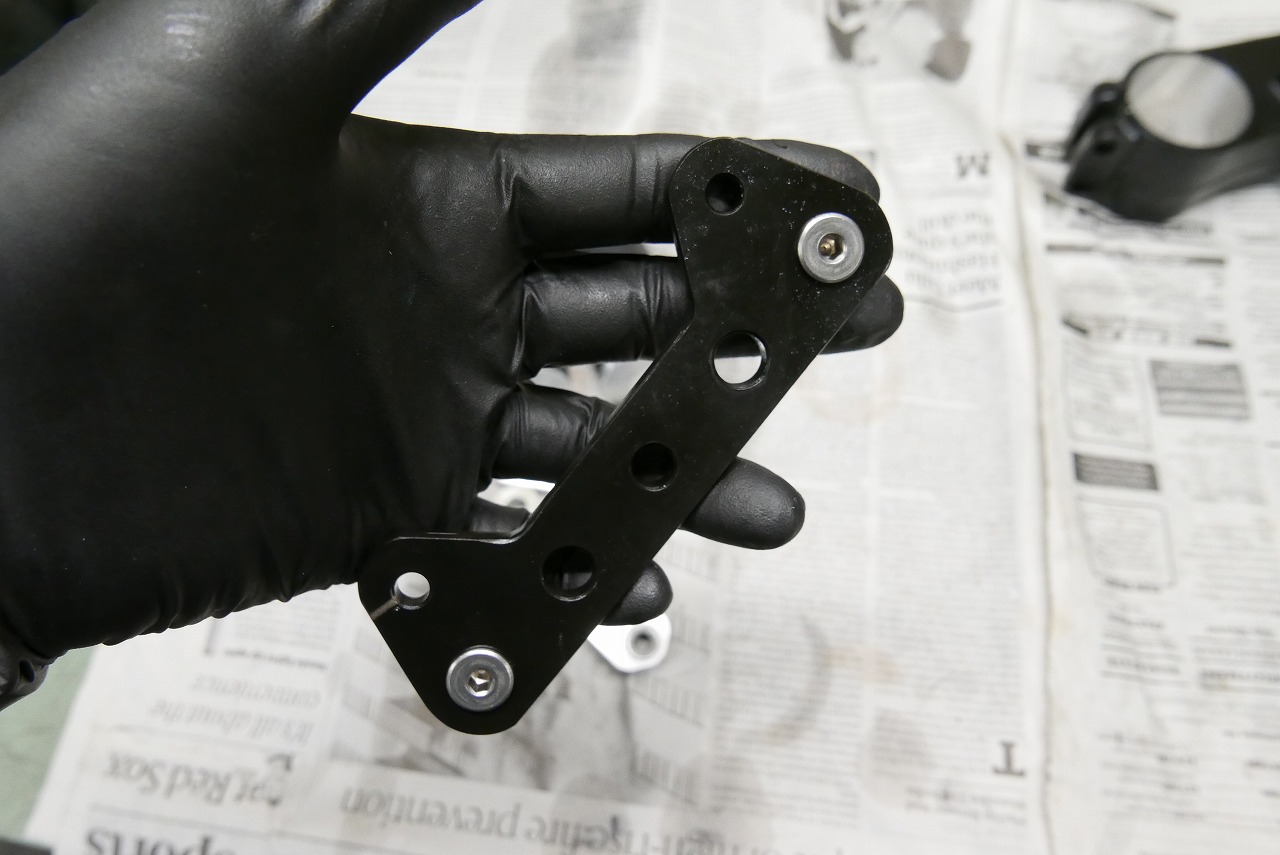
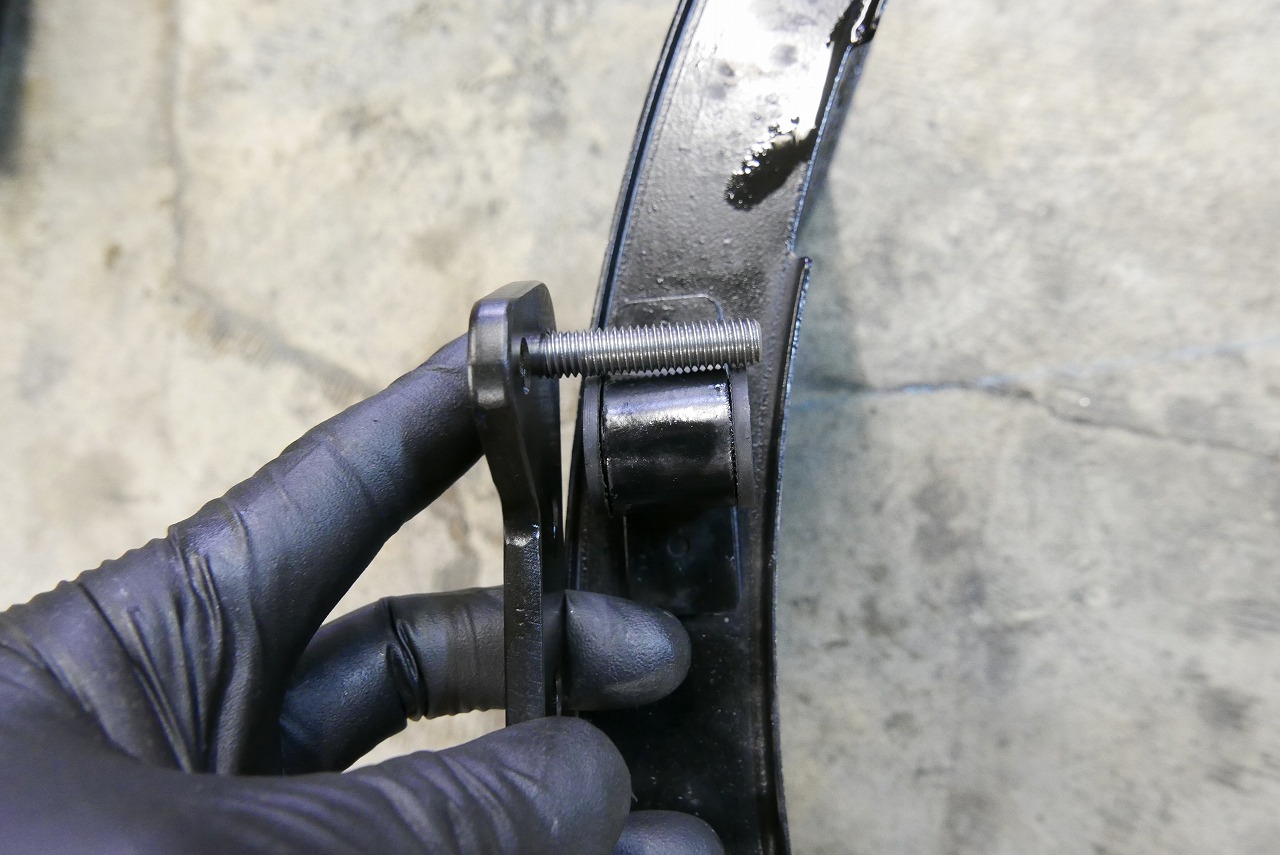
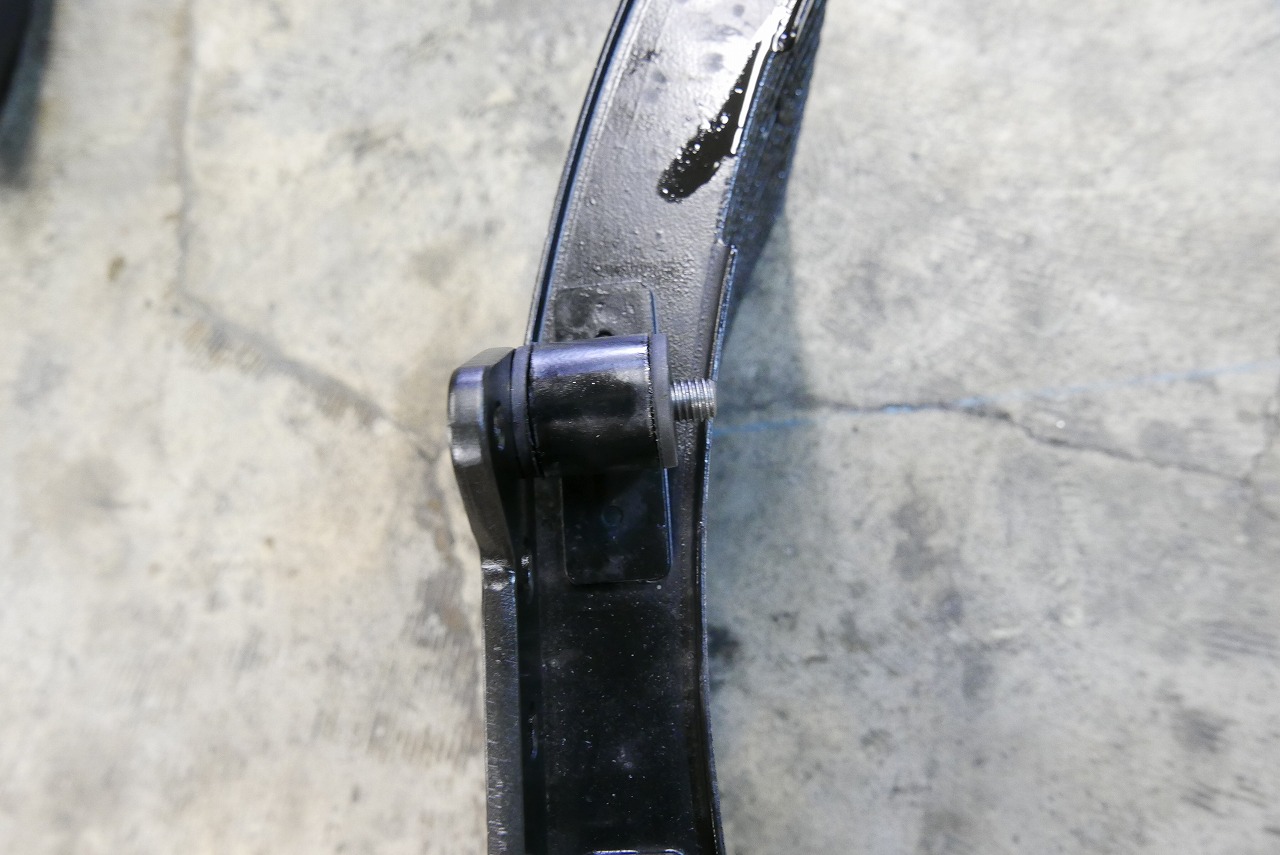
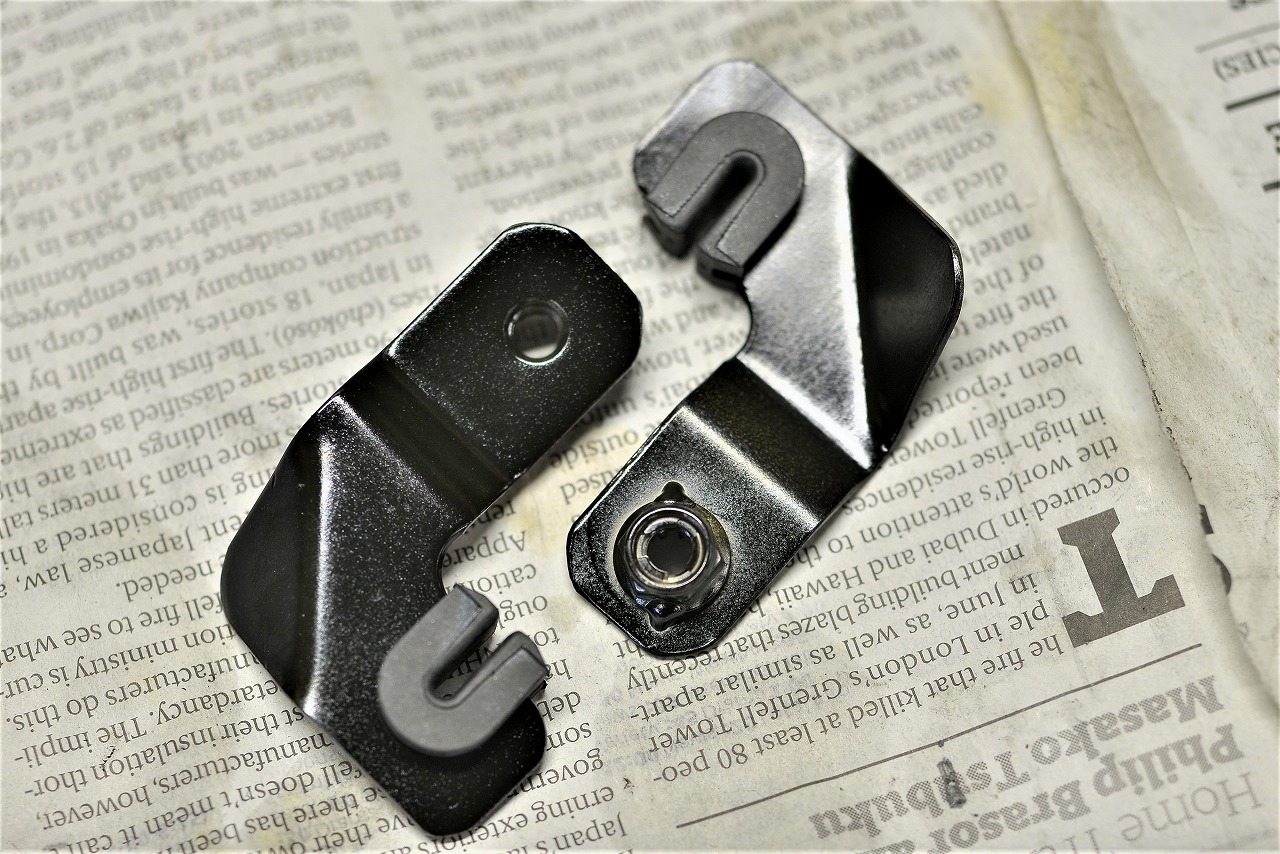
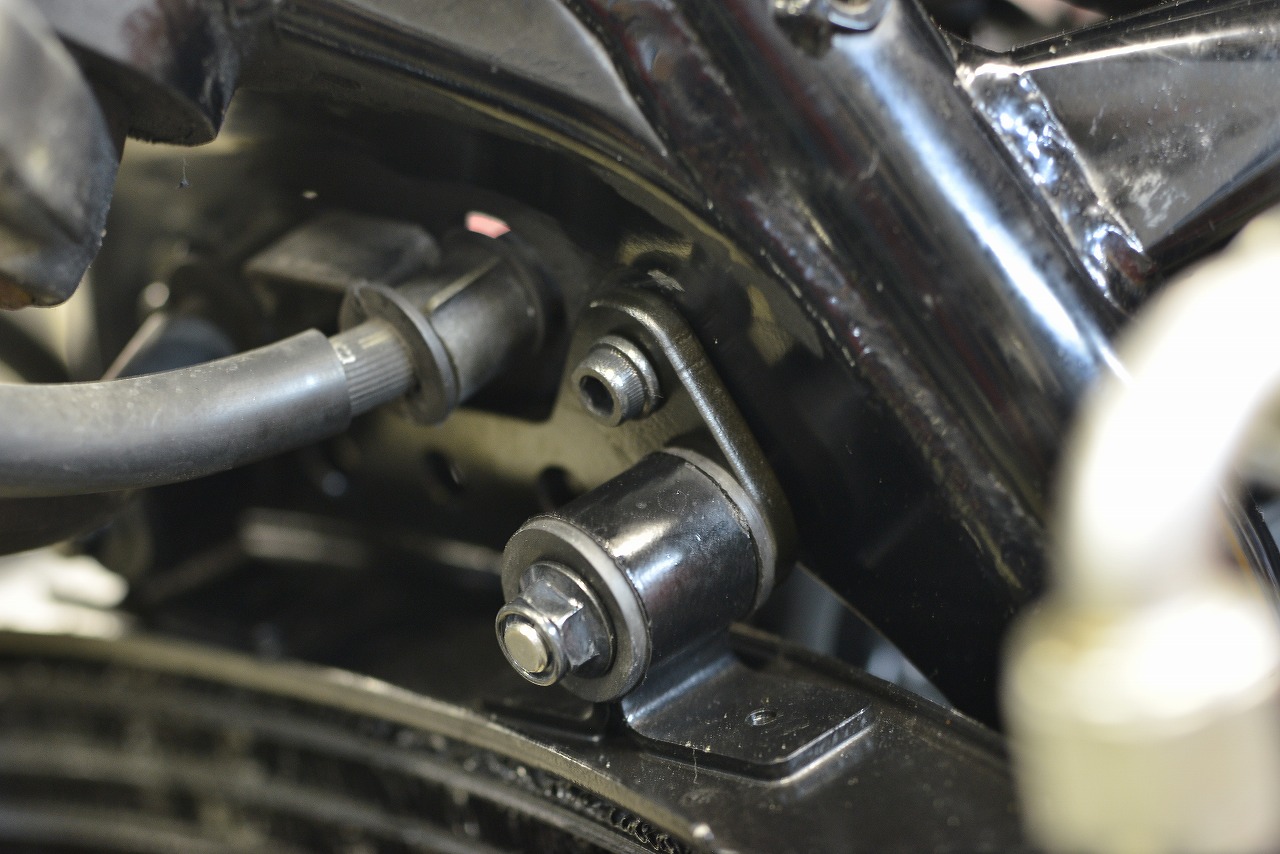
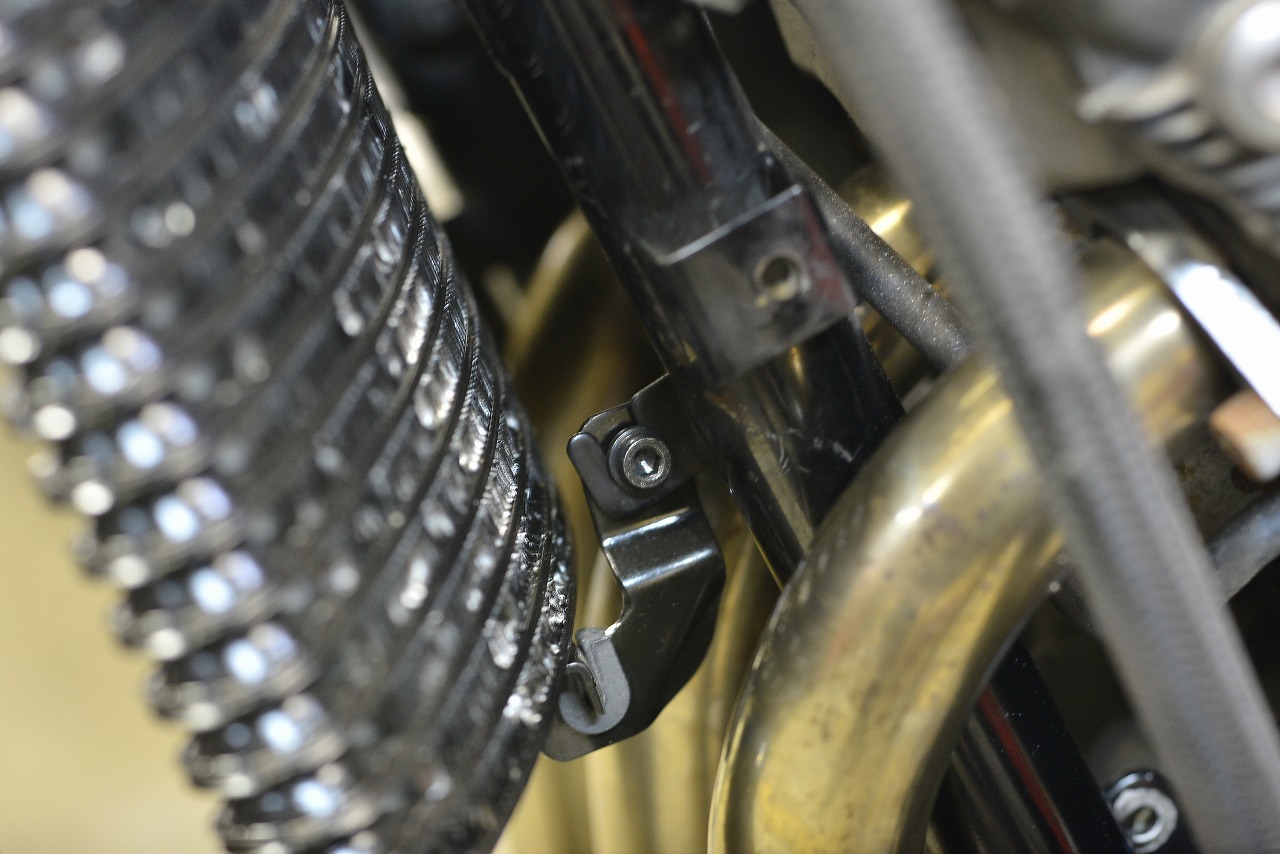
I really want to cut the fender… I’m 100% feeling it, but for now we’ll go with what we have.Since we can’t stand it up at all right now, I’m making a cute little cat-shaped bracket to cover for that. By the way, it’s 6mm steel plate.It’s black and hard to see… I tapped an M8 hole and inserted a low-profile bolt from the back (countersinking it is even better).That way, you can insert the oil cooler and secure it with a nut.That’s how it turns out. It makes removal and installation a bit quicker… though I probably won’t take it off that often.I made the lower bracket from SUS304 stainless steel, 1.5mm thick, cutting it up. I bent it a lot, so it should handle harsh conditions. I tack-welded lock nuts on it, so removal and installation should be easy. Though I don’t think I’ll be taking it off that often…
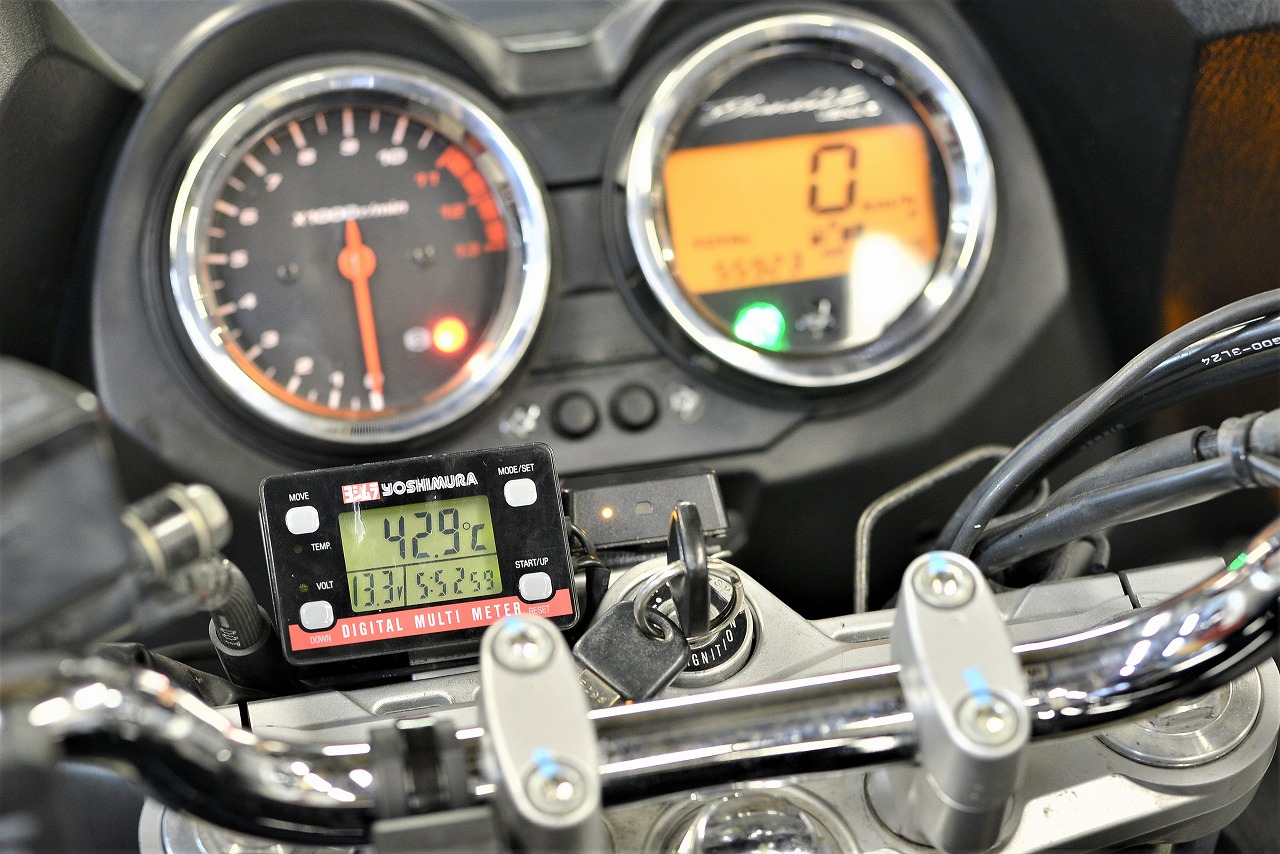
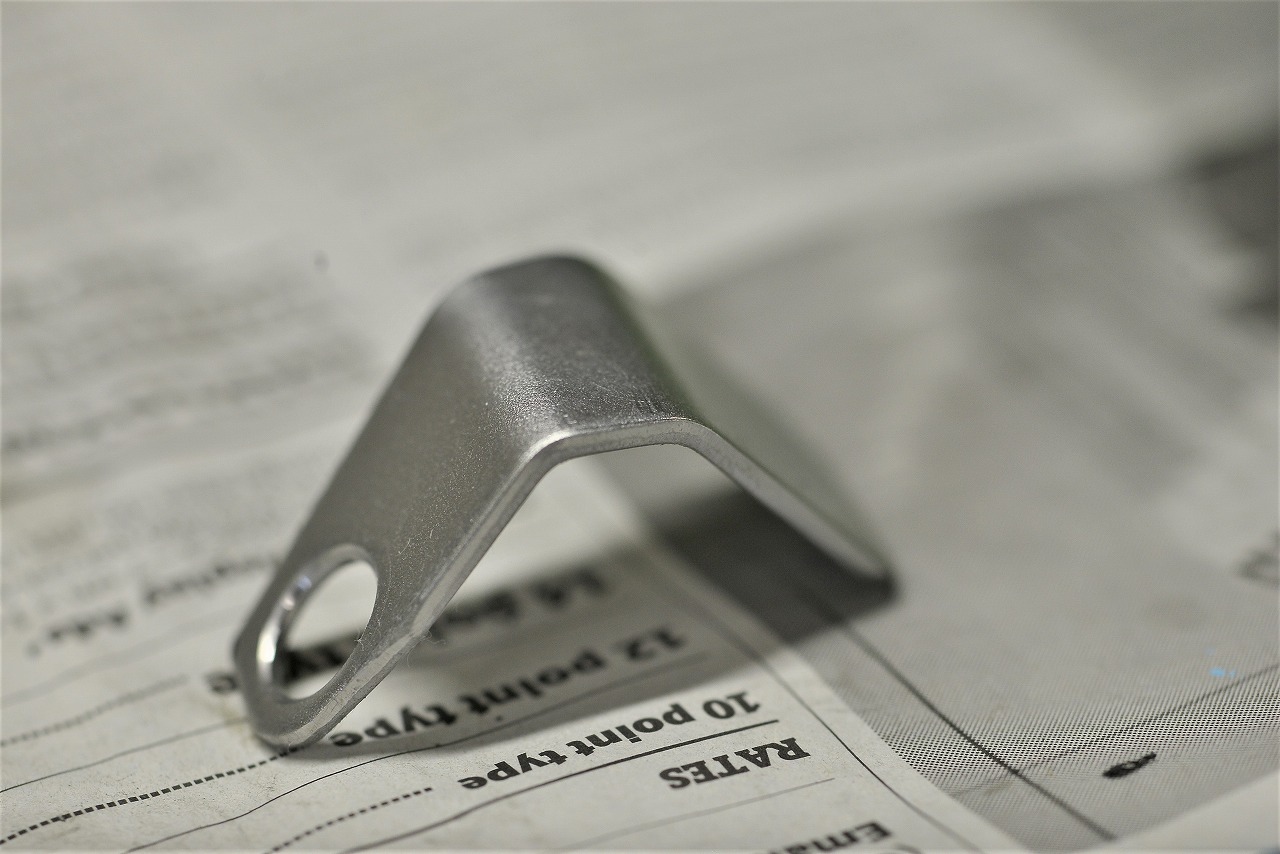
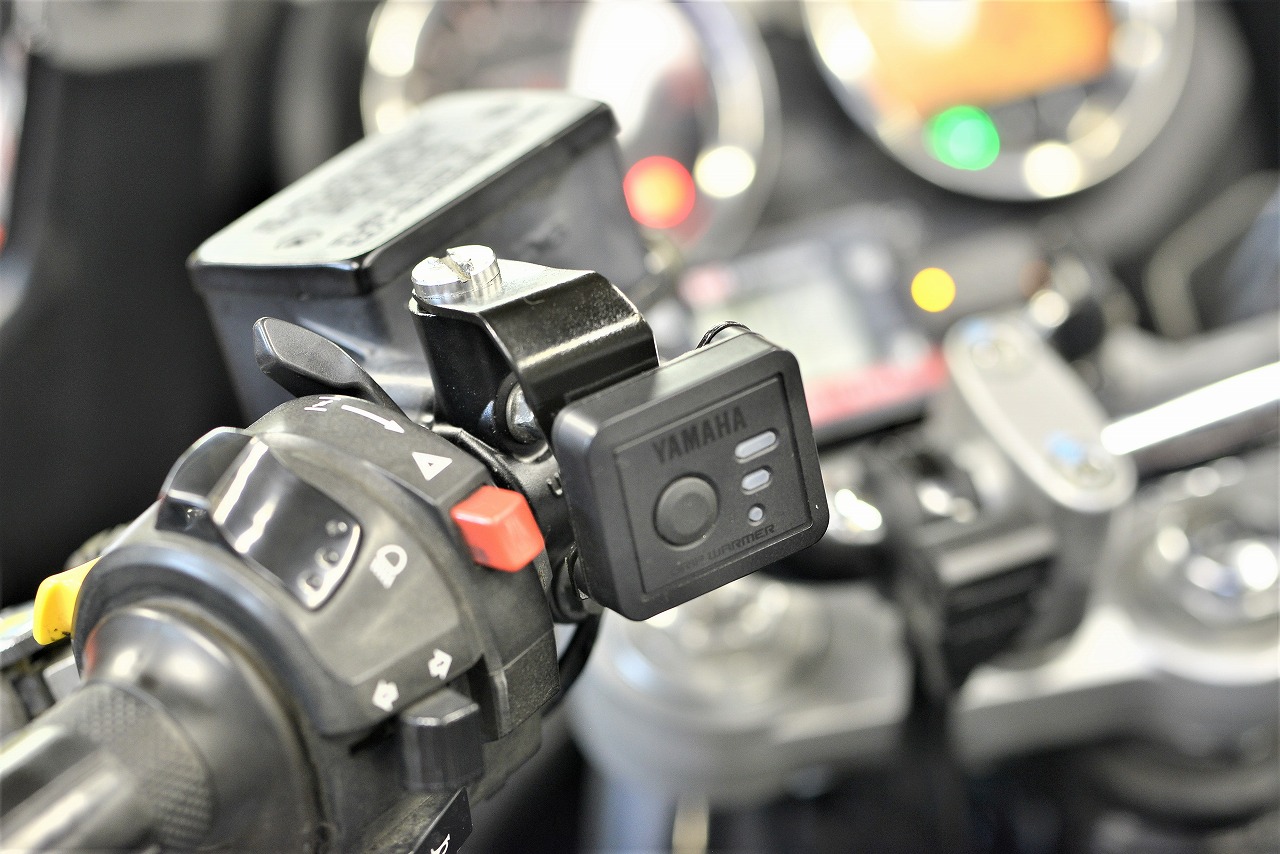
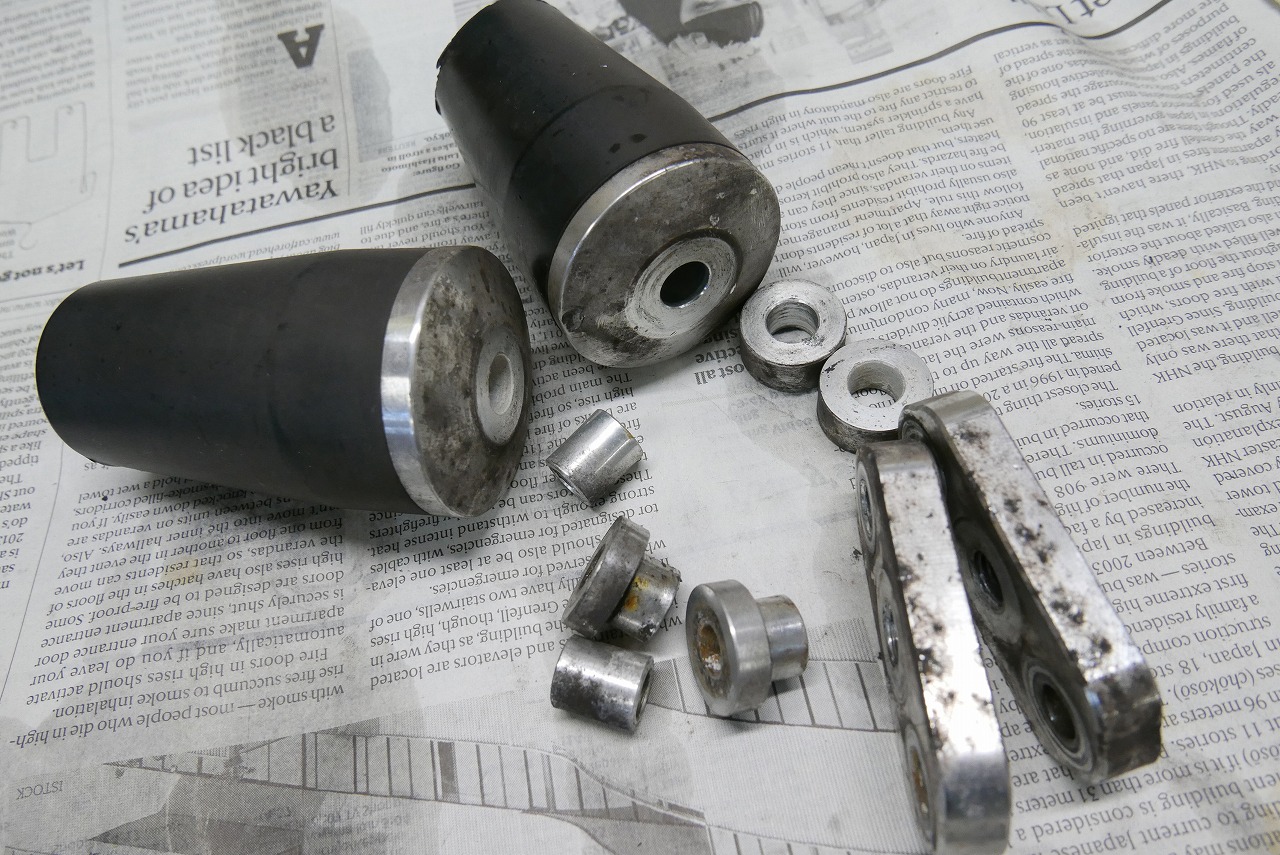
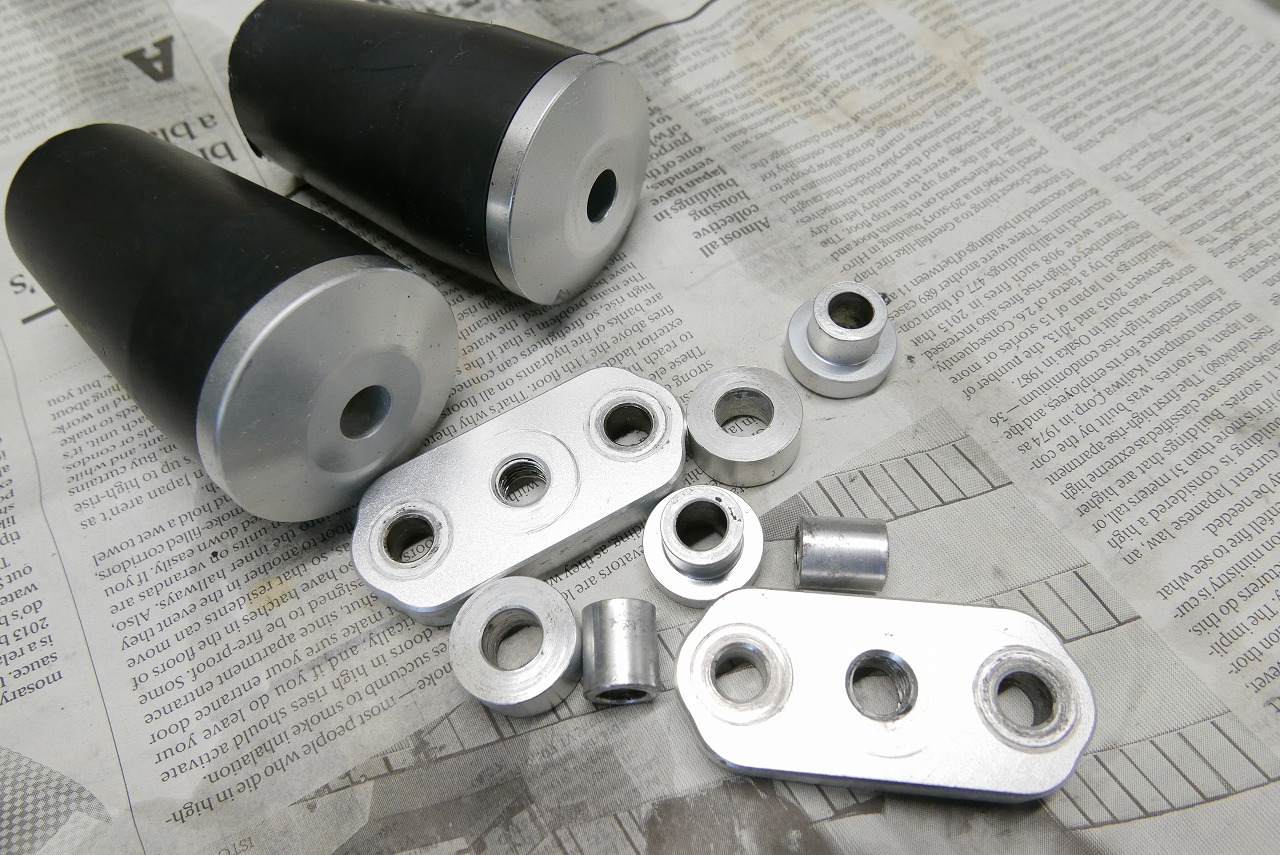
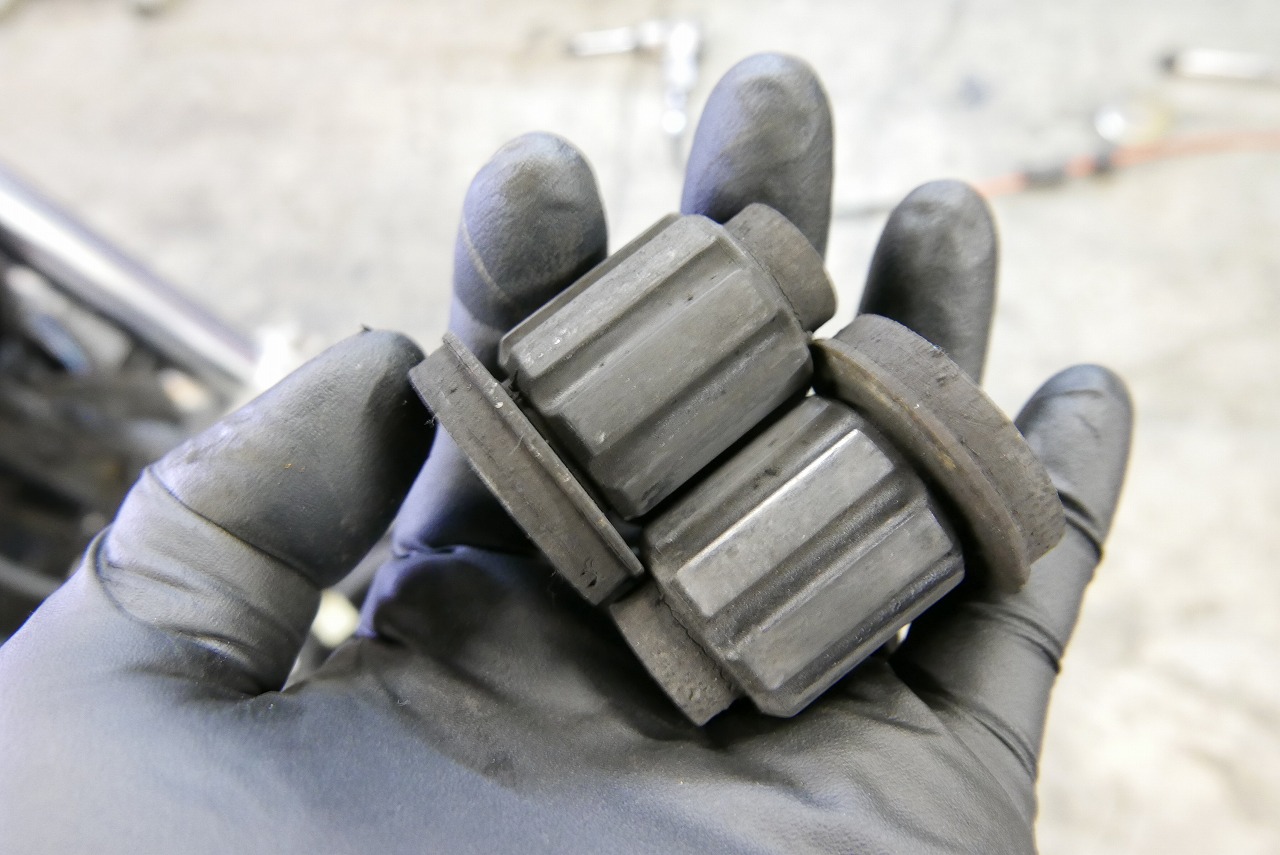
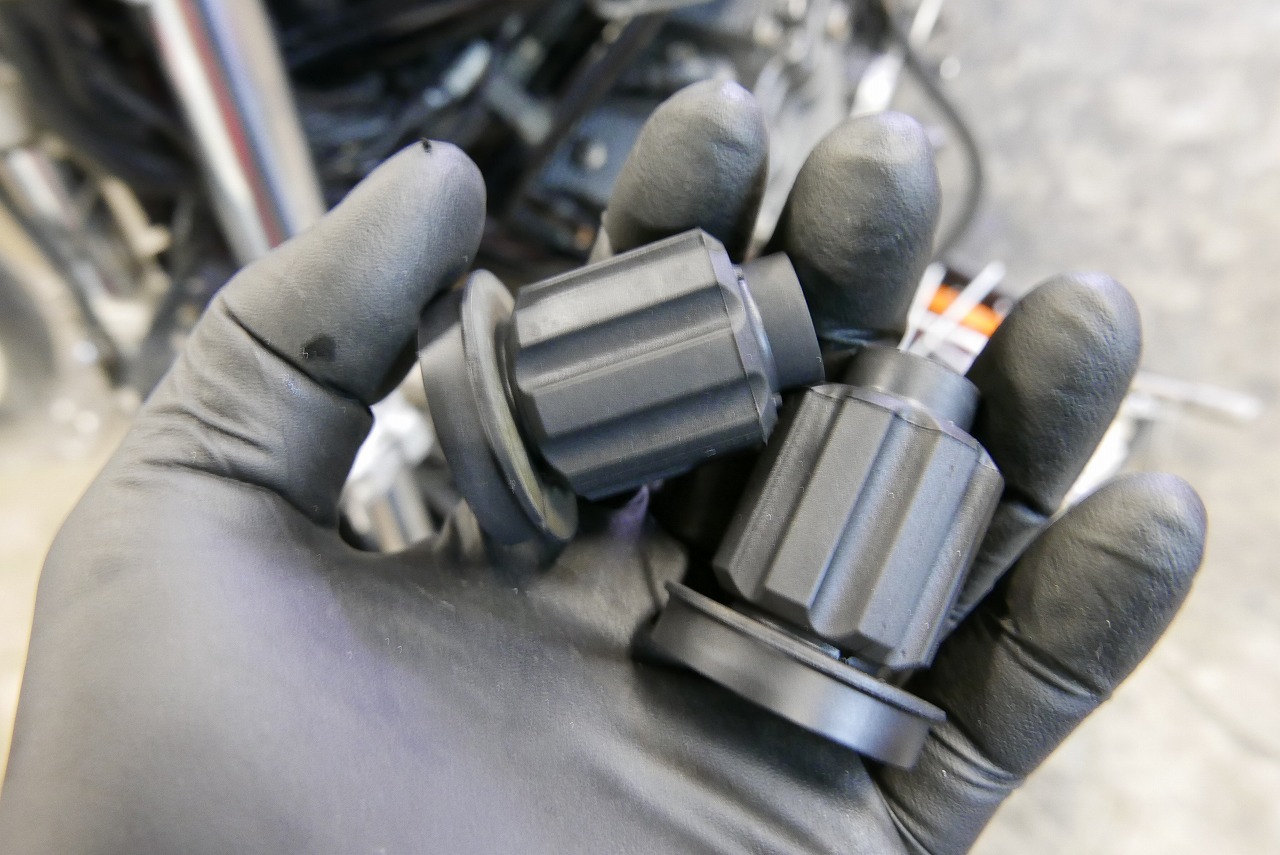
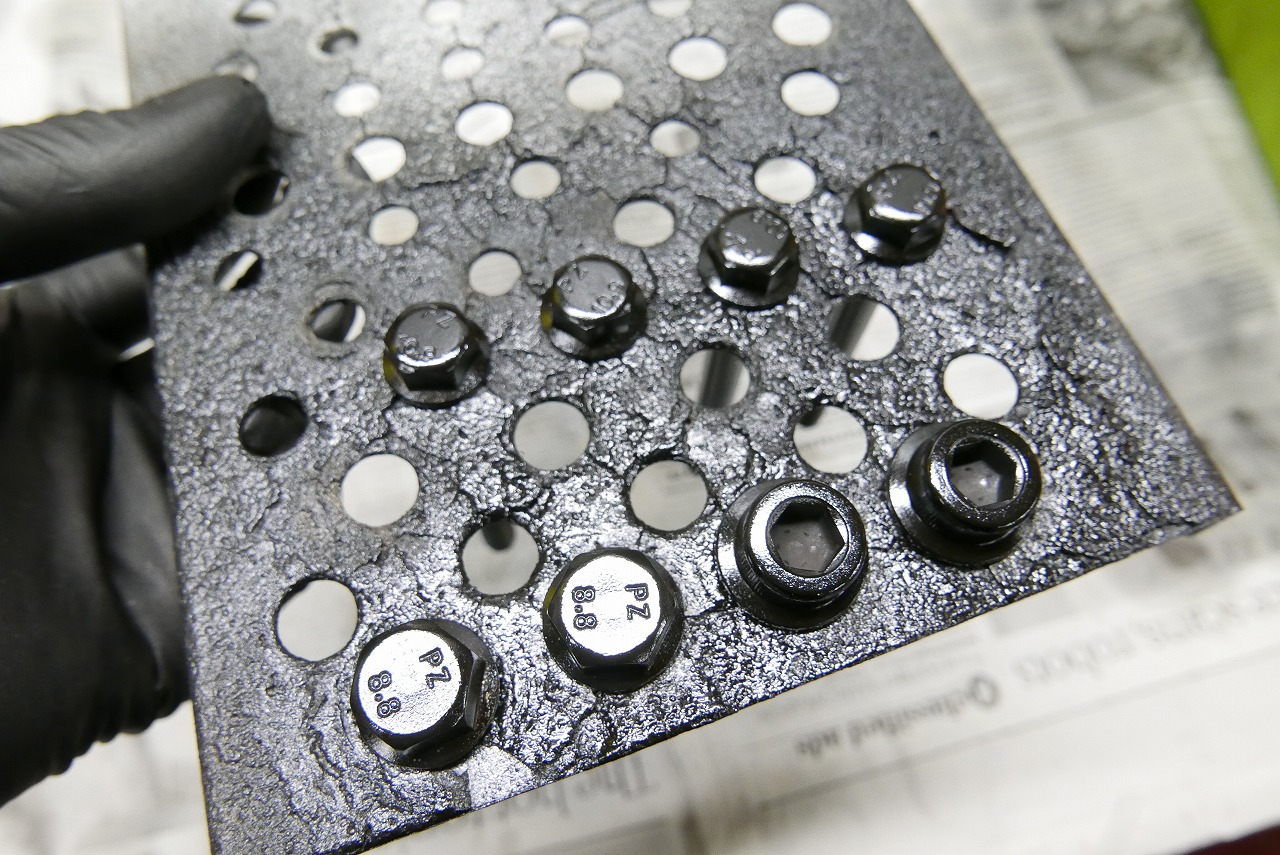
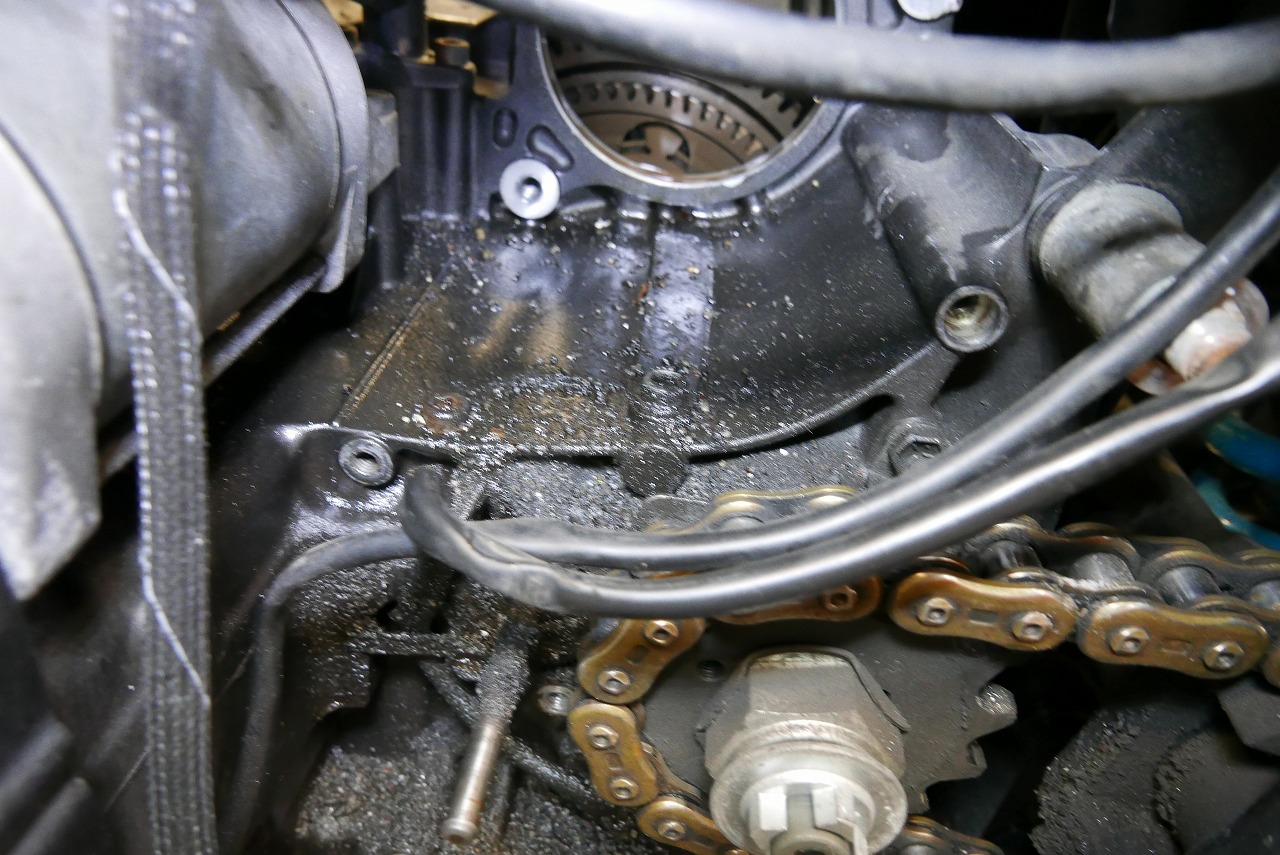
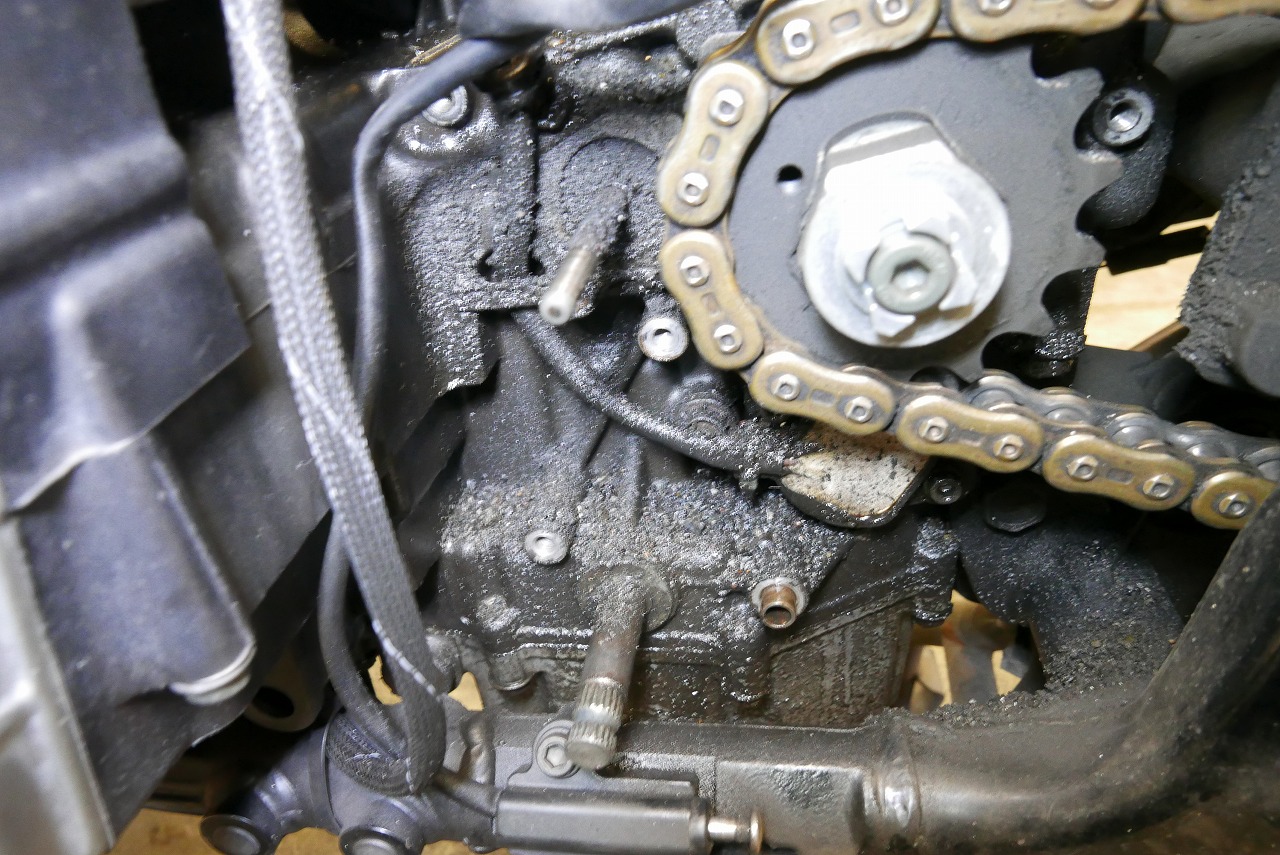
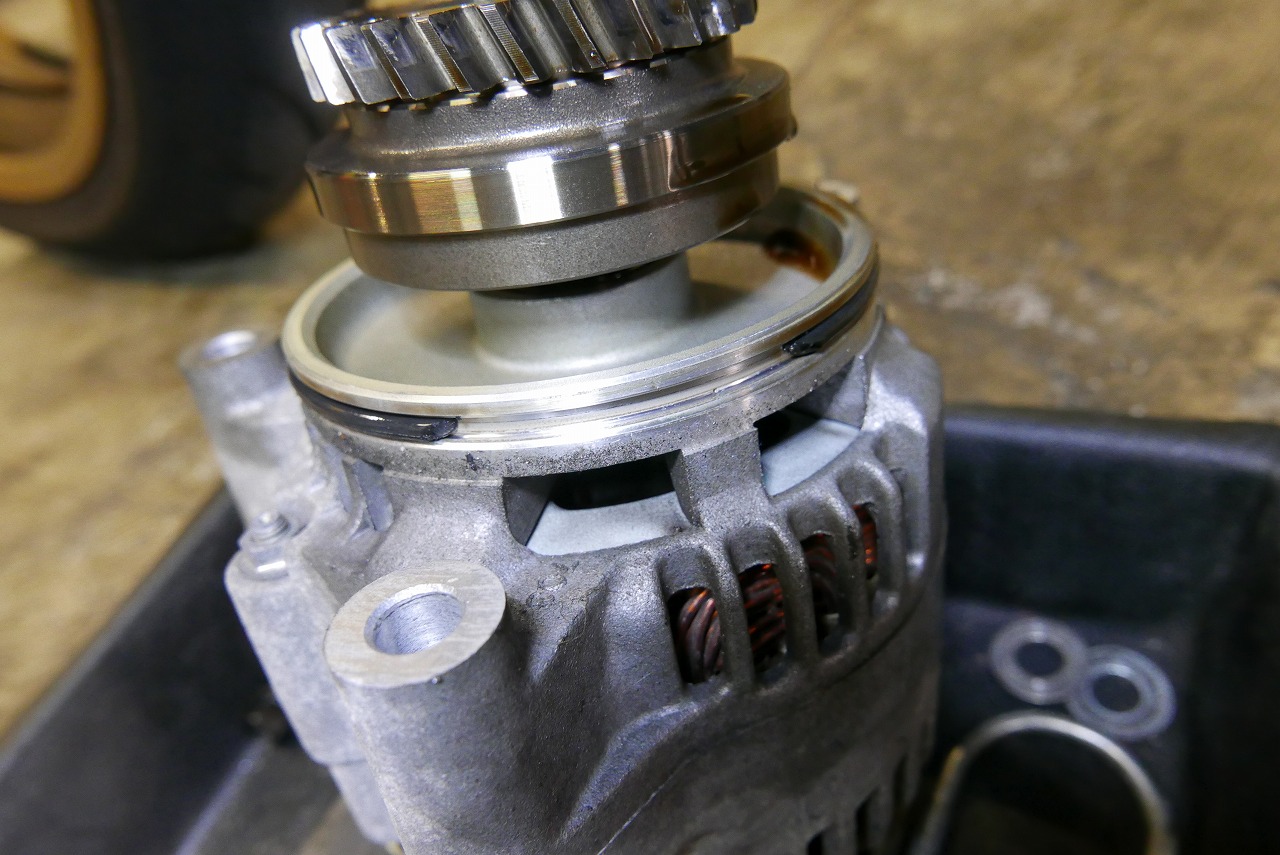
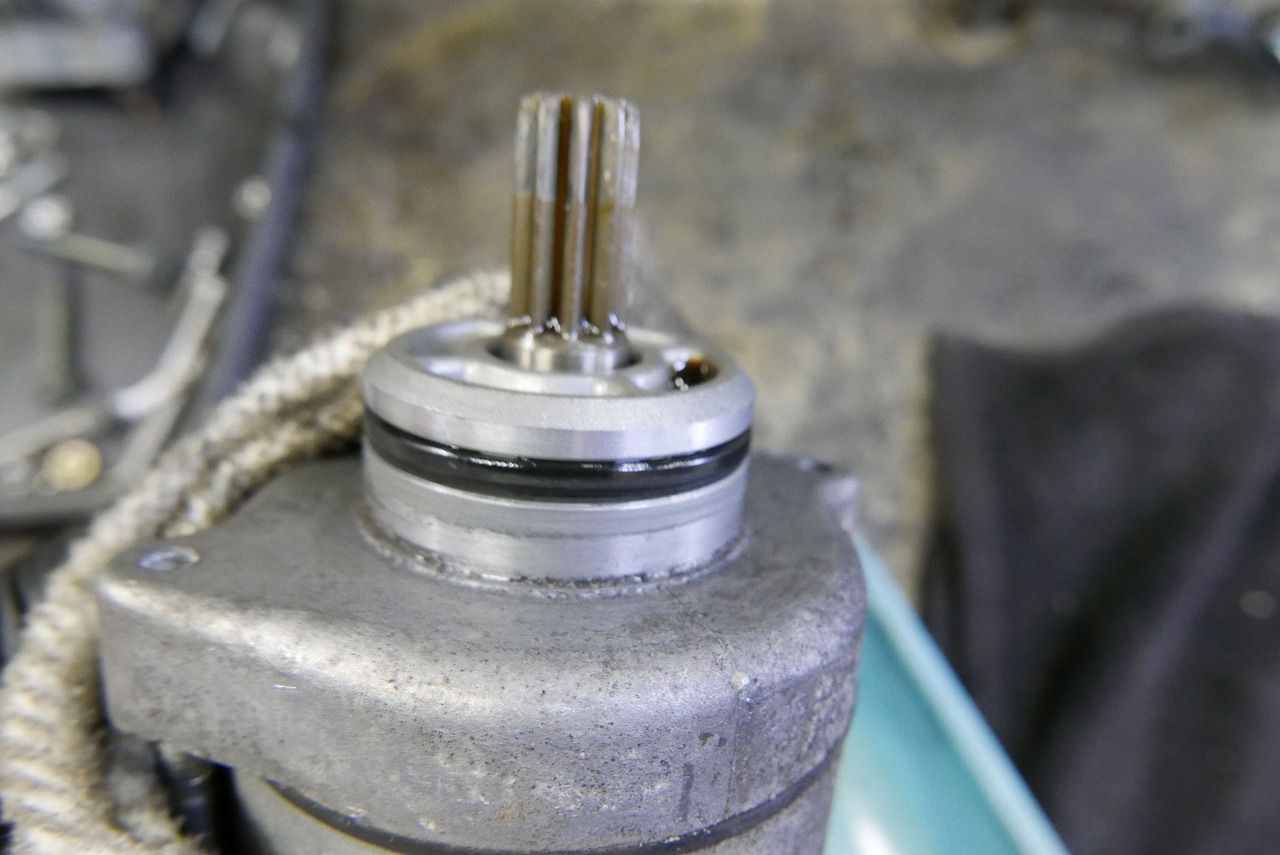
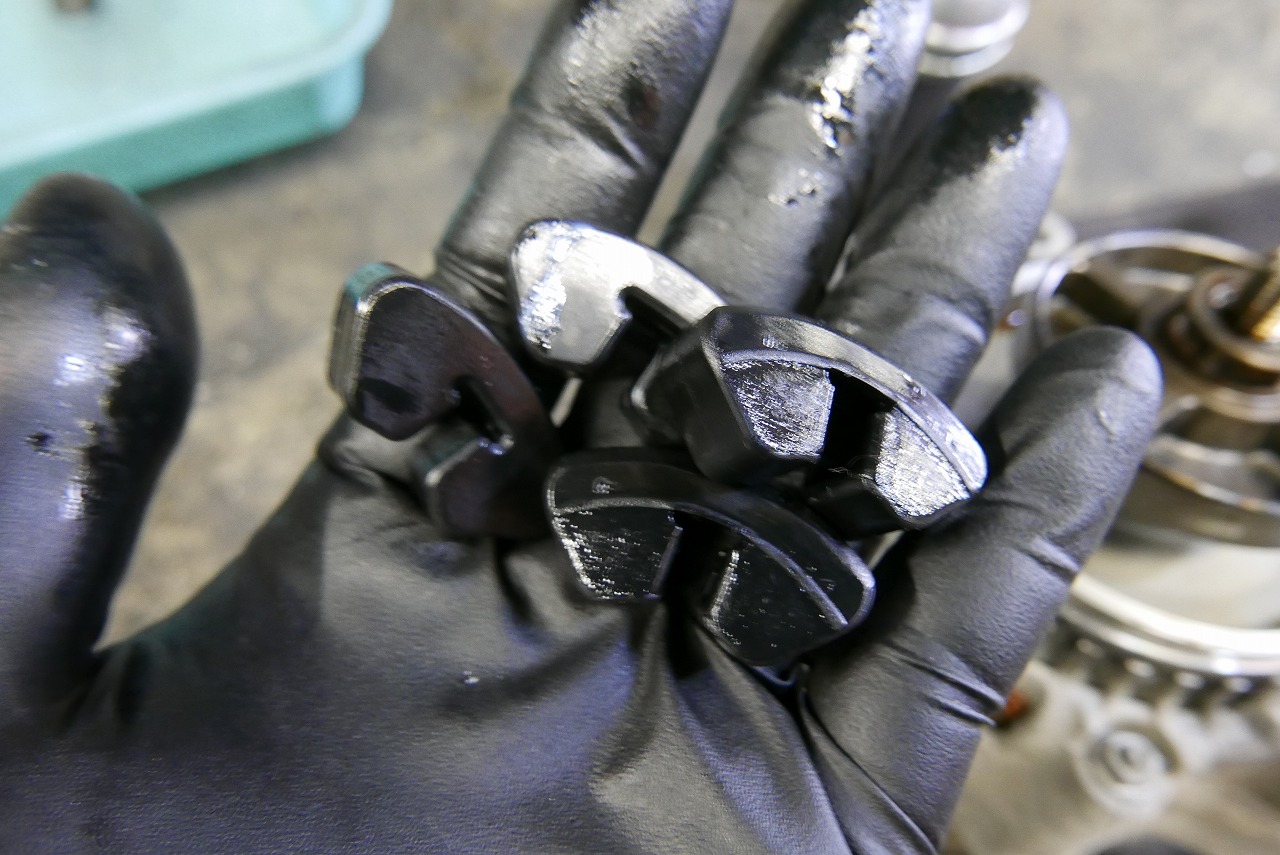
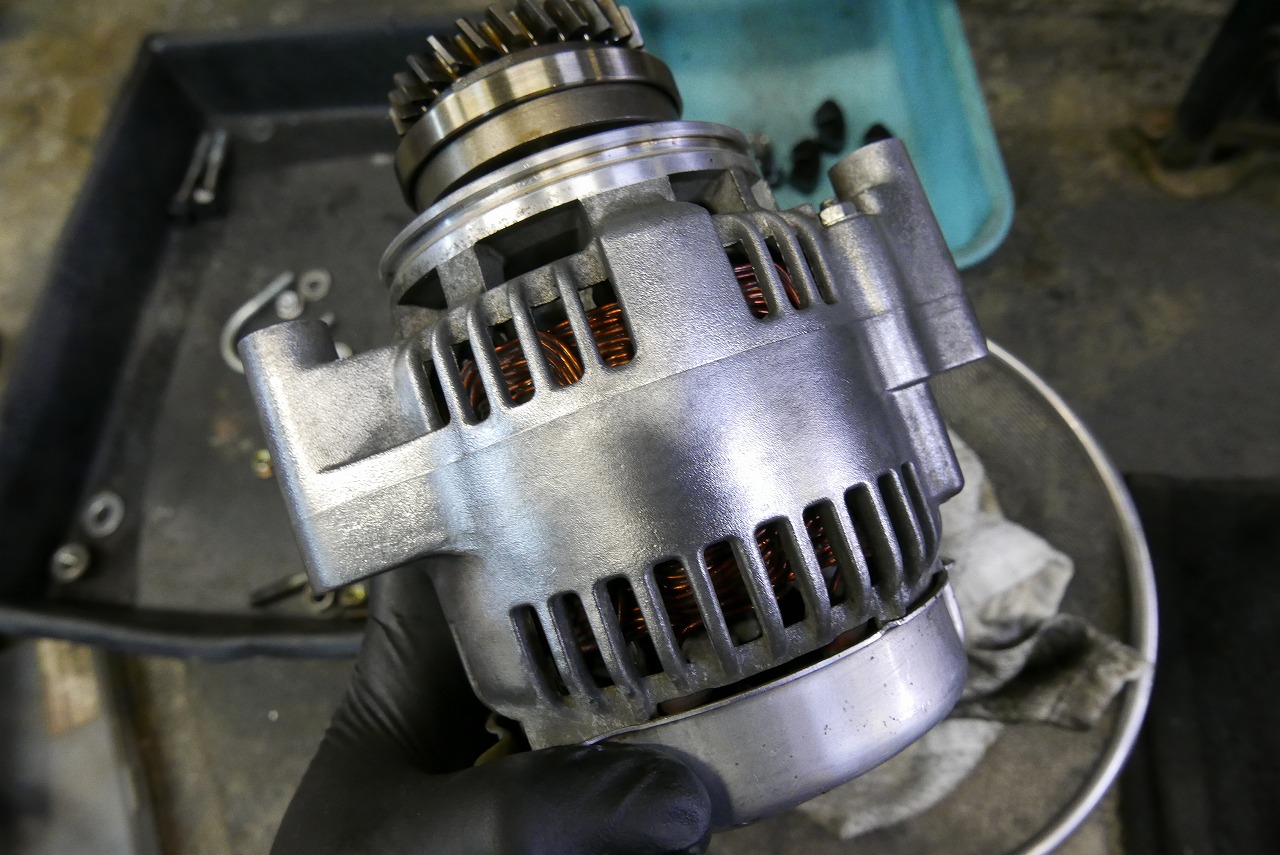
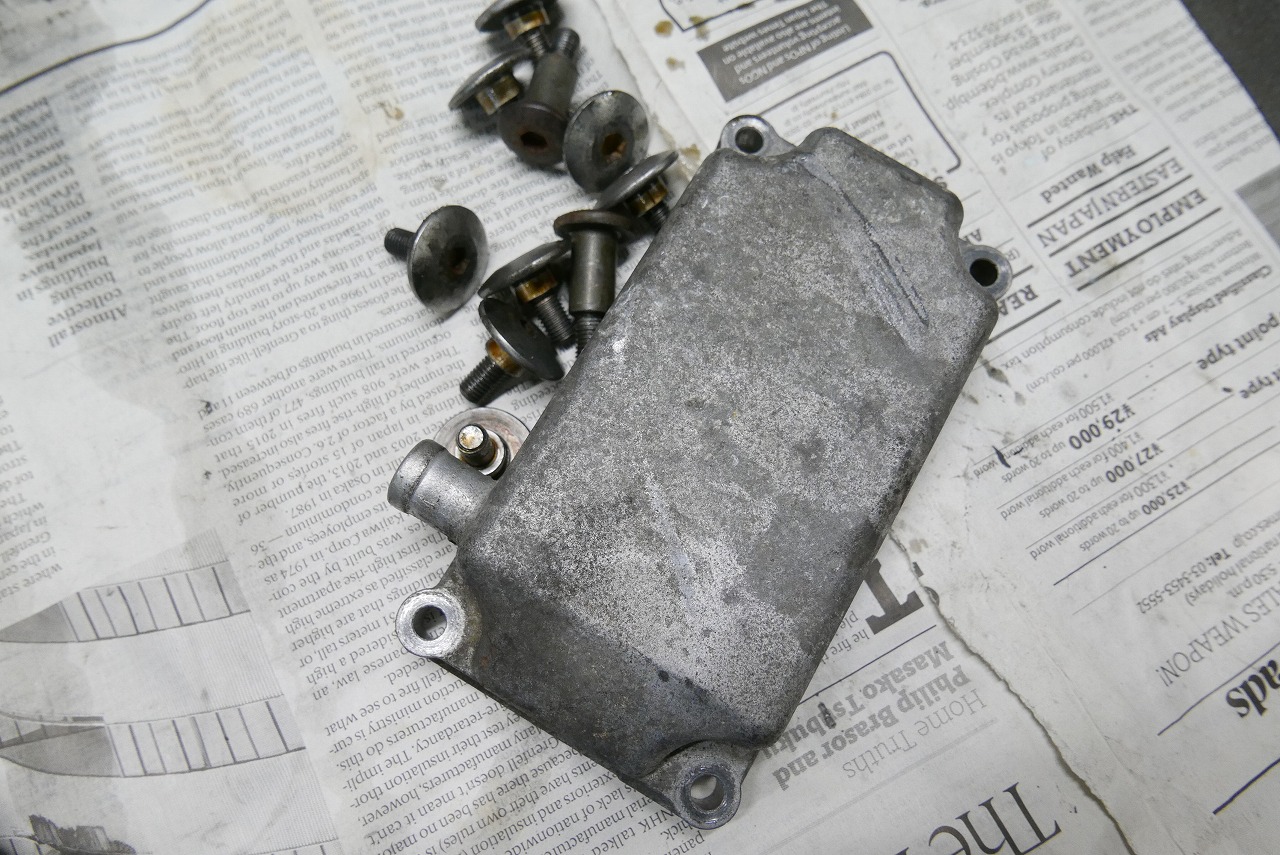
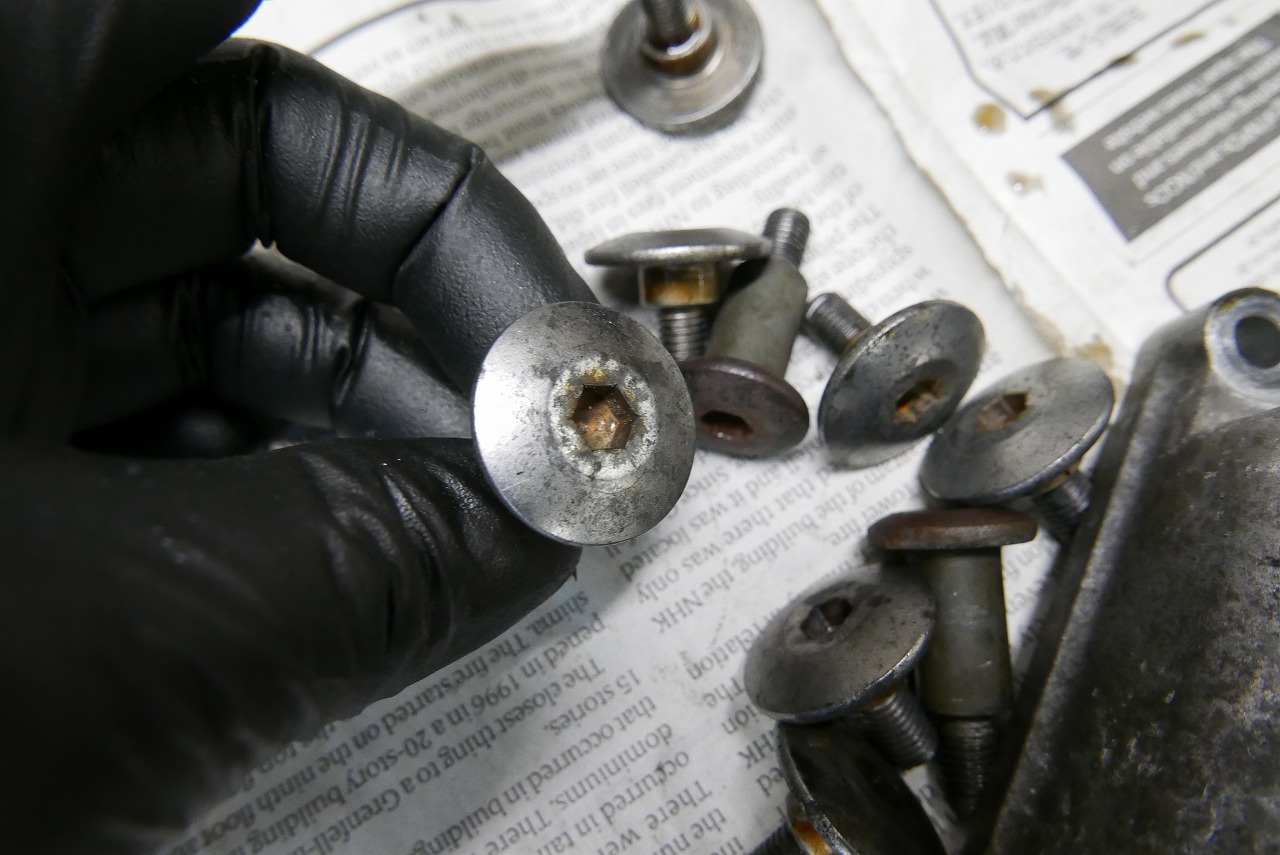
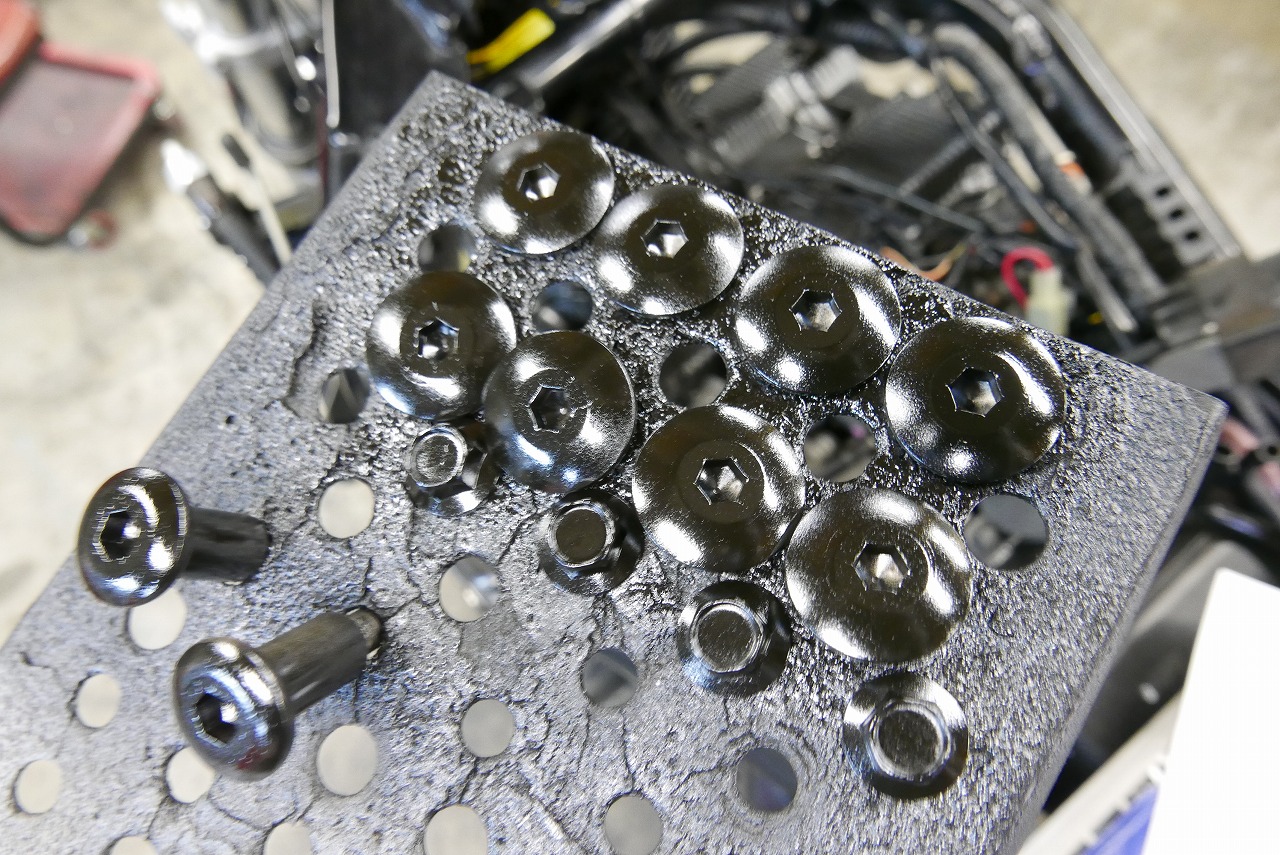
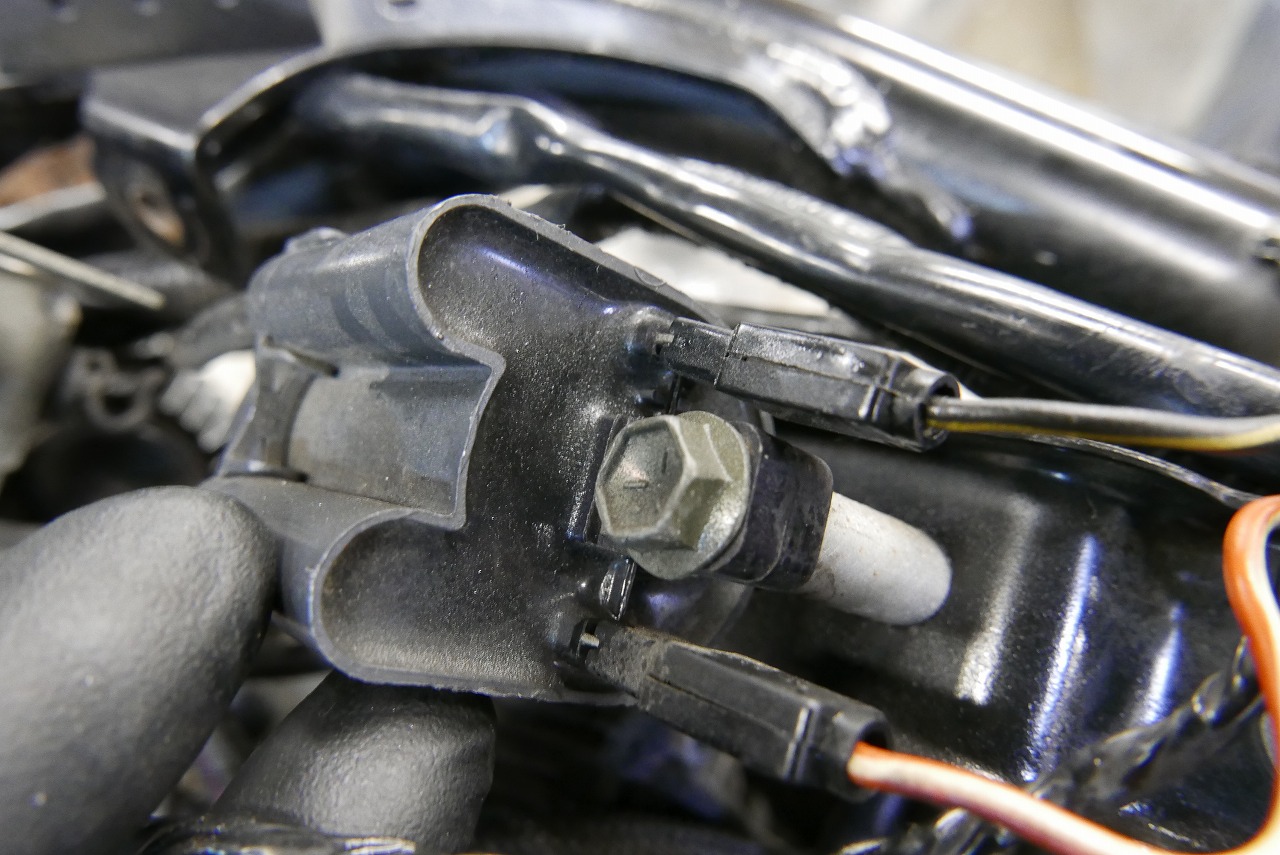
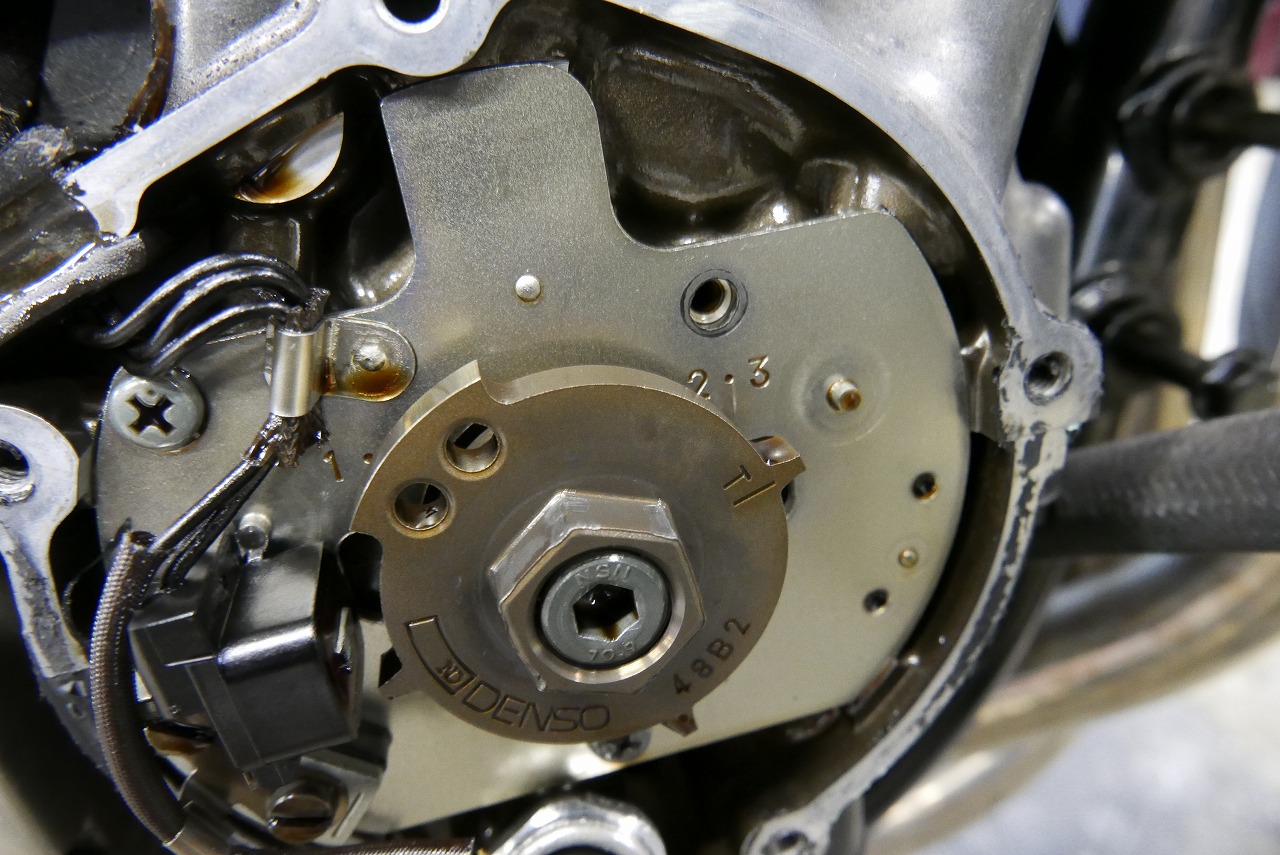
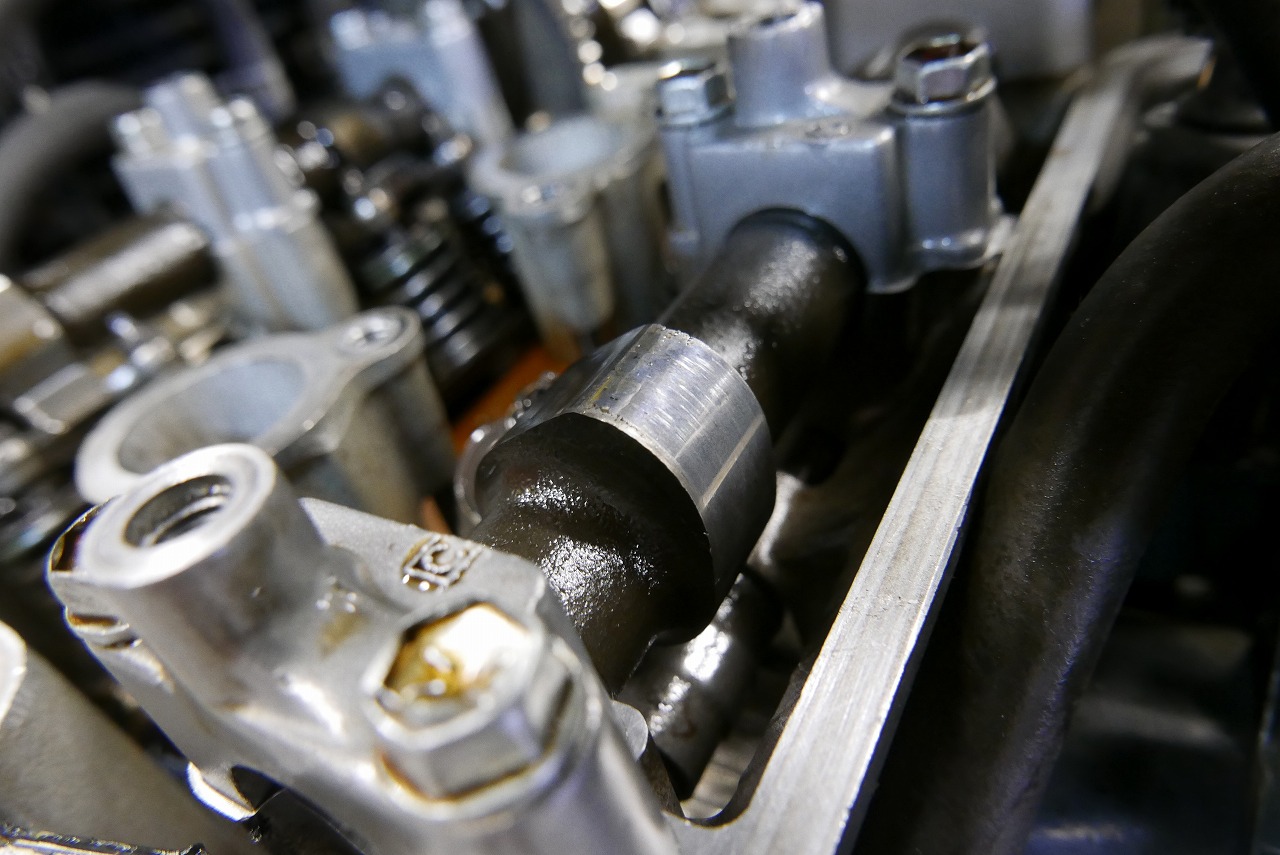
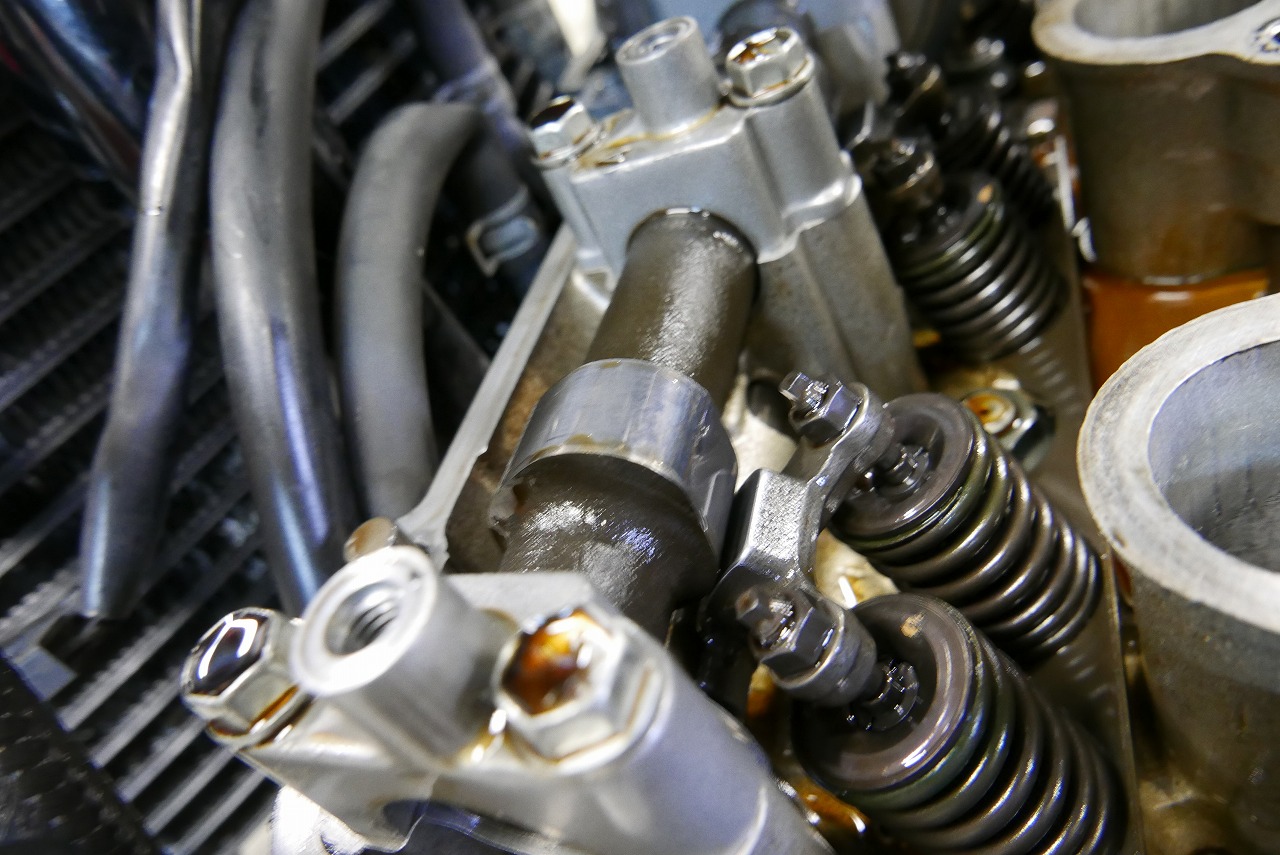
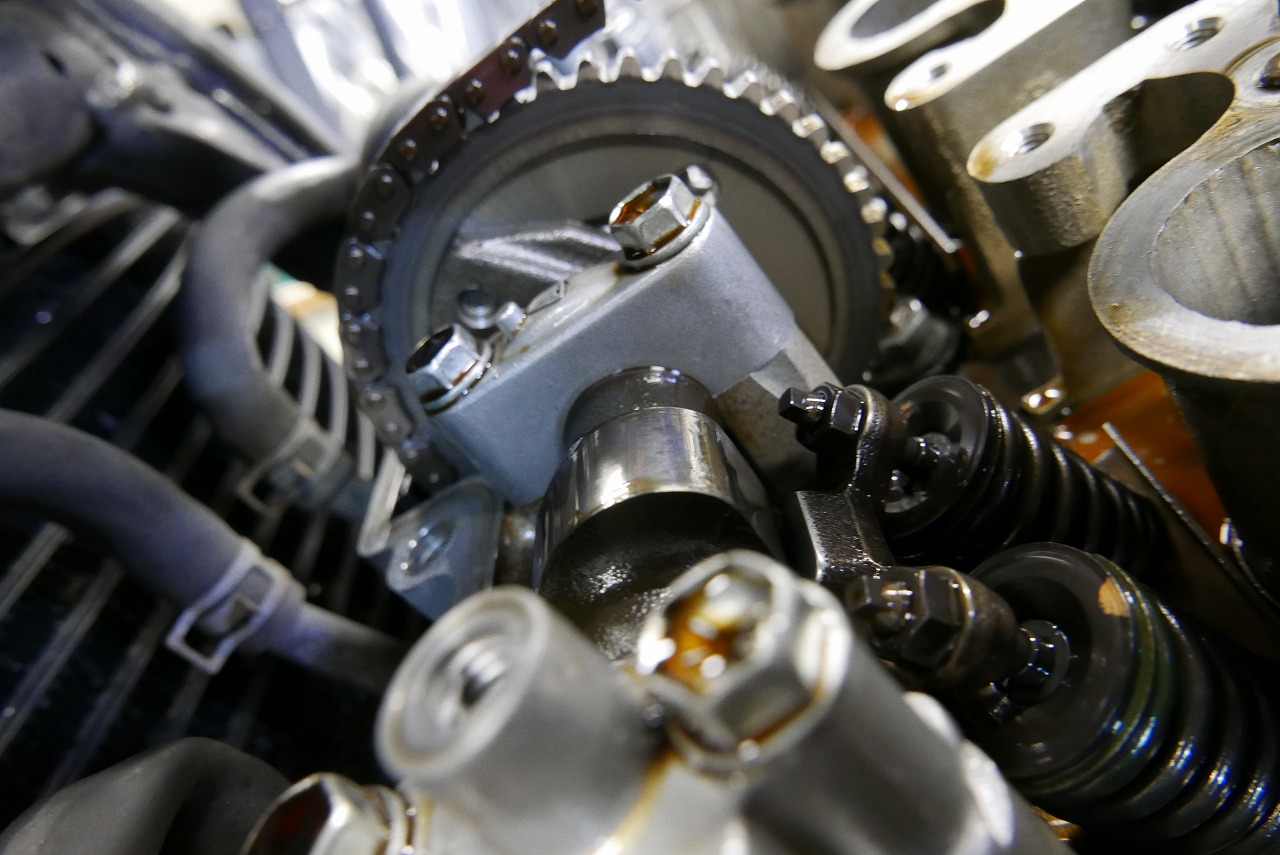
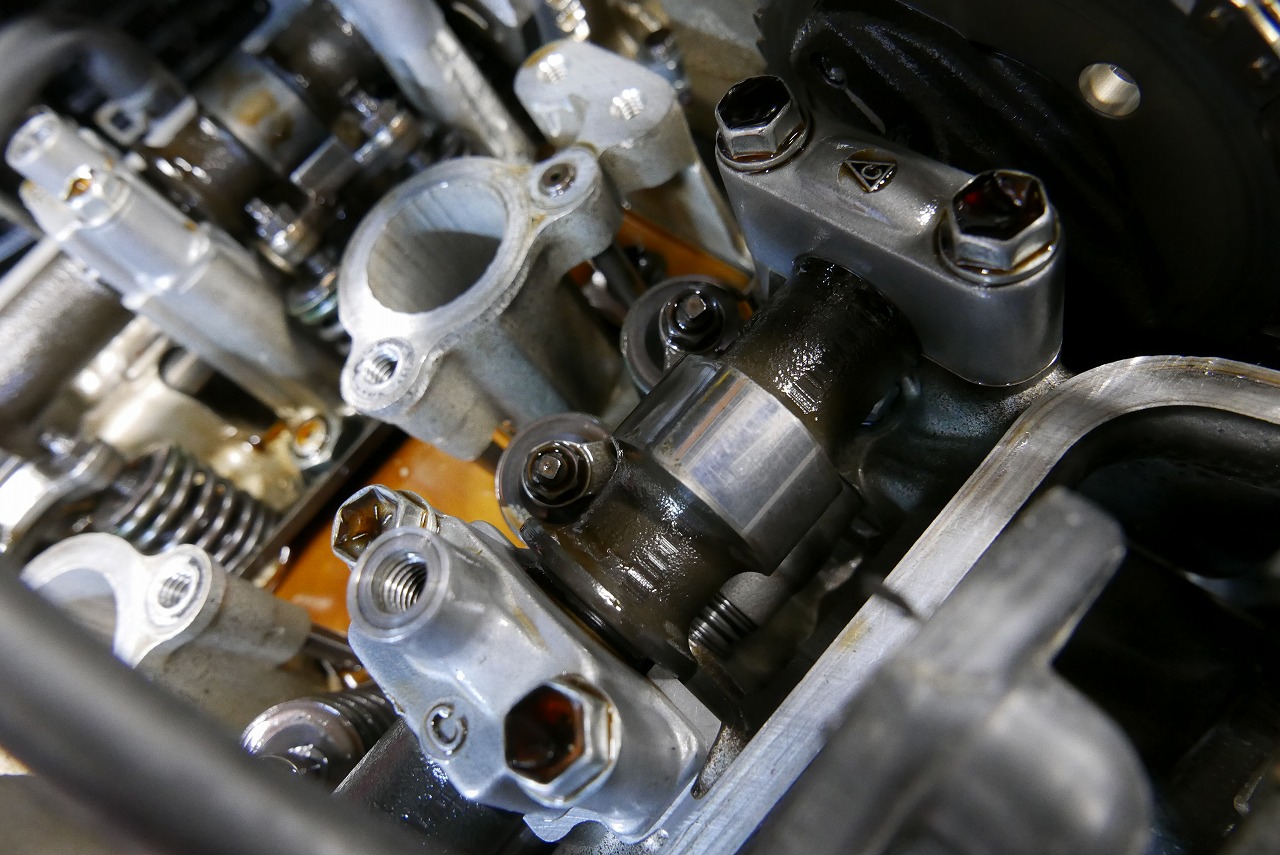
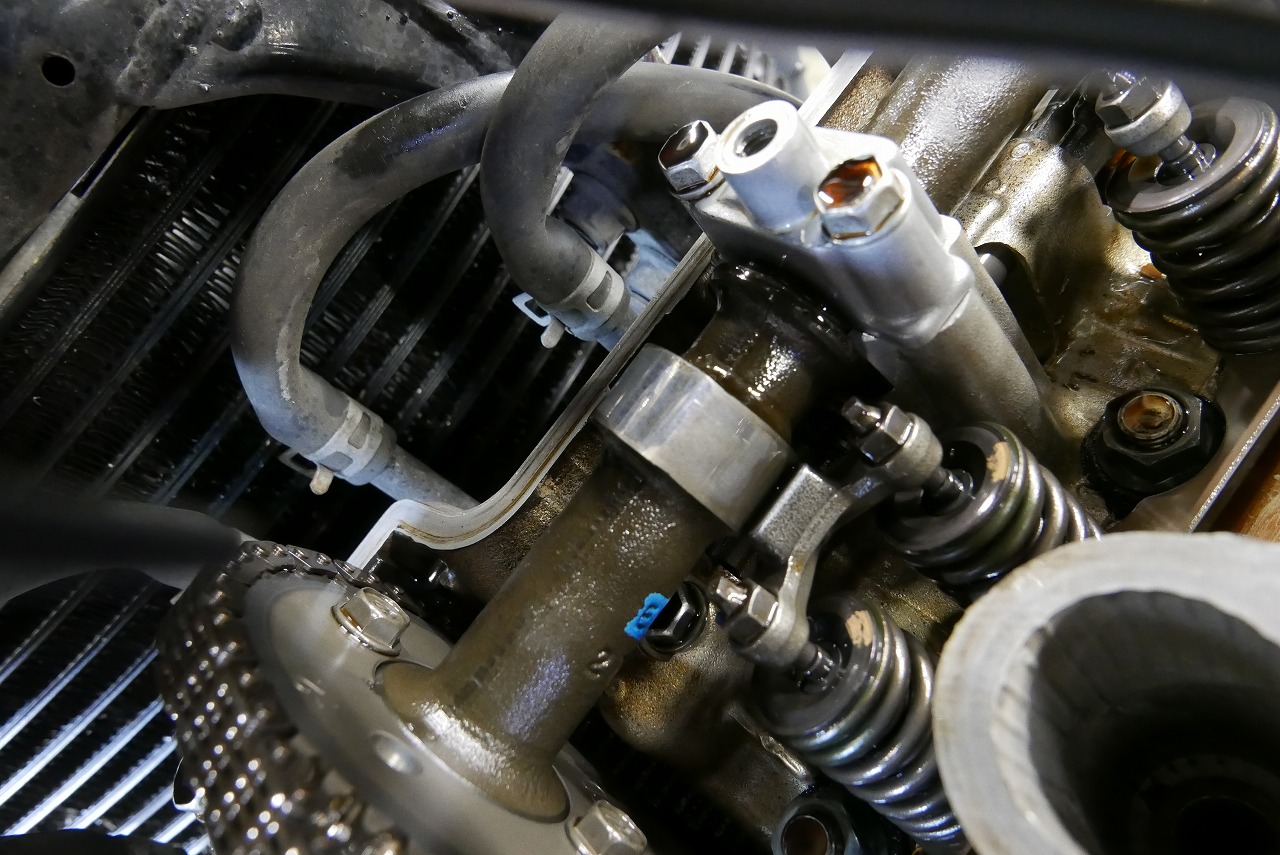
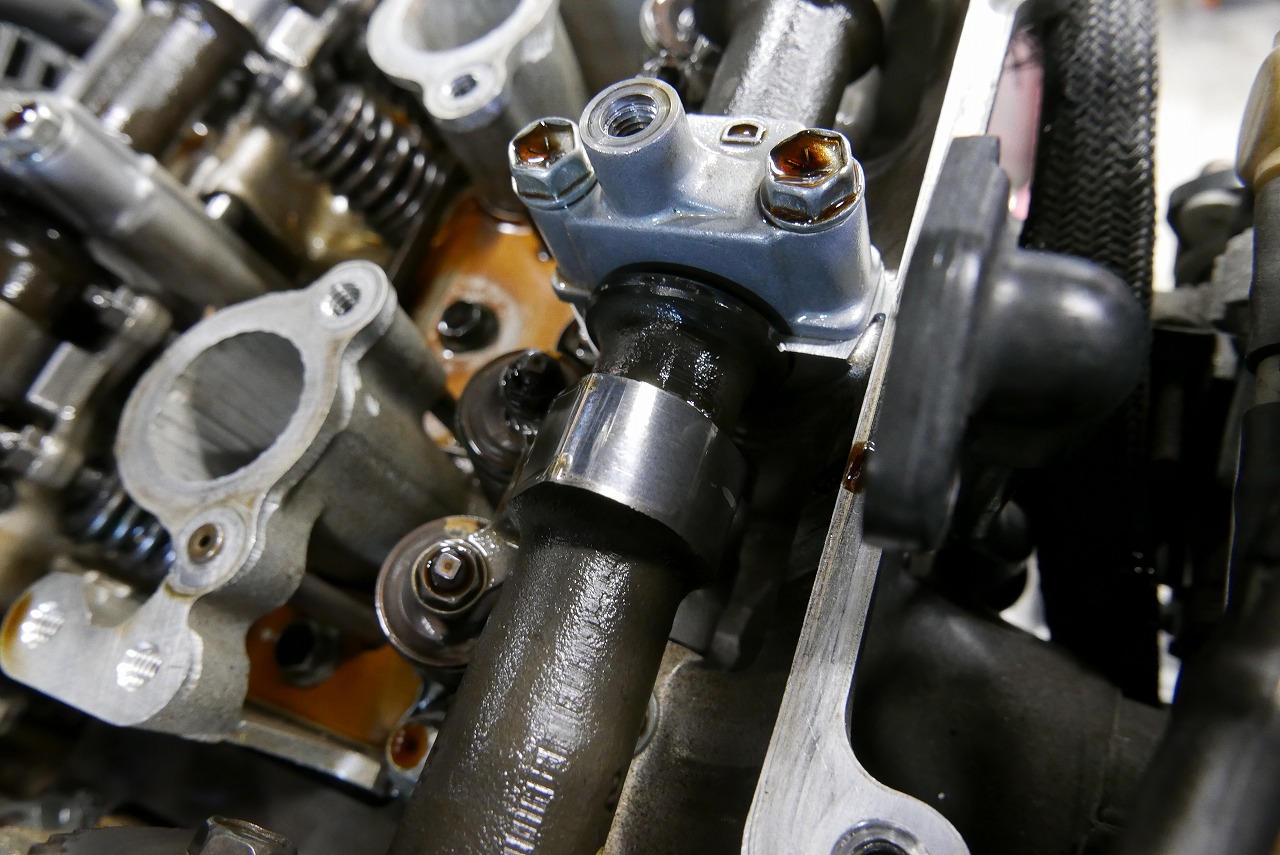
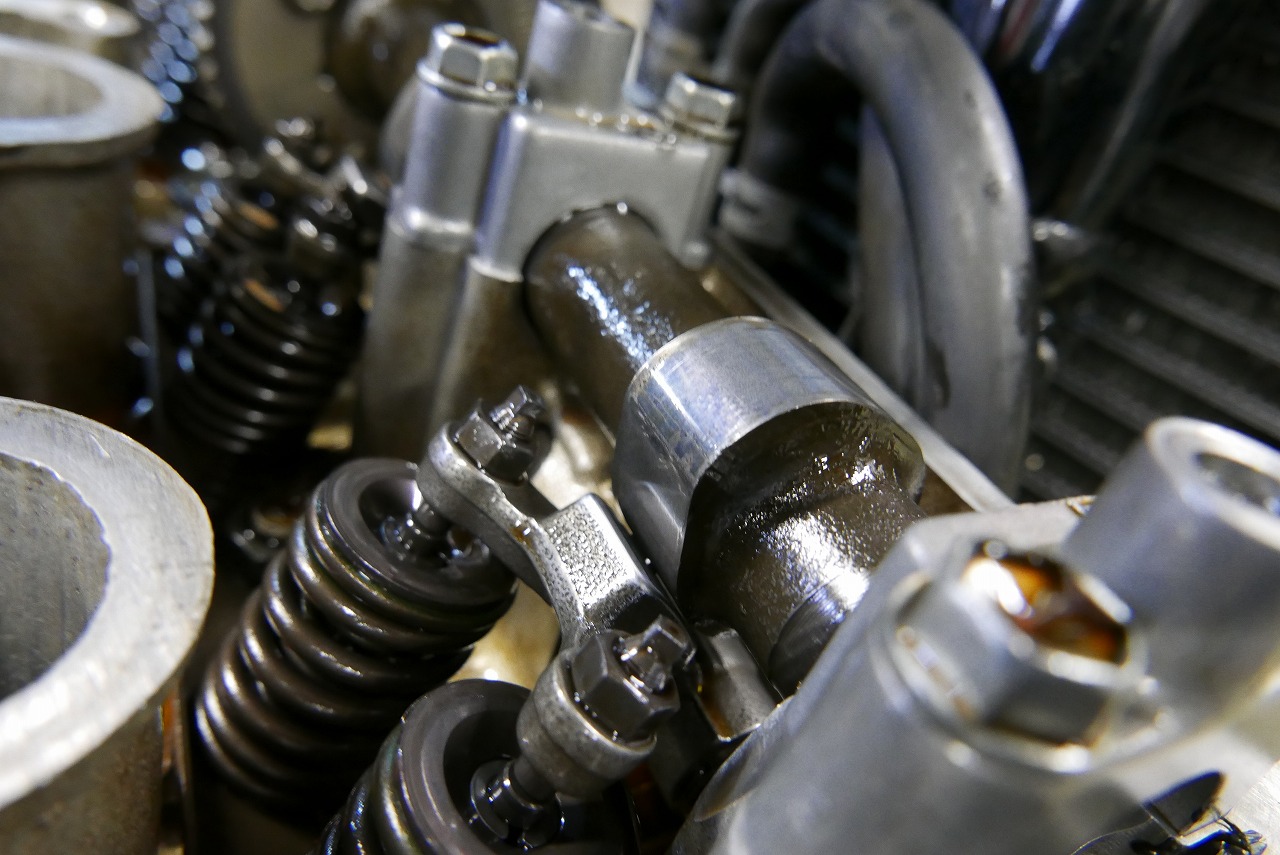
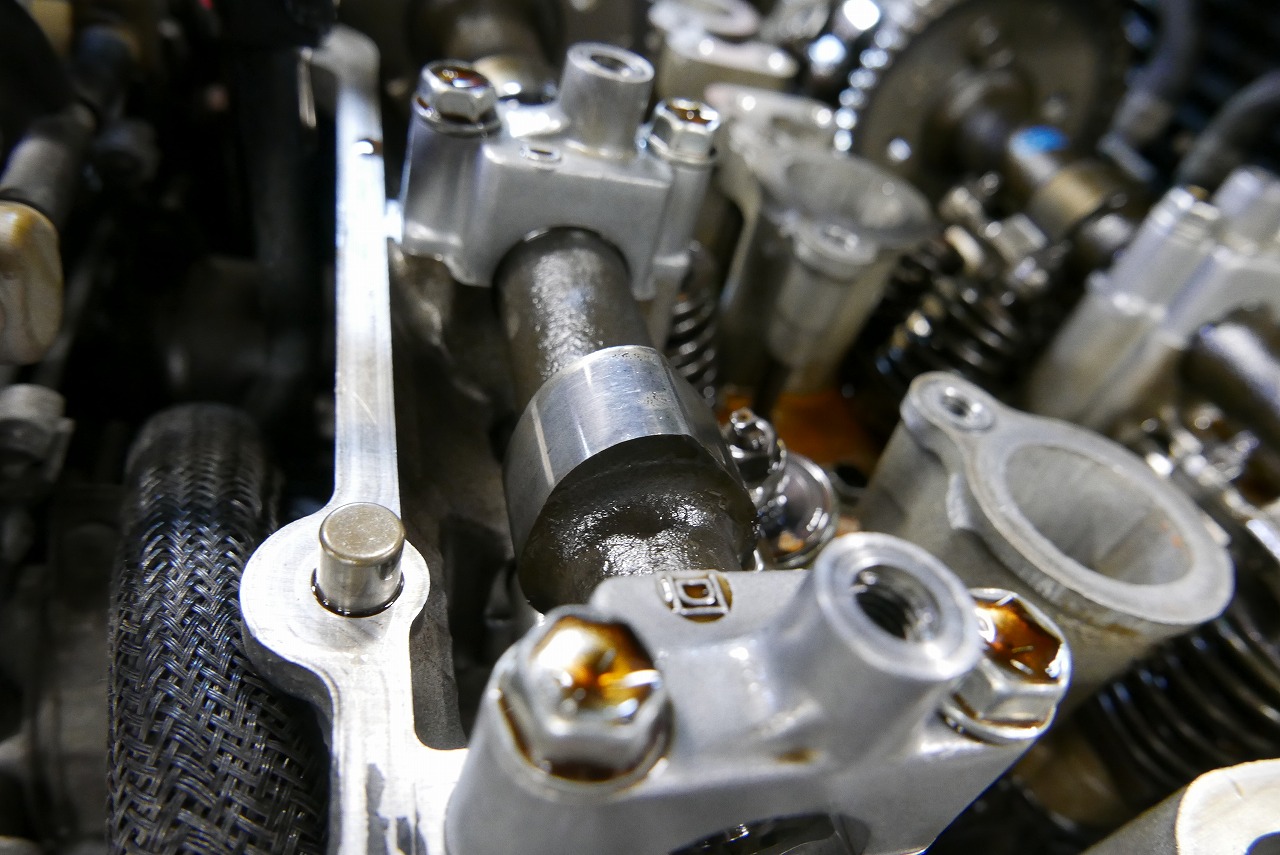
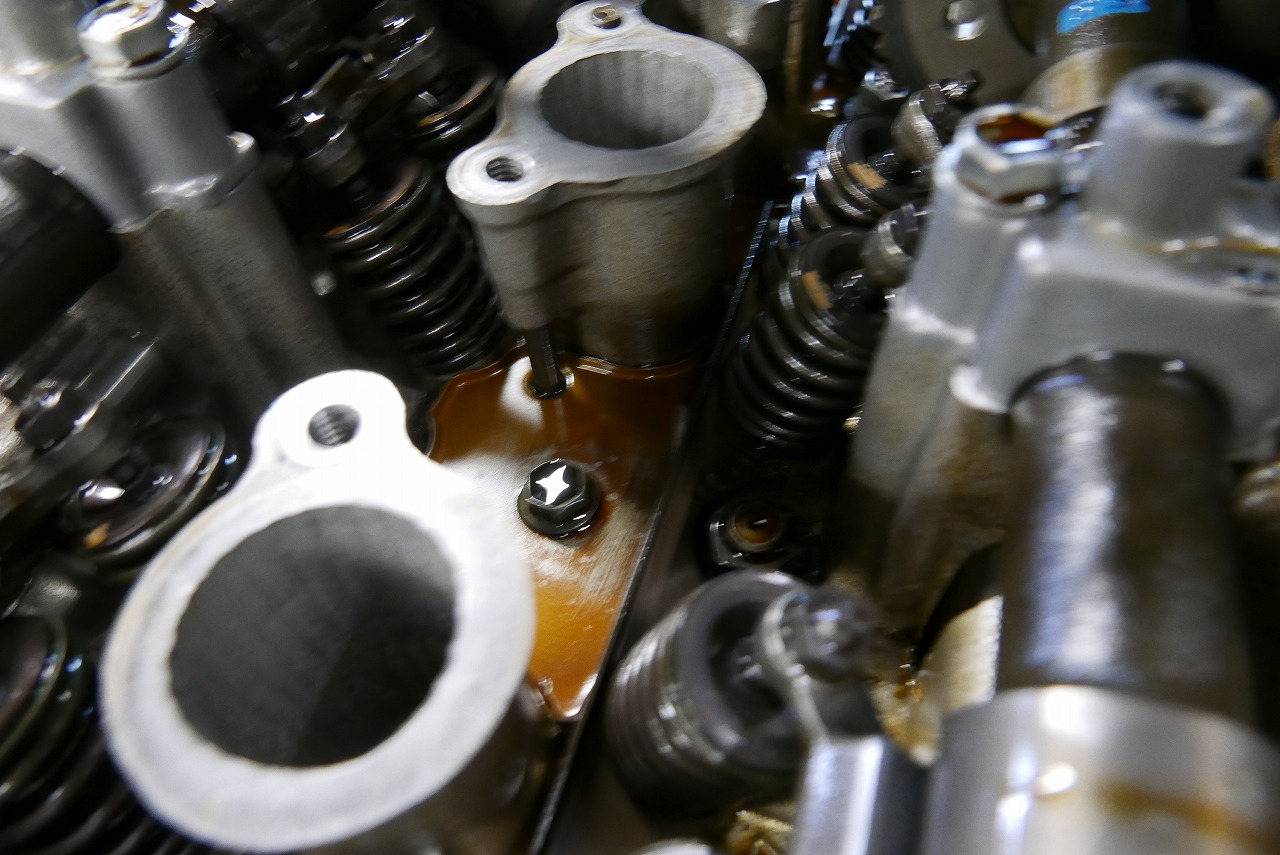
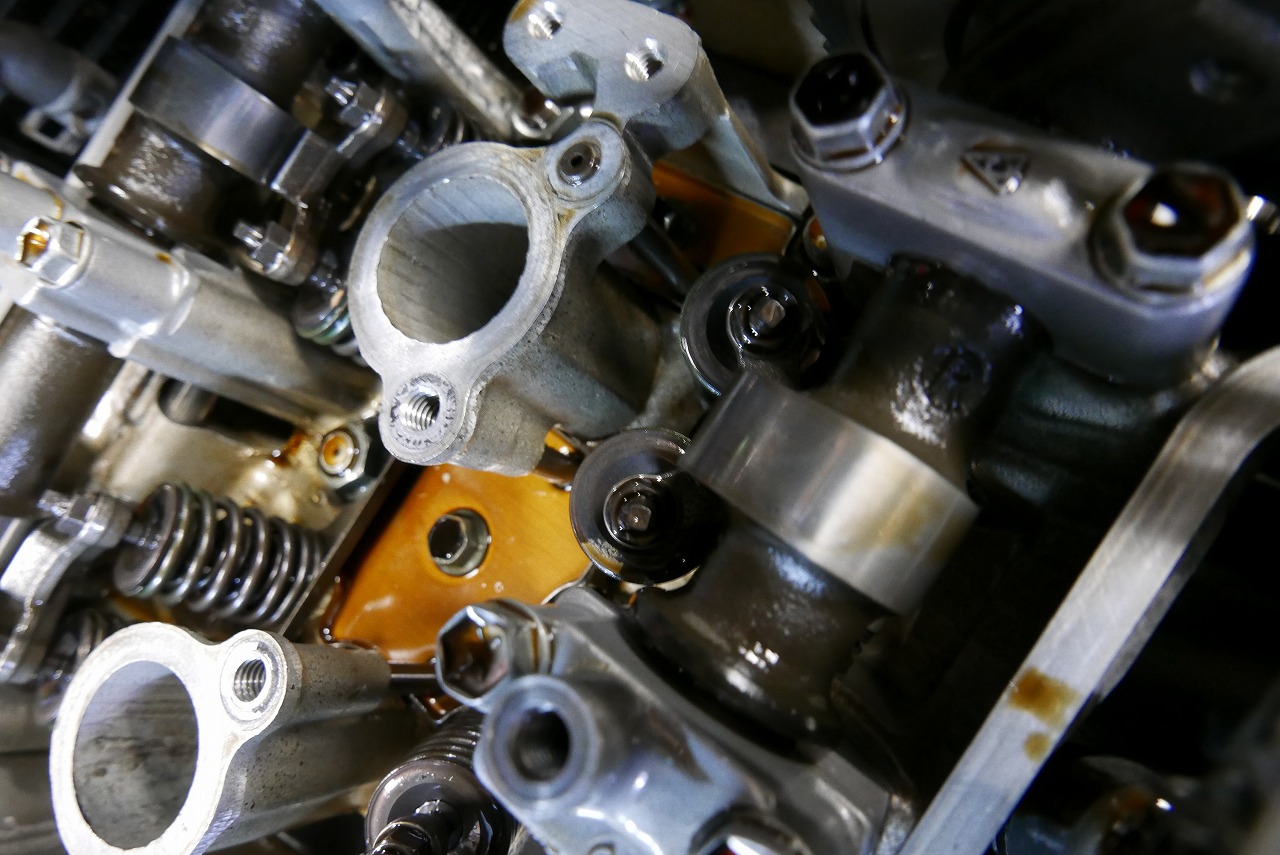
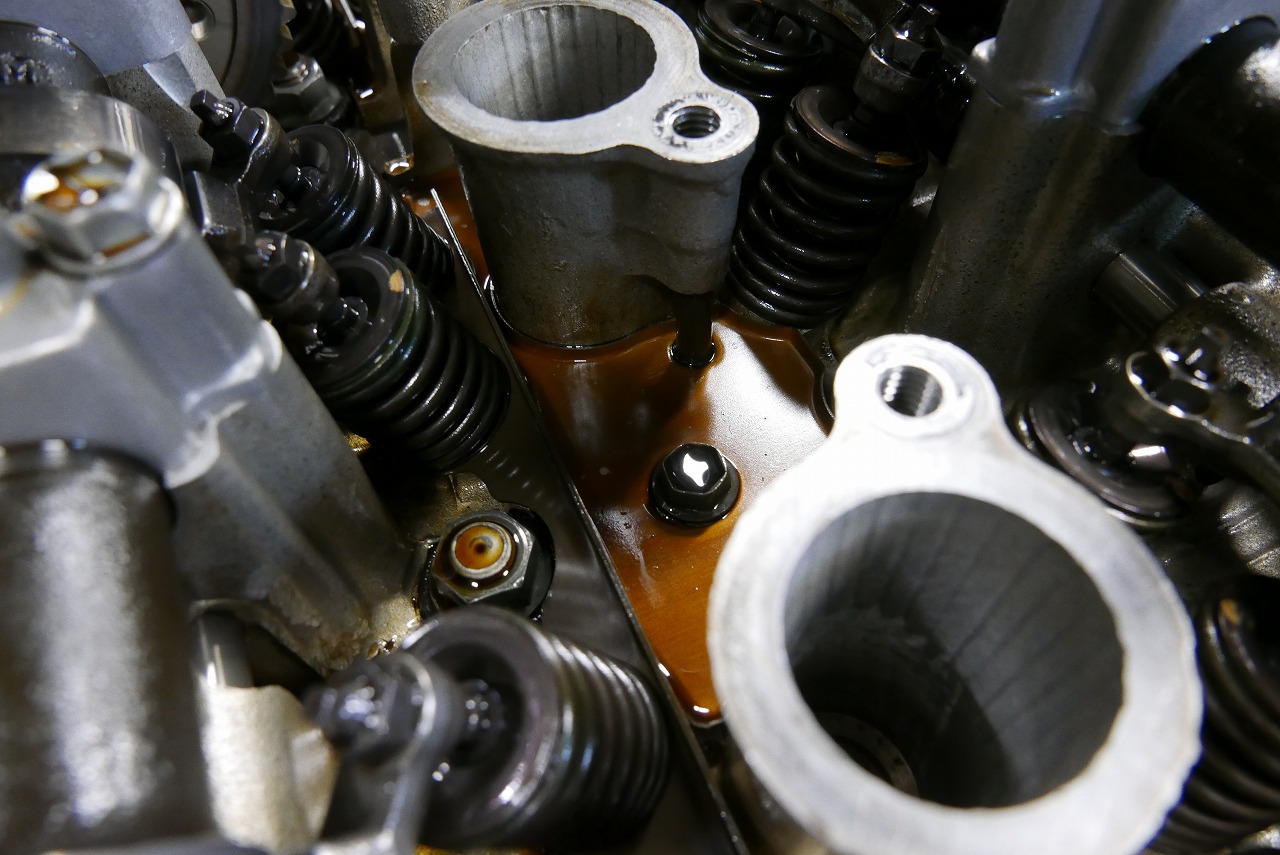
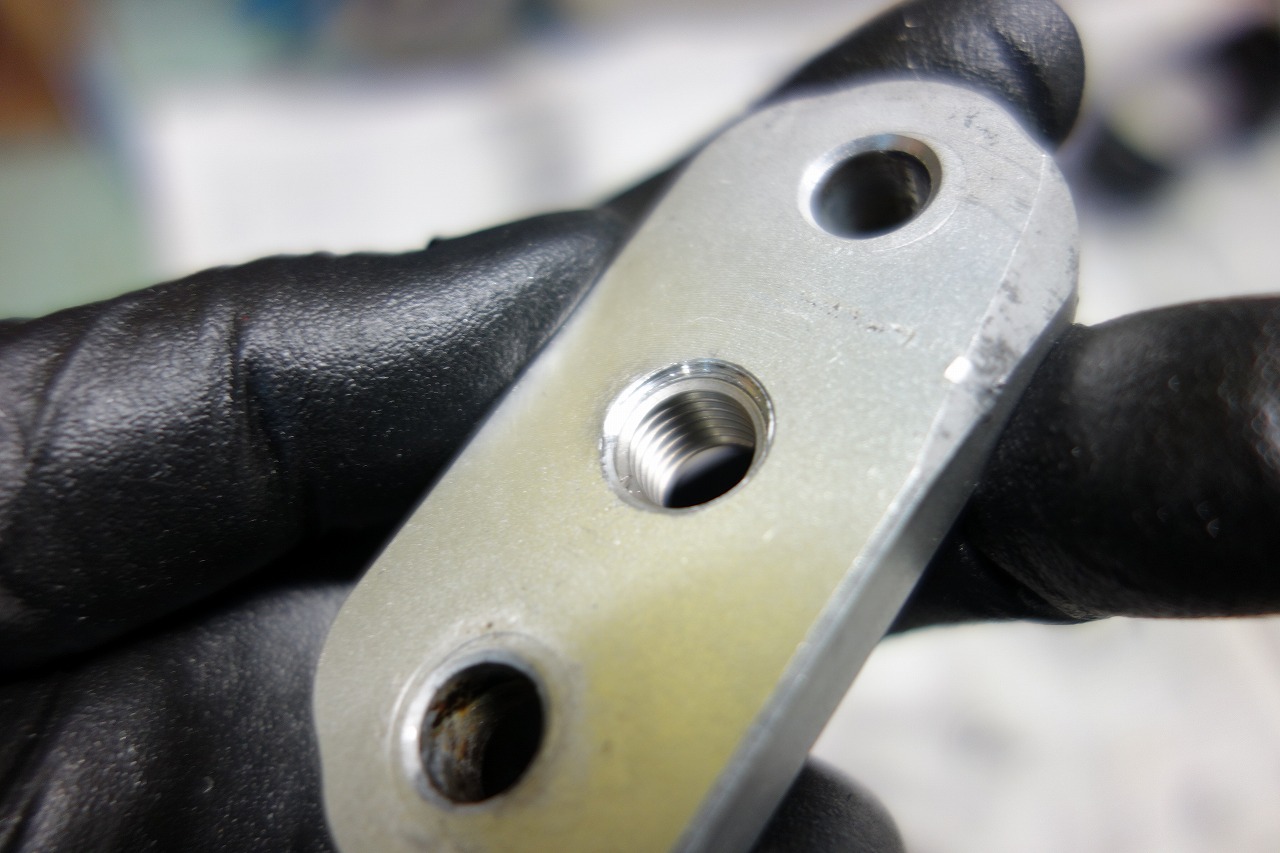
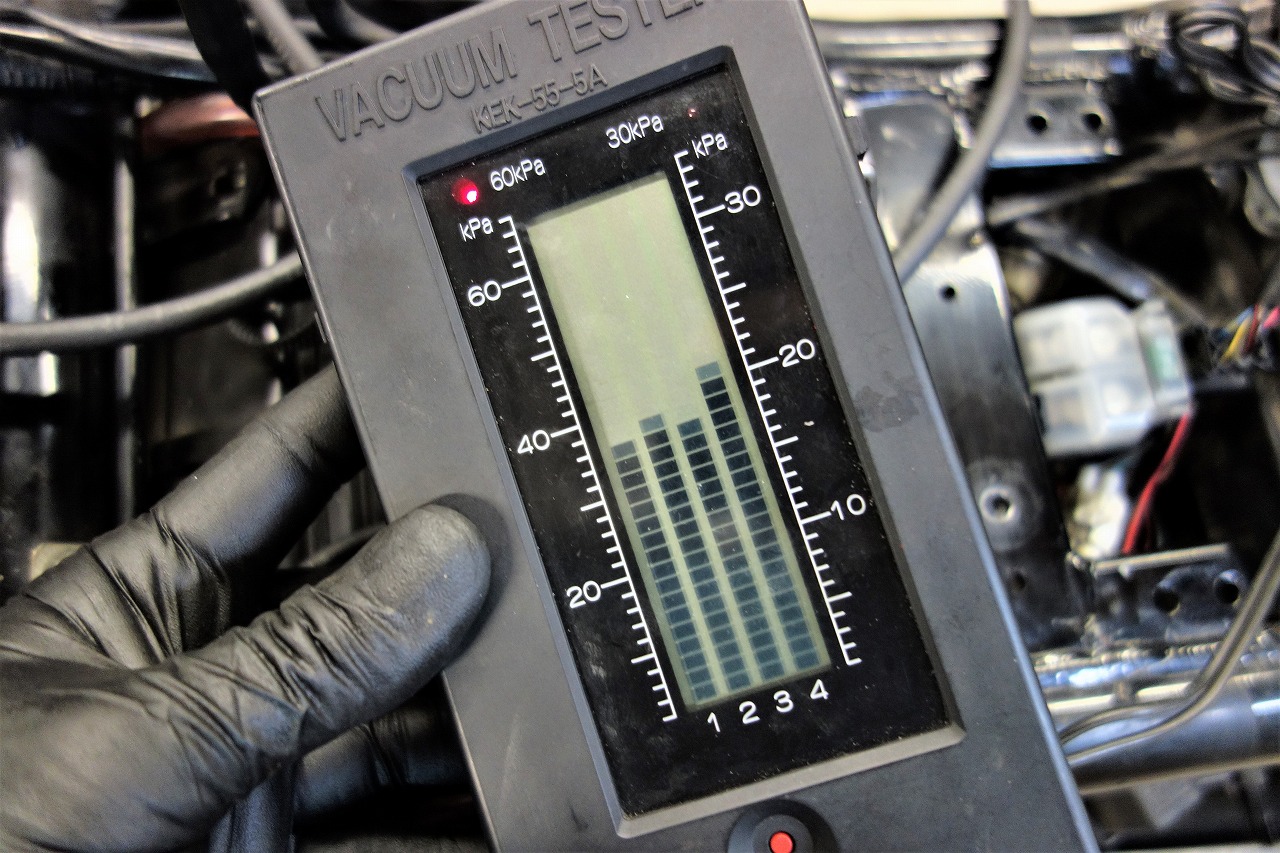
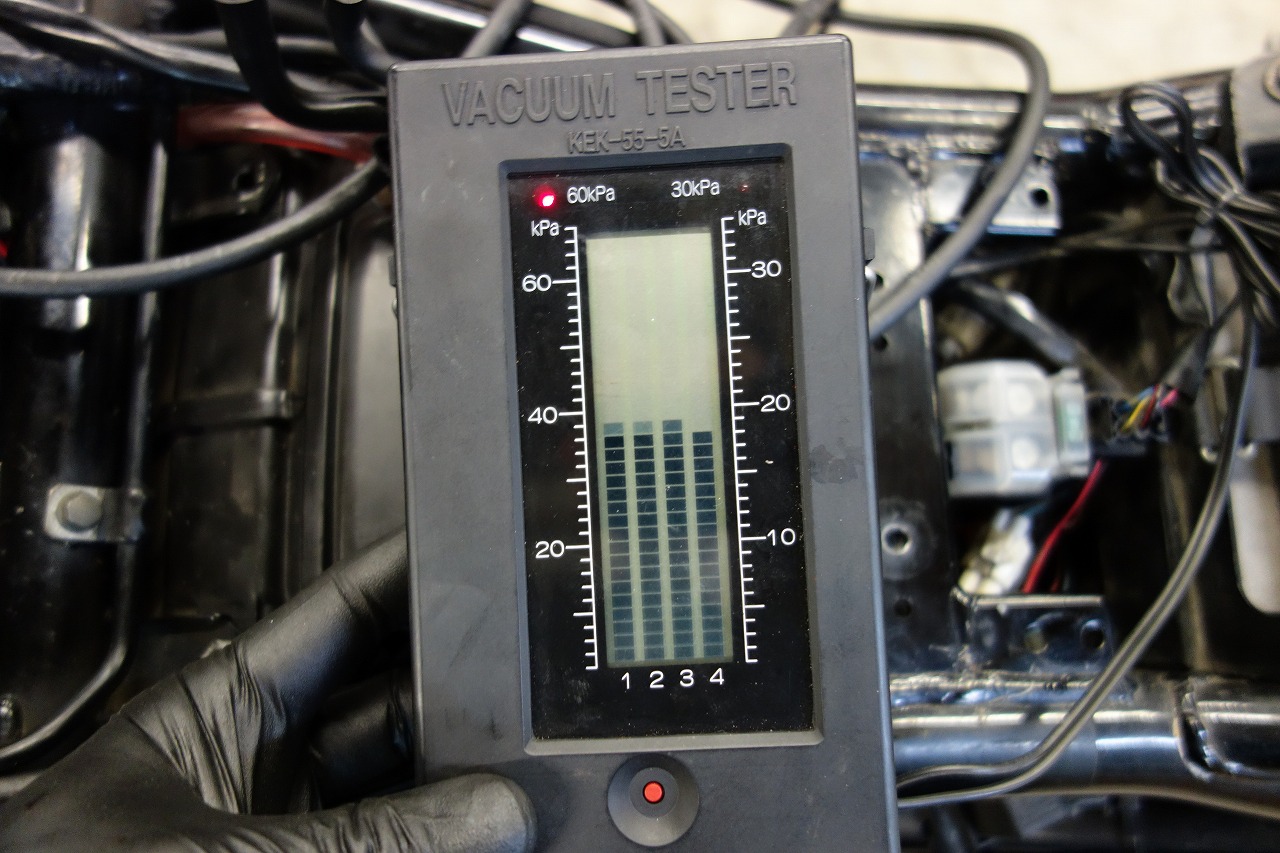
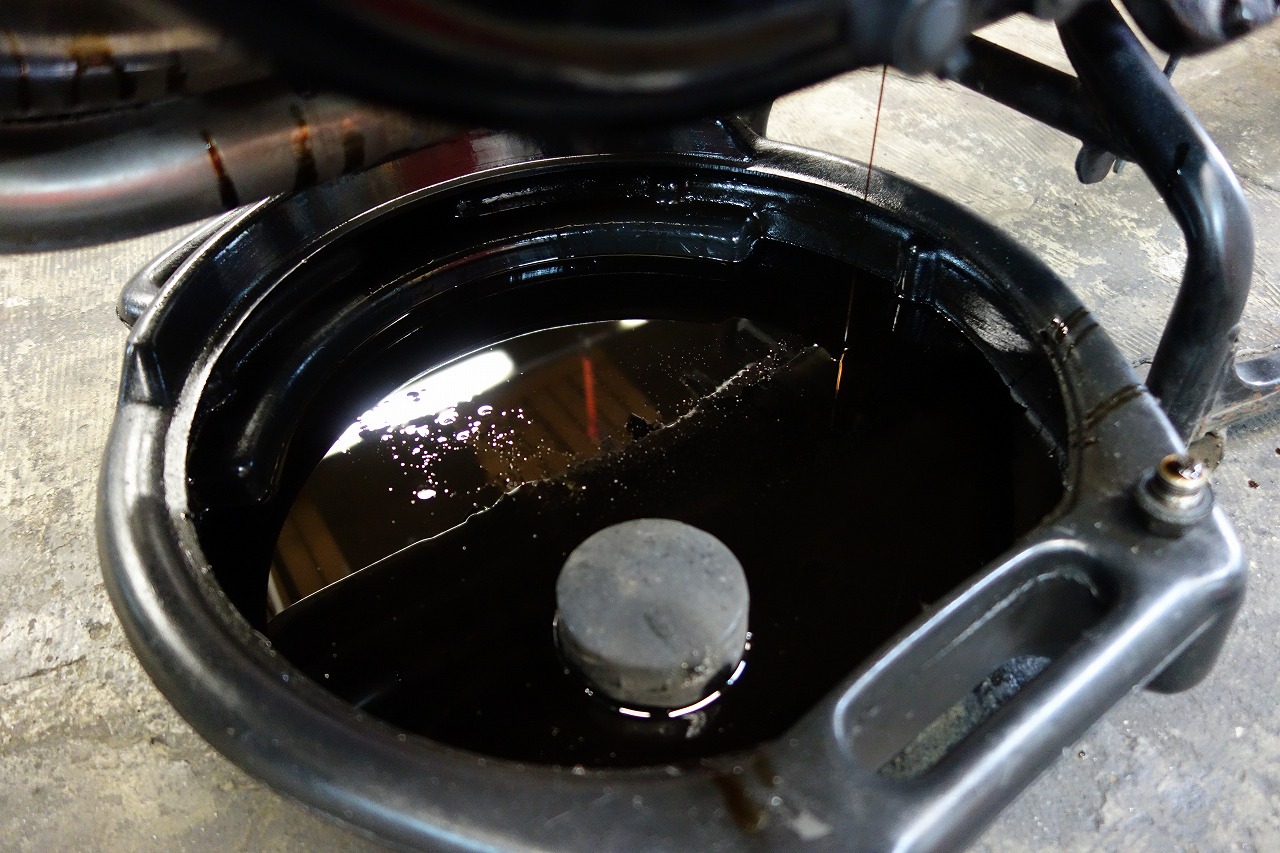
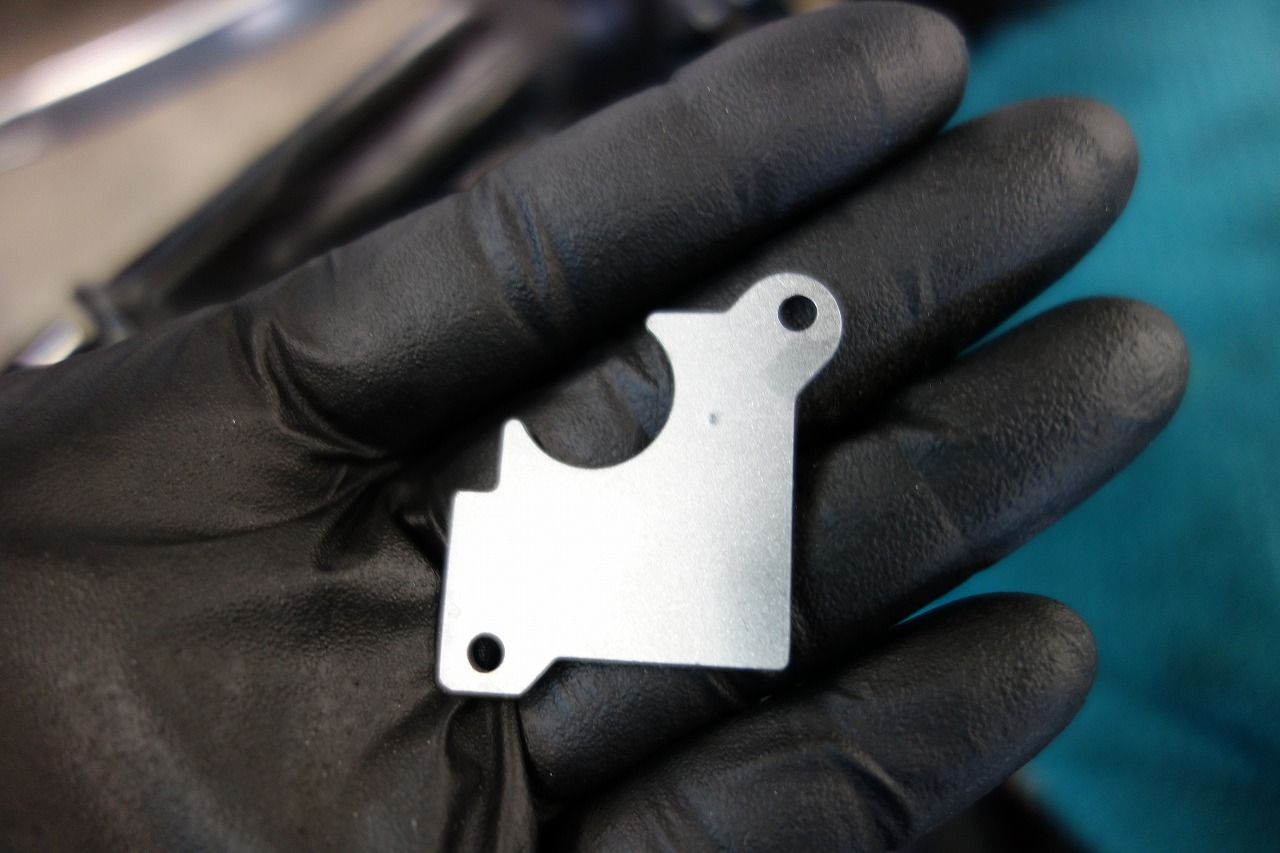
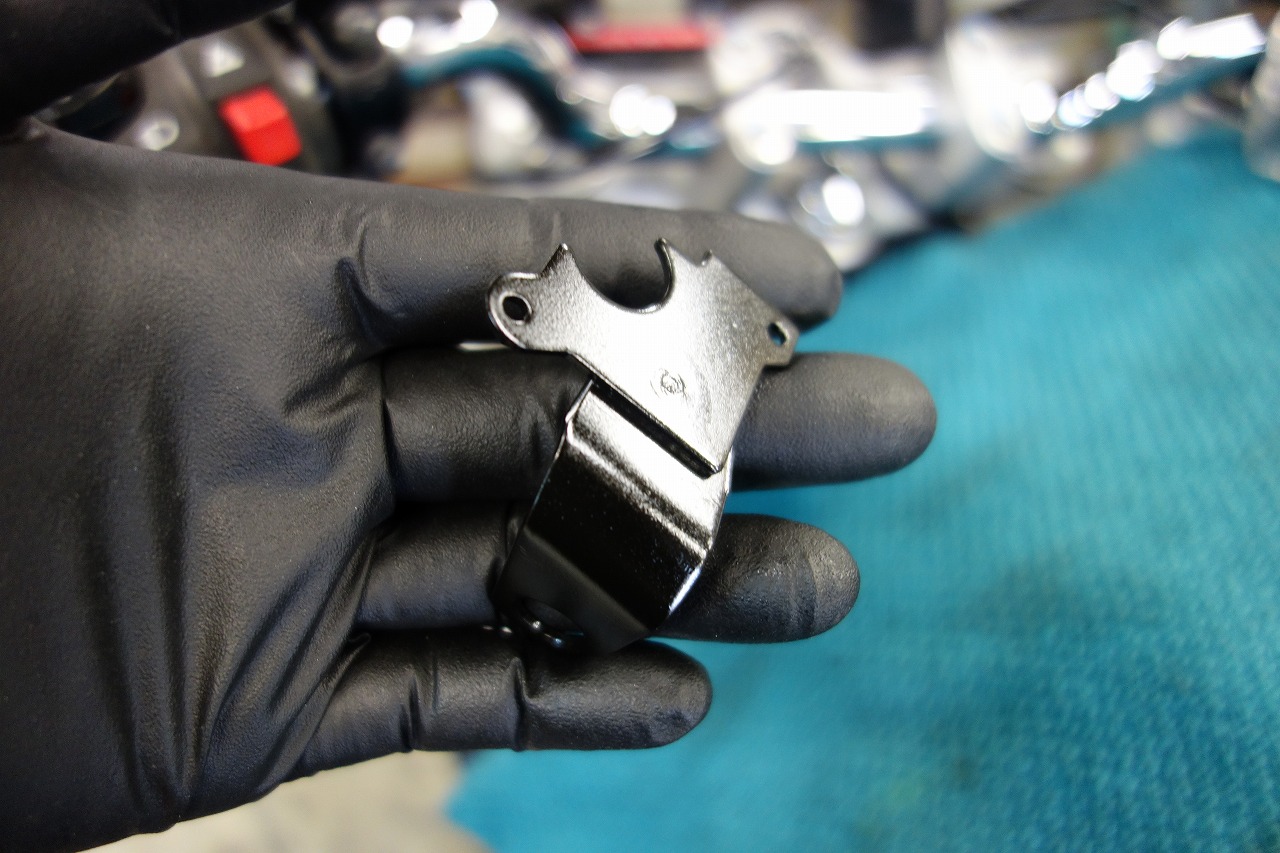
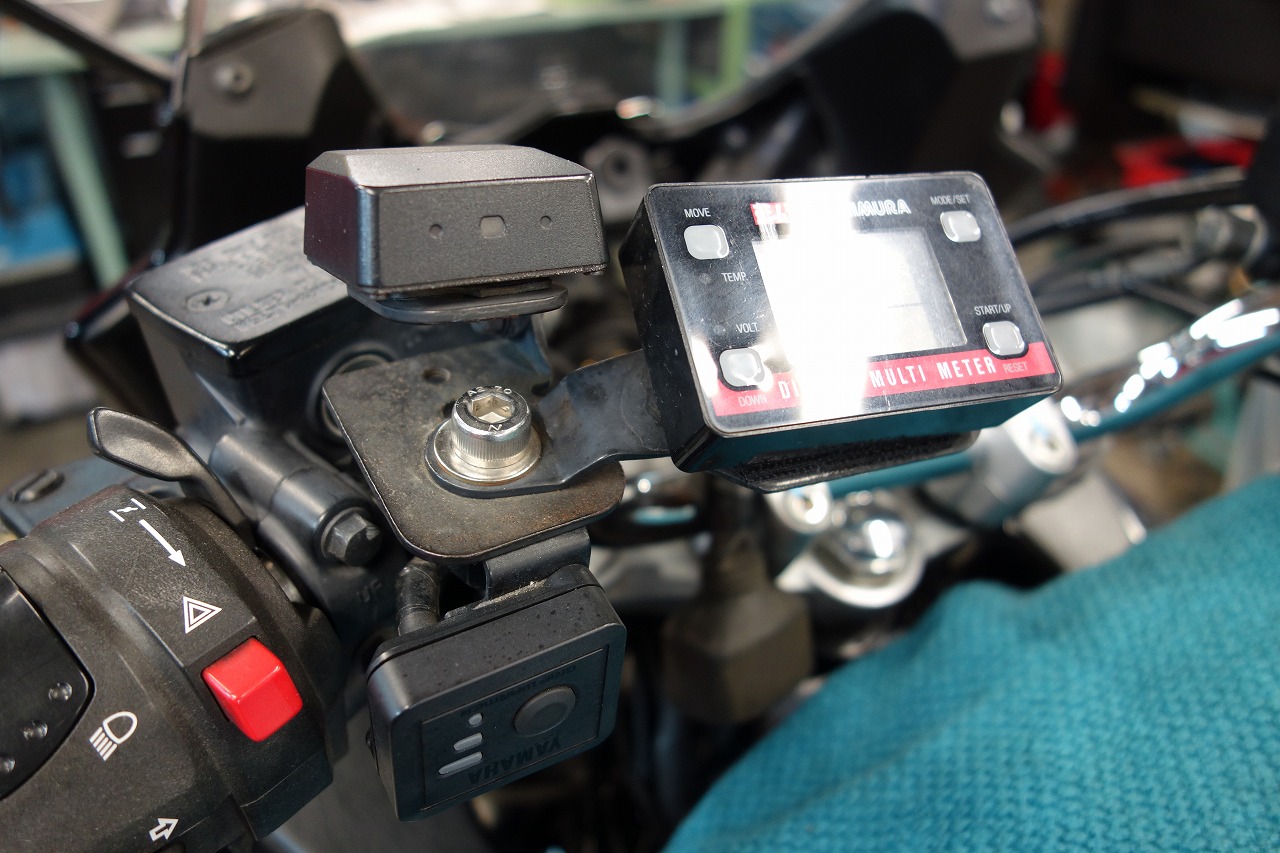
That’s how I installed it. It’s a bit higher and a bit more upright, so if the temperature drops even 0.2 percent… that’s what I’m hoping for.That’s how it came out. I mercilessly ground away the spots where the fairing was touching.It warps a bit. I made a digital gauge bracket and an ETC bracket. I think it’s best to keep things as simple as possible and not get in the way of maintenance.One trick to avoid breaking the bracket: if you bend 90 degrees all at once, you get wrinkles and it snaps. For spots where I had a bad feeling, I bent twice to make it less prone to breaking and more durable.The mounting bolts are used, sorry about that. I spot-welded them to the existing bracket and remade it. I think it’s convenient if the grip heater switch stays on the handlebar where it’s easy to reach. After that, I installed a Daytona USB port.Now for the oil-cooled maintenance. Parts down low tend to accumulate dirt surprisingly.I polished them without overdoing it. Even 1mm and 1 percent—I want to clean it up! That’s what motorcycles are about as a hobby.The engine damper still looked gently worn.I’ll replace it with a new one too. (Though it’s not exactly brand new…)I polished the small parts and applied gun coat.Lately……there’s been a lot of oil leaking. Oil stains come off surprisingly well, but wow, it’s something else… It’s a bit scary.The generator O-ring was partially missing, so that’s where it was coming from. Don’t ask me where it went.I’m replacing the starter motor O-ring too. Rubber gets hard when heat is applied, so it’s good to replace it periodically.Replacing the generator damper too. It was in good condition.I polished it a bit… it’s a little cleaner? But the generator you can’t see is the unsung hero. I polished the breather cover. (The image is before processing.)I polished the cover bolts and applied gun coat.This one had a photo, and I felt relieved.As you open things up, there’s all kinds of stuff. I really hate Phillips head screws.#1 IN#1 EX#2 EX#2 IN#3 EX#3 IN#4 EX#4 IN: There’s no major scoring, but the contact marks are pretty aggressive. Stop-and-go driving in Tokyo and training sessions like this might be a harsh environment after all.If there are a lot of brown spots, you might want to suspect oil change frequency or overheating. Just turning off the engine while it’s hot isn’t enough anymore with this intense summer heat…The engine slider threads were stripped, so I helicoiled them.I balanced the carburetors. If it’s at the original setting, it’s totally normal. Honestly, just touching it with a screwdriver can move the level. I don’t think you need to be too fussy about it. If a four-cylinder is idling and sounds like “bwooo” instead of “buh-buh-buh-buh,” then you might want to suspect something.The oil temperature is harsh. ELF MOTO4RACE 10W-60 Oil has a marking like ○W-▲, but if you understand viscosity better through kinematic viscosity mm²/s, which is listed, it’s easier to reference.
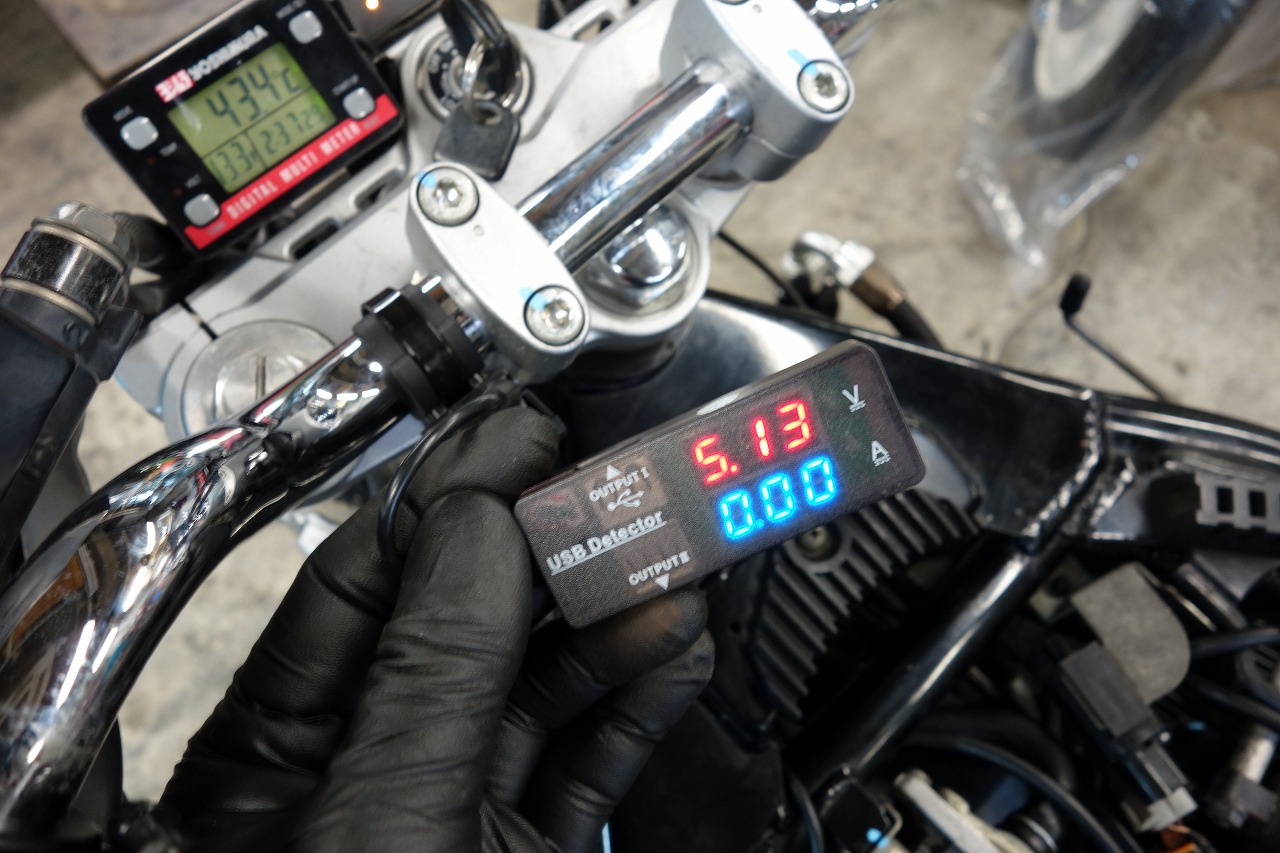
40°C = 183.7 mm²/s 100°C = 24.9 mm²/s Just looking at the numbers… it’s a bit scary.I ground away the fairing where it could be ground. (After installation, I ended up having to do more clearancing…) I installed and removed it about 10 times? It’s tedious work.After installing the USB, I checked it with a tester. You can find them on Amazon and they’re handy to have.A bit of a tangent: about reusing the original grip heater bracket.I bent the bracket, spot-welded it, applied gun coat, and reused it. *Looking at the photo… it doesn’t really come across at all.To put it simply… this…became this. When it’s clean, it blends in and the good points don’t come across. Not noticing it = maybe it’s actually pretty good? That might be one way to think about it.