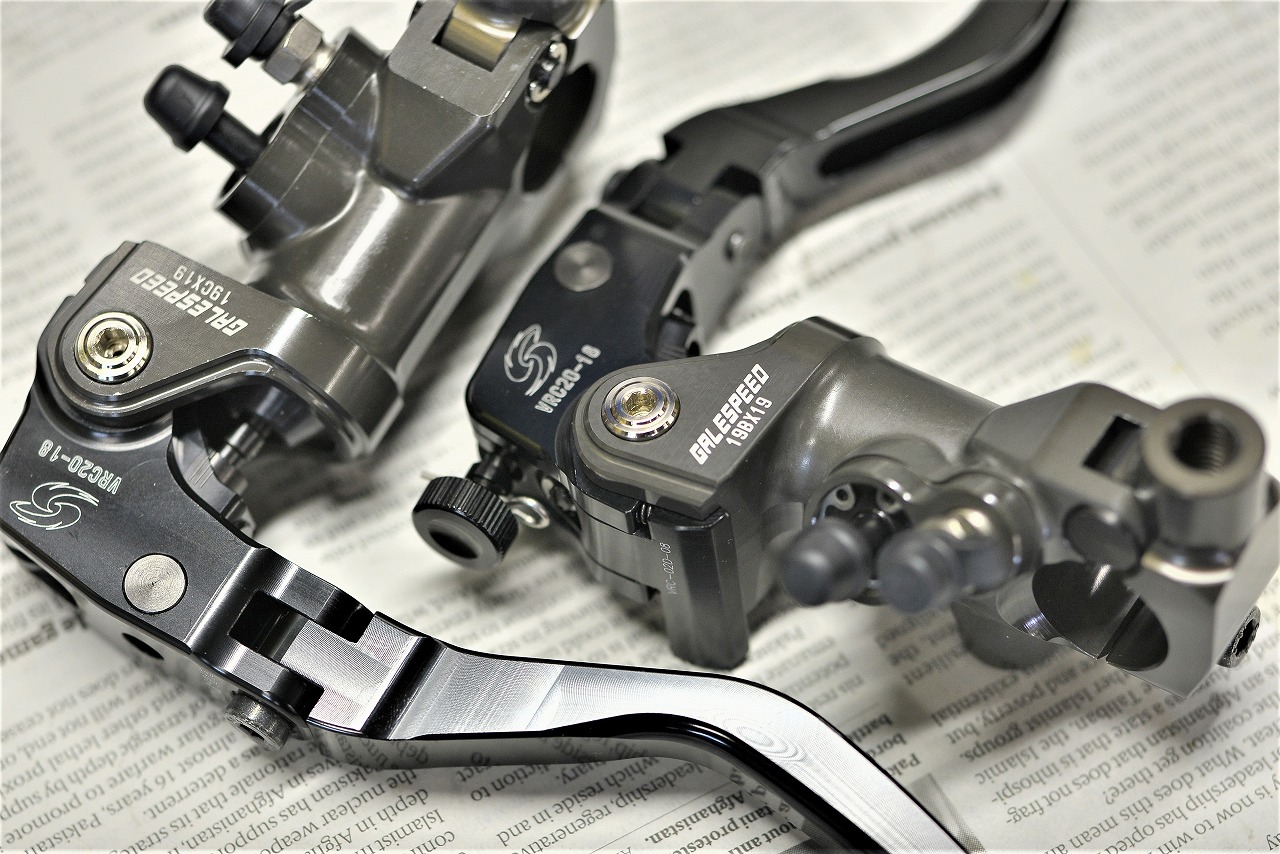
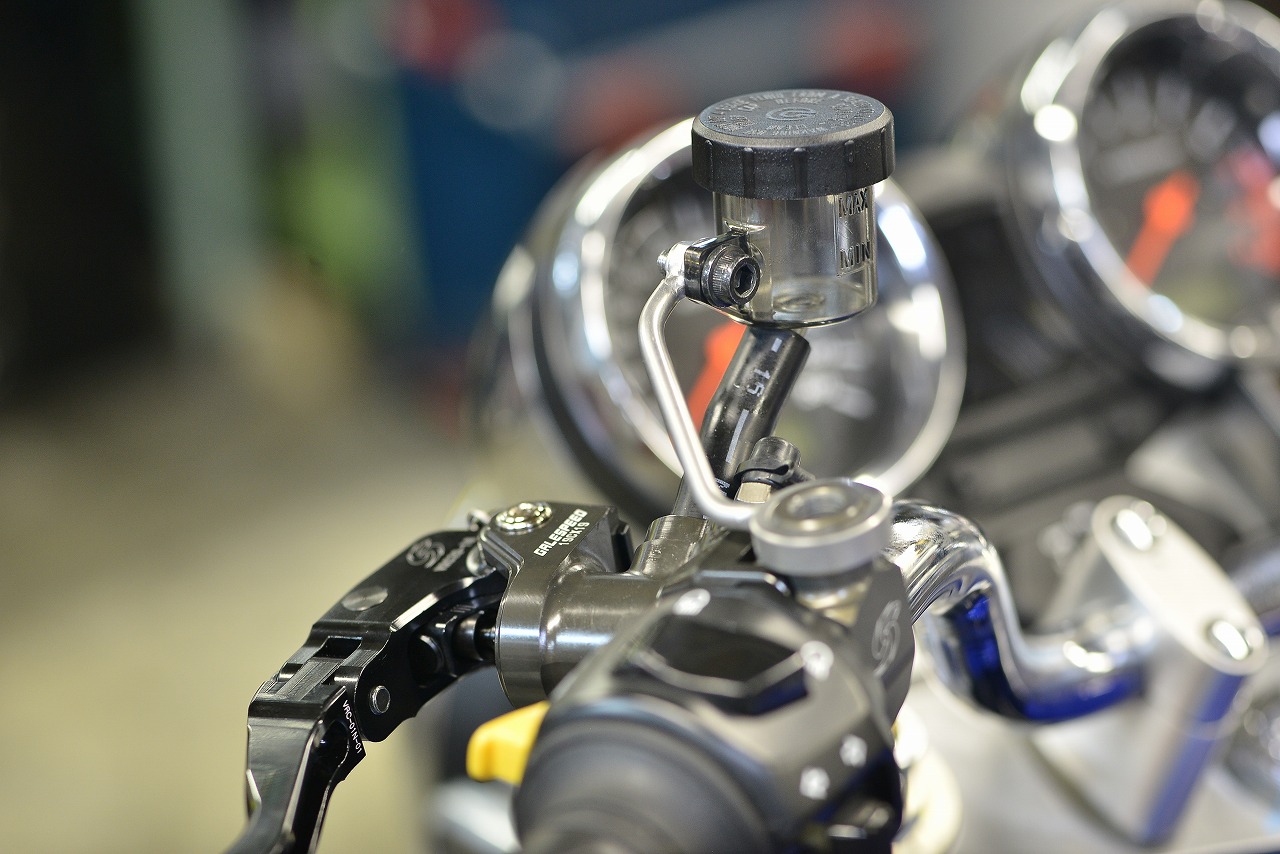
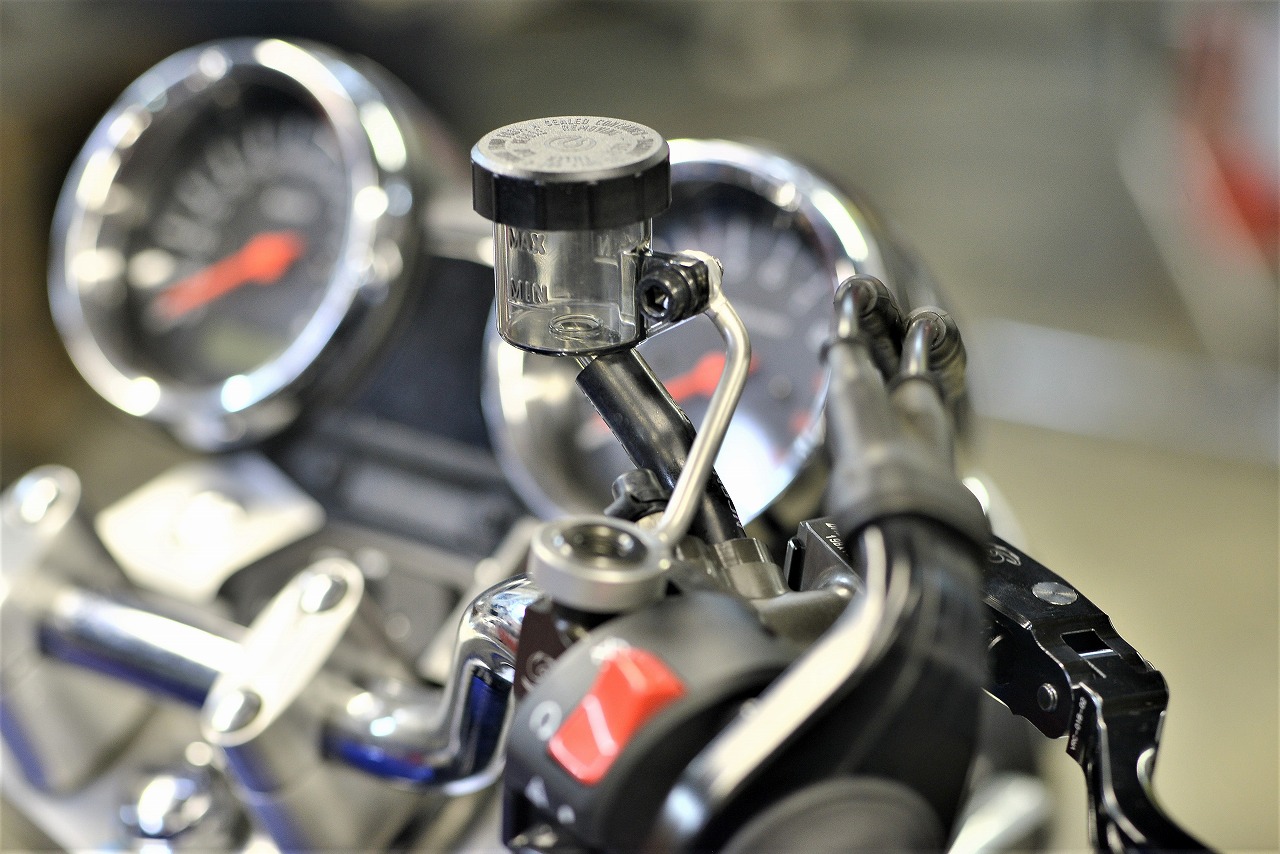
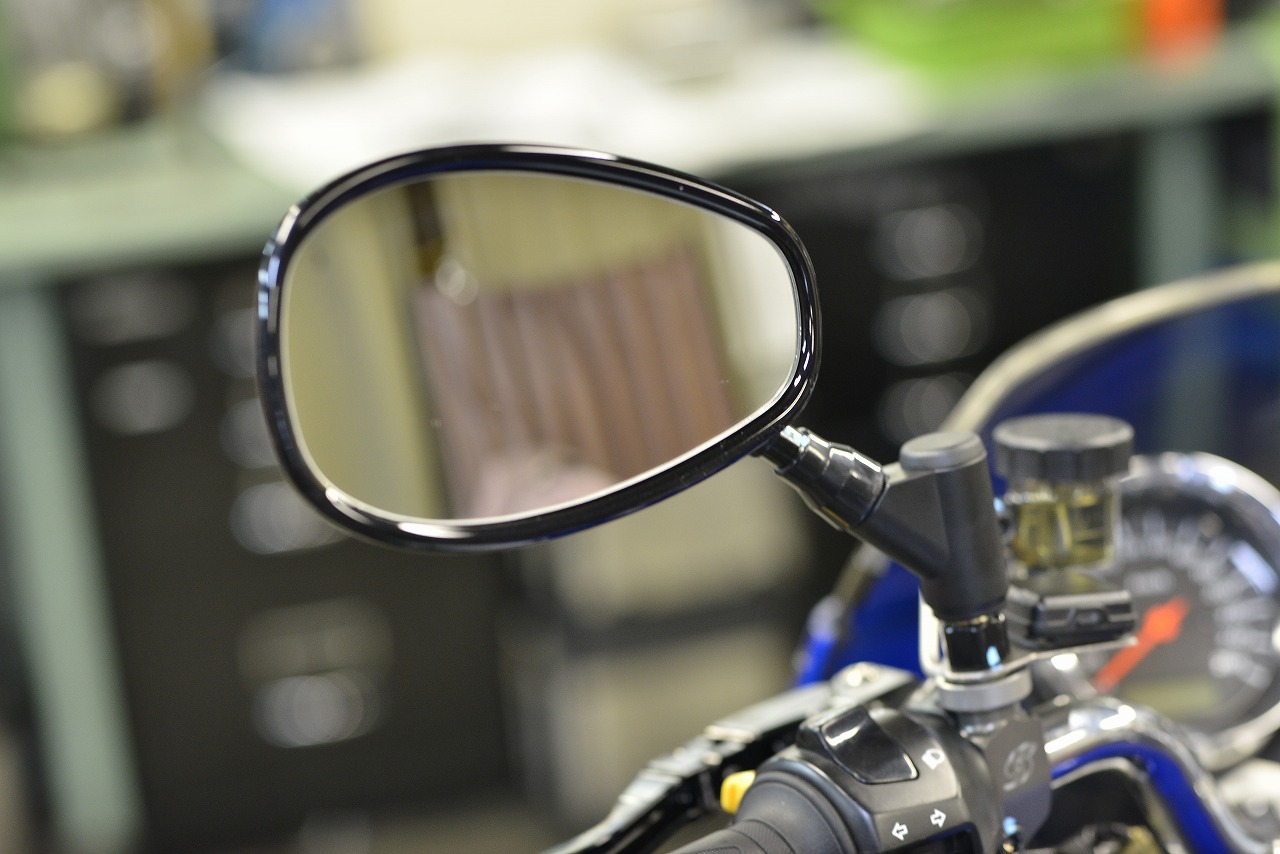
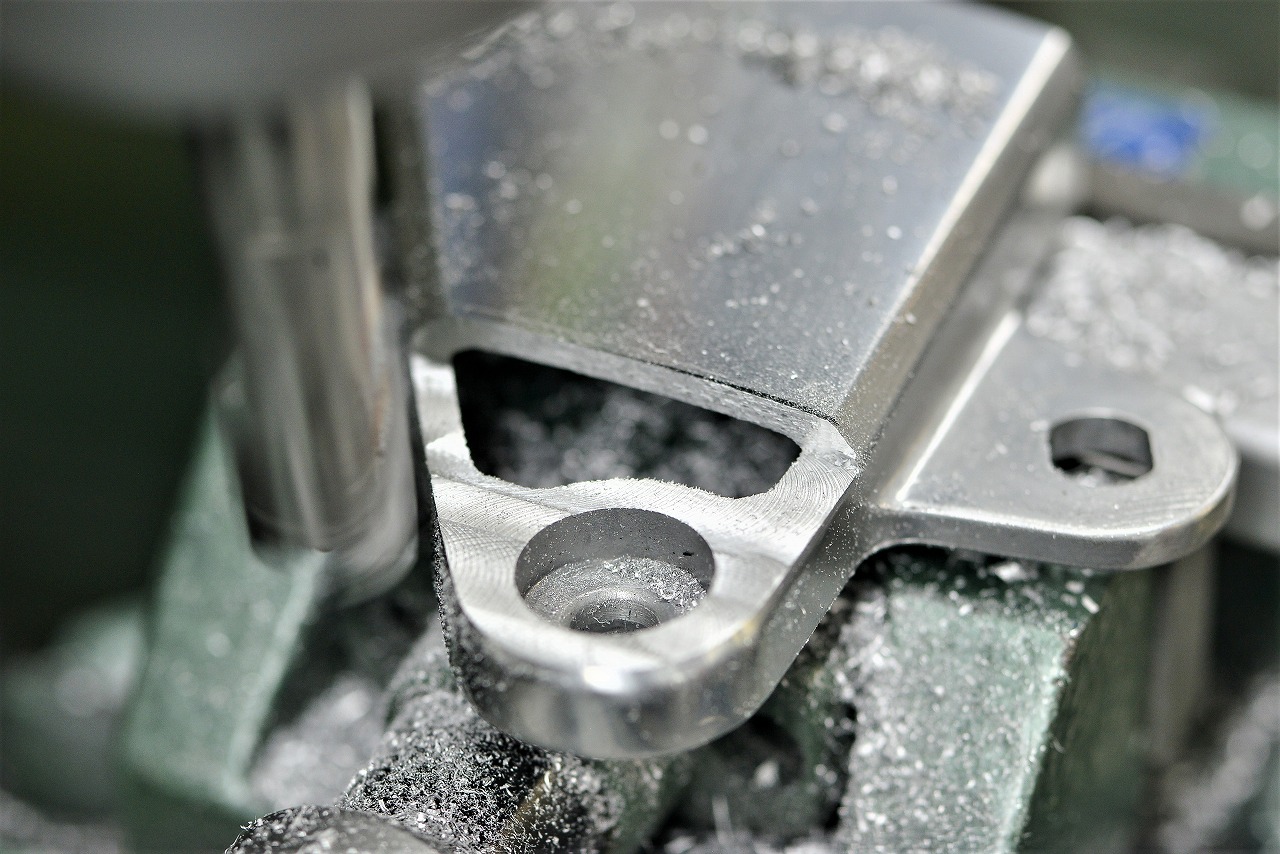
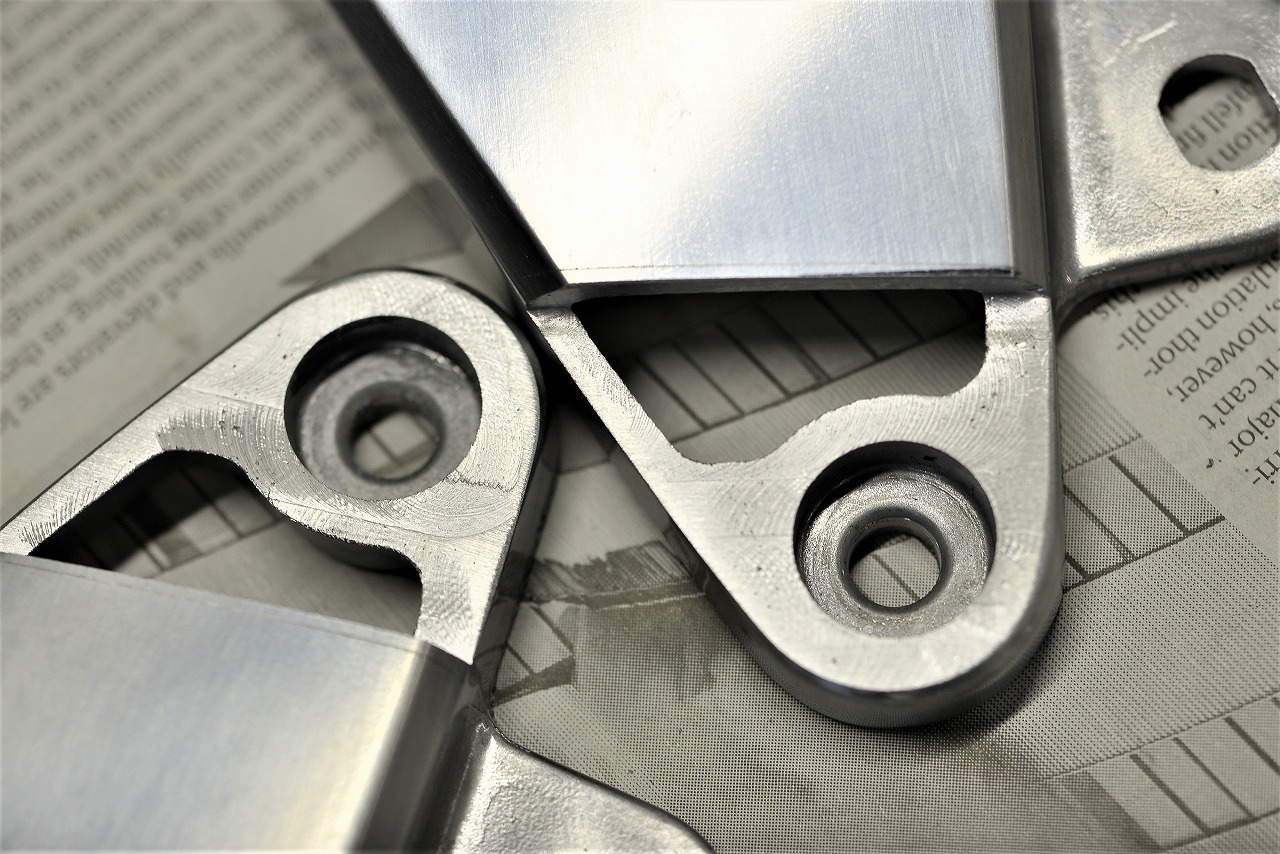
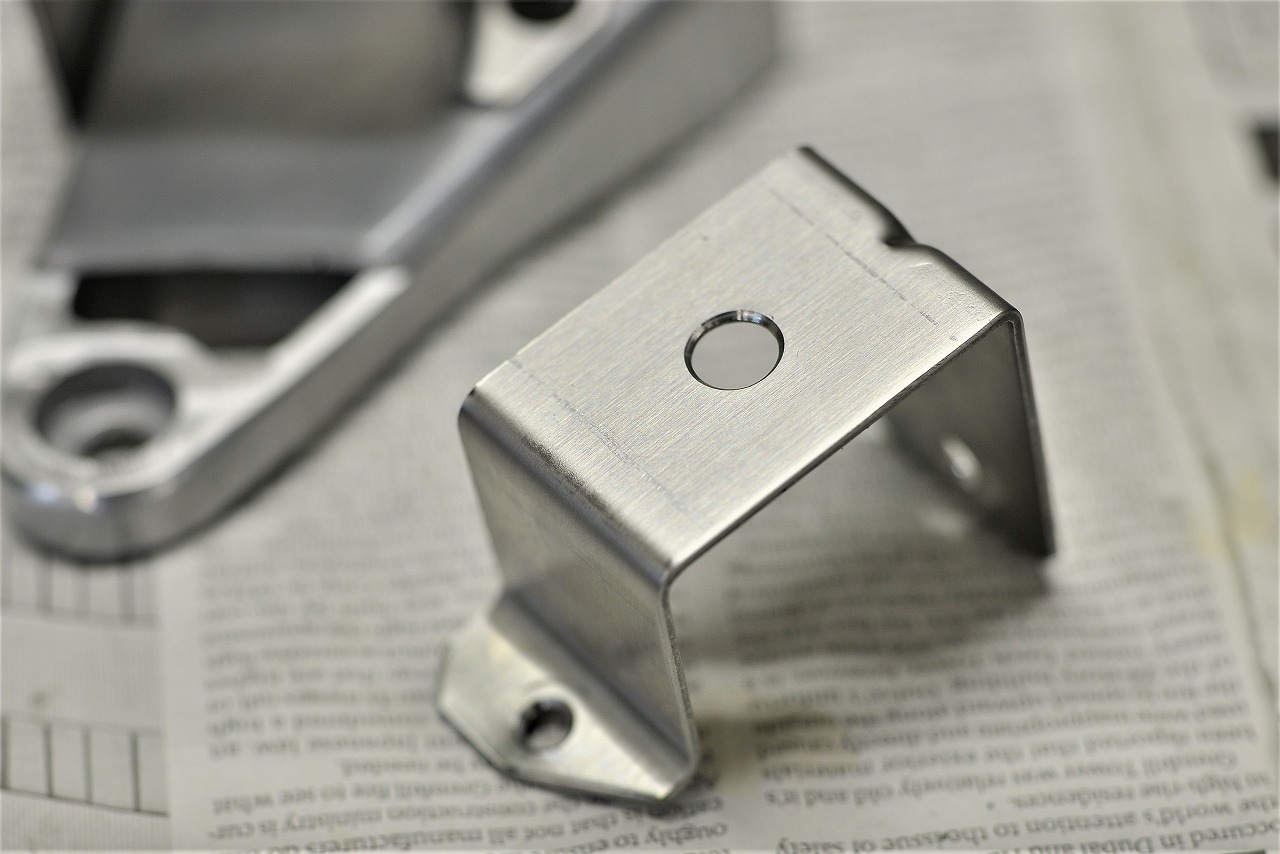
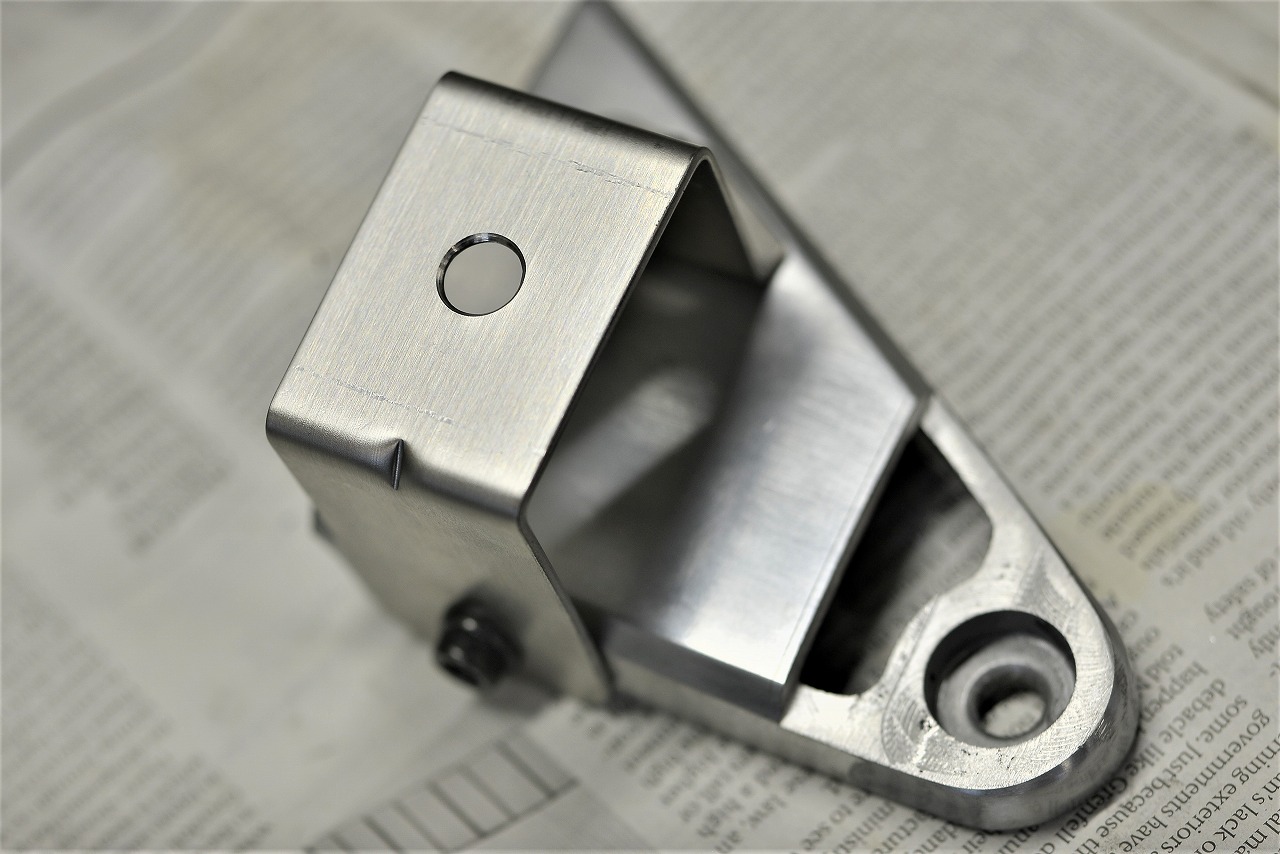
Inspection, Gale Speed master, cowl installation, brake hose fabrication, and various other requests.Thank you for purchasing the Gale Speed master~. It’s mechanical-looking and the design is great ◎ The clicky feel of the ratio adjustment is excellent ◎ The hinge-type holder makes attachment and detachment easy ◎ The switch is affordable too ◎ It’s convenient, economical, and cool~.We fabricated the master tank bracket from SUS304 and completed the temporary fixing. Next~The rear view mirror is a Yamaha OEM part I’ve been into lately. It’s low and large, so it’s easy to see. Of course it’s inspection-compliant. Smaller area mirrors will fail inspection, so please be careful.
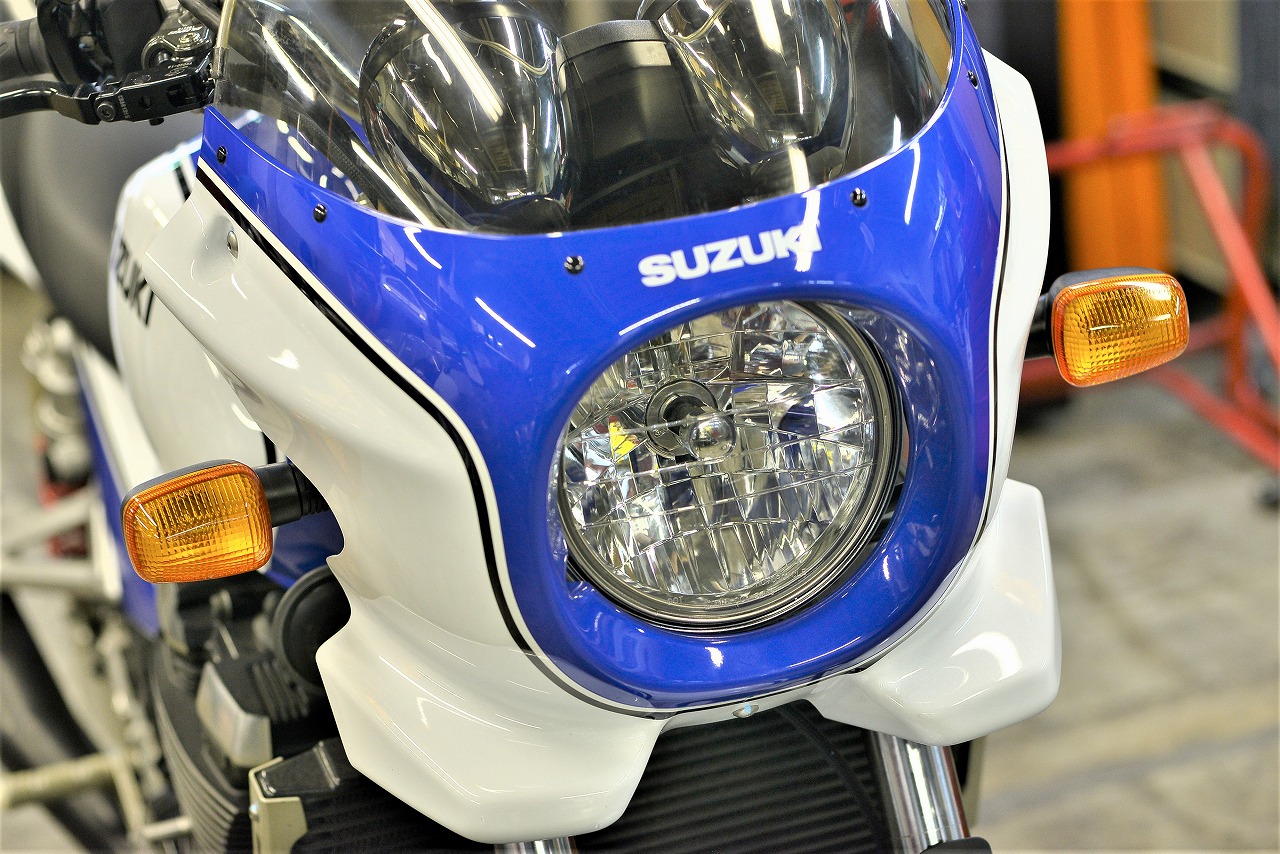
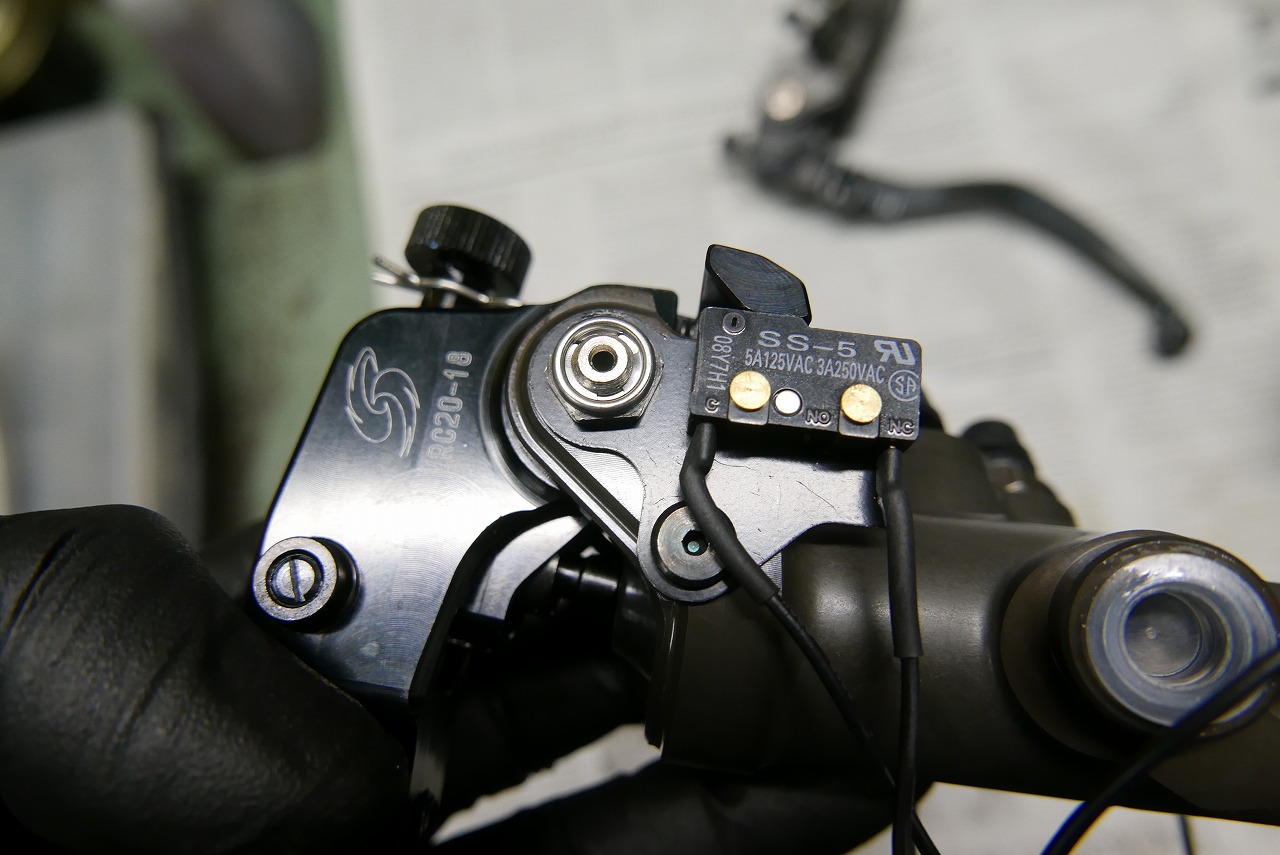
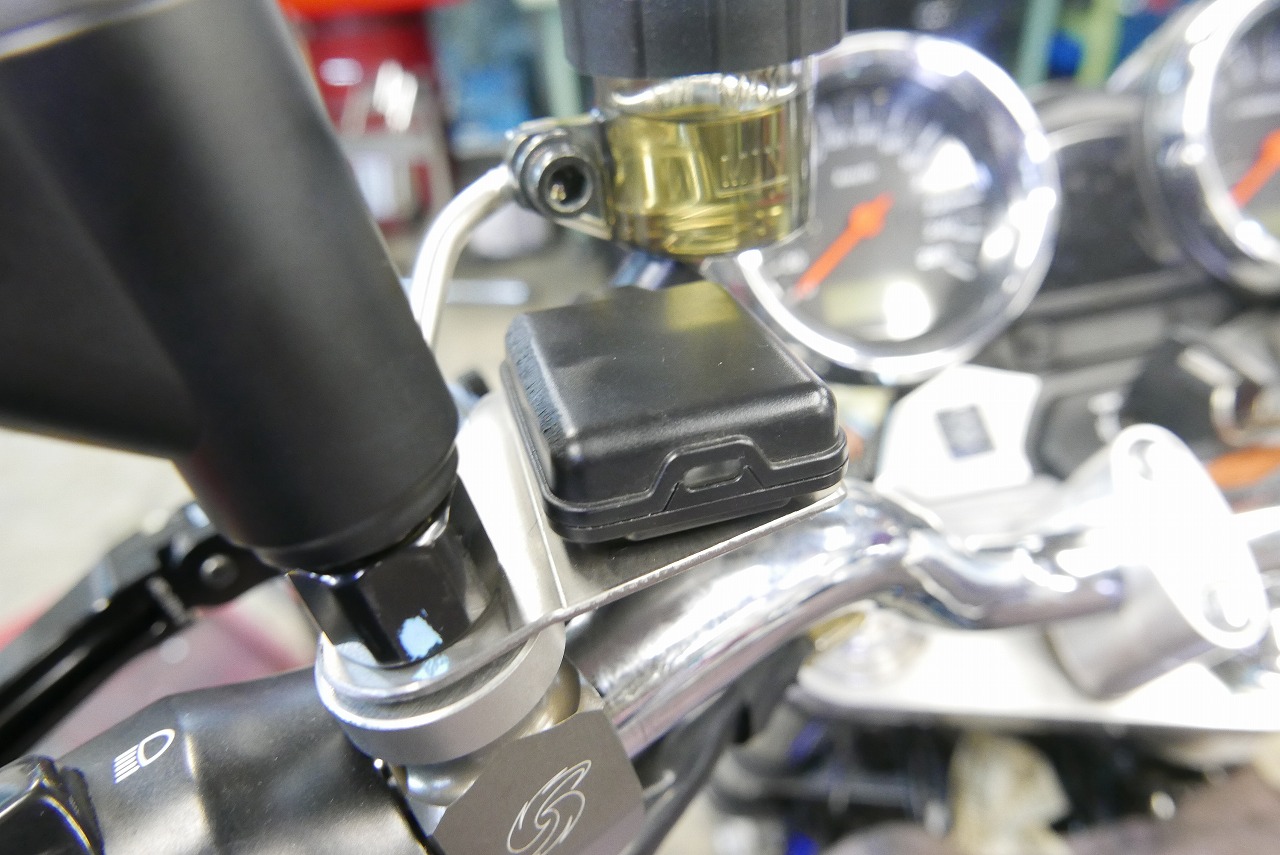
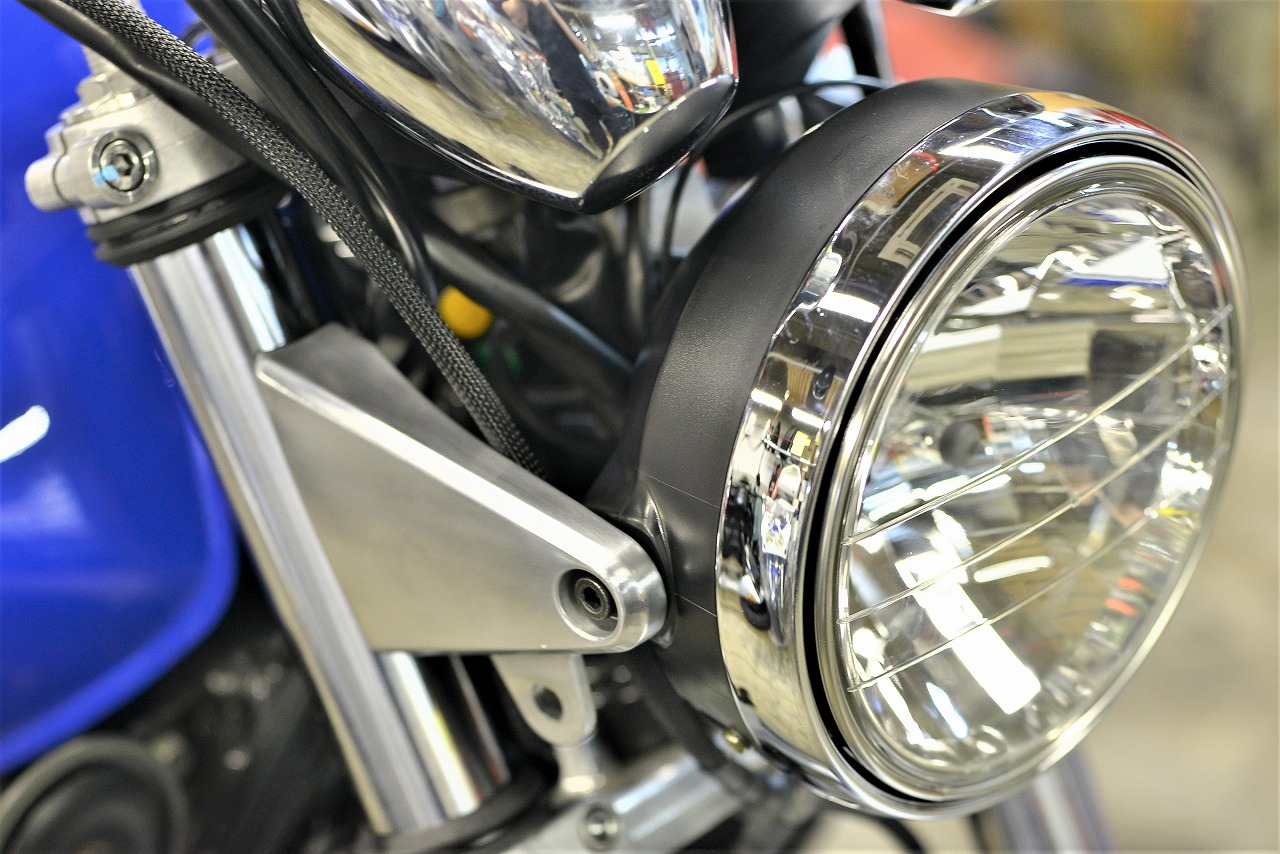
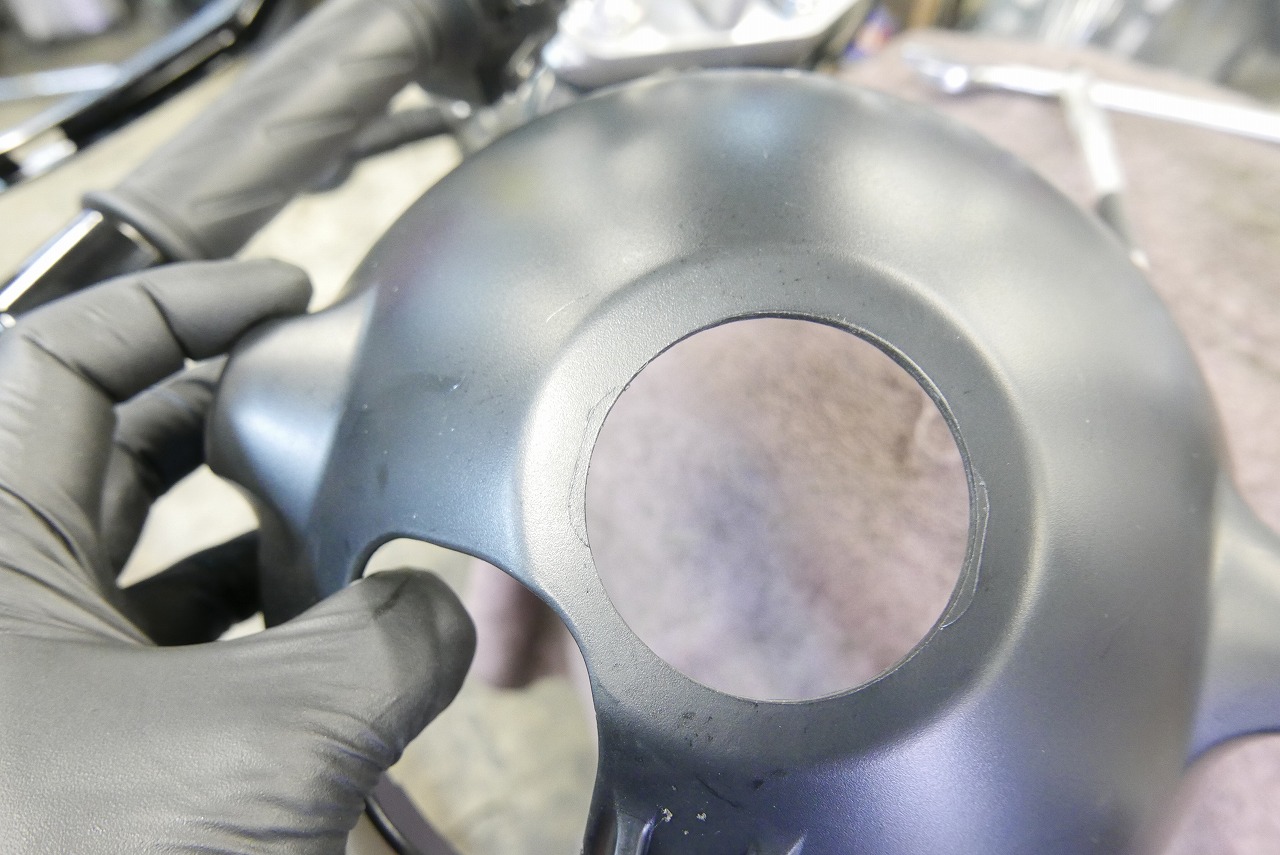
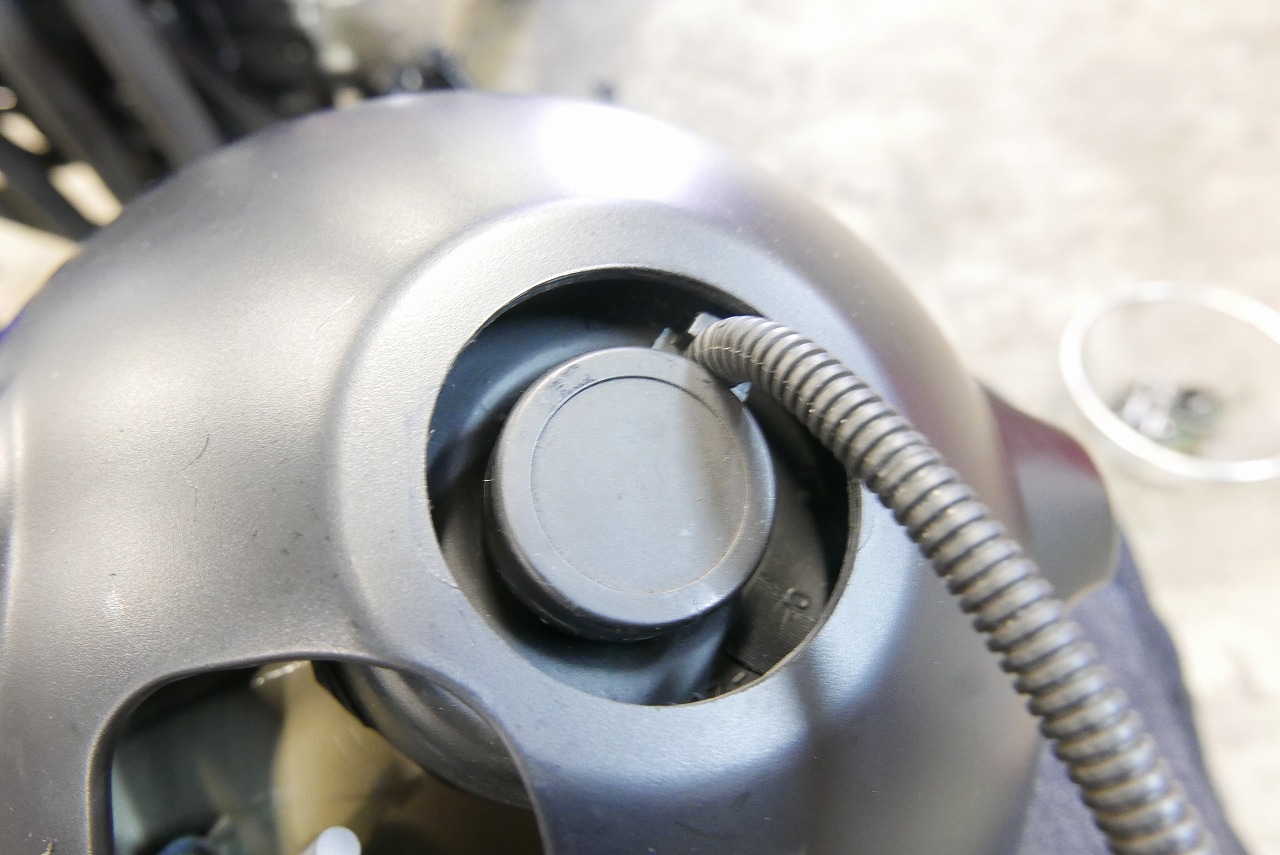
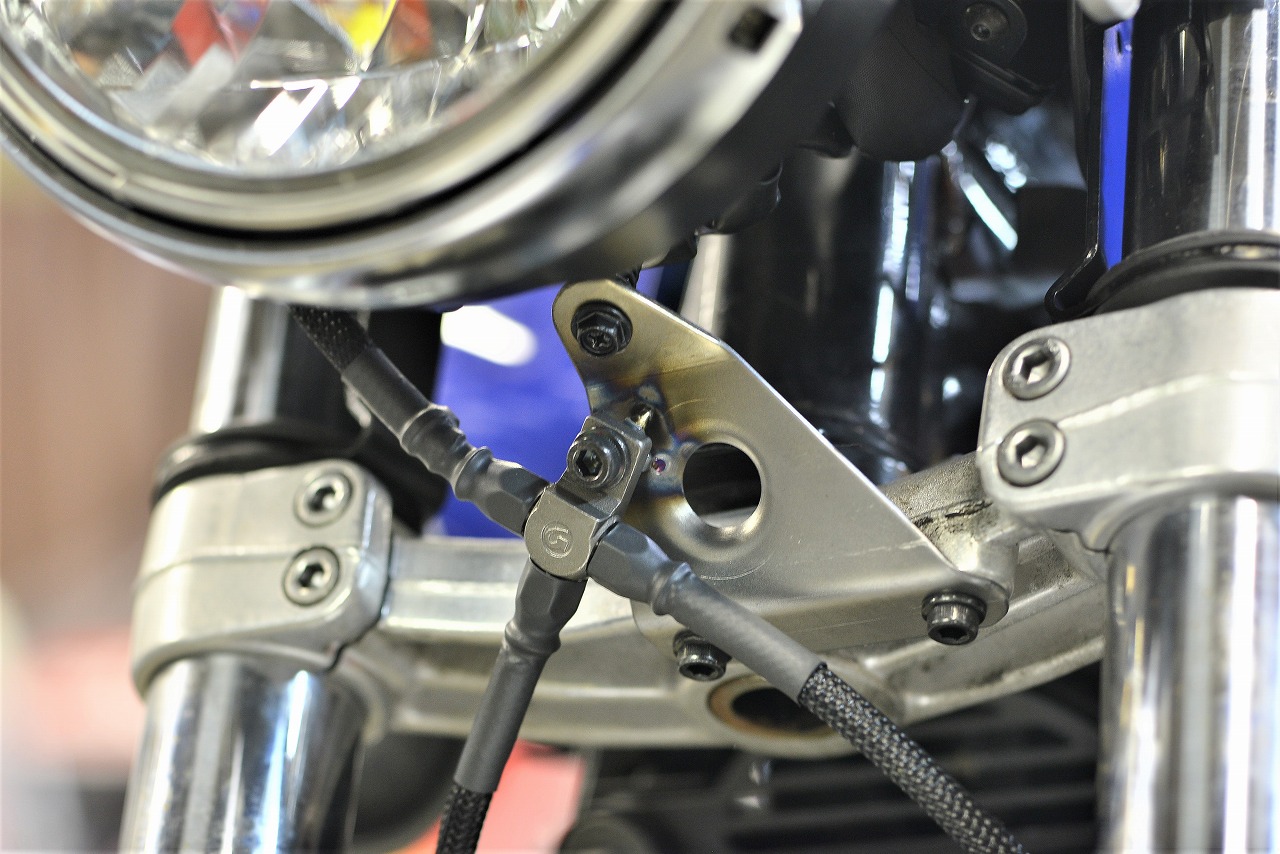
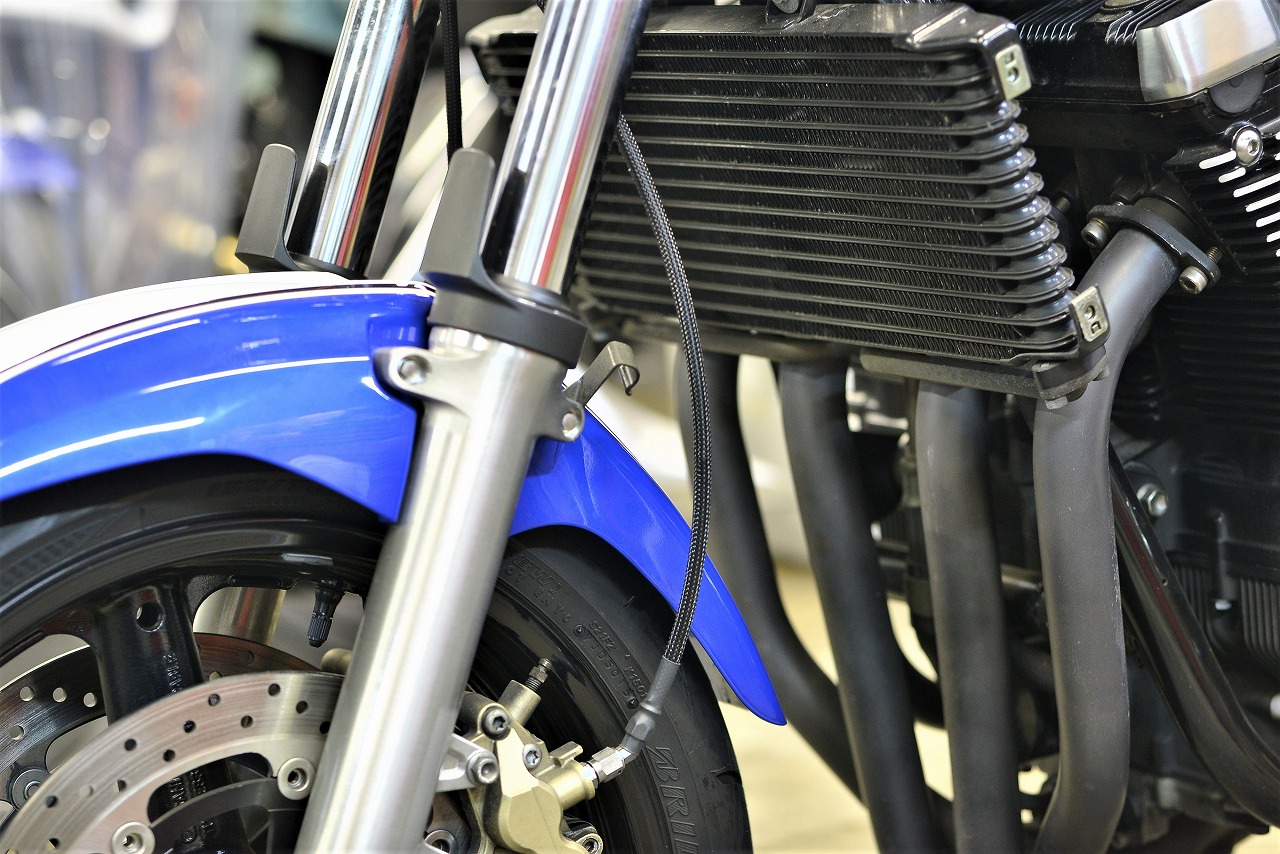
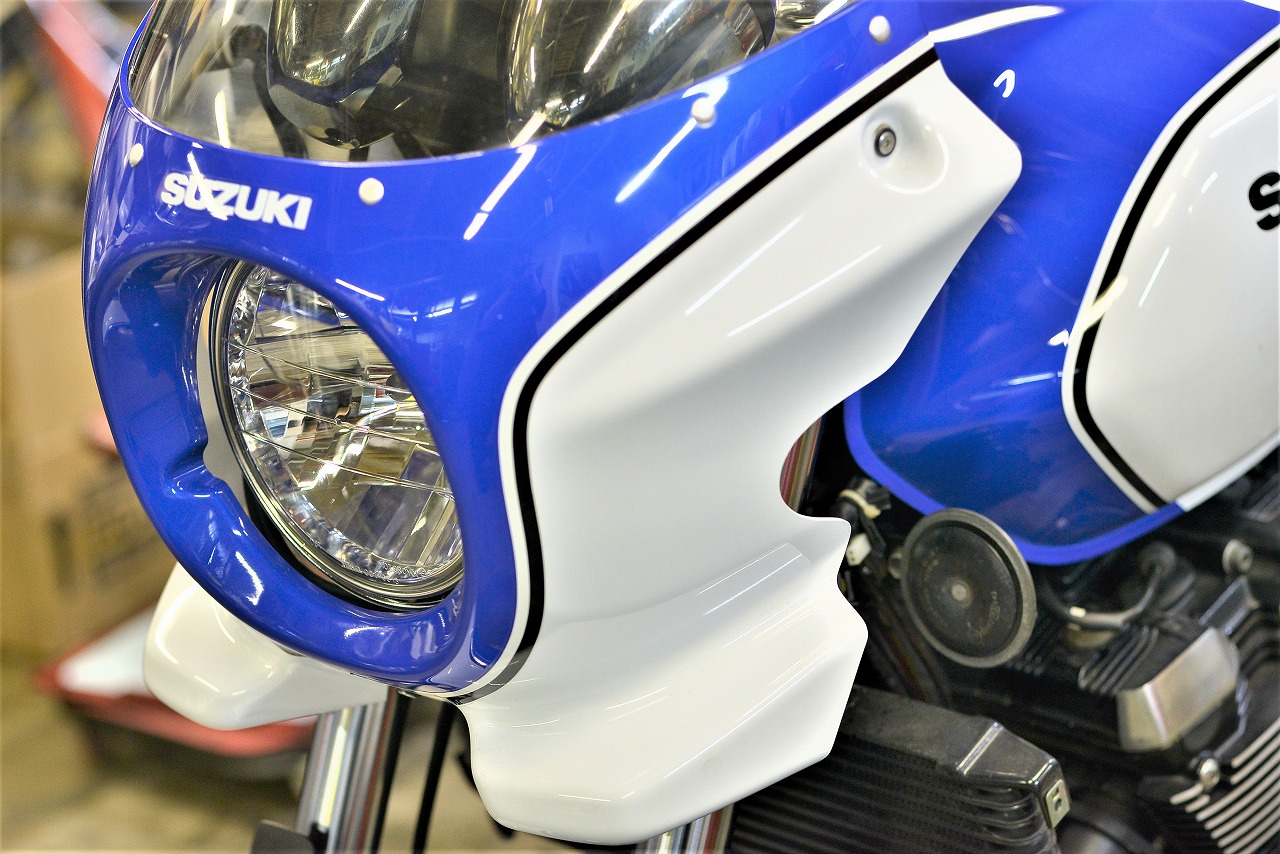
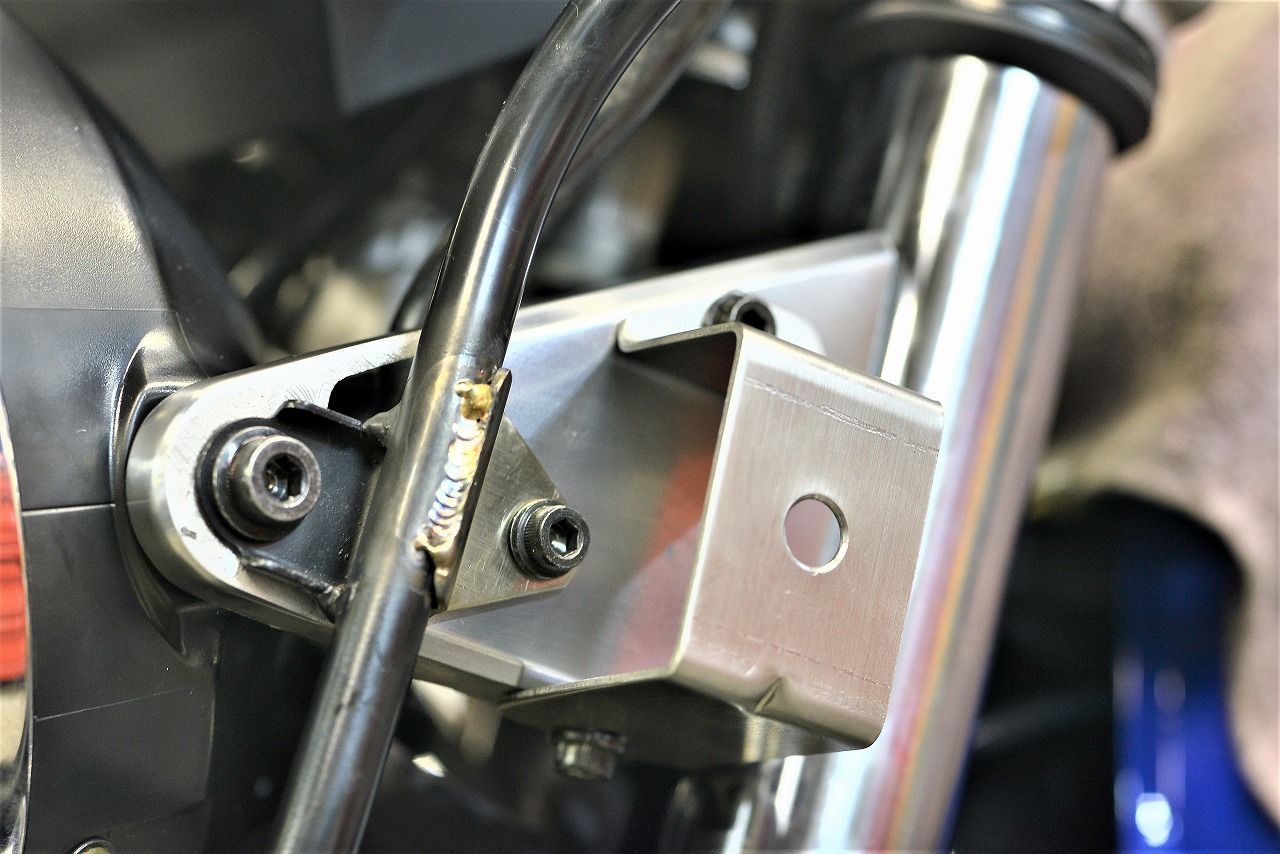
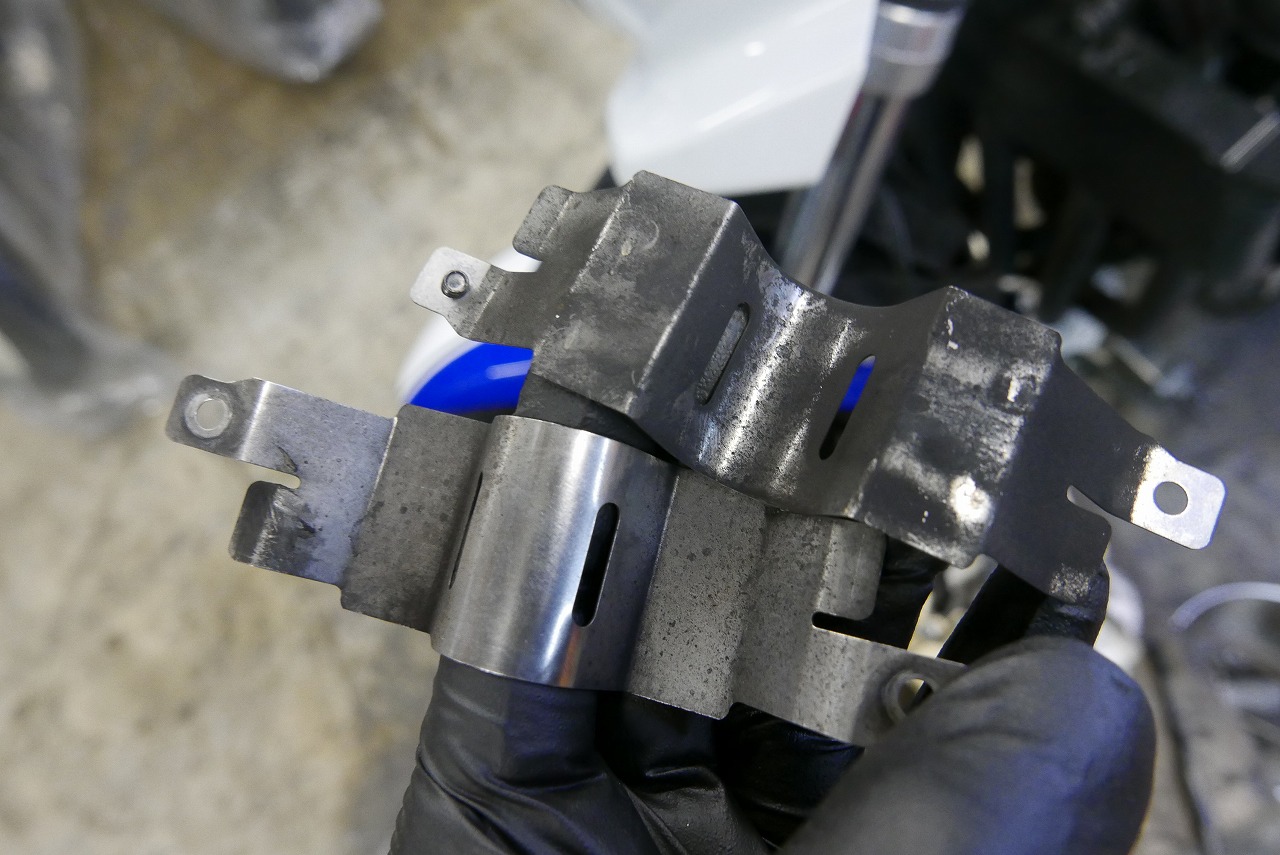
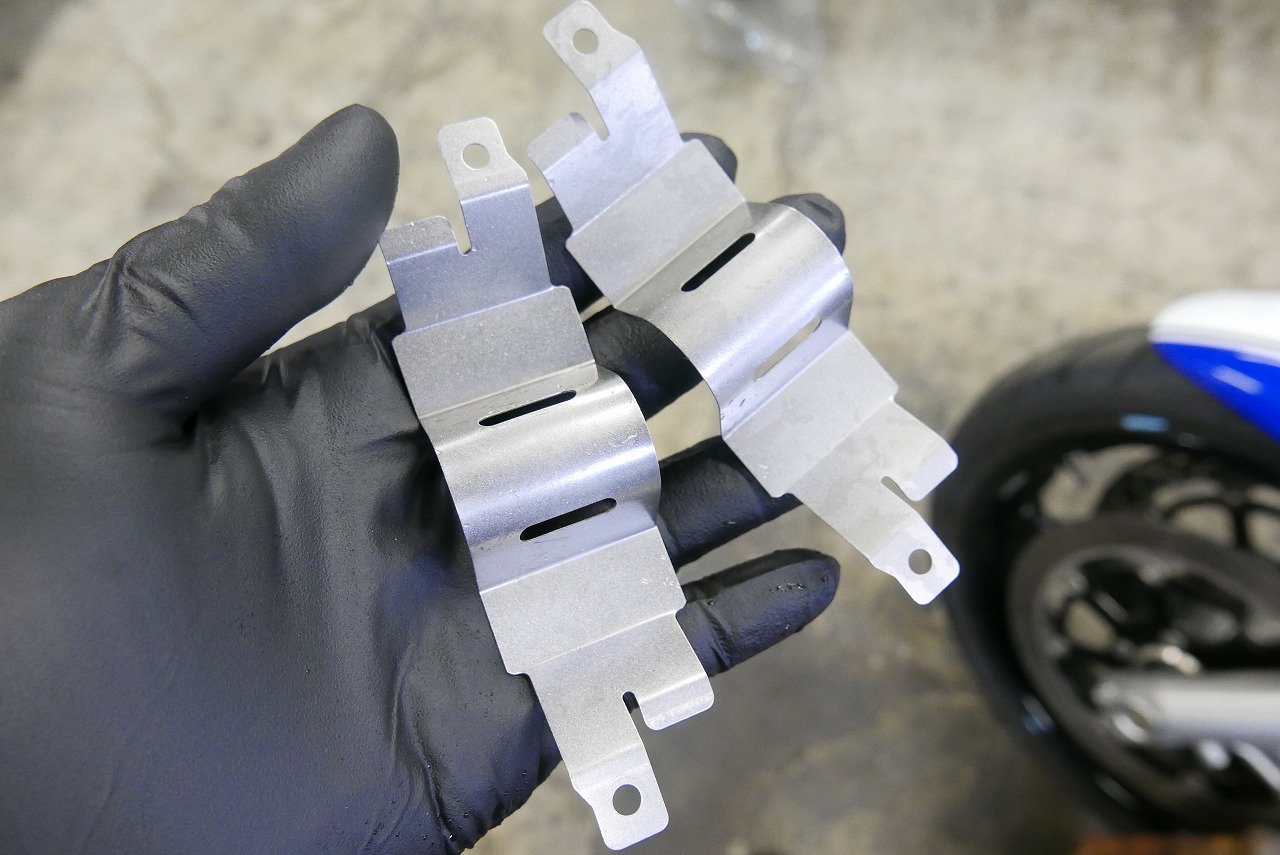
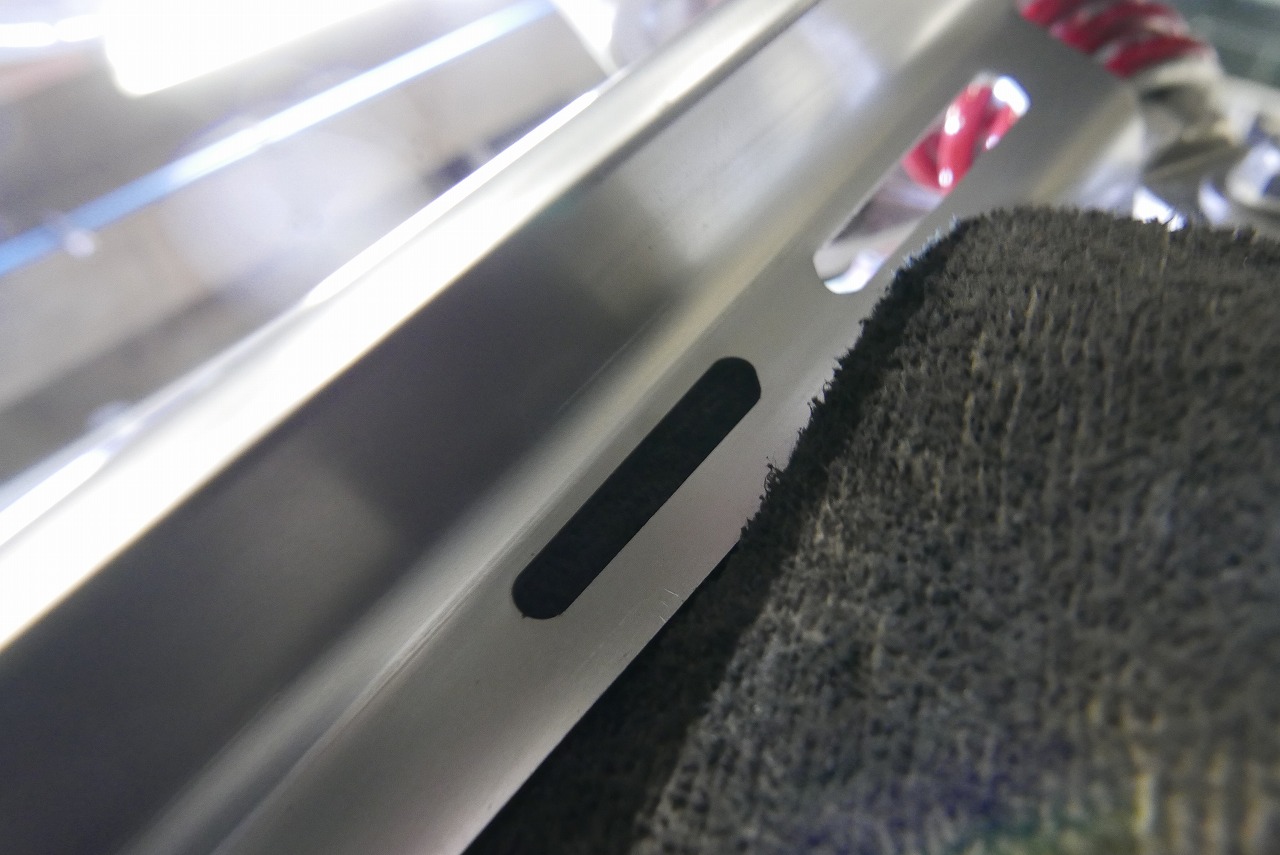
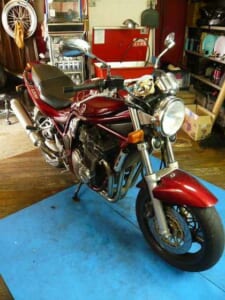
1XC-26280-20*2 It’s right-threaded and can be used on both sides due to its shape, so you just need to order two of these. ← I just realized this year… the conventional part is right reverse-threaded.A very simple brake switch, which is helpful.The ETC antenna, which was a pain to find a place for, I fastened together with the mirror. (If it were anywhere else, it would need to be done more carefully…) We’re converting from a bolt-on frame-mount cowl of unknown maker to an S-spec (S-ification). Since you said to leave it to us, I went with a Honda CB1100 SC65 headlight. The GSX1400 has a chrome light case, doesn’t it… I’ve never been fond of that…The HID won’t fit… so I cut out the case in a circle.Installing aftermarket parts properly… is really troublesome.For our shop, which is serious about inspections… I think the finish is somewhat disappointing without beam axis adjustment. Beam axis adjustment ON, and the brake hose bracket also happened to work out nicely.Just slightly longer than fully extended. By the way… if it’s more than 20mm longer, it sags quite a bit. With cheap 100mm long ones, it’s all droopy and saggy.
When you look closely at custom bikes, you first look at hose lines like brake hoses and throttle cables, and when you see “how aftermarket parts are installed,” sometimes it touches your heart with “they’re really trying,” and sometimes it doesn’t. That’s the world we live in…
*We cut the existing clamp bracket later.I’ll skip some details… The S cowl and bracket were brought in by you… I tried to check the parts list. But… there isn’t one, I was told.
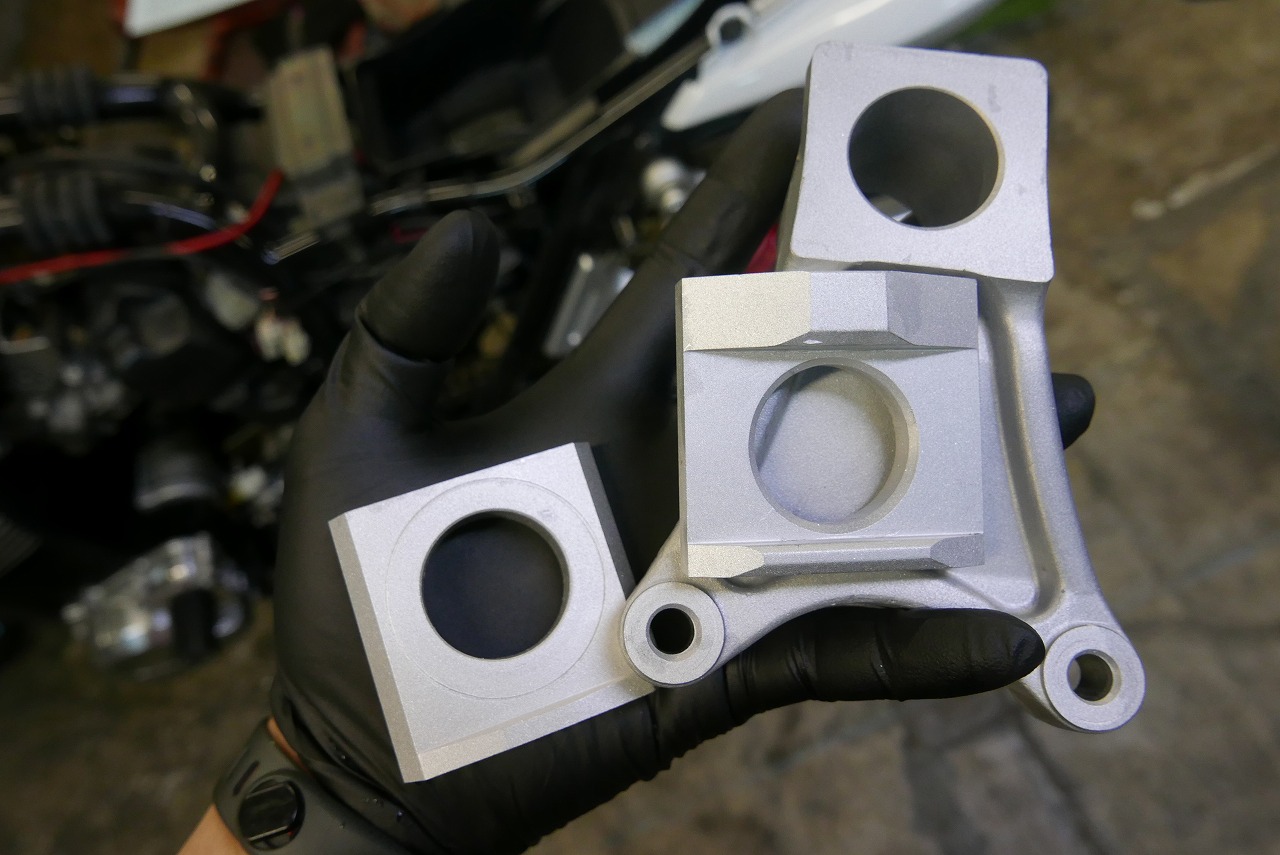
We ordered a standard GSX1400 bracket, but it was too wide to fit. Since we already ordered it, we tried adjusting the width to match.It ended up looking kind of meaningful. This cleared the cowl bracket!Next up… is the angle question. Tucked chin looks cooler! I convince myself by my own standards and move forward.I fixed the position in one shot. Fixing to the bracket on the fork side was extremely tedious, so I proceeded safely without mistakes and minimal painting.The turn signal position… doesn’t match at all and doesn’t reach… What do I do? ·Replace all turn signals ·Go with stock
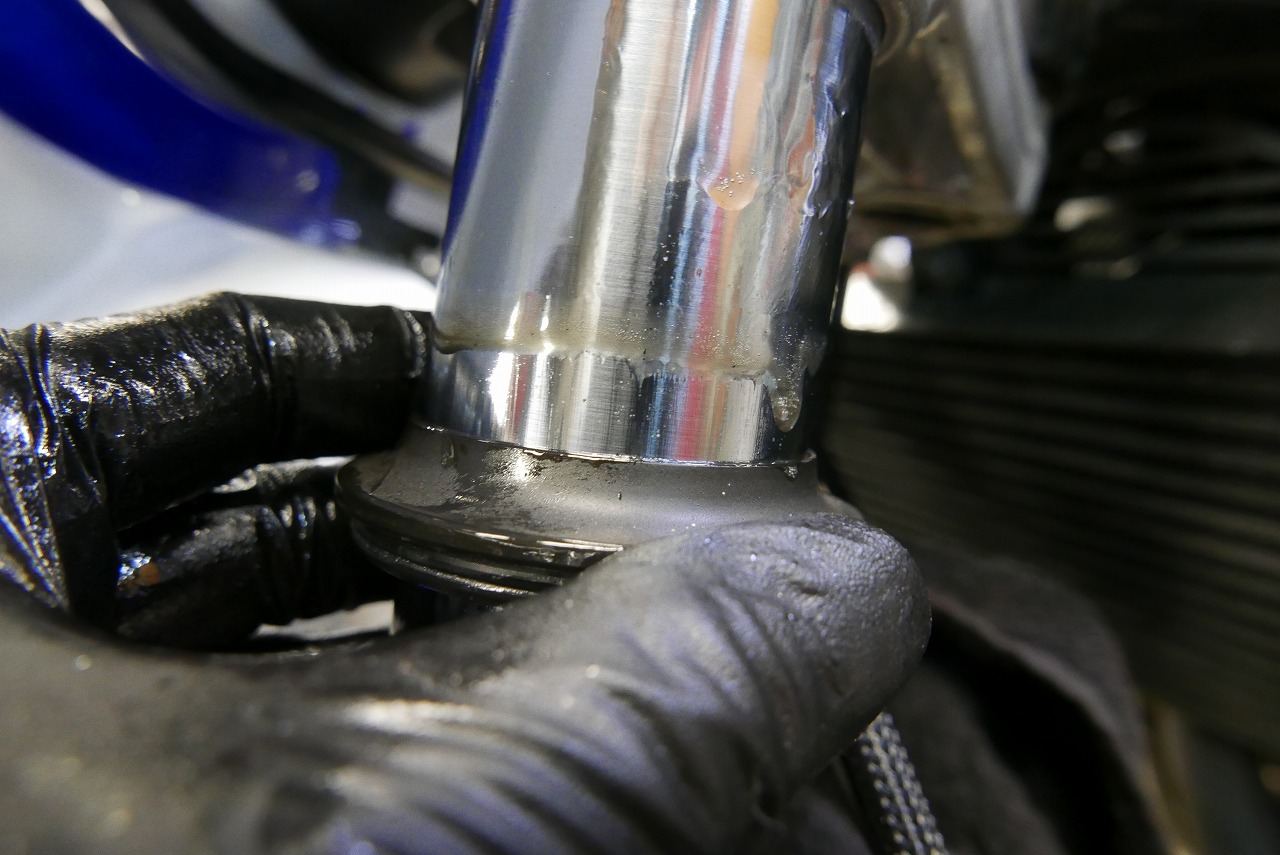
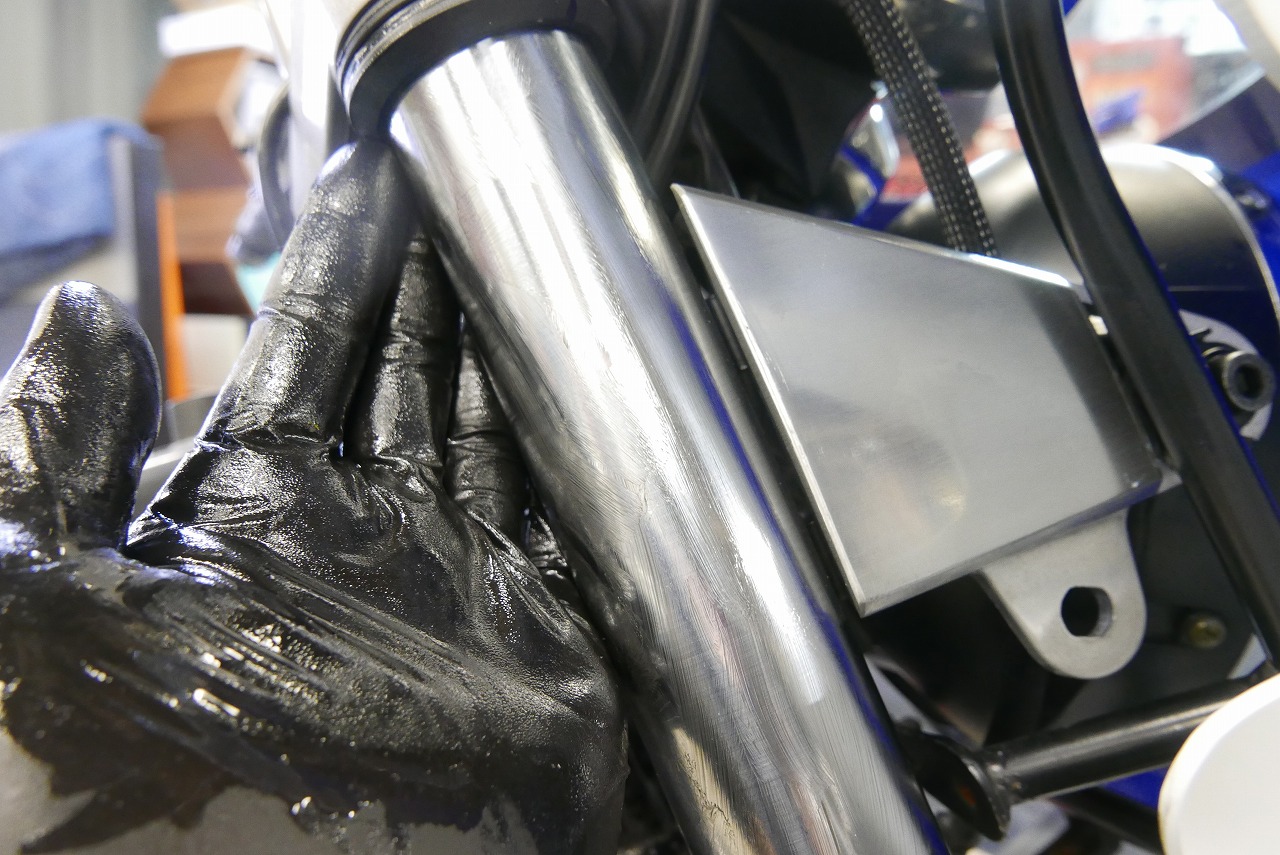
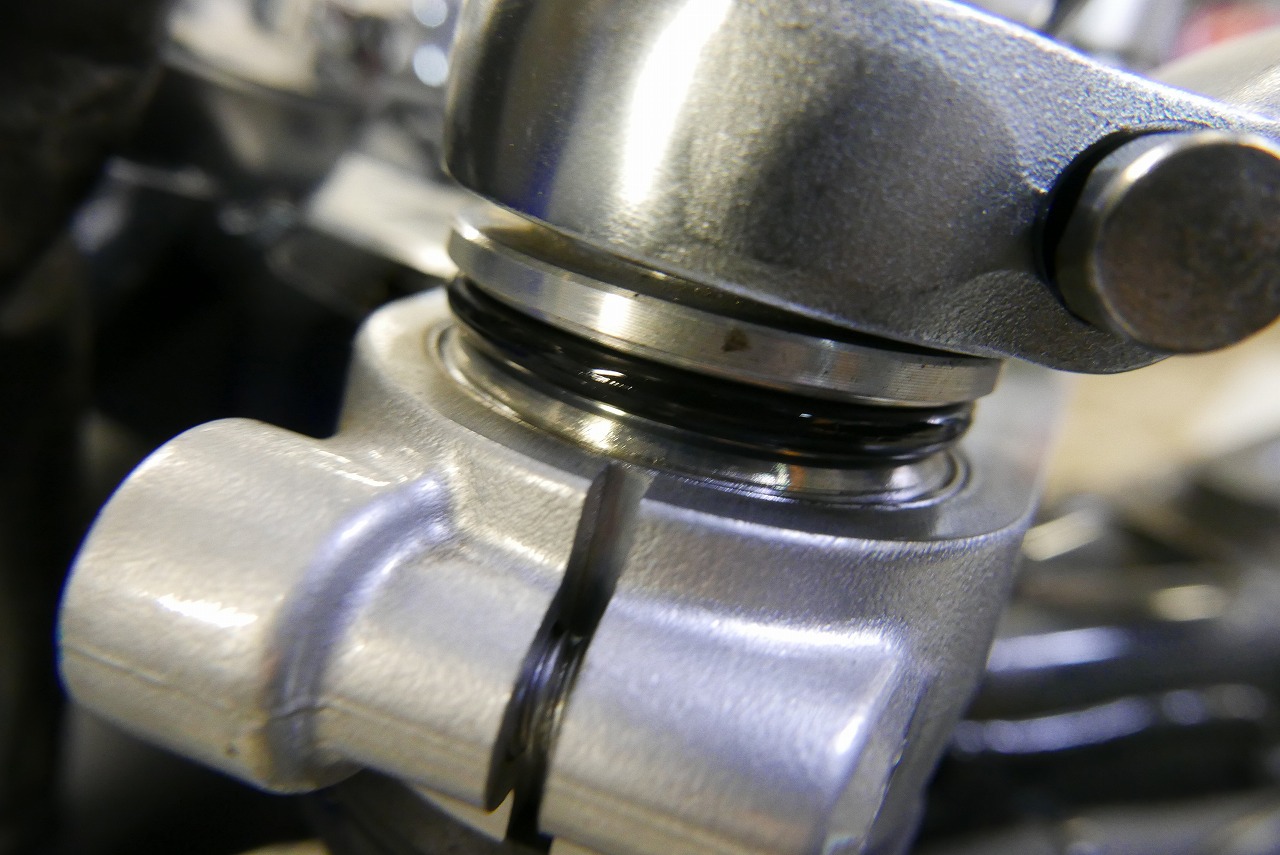
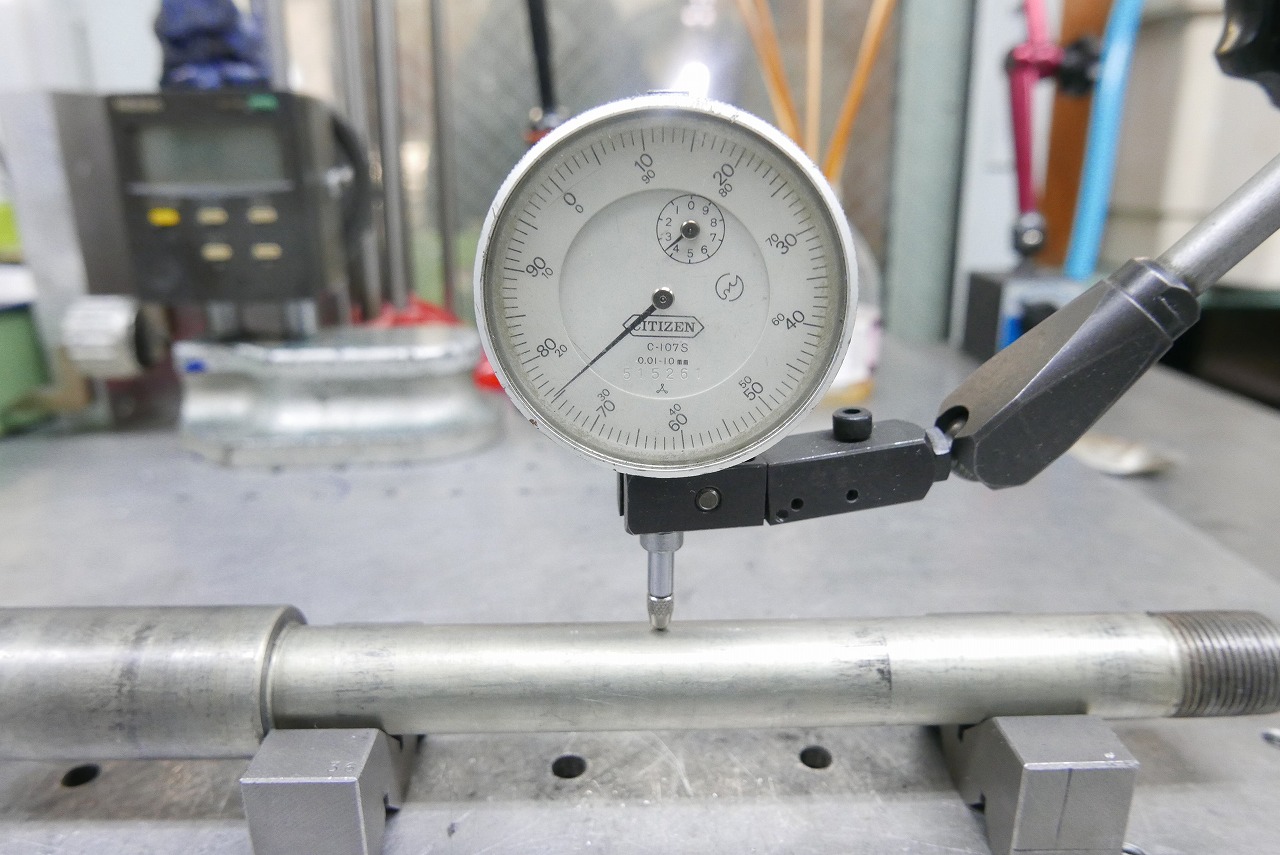
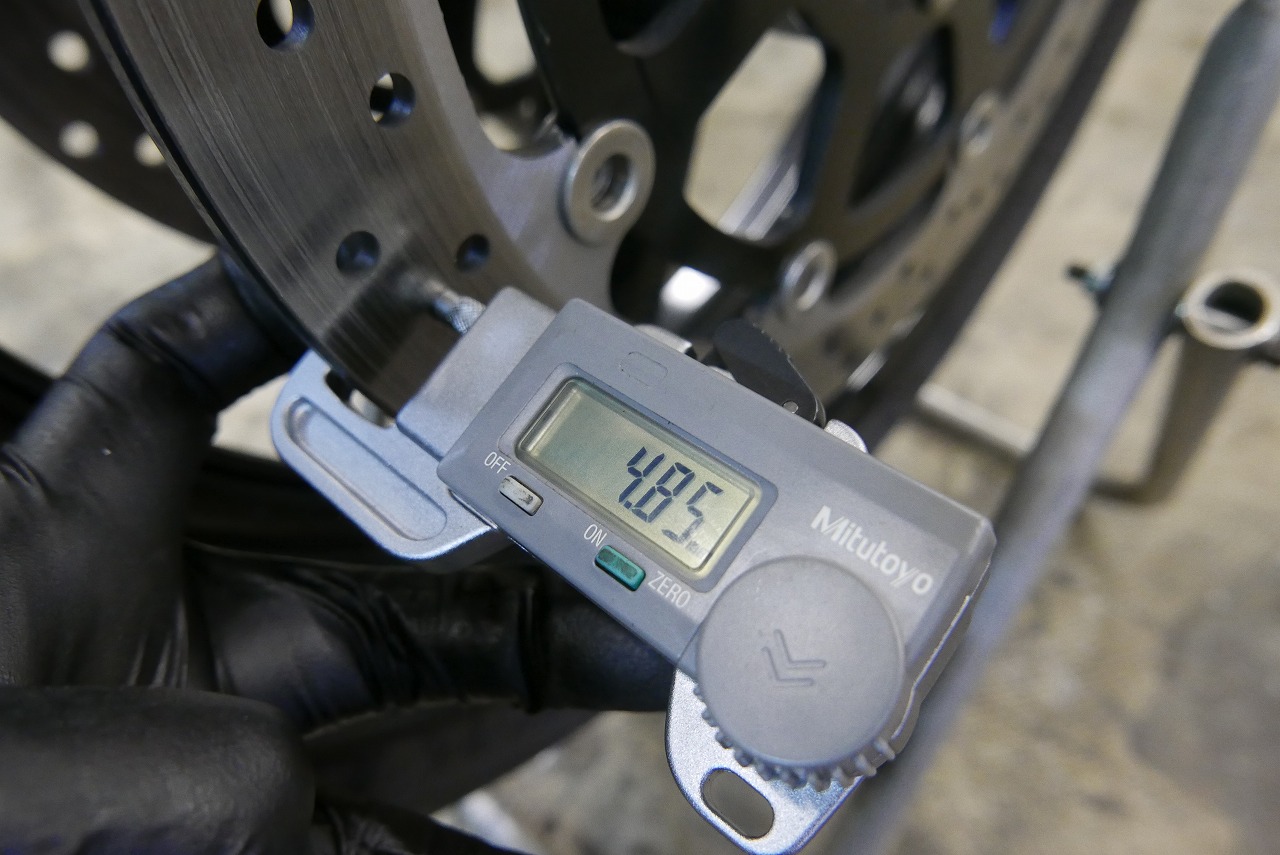
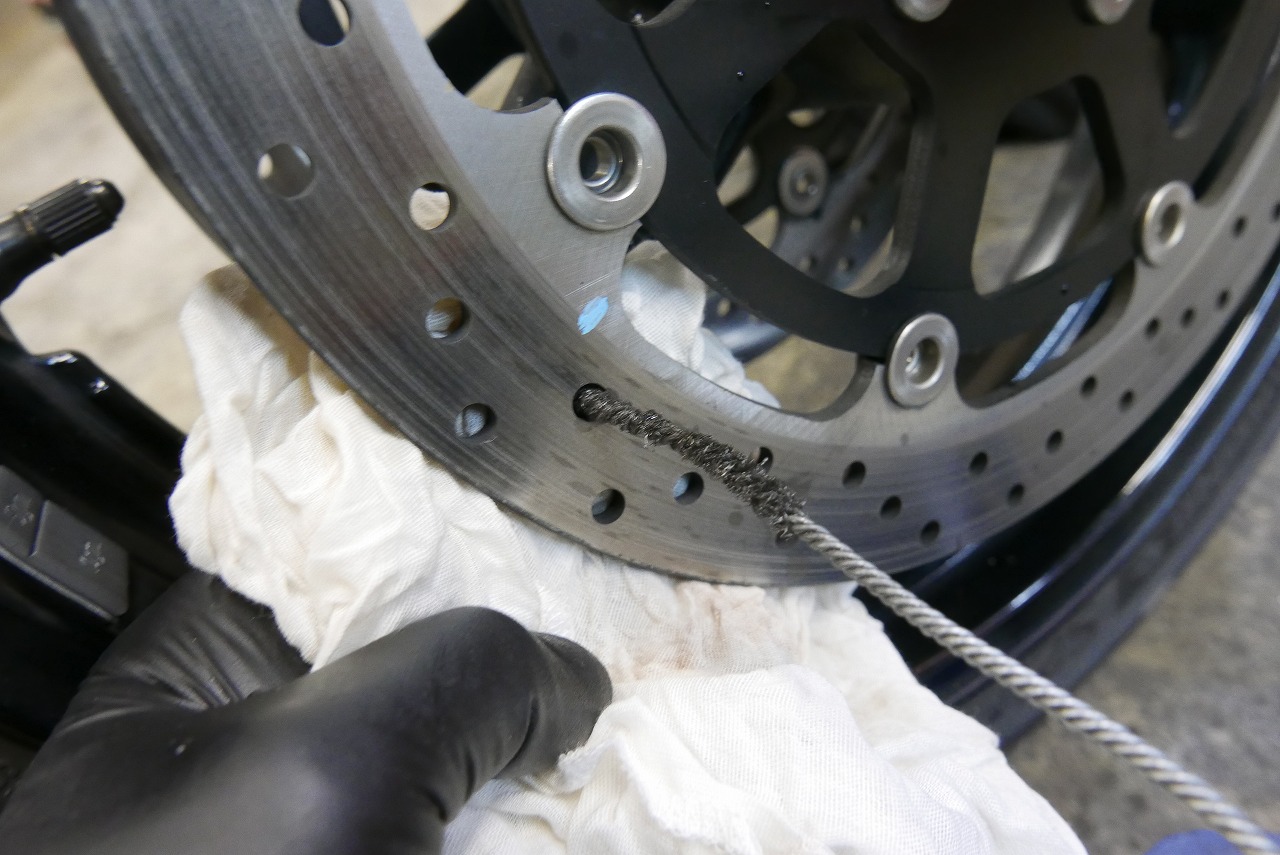
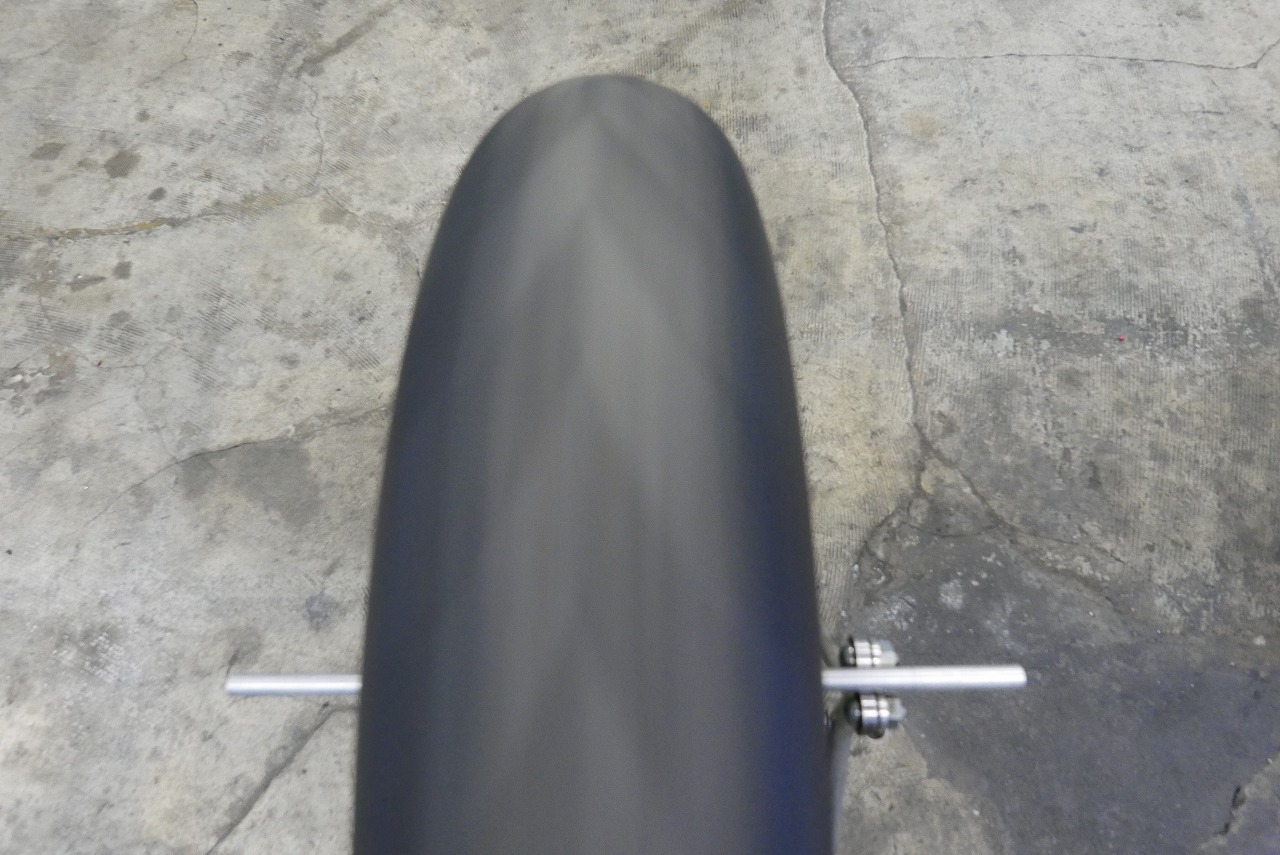
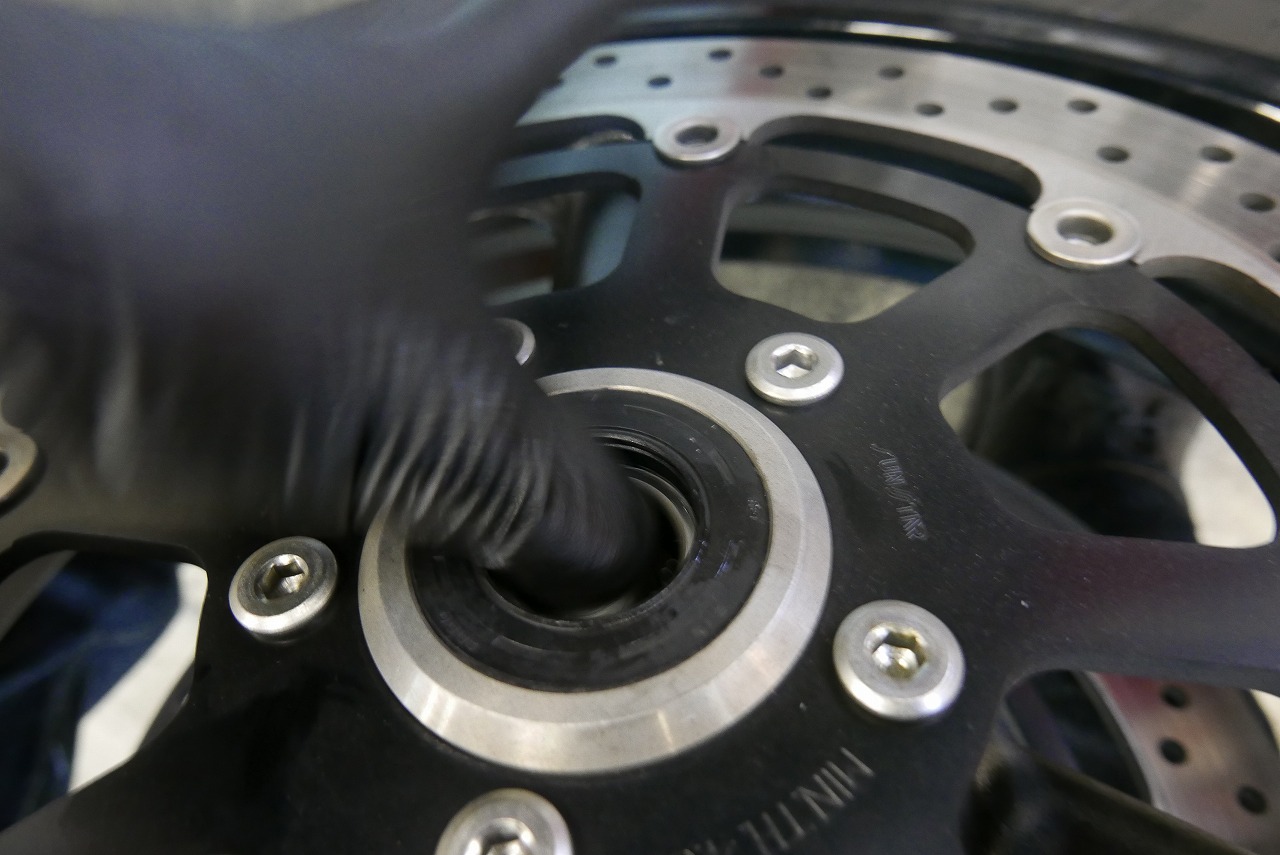
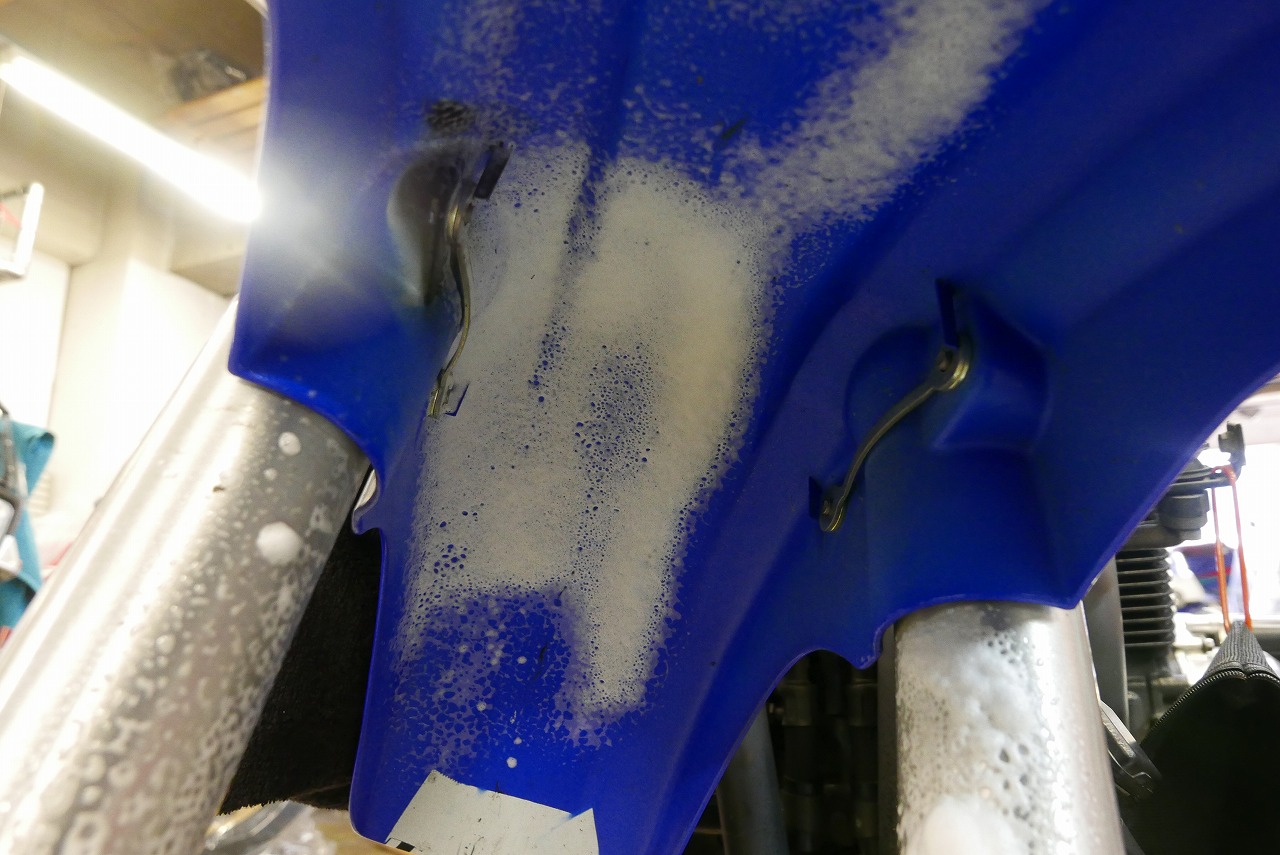
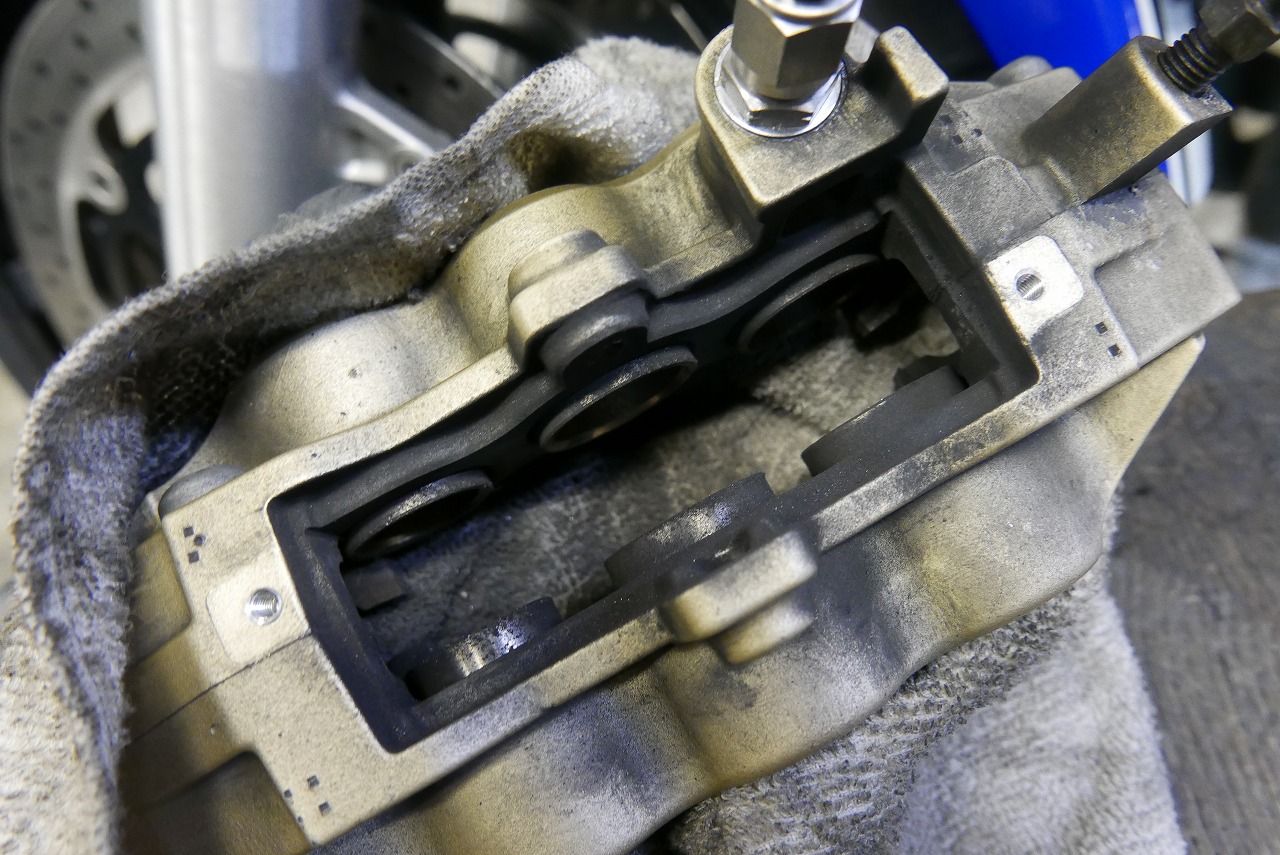
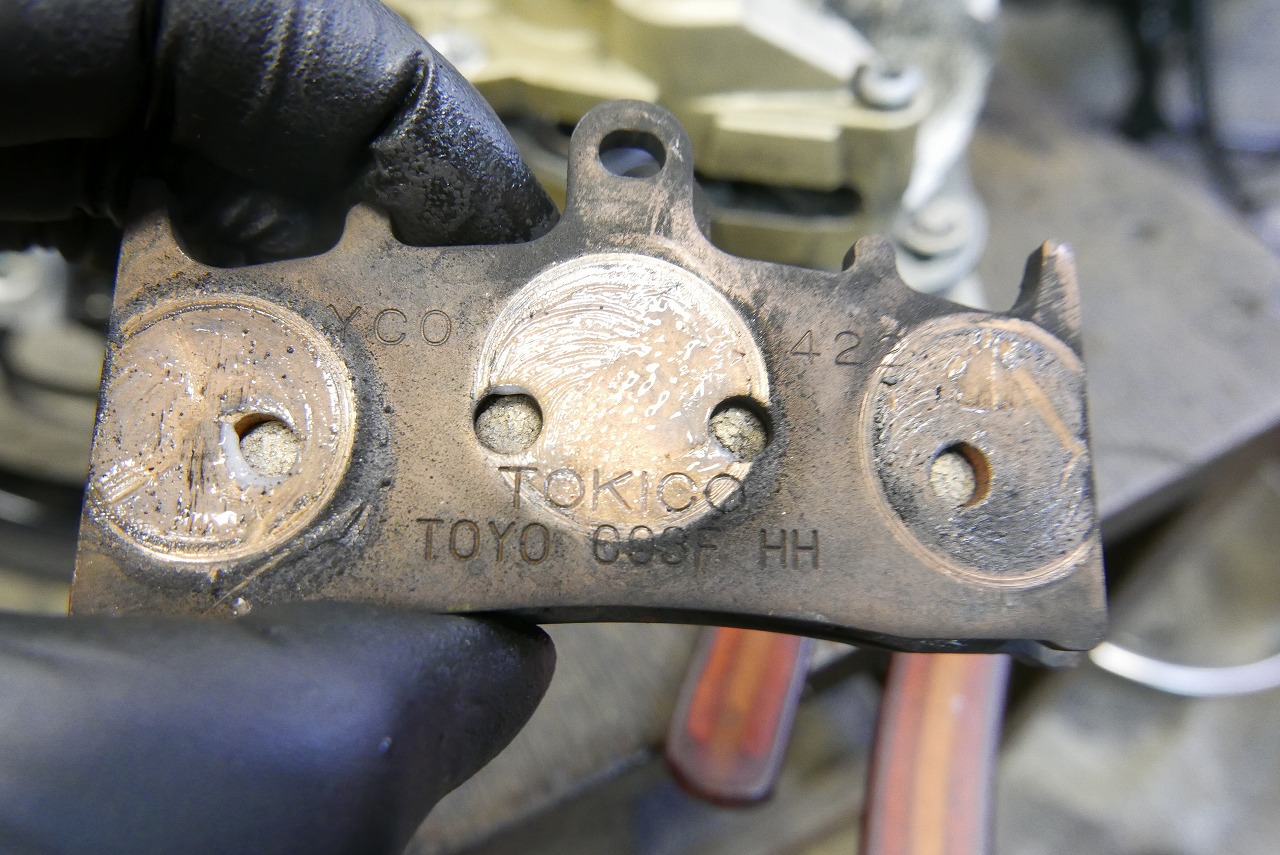
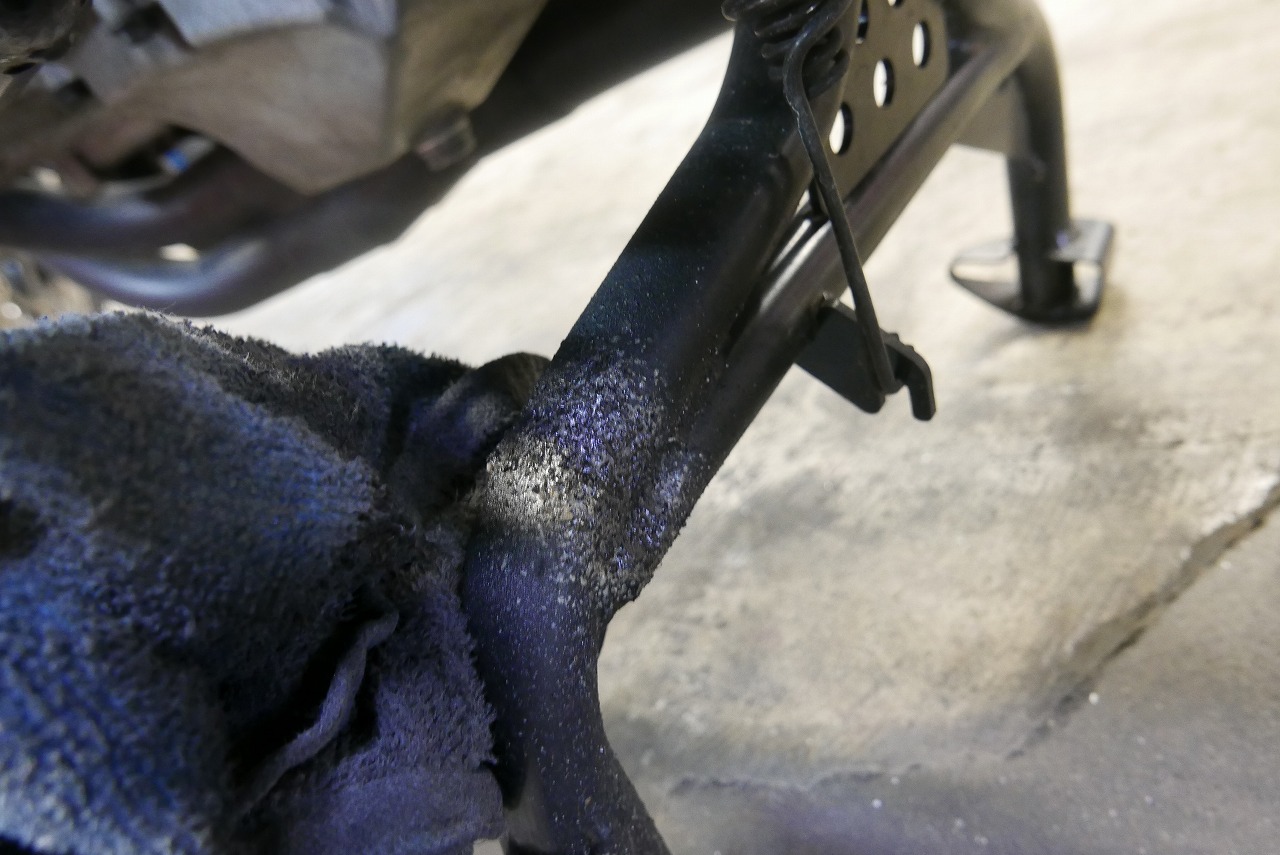
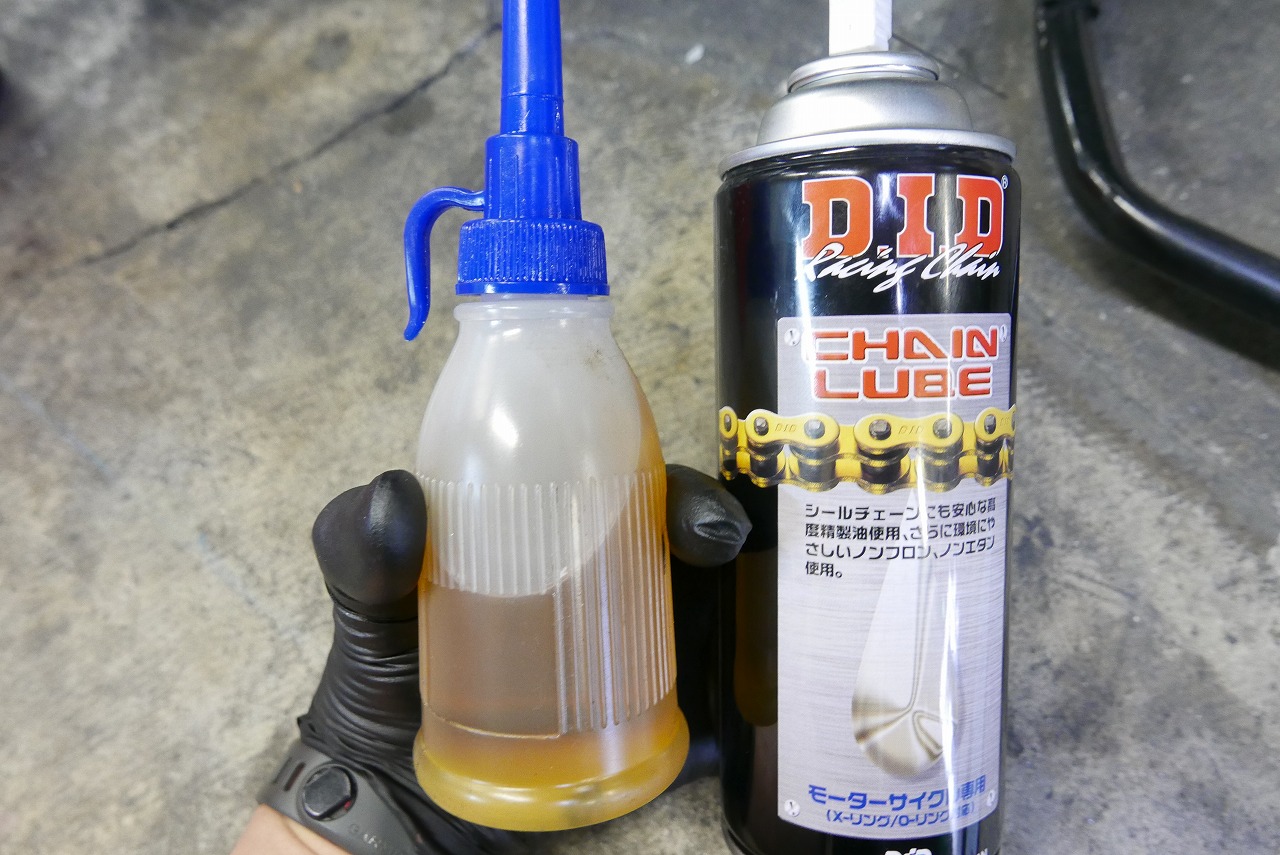
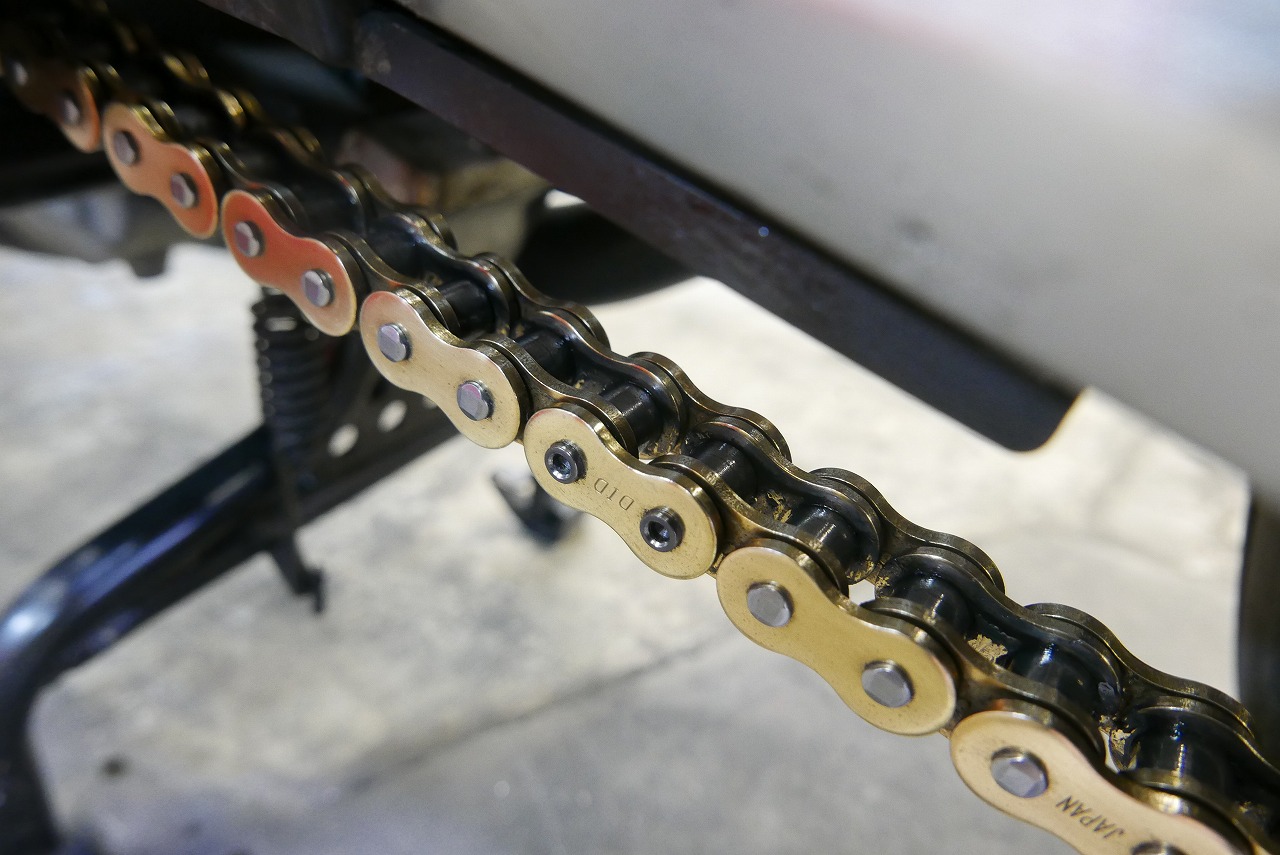
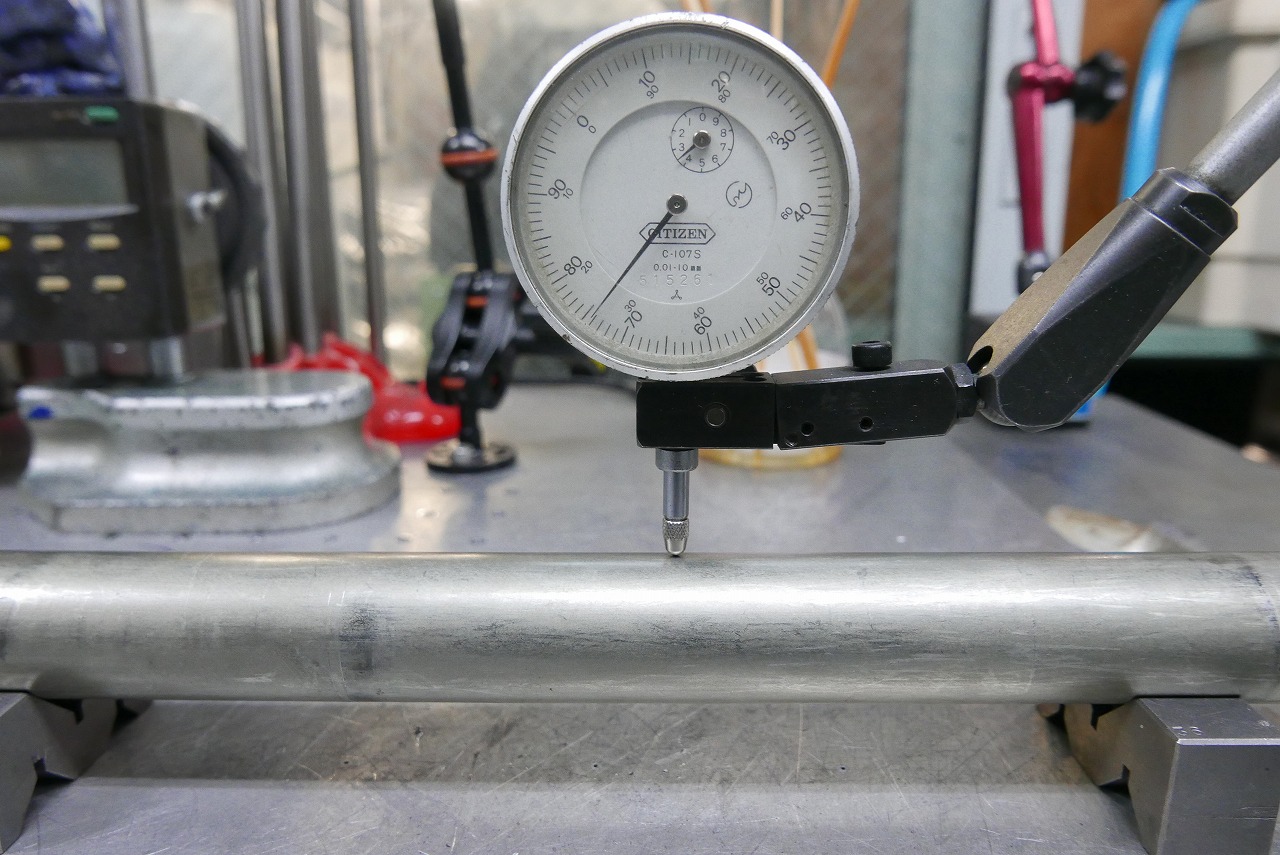
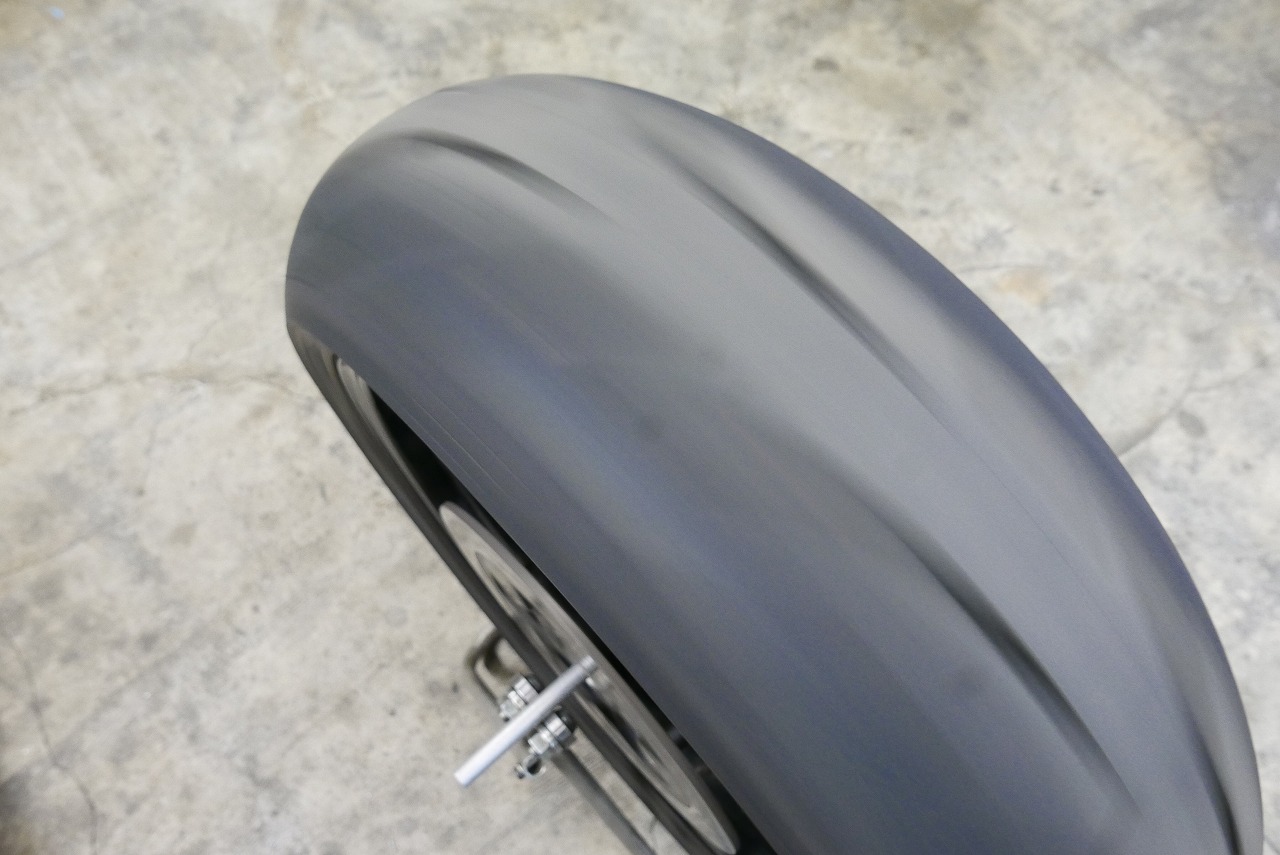
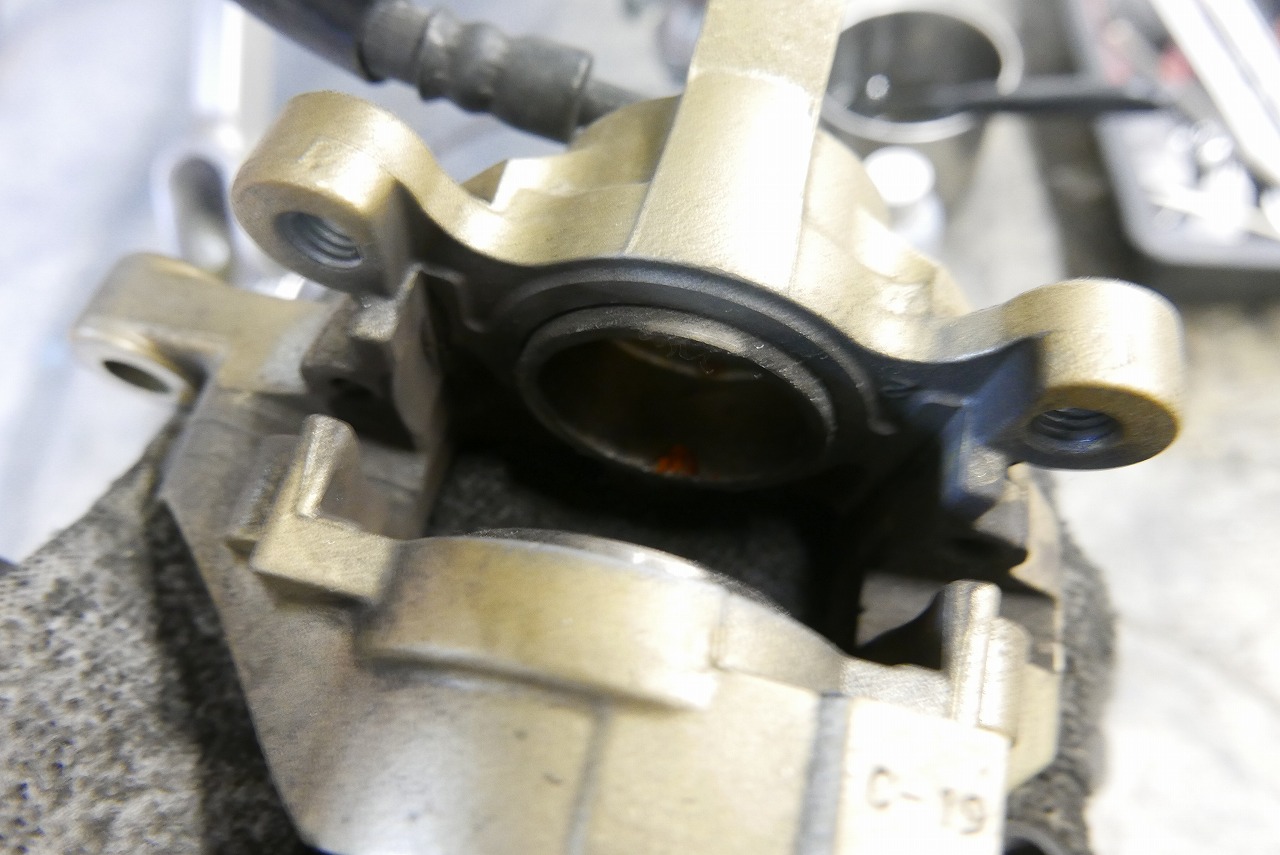
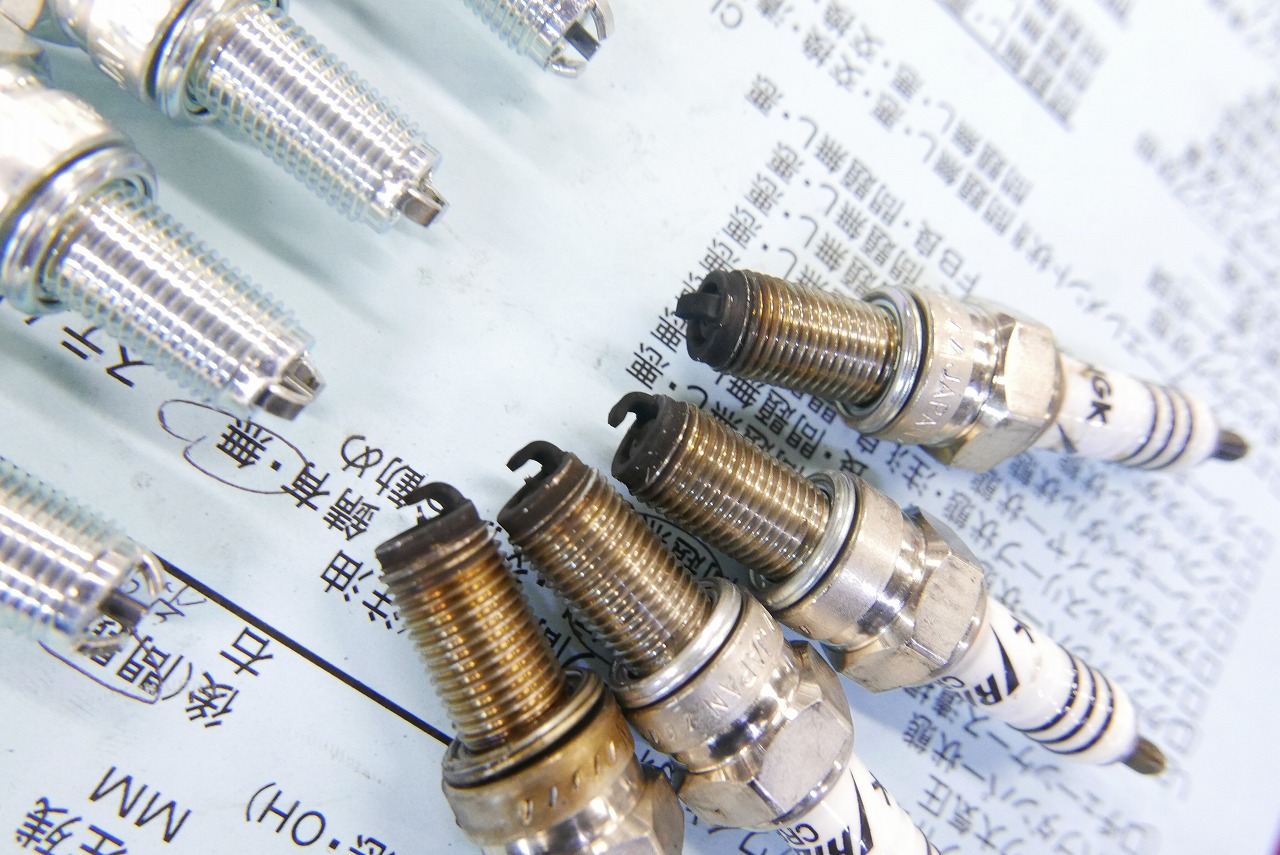
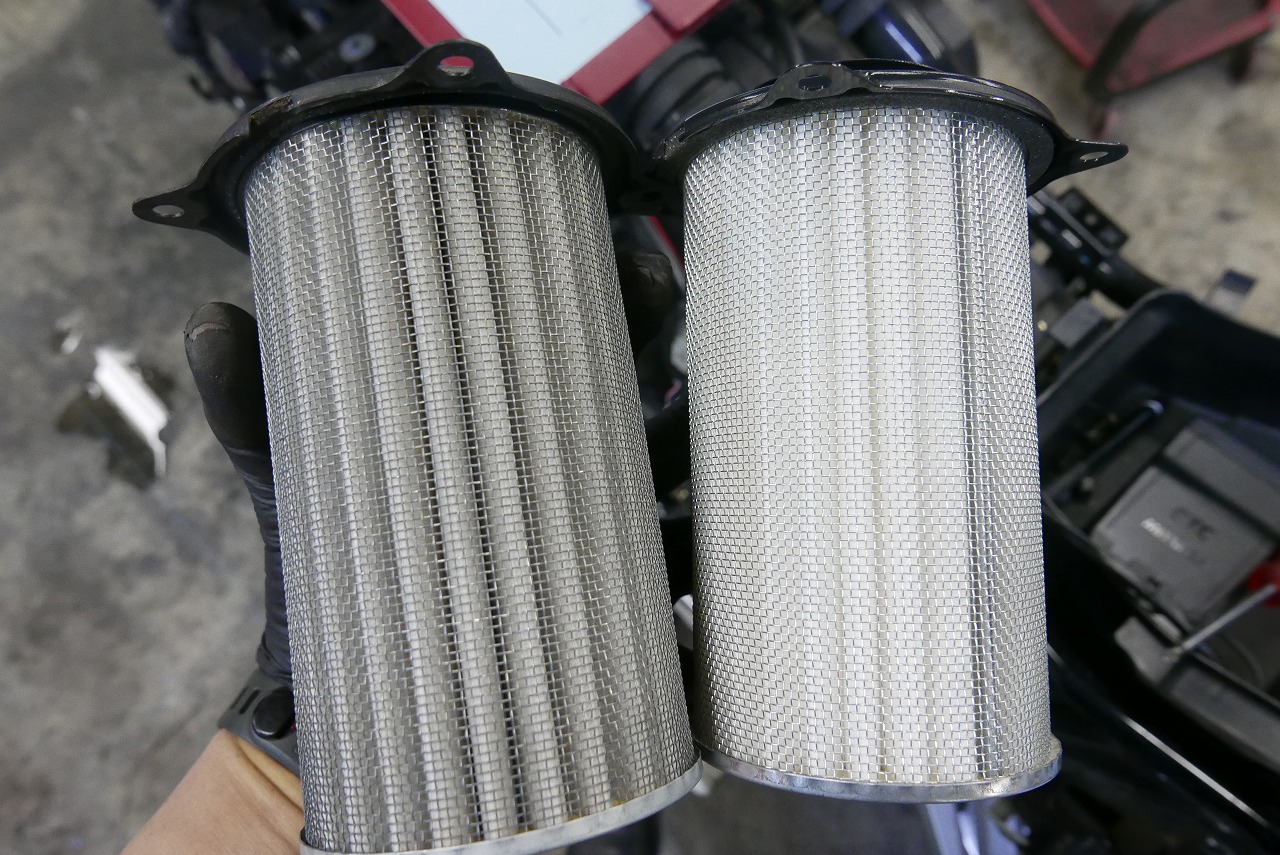
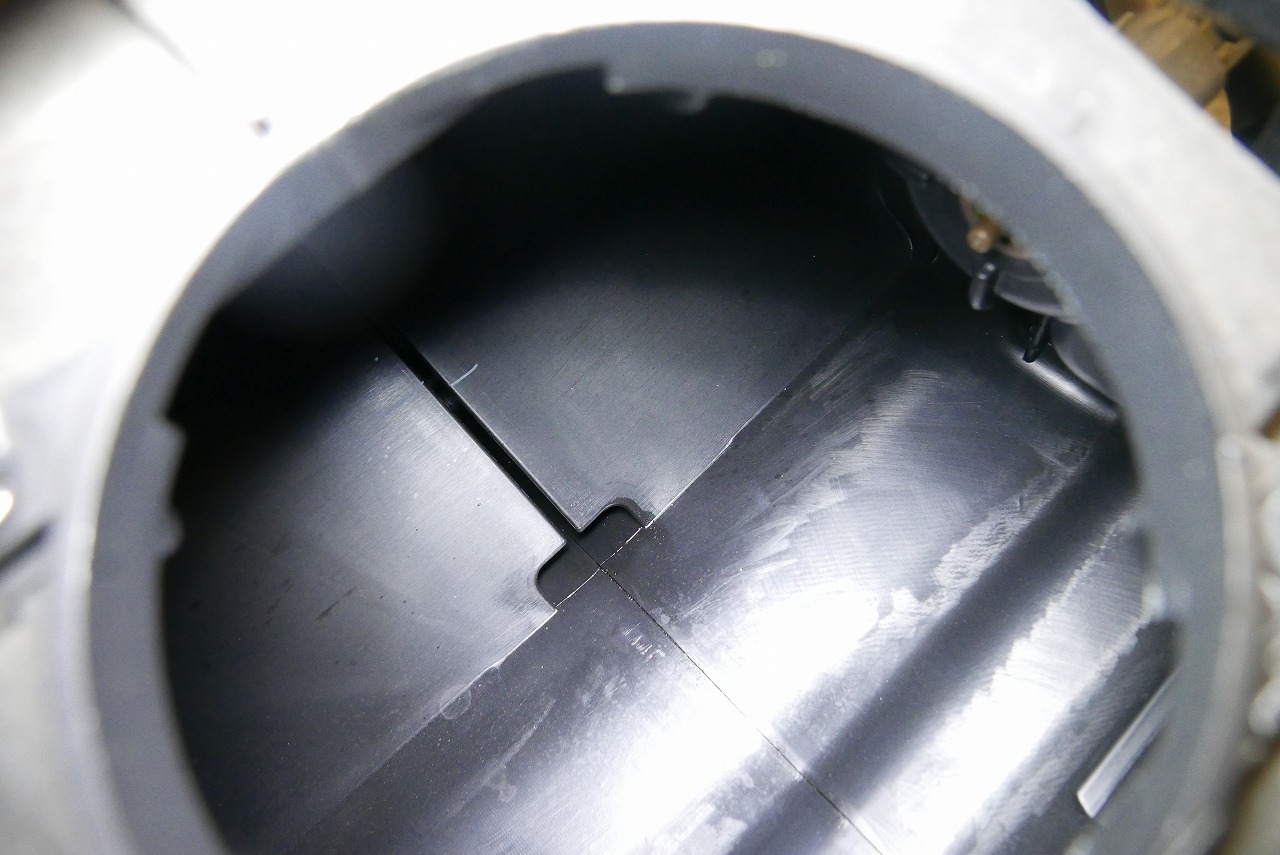
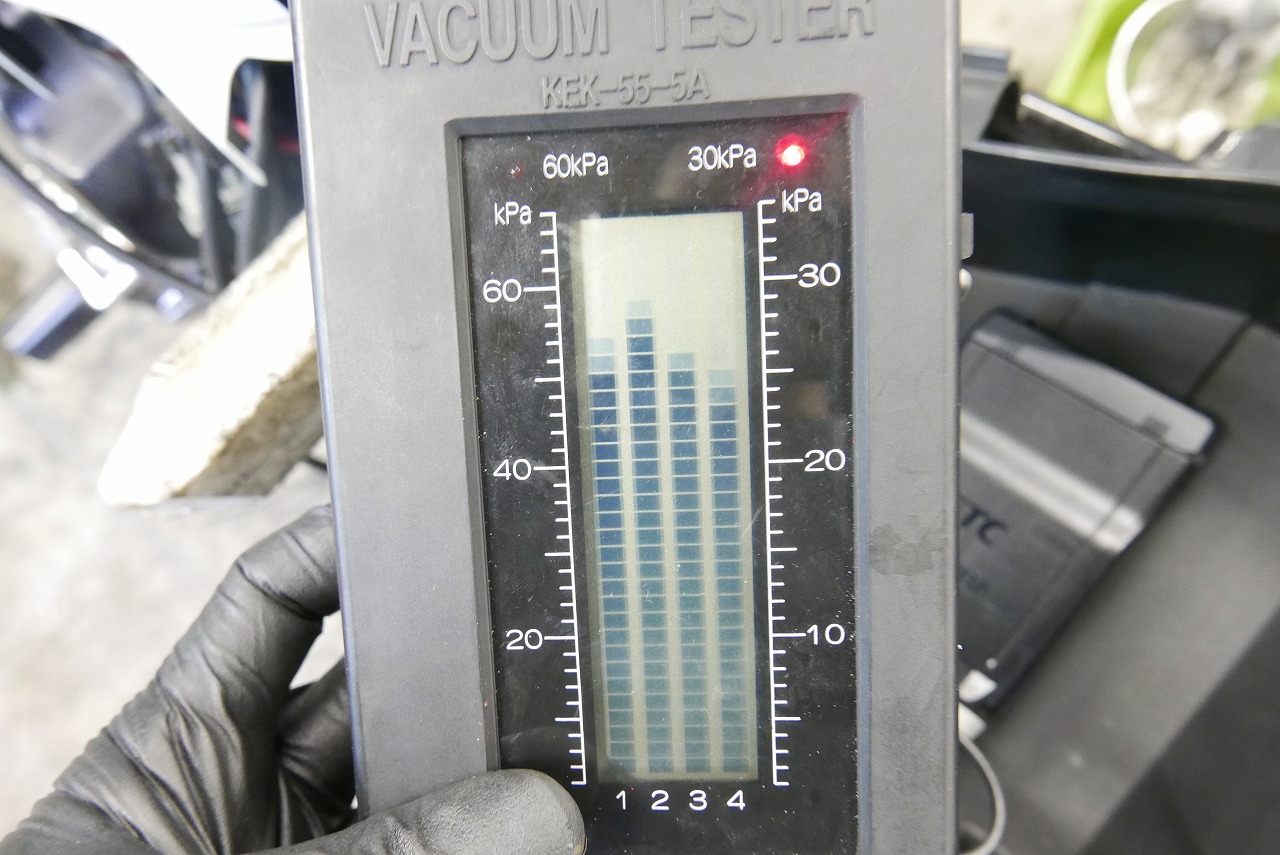
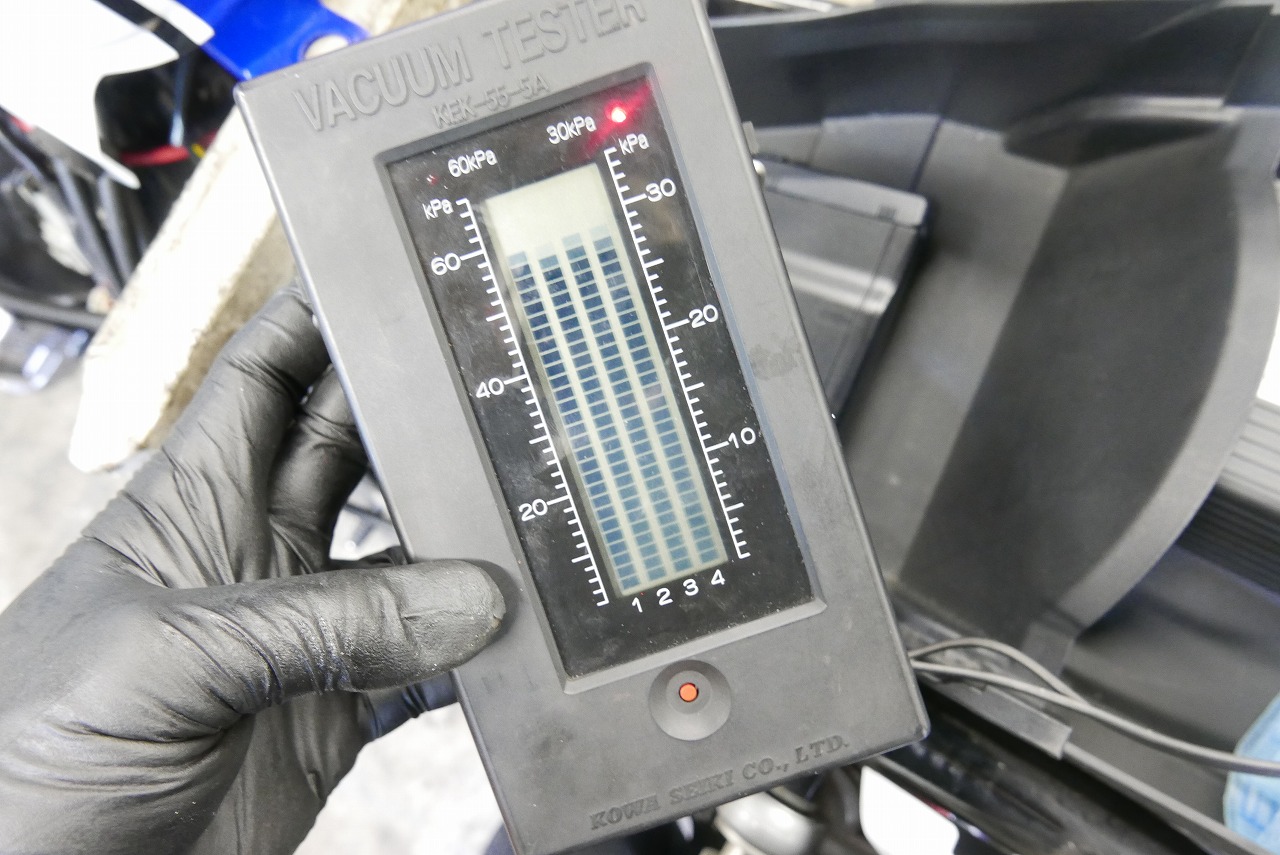
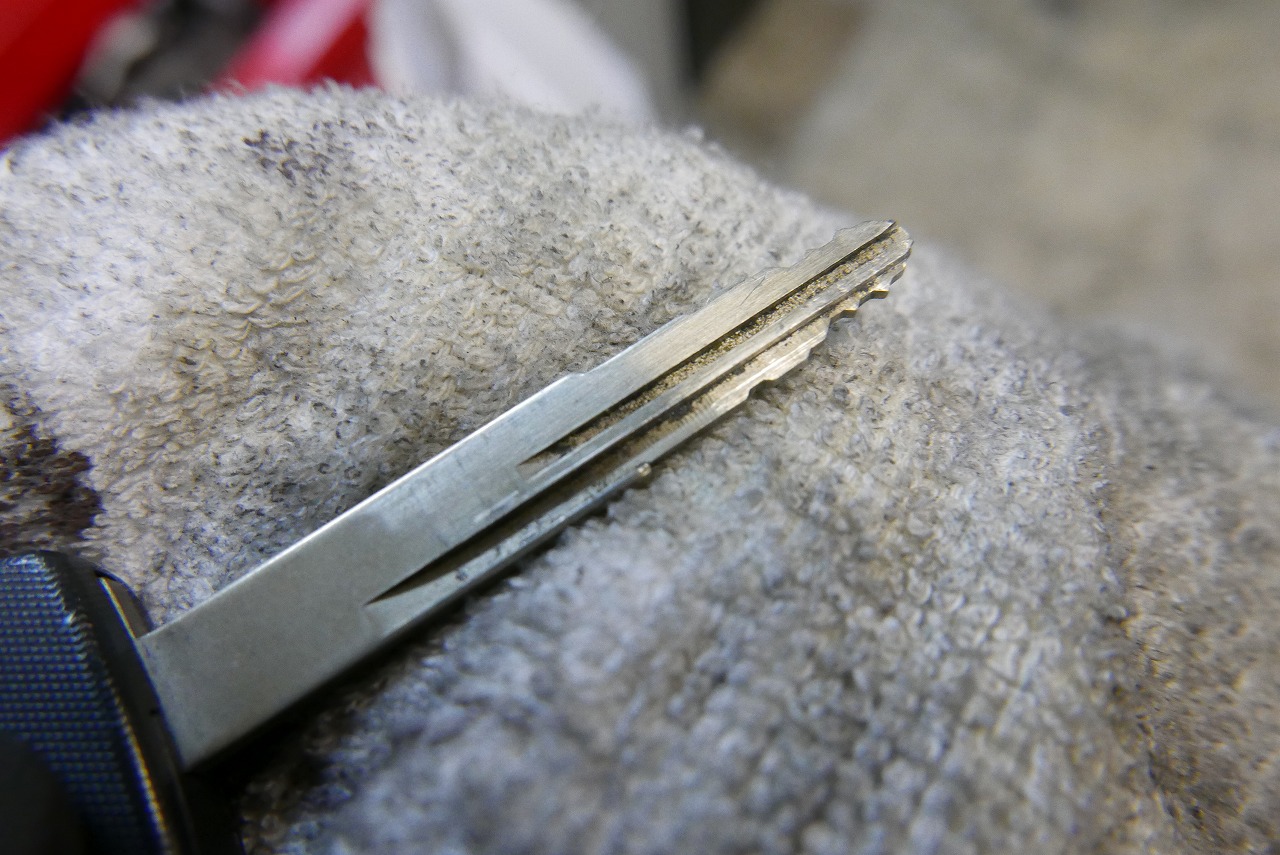
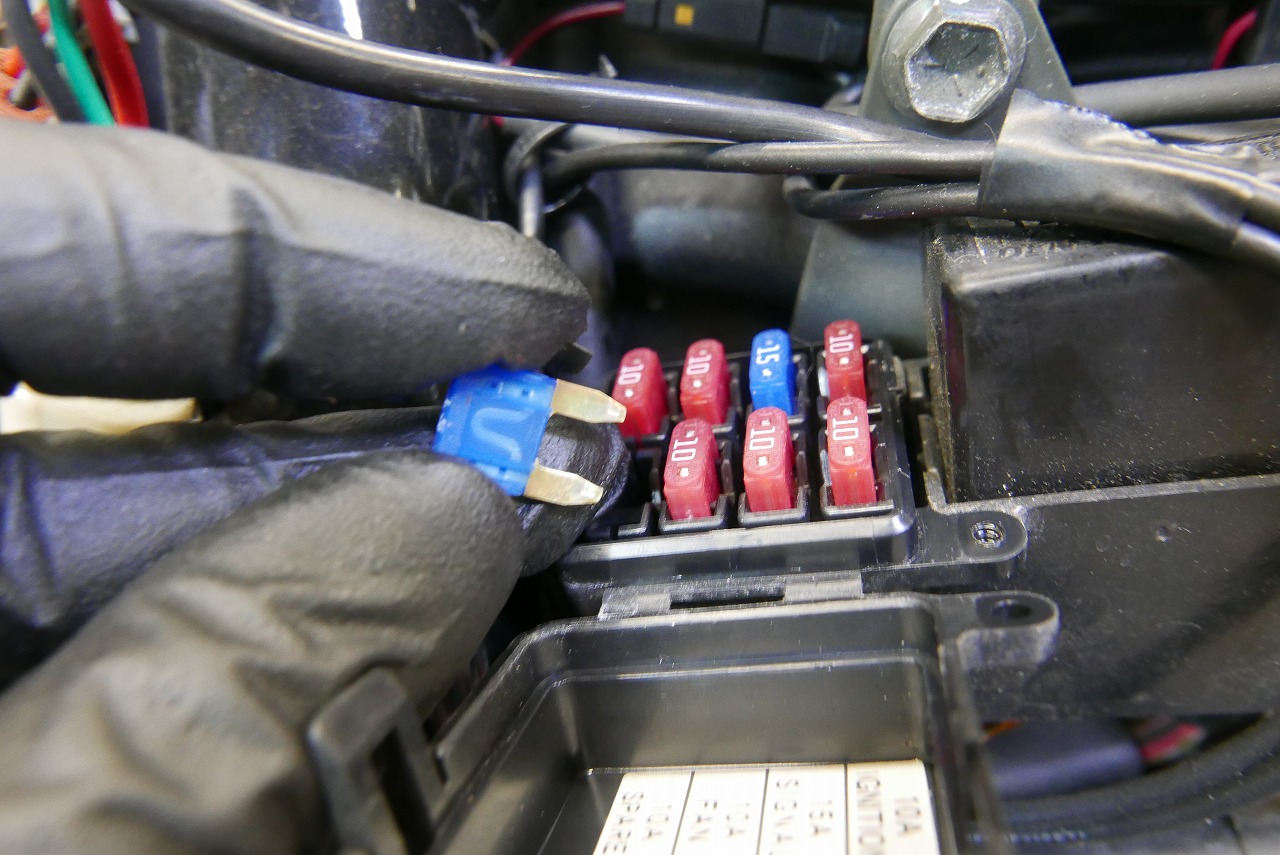
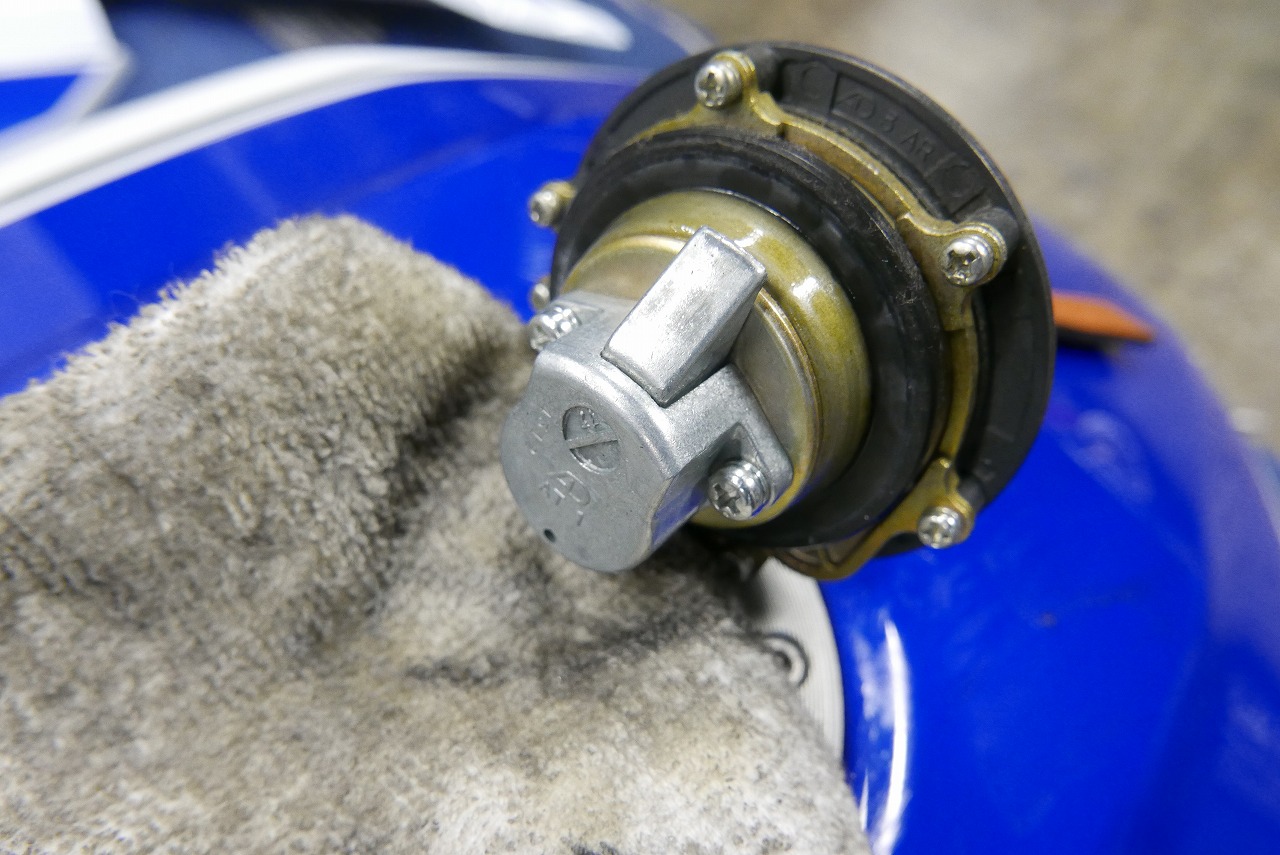
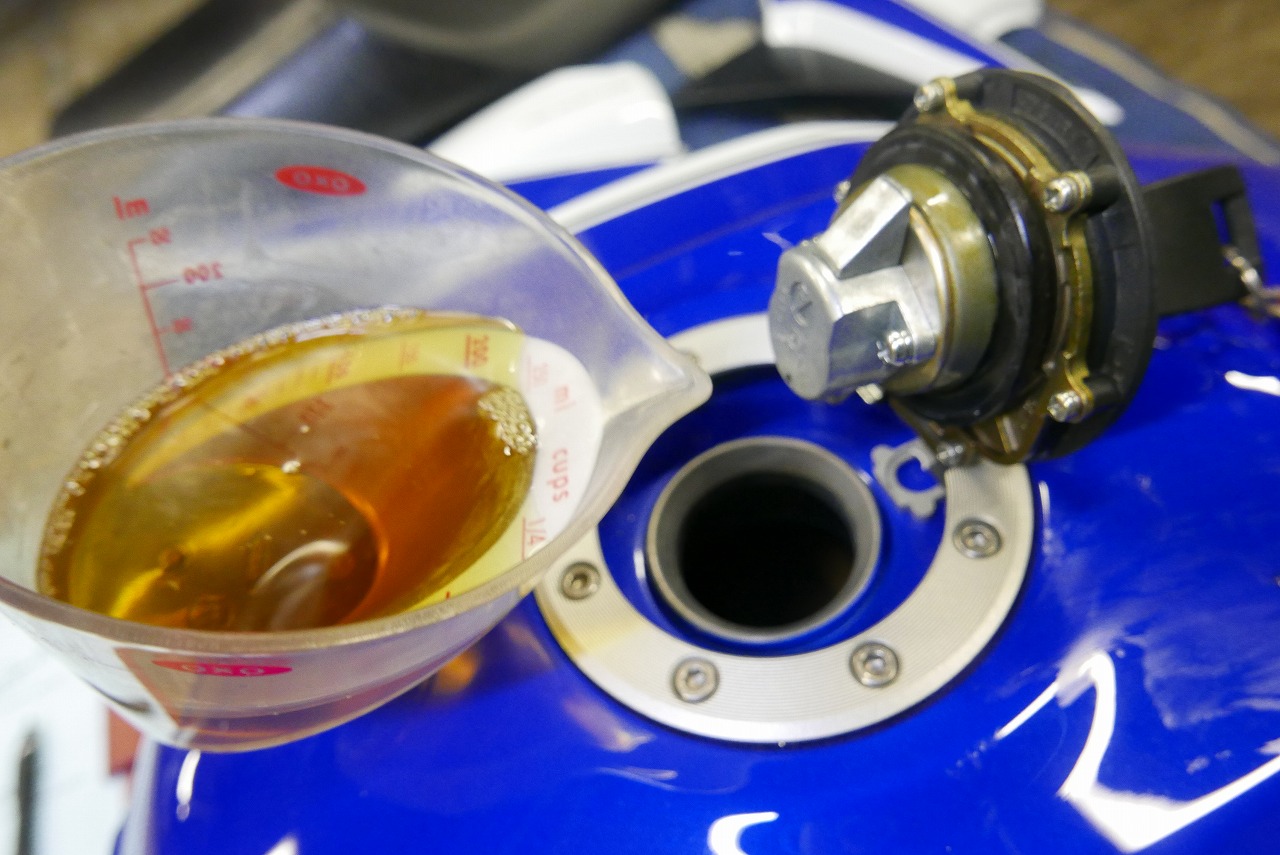
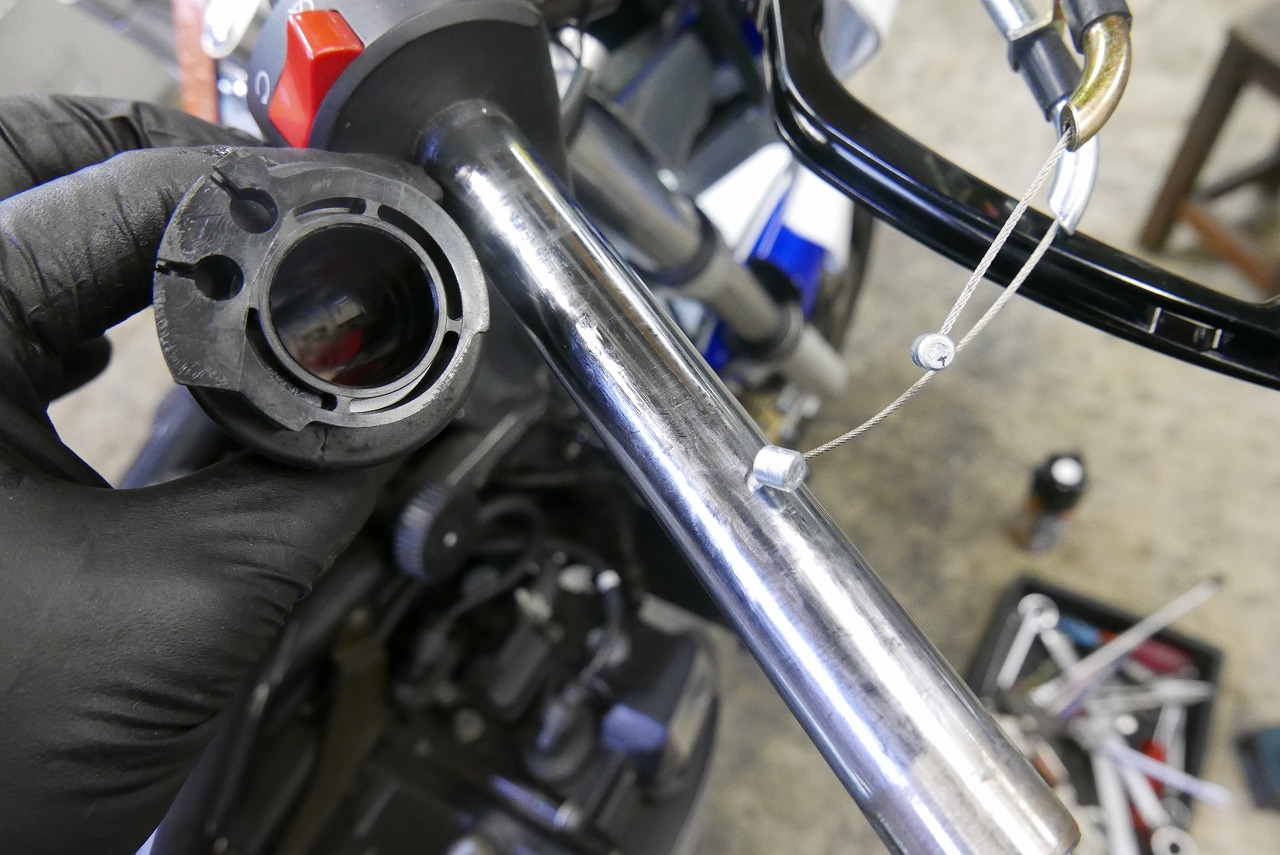
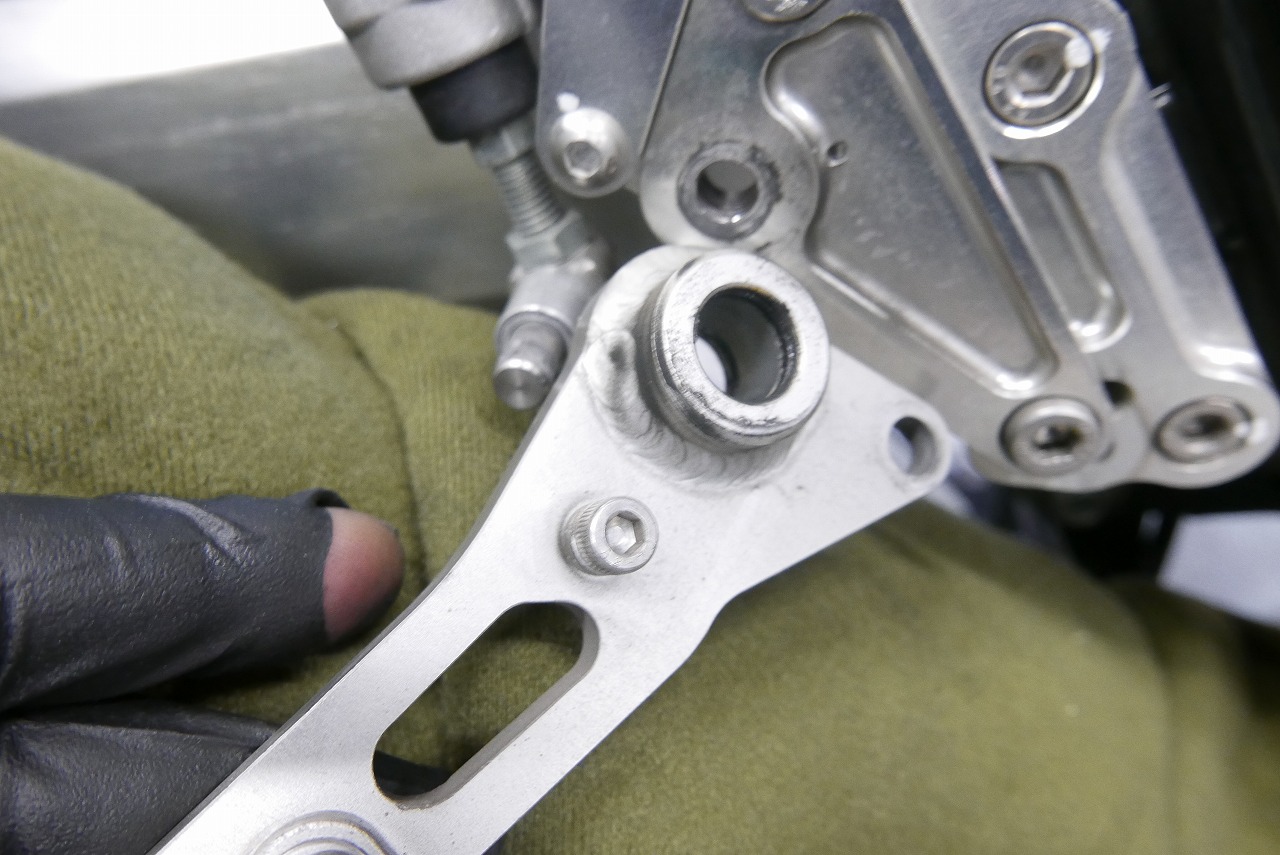
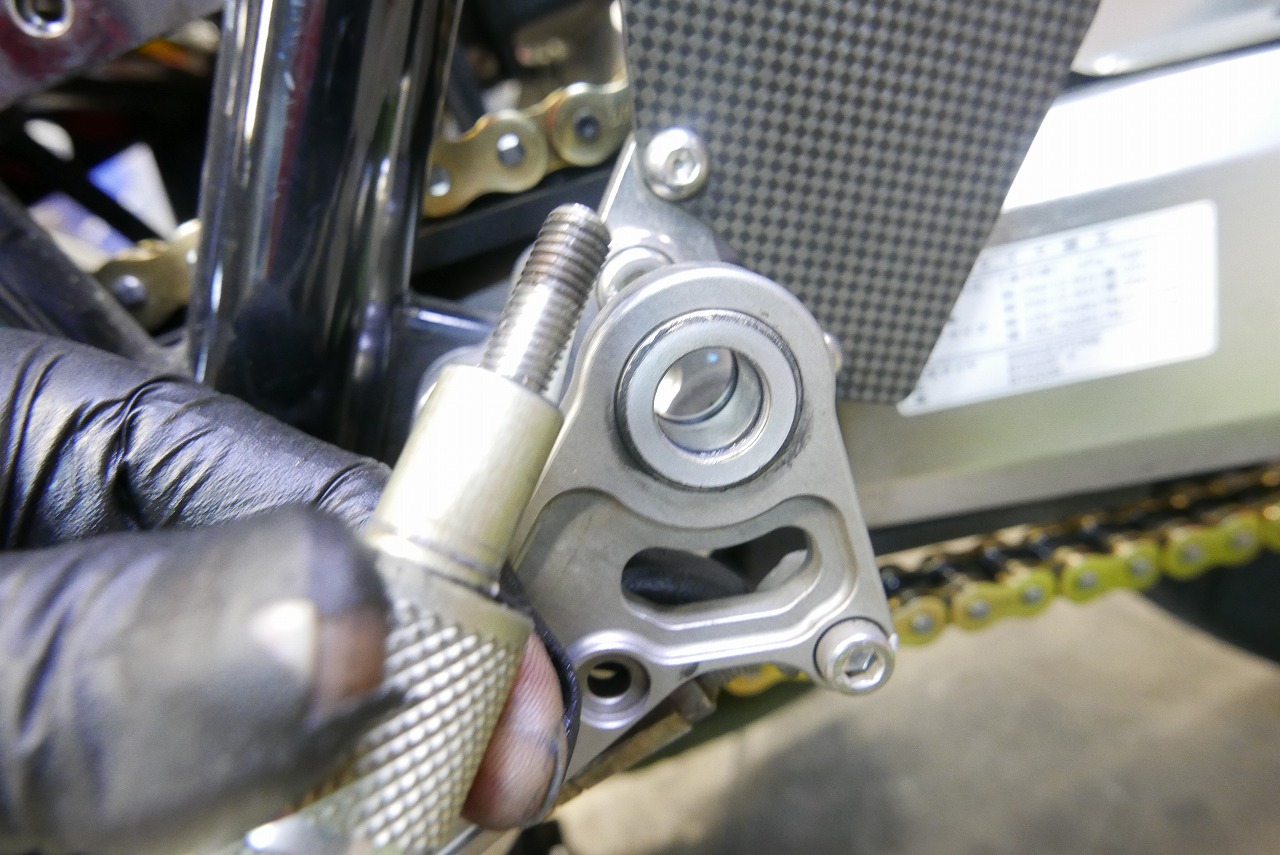
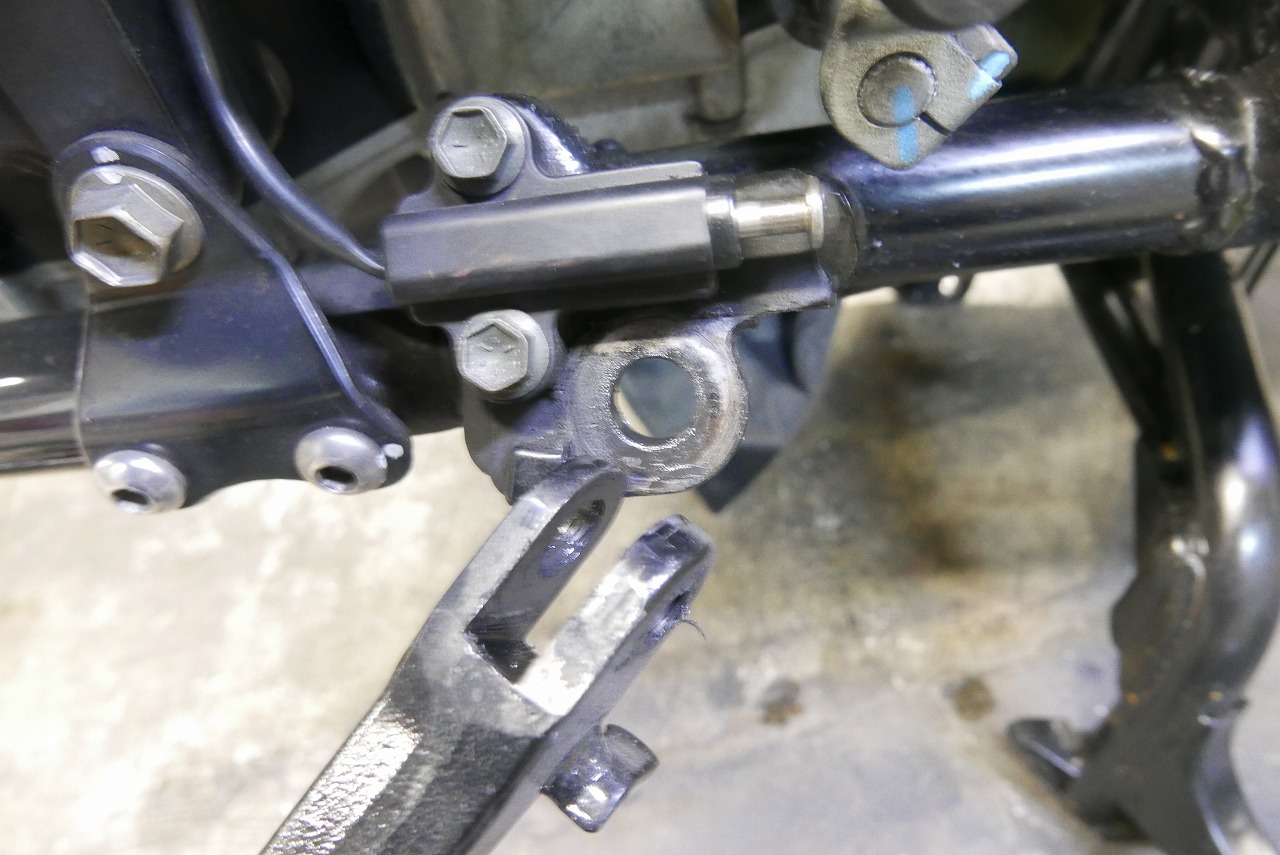
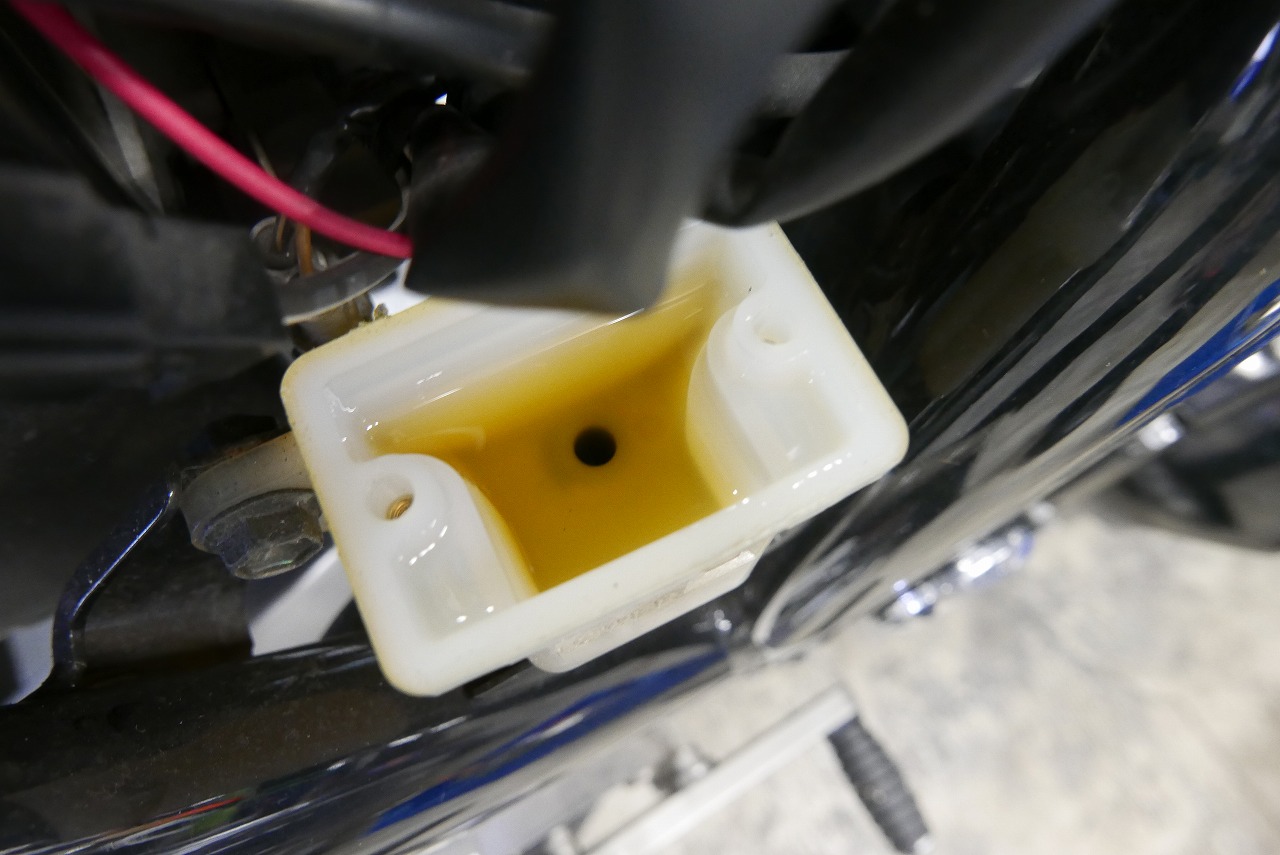
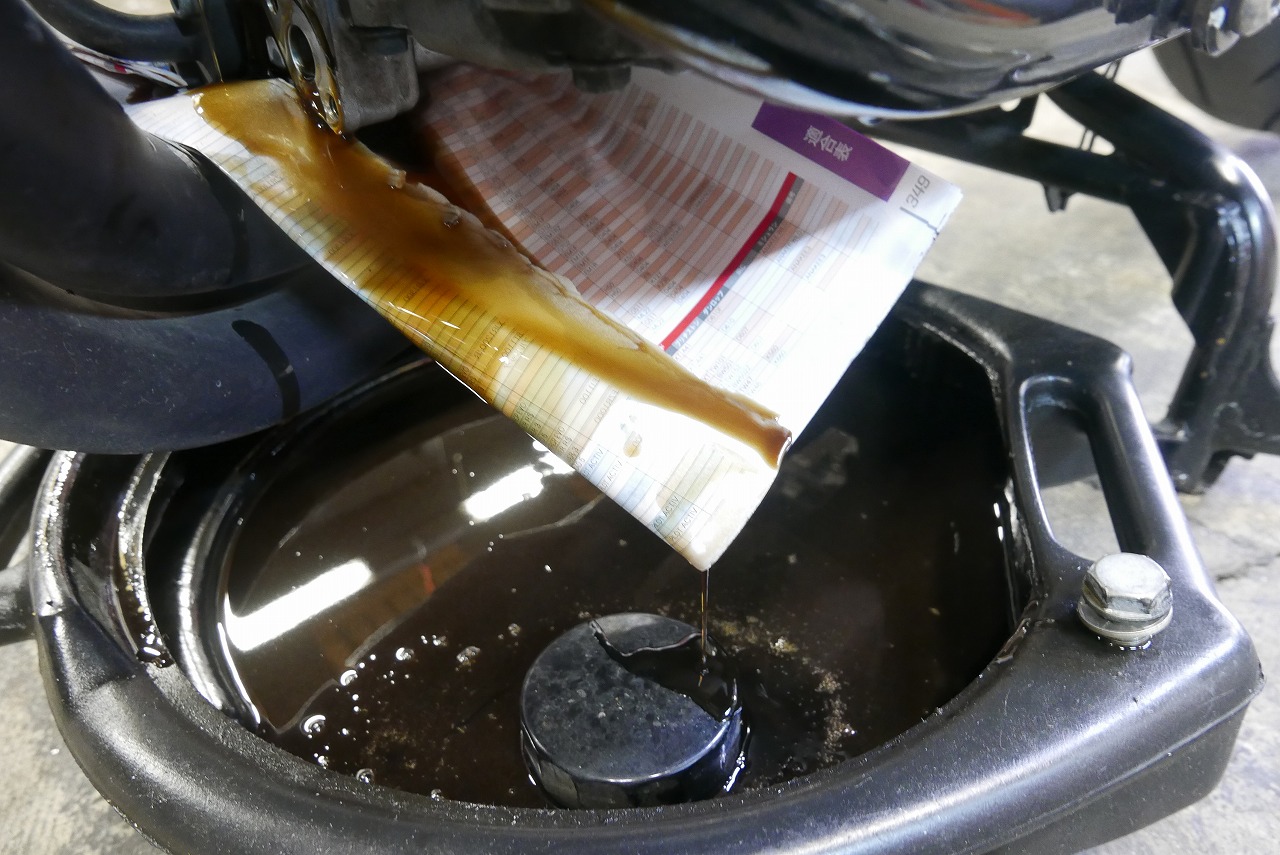
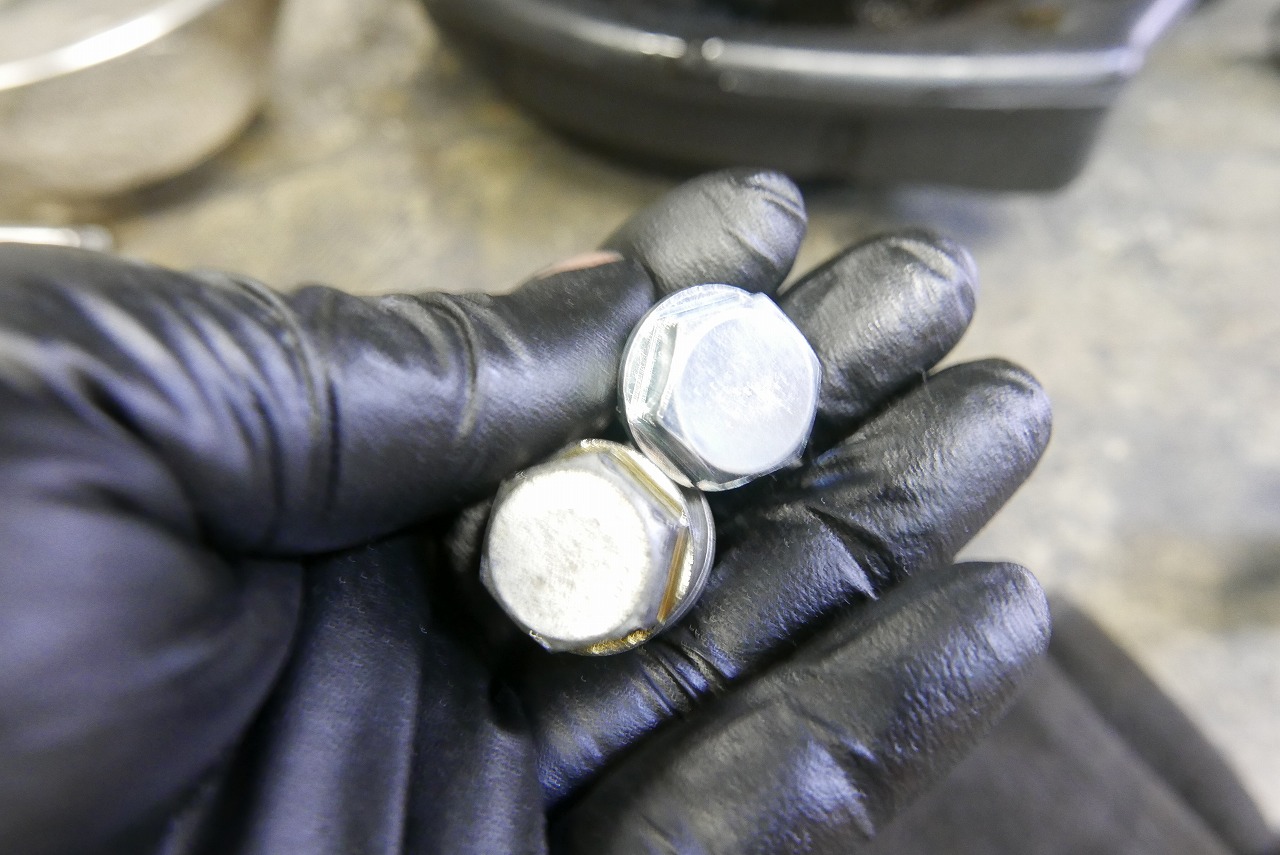
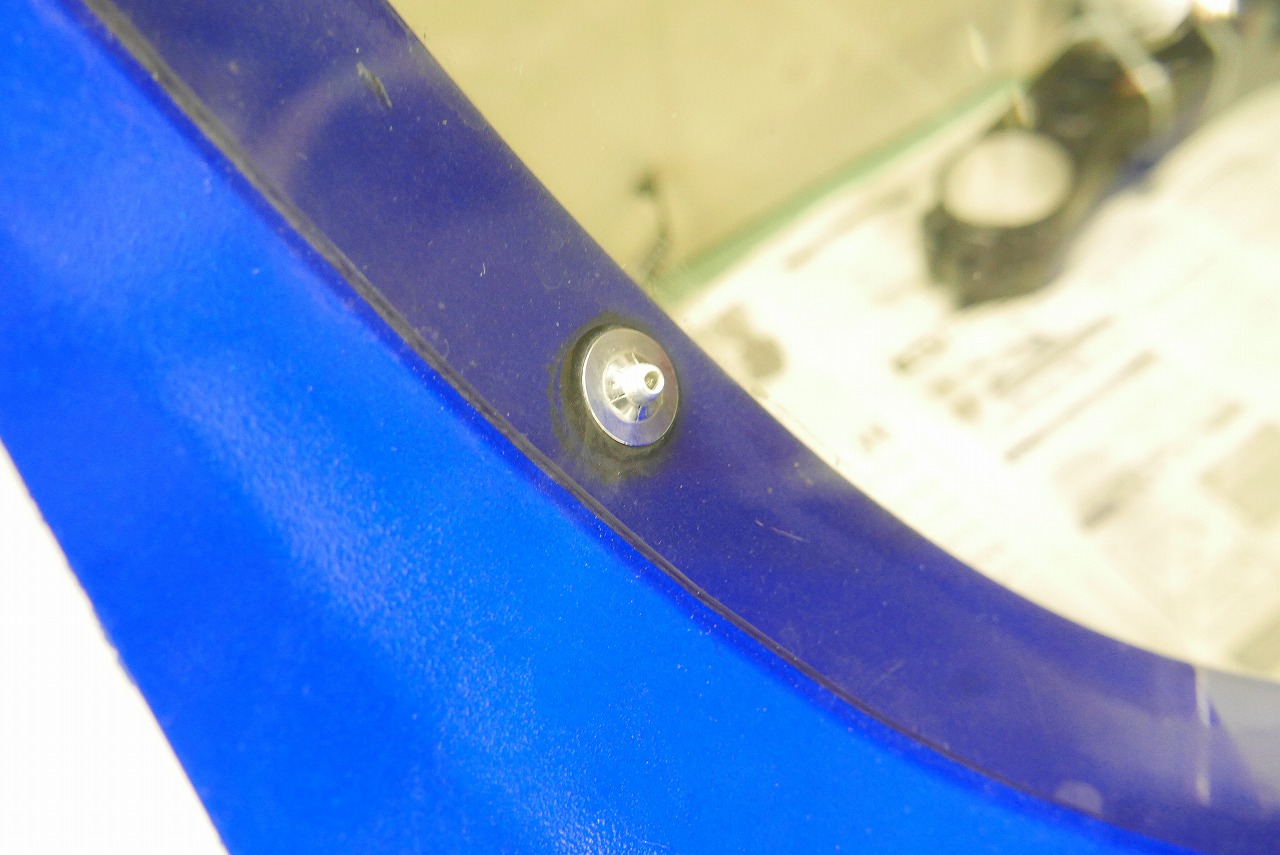
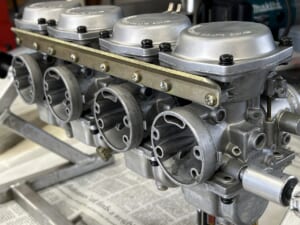
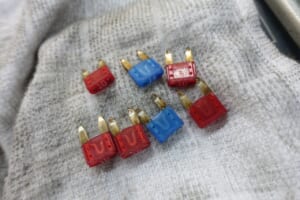
I was torn, so I decided to go with the stock option. By the way, rear turn signals are super expensive. *They cost over 10,000 yen each, so be careful.I threaded the light bracket side and fixed the bracket. How many times did I remove the headlight and light bracket for this alone… The blog doesn’t show this struggle. (*´Д`)ハァハァ But if you do it right once, there’s no “nuts falling off,” no “won’t attach at all~” tricks, so I’m investing time and effort for the future.I lightly stretched the turn signal bracket and adjusted it straight (it has some flexibility). Done~ It was unexpectedly not easy…Now we move on to Deco-mainte (maintenance). Dust and oil seal debris removal and lubrication. Wet it, stroke it, then wipe it thoroughly. Removing dirt = inner tube scratches less = lasts longer, I think.Between the top and stem, apply rust-preventive oil and wipe lightly. Preventing rust first is the key to longevity, I think.Open the top cap and exchange it with fresh air~.Front axle—no issues.Front brake pad thickness and runout—no issues.Once in a while, brake disc hole cleaning. Brake dust accumulates surprisingly. Maybe 1% touch and cleaning effect improves. Don’t forget to degrease at the end.Front wheel and tire runout—no issues.Wheel bearings—no issues.Pssh and no-touch, wipe the inside~. We don’t want it sandy~Clean the brake calipers. Nice and dusty. Gold calipers really show the dirt, don’t they.I also polished the pad springs.If you really feel the benefits of brake pad grease, then ◎ If it’s more of a mental or insurance thing, I think it’s better not to apply it. By the way, if you apply it, it sticks to the caliper piston = huge dust accumulation.Moving on to rear work. Scrub the chain thoroughly to remove dirt roughly and thoroughly.Wipe it and use a rag to wipe away other dirt too, and I think you’re good ◎. Plus, if you keep it up daily at a level that doesn’t get annoying, I think it’ll stay clean.Lately I’ve been using two types of chain oil. First apply Bel Hammer and work it in deep with massage~, then wipe it off, apply DID Lube and massage~ and wipe off to finish.Grip and massage while spinning the chain, and you can feel “rough” or “stuck” spots transmit to your hand. Subtly putting myself in the mindset of the chain slider and sprocket~ massaging deep~ wanting it to penetrate.Having an oil film on the surface makes it less prone to rust, I think.Inside the chain case. Wipe it when you remove the tire.Rear axle—no issues.Tire runout—no issues. The rear wheel right side had slight runout. Not enough to cause problems in actual riding.I also polished the small aluminum parts. Subtle cleanliness feels good.Clean the rear caliper. Piston condition—no issues.The spark plug is oddly black… Let’s switch back to standard CR8EK and see how it goes.Replace the air filter too. The color difference is obvious when you compare them. It’s like getting a fresh mask—new is always good~ reassuring, I think.The inside of the air cleaner box was clean.Balanced the carburetors. Stable exhaust sound = quieter engine. Four cylinders shouldn’t scatter.Surprisingly, gunk accumulates on the key… At times like this, apply rust-preventive oil and scrub with a toothbrush~ it gets subtly cleaner and inserts smoothly, I think.Checked all the fuses. “It won’t come out!” happens 94% of the time.Clean and rust-proof the fuel cap occasionally. The tank experiences quite a temperature swing. Condensation can form inside, so be careful.So the fuel doesn’t go bad, I added Wako’s Fuel One. Honestly, I’m not sure about the effect.Clean and lubricate the throttle. In clean condition, not much use…Disassembled, cleaned, and lubricated both pedals and the side stand. Of course, lock nuts are replaced.Replaced the fluid~ (Front was completed when we replaced the brake master.)Engine oil is Newtech NC50 10W-50We replaced the drain bolt with a new one at this time.Suzuki’s fastening method we wish they’d stop using. It’s press-fit with rubber pinched, so after some time it gets wobbly and rattles. We removed them all and replaced them with push rivets.
Plastic should use plastic, or rubber is gentler, I think. That concludes this job.