. I’m told that writing blog posts is part of the job too. Well, I guess that’s right.
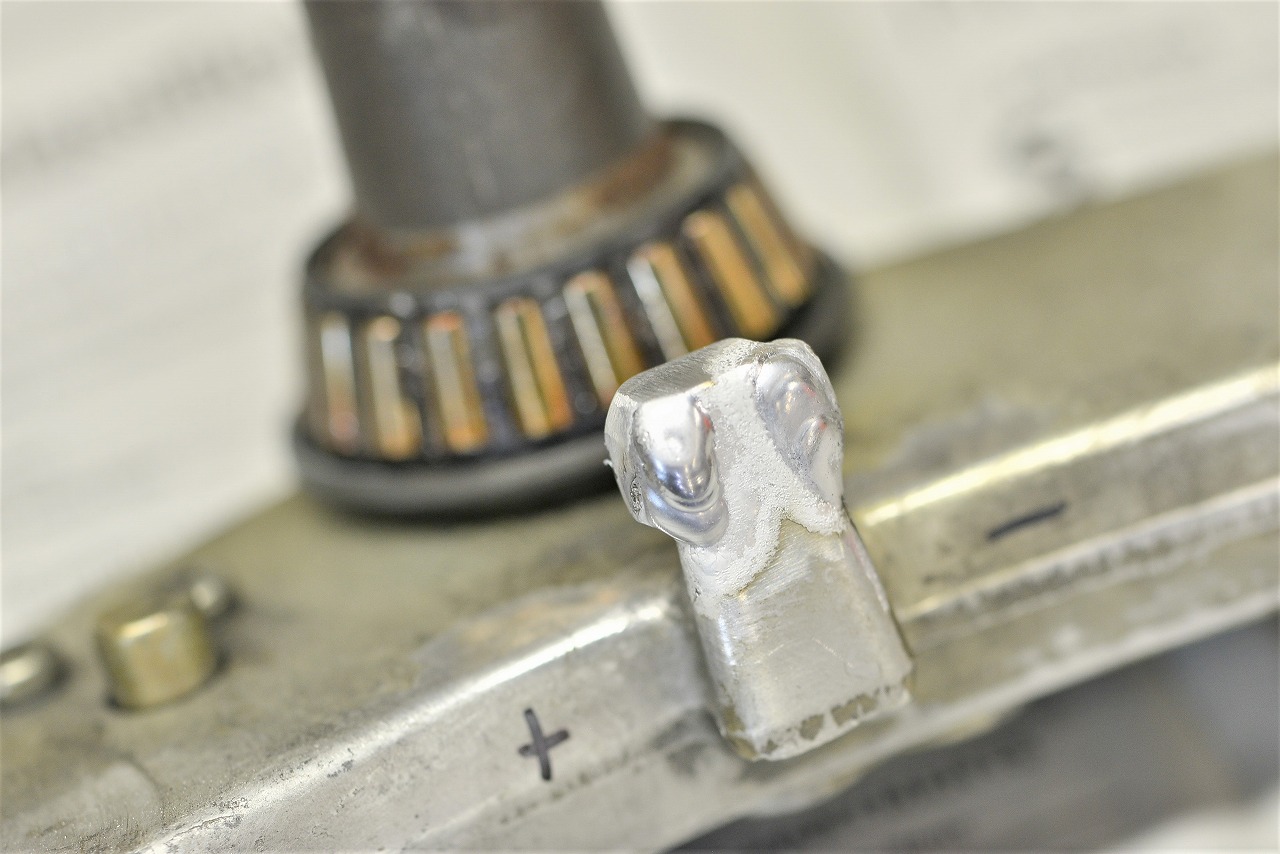
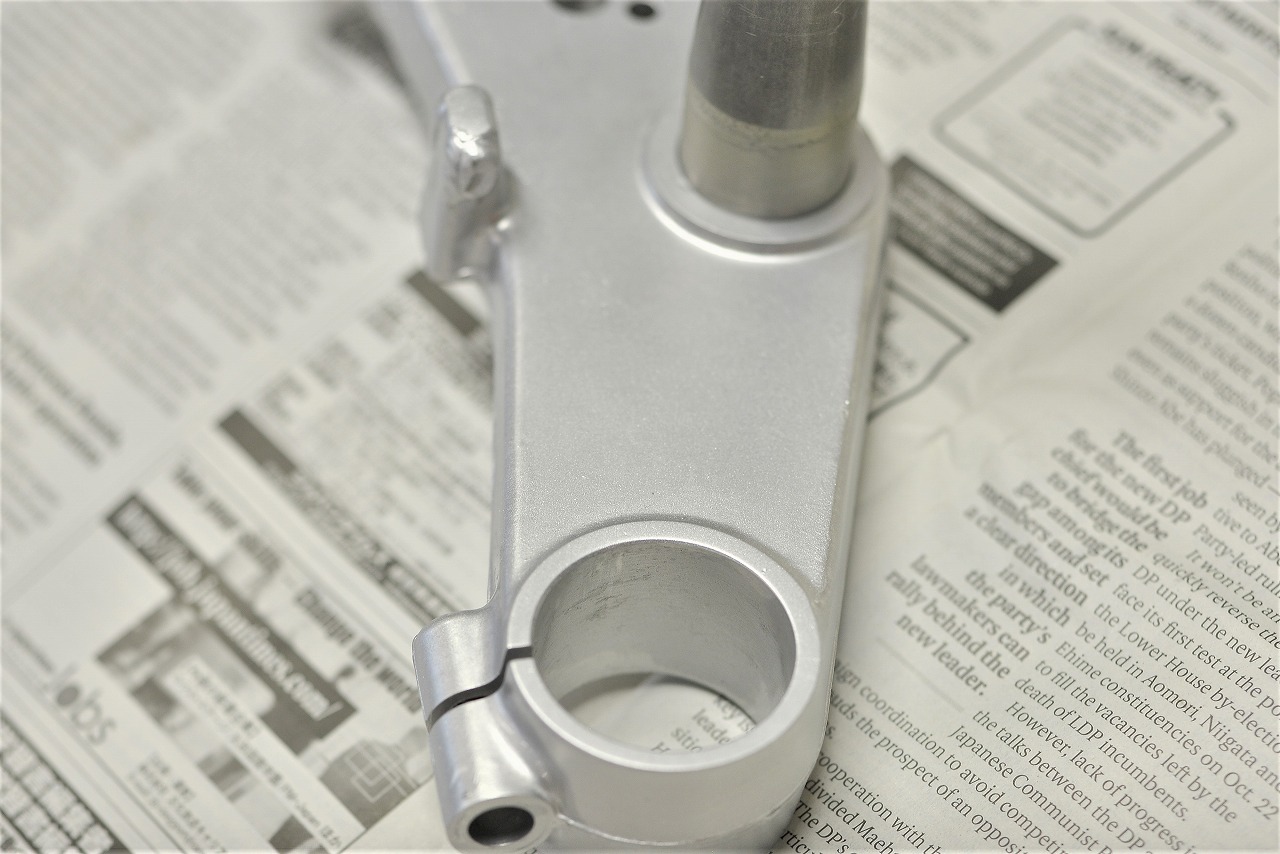
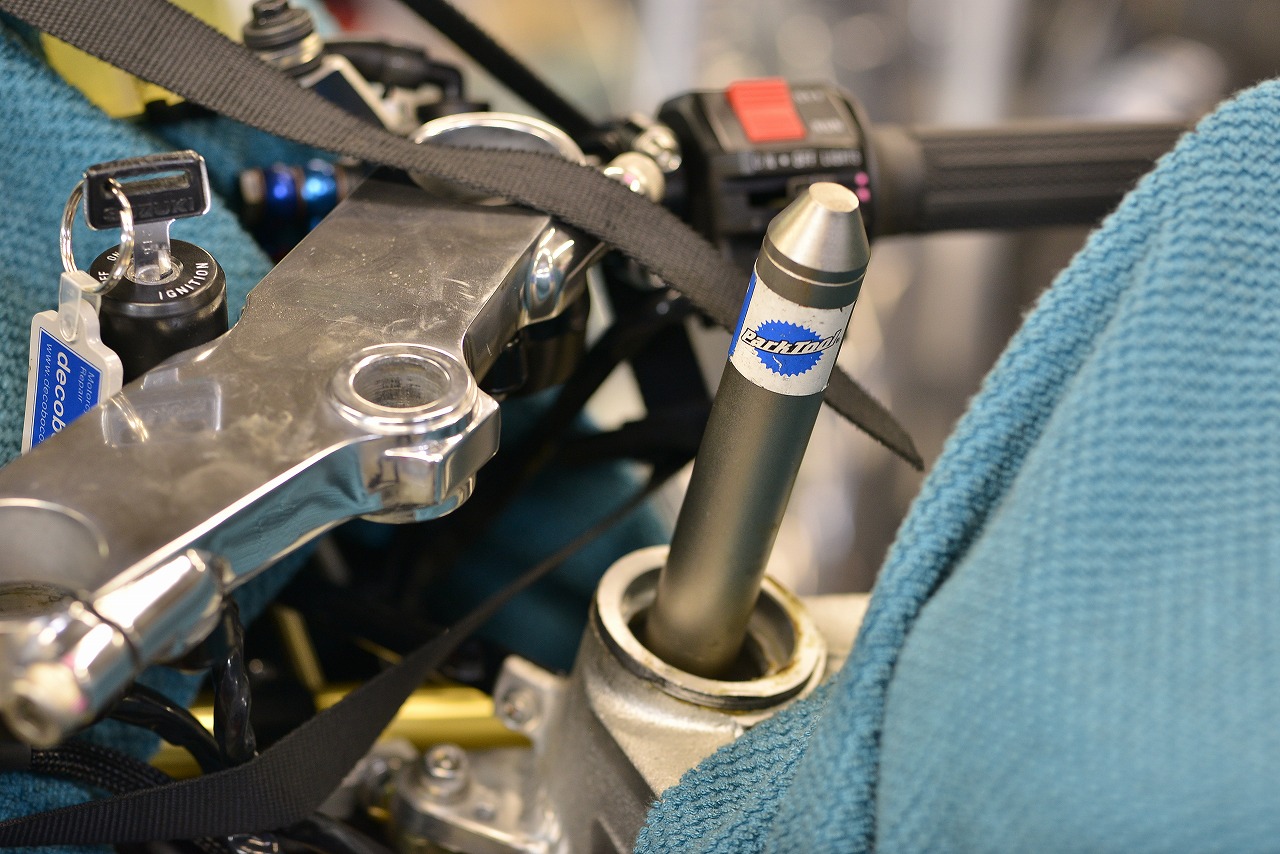
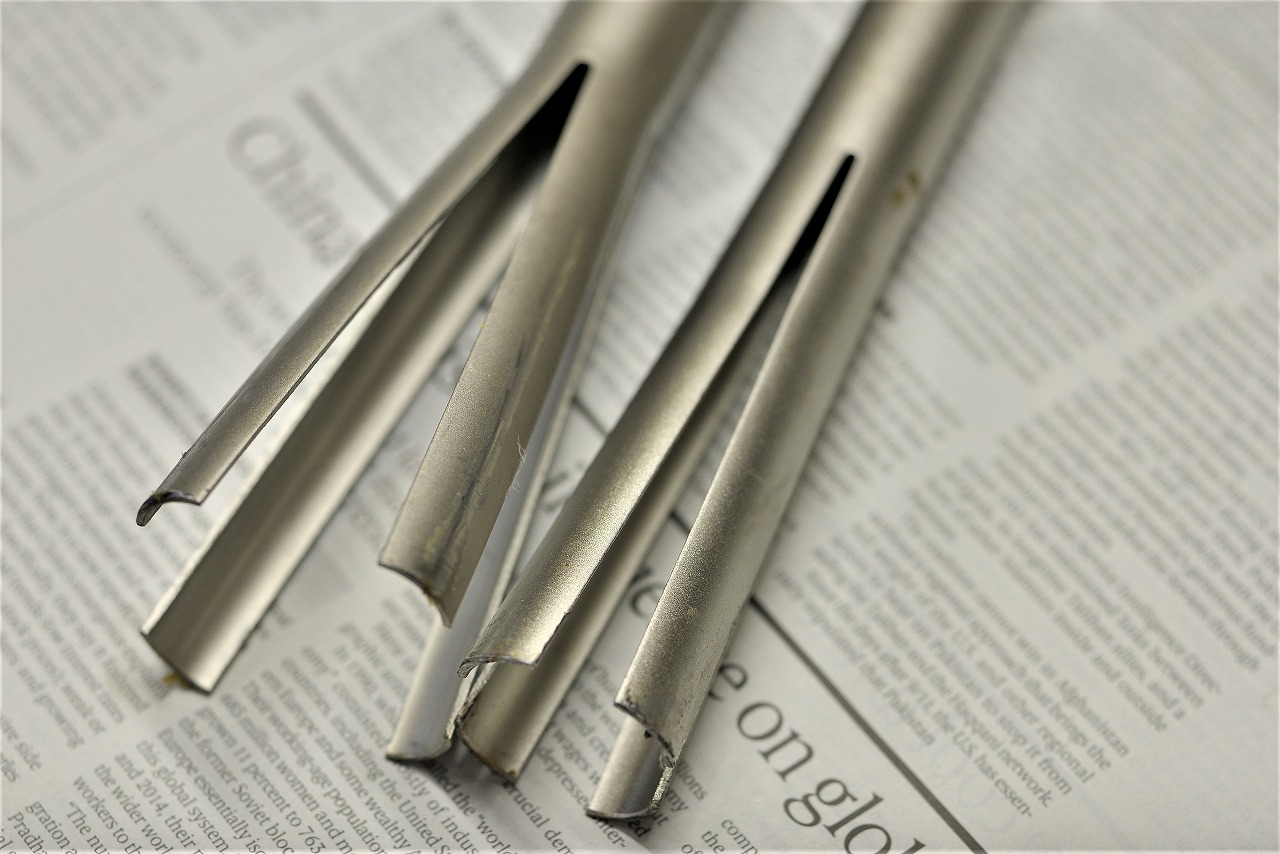
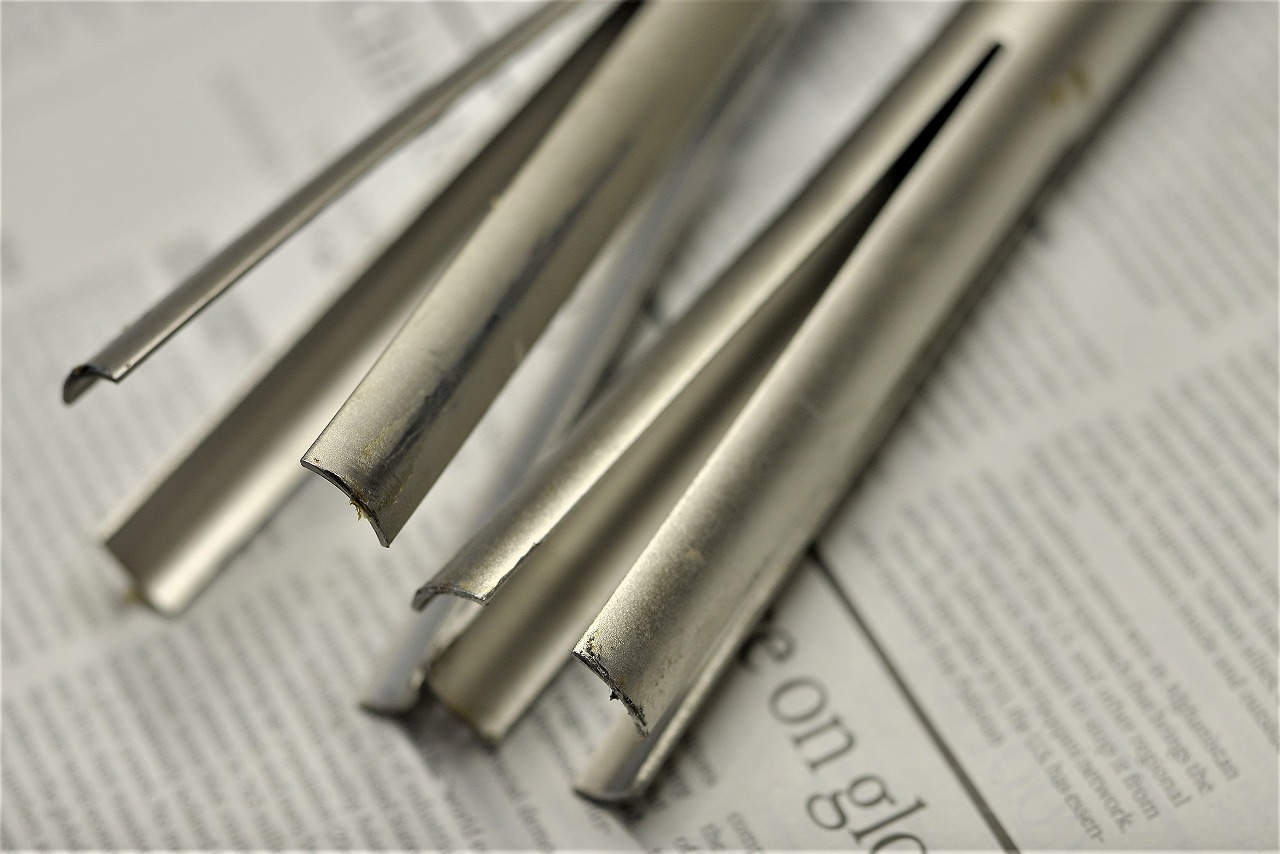
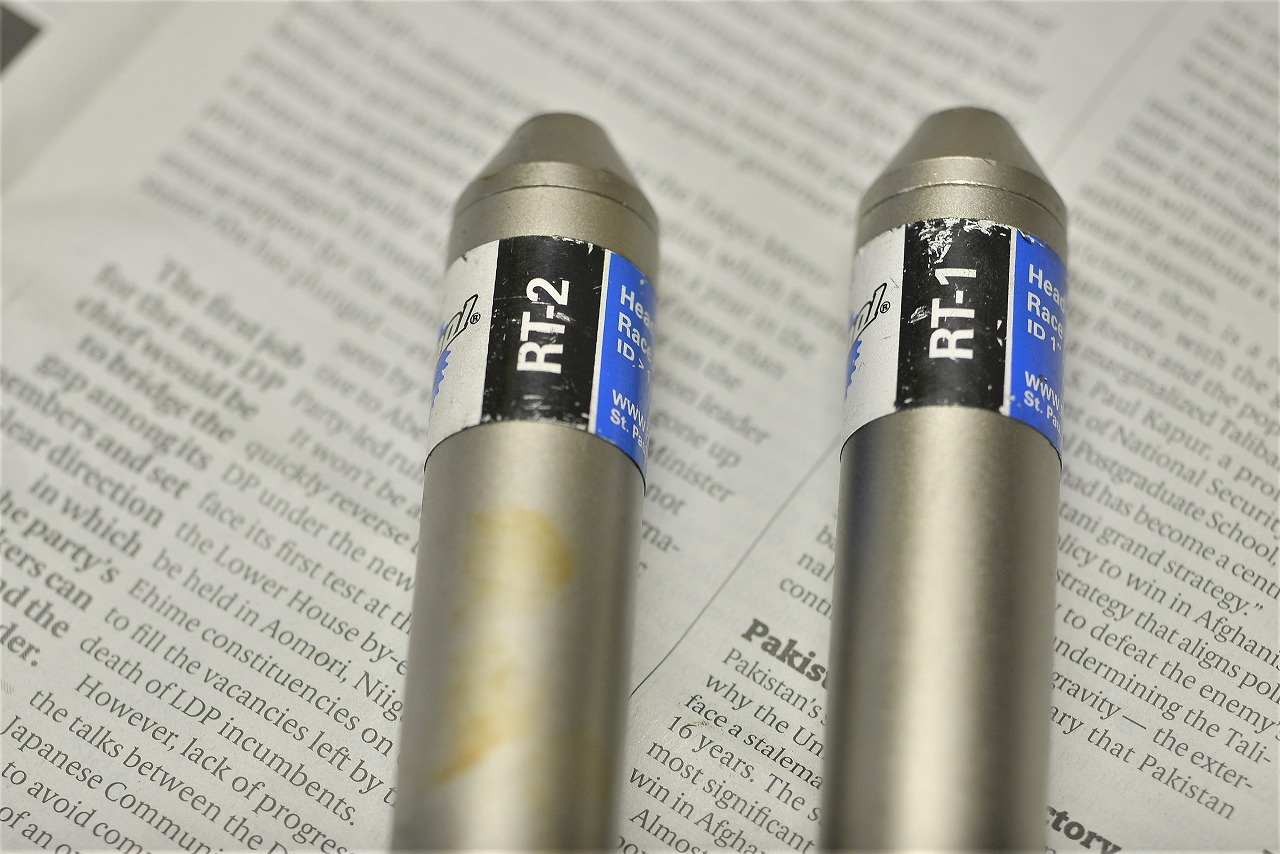
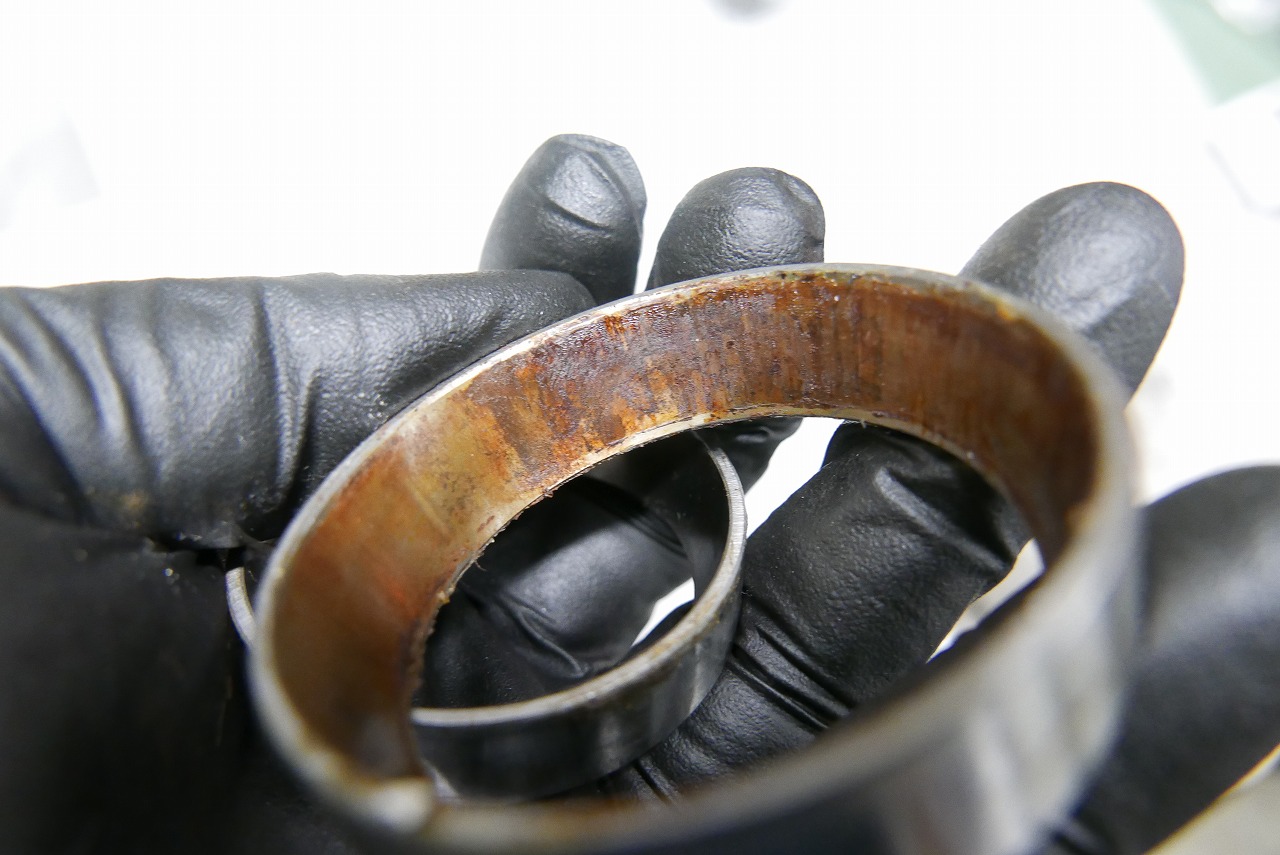
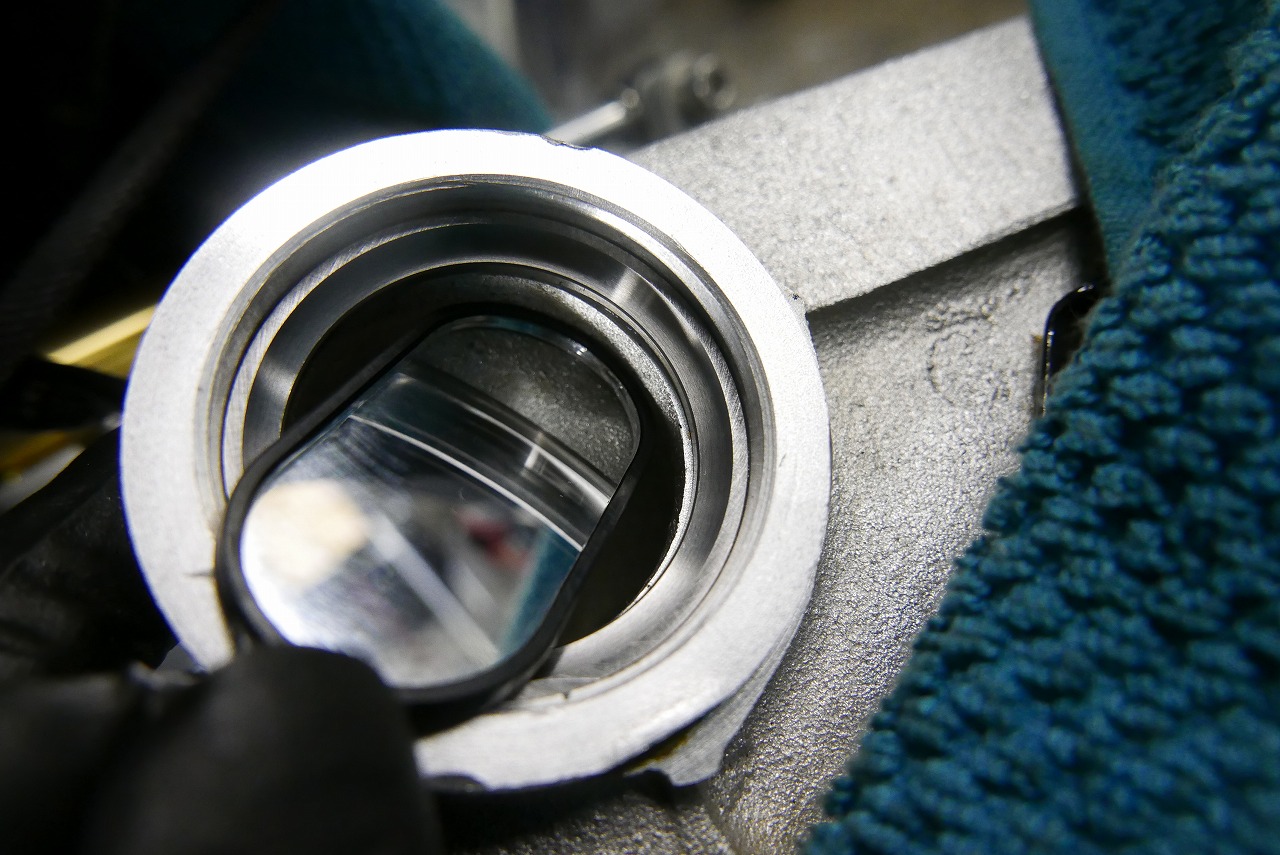
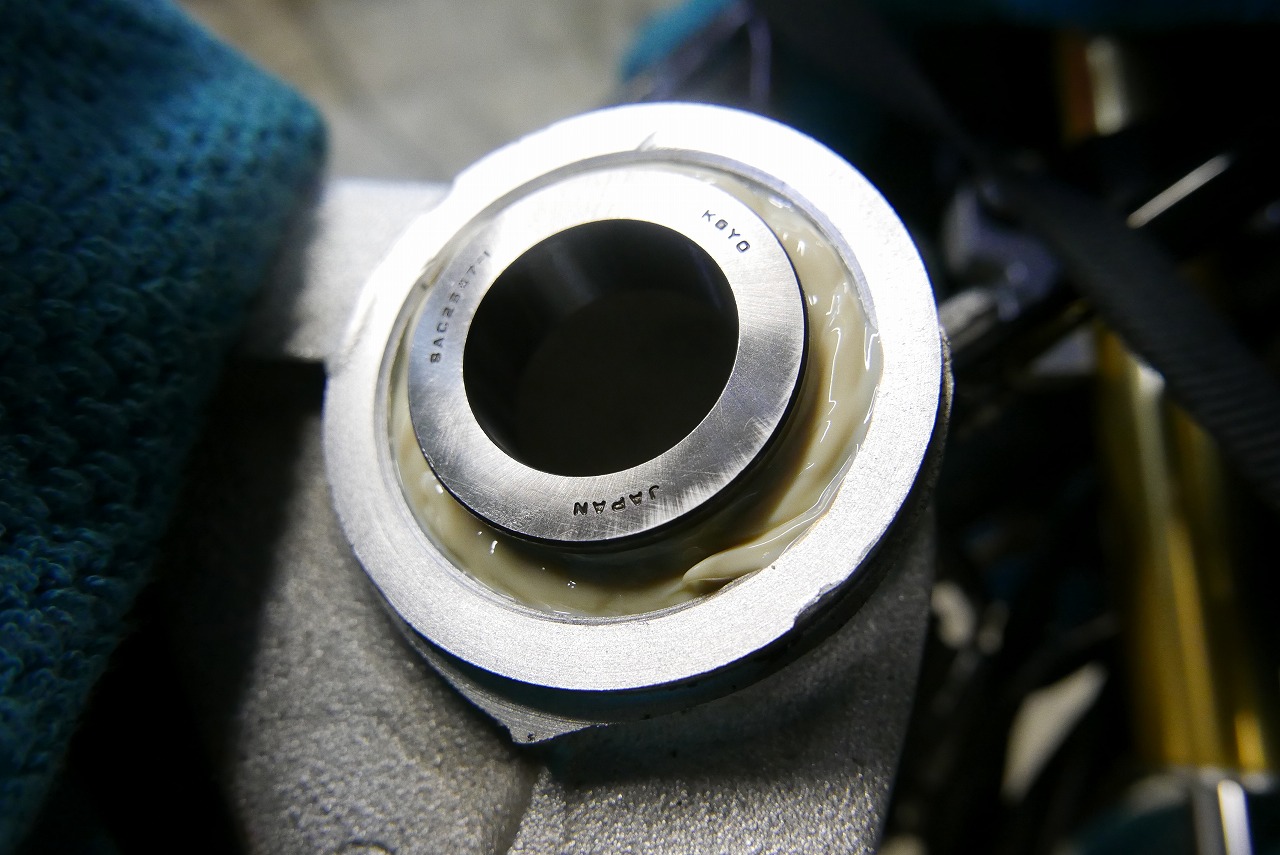
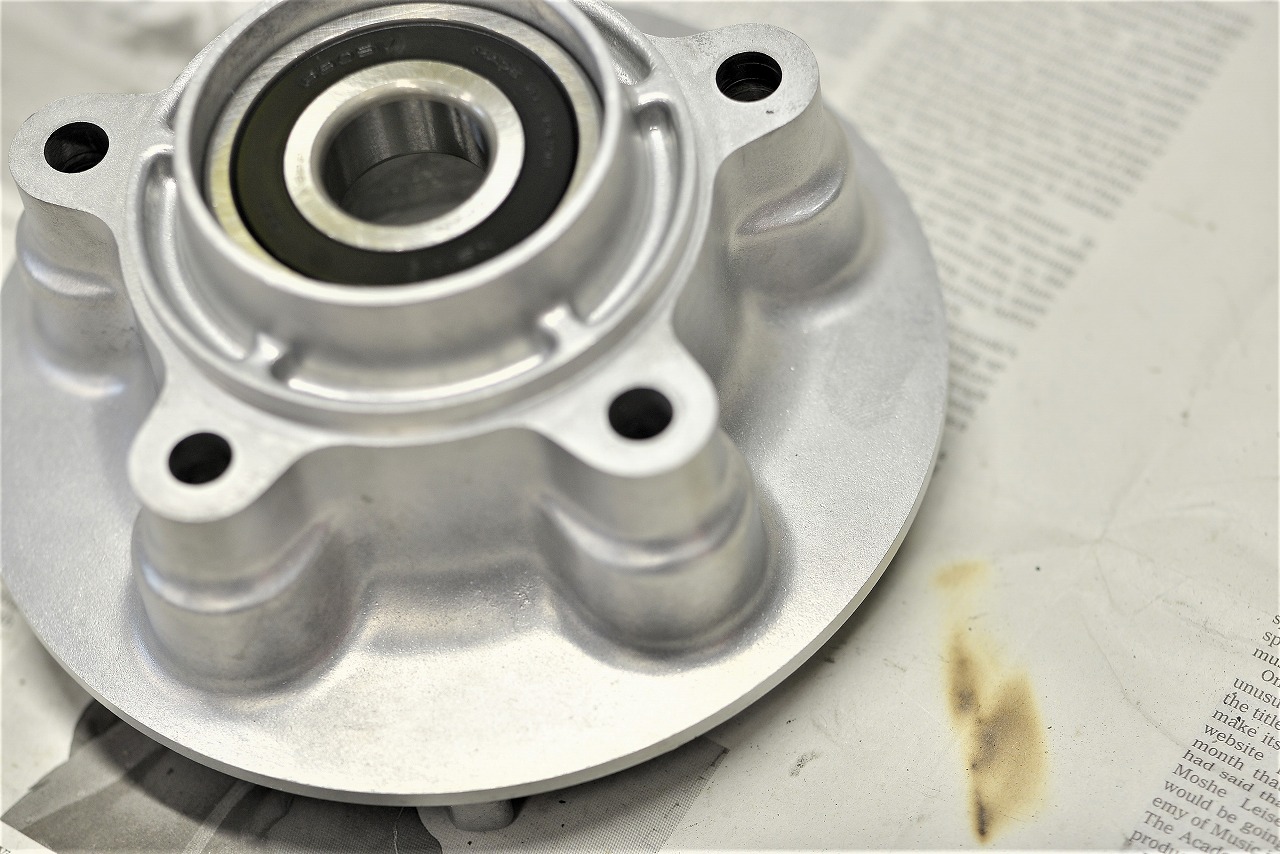
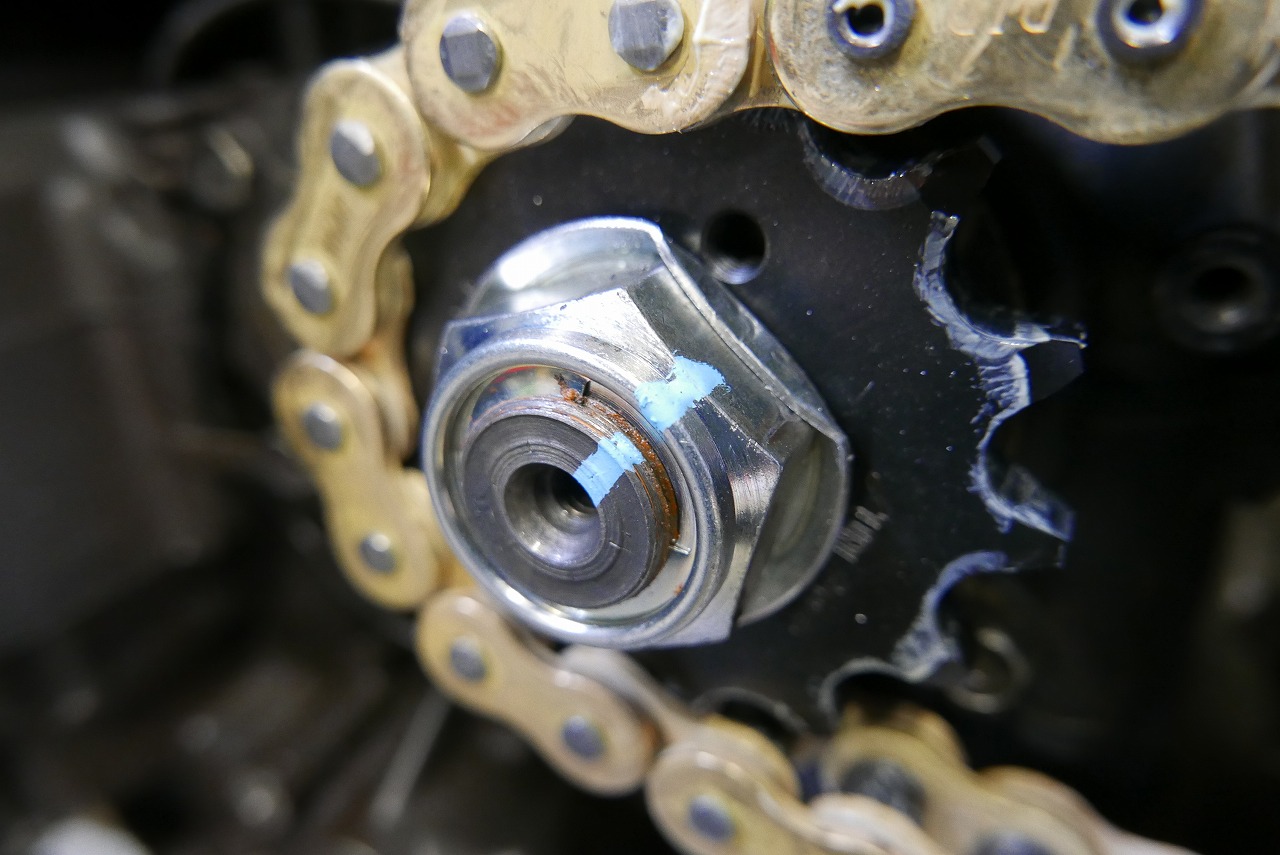
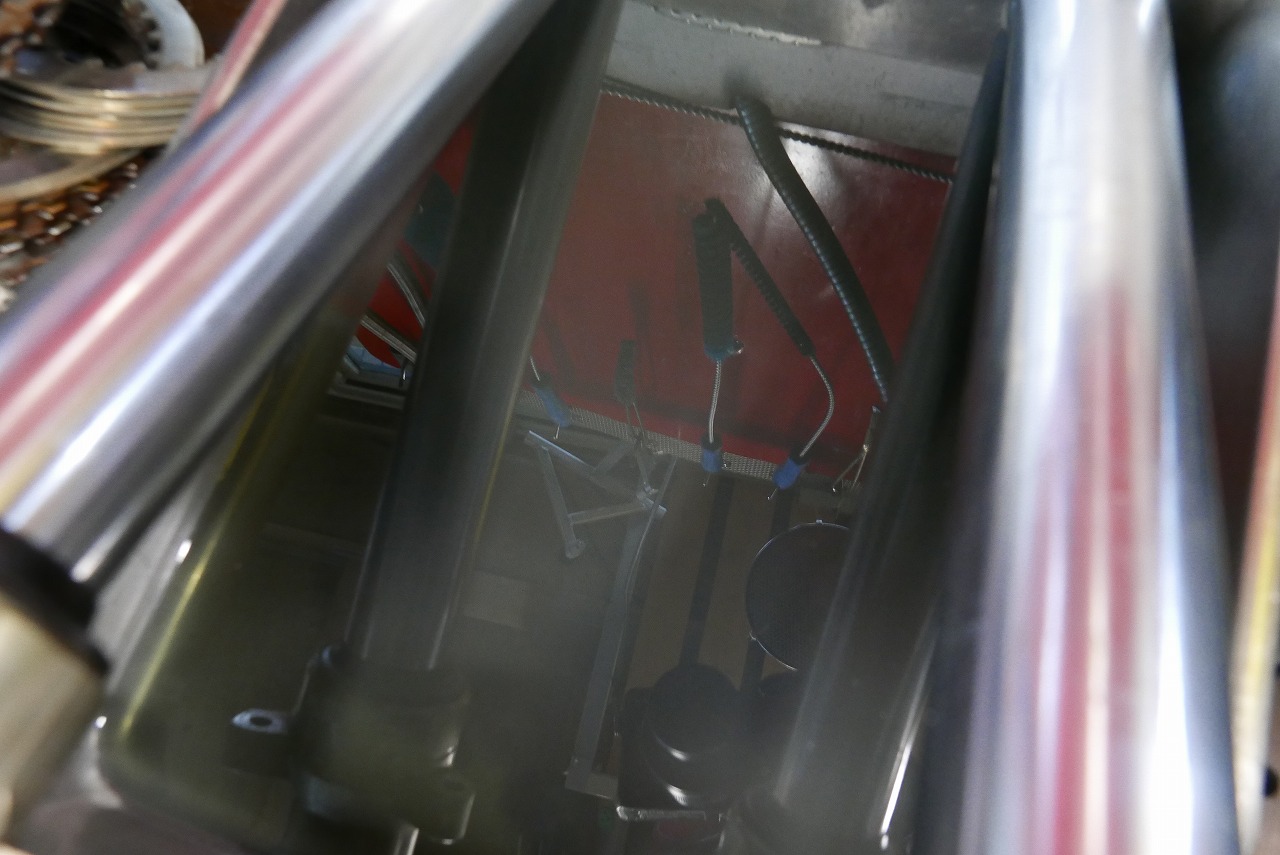
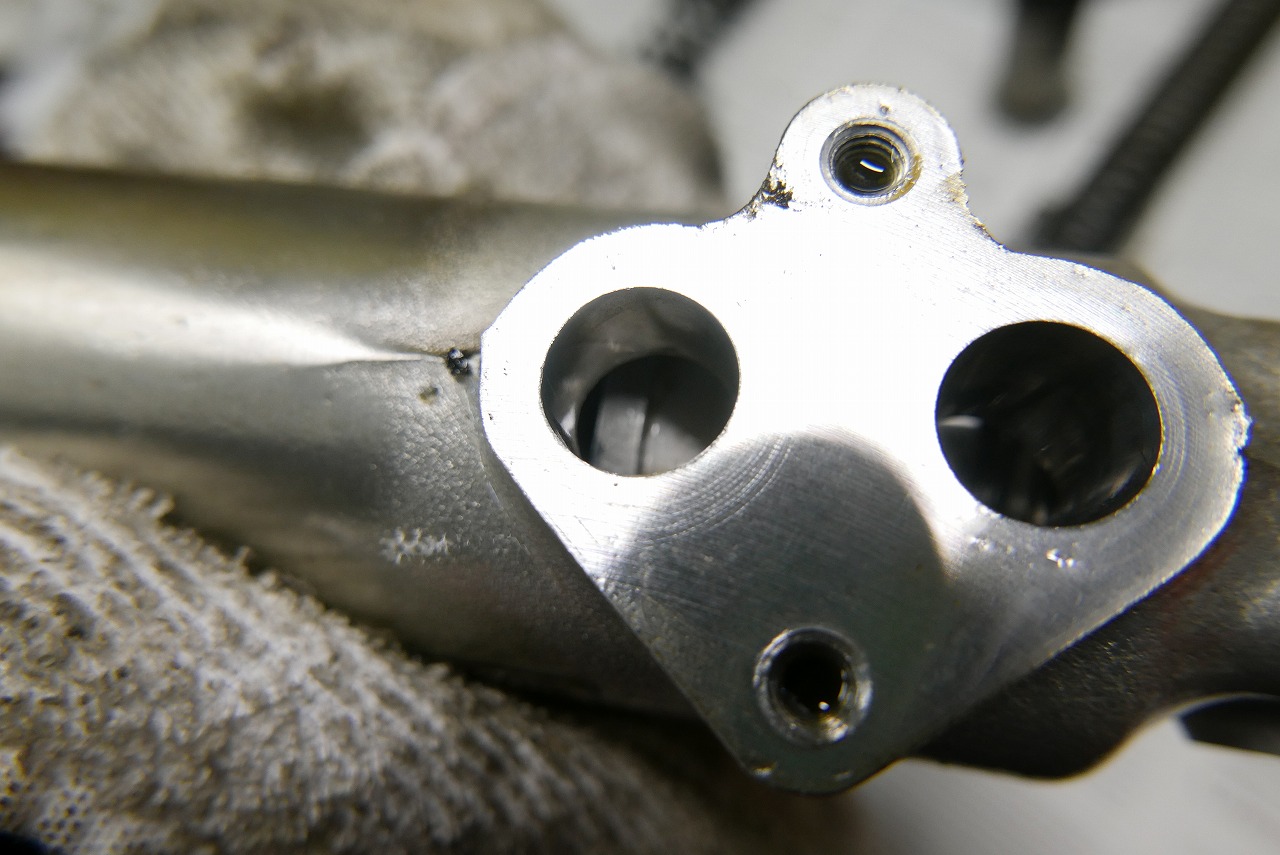
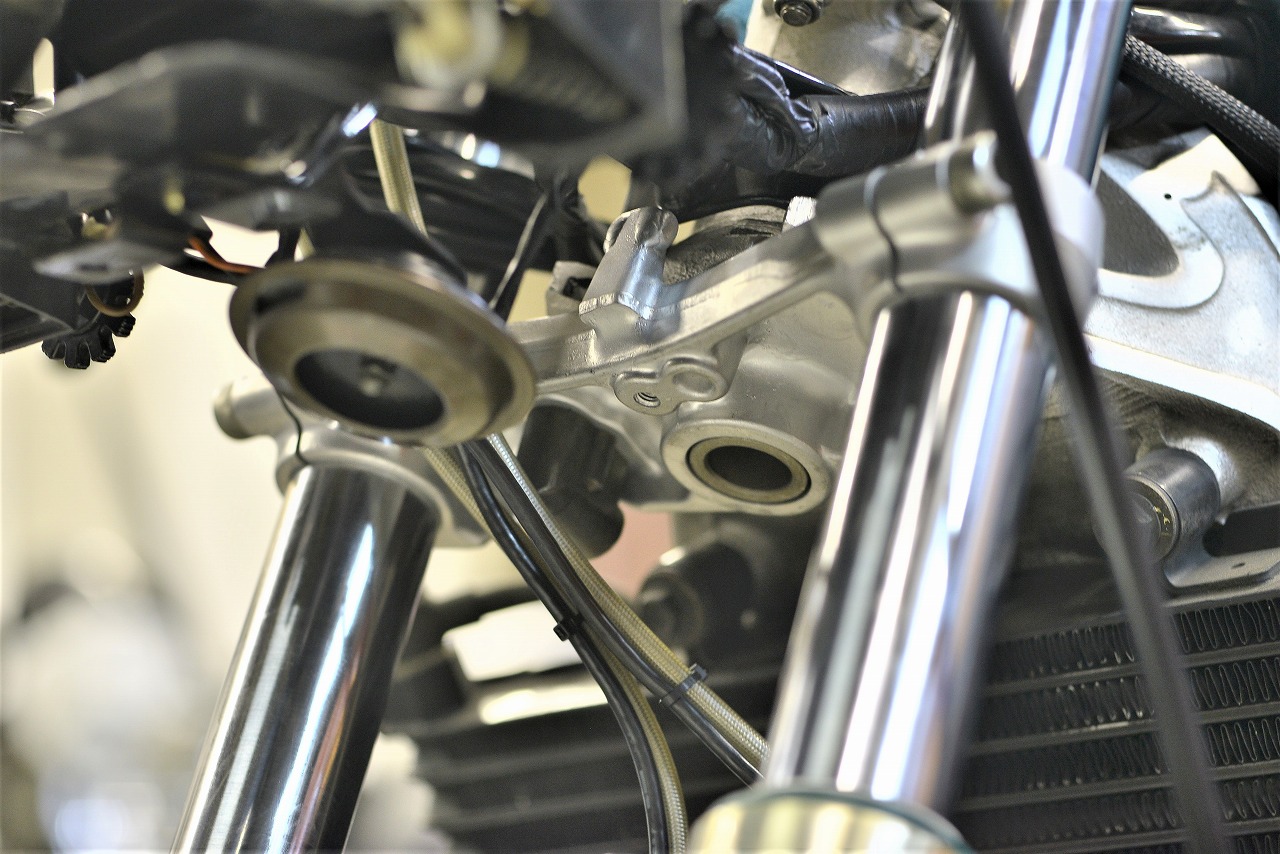
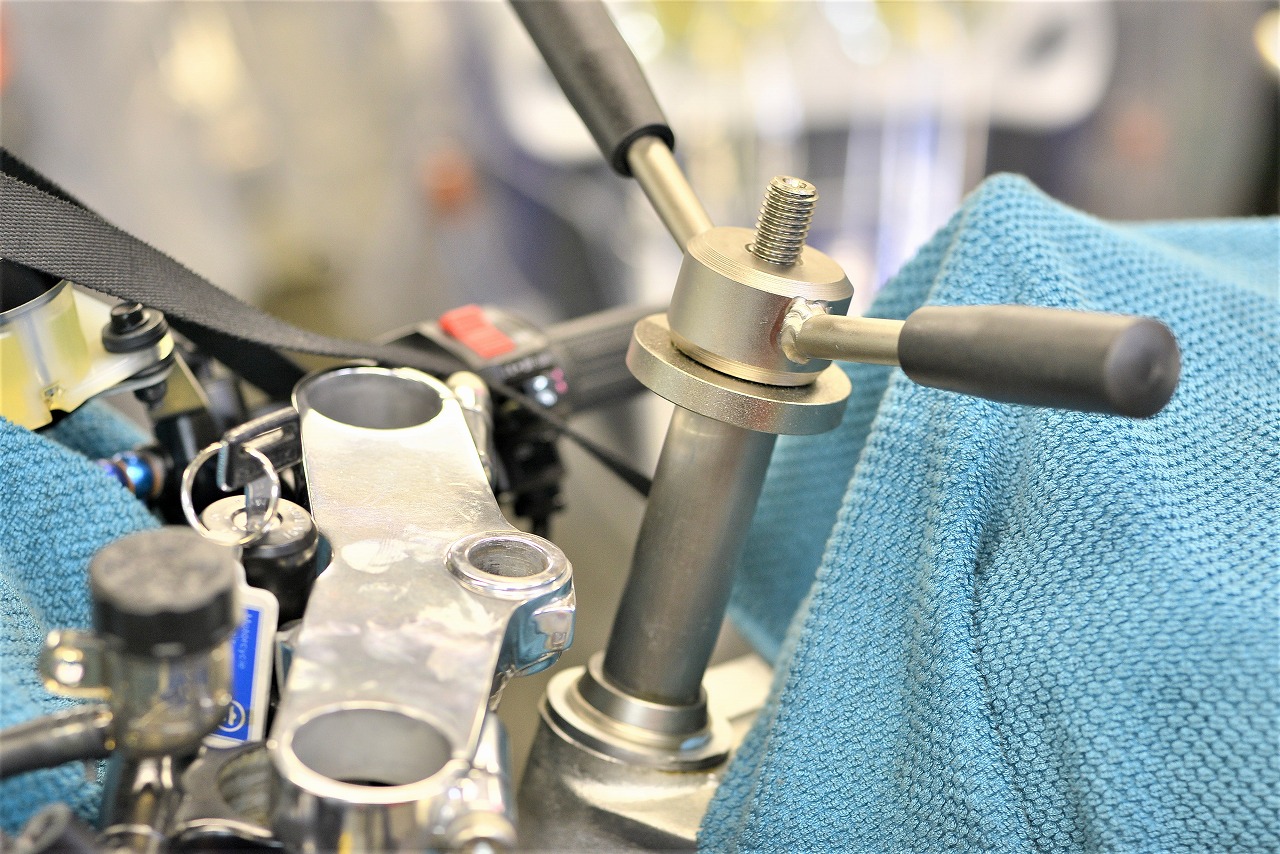
If people are looking forward to it, I have to deliver. Little by little. Aftermarket parts don’t just fit that easily. Turn right and it hits hard! This one is currently installed, but the right side hits too. Since we’re removing the stem anyway, it works out, so we’ll address both sides. We remove the stem and build up welding rod on the right and left sides, then adjust afterward. Cutting threads on the stopper and using a nut makes the precise thickness tricky, and since the mating surface isn’t flat, it loosens easily. Stopper regulation is quietly important. We polished the stem until it shines. Customers quietly get hooked on this gradual restoration approach. One of the tools for removing races: Park Tool RT1 and RT2 I think it’s worth having. They’re really fantastic when the race has shallow engagement. By the way, the saying goes “the bigger doesn’t always cover the smaller.” Having both makes things much easier. *Note that these removal tools alone won’t complete the set The rust was pretty sharp and the timing was perfect. Strangely enough, even when we lifted the front and turned it left and right, it was surprisingly smooth. We checked and were amazed! There’s a world out there that experience and intuition haven’t revealed yet. It’s constant learning. After replacing the races, we check with a mirror. Better safe than sorry. We apply Neutech NC100 grease, which we trust absolutely for both upper and lower, and assemble. When replacing the chain, we also replace the sprocket. Remove the hub and it’s a bit dirty. If it were me, I’d want to clean the hub too! So we clean it.
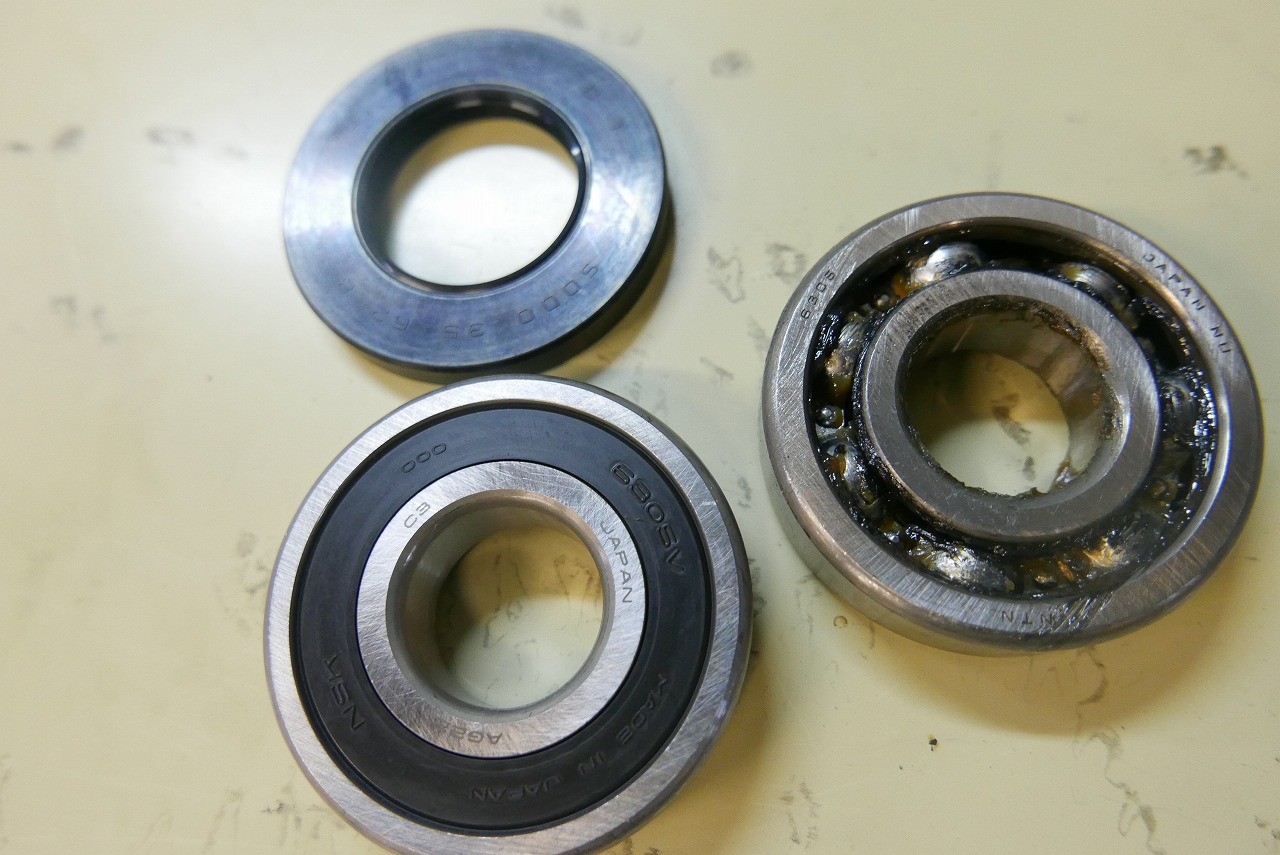
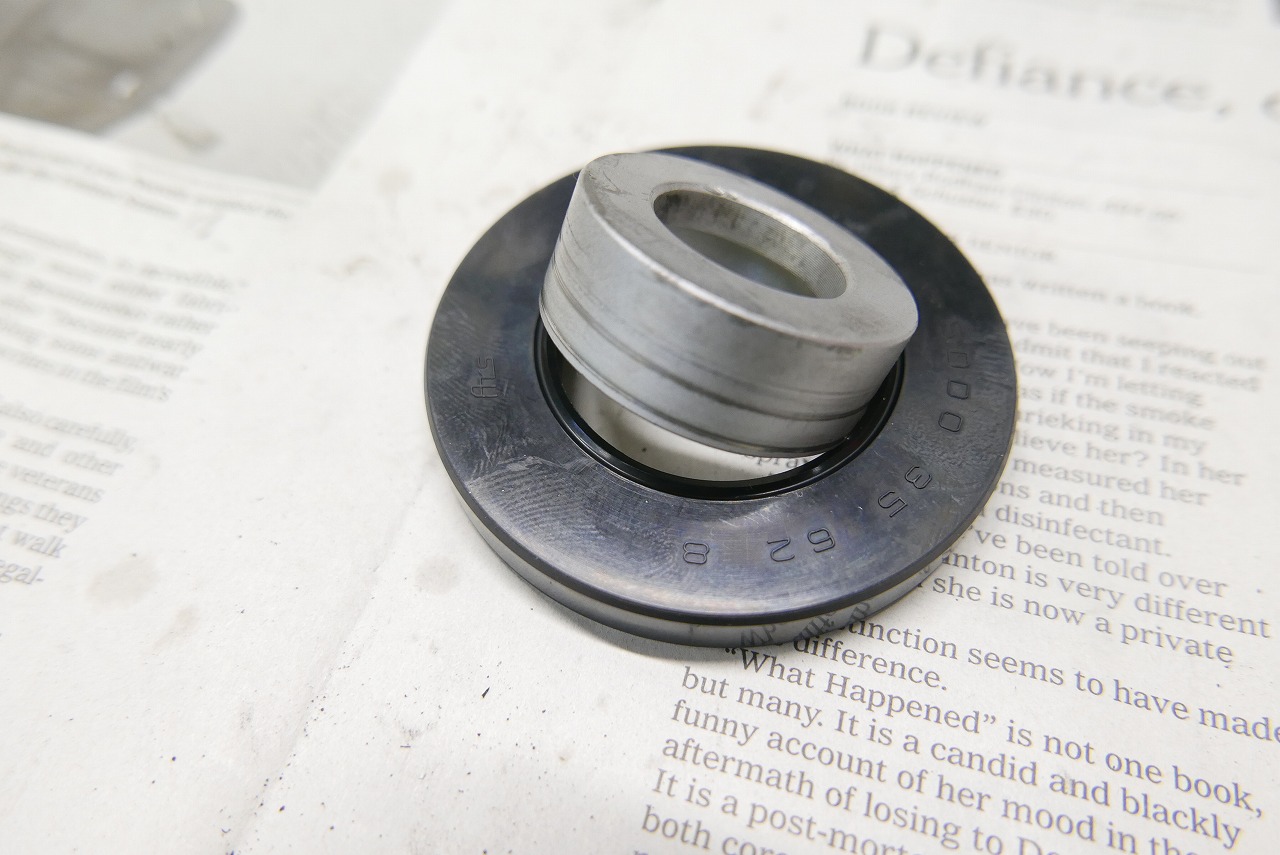
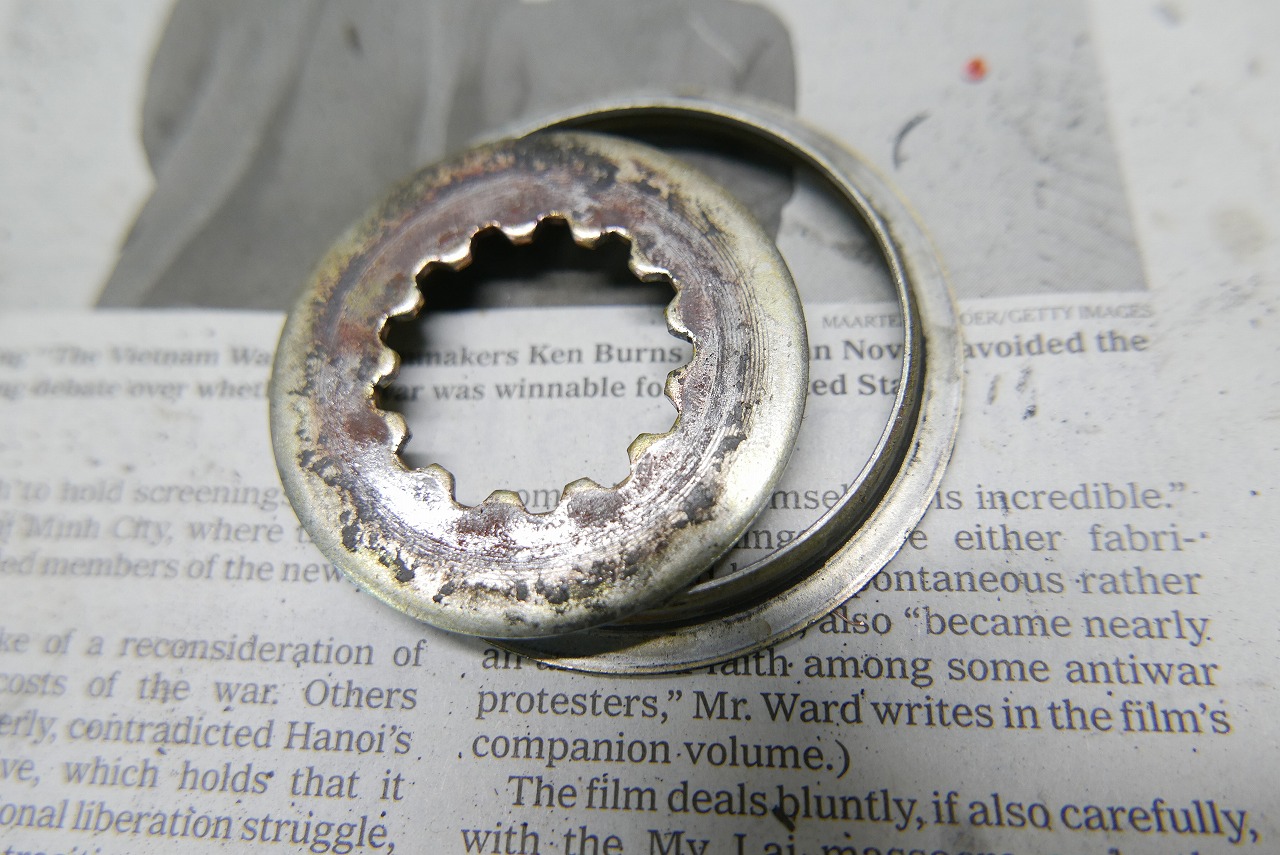
We remove the bearings and polish them. I think it looks cleaner than new. With double-sided seals, grease won’t leak out, so they’ll last longer. Suzuki wheel oil seals are super tight. I wonder if they’re the same as something else. If we rub them to loosen them up, the collar won’t wear as much, friction decreases, and it should run a bit smoother. Back in this era, it seems they wanted to reduce noise a bit, so the setup is “convex washer/rubber/sprocket/rubber/convex washer.” Subtly, this has different thickness than a standard lock washer (thicker) = removing it is wrong, and a regular lock washer is too thin, so that’s the flow.
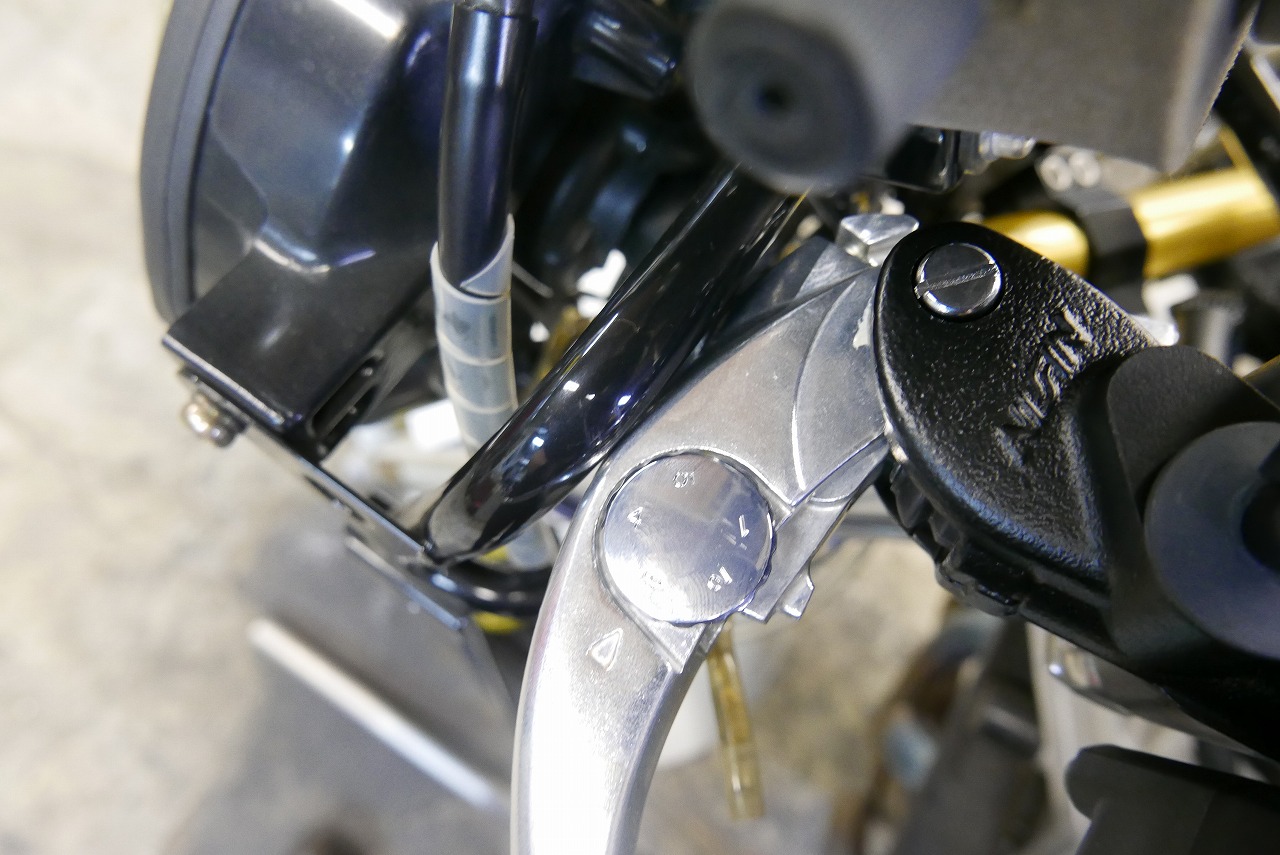
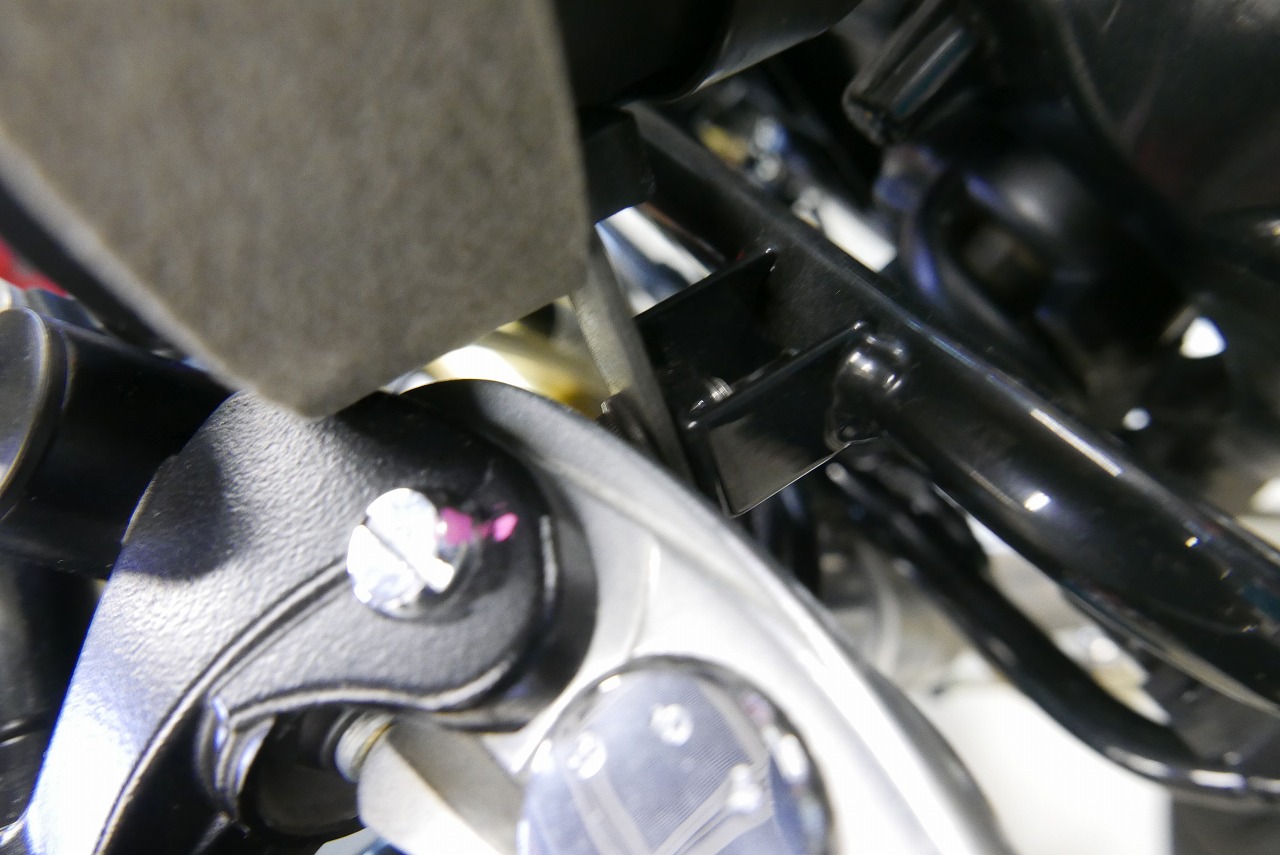
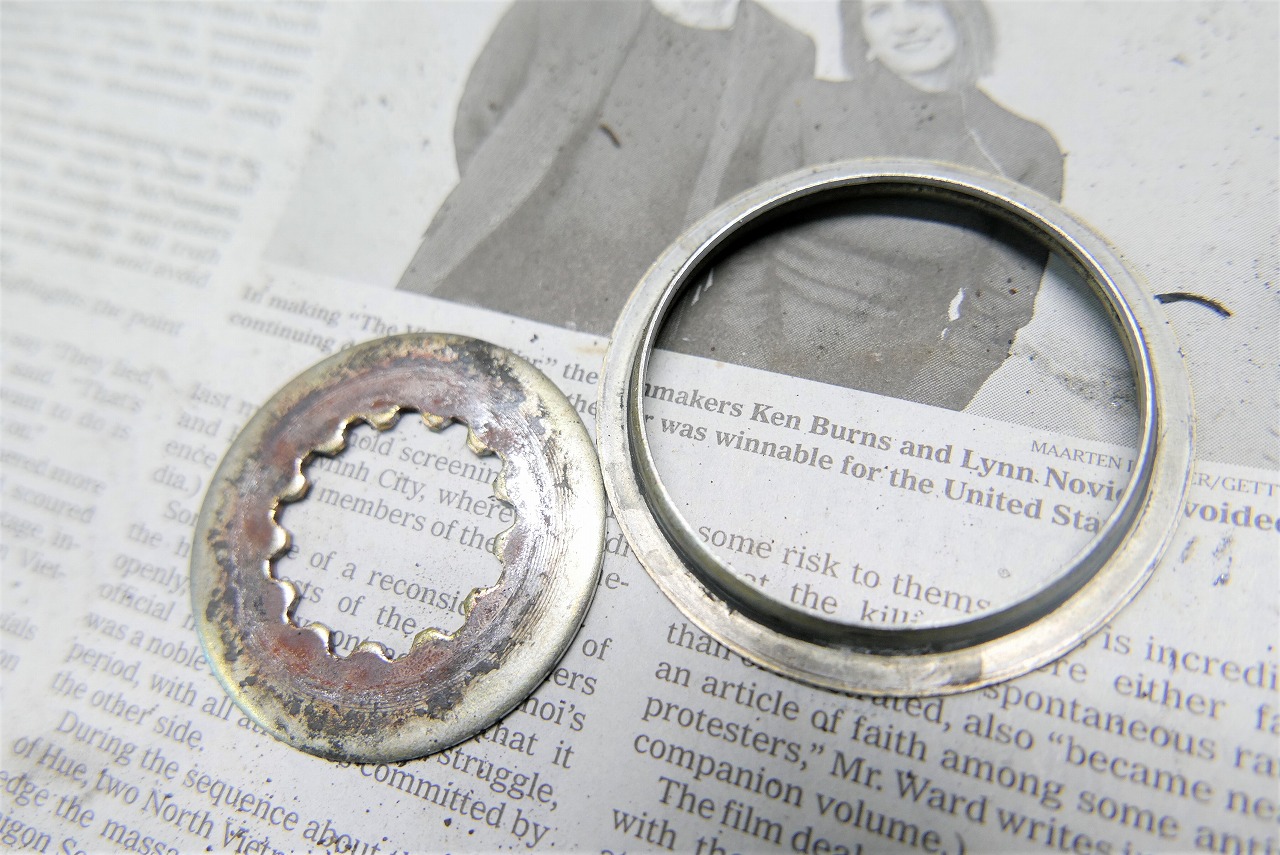
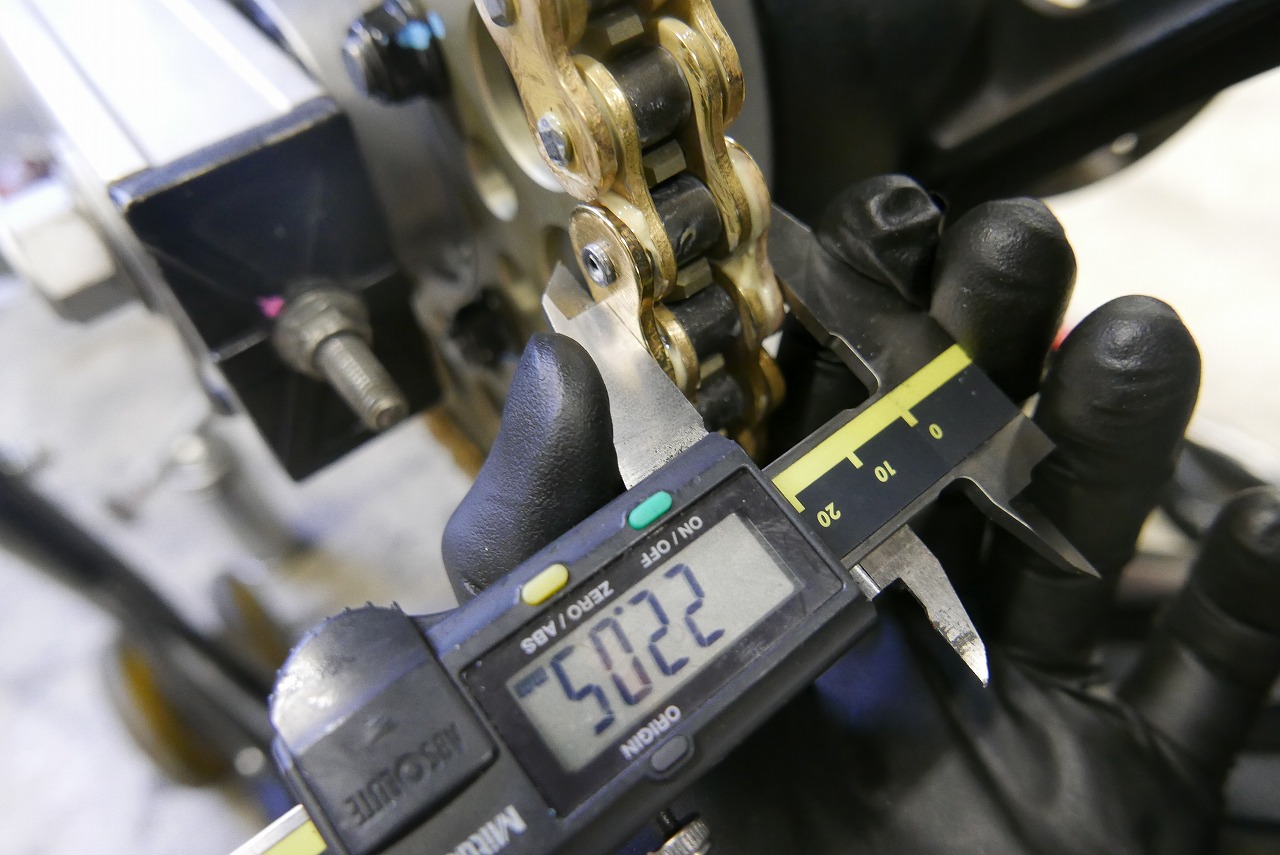
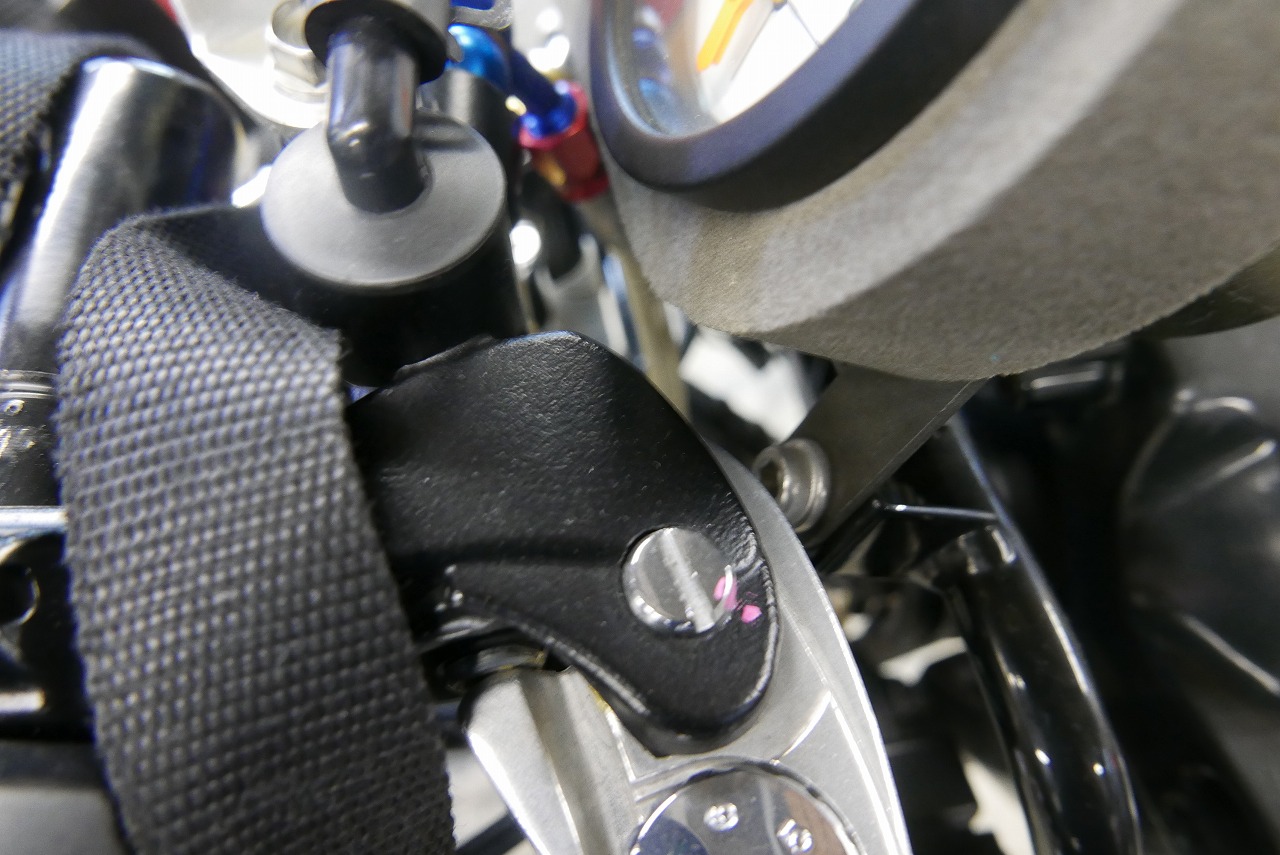
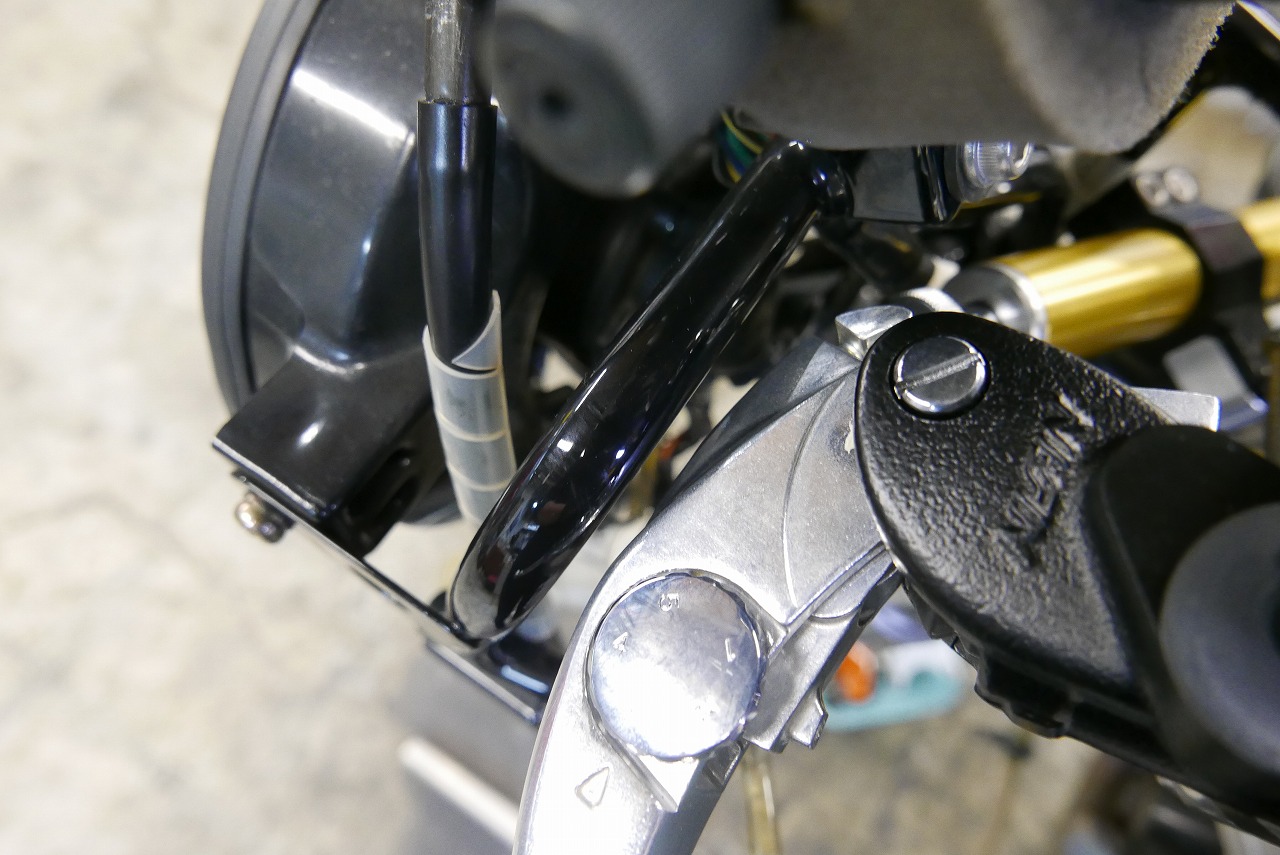
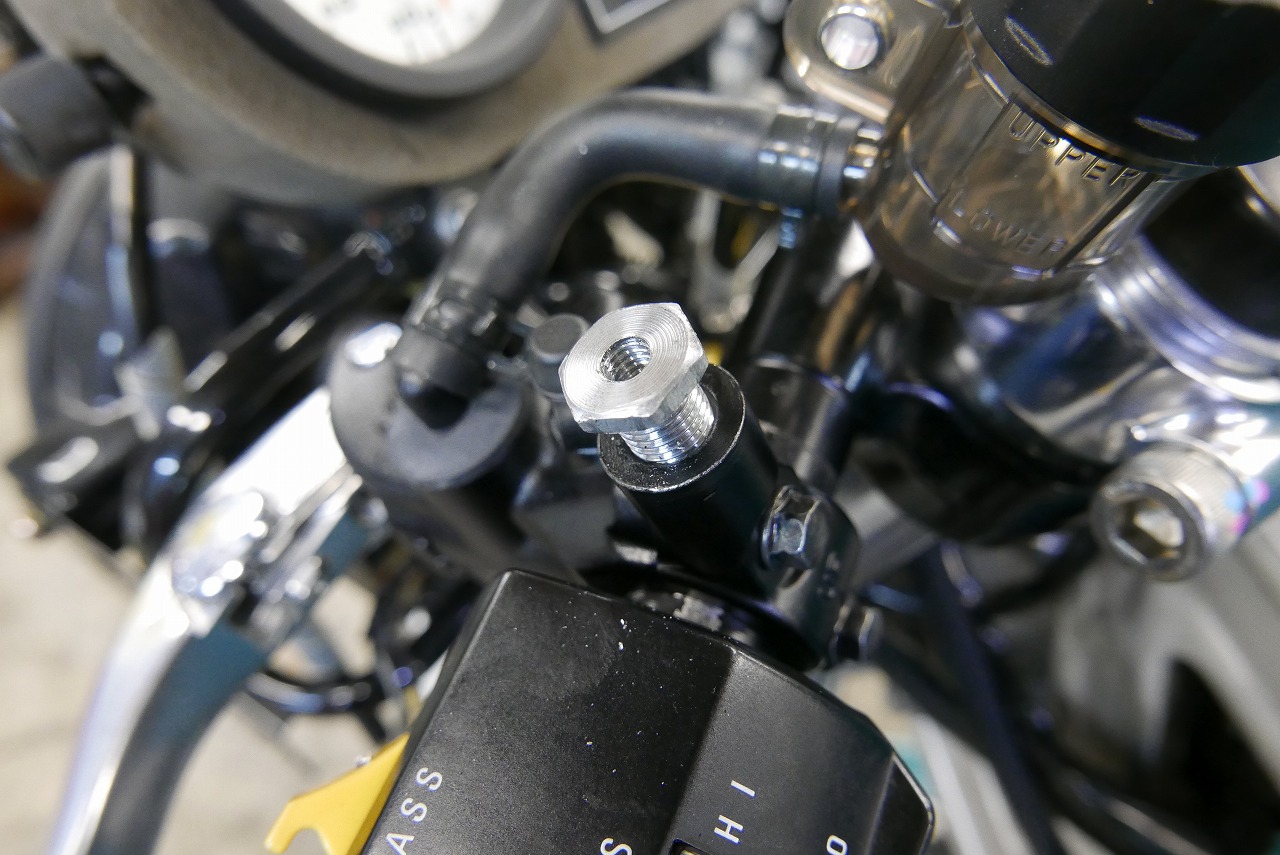
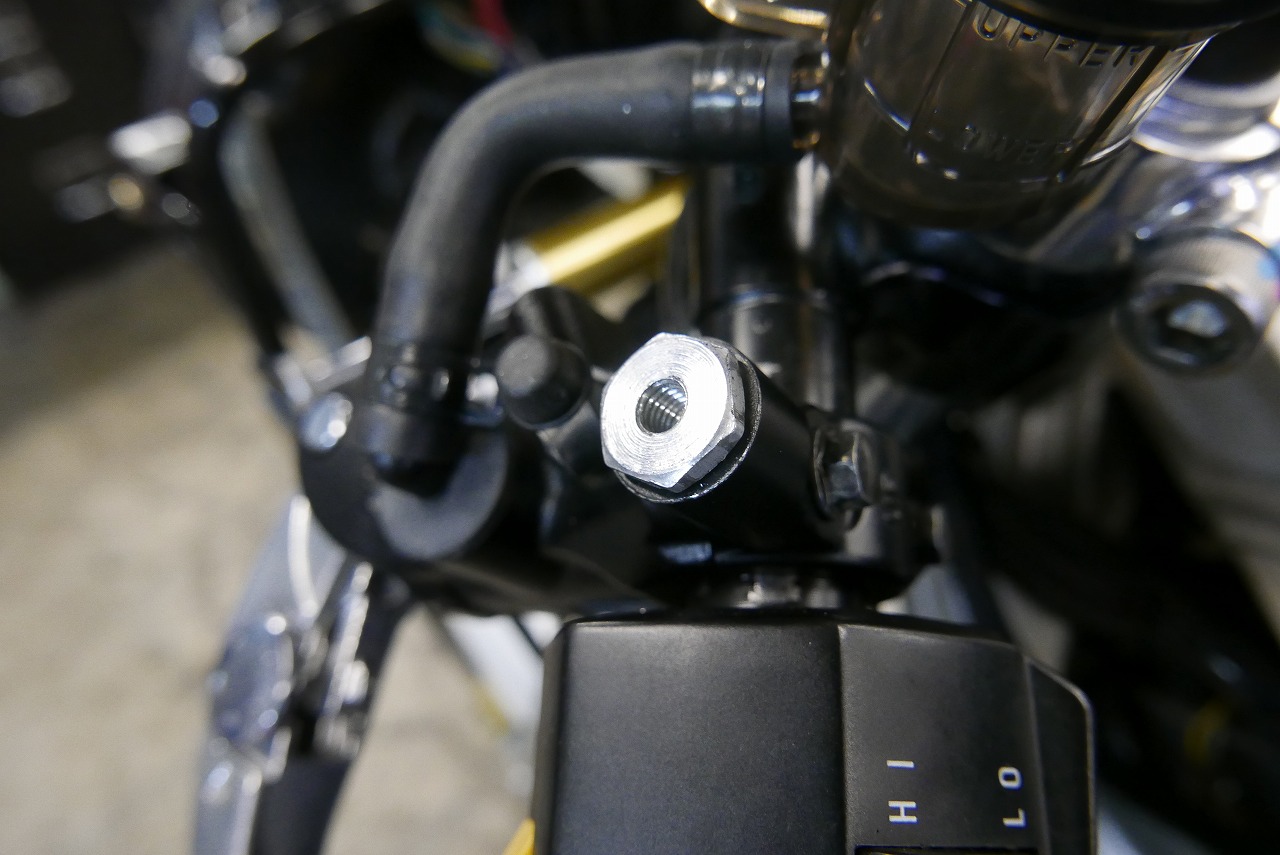
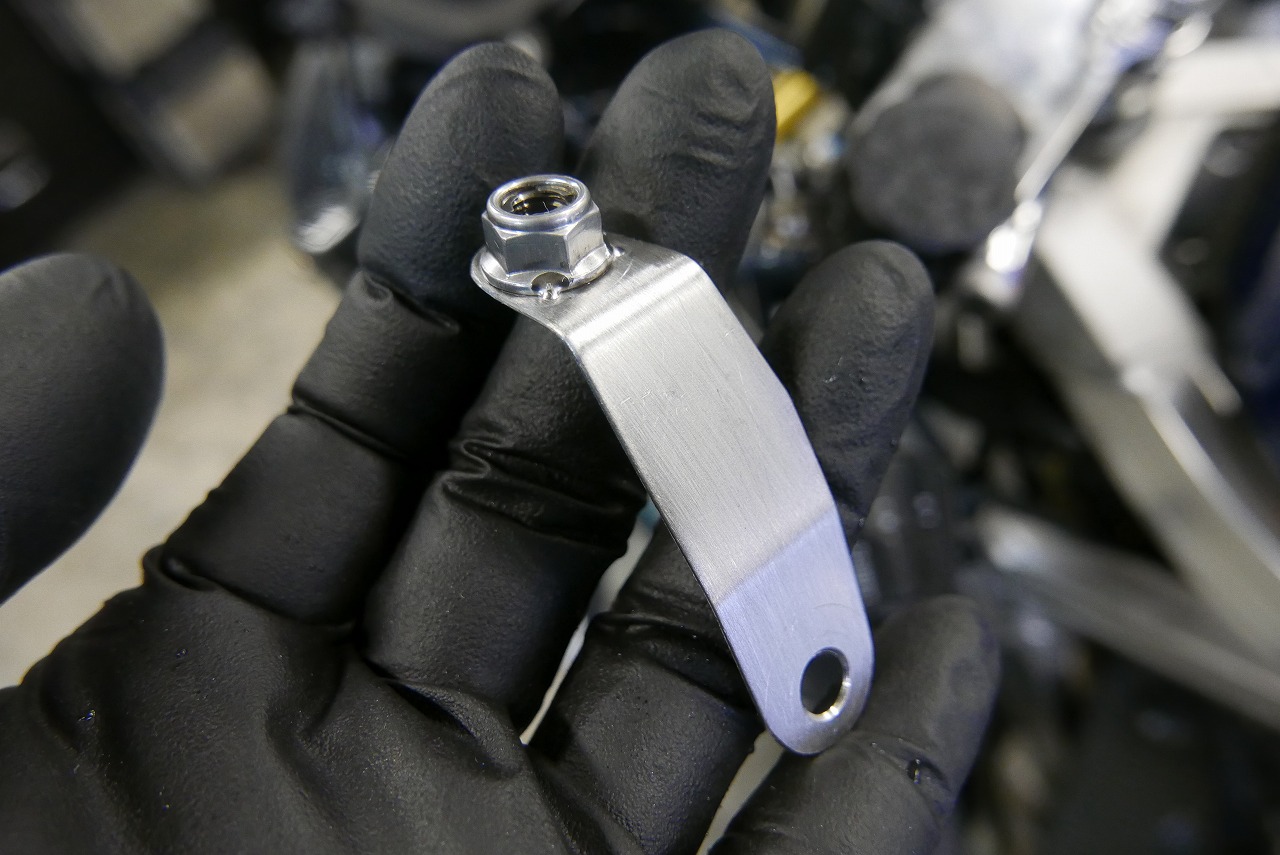
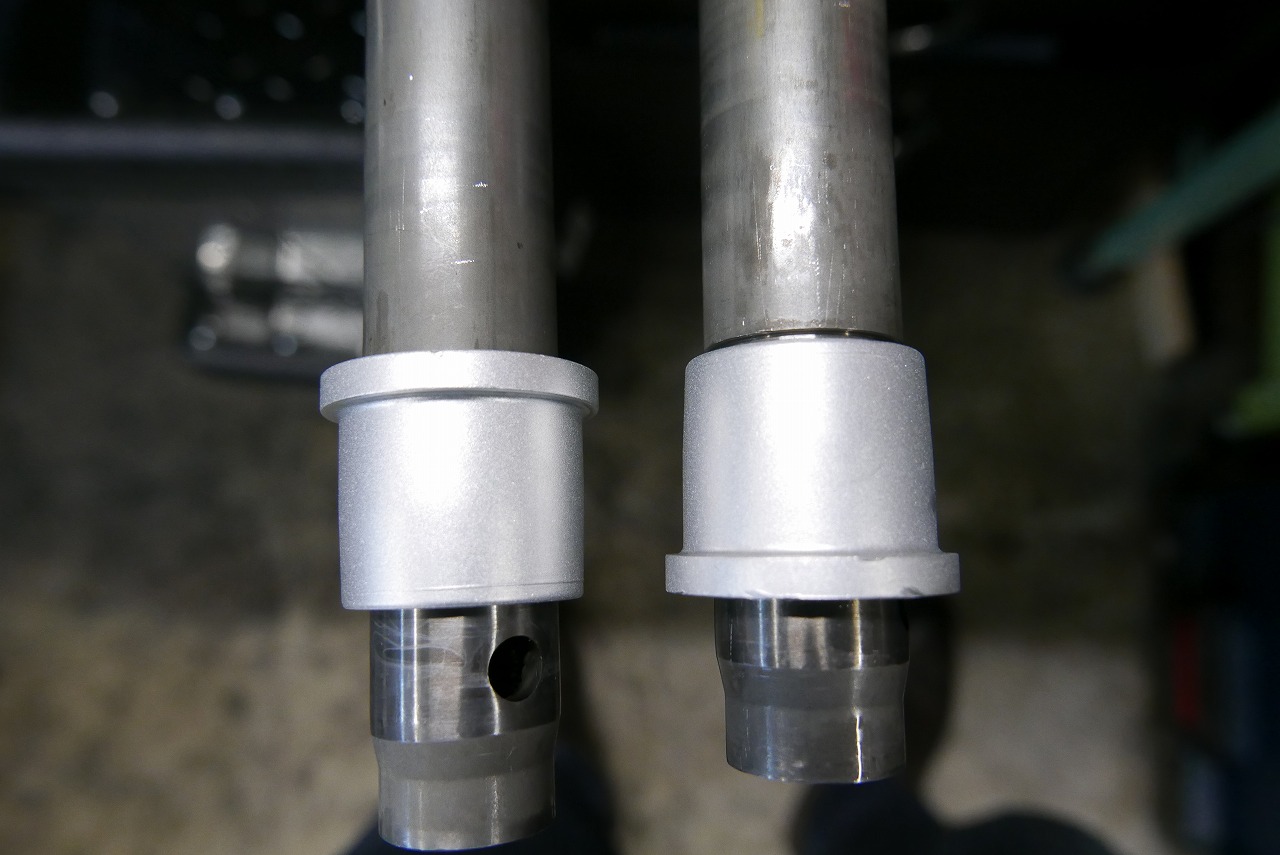
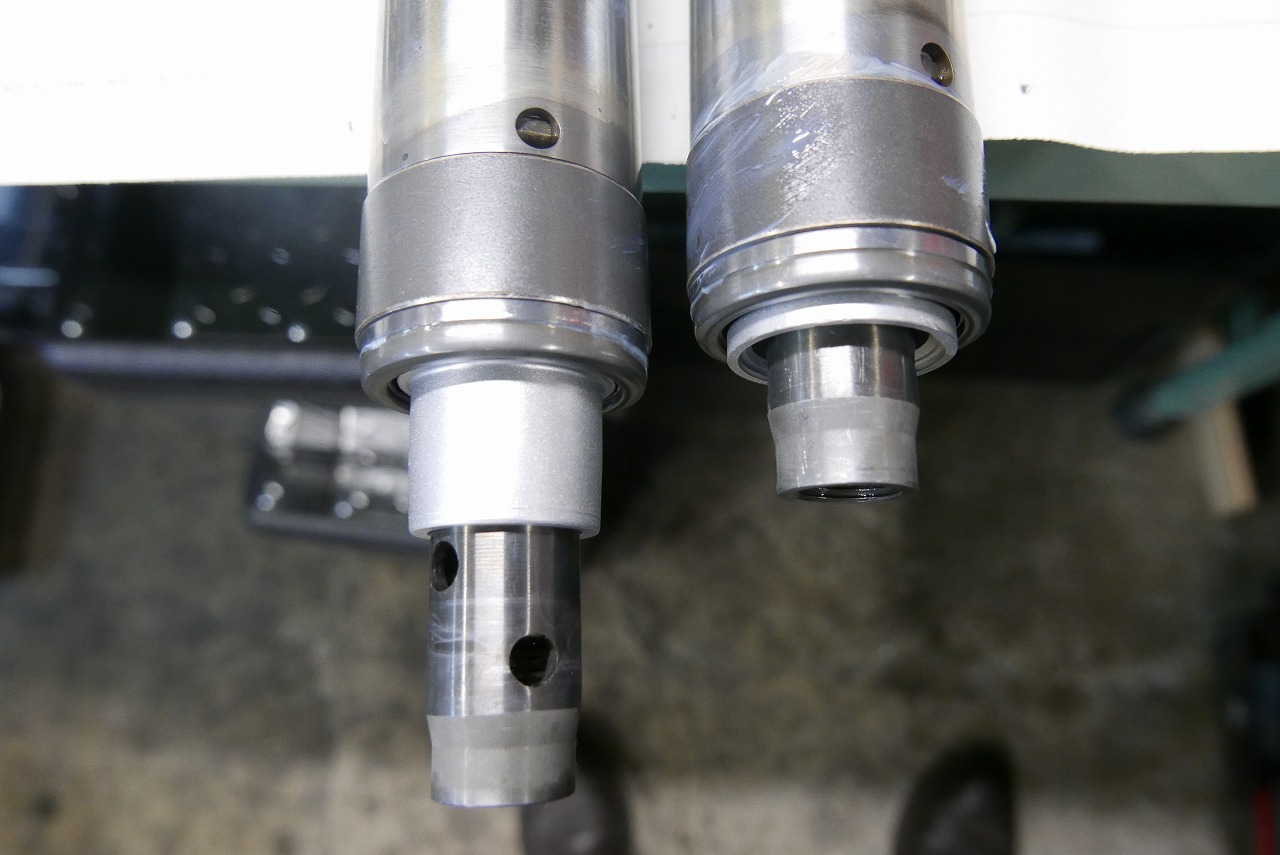
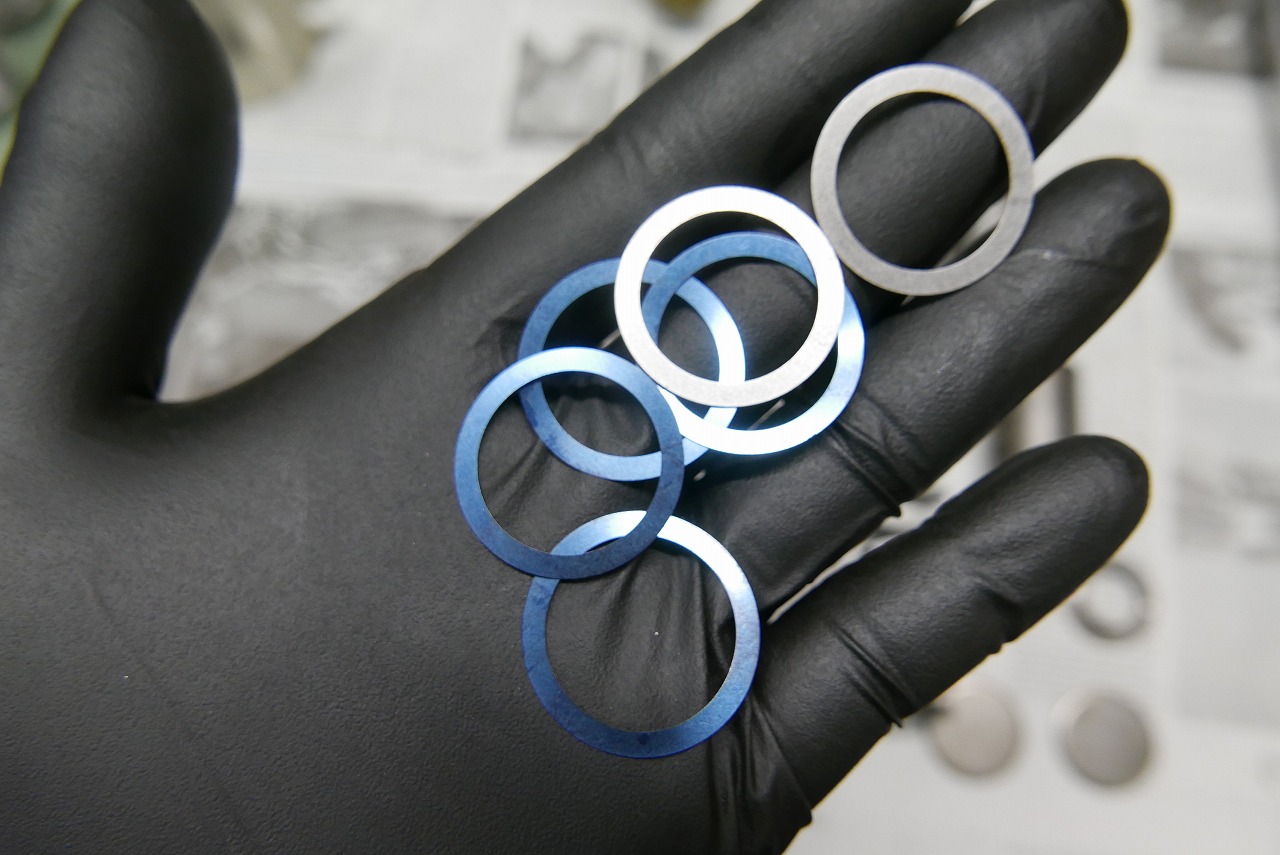
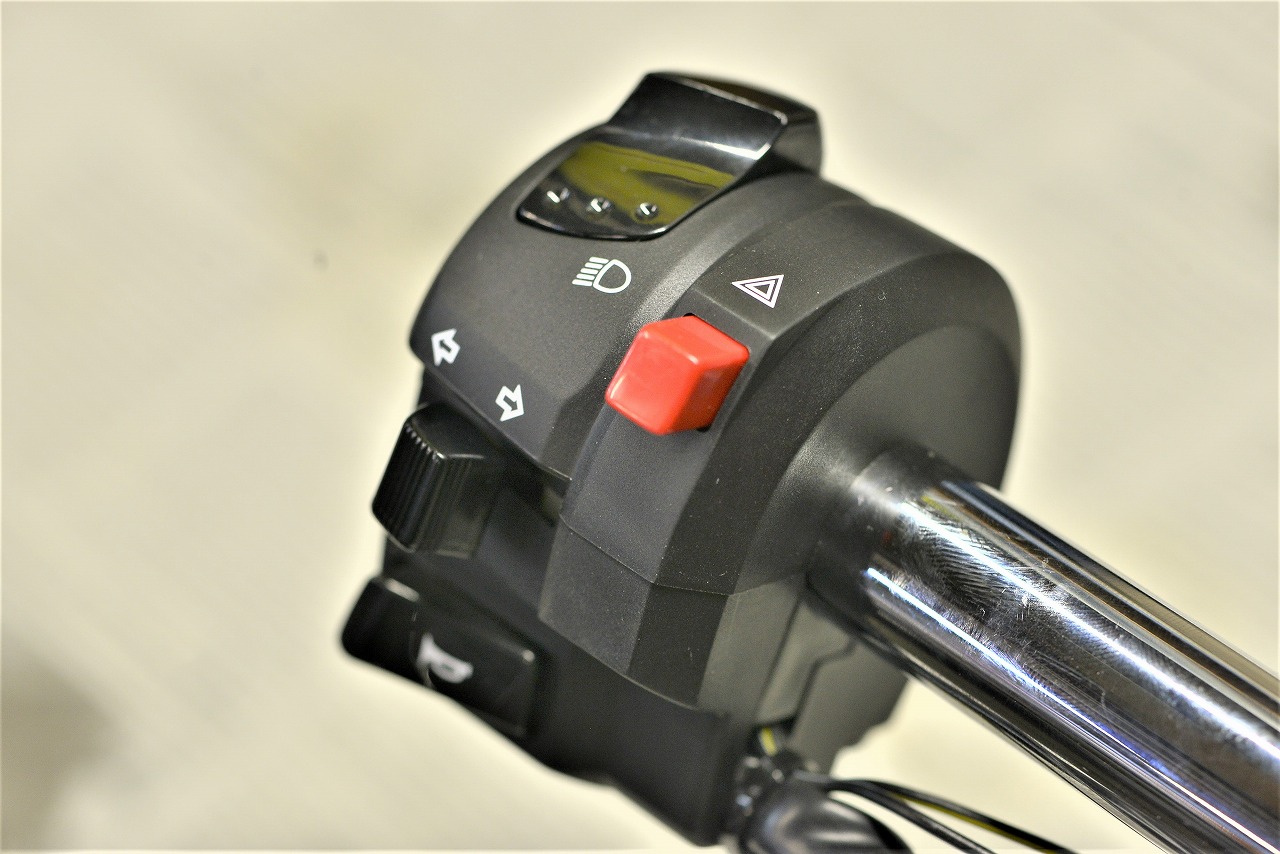
It’s only about 0.2 mm, so honestly I don’t think it makes a difference, but it’s there. We press it out and shim fabrication is complete. In a way it’s waste recycling, so we’re grateful. Using new lock nuts and washers looks clean and feels good. It’s good to check the plate press fit (how much the O-ring is compressed) for peace of mind. With stopper adjustment, the right side is also good. The left side is also fine now. Of course, handlebar lock is possible too. Just replacing the master and losing handlebar lock is honestly frustrating. Without handlebar lock you can’t pass inspection, so be aware. (Wire lock can be used as an alternative.) We weren’t specifically asked to fabricate a bracket, but we made a thin bolt just to be thorough. When screwed in, it becomes M6. We bent an SUS plate, tack-welded a lock nut, and now it looks a bit cleaner. The included one is a bit unusable, I think. Moving on to fork work. The oil looks nicely dark. Perfect timing, I have a good feeling! We remove the anti-nose, and I have a bit of a bad feeling about it too. The oil lock orientation. Nothing particularly difficult, just the theory that “form has meaning.” It’s like the inner tube slides down from above. In the right image, it goes “pop” right in. In the left image, it “bottoms out.”
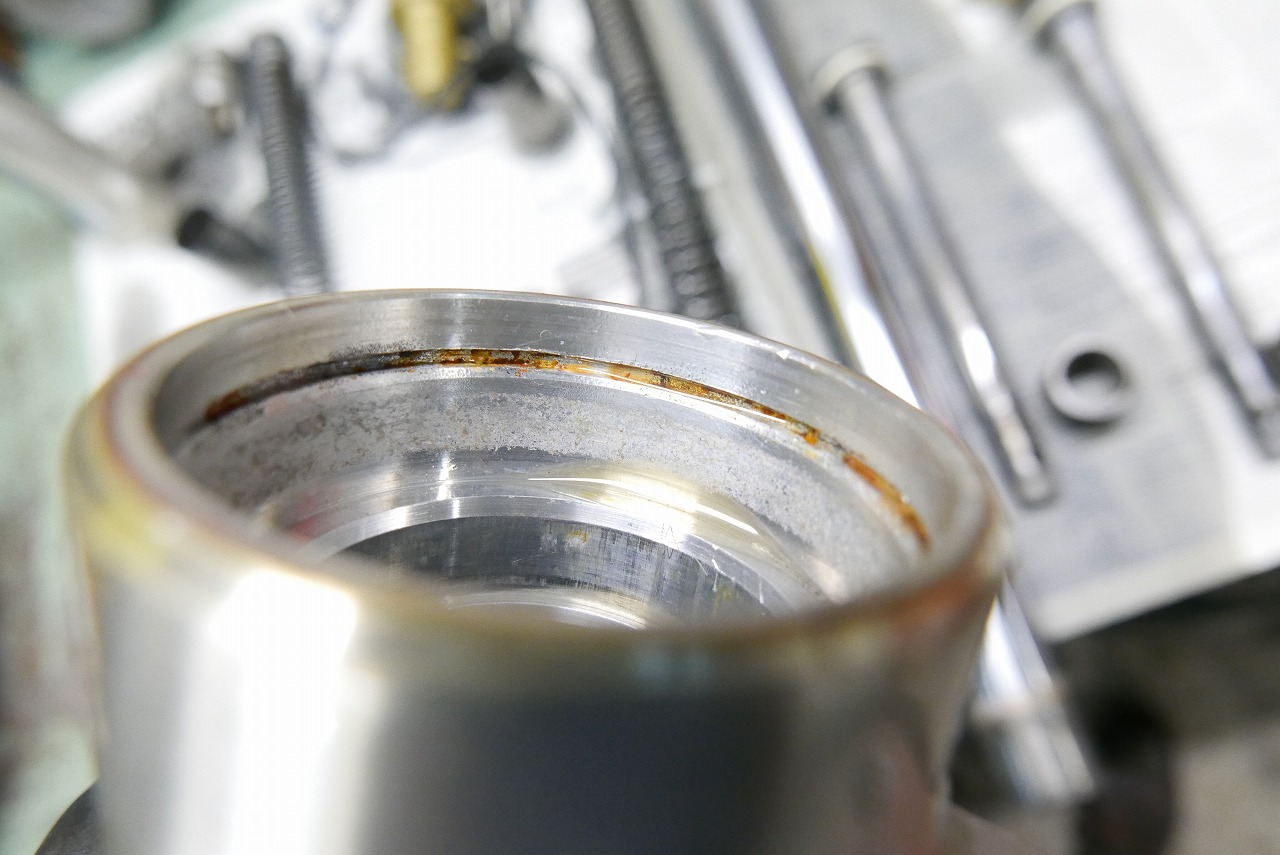
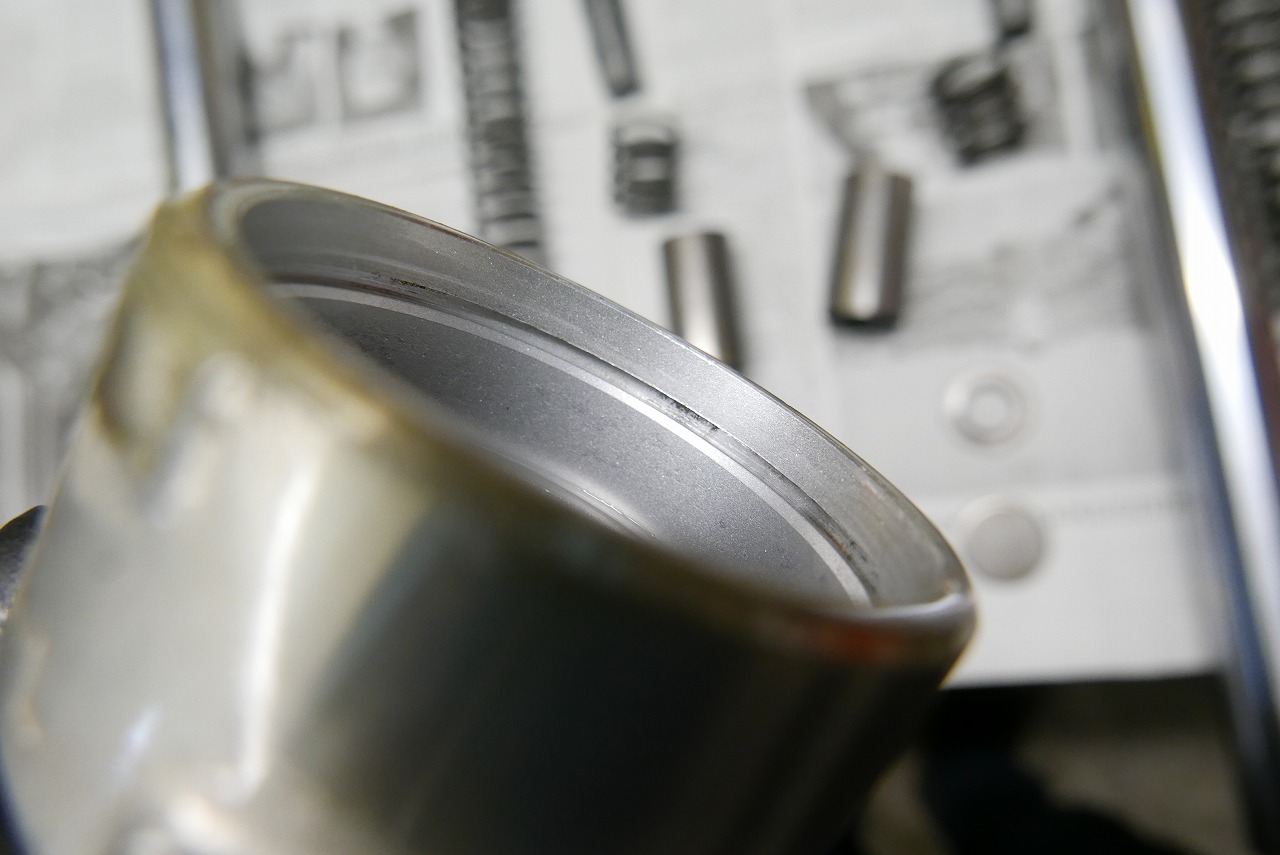
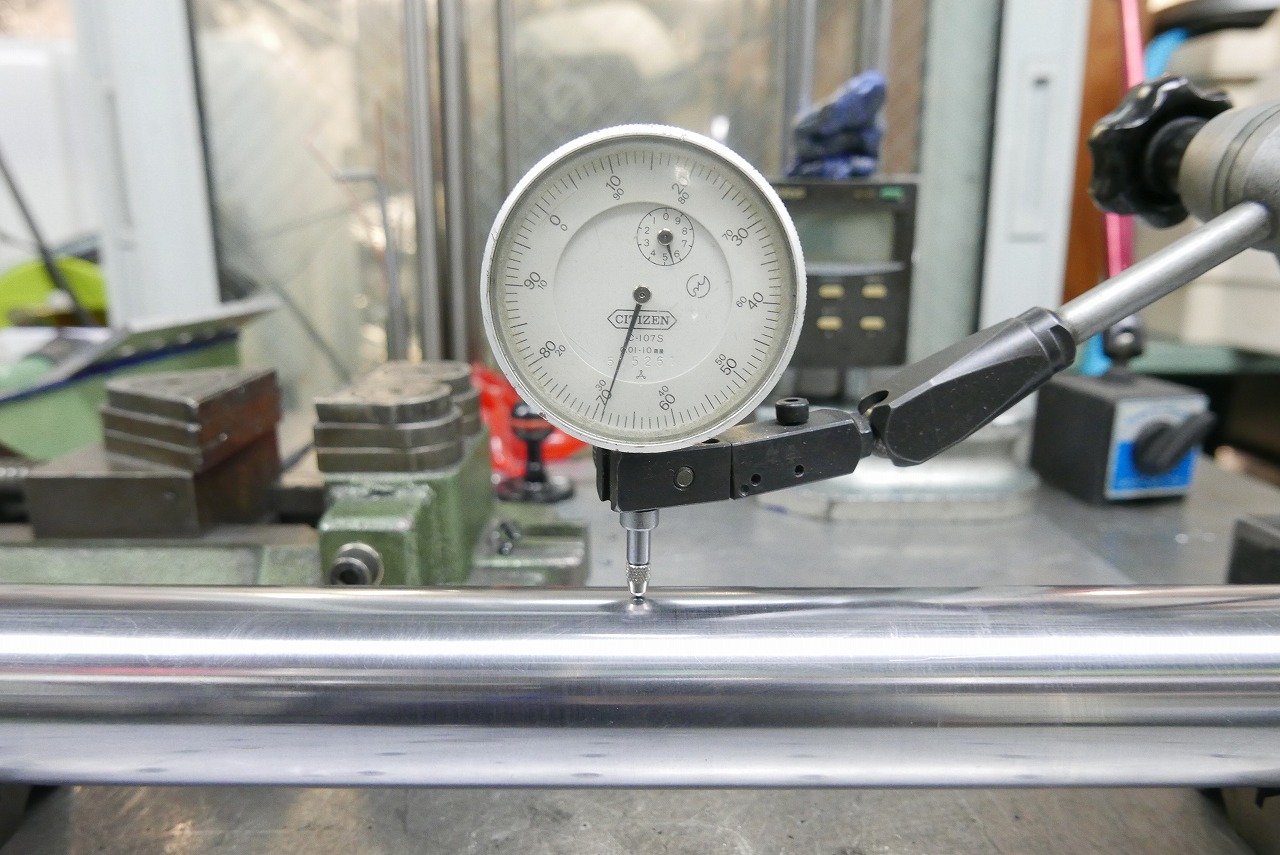
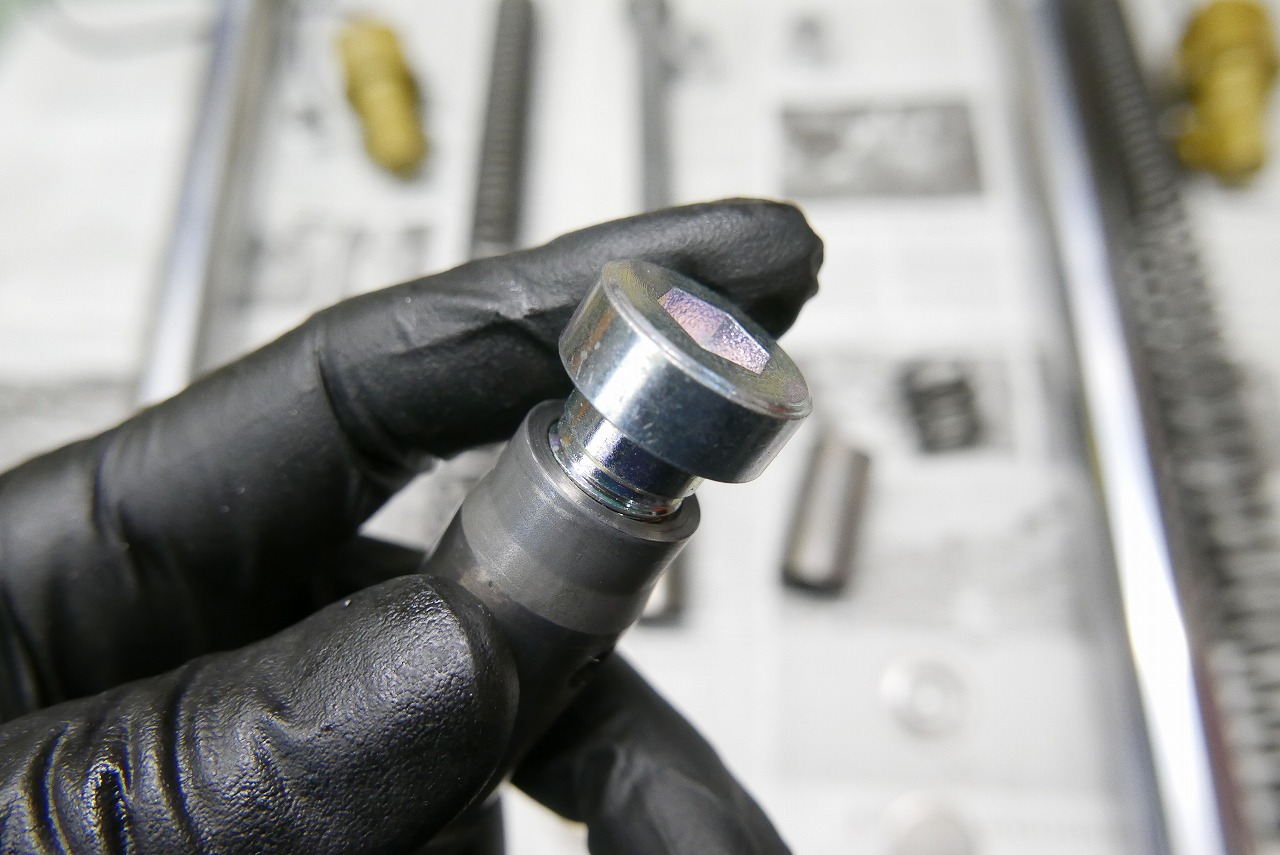
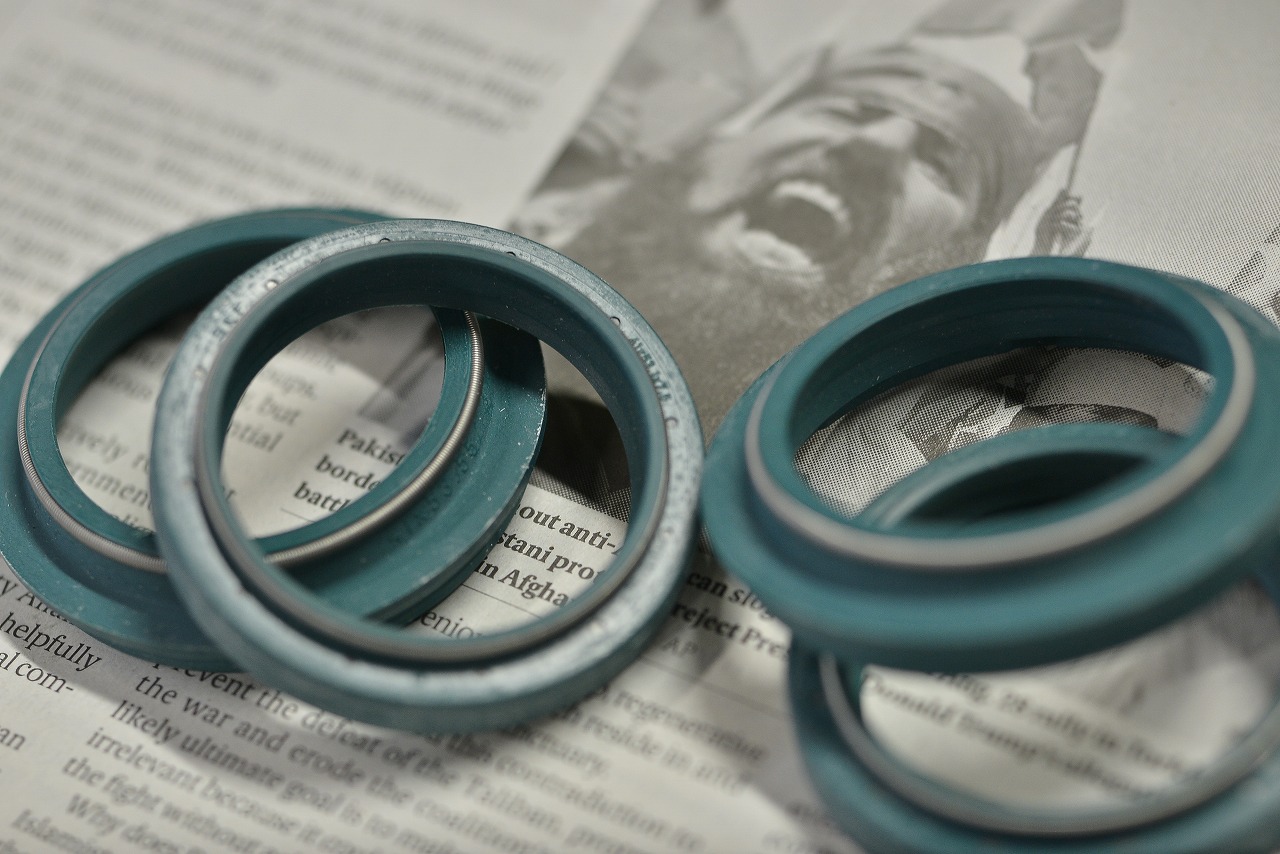
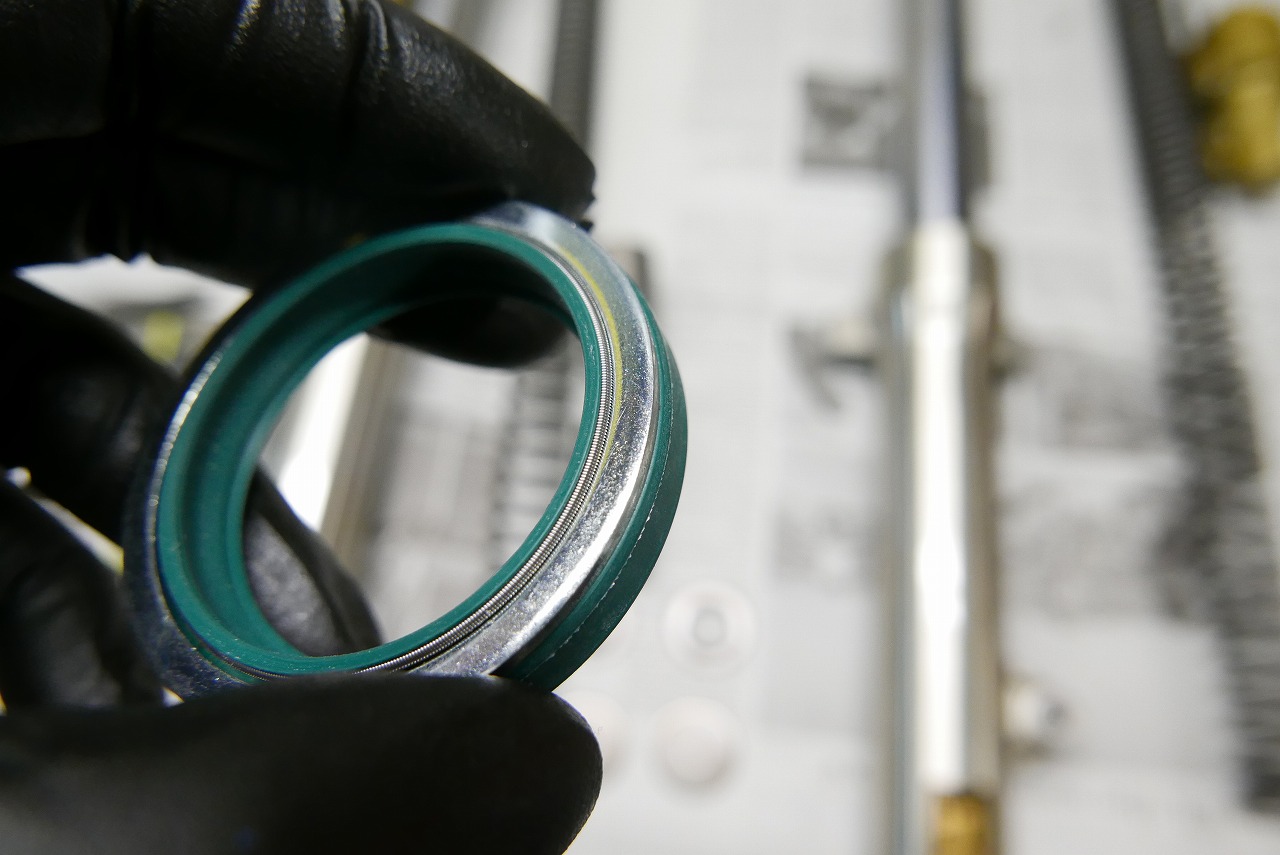
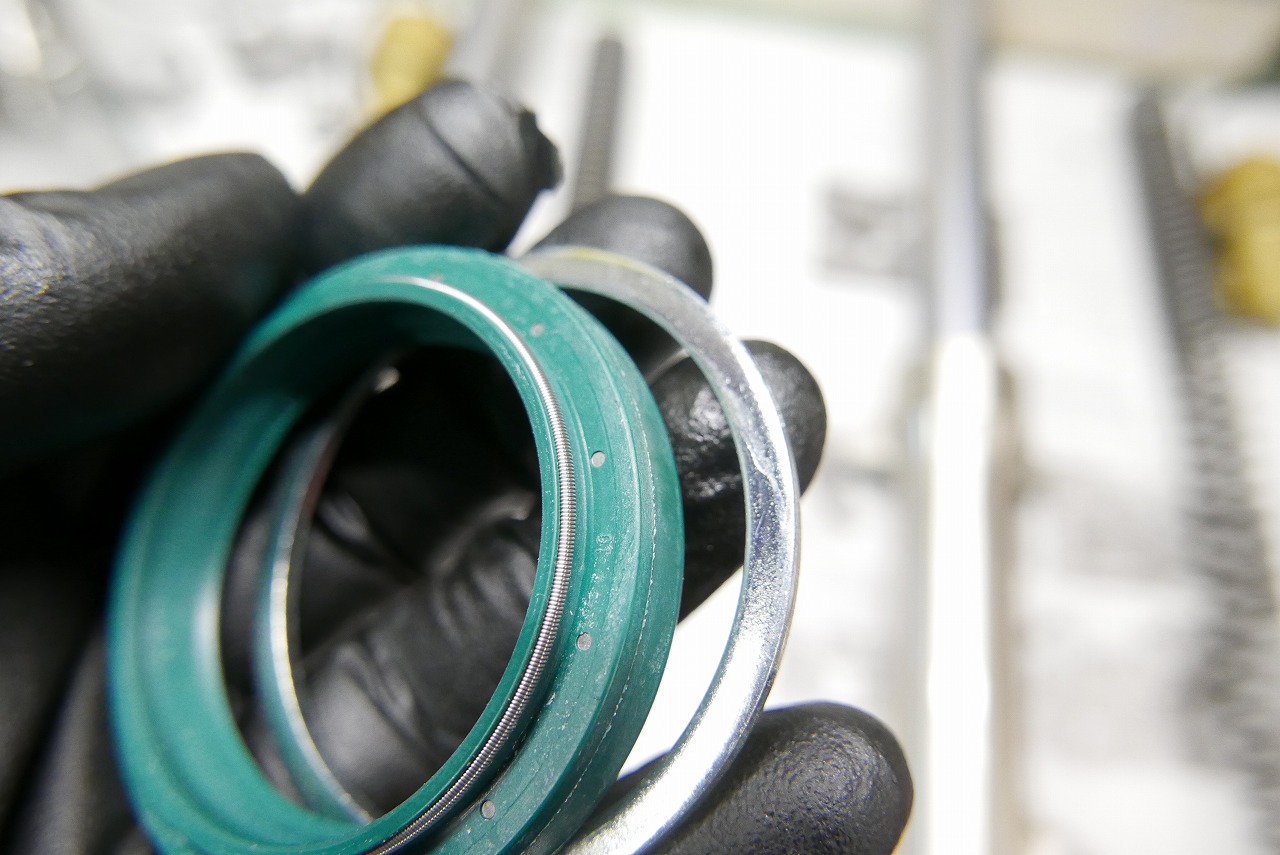
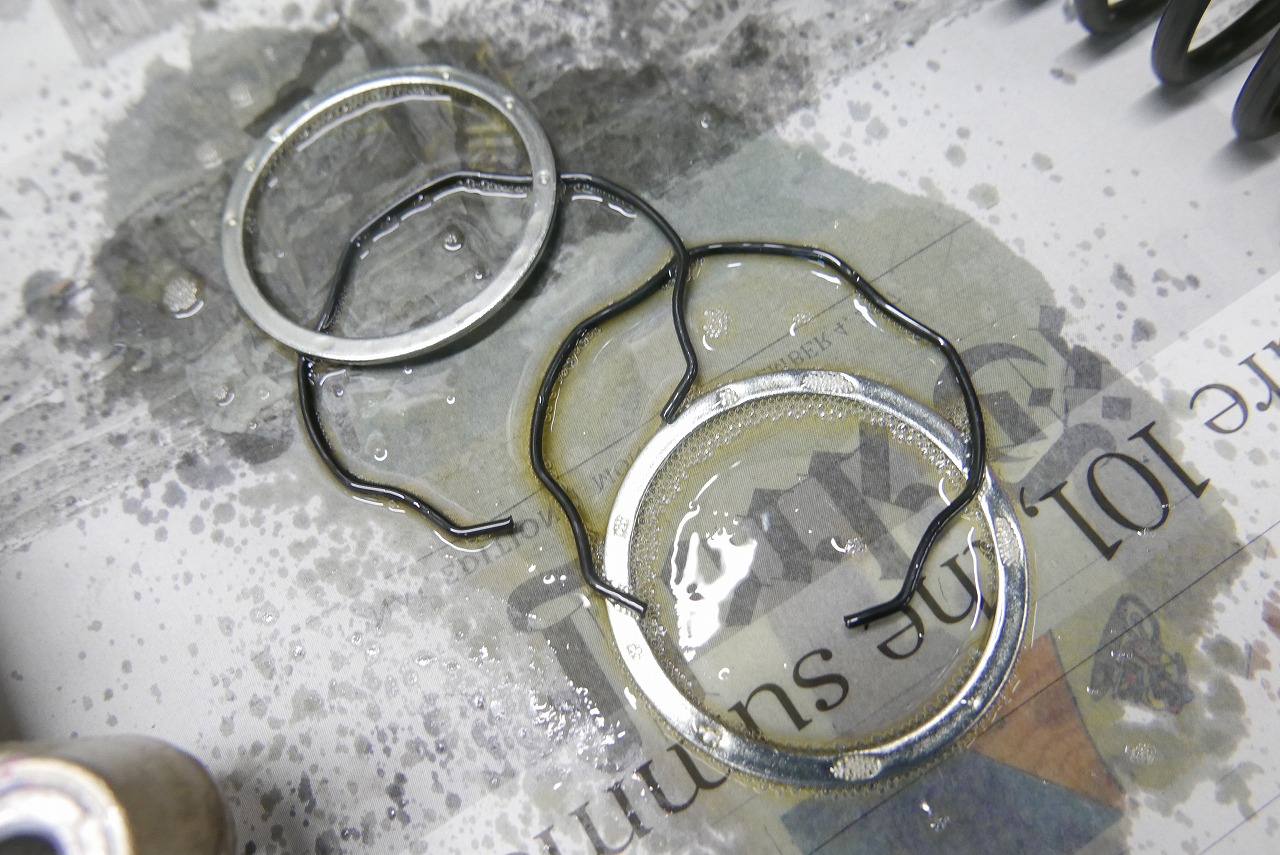
Please go with the right “pop!” We humans are funny—we think hard, overthink, try the reverse, and then get it wrong anyway. That sadness of going against the grain and still failing. Careful observation and reading the manual are really important. Snap rings rust a lot, don’t they? If you don’t remove the rust, it’ll rust again. It becomes a rust Dempsey roll, so please show it a little love. If we clean this area, the oil seal should go in smoothly as planned. I think it’s better not to press too hard. The inner tube runout and bending are no problem. We remove the marks and reuse it. Cylinder bolts are always new. They’re one of those parts that eventually won’t come out and cause trouble, I think. If we clean the cylinder side too and make it slide smoothly, the tightening torque might be more reliable. Anti-dive bikes often lack this washer. We replace it every time. The oil seal is our favorite SKF in green. I like the special feel of green. Black is available too, so if you’re like “I want black,” please let us know in advance. The washer below the snap ring in this era. I wonder if they wanted to adjust the total thickness and avoid direct snap ring contact. Looking back now, I think it would be fine to put it below the oil seal too.
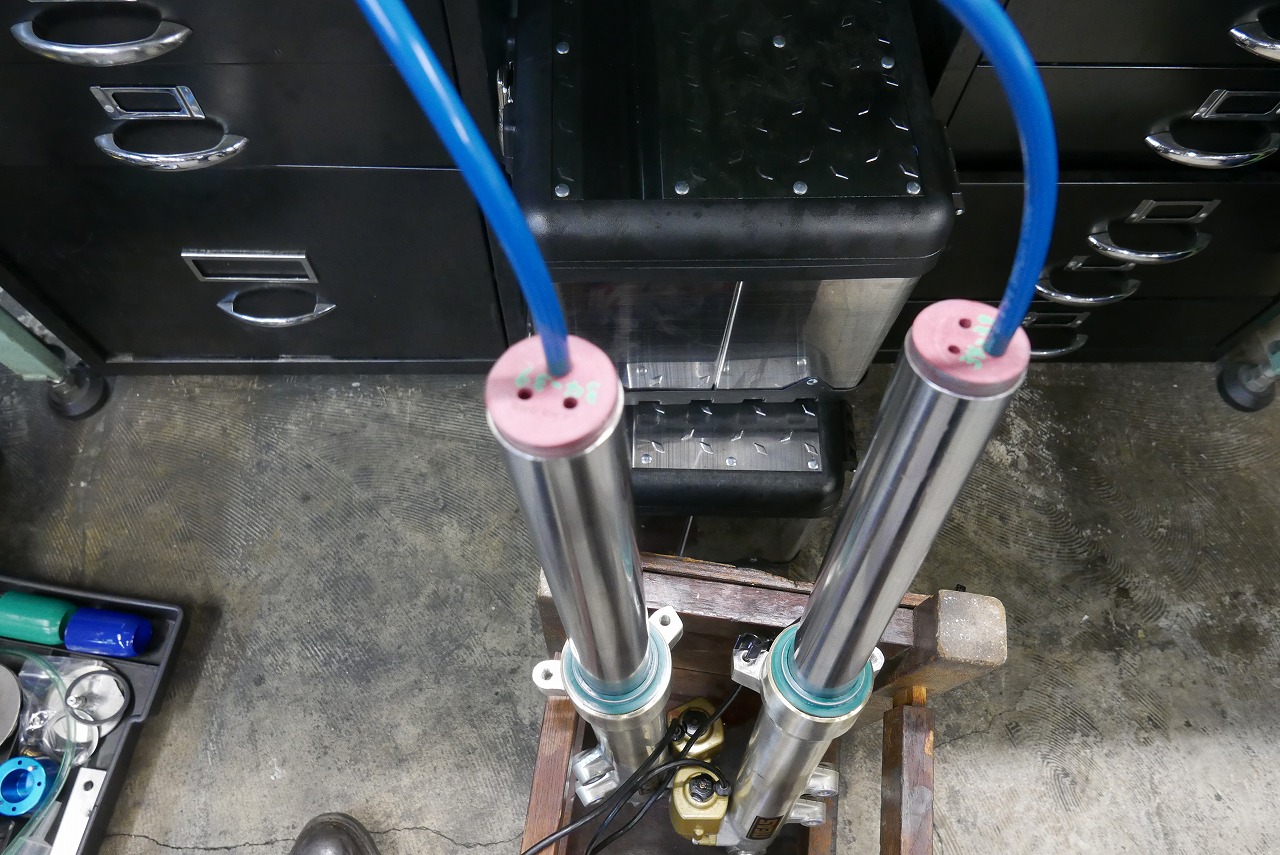
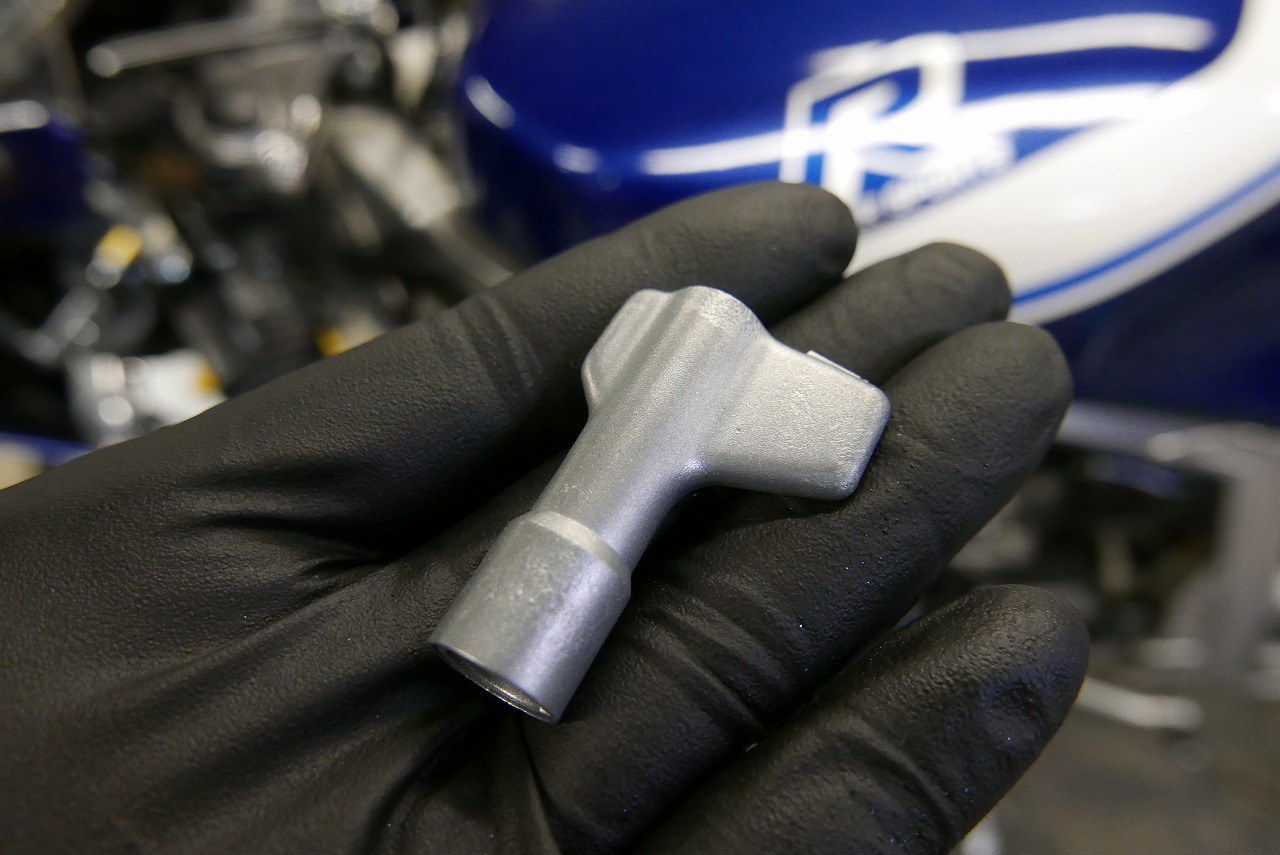
But writing this, I end up assembling it the same way anyway—this safe-bet personality of mine. We apply rust preventative oil and wait a bit before assembling so it doesn’t rust. We stroke it back and forth, pull a vacuum, adjust the oil level, and we’re done. Not that it matters, but we polished the petcock knob too. It’s convenient that the knob comes off, but a vacuum petcock is even easier, right? *By the way, this vehicle has a vacuum petcock. It’s quietly cleaner now and complete. By the way, an announcement. HHP-2 It can’t be used as-is on a motorcycle, but with a little ingenuity, it becomes a handy special tool.
Only manufacturer originals aren’t special tools. For your reference.