We went out for a test ride earlier, and wow—it’s hot! Extreme heat makes riding tough, so I think comfort is always the priority.
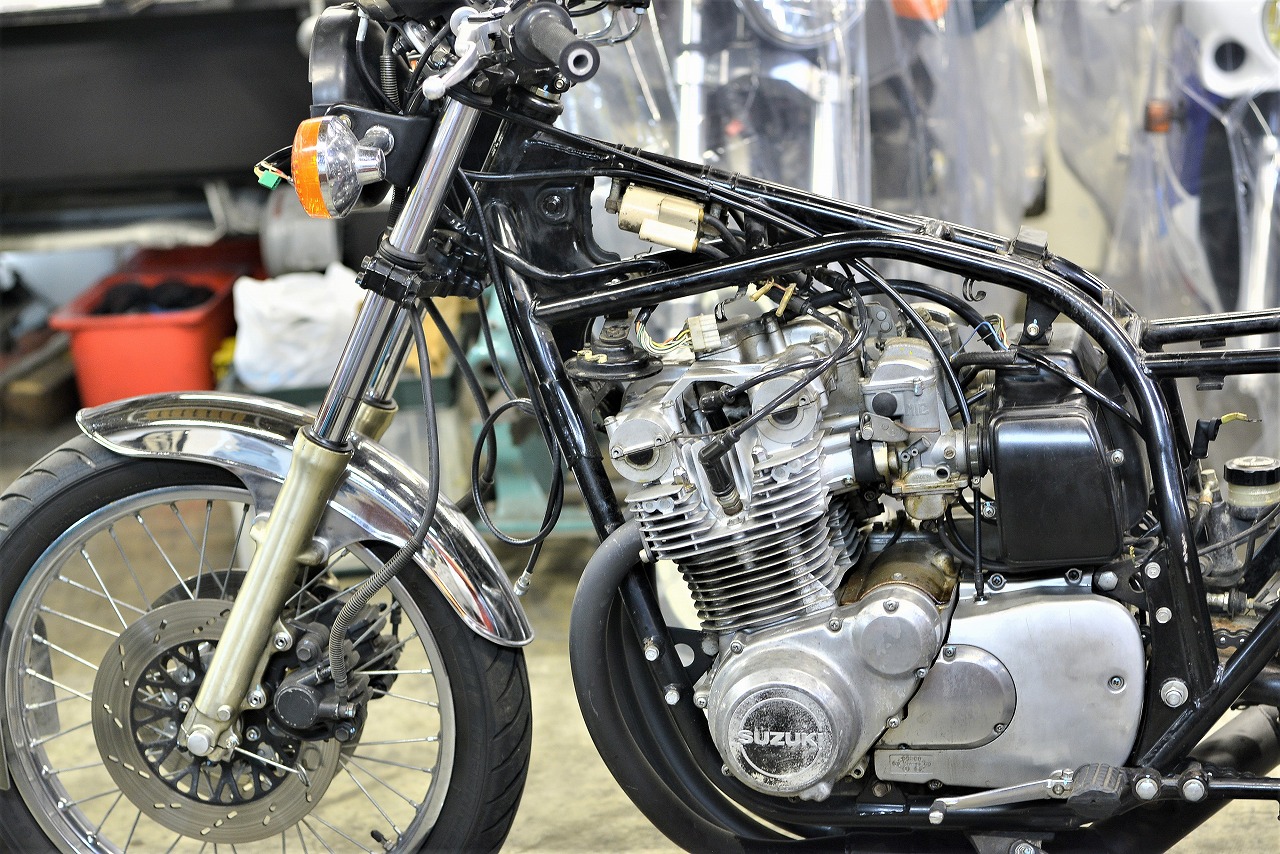
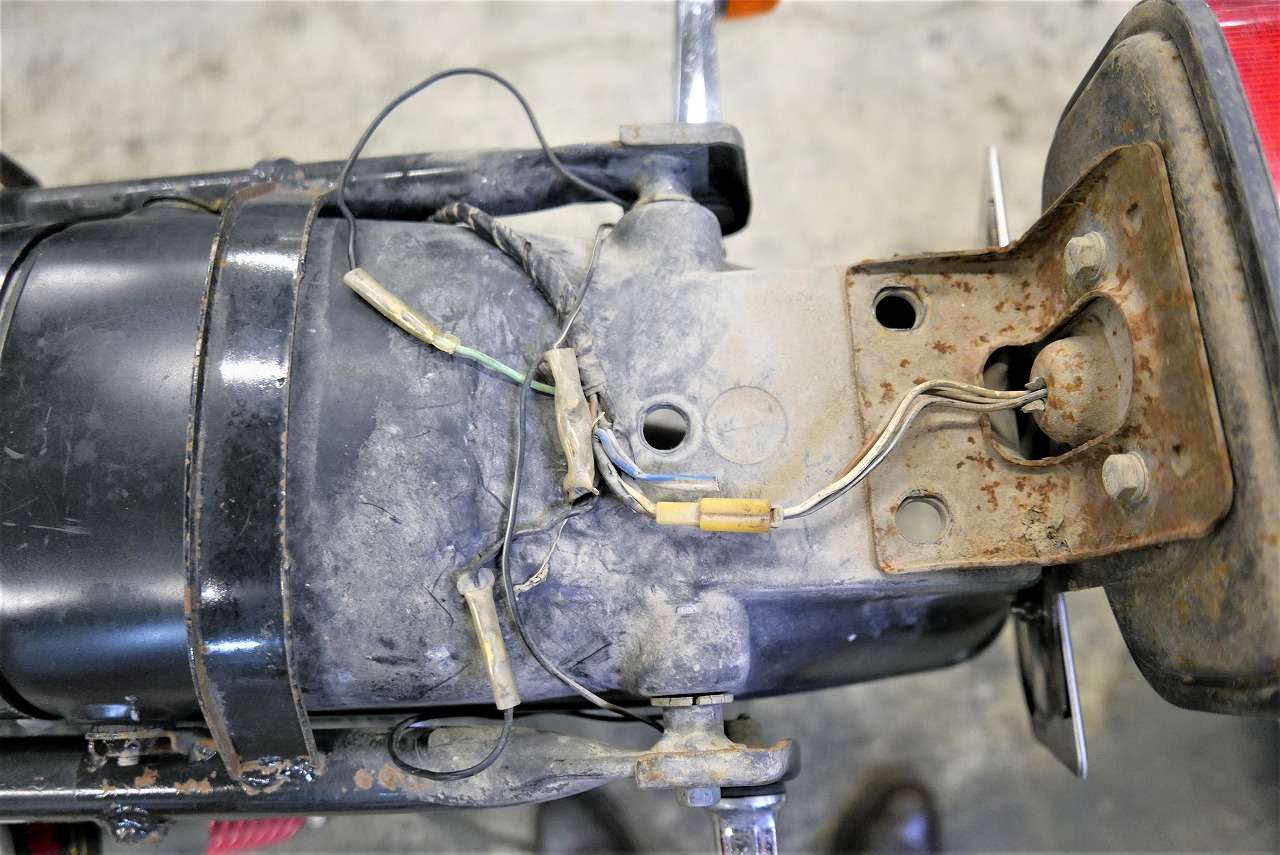
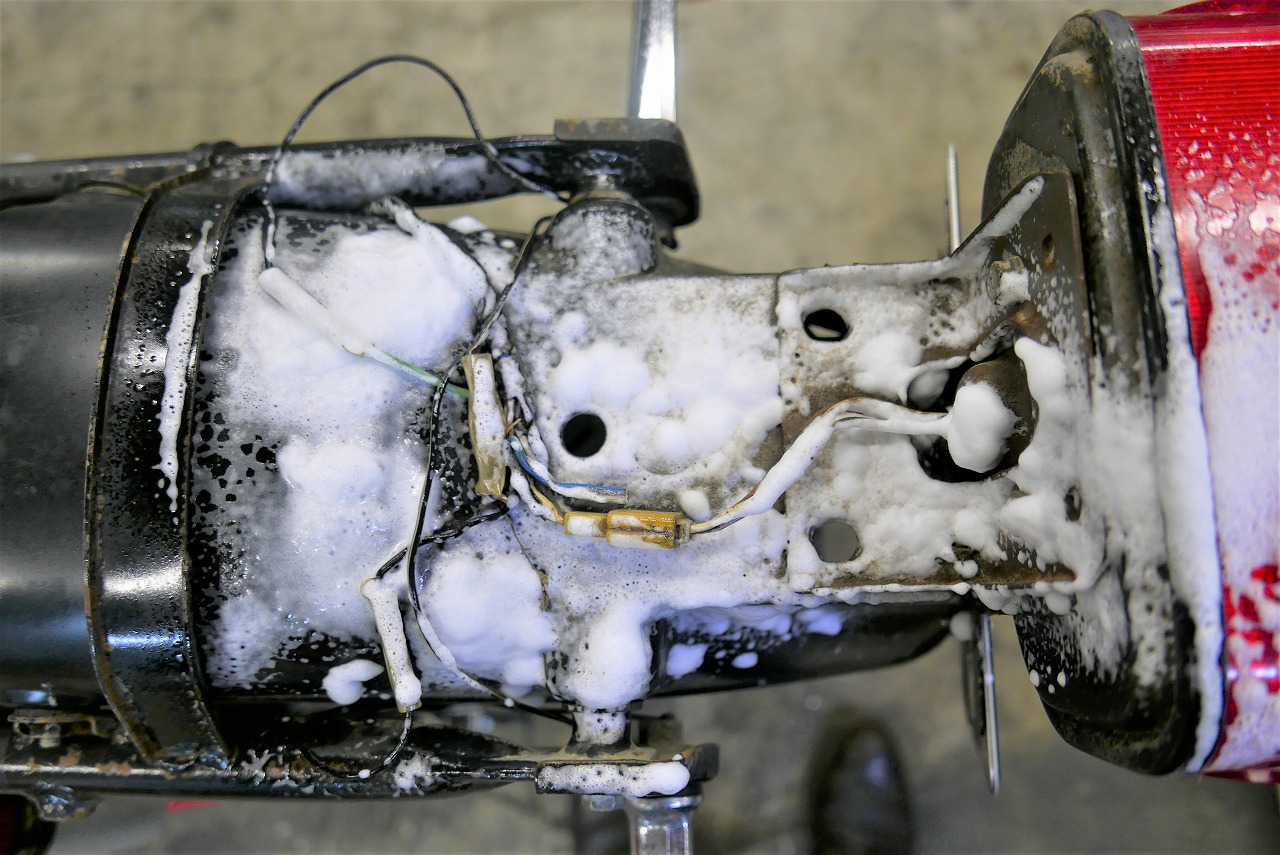
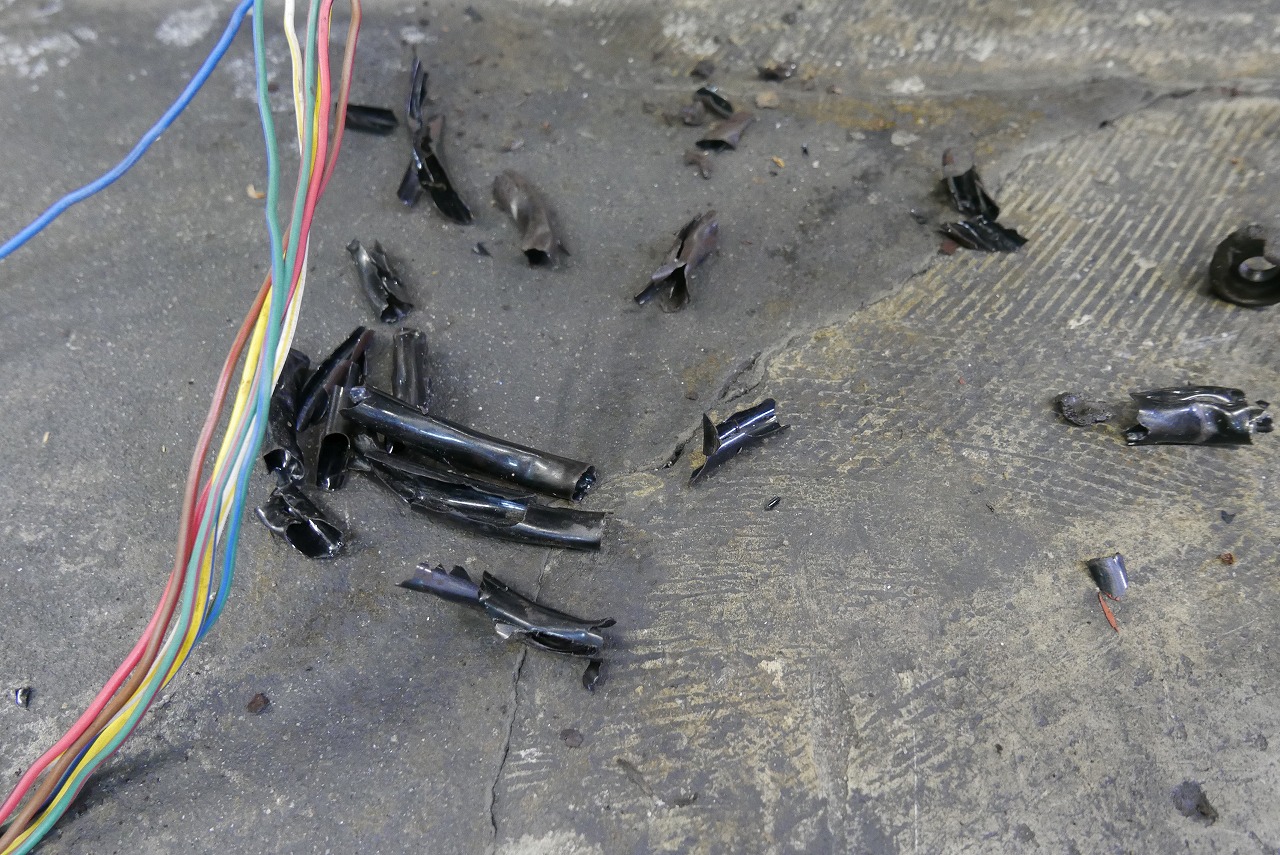
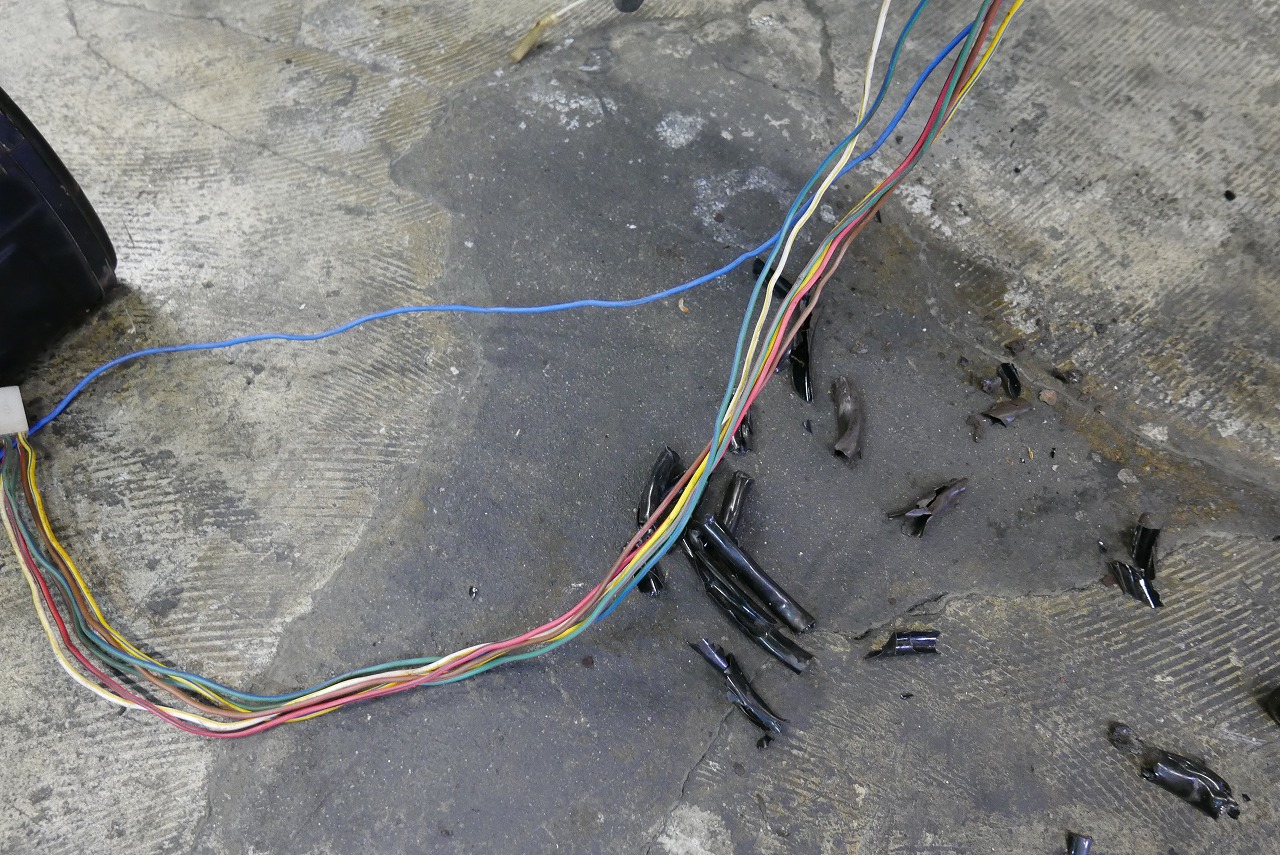
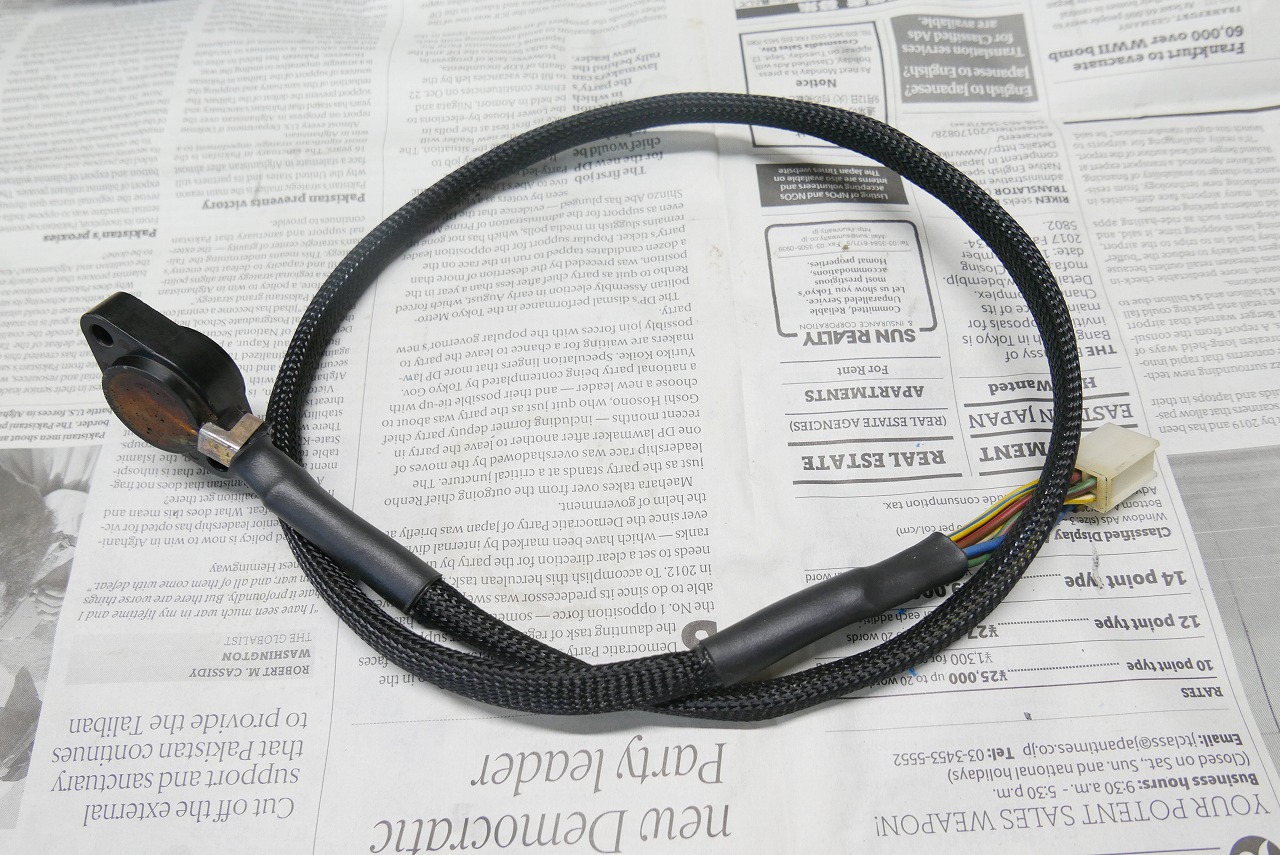
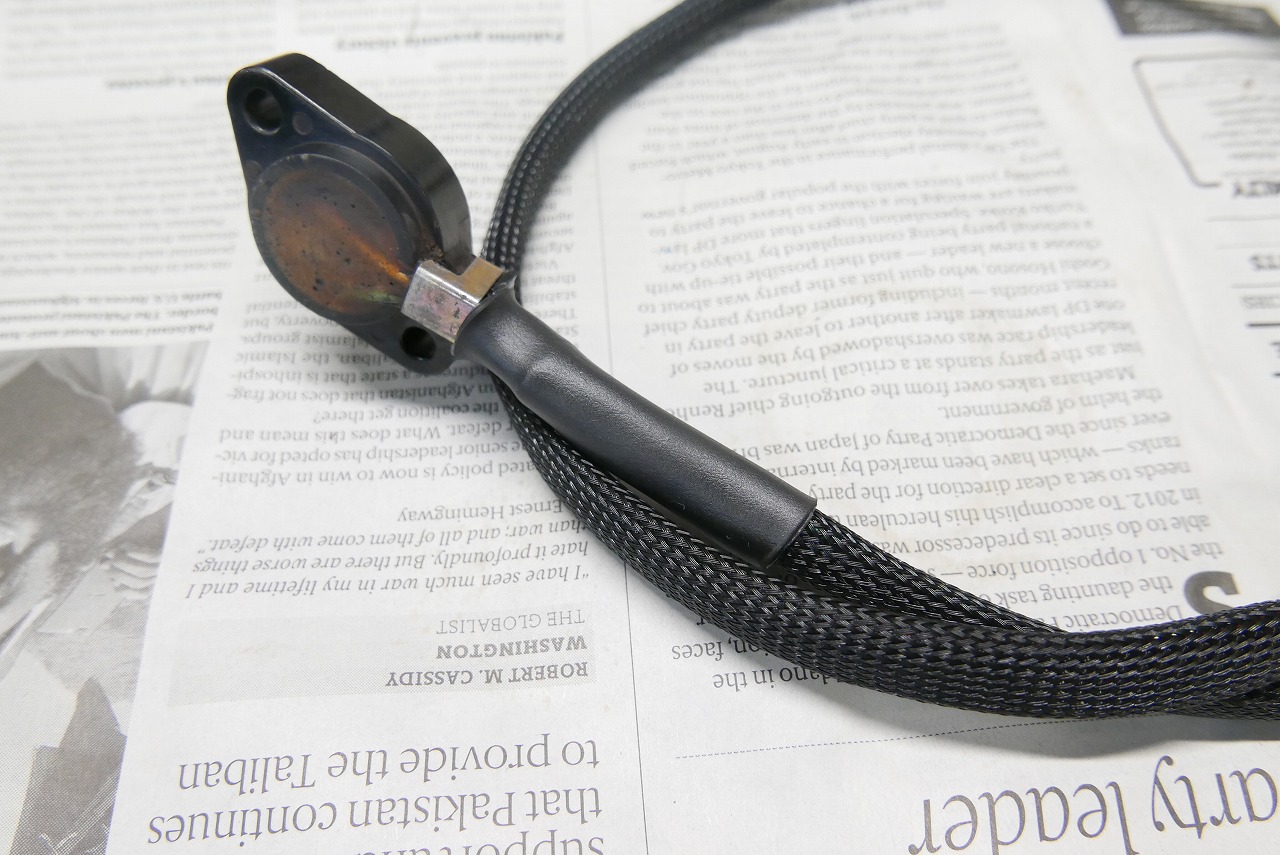
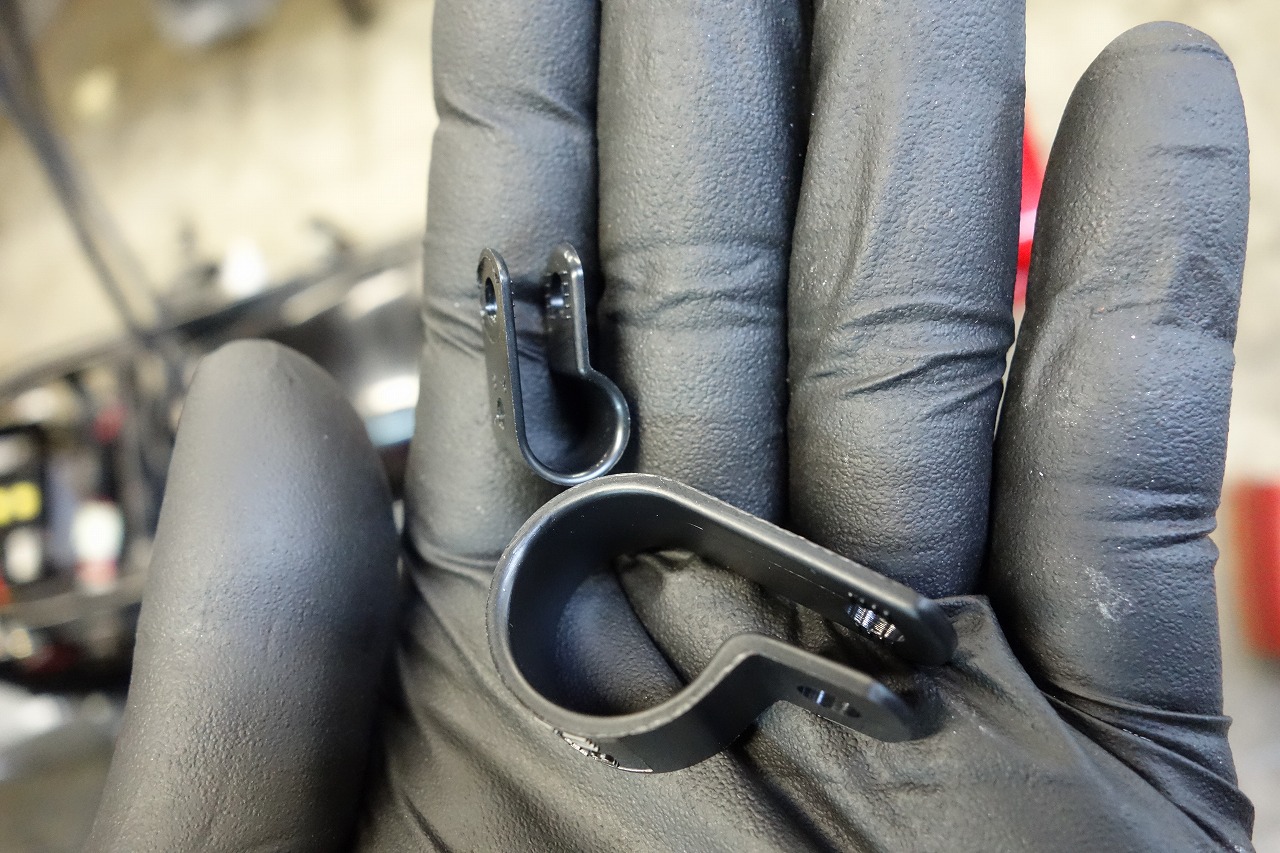
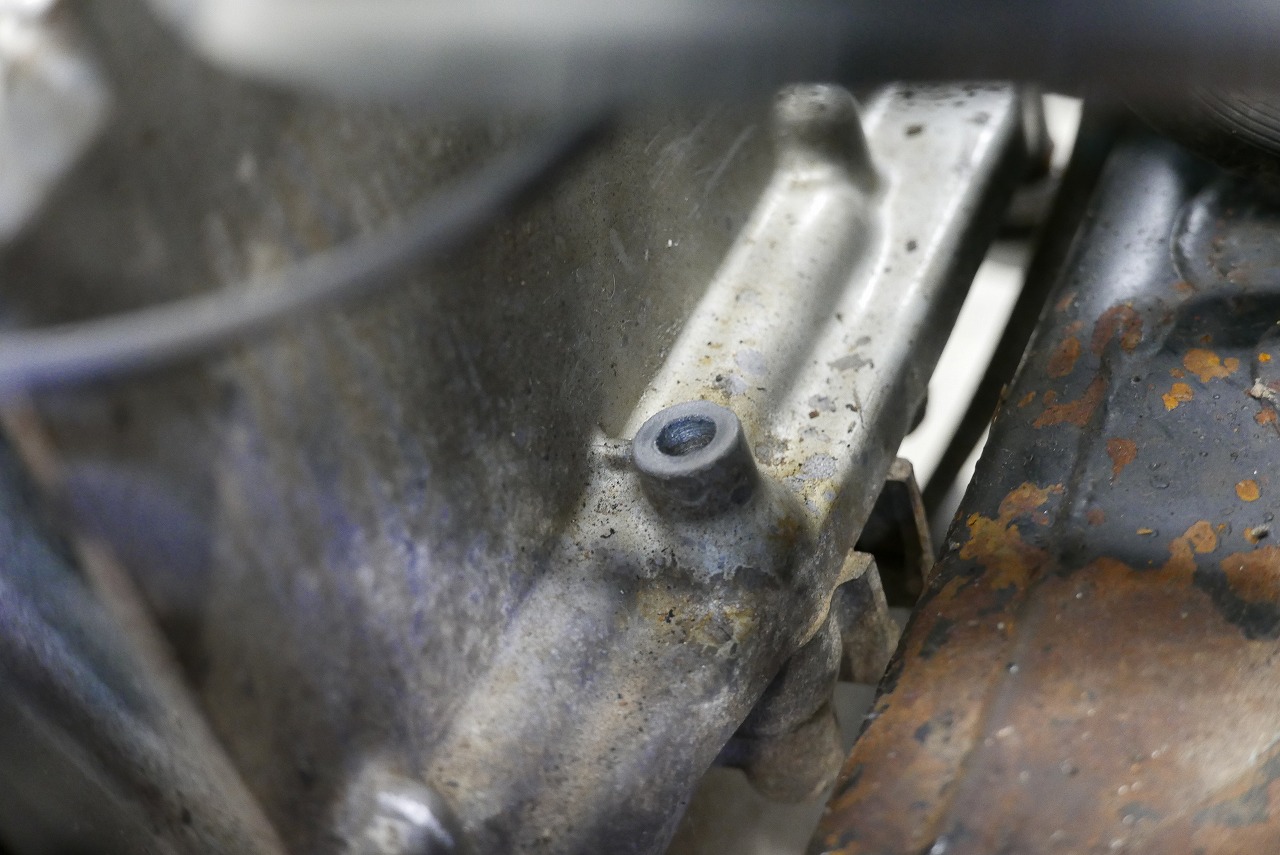
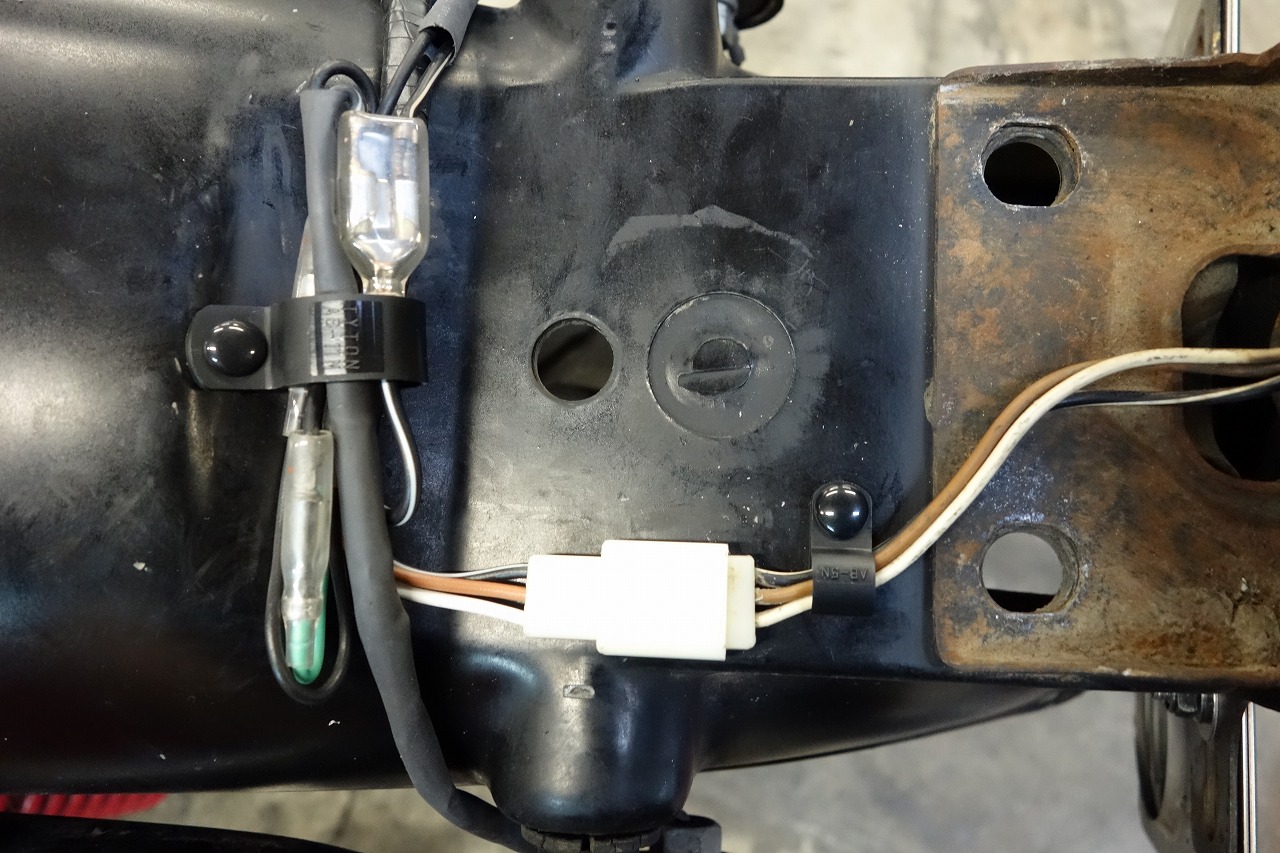
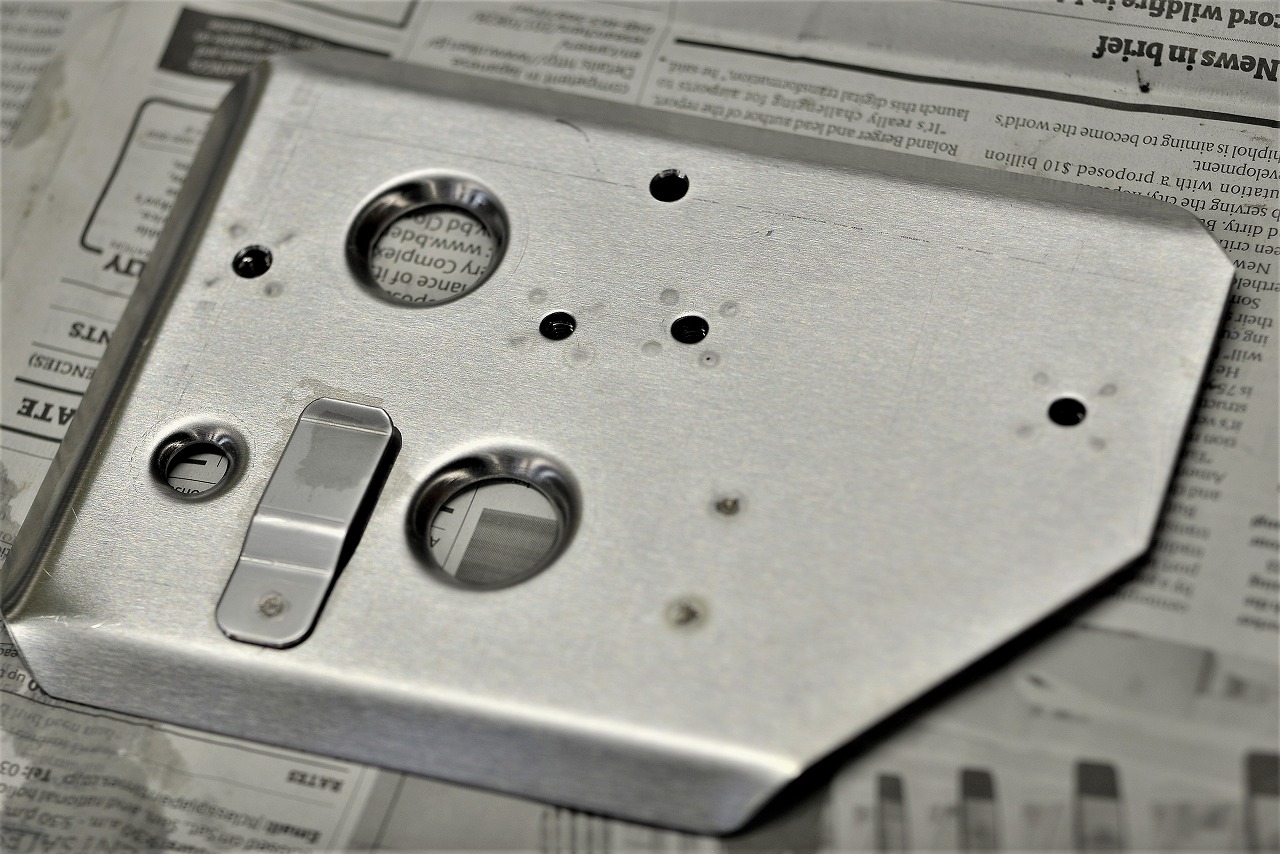
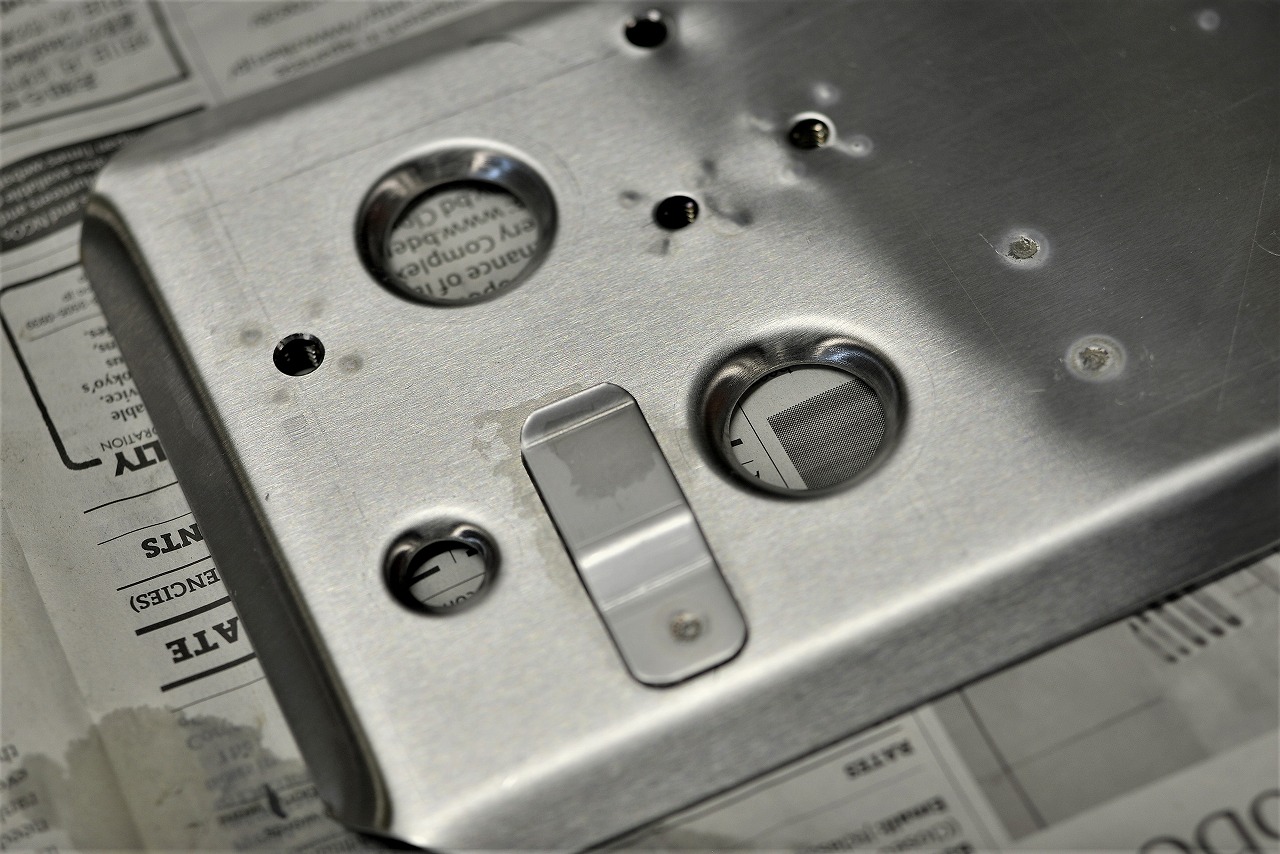
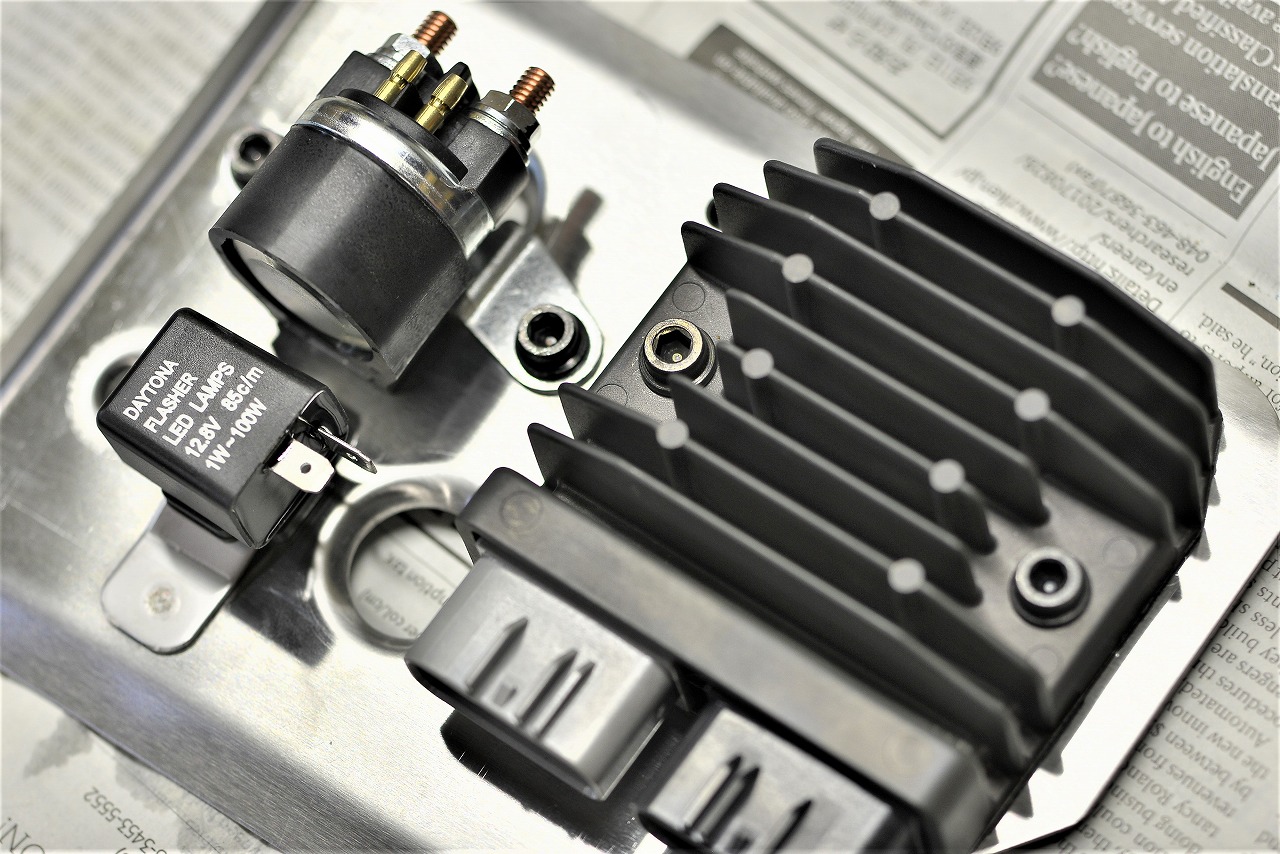
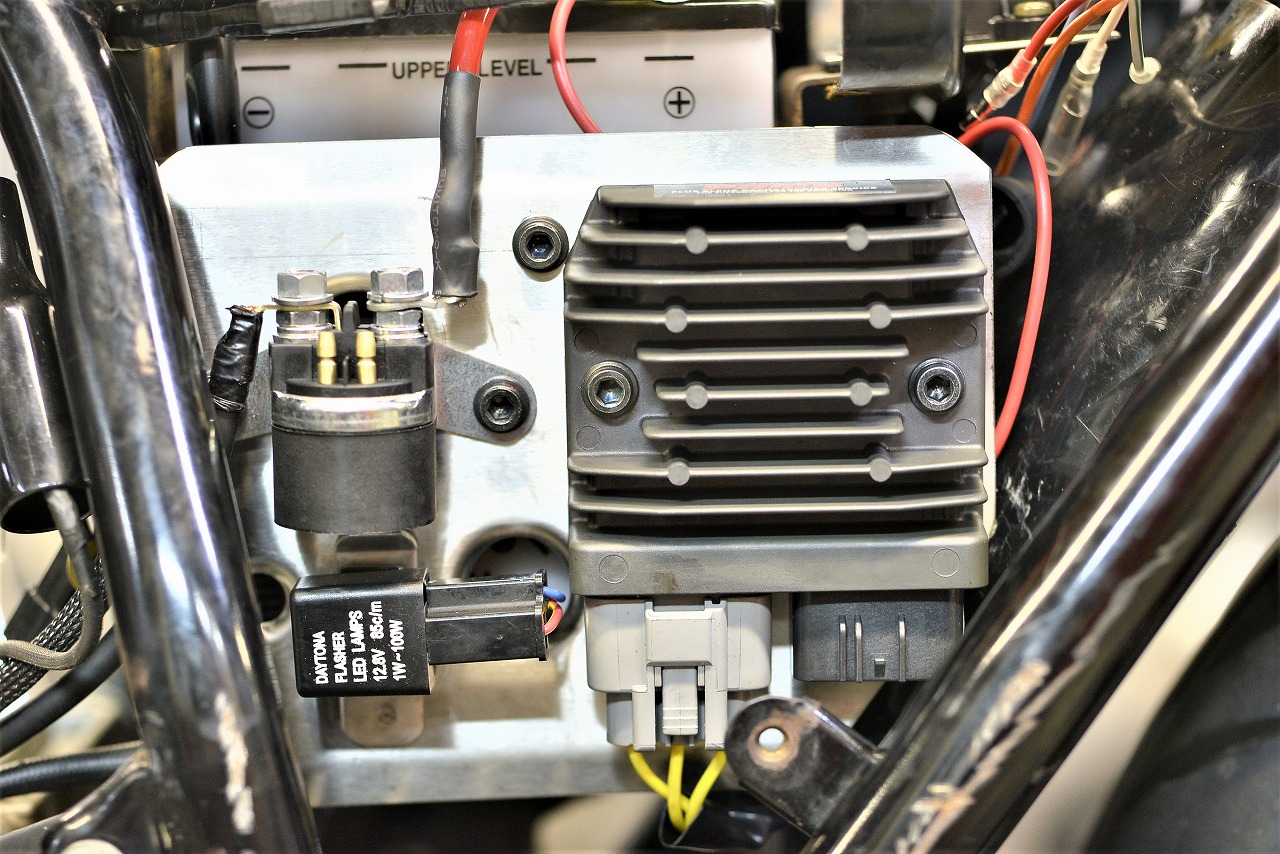
The customer requested a harness replacement. First, we stripped away all the parts and started with a thorough cleaning. You can really feel the vintage character radiating from this bike! A quick spray and a wipe-down a few minutes later makes everything shine like new. It has a shift indicator ahead of its time—a mythical sixth gear that won’t engage. I’m grateful for that! Given the age, it’s pretty worn out. Since parts aren’t available, we stripped it and reused what we could. We wrapped it with mesh and secured it with a 41mm clip—it looks fresh at first glance. Nylon clips Securing these with push rivets improves both ease of removal and appearance. Since the mounting surface is plastic, bolts might not be ideal. When securing the main ground, it’s nice to surface-prep the mounting point. The starter cable is bent at an angle to prevent rotation—the manufacturer really thought through assembly. I’m grateful for that attention to detail. We were fortunate to find a reproduction harness for this job. While bundling is important, laying it out so that removing fairings and other parts won’t pinch the wires—allowing for smooth, efficient work—is really valuable. We fabricated a bracket to swap in a MOSFET regulator, IC turn signal relay, and starter relay (oil-cooled version). Making it is one thing, but figuring out the mounting position, harness length, and minimizing post-fabrication work takes time—you often go back and forth between ideas for hours.
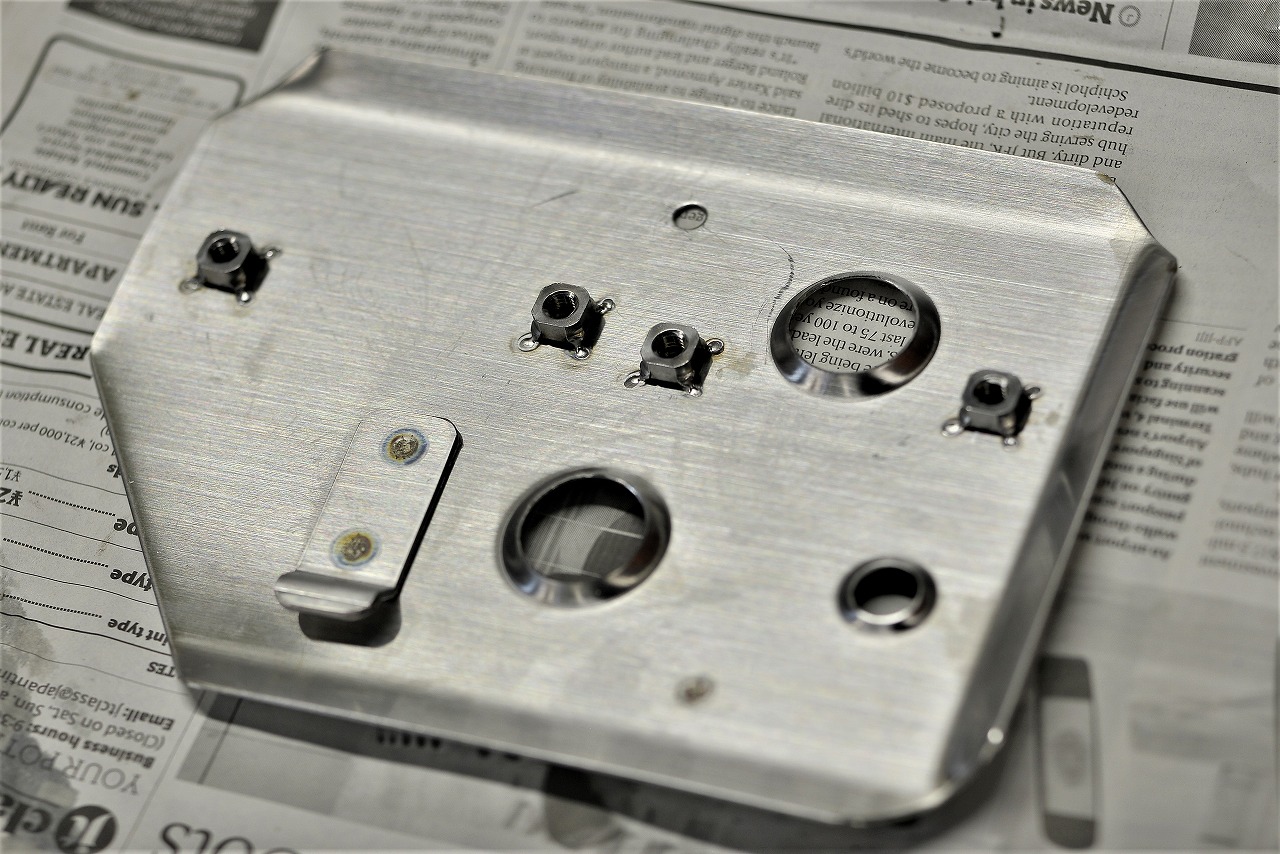
To make removal easy, we spot-welded nuts on the back. If nuts fall off every time you remove something, it kills productivity.
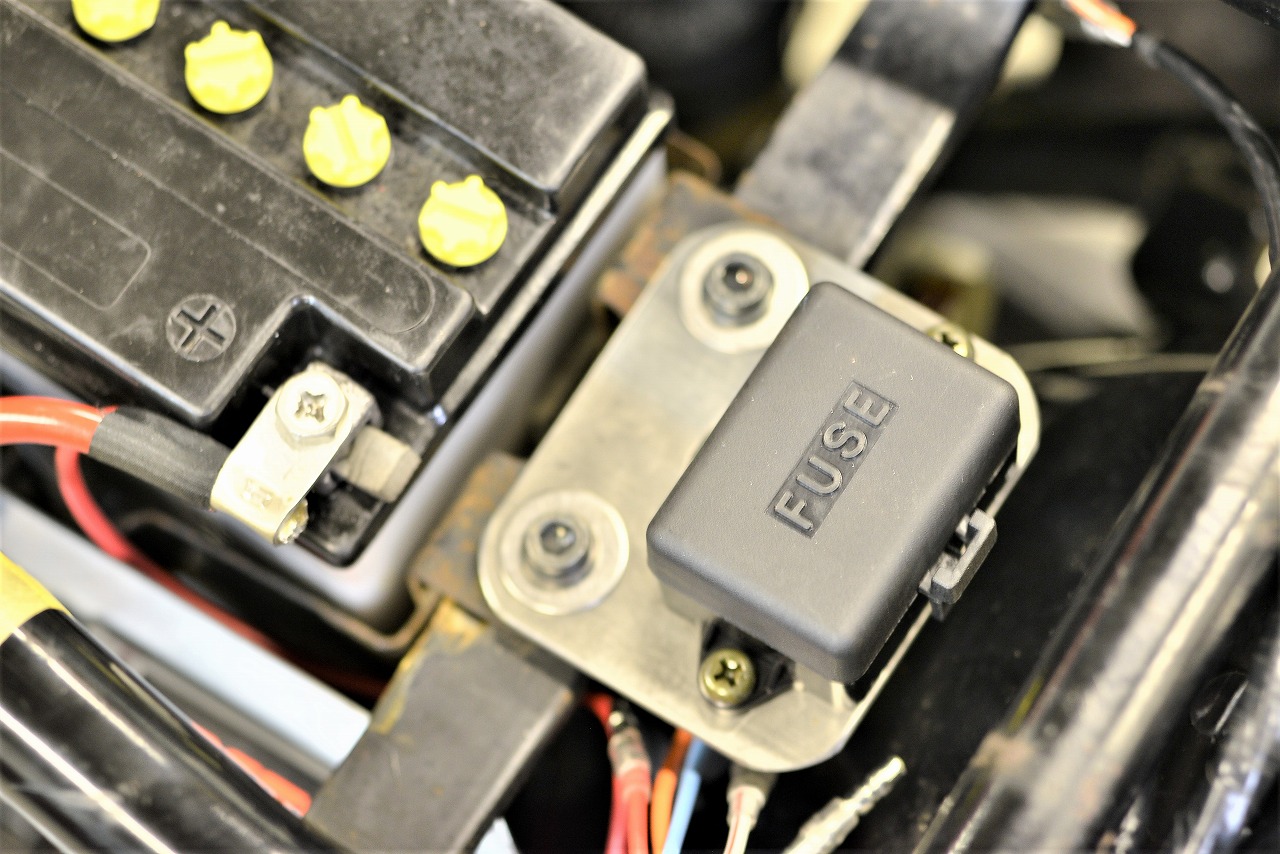
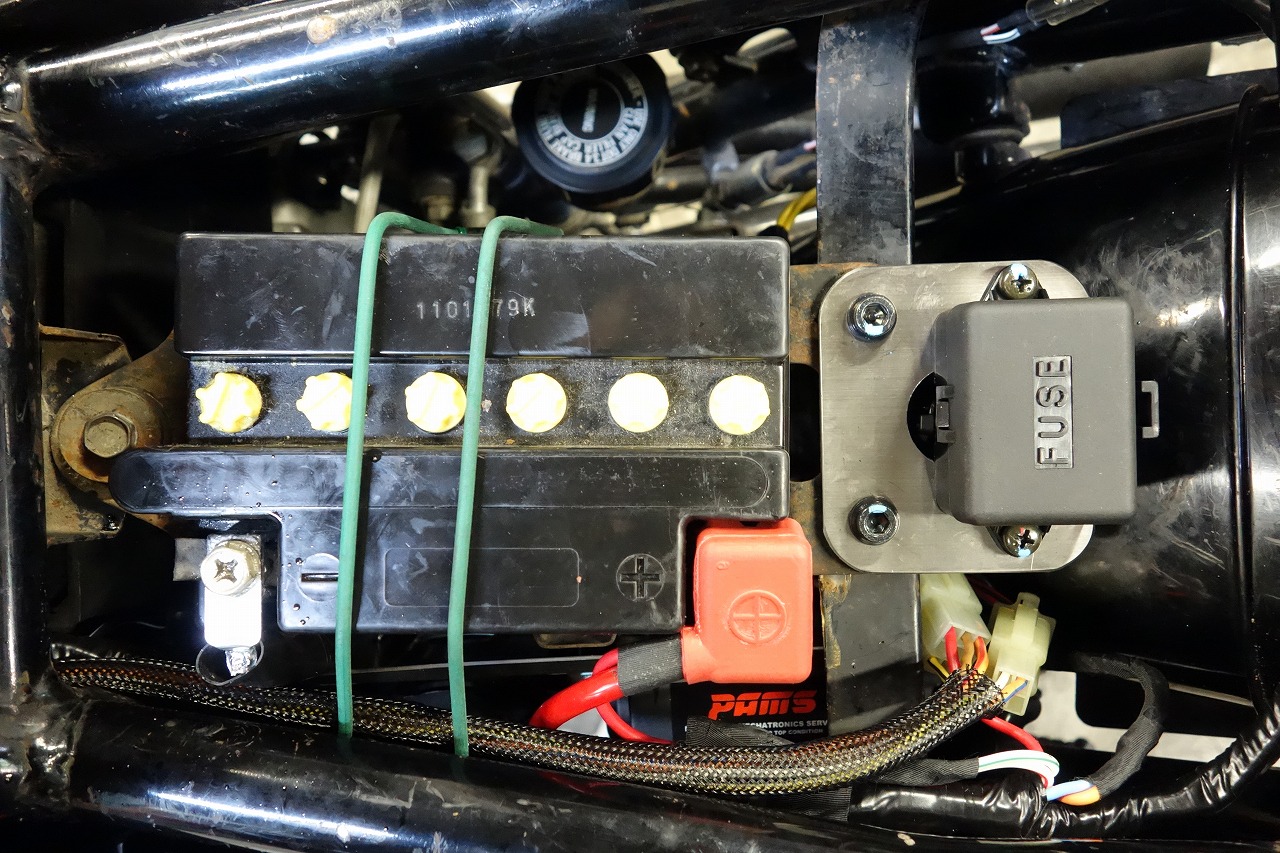
Winging it usually backfires—haste makes waste. That’s how we laid it out. There looks like plenty of space, but it’s surprisingly tight. The other side is pretty empty. Since there’s only a main fuse, the customer wanted to add more, so we adapted a small Honda fuse. HONDA: 38200KCZ003 — By the way, once stock runs out, it becomes a discontinued part.
Looking at the manual wiring diagram, the main key branches immediately, so adding a fuse would mean nearly disassembling the entire main harness—defeating the purpose of using a reproduction.
We puzzled over it and went with that approach.
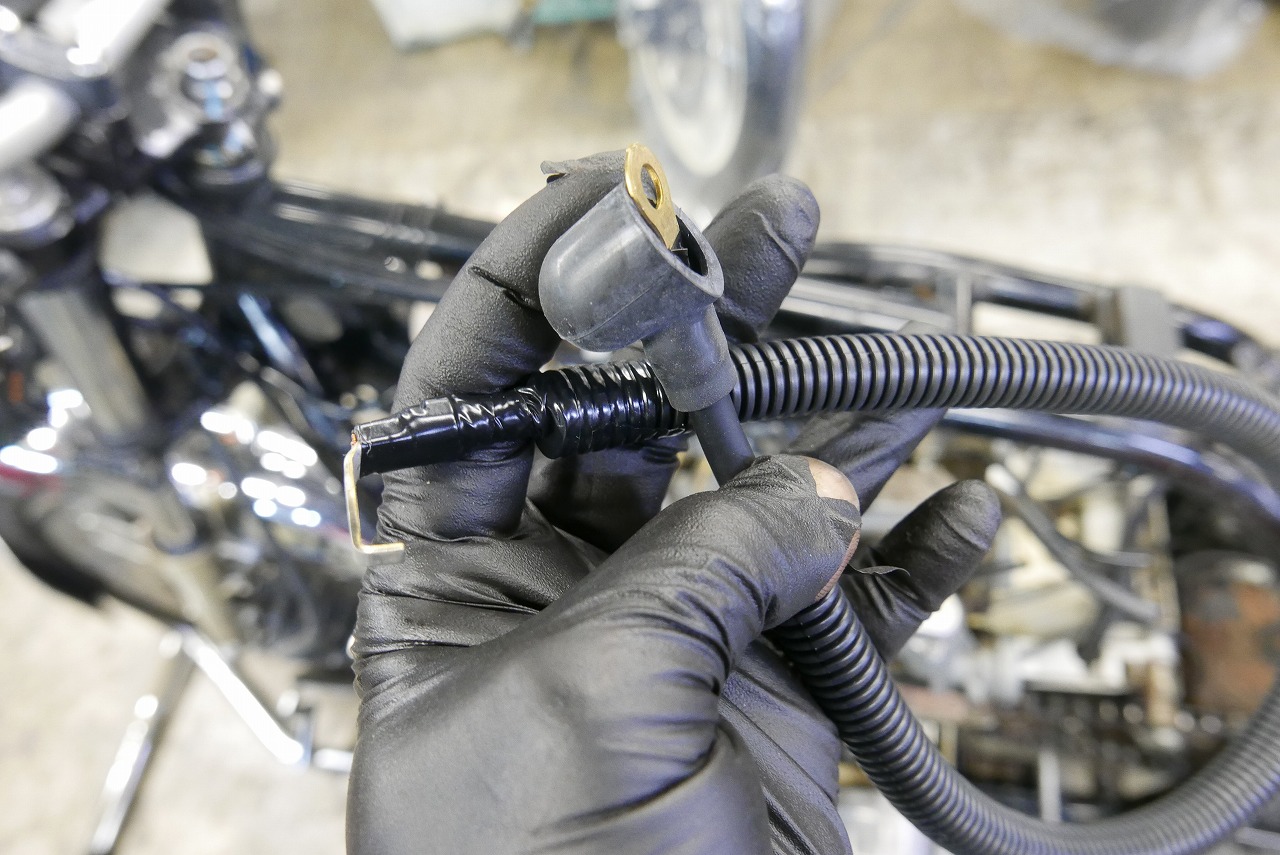
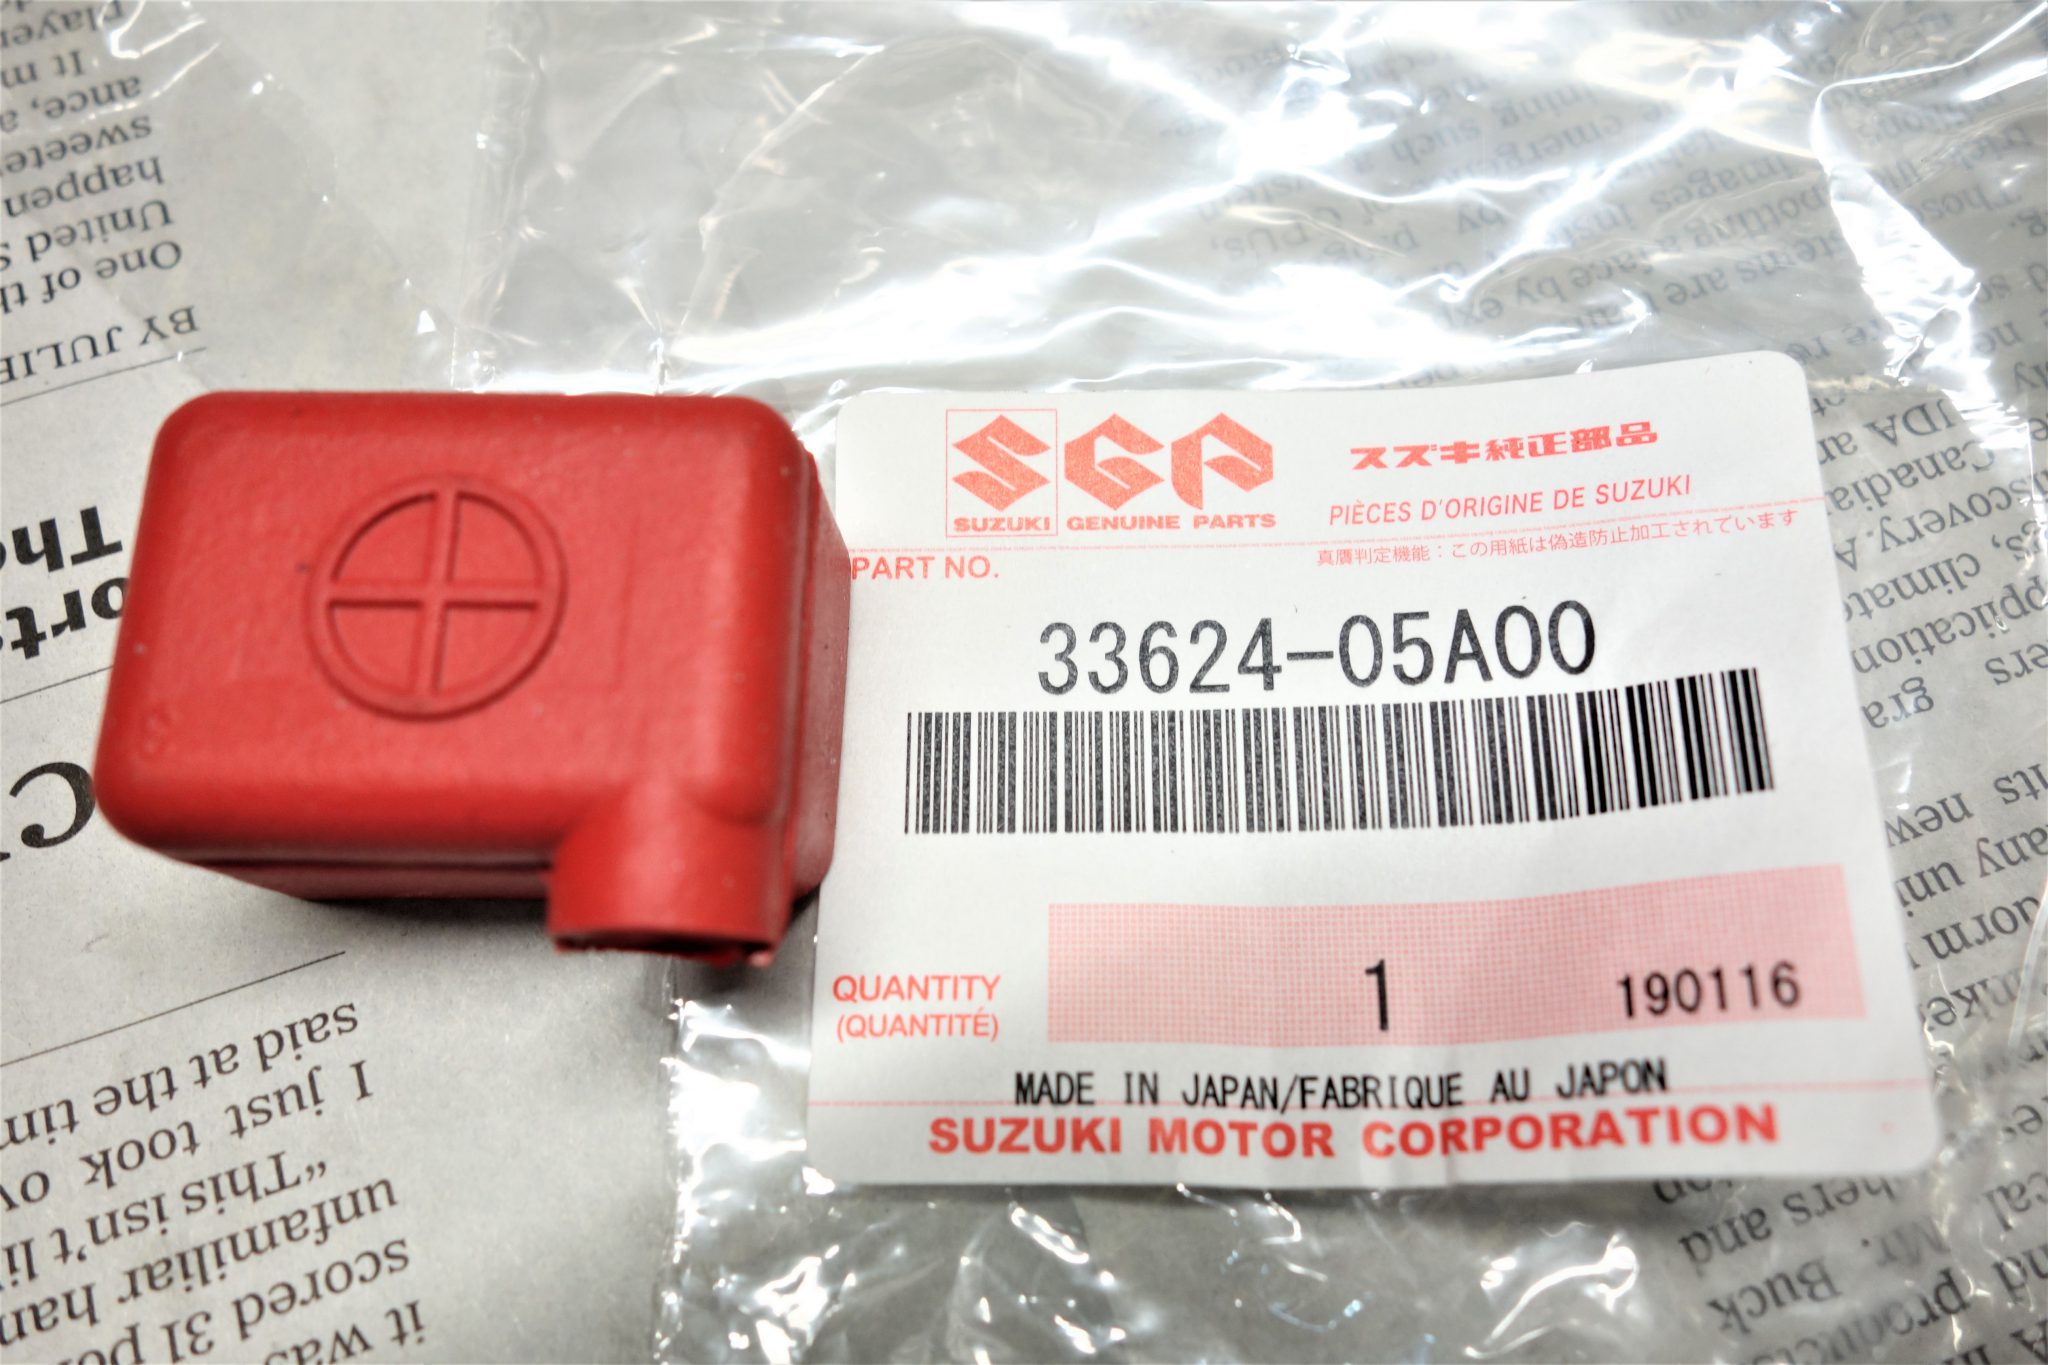
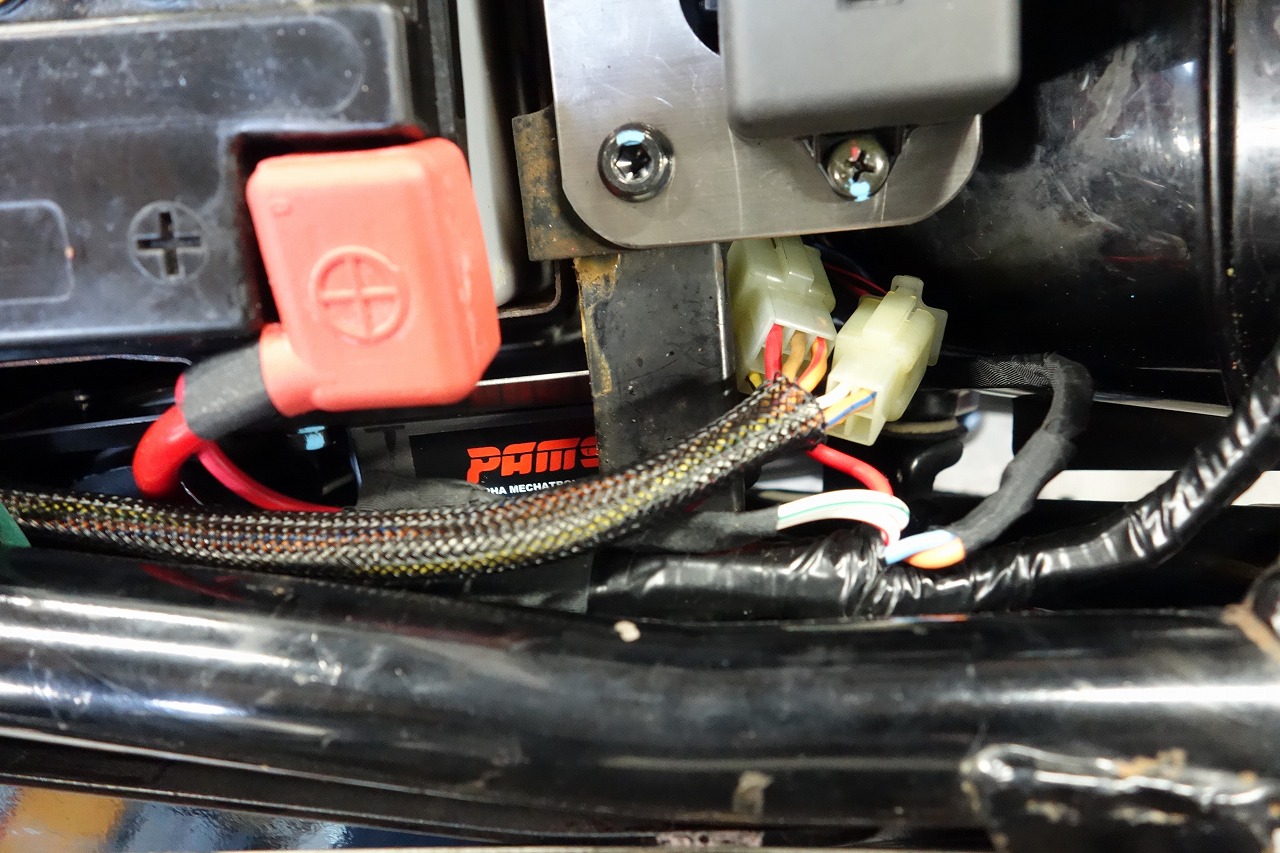
We made the battery terminal L-shaped, but we didn’t have a terminal cover on hand. We reverse-looked up the part number and scrolled through images for ages. Suzuki L-shaped or side-exit terminal cover 33625-05A00
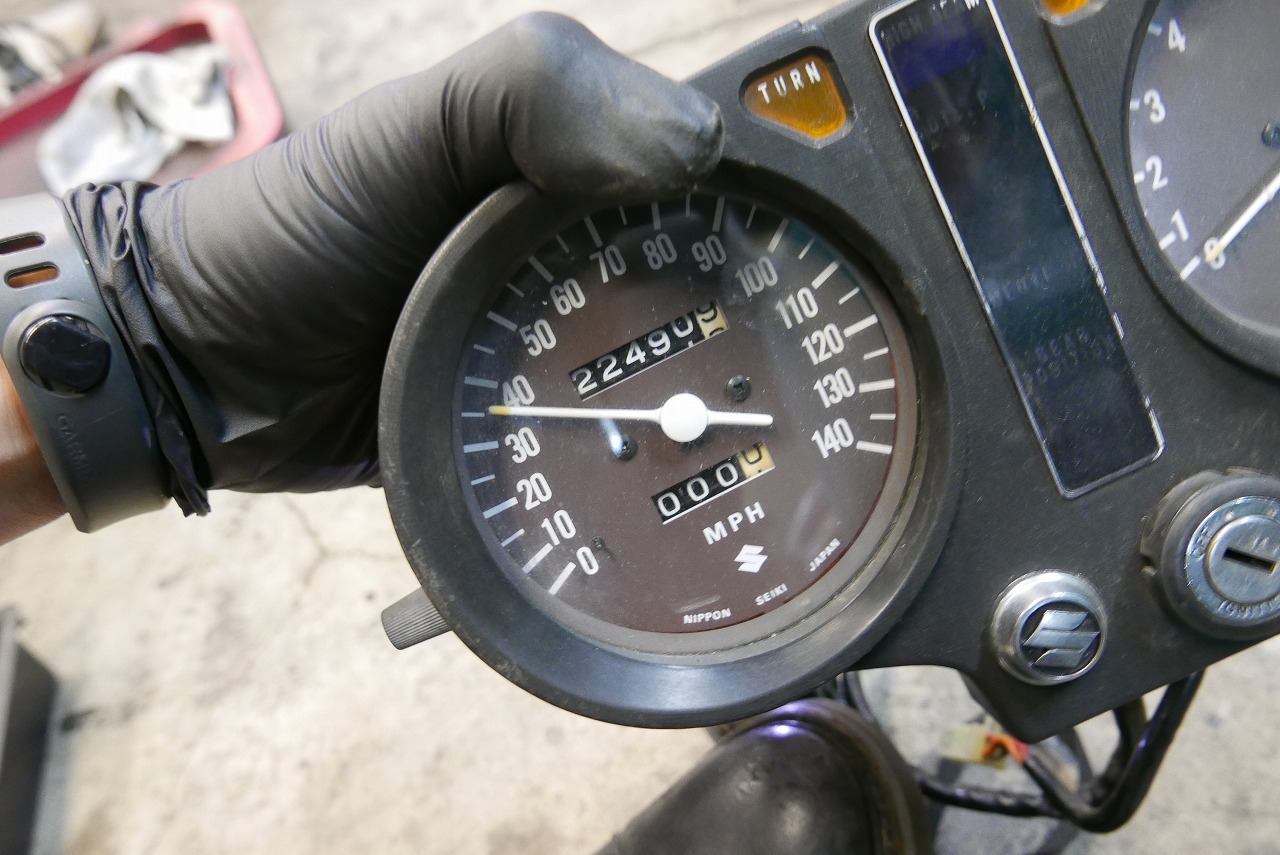
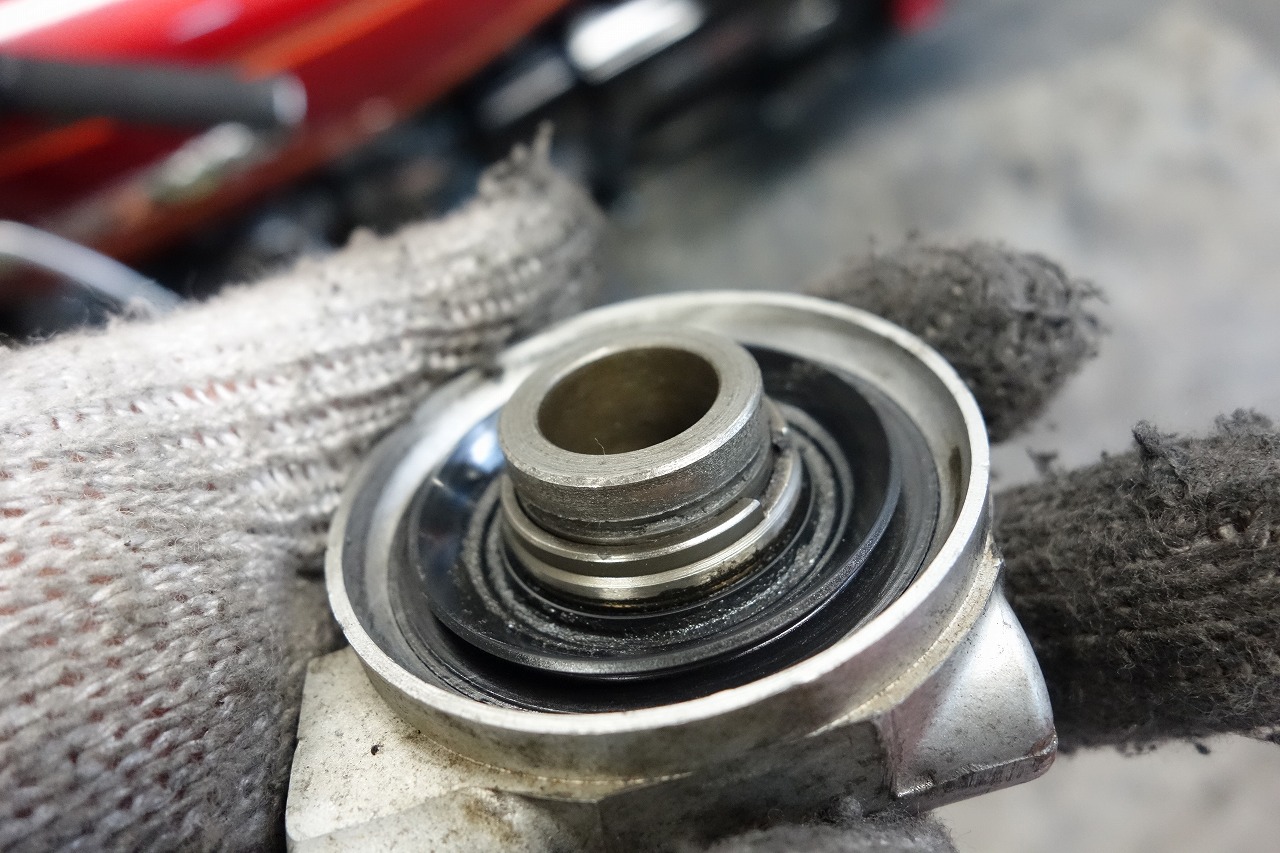
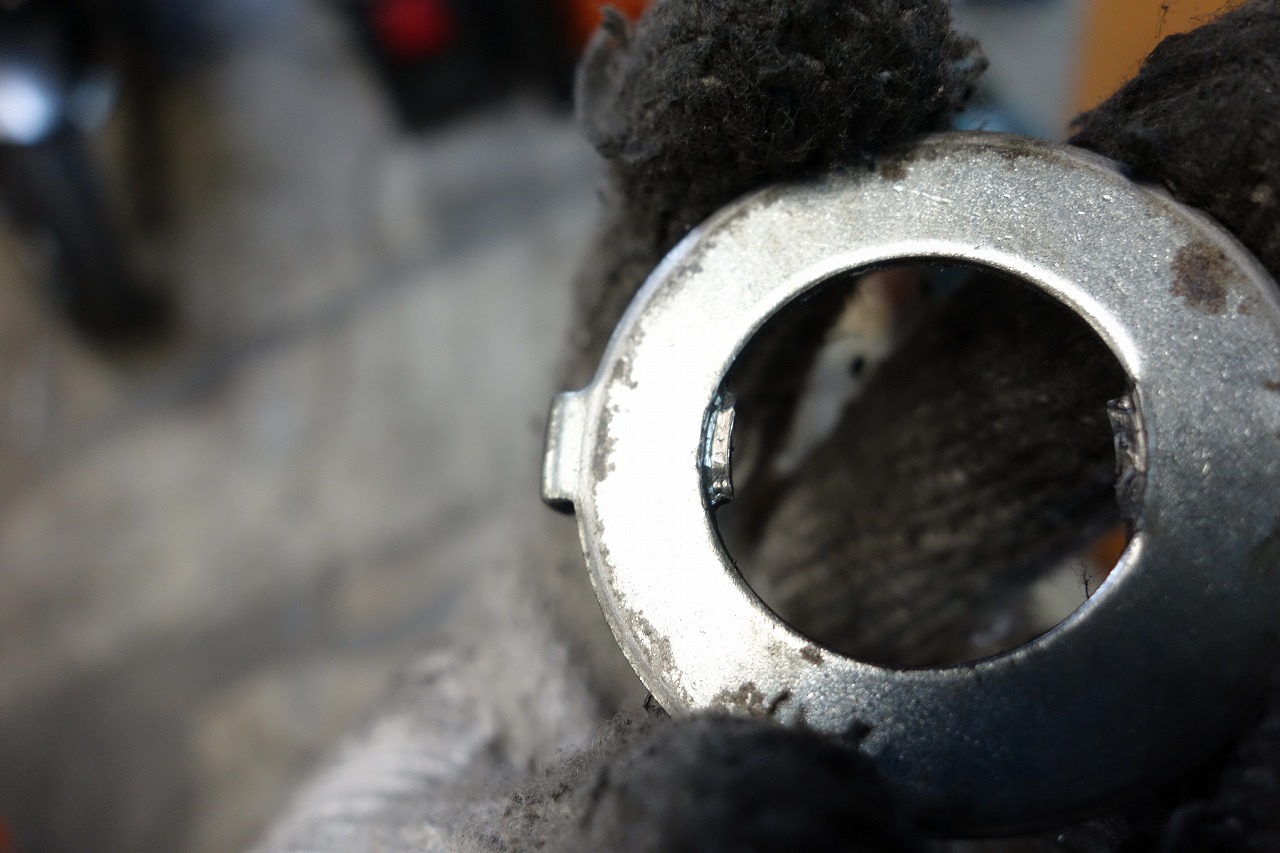
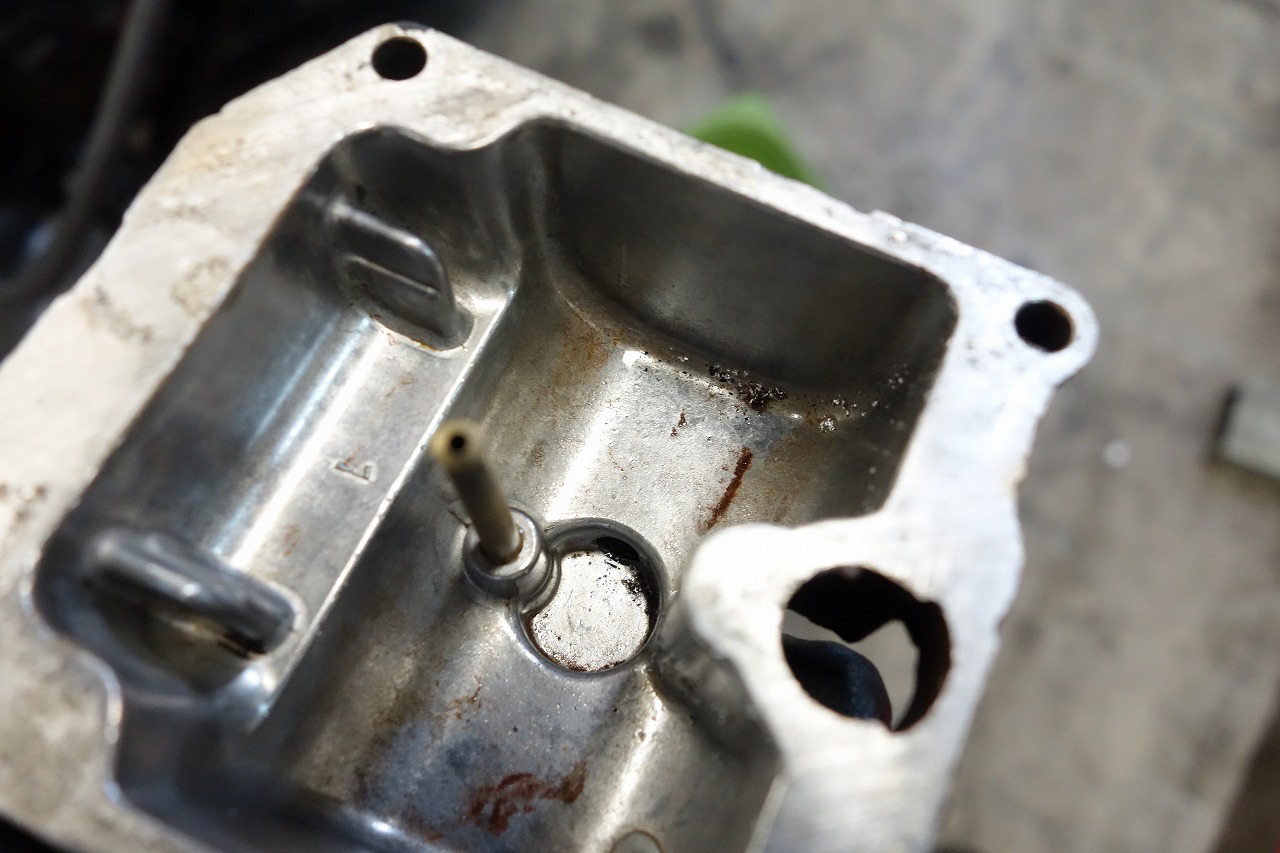
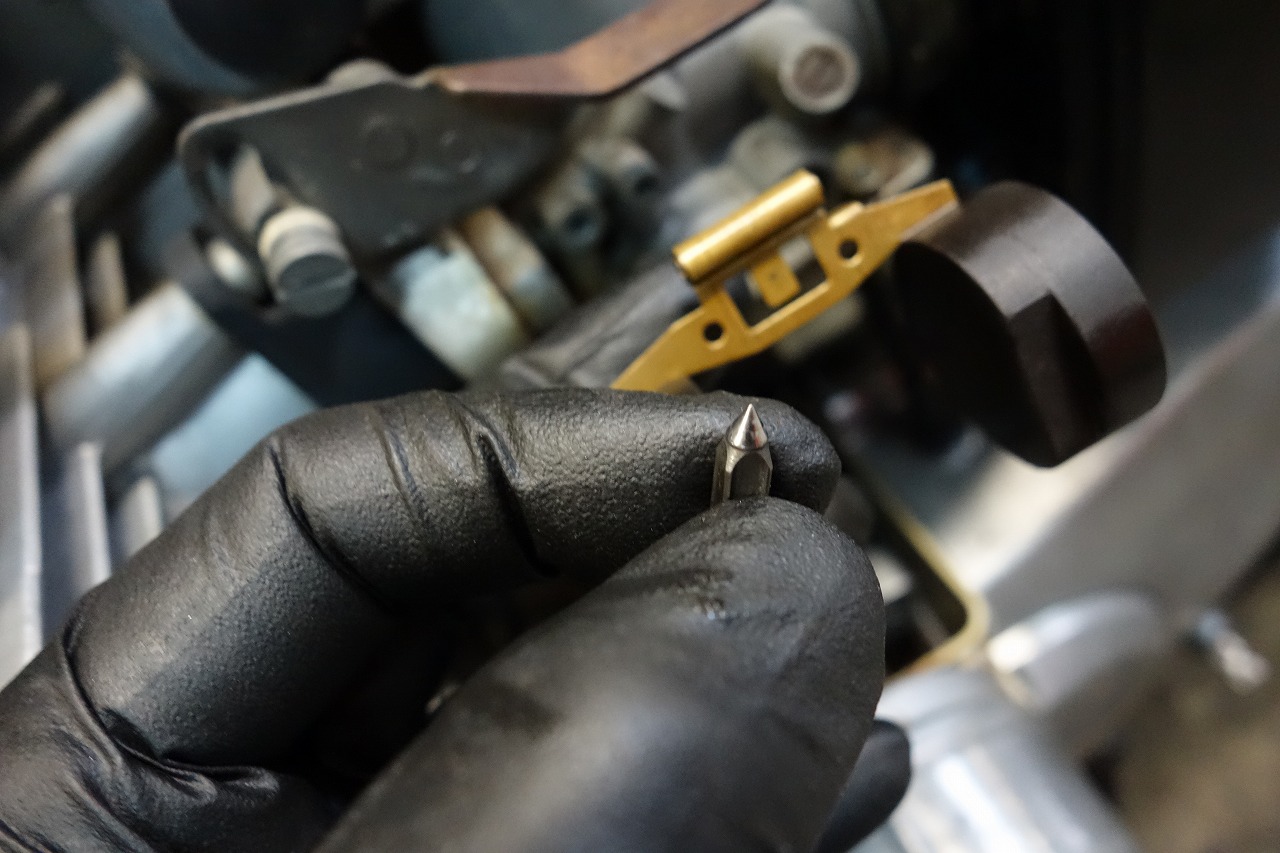
Maybe this will be useful to someone. Bundling what we can with mesh and organizing after layout is quite tedious. Since there were no places left to hook cable ties, we used band cord to hold things in place. It’s weldable, so it’s an incredibly handy tool. The customer asked us to replace the speedometer since it wasn’t working. I thought, how often does a meter break? But when I tested it with a power drill, it worked fine—the cable wasn’t broken either, so it must be the meter gear. The rotation was incredibly stiff—looks like the internal lubricant dried up. The internal tabs had worn down and were slipping. For now, we bent the tabs back, added oil, and got it working, so we’ll see how it goes. If it fails, we’ll replace it. Just before delivery, the overflow wouldn’t stop—three times over. I was pretty deflated. The real issue is the tank, not the carburettor, so there’s not much I can do about it. We checked the float valve and somehow got it to stop—I was genuinely impressed. But it could happen again anytime.
We don’t have many photos, but that wraps up this job.