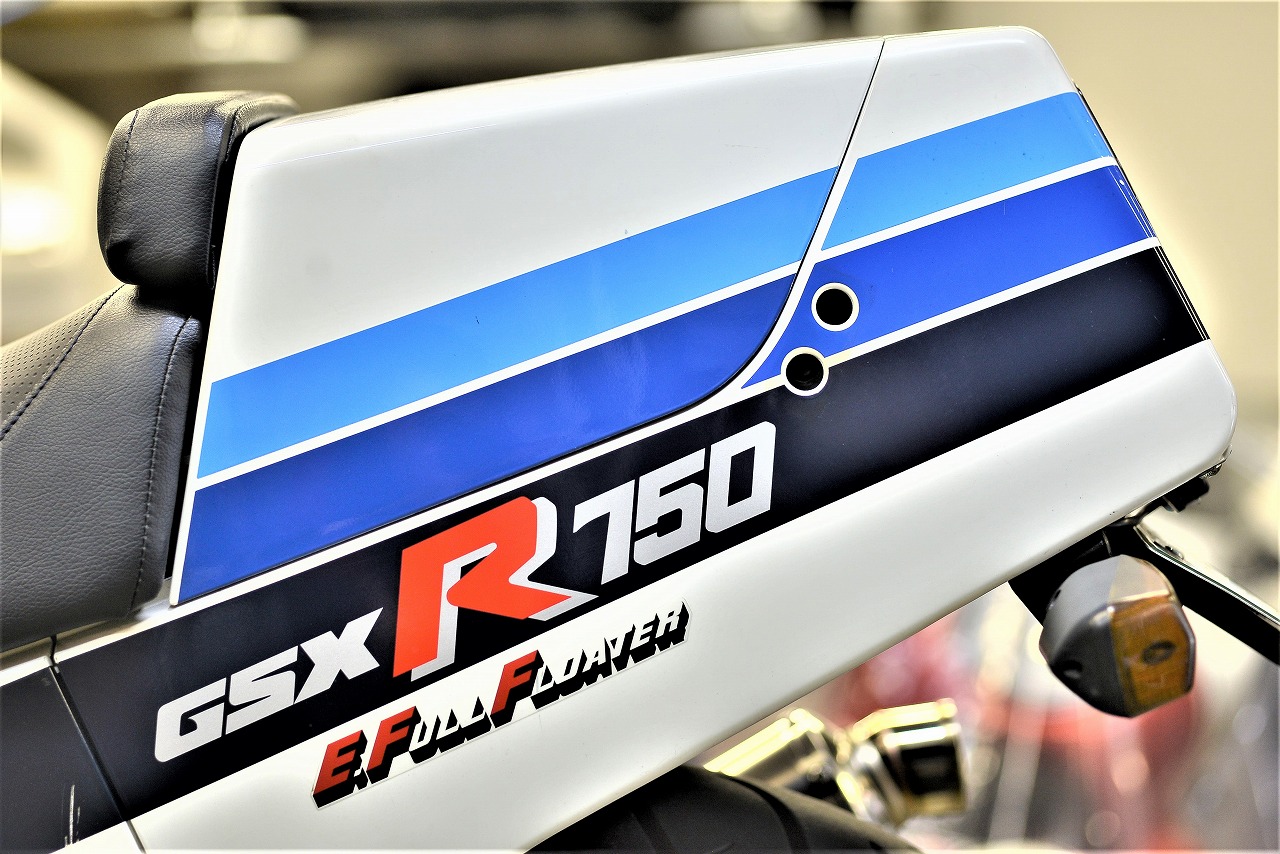
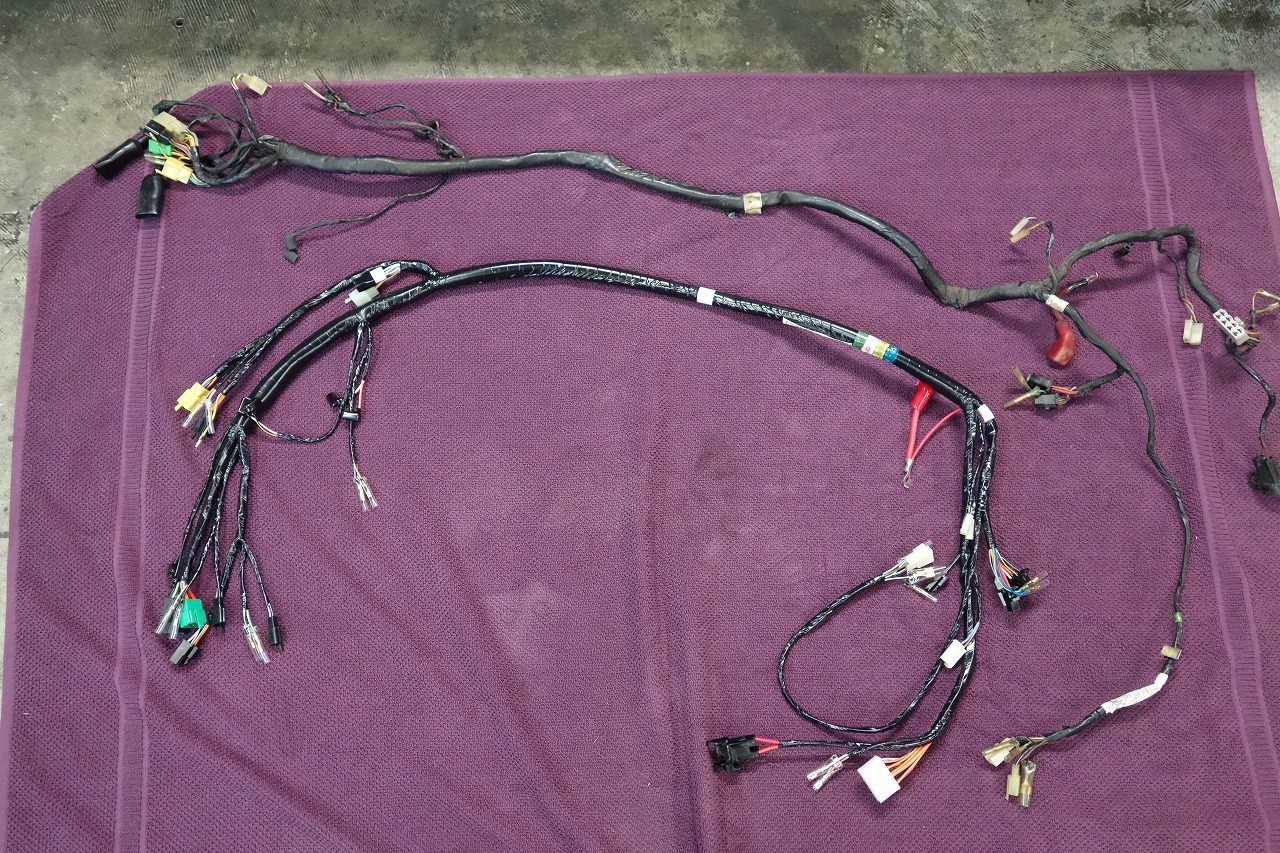
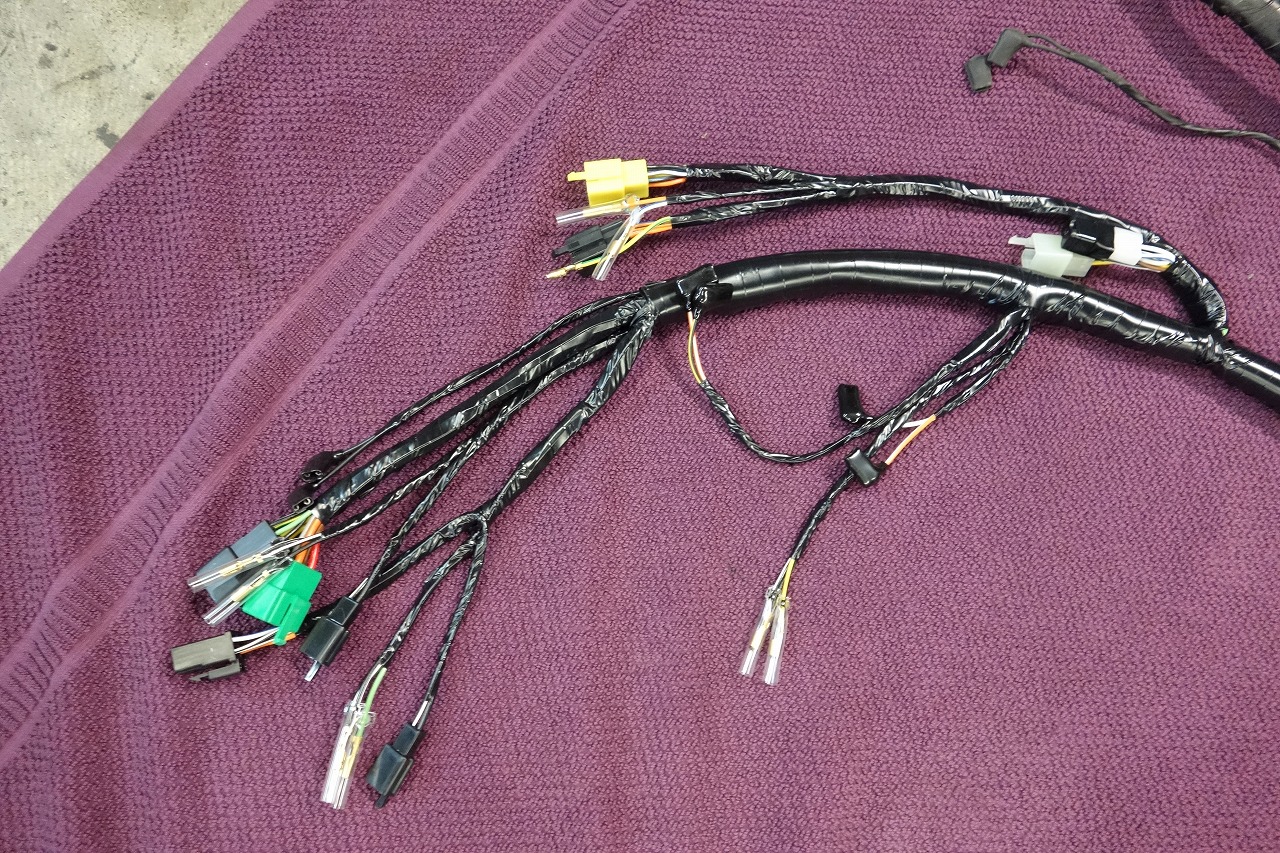
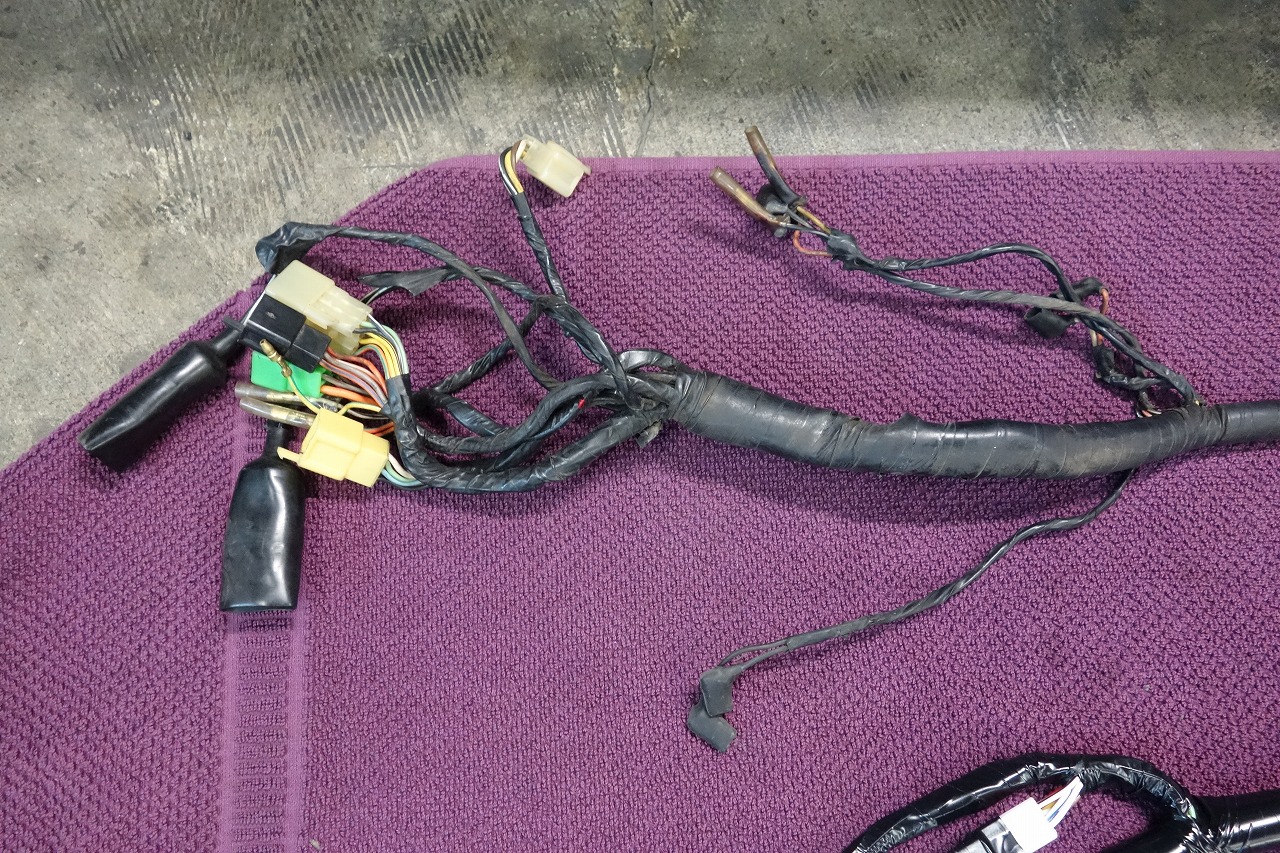
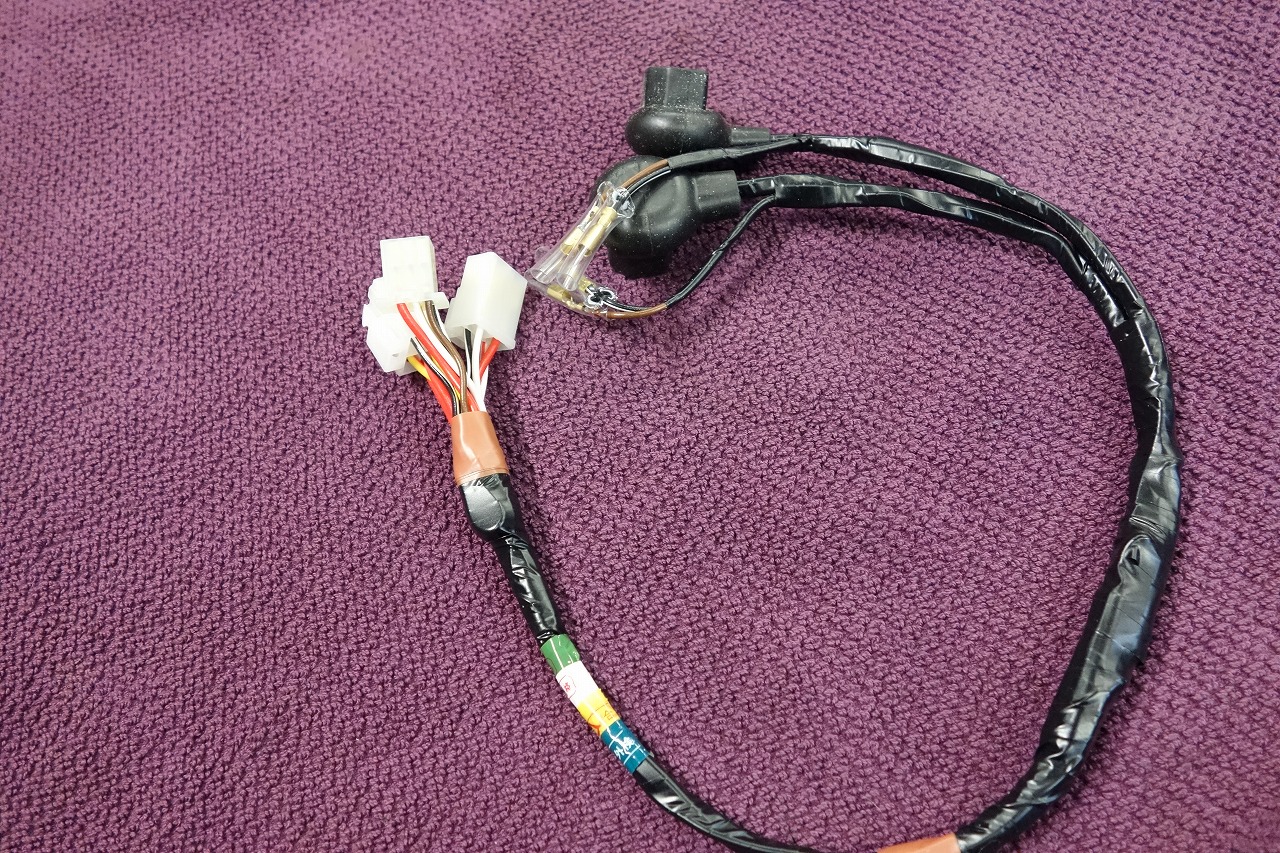
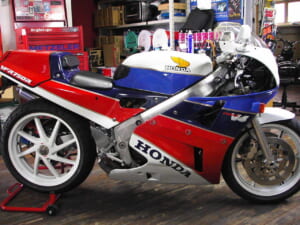
A white base with blue color scheme has a refreshing, clean feel. Don’t you think simple designs never get old? Main harness replacement. Sorry for the long wait… Here’s a comparison of the old and new harnesses. (We did the same for the GS750 we posted earlier, of course.) Even with OEM parts, when part numbers get consolidated, you sometimes end up with questionable wiring.
If you check things before assembly, you won’t run into “what the heck is this connector?” situations. What to look for: the wiring branch points and layout, and whether the connectors are the same shape and number. Since this is 1980s harness design, there aren’t many connectors, so it’s pretty straightforward.
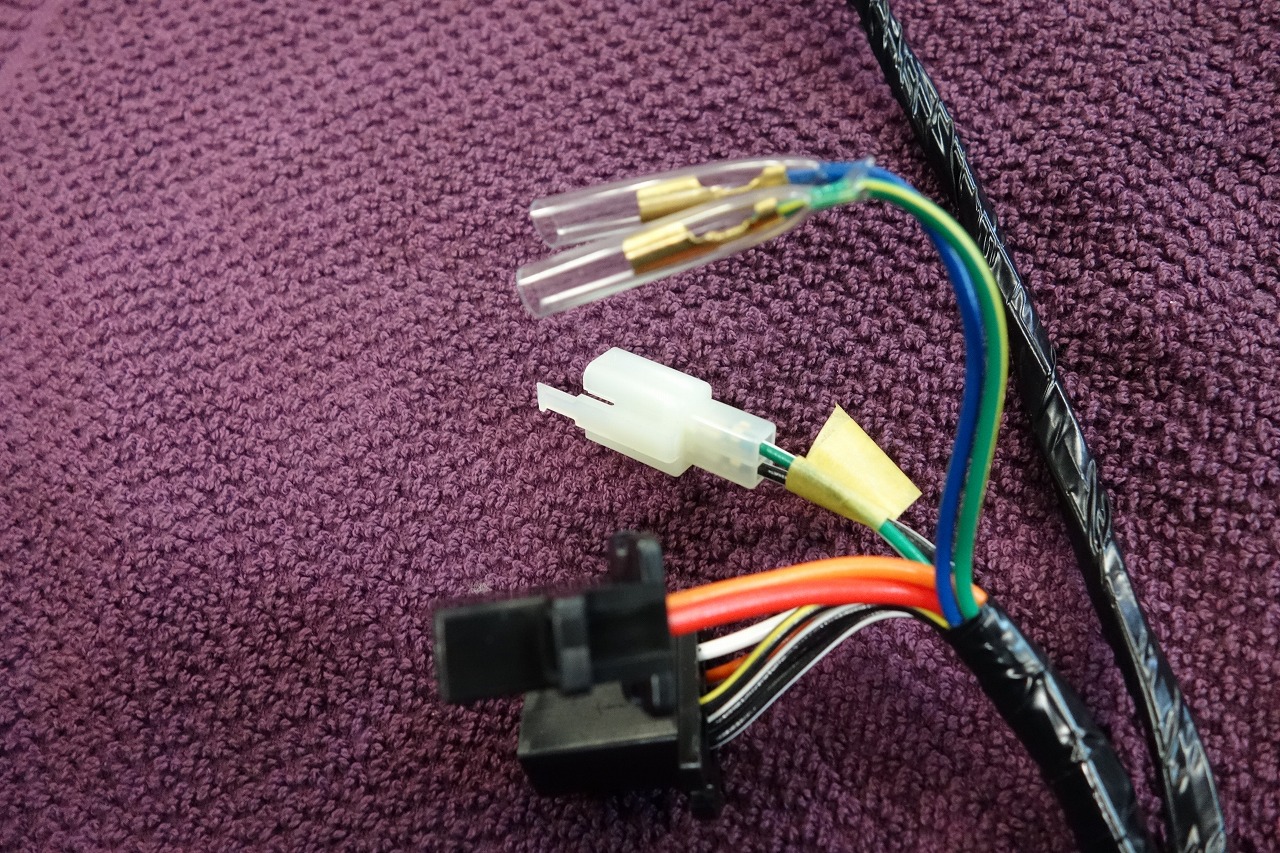
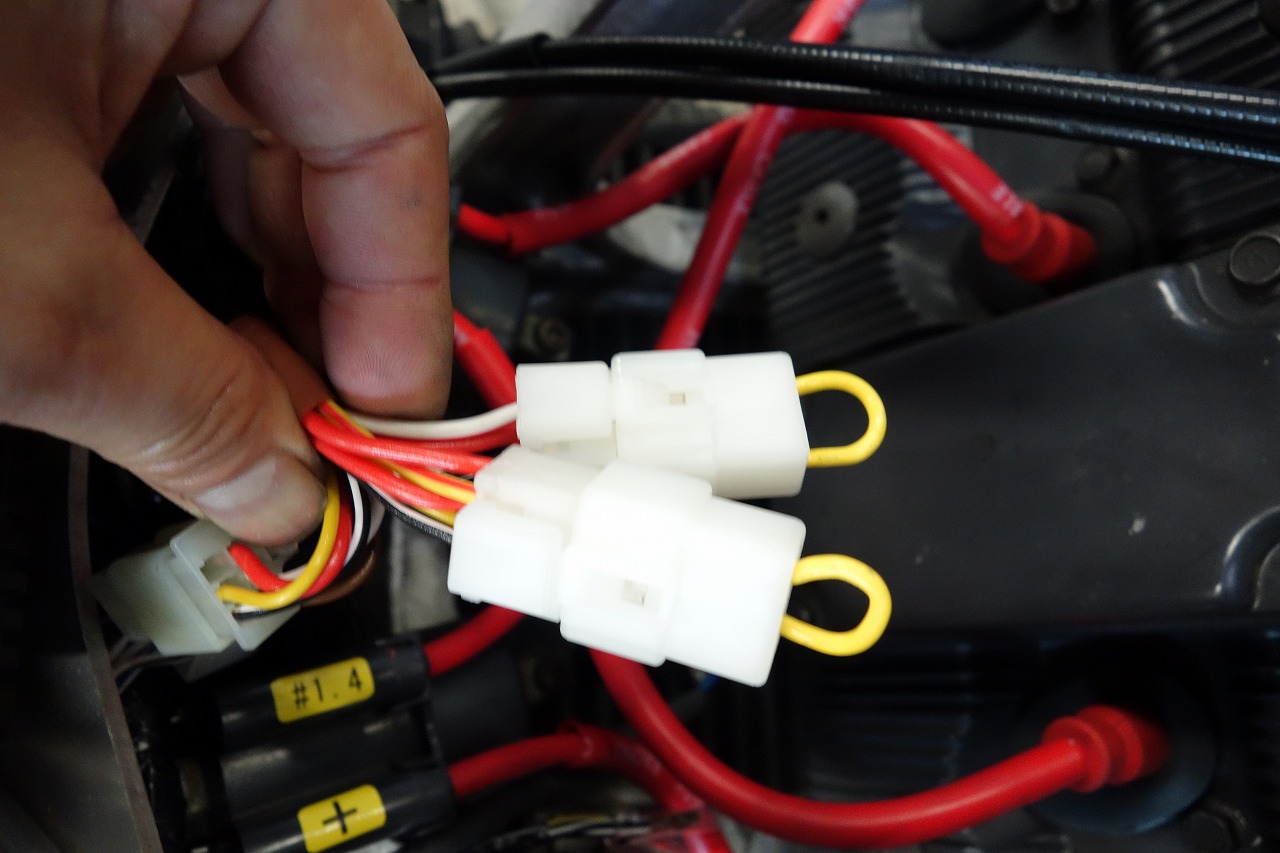
Current harnesses are a whole different story—I wouldn’t even try to swap one. When I was making my own Z harness, I had to buy a used ZX10R harness just to get one connector I couldn’t find anywhere else. When I saw it, I was shocked! The number of connectors was insane. The headlight harness uses a relay setup, so it comes with a relay connector. I checked the wiring diagram—you can convert from relay to no-relay. The other way around? Not sure.
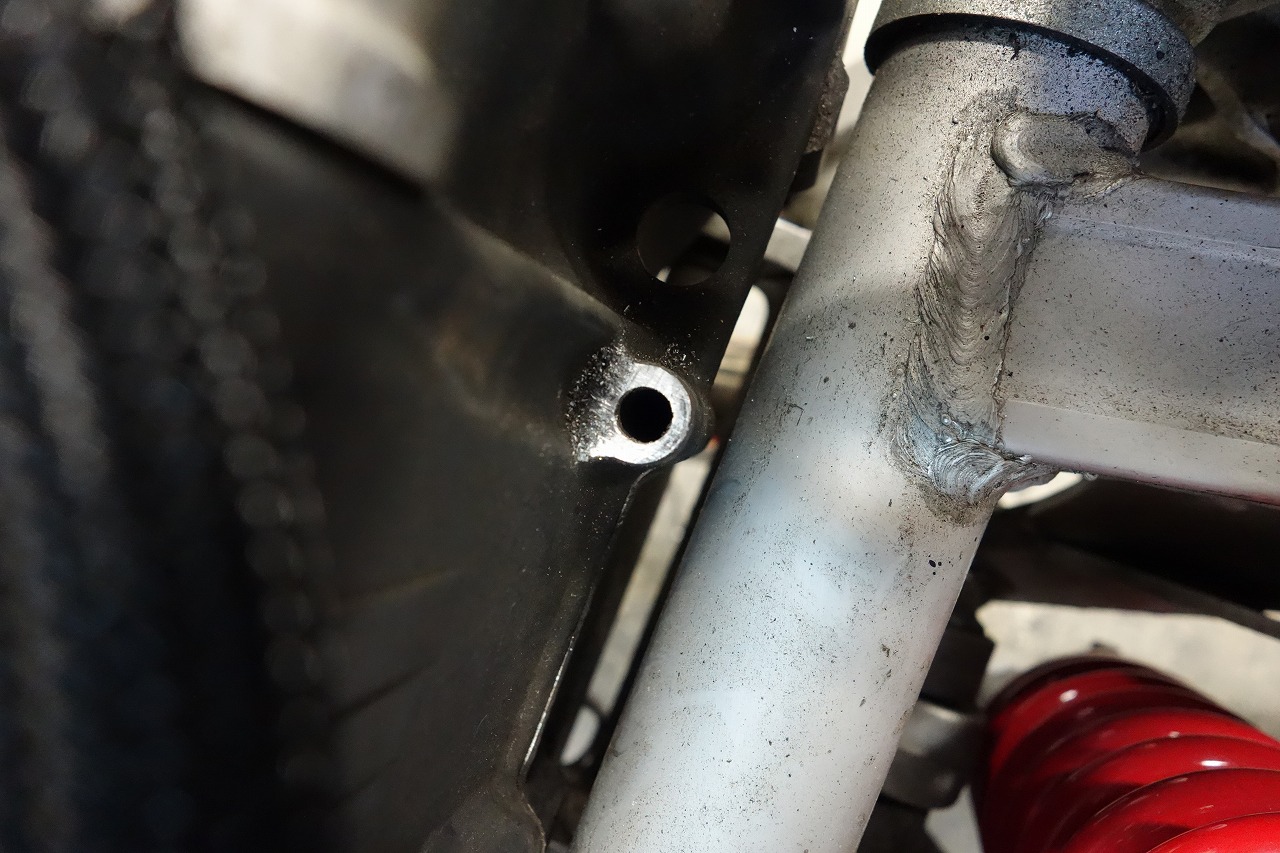
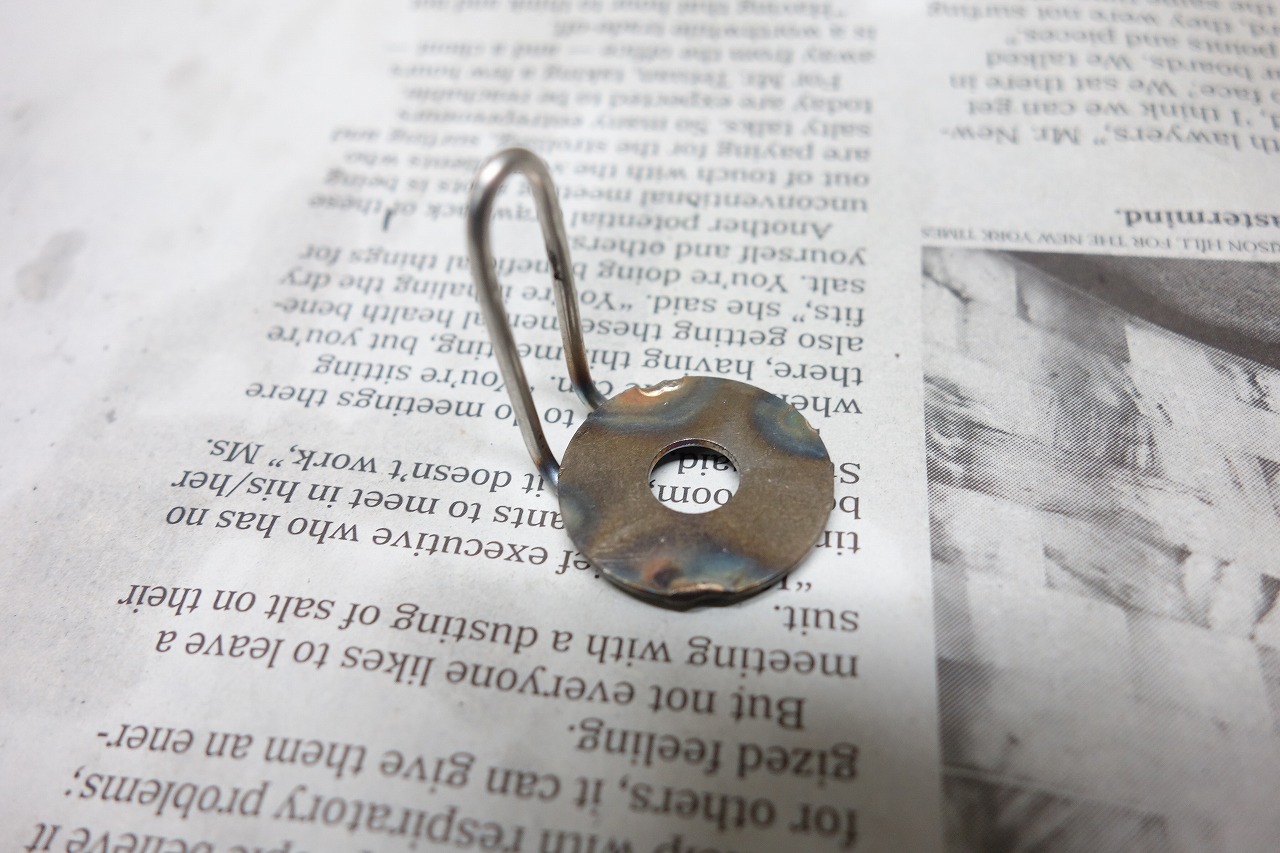
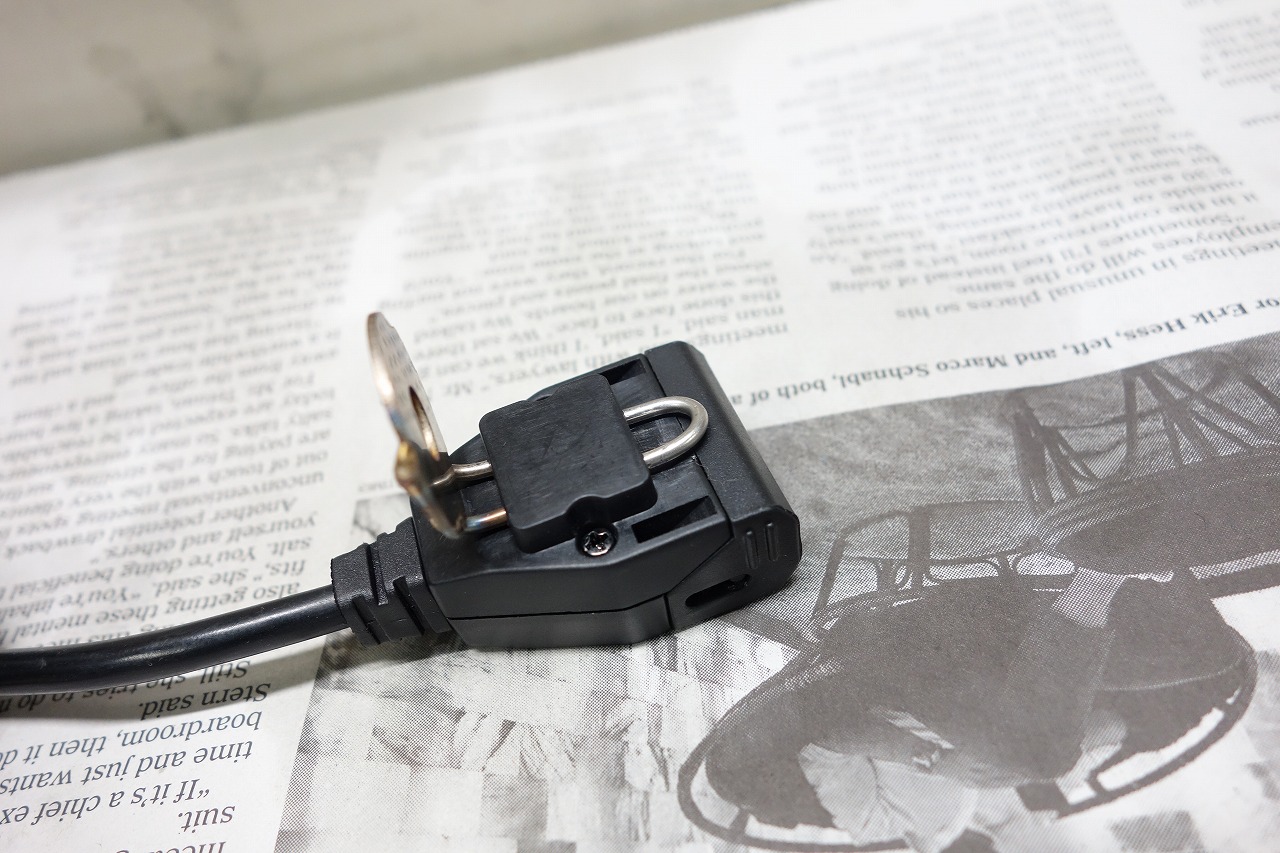
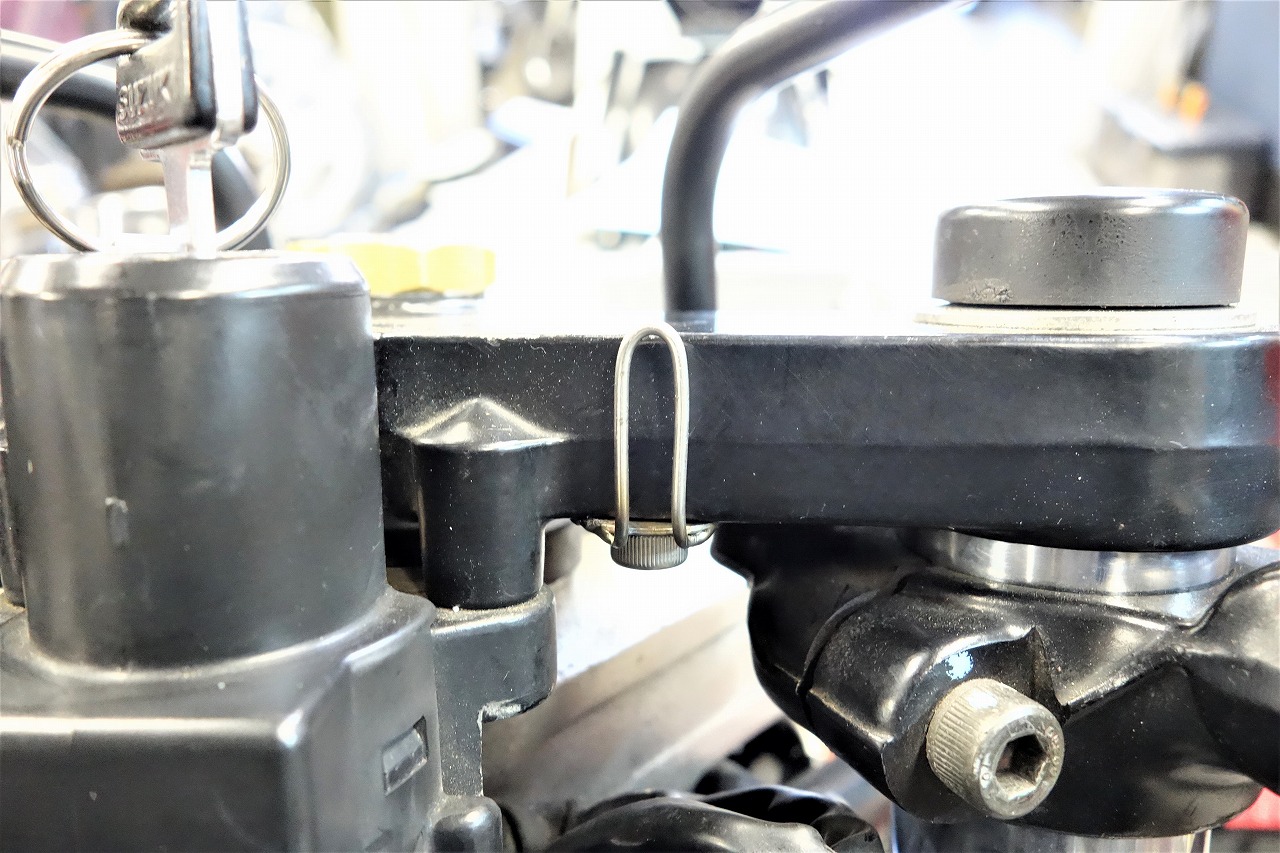
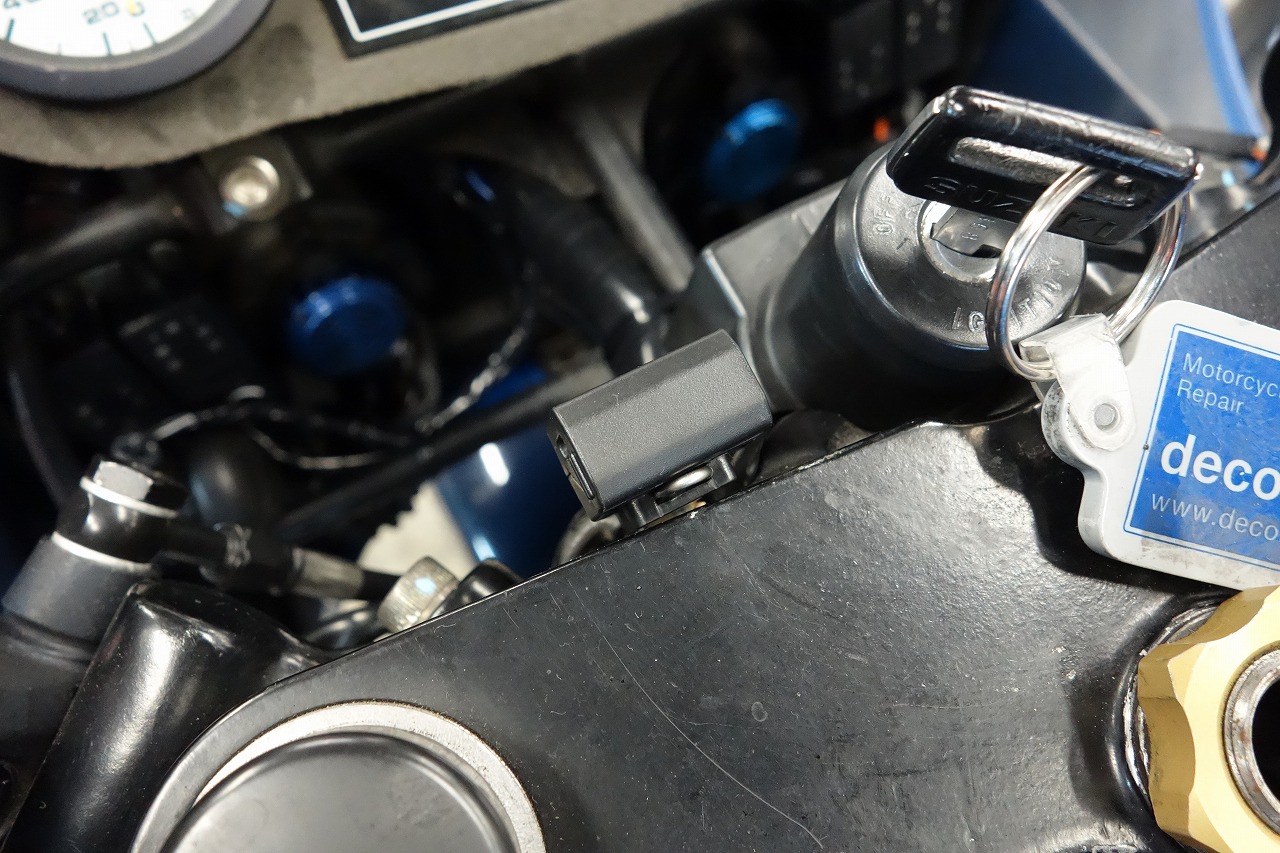
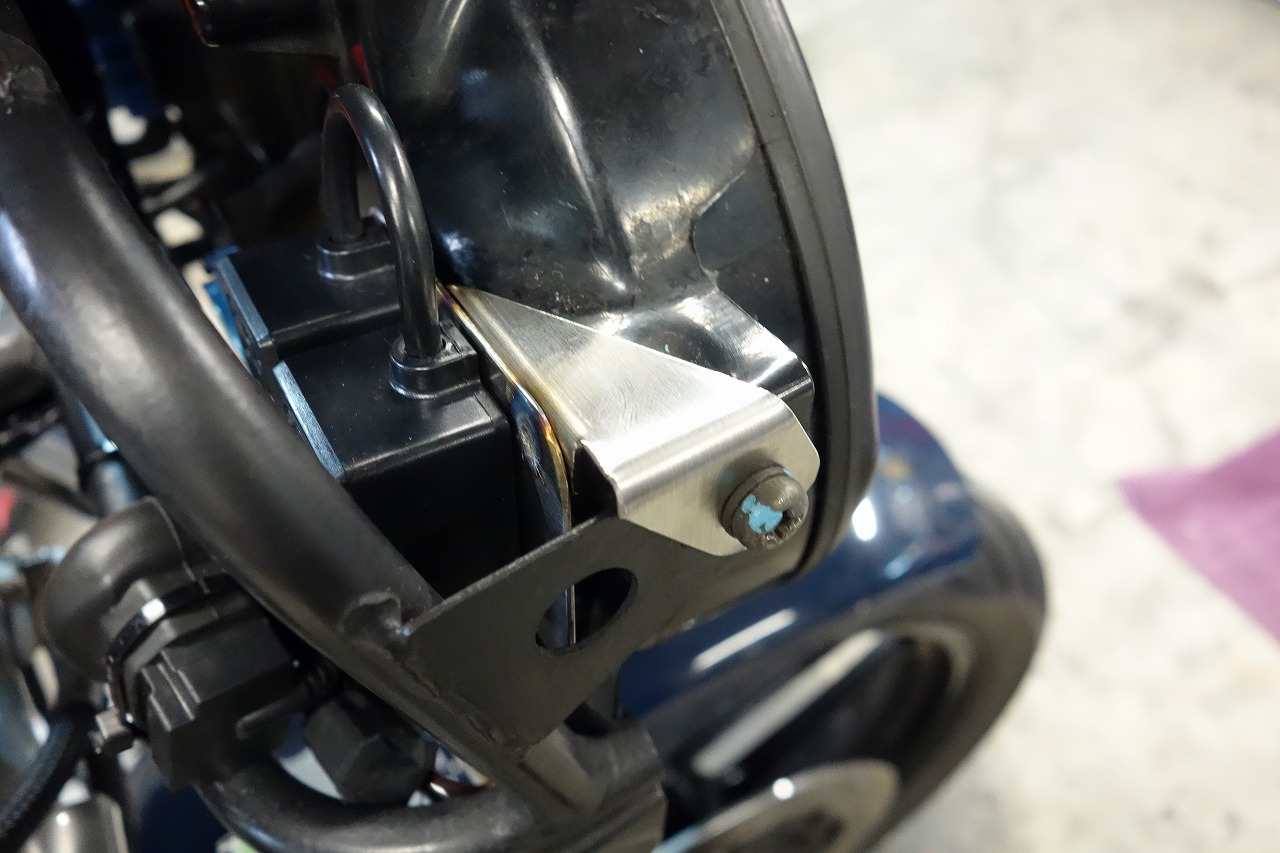
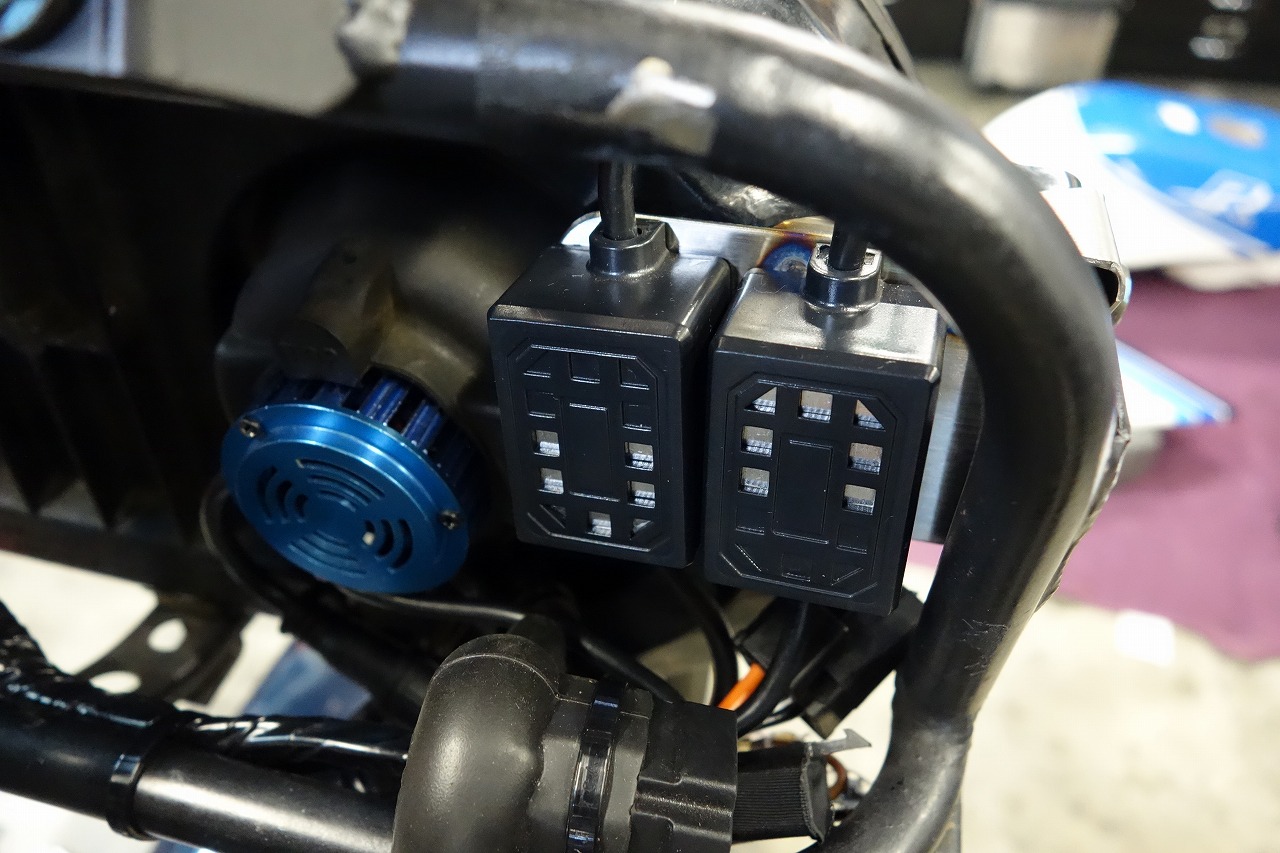
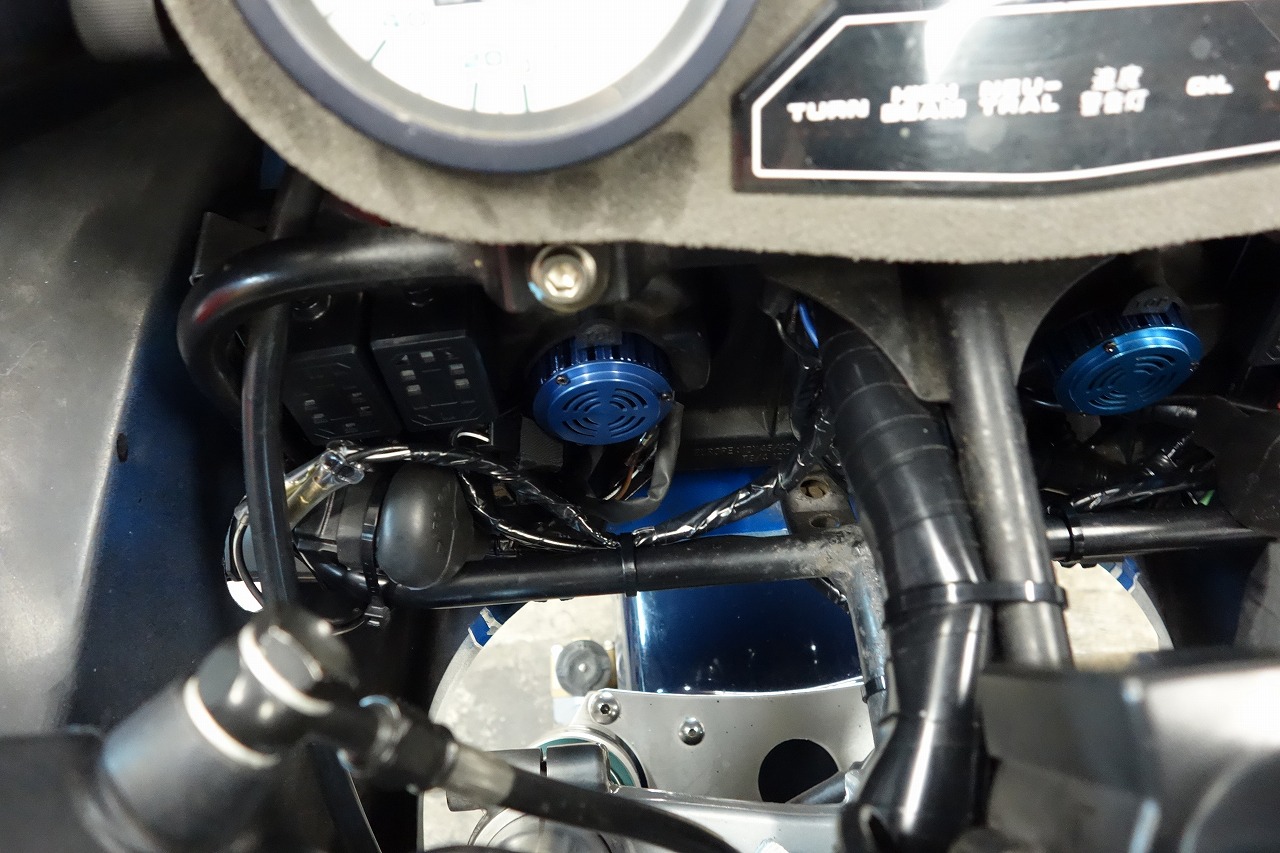
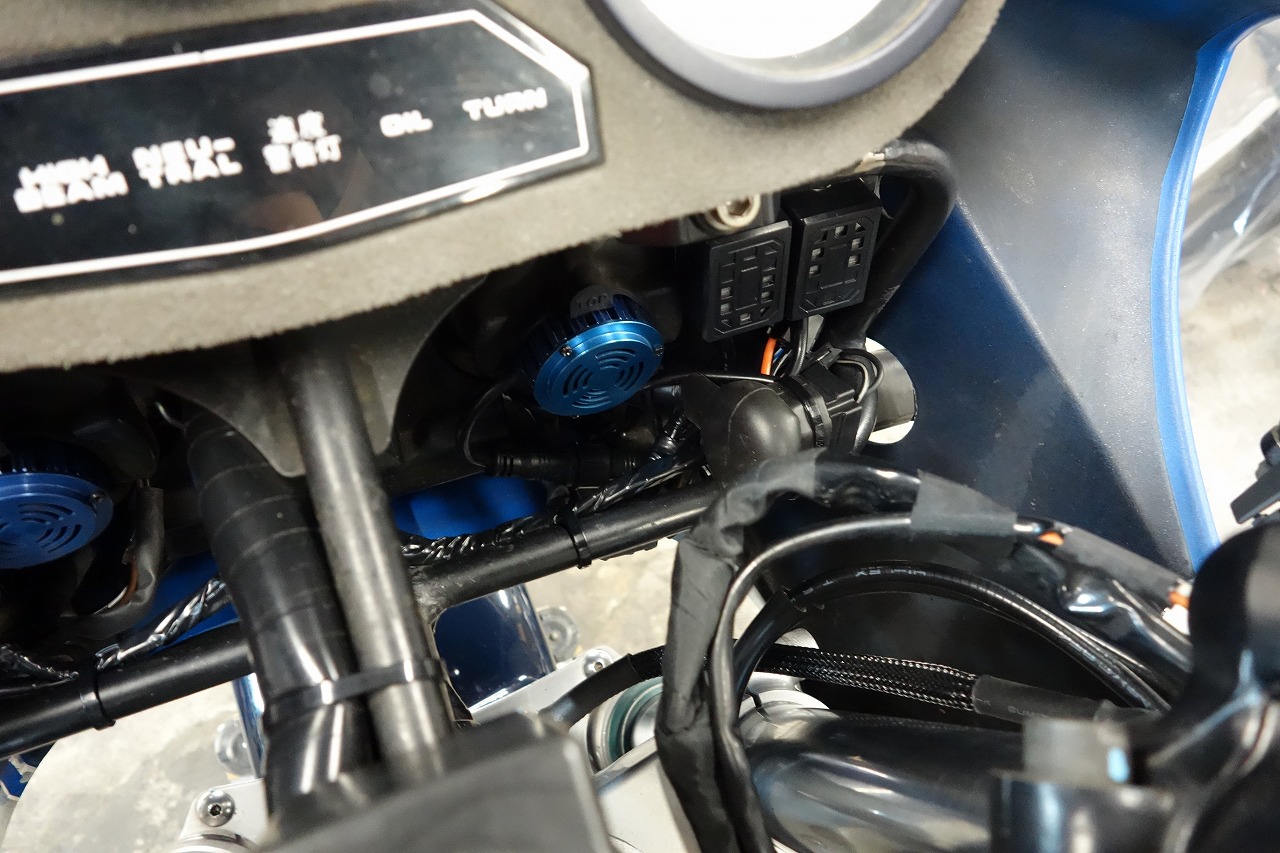
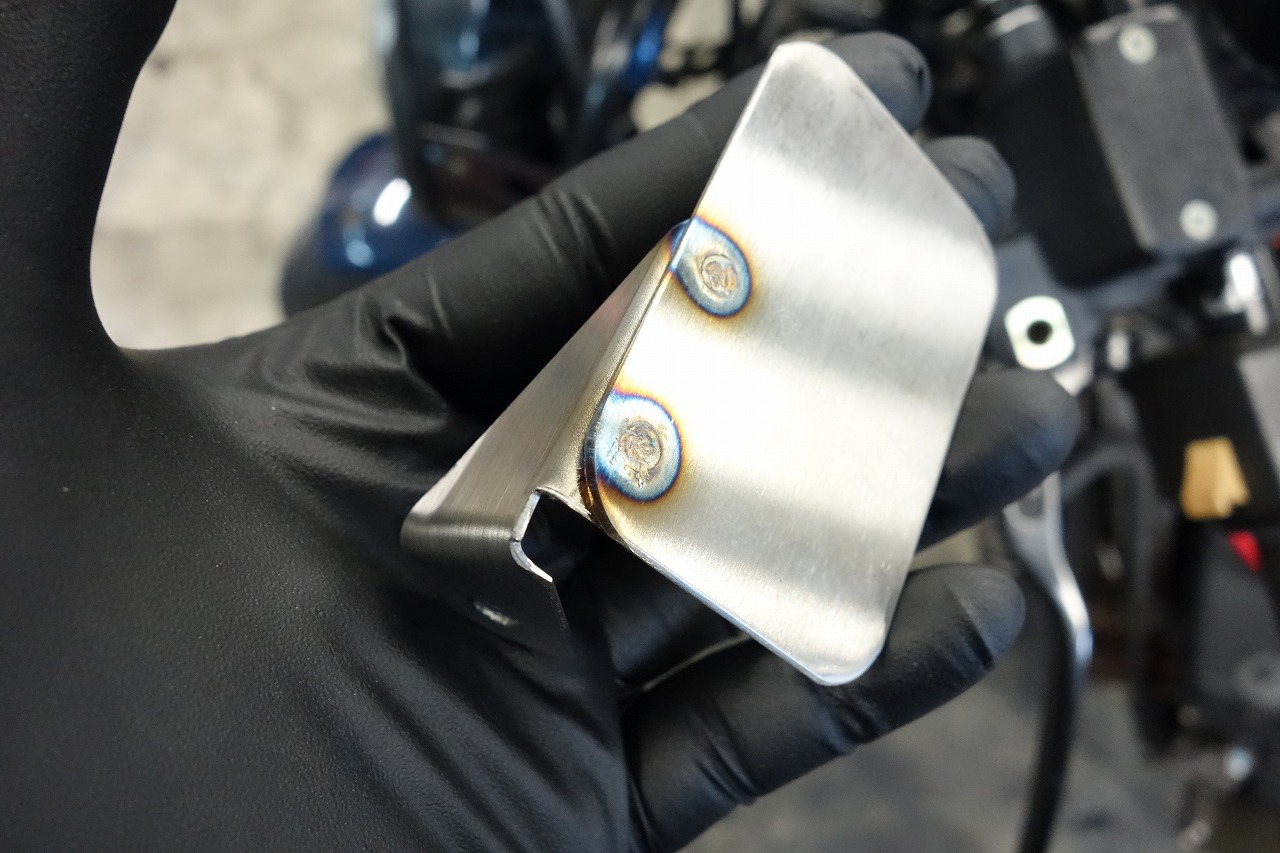
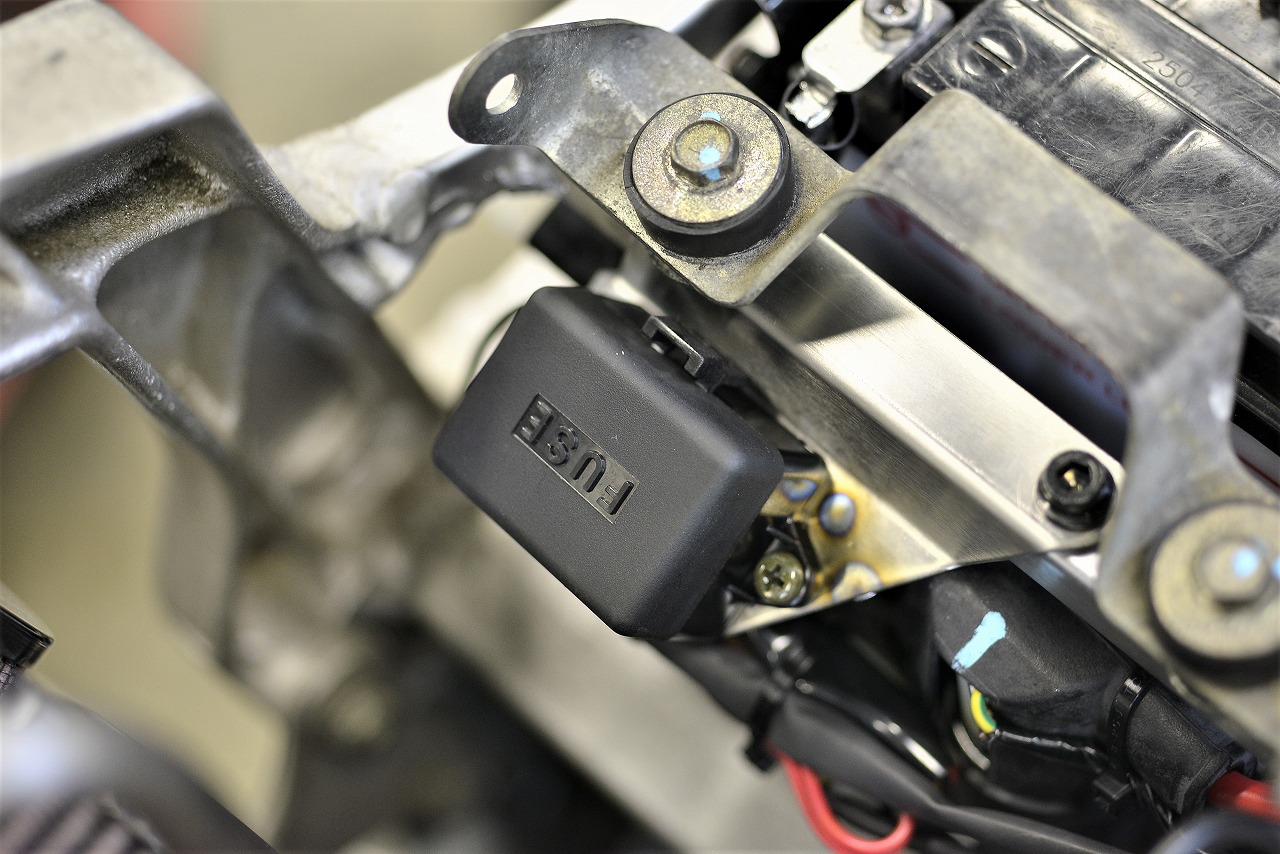
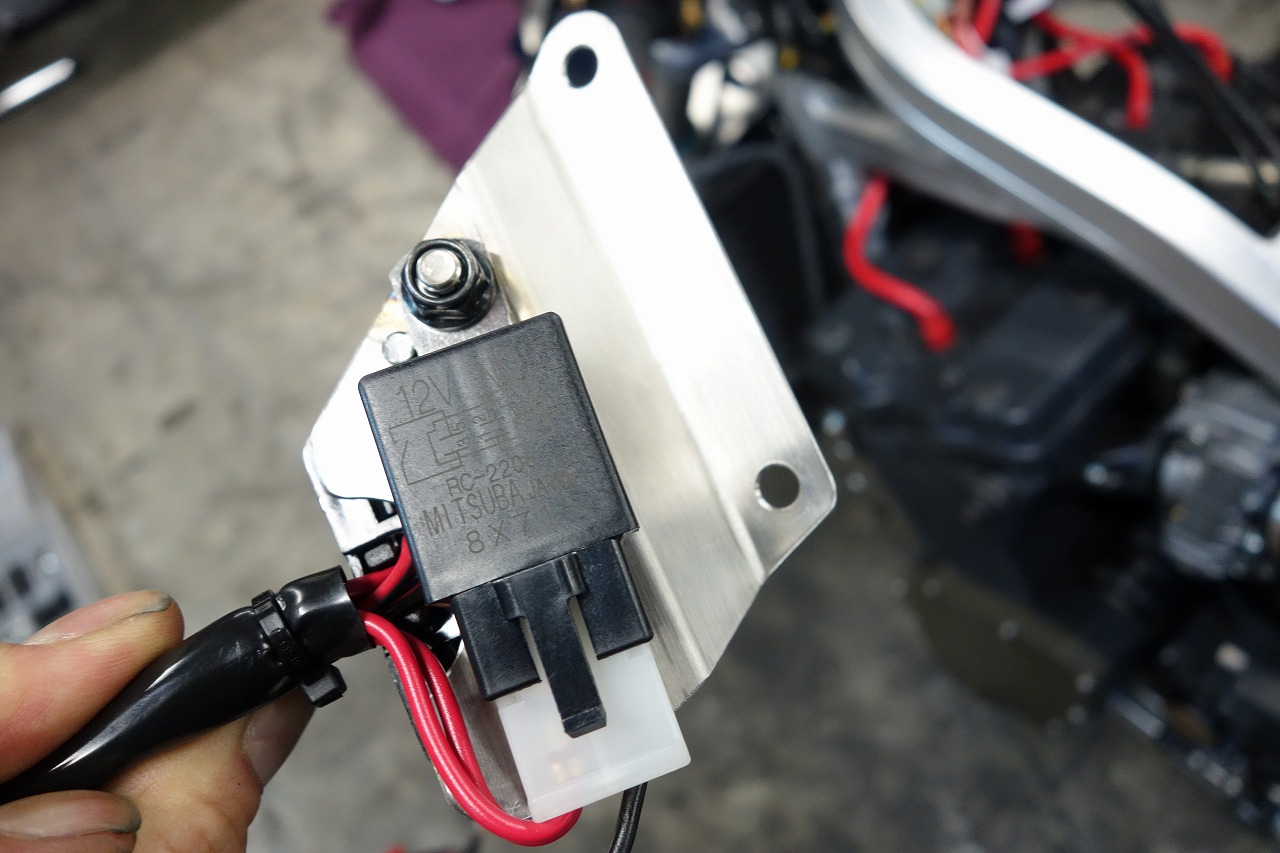
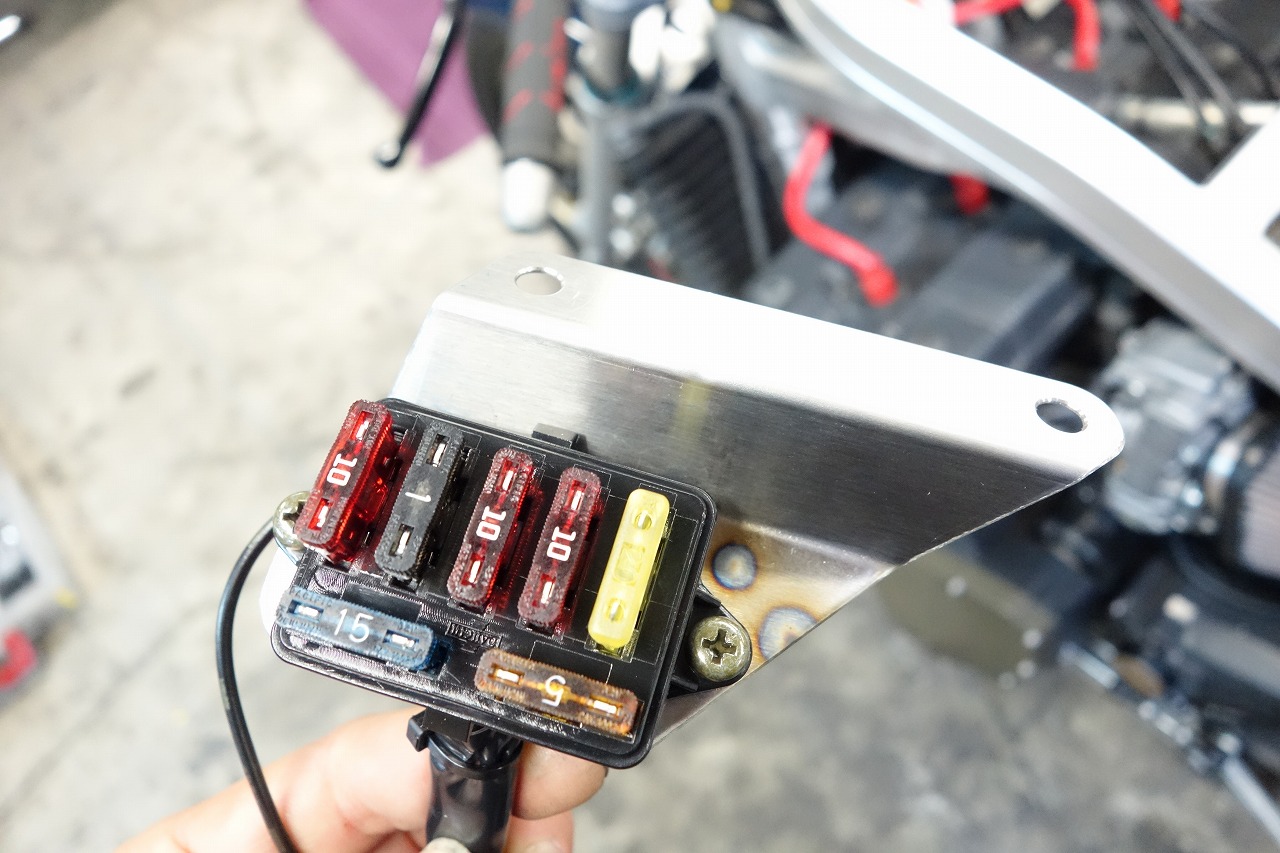
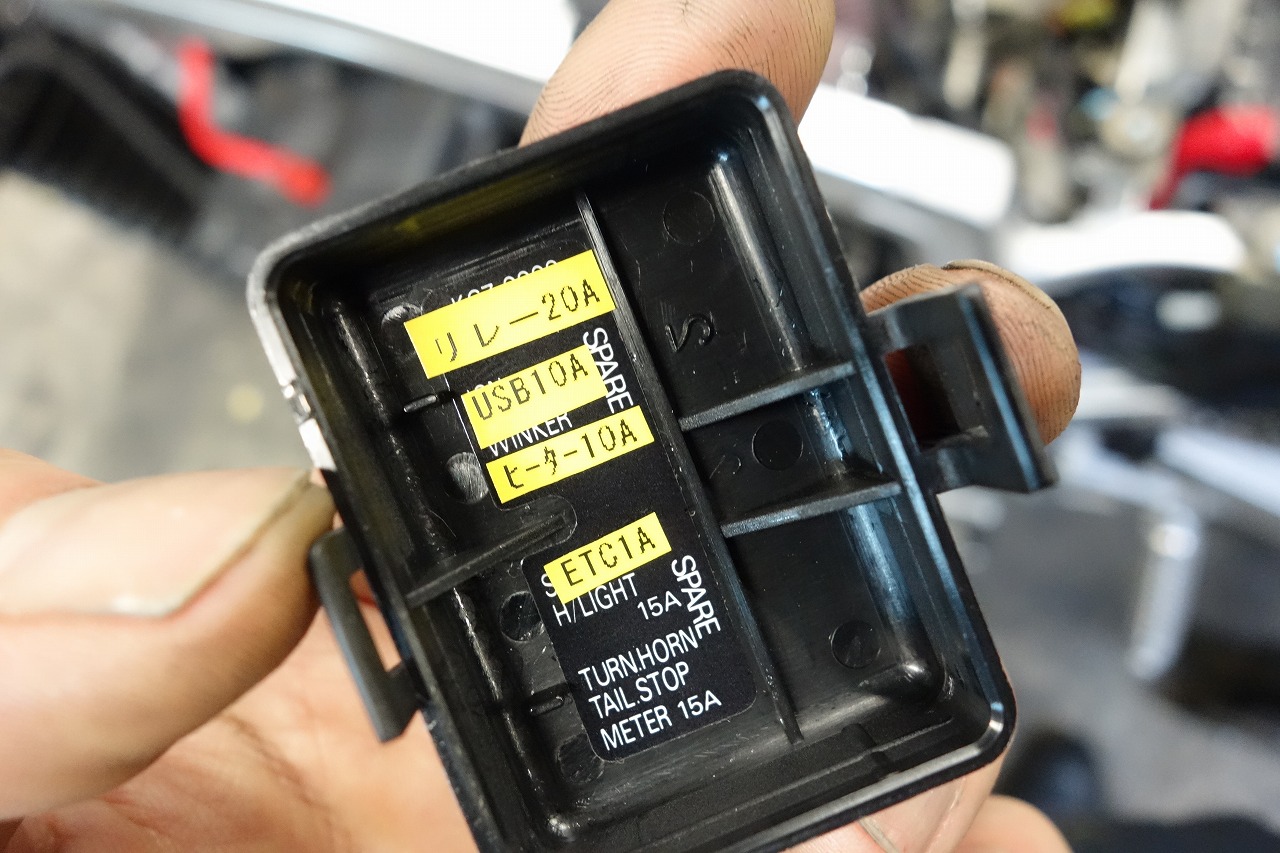
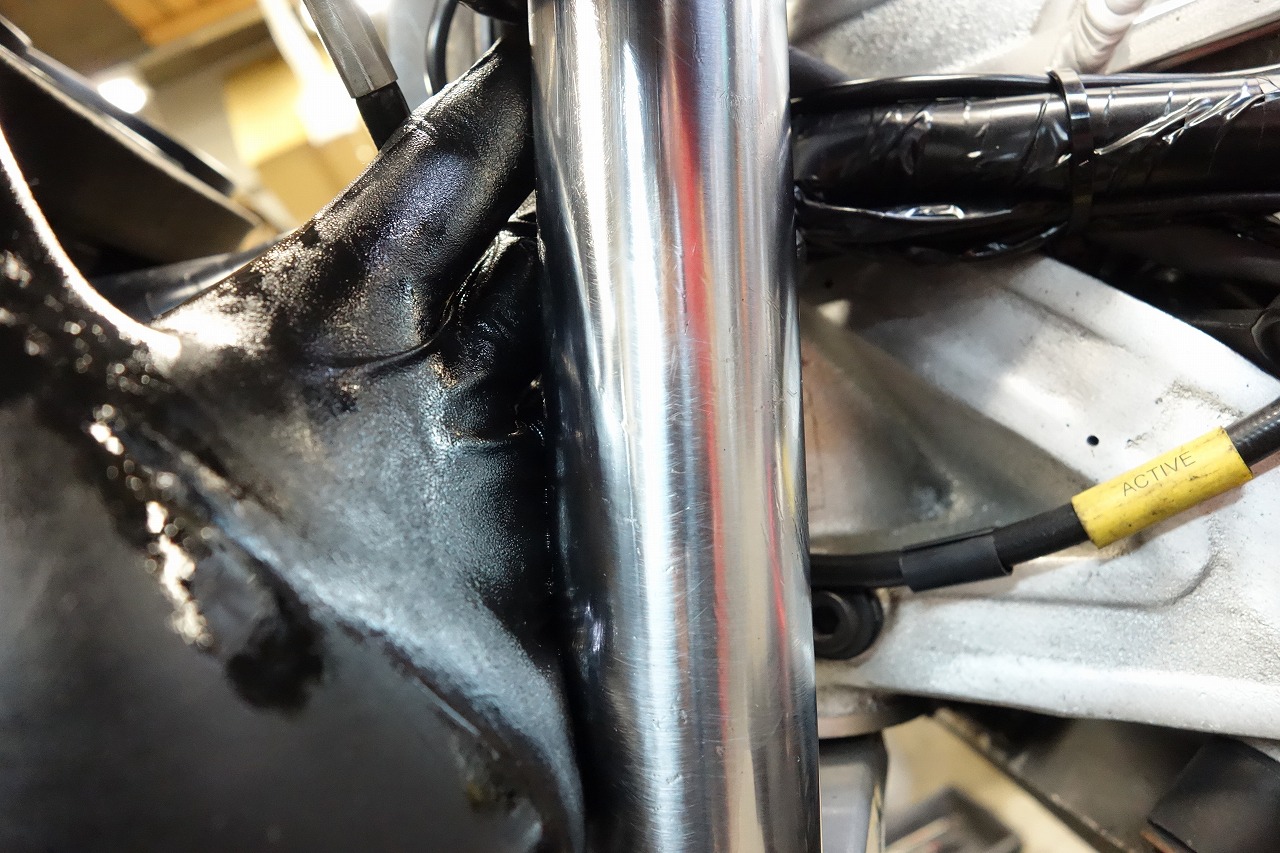
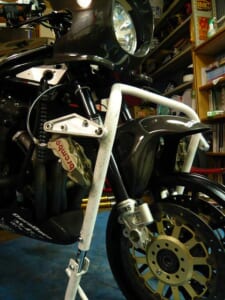
The OEM relay runs off ignition rather than battery. And honestly, using two big relays like this nowadays feels like overkill. The only other issue was the unused sidestand switch connector. The horn mounting position is different too, so you either relocate it or extend the wiring. It’s good to clean the ground surface before installing. We’re jumping ahead a bit. We also added a Daytona USB. Washers and welding rod—a beautiful collaboration. It has a clip feel and plugs right into the Daytona USB. It ends up like this And turns out like this. Clip-ons equal racer replica equal must be clean. You really appreciate how easy naked bikes are. I’ve organized the LED modules around the headlight. Having these kinds of parts neatly arranged and installed really improves the clean look and serviceability. Rather than direct cable ties and direct double-sided tape to the frame, thinking “will this really hold up long-term?” and “will it be easy to remove and reinstall?”—this approach might be friendlier to everyone. That’s how it turned out. Next: we need optional power, but we don’t want to modify the main harness! That’s a common request. First, we made a bracket like this. There’s no air cleaner box, so we mounted it here. Ideally it’d be at 90 degrees for a clean look, but we angled it a bit because checking and replacing would be difficult otherwise. The back of the bracket has a relay built in. From here it goes into the fuse, then branches to the optional power. We kept it minimal, but it’s still pretty big… We’ve already ordered the premium VR2 relays for the next build. Stay tuned. And all aftermarket electrical components are powered from here. Relay fuse / USB / heated gloves / ETC / and a spare (one slot available)
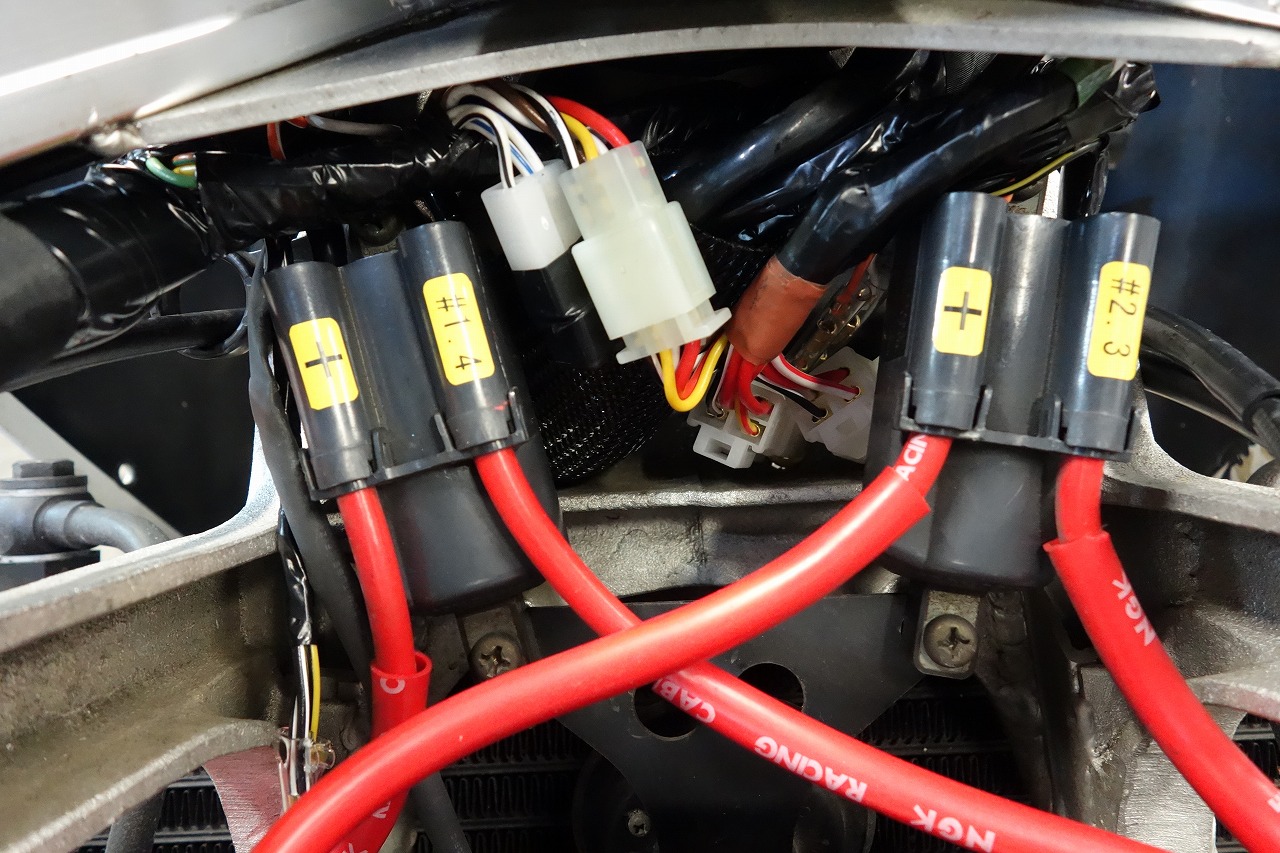
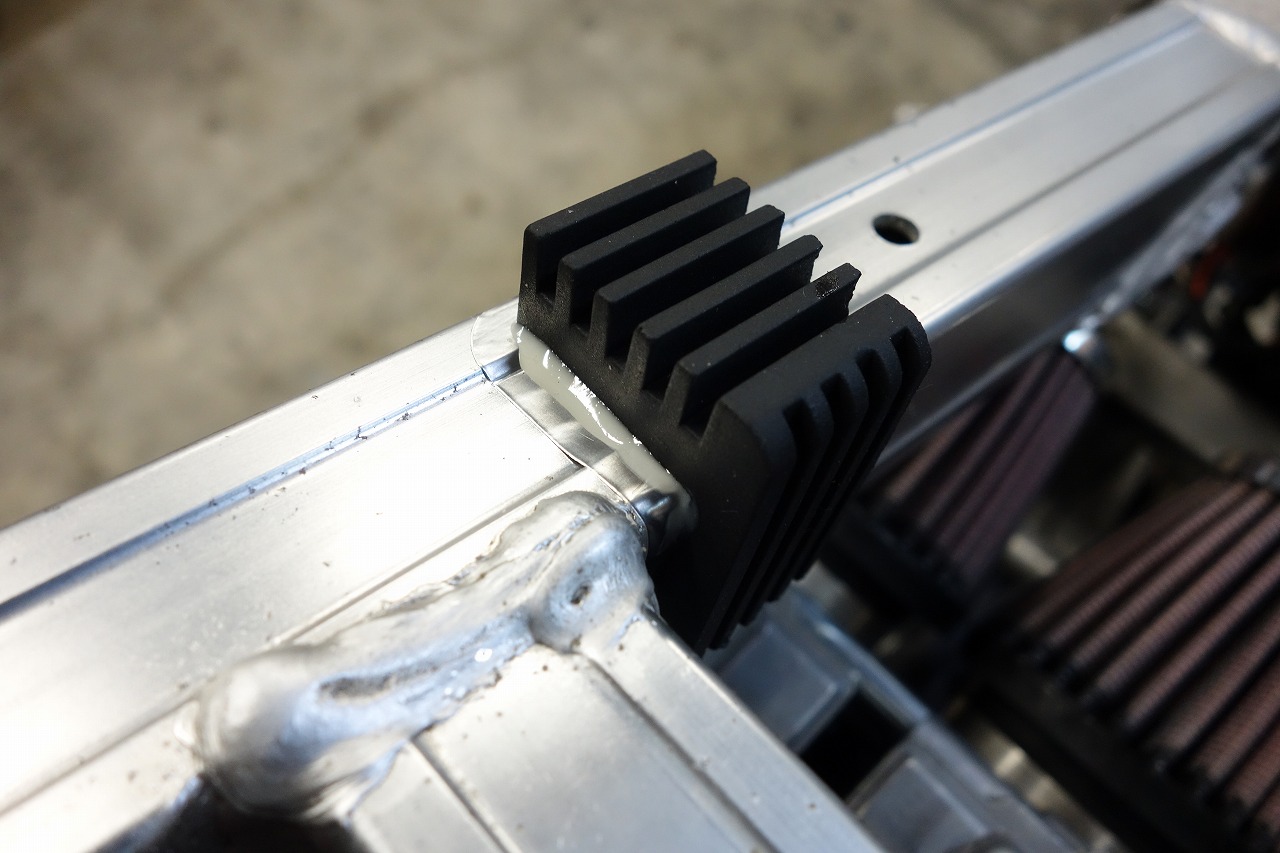
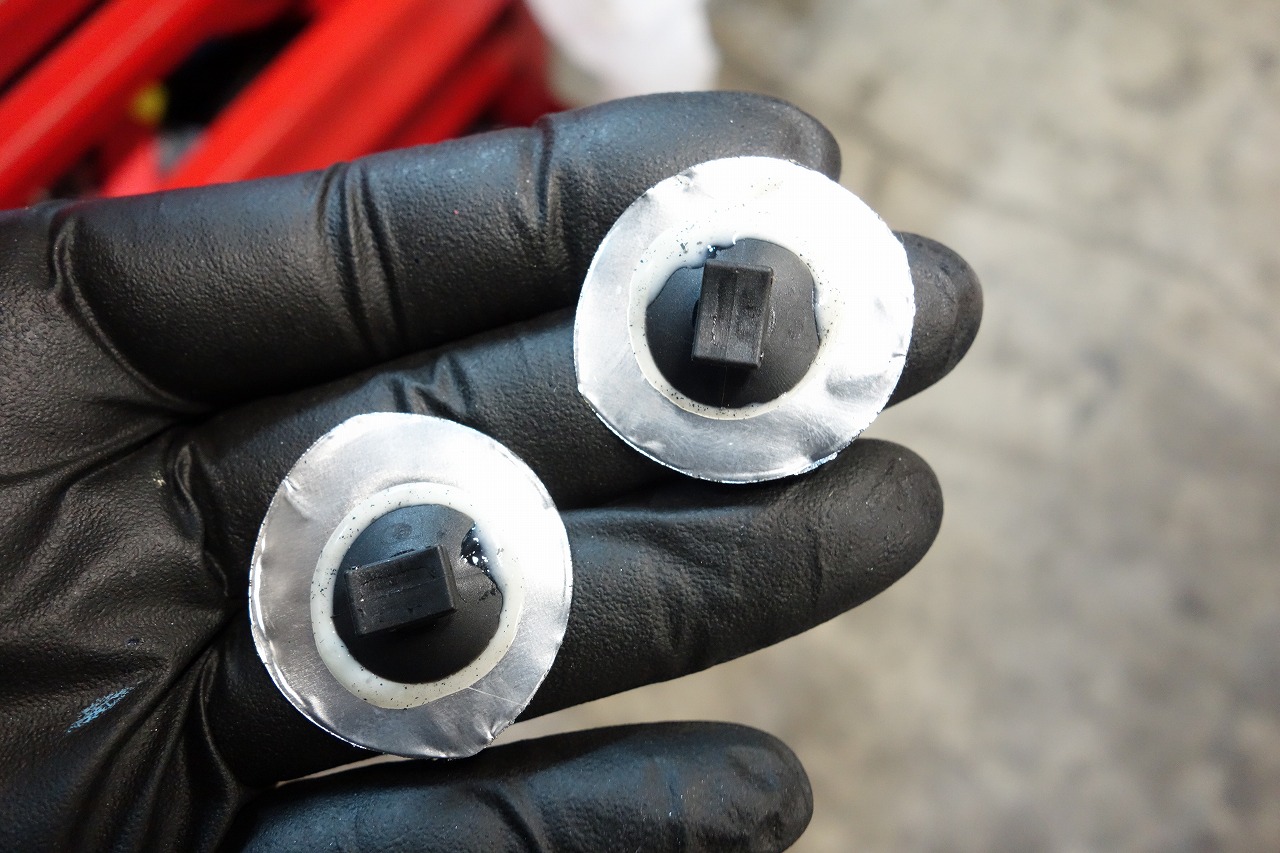
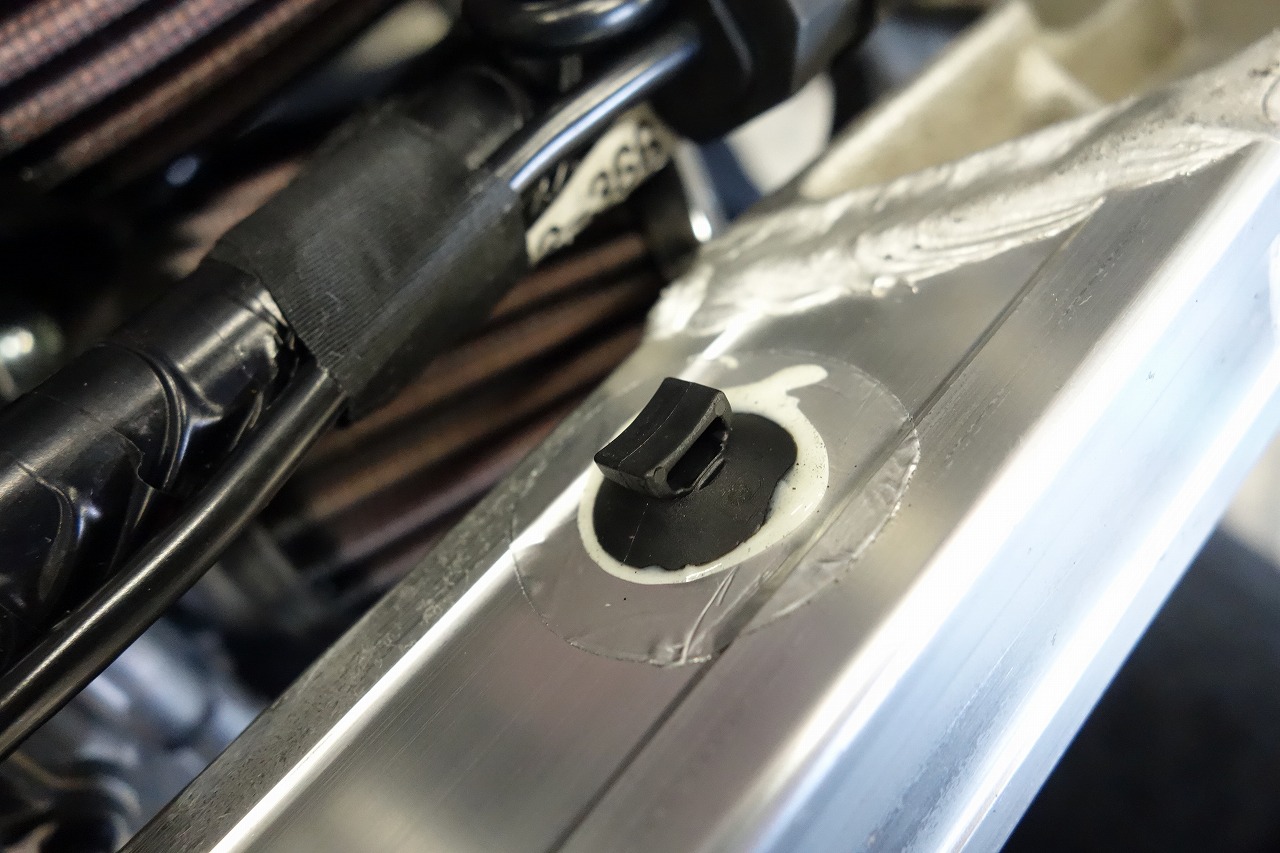
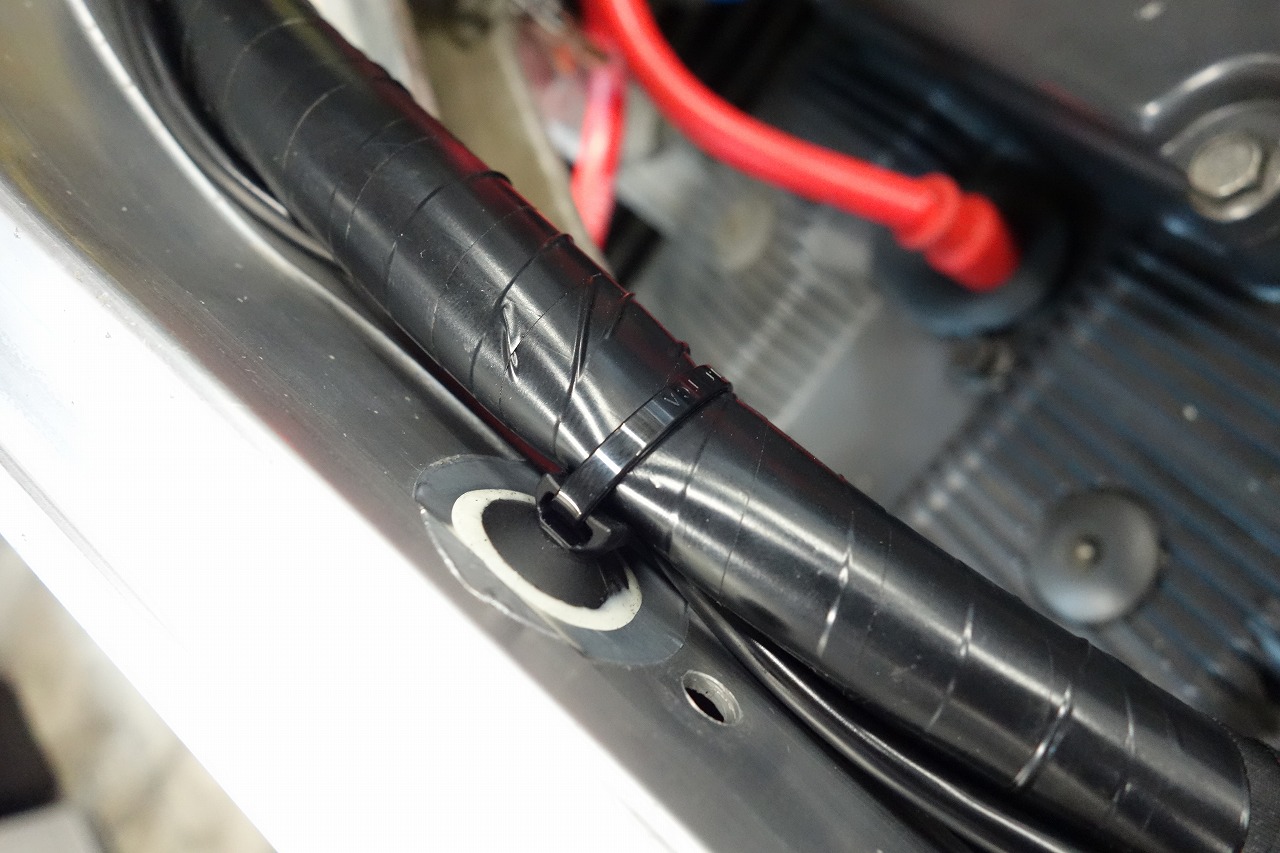
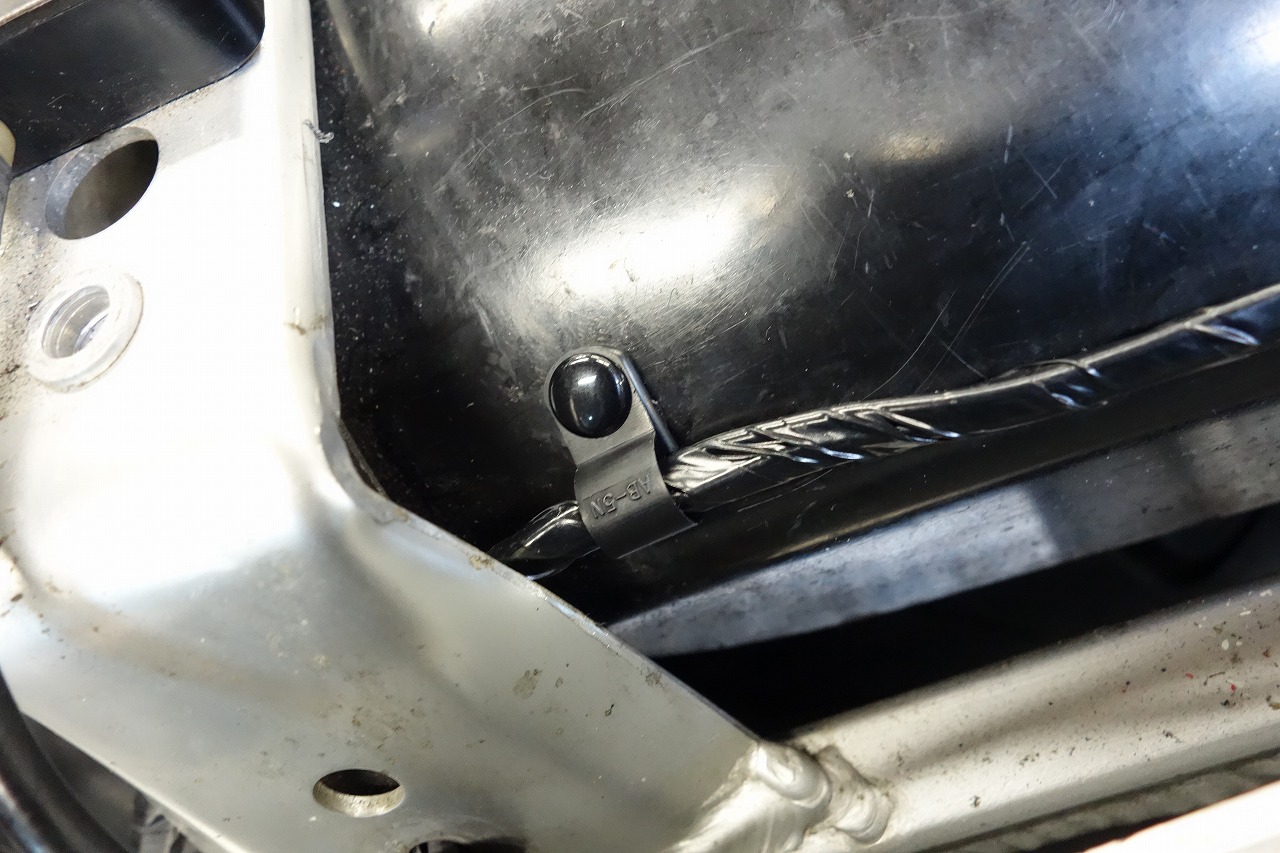
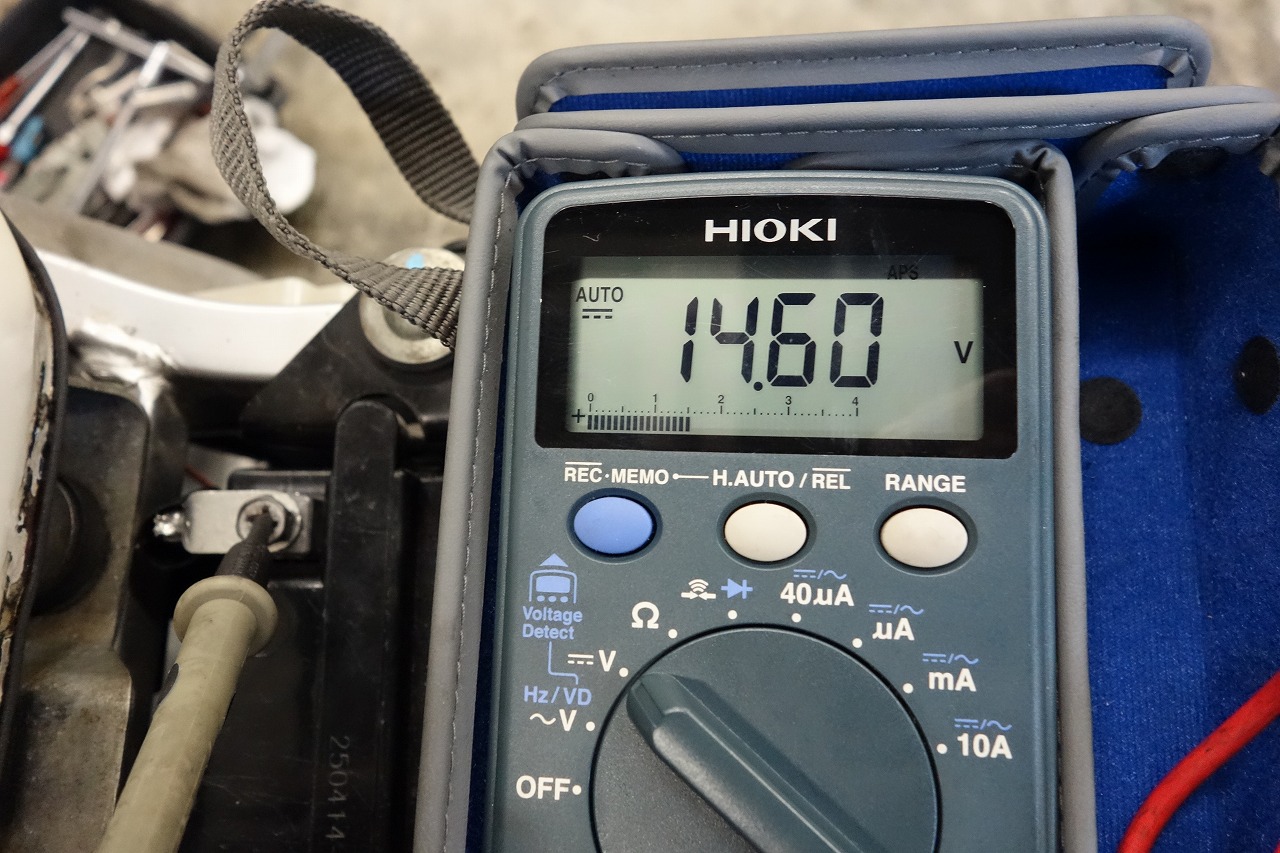
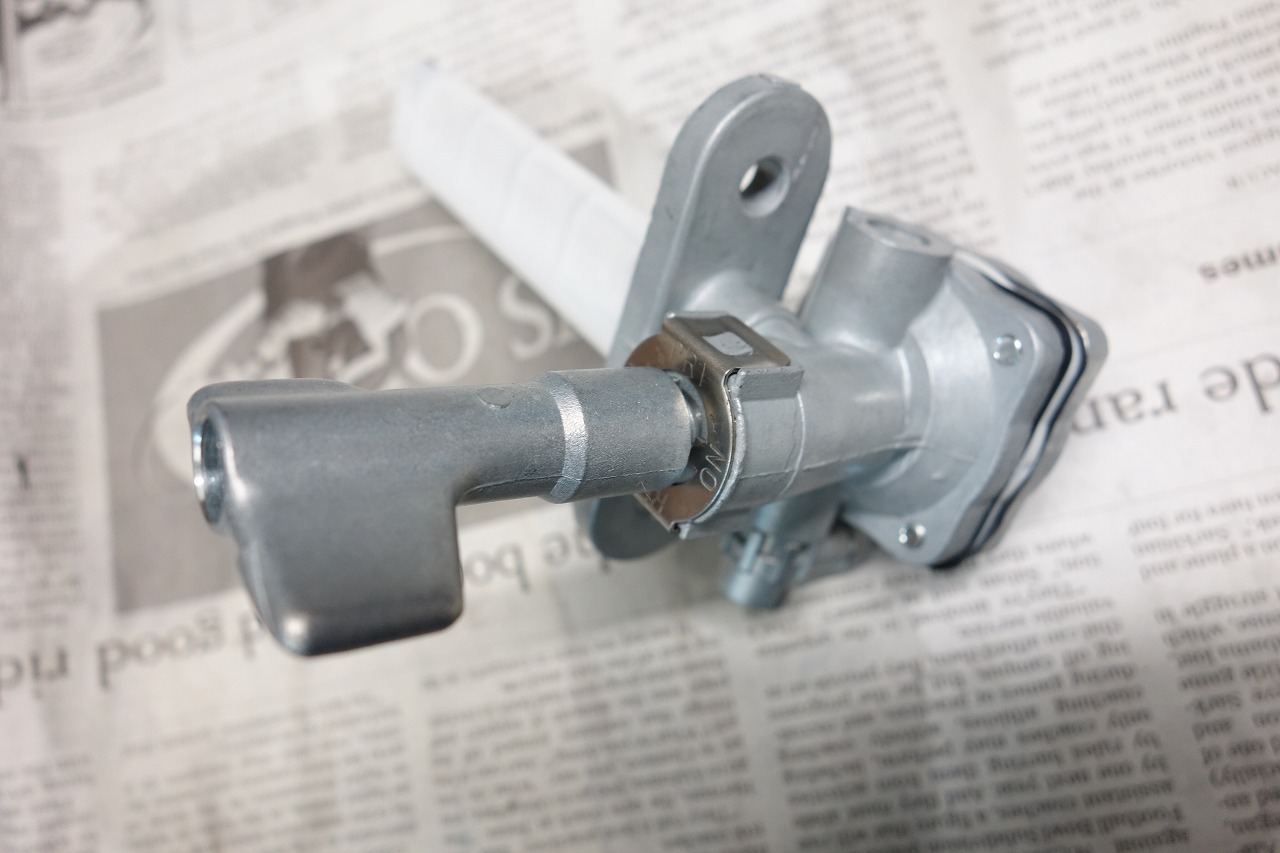
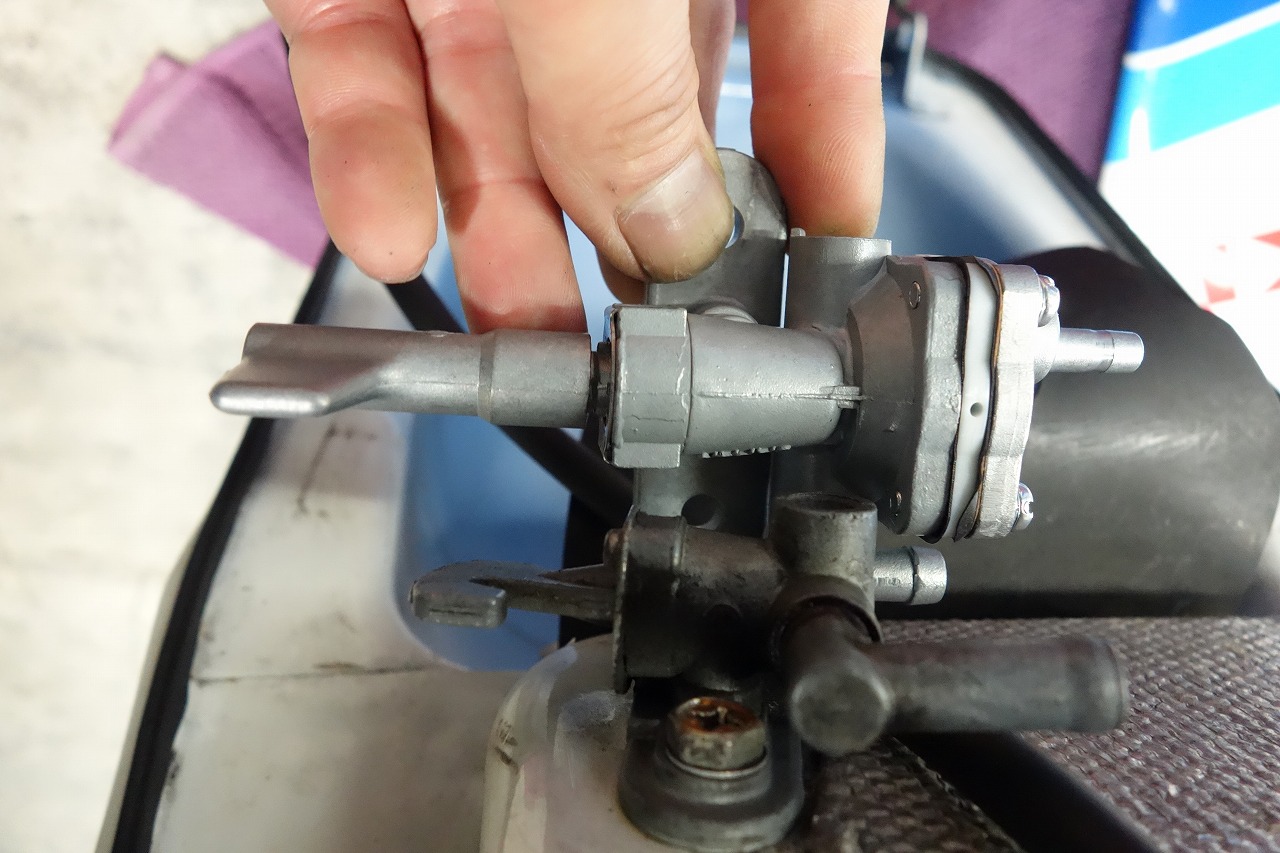
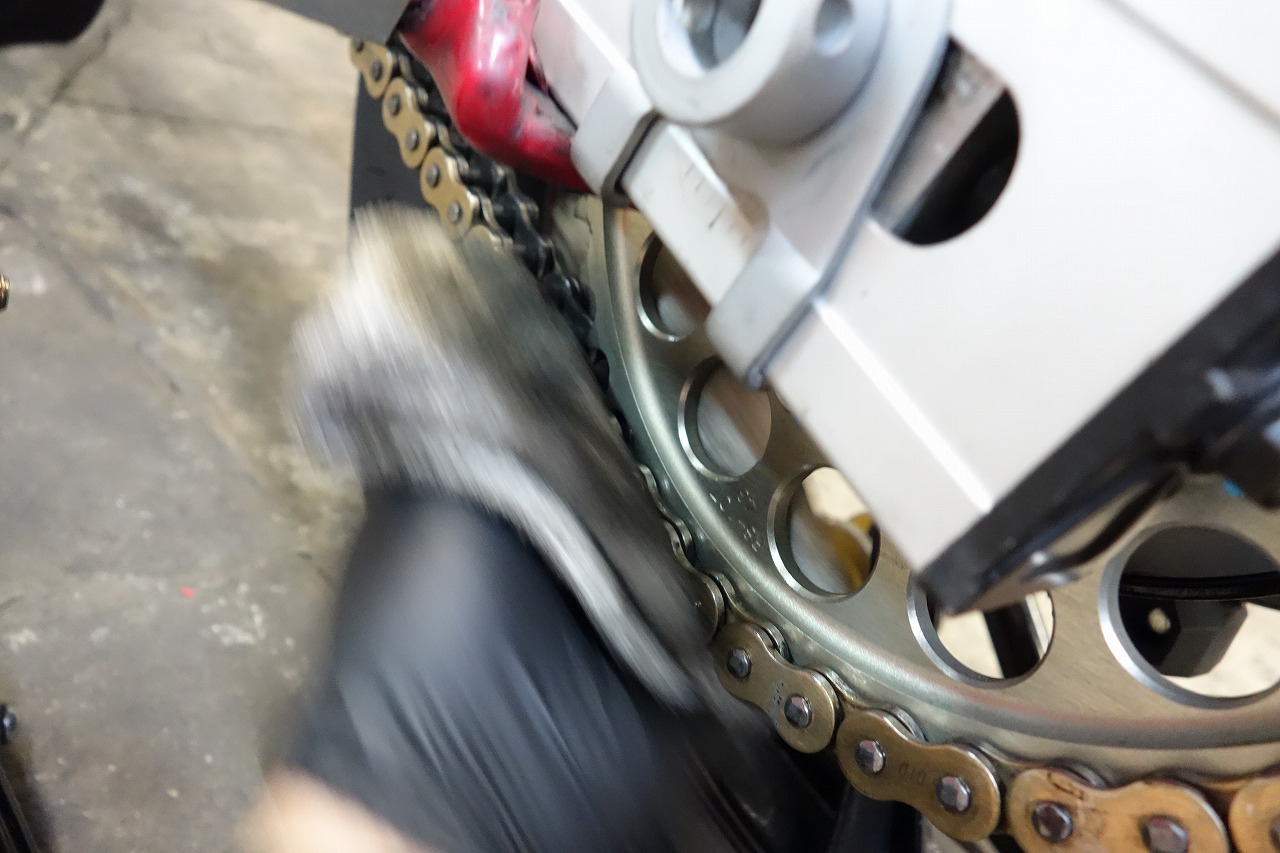
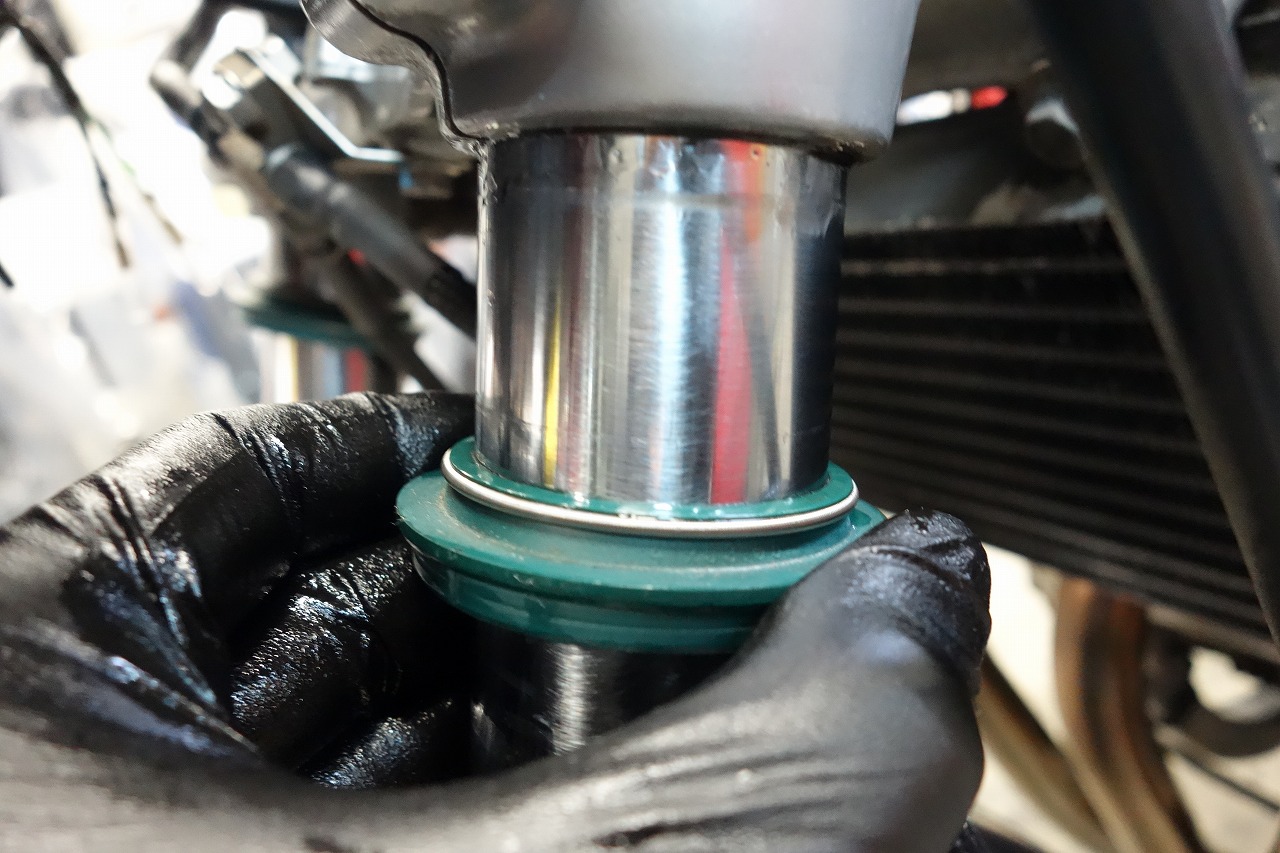
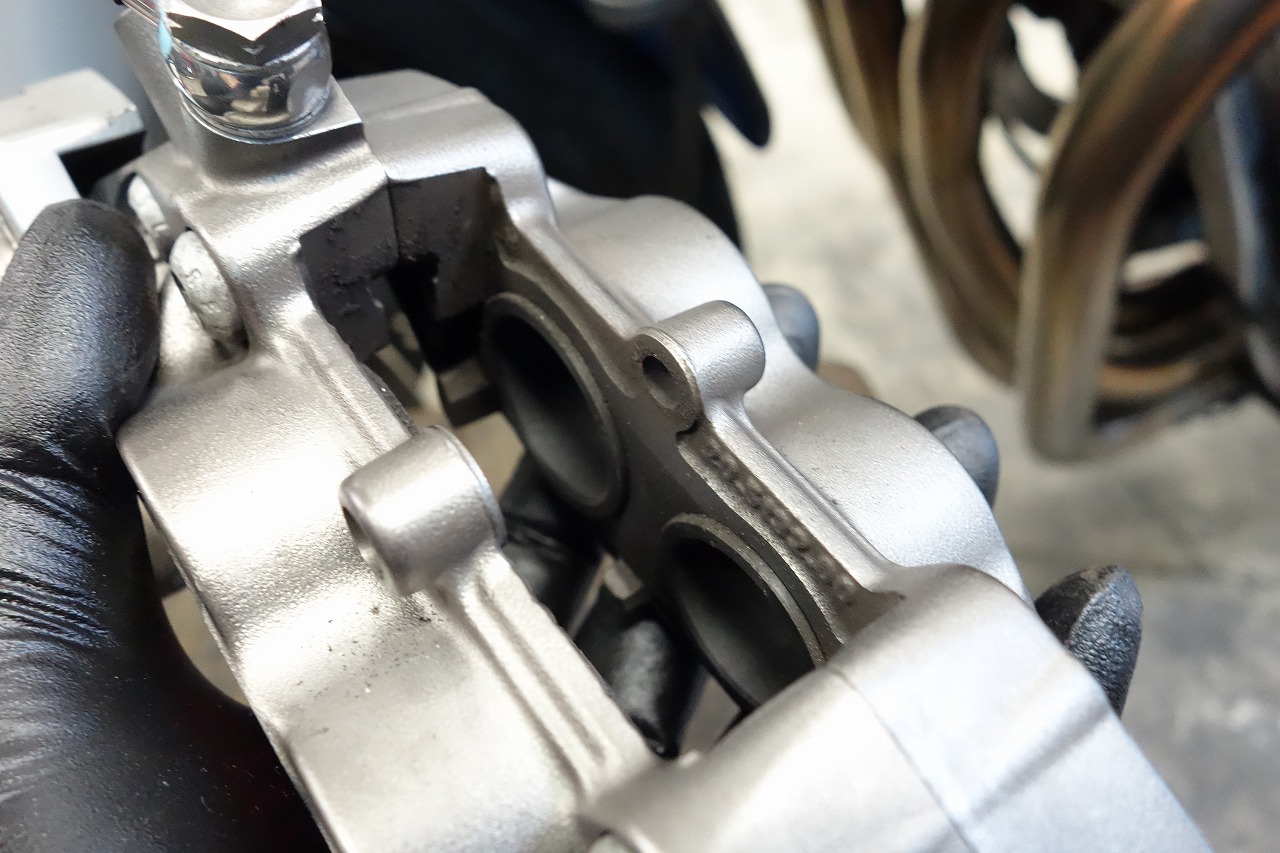
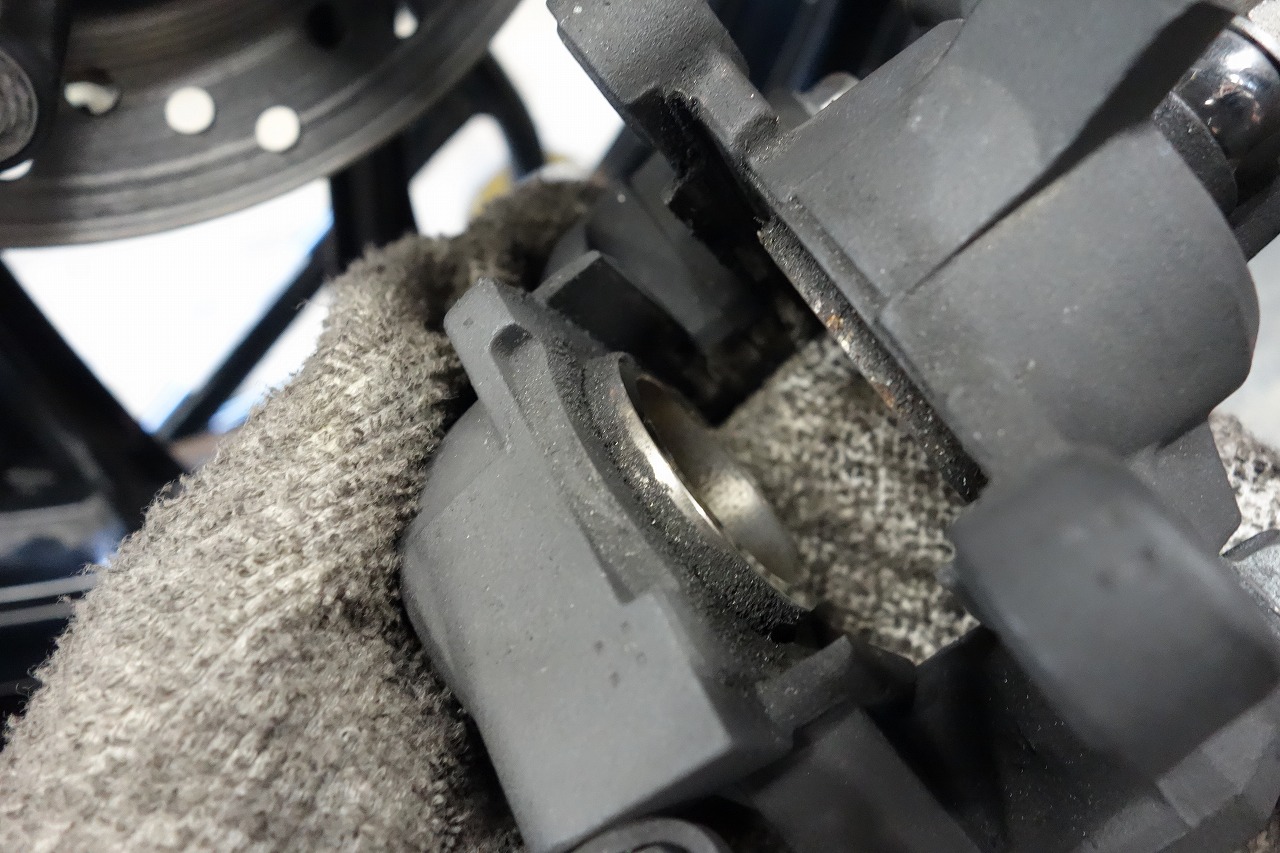
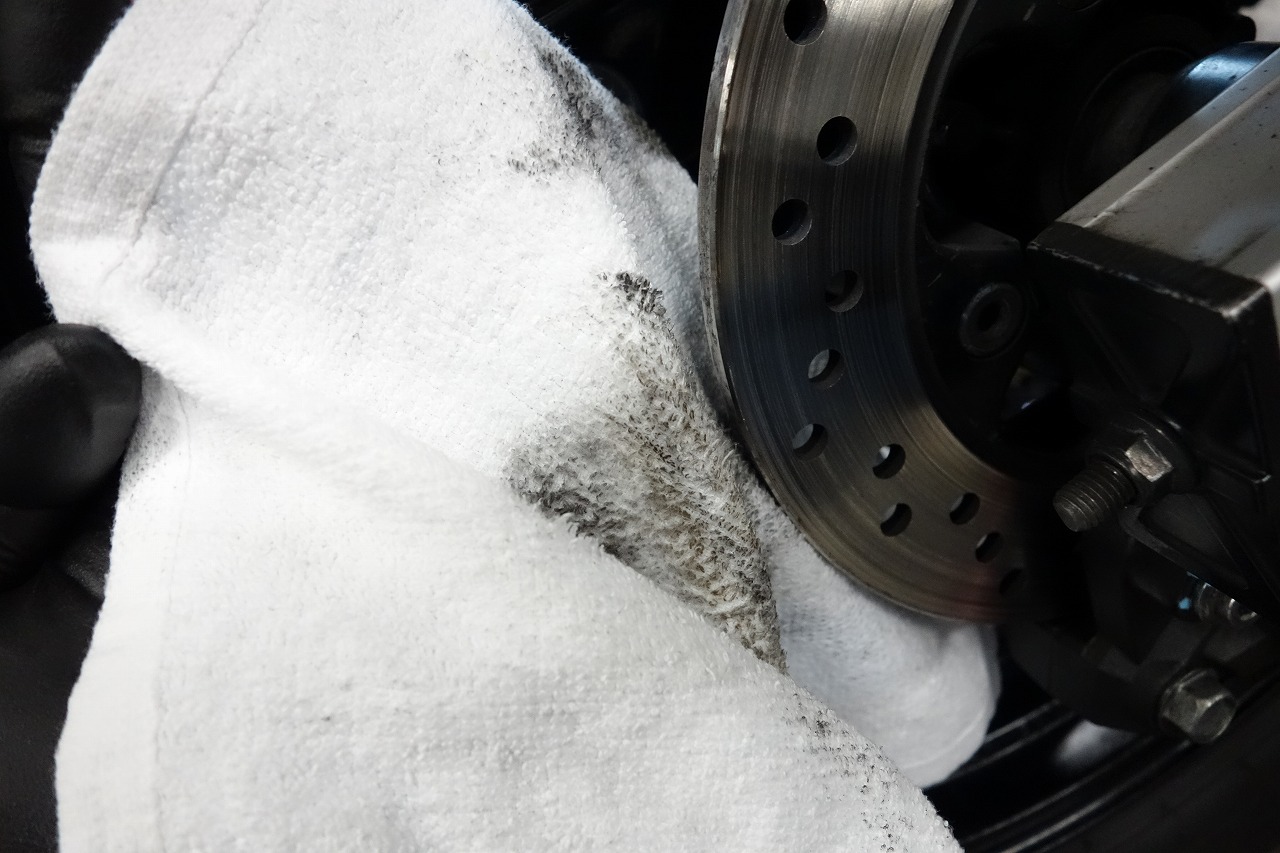
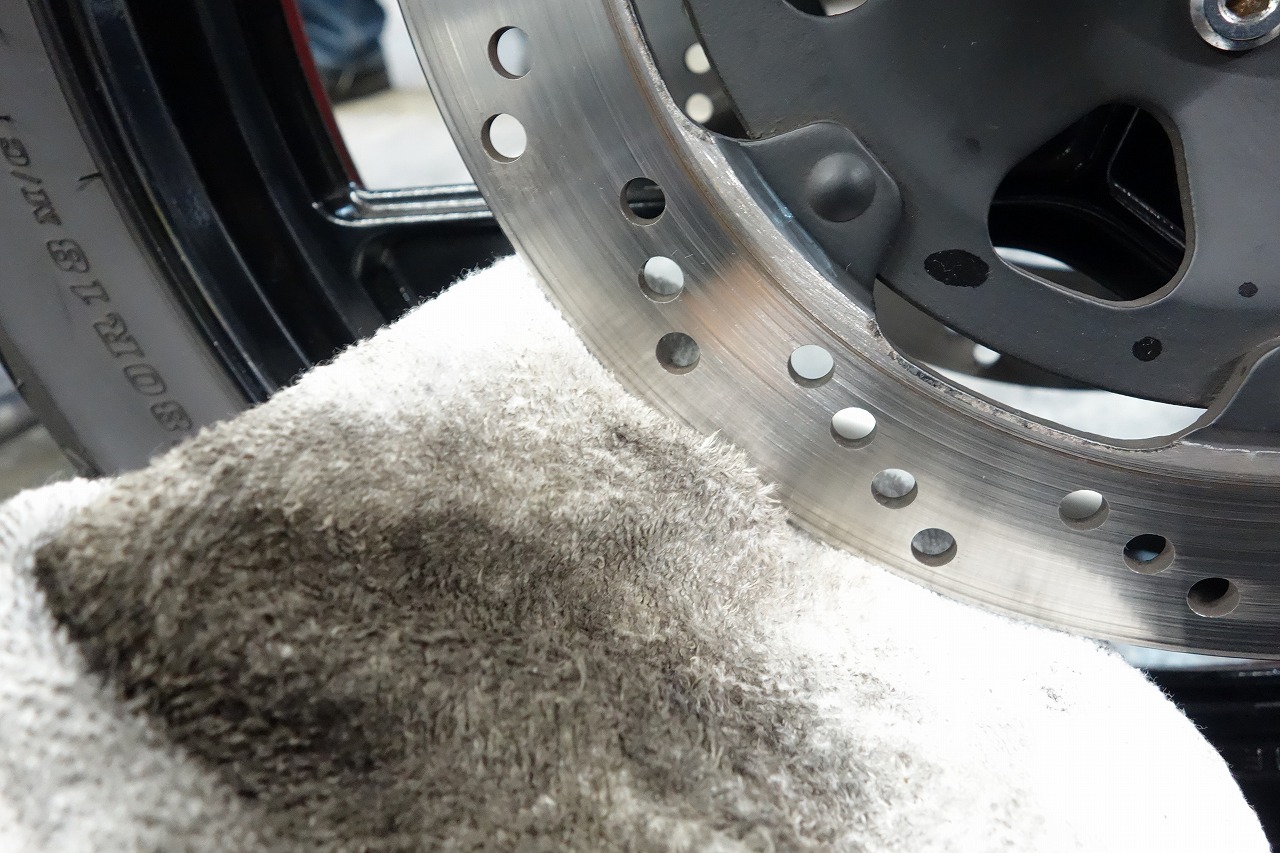
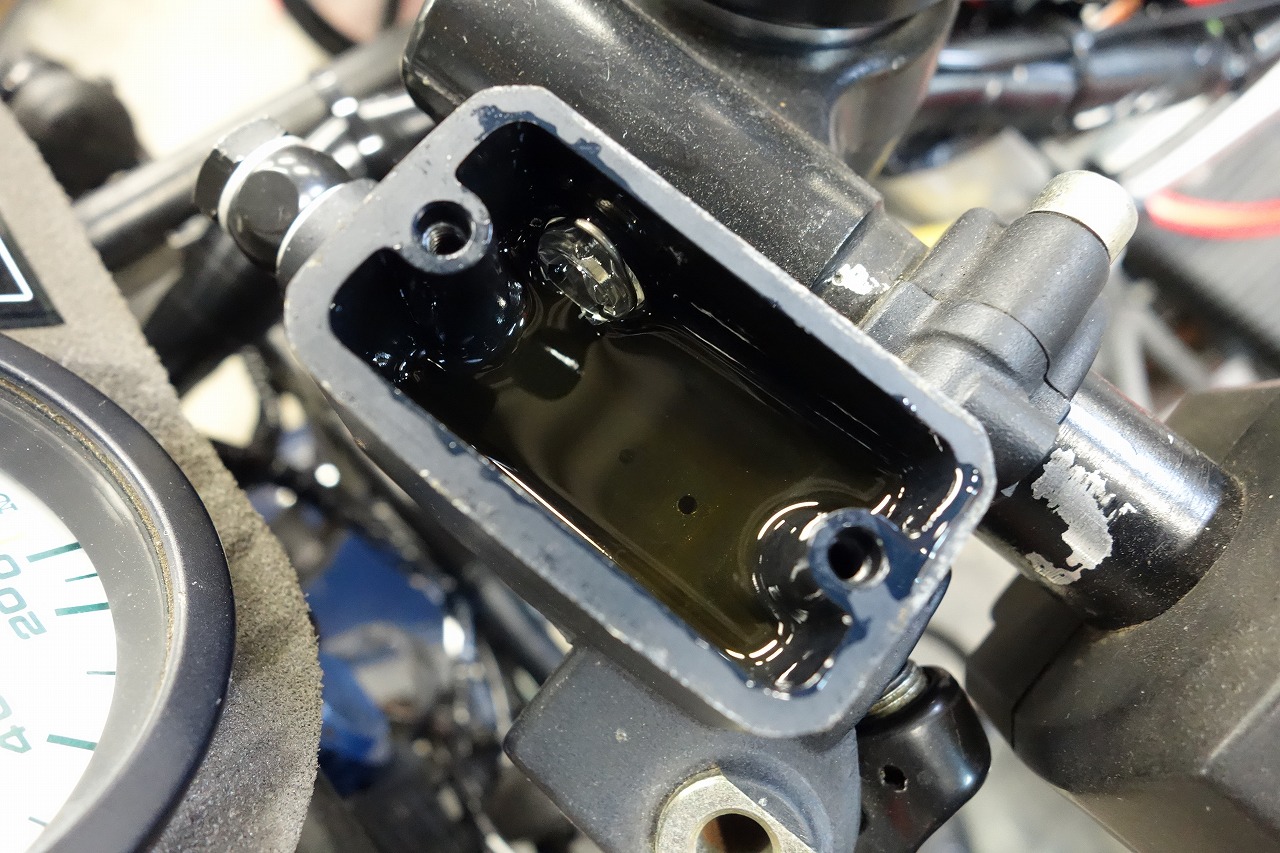
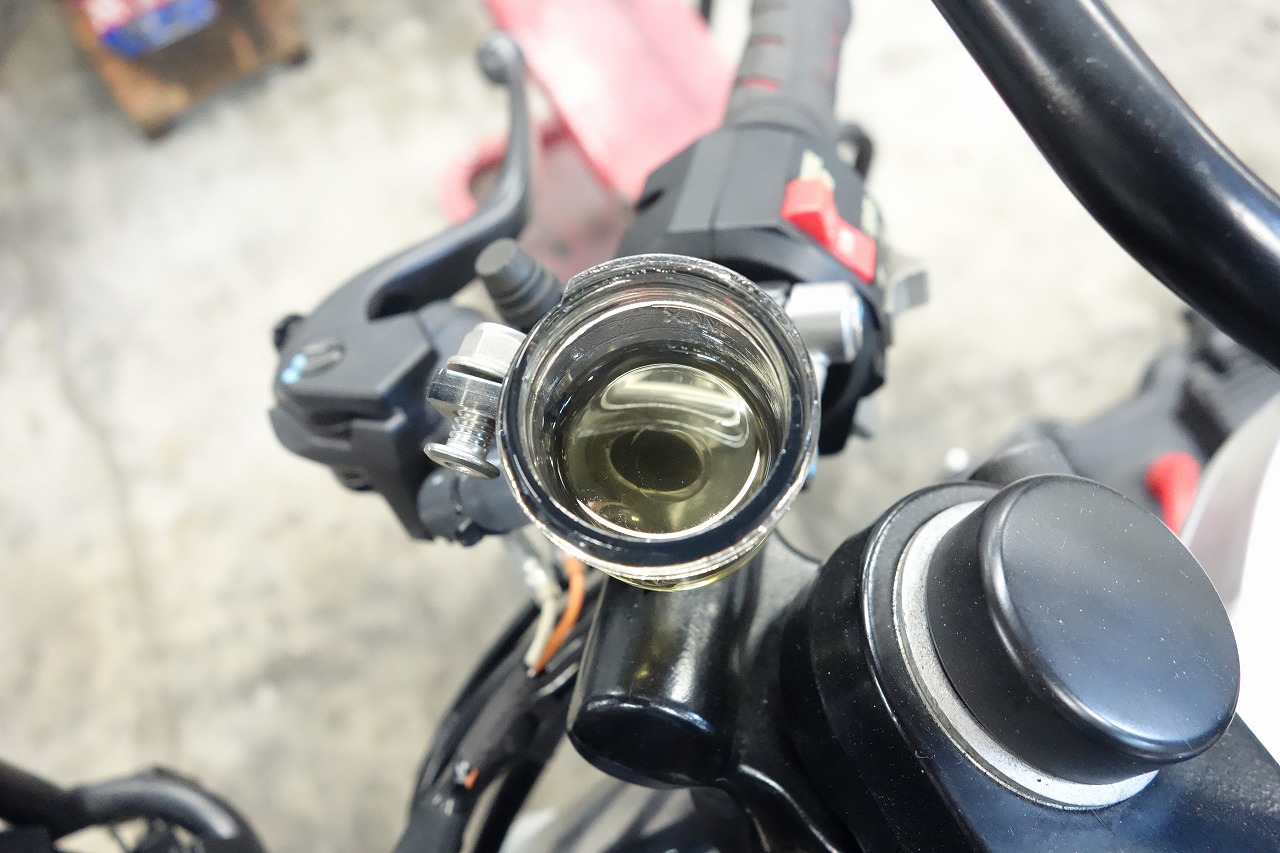
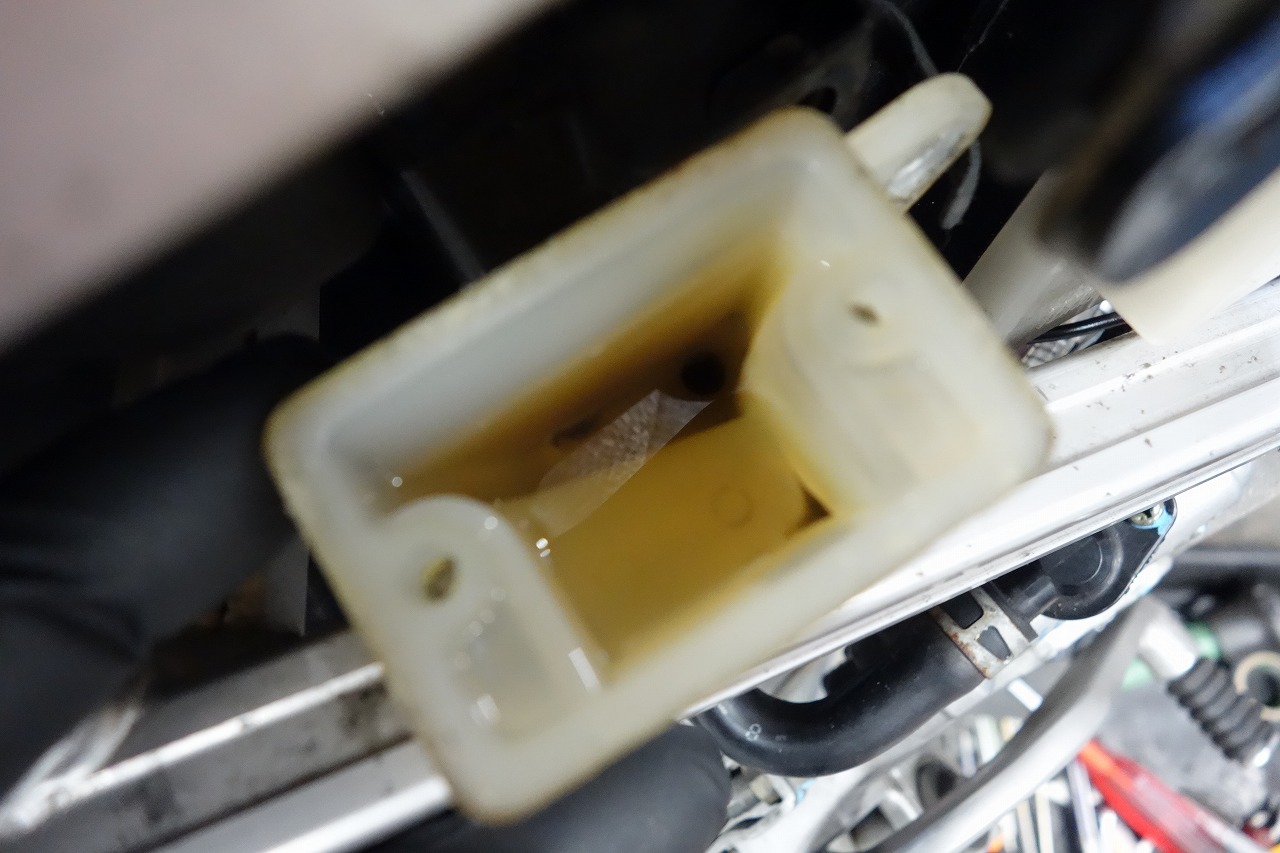
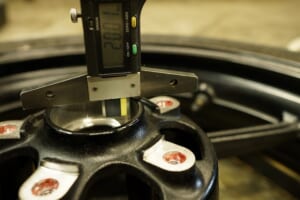
This Honda fuse box is very handy, but it’s being discontinued and stock is limited. HONDA: 38200KCZ003 Do you have any in stock? I guess we’ll have to hunt for a micro version… I cut labels with a label maker—sorry they came out crooked from static electricity. If I could make them as one piece, it might look cleaner. I marked the coils too. It makes it easier to remove them and less likely to make mistakes. The headlight relay wiring is a bit messy. This is the early model without a relay. If you want one, just add a relay and you’re good to go. The tank rubber is crumbling. If you glue it directly to the frame and it falls off right away, it’s frustrating. But I wouldn’t drill holes in the frame just to use a nut-type mount. I fixed it with aluminum tape and two-part epoxy. It’s super solid, and if you want to remove it, just peel off the tape. The GSX-R makes it hard to clamp the harness. I prepped this yesterday before heading out. Sorry it’s a bit uneven. That’s how it turns out. I have a feeling this product would sell if it existed… What do you think? Using the same method with aluminum tape and a Quad Lock on a car steering wheel to mount a phone works great too. Pretty useful. Nylon clips are handy. Output voltage is good. The petcock was hard to turn, so we switched to the later detachable knob type. I thought if it were just a bit longer… but the mounting pitch was different, so no go. I cleaned and lubricated the chain. Cleaned out debris from the stroke areas and lubricated. Rust-proofing between the stem and top helps the inner tubes last longer. Preventing rust is really important. The calipers were in nice condition. The rear caliper only had light dust. I dug out the brake disc holes and degreased them. Dust quietly builds up in there. We replaced the brake fluid with Golden Cruiser DOT4, and that wraps up this service.