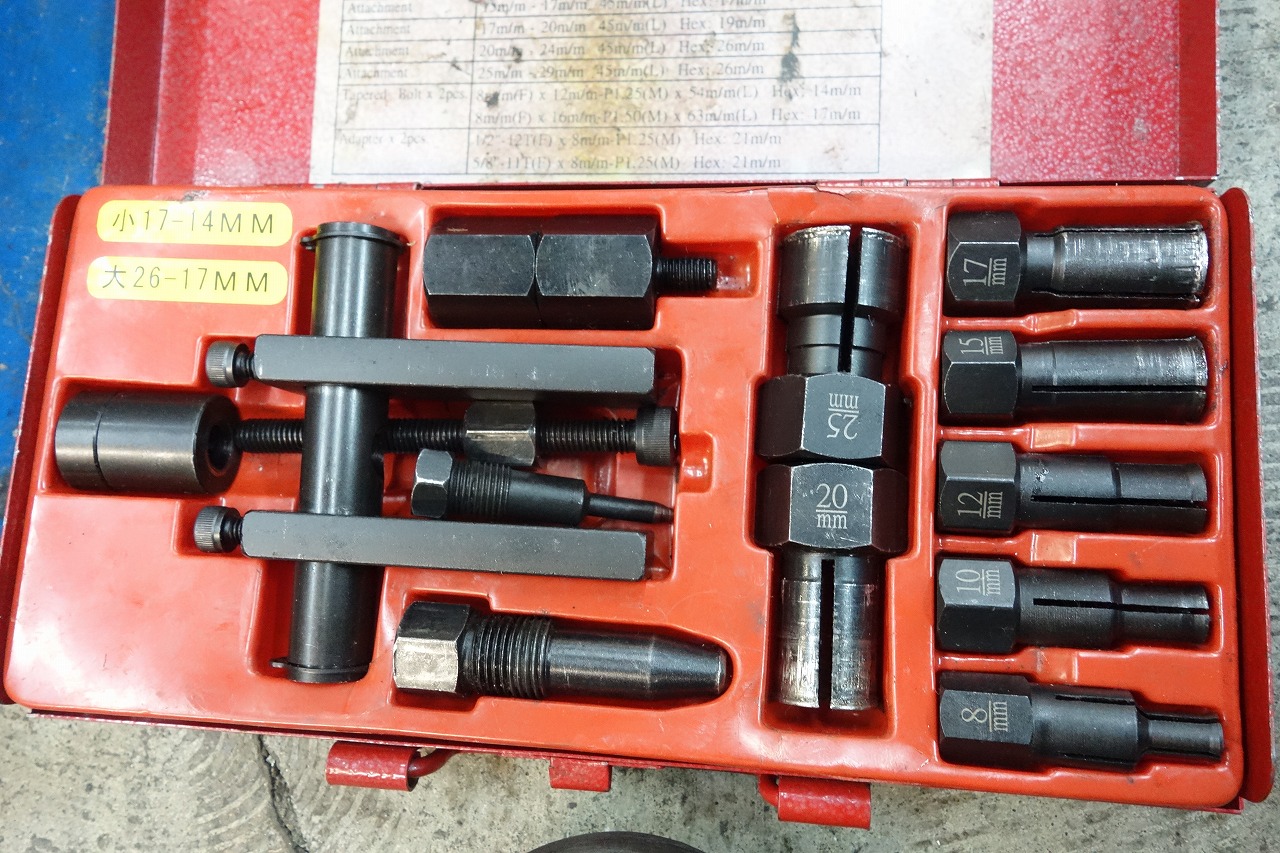
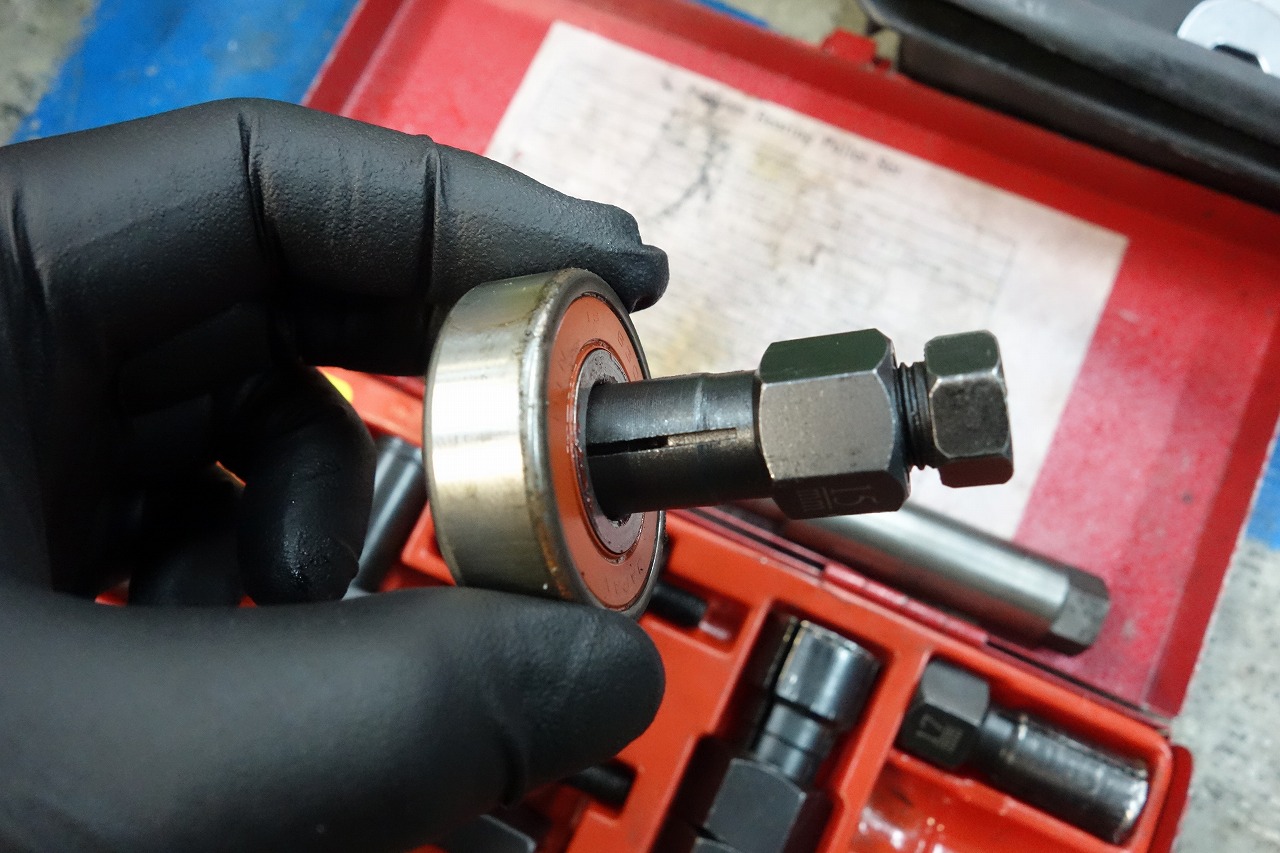
toolsisland (Tools Island) Pilot Bearing Puller Set F1 Internal Hook Compatible 8–25 mm
Using an inexpensive bearing puller as a striking tool works too.
I have a Hazco as well, but this one usually does the job.
It’s good to keep one on hand.
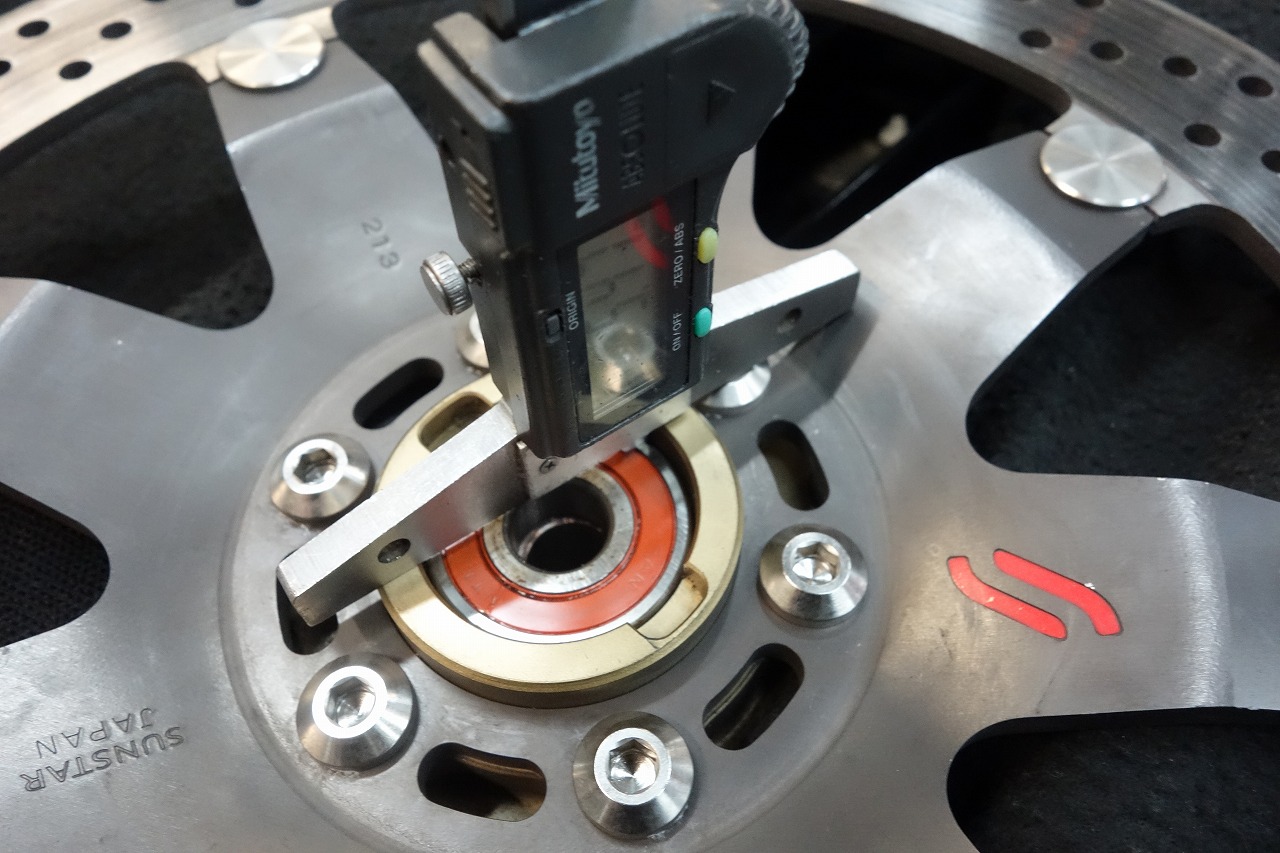
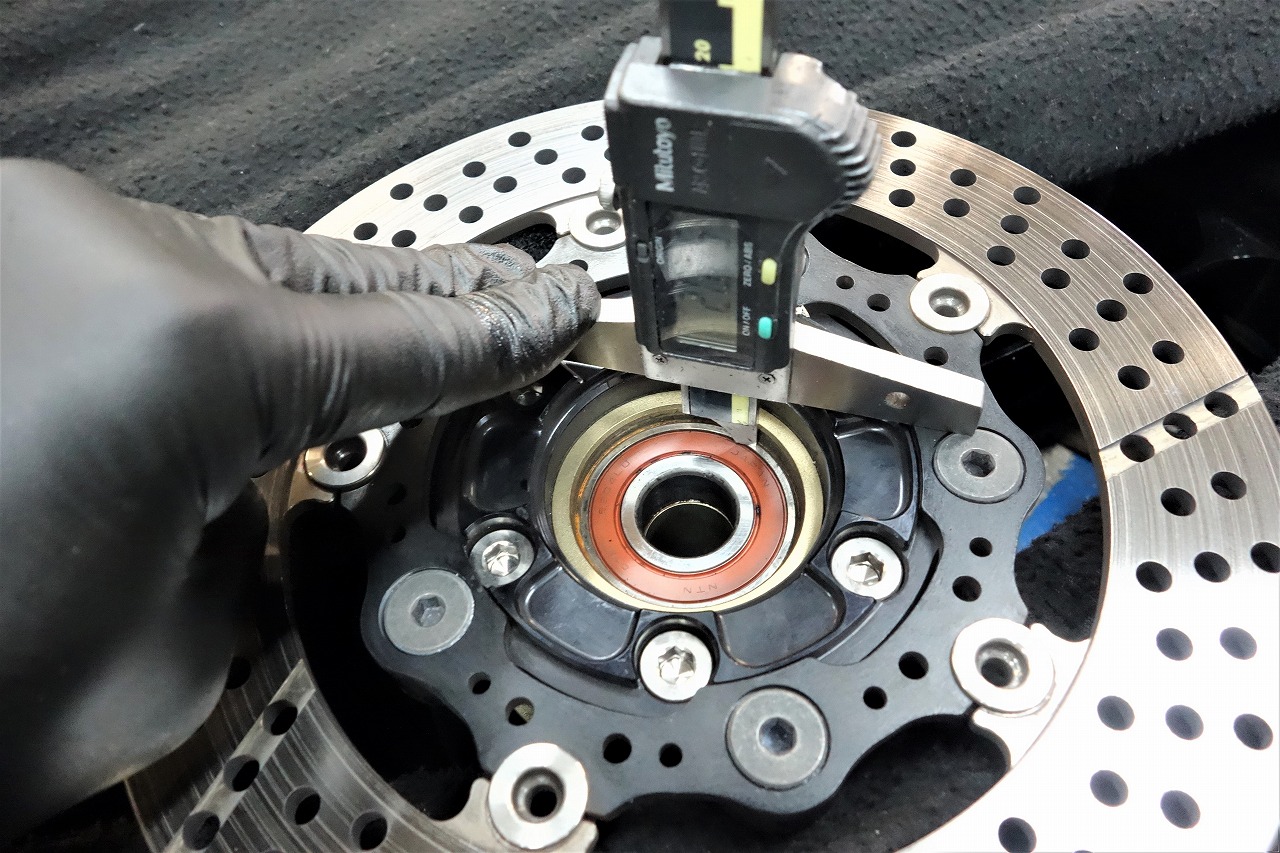
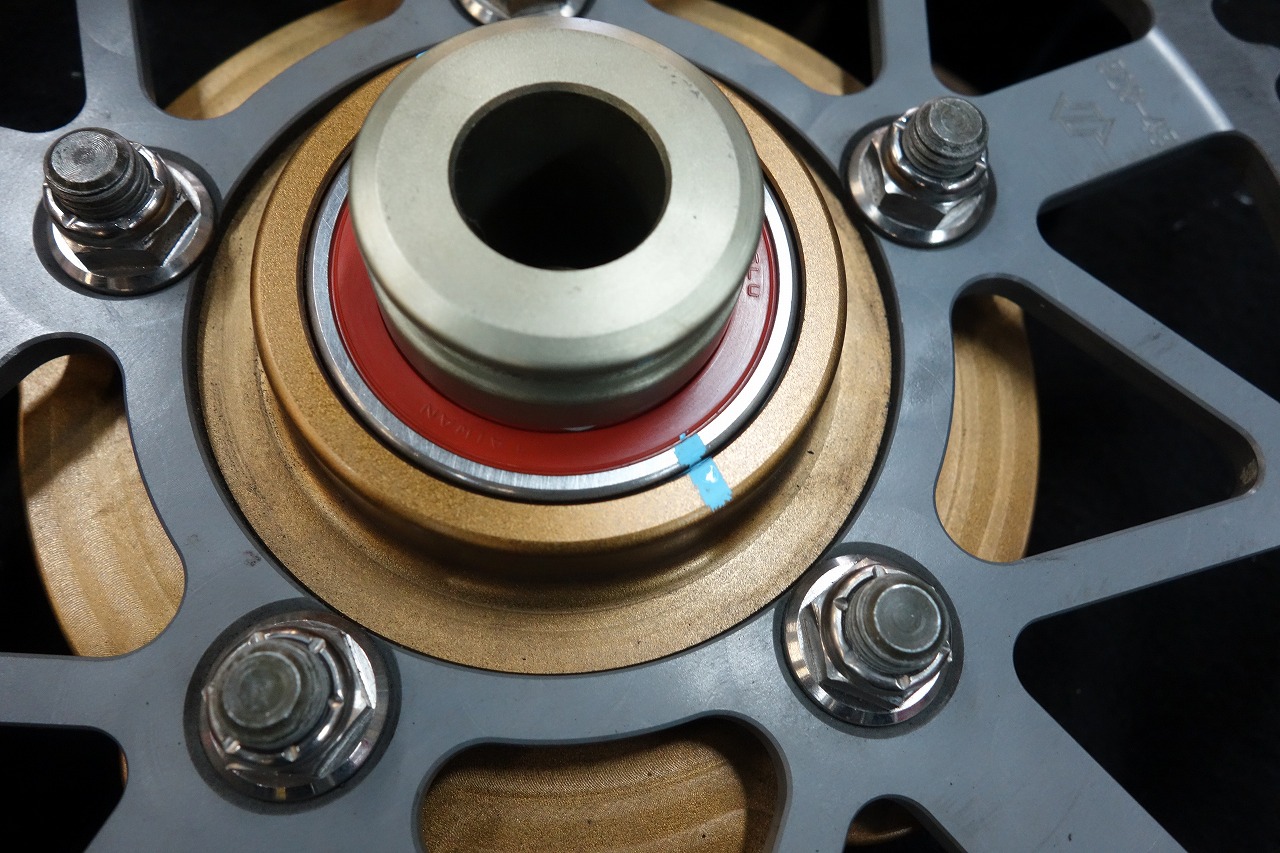
Wheel bearing positioning is pretty finicky.
Millimeters won’t move it, but a fraction of a millimeter will come loose. It’s better to know the initial state just in case.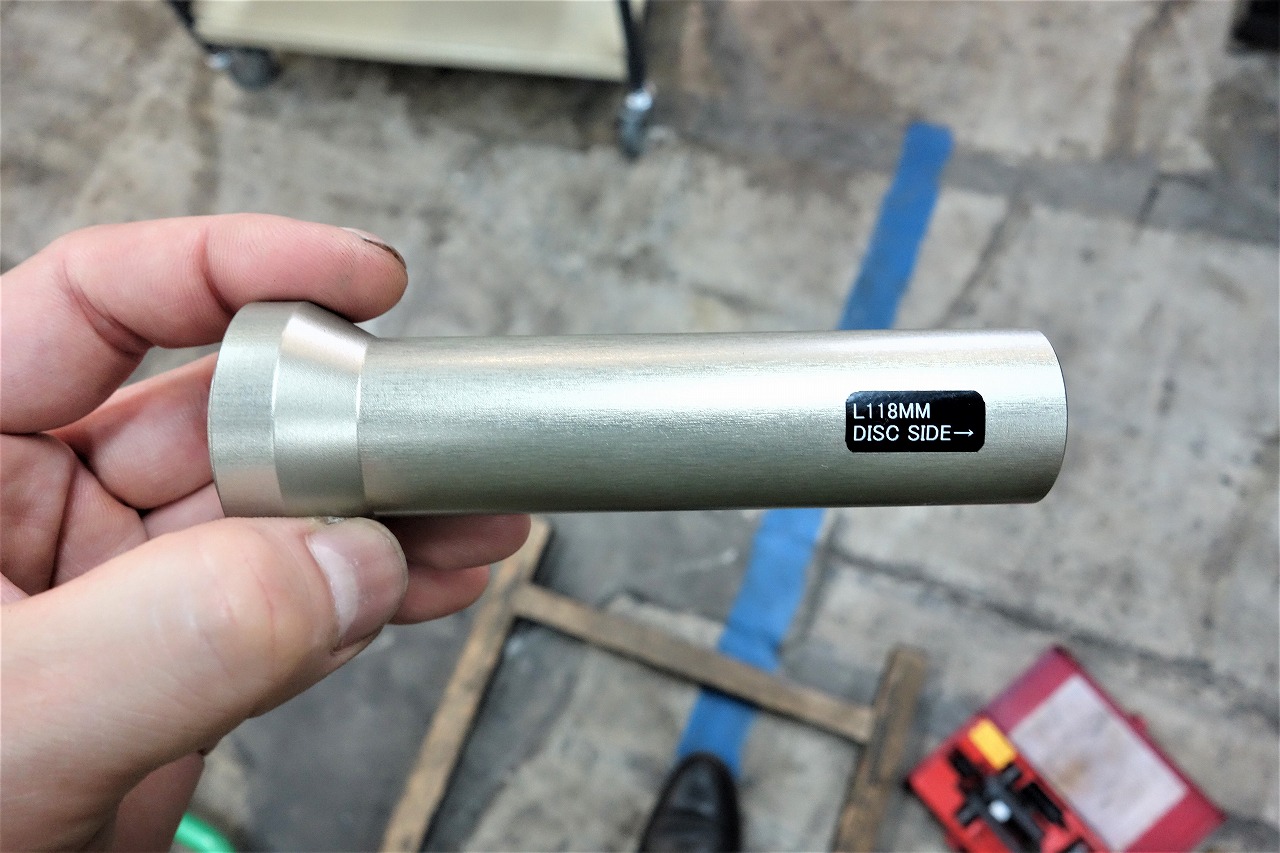
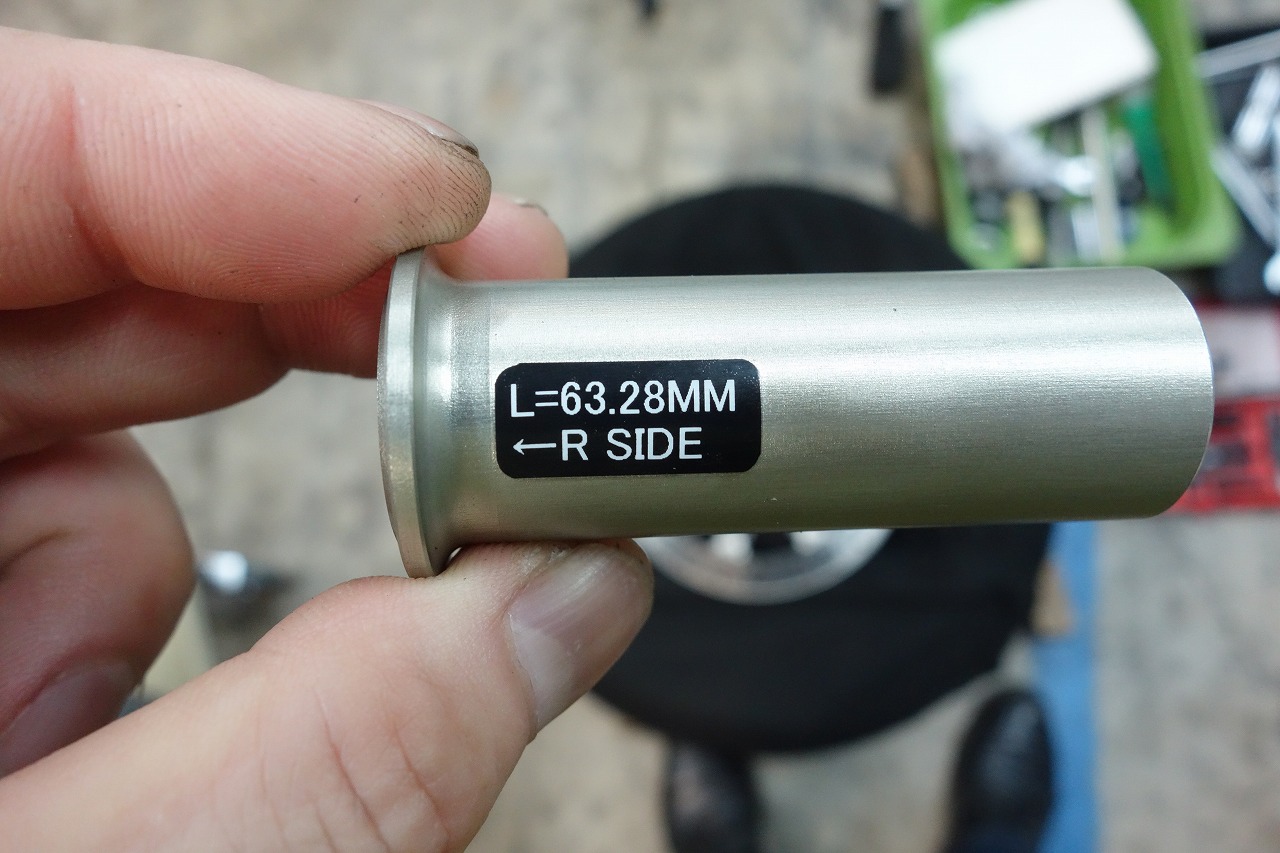
I make a tape label with P-TOUCH and stick it on.
Next time you look at it, you might think, “Oh!”
If you trim the tape edges with KING JIM Label Writer Trimmer RT36W, it looks nice too.
I also trim my inspection stickers. It’s a handy little tool.
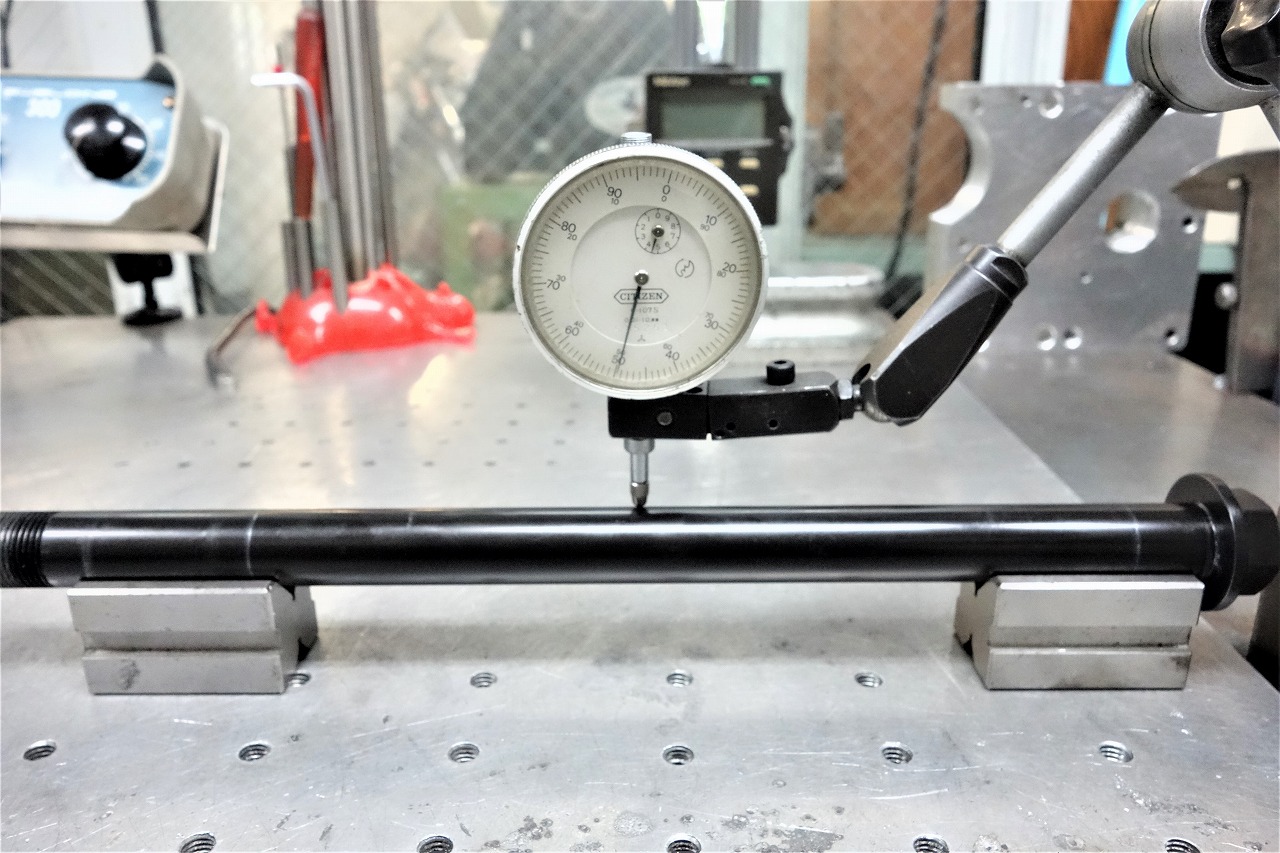
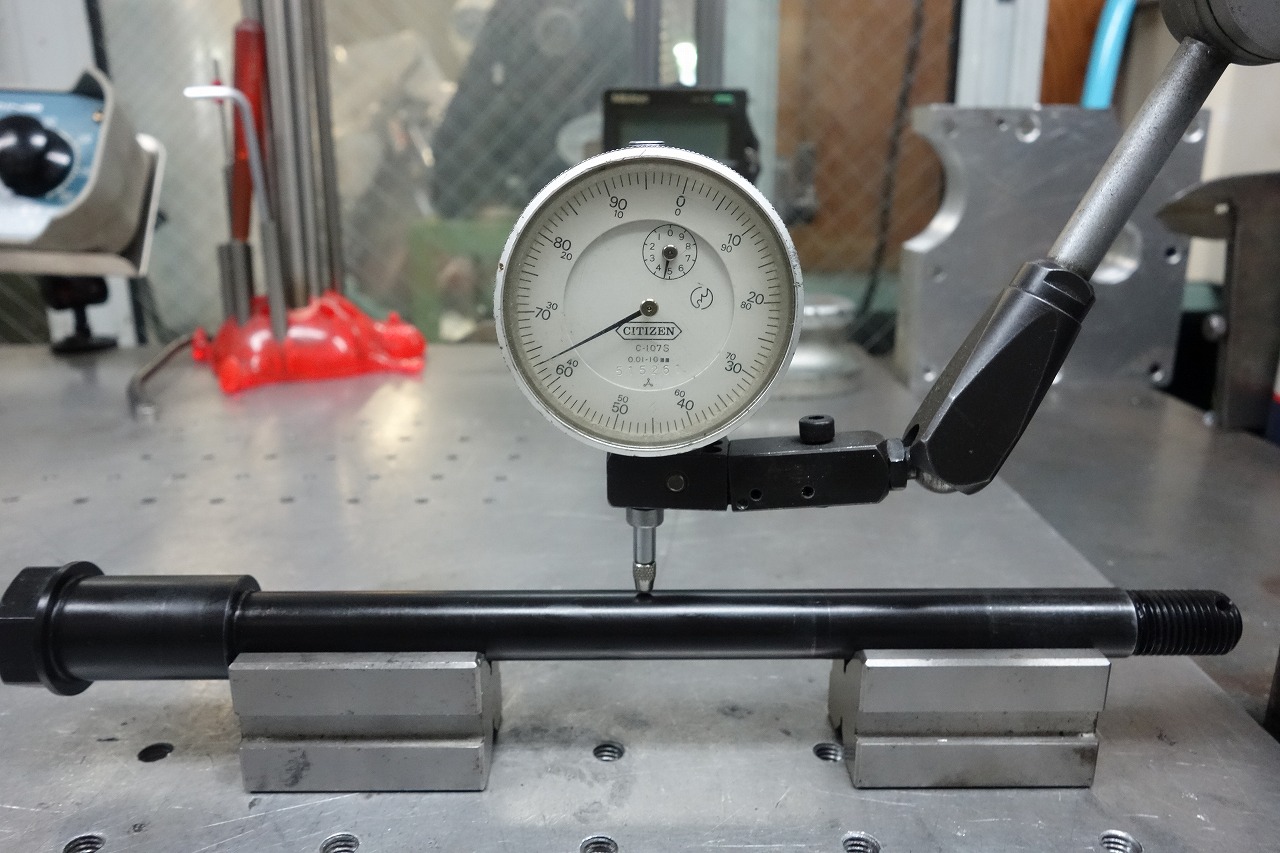
I checked both front and rear just to be safe. No issues.
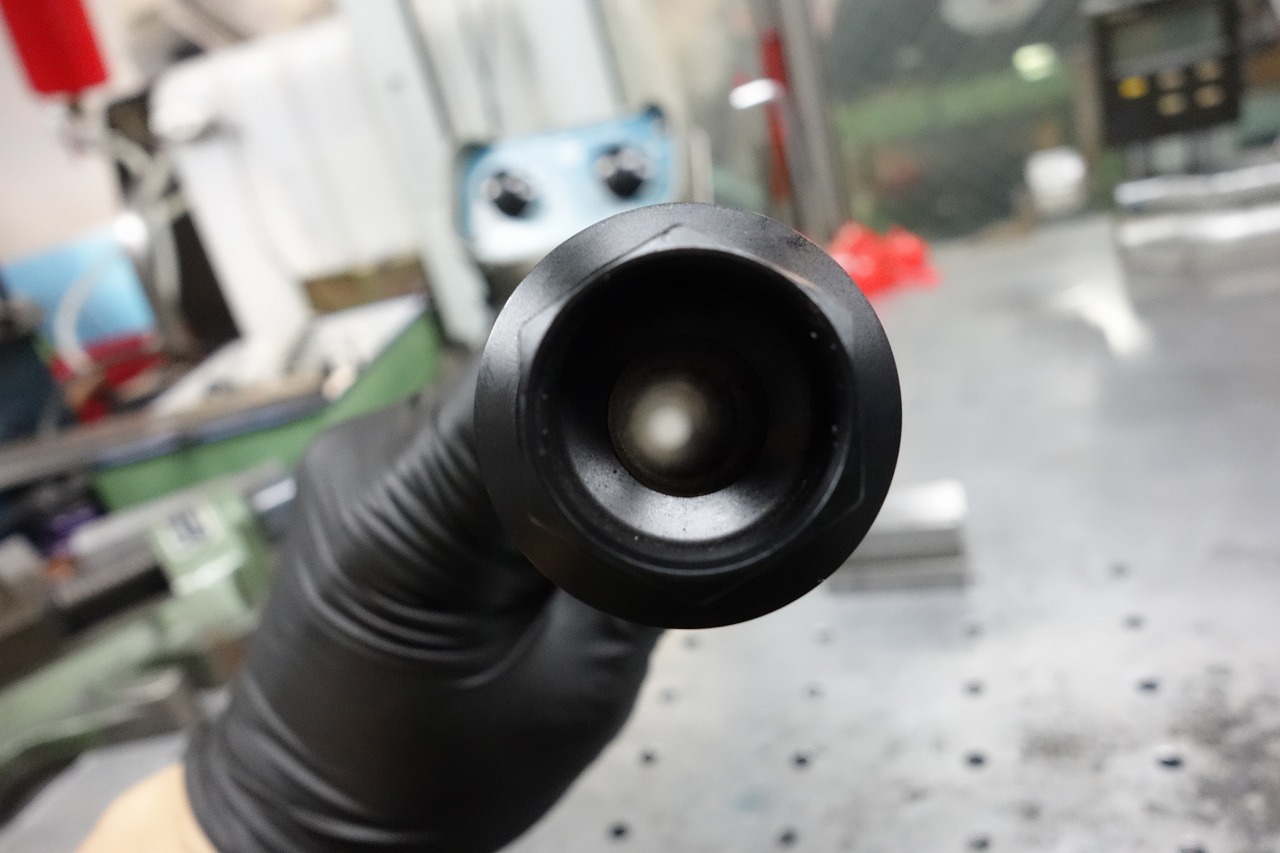
Hmm, the shaft design here is nice—really cool.
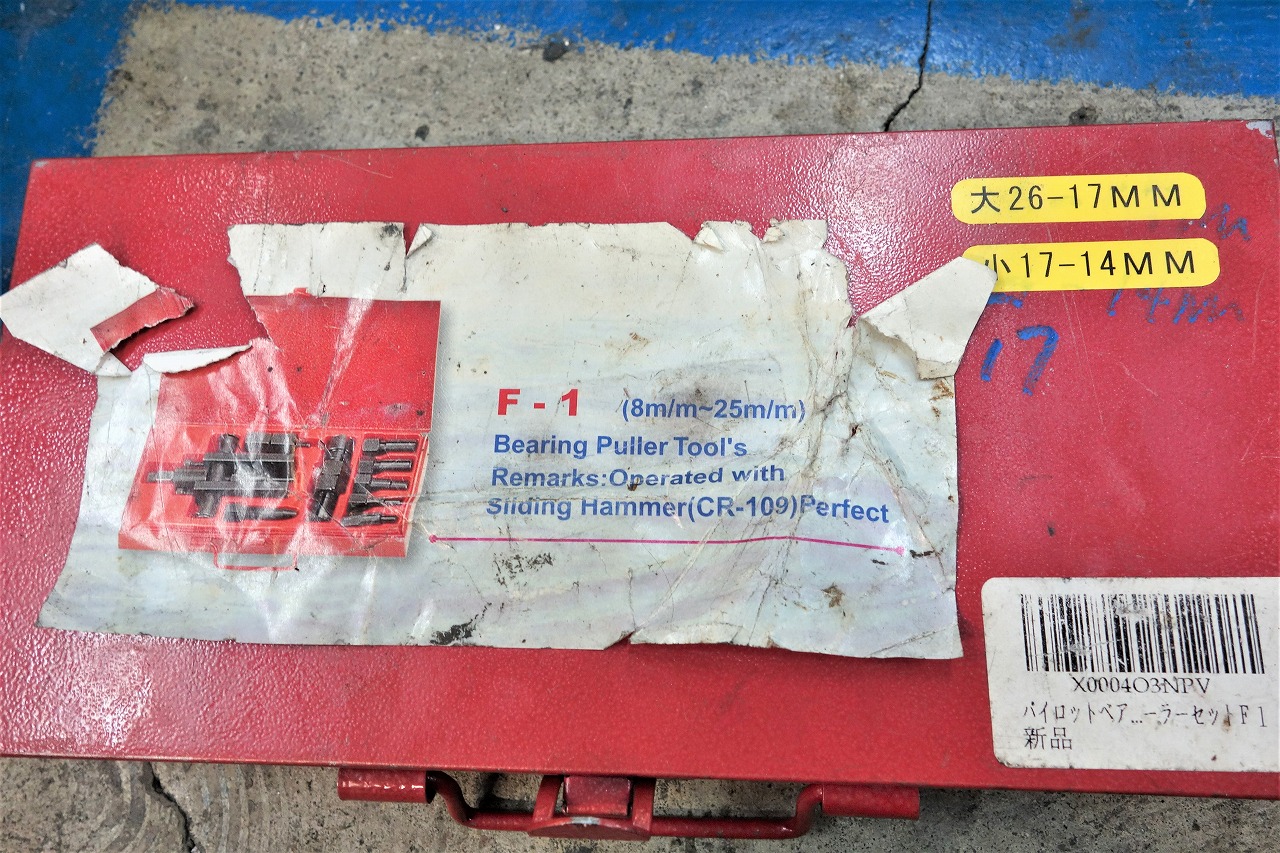
toolsisland (Tools Island) Pilot Bearing Puller Set F1 Internal Hook Compatible 8–25 mm
Incredibly cheap. Lasts a long time too. You might even think this one is good enough.
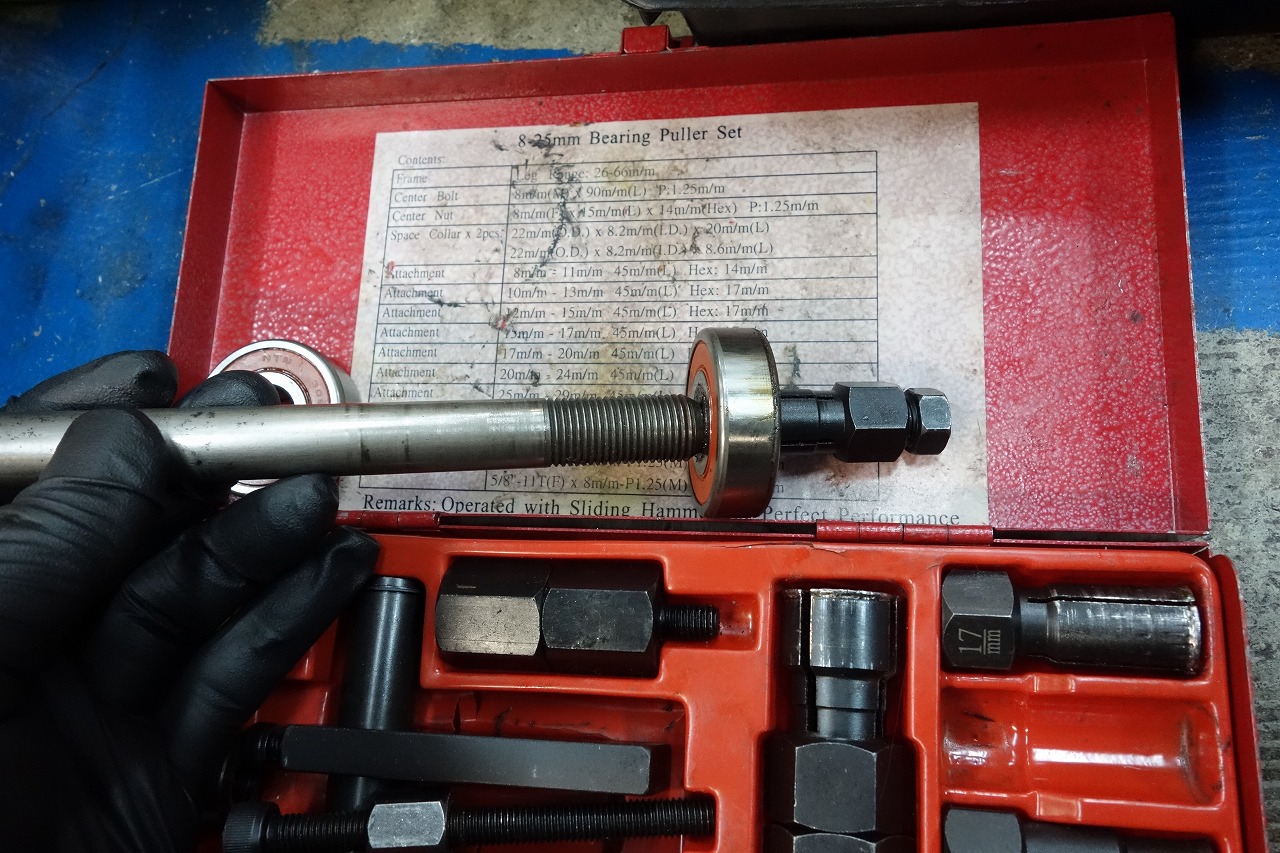
I warm up the wheel and tap it out Suzuki-style.
Using a puller and cranking away works too, but this way is super fast.
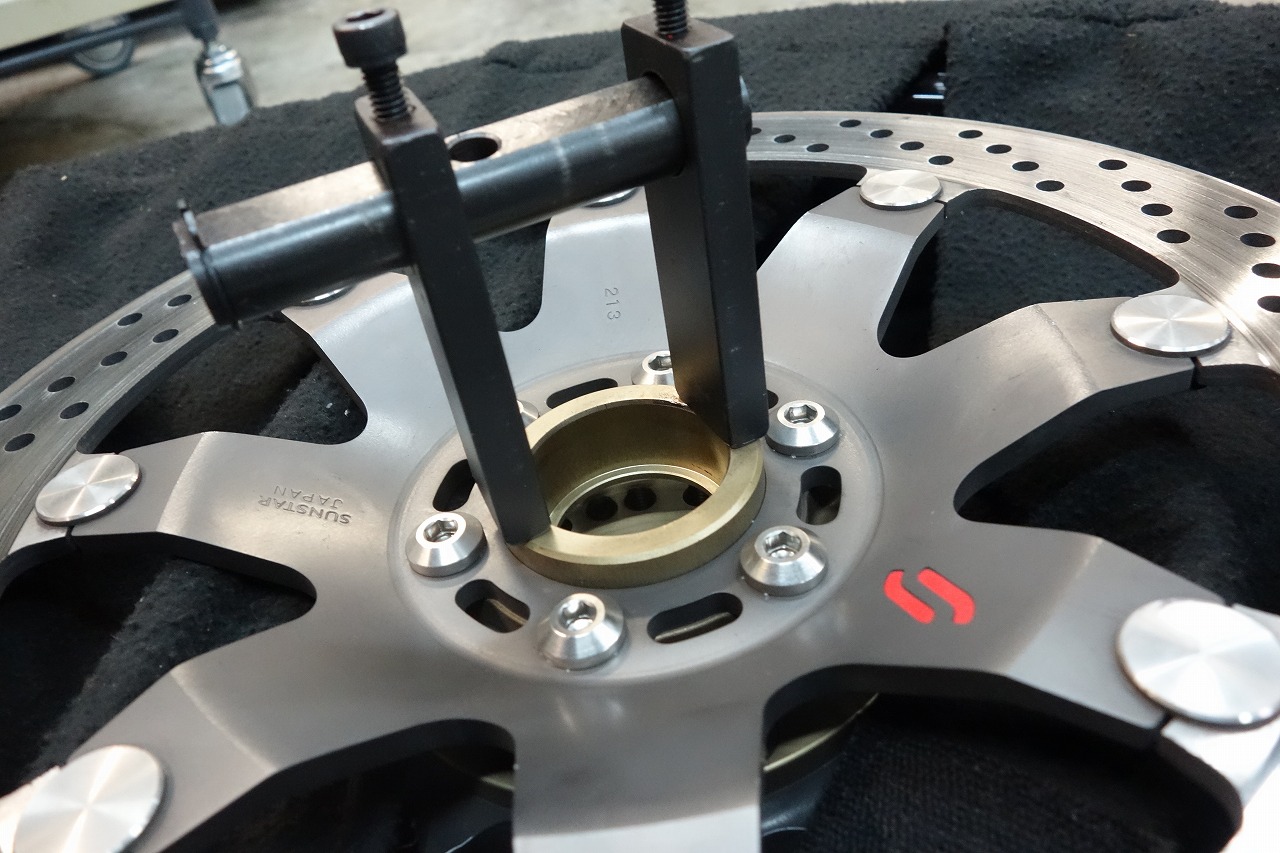
It’s better to avoid pulling directly with the puller.
A spot with good seating and where you can use a backing plate is safer.
If the seating is poor, you end up pulling at an angle anyway, which isn’t ideal.
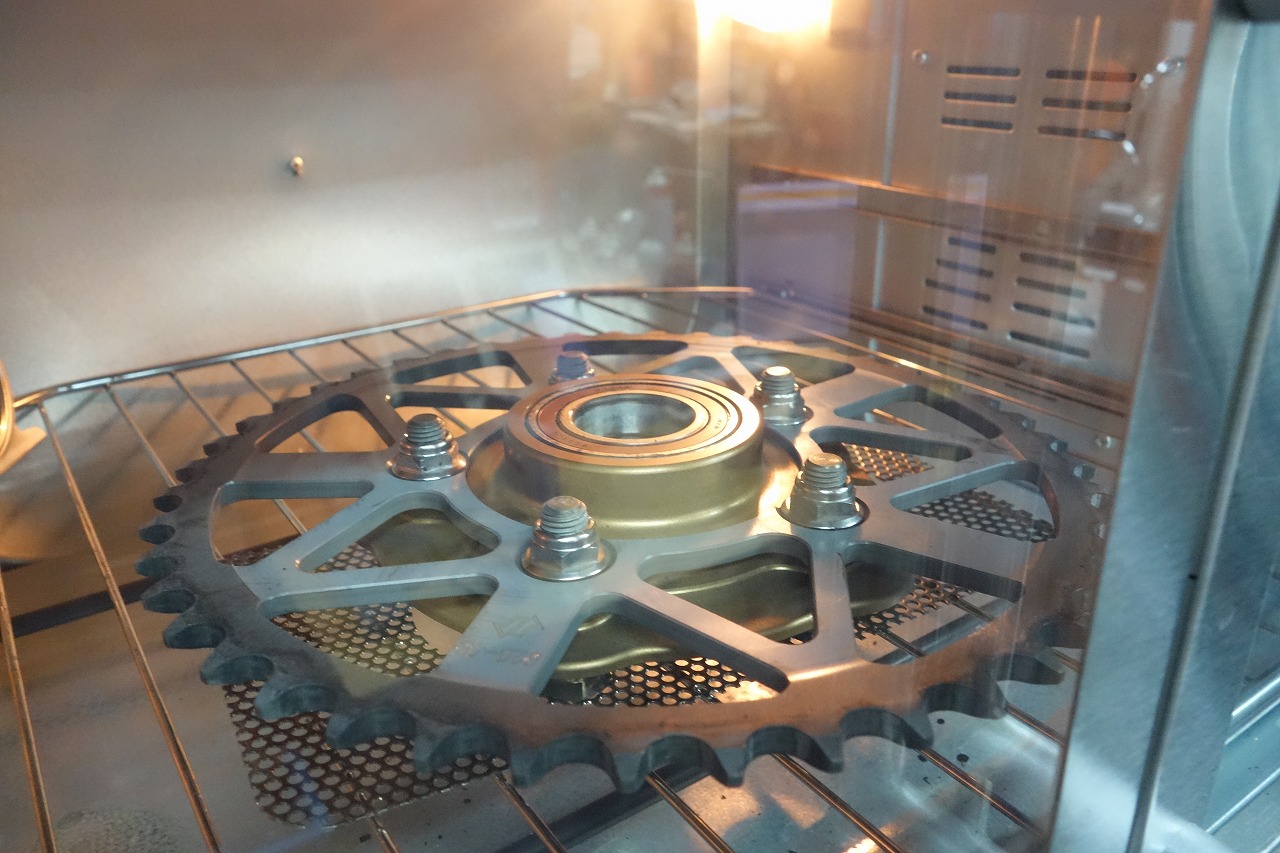
Warm it up gently overall. You don’t need to get it smoking hot.
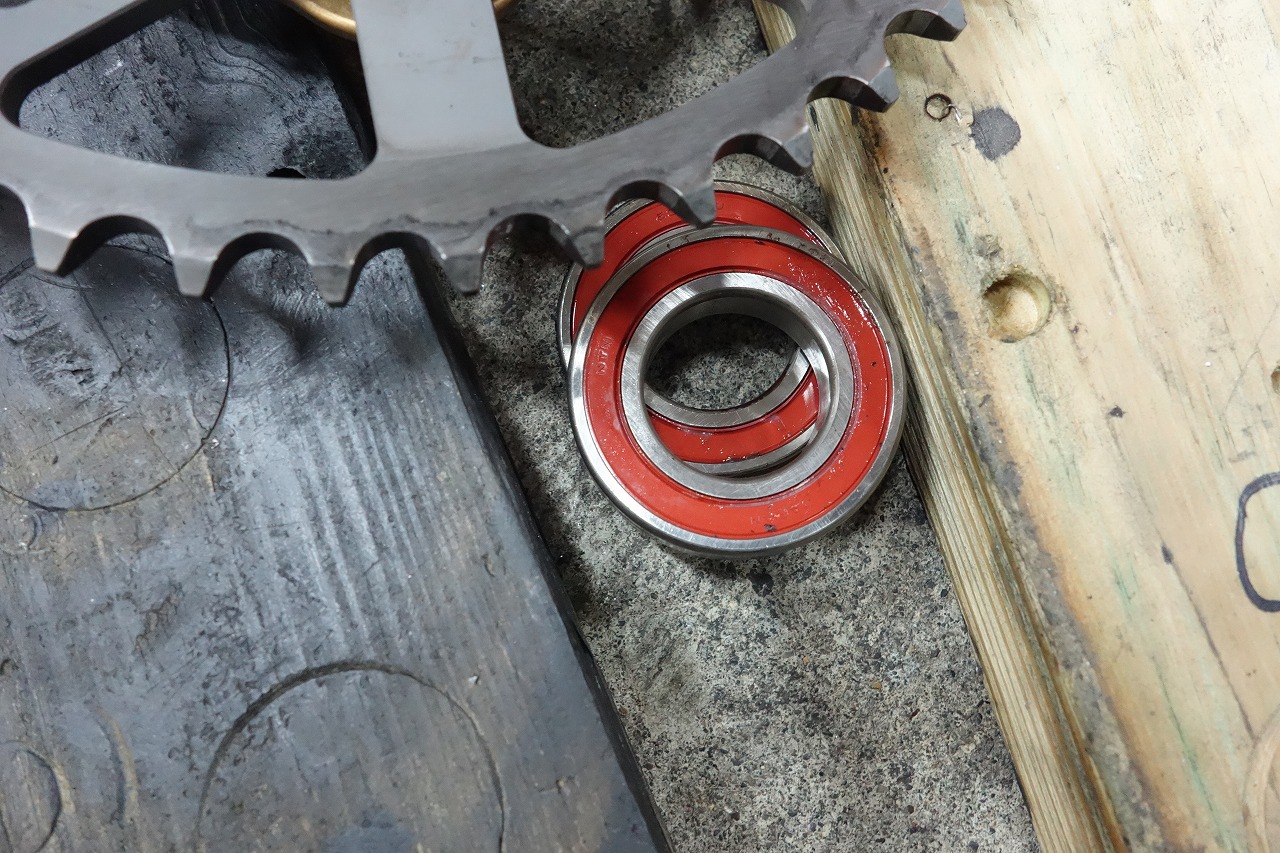
The carrier type just drops out if you flip it upside down. Wipe it quick, apply grease, press it in by hand, cool it down, and you’re done.
You can really feel the interesting relationship between thermal expansion and press-fitting.
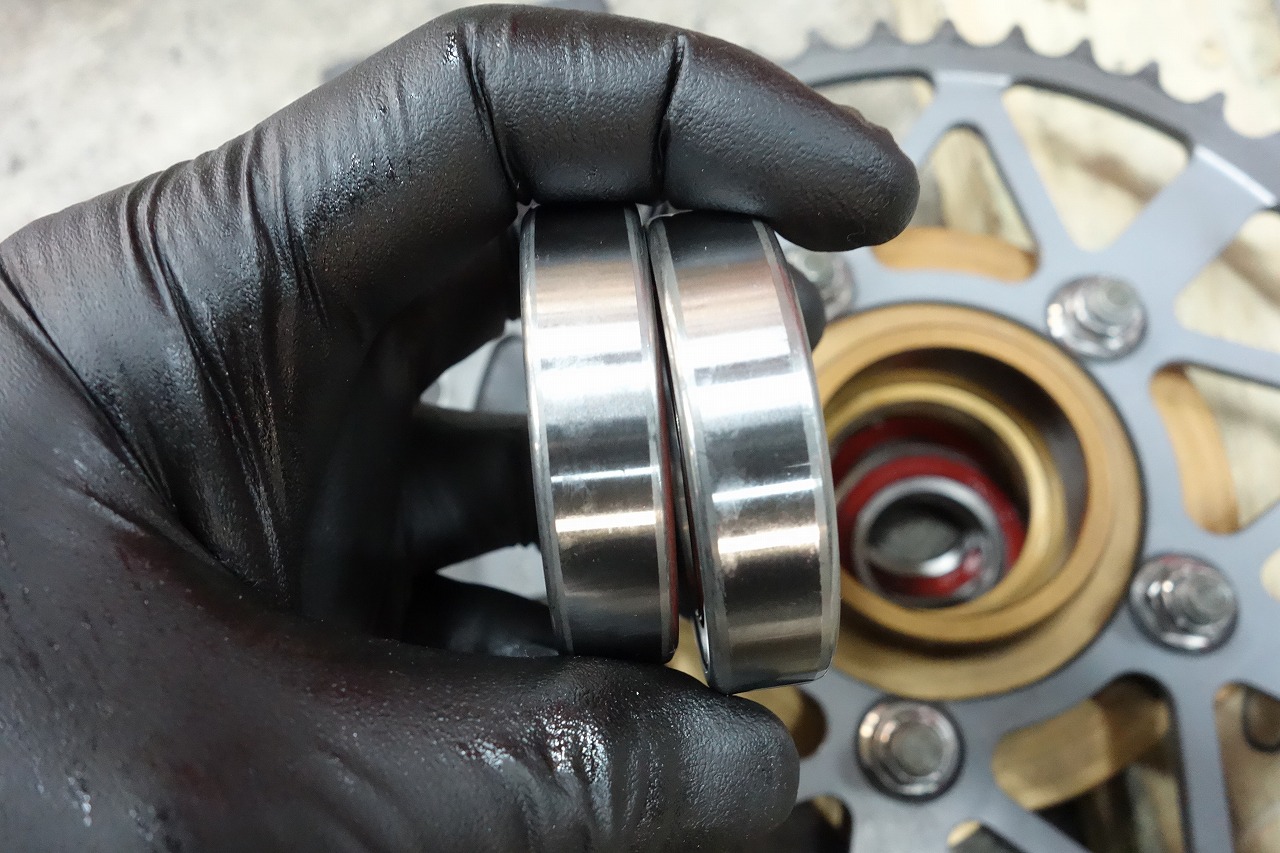
The hub has dual bearings.
That’s impressive. Bikes with a single, wimpy bearing here are a bit scary.
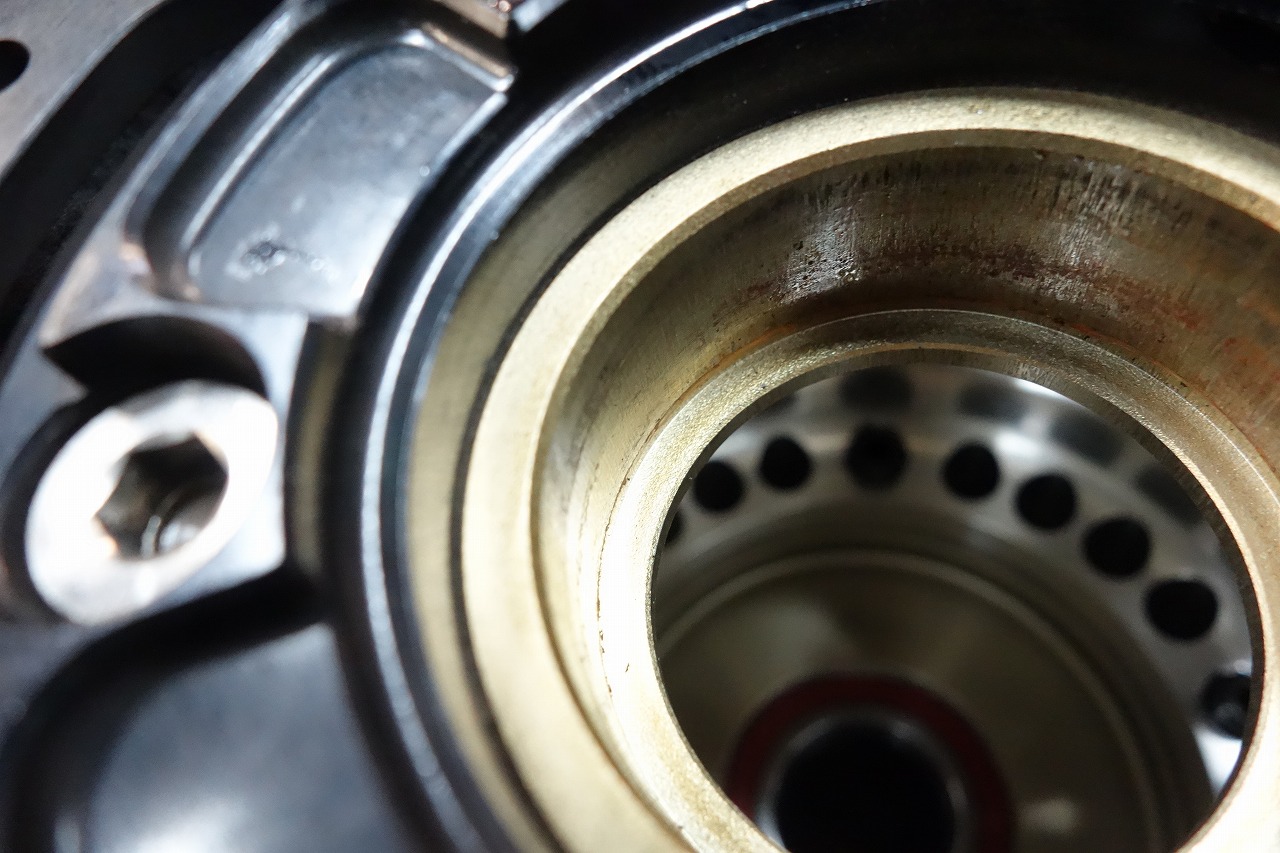
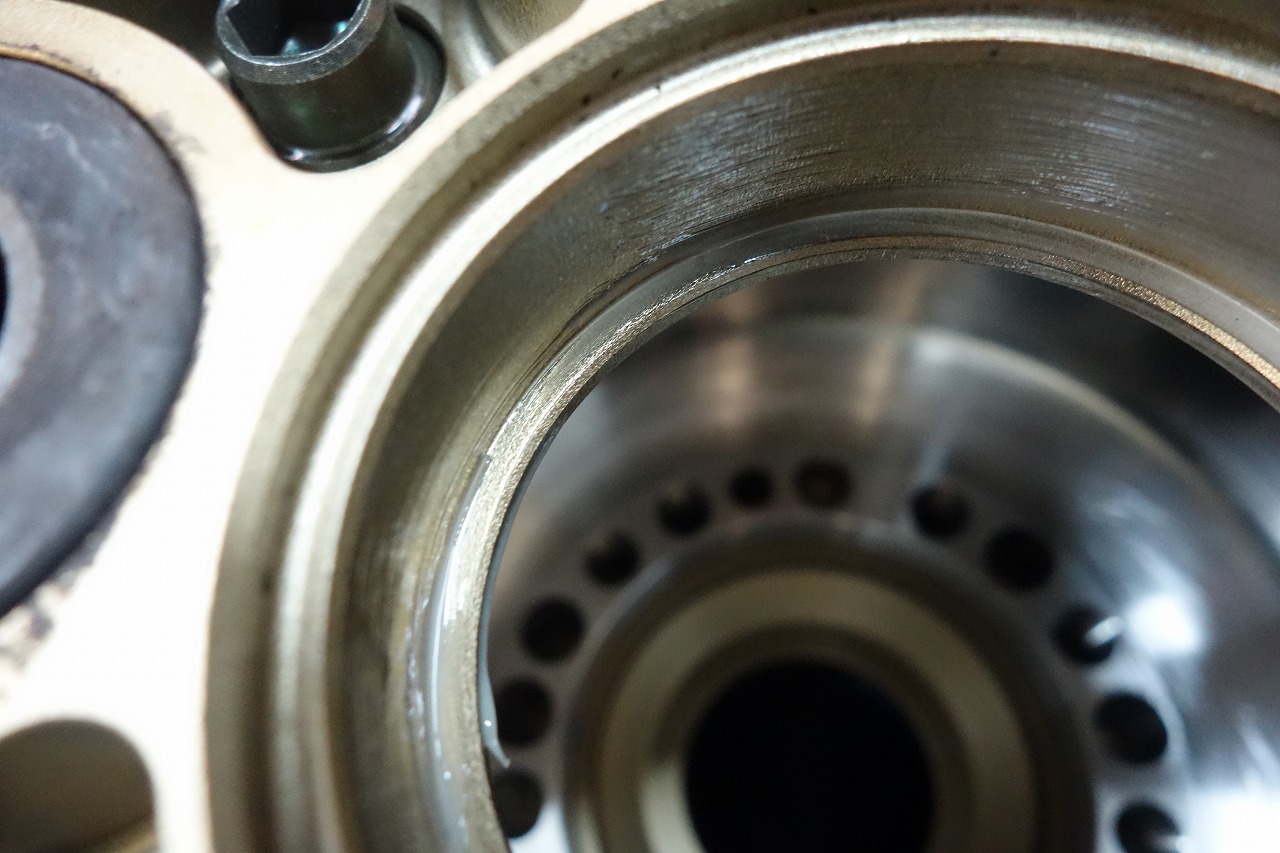
Both are flush-fit but nicely adjusted with the spacer—a good design.
It really shows this is an aftermarket wheel.
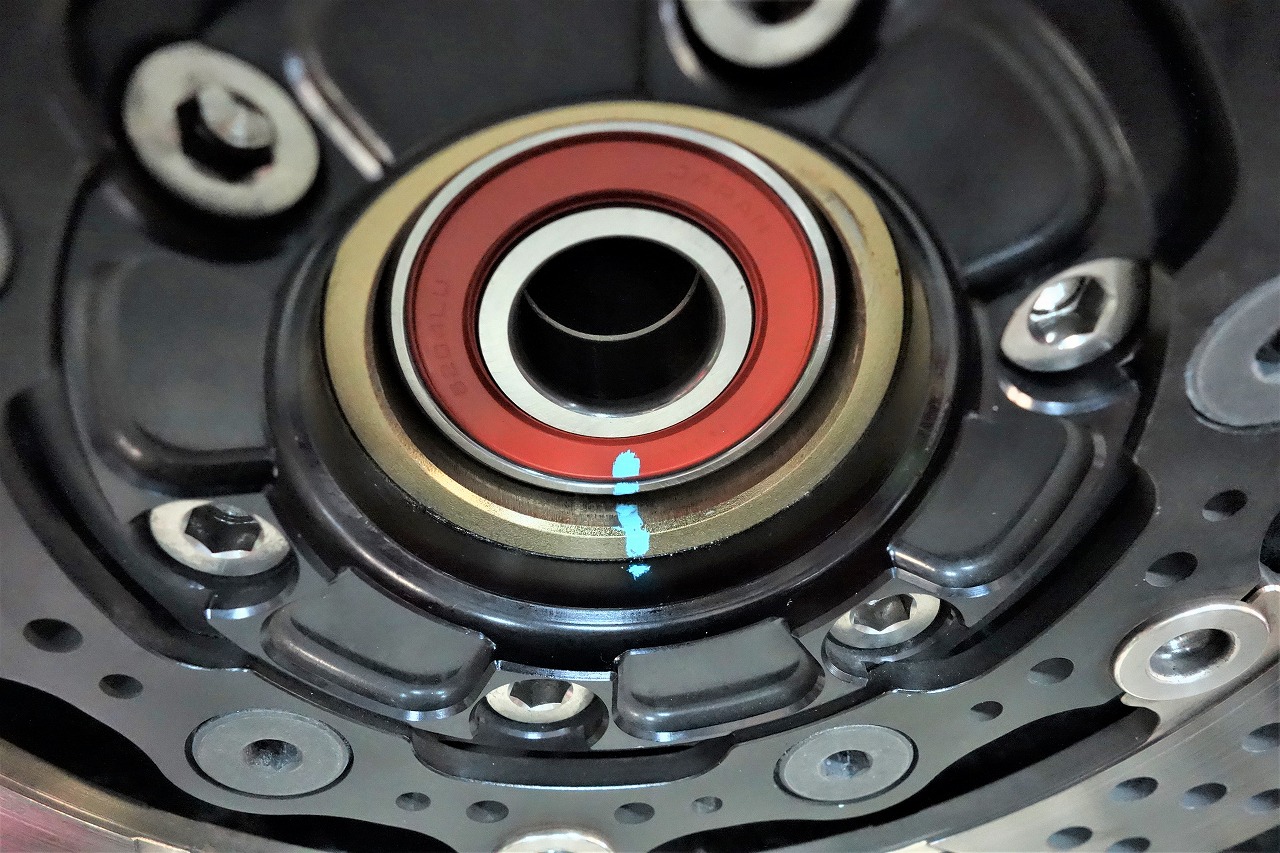
If you apply threadlocker, you can tell if it’s loosened and spun.
I apply it just in case.
Don’t you find that die-cast stuff often gets gummy?
Now we’re waiting on the side stand.