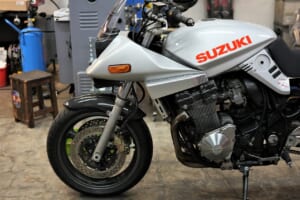
Continuing with Decoboco-chan.
When there’s some custom fabrication involved, things can stall out, right? If it just fits and that’s good enough, it’s done in a flash, but when you want to avoid regrets down the road, you end up overthinking it.
In the end, we decided to go ahead without modifying the wire (‘ω’)ノ
We had a wish to use the handlebar switch choke lever.
The switch is Kawasaki and the carburettor is Suzuki (Mikuni)—the diameter that fits into the carburettor side is different.
And the carburettor side needs to be vented at an angle (90 degrees), otherwise it’s tough.
We considered making a custom wire combining Kawasaki and Suzuki parts, but that seemed like a hassle too.
So we decided to go with a sleeve and welding approach (‘ω’)ノ
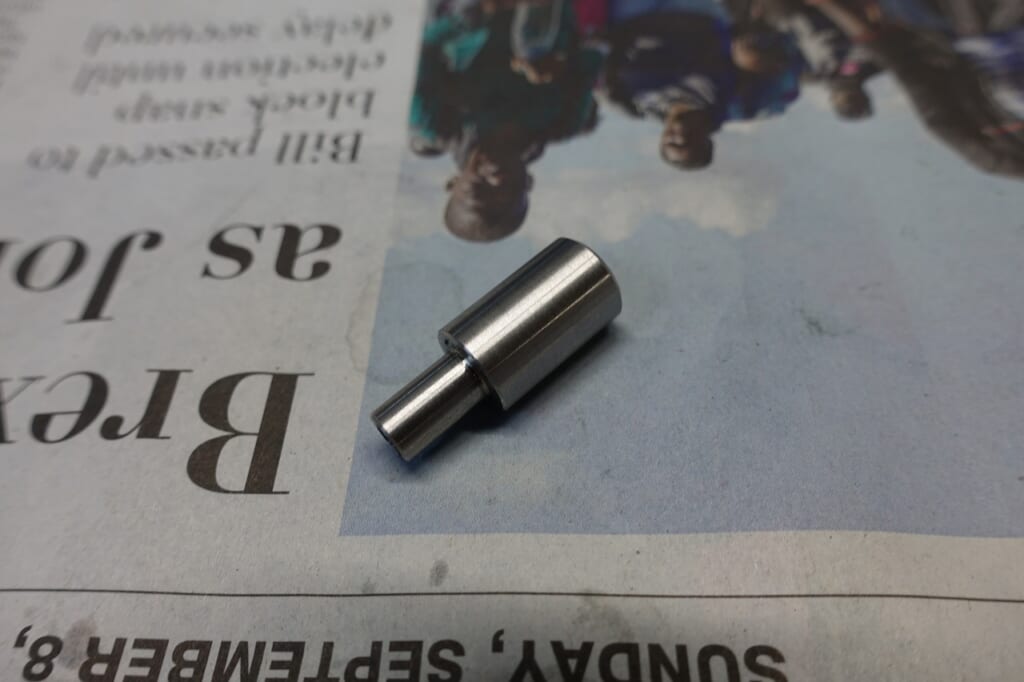
First, we fabricated an attachment to fit into the carburettor side. It also has a wire slot.
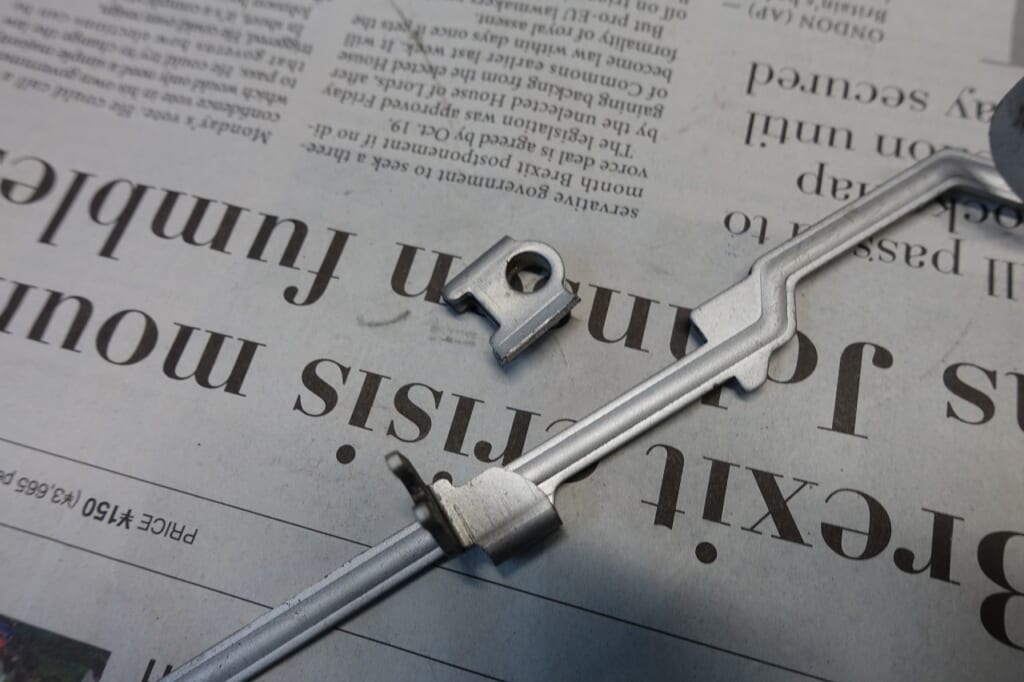
The part where the cable housing goes is a pain to make and would interfere, so we cut and reused it racing-style (‘ω’)ノ
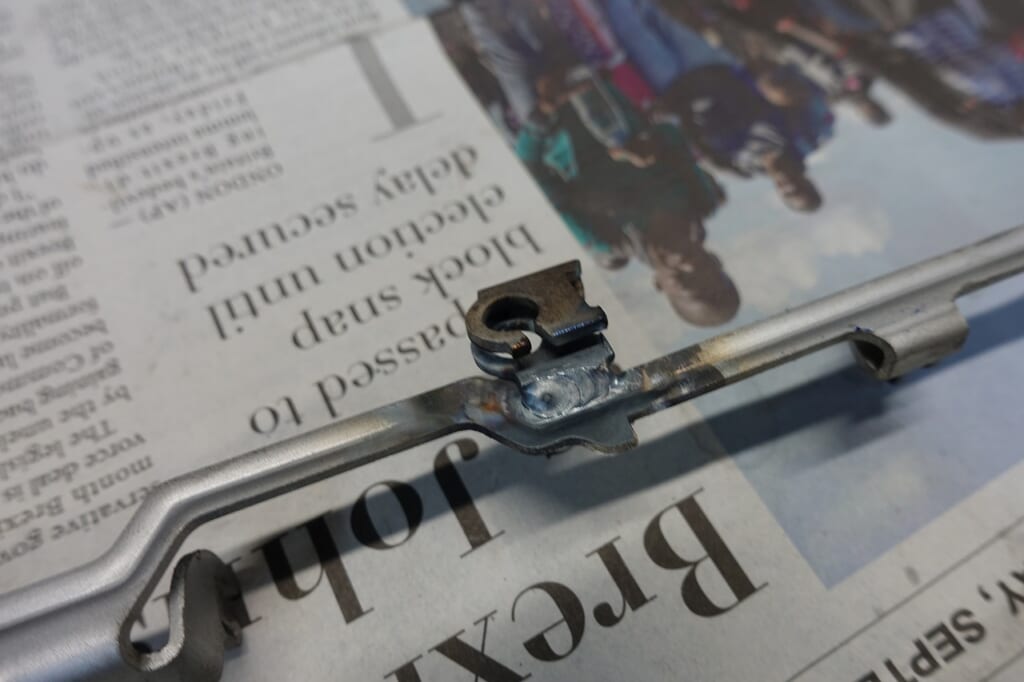
We welded them together and joined them up! Sorry about the excessive heat.
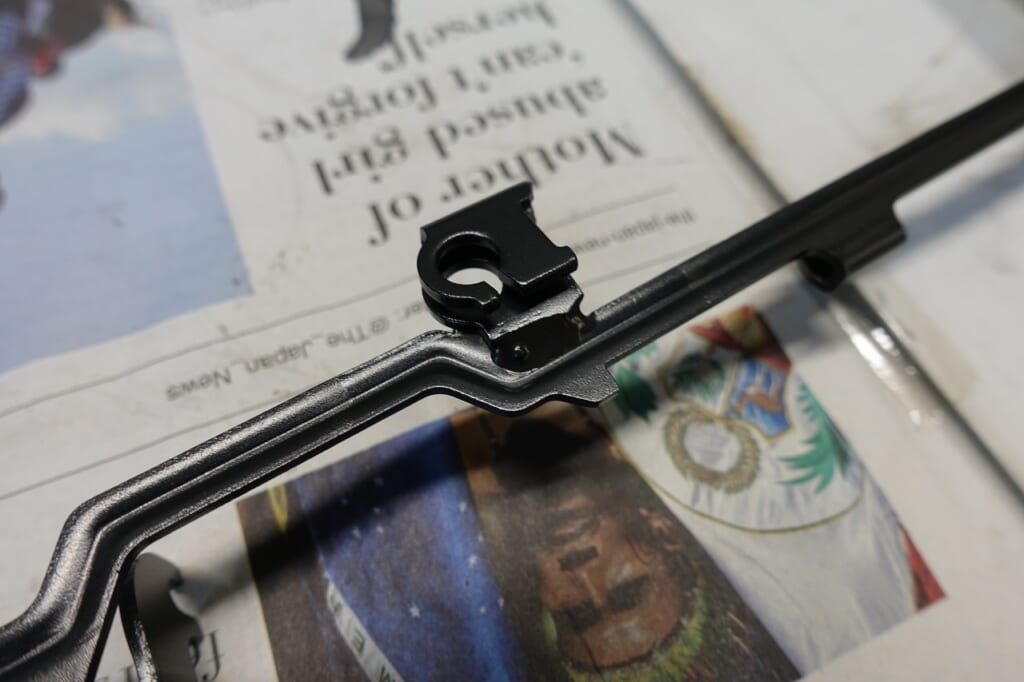
After stripping the paint, we finished it with gun coat (^_-)-☆
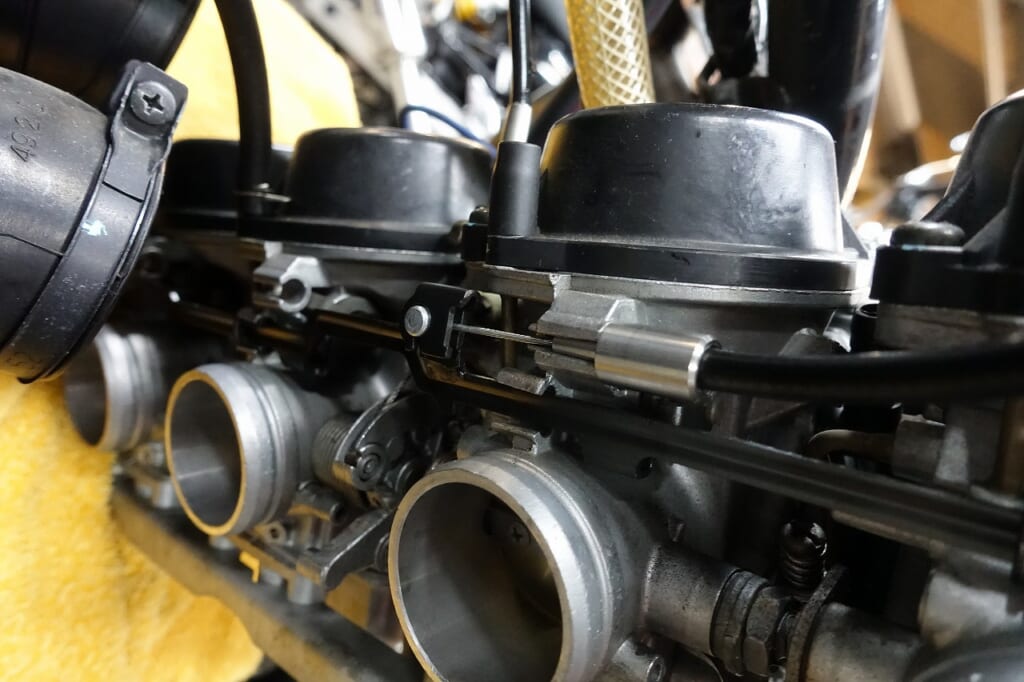
We mounted it to carb #2 like this.
The choke wire we used is 54017-1171.
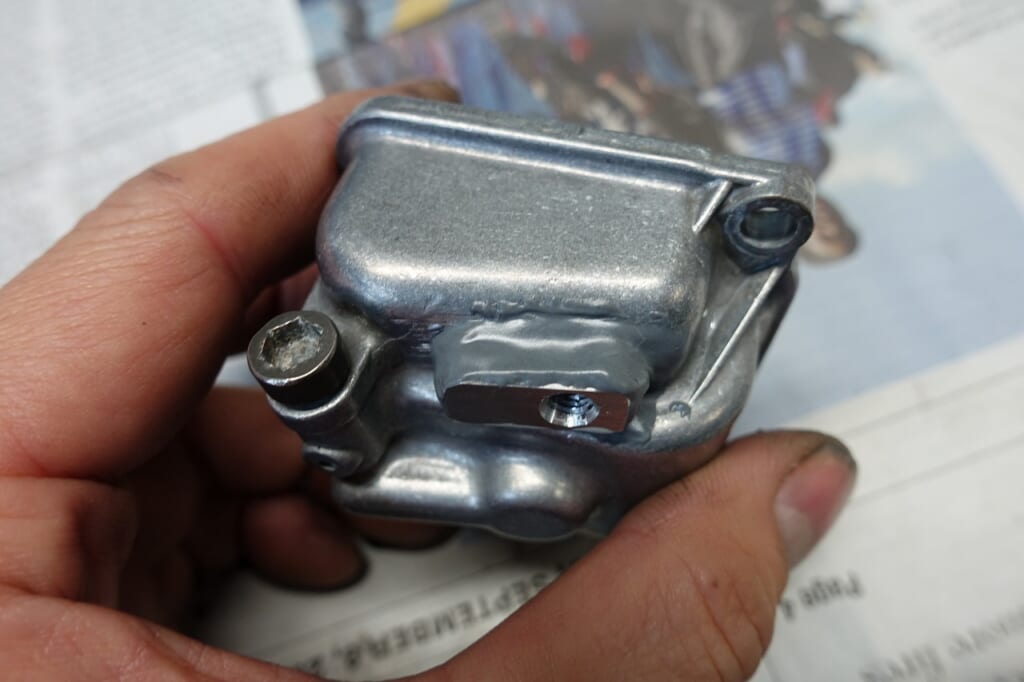
Previously I welded an idle cable mount, but I got cocky and melted it too deep, and it started seeping from the porosity—racing style.
For plan B, we fixed it with something like Devcon.
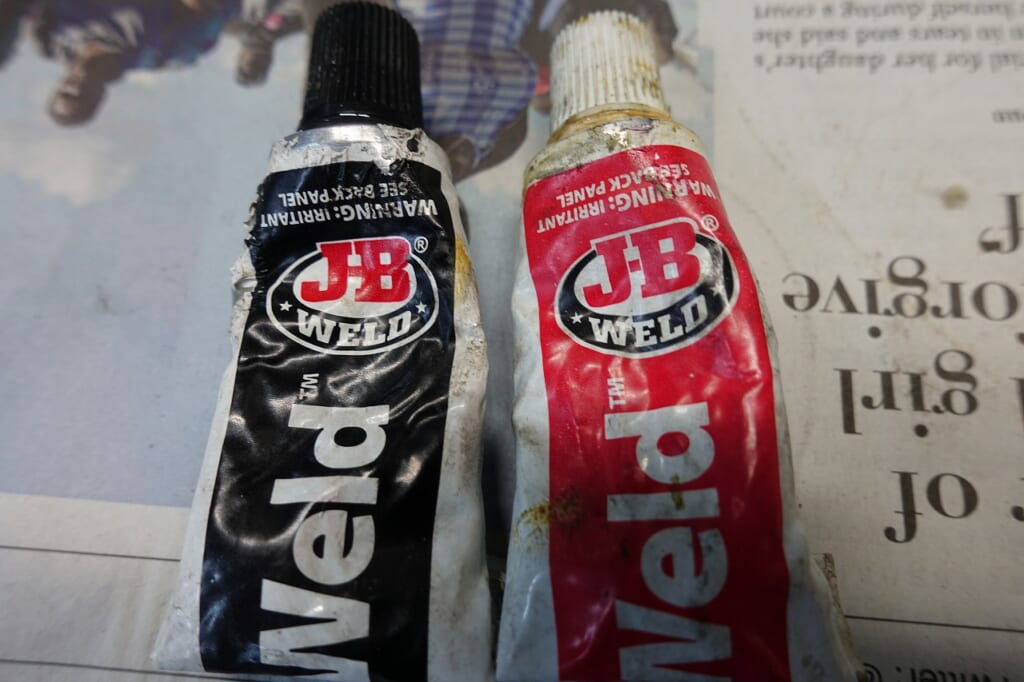
For this kind of metal putty, I recommend two-part epoxy in small quantities.
Even we professionals don’t use it very often, so it’s better not to let too much time pass.
Keeping one JB-WELD on hand gives you peace of mind (‘ω’)ノ
To speed up curing, preheat to around 180–200 degrees, then pop it in the oven for a few minutes.
It’ll start to soften at that point, so be careful not to drip anything.
Then open the oven door and let it cool and sit—it’ll harden significantly in less than an hour.
We changed the engine oil to Shell Advance Ultra 4T 15W-50.
After that, it’s a test ride and we’re done!