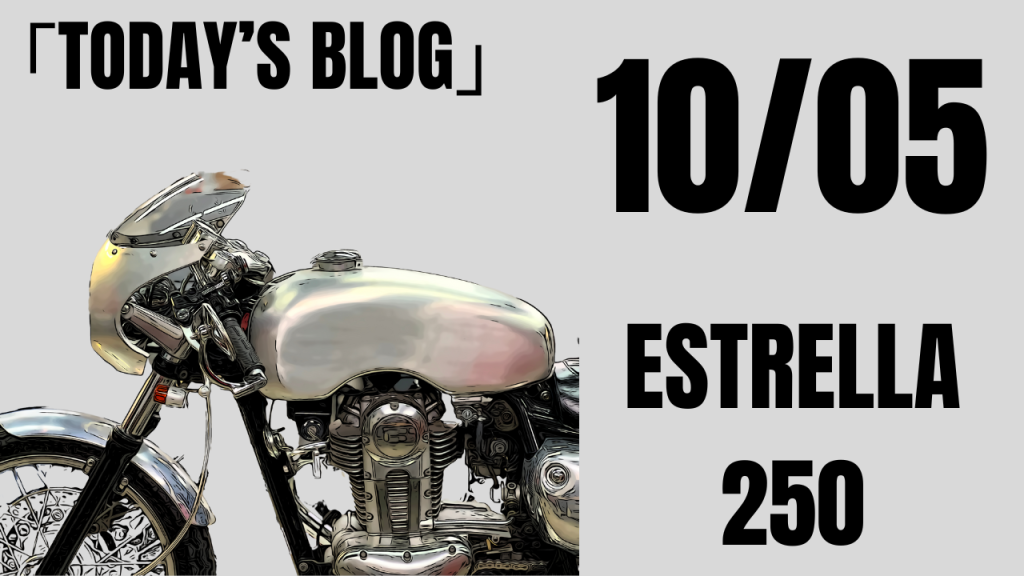
Now that I think about it, we were selling the Estrella 250 back when I was in high school… I’m amazed it continued production for 25 years until 2017!!
It must have had quiet popularity. I’ve been thinking lately that Kawasaki really does stick with the same engines for quite a long time. I think it’s a concept that’s very considerate for both manufacturers and users. Maybe that’s why people keep riding the same bike for so long.
By the way, we don’t do work on bikes without vehicle inspections. However, as a special exception this time, since it’s a second or third bike, we accepted the work.
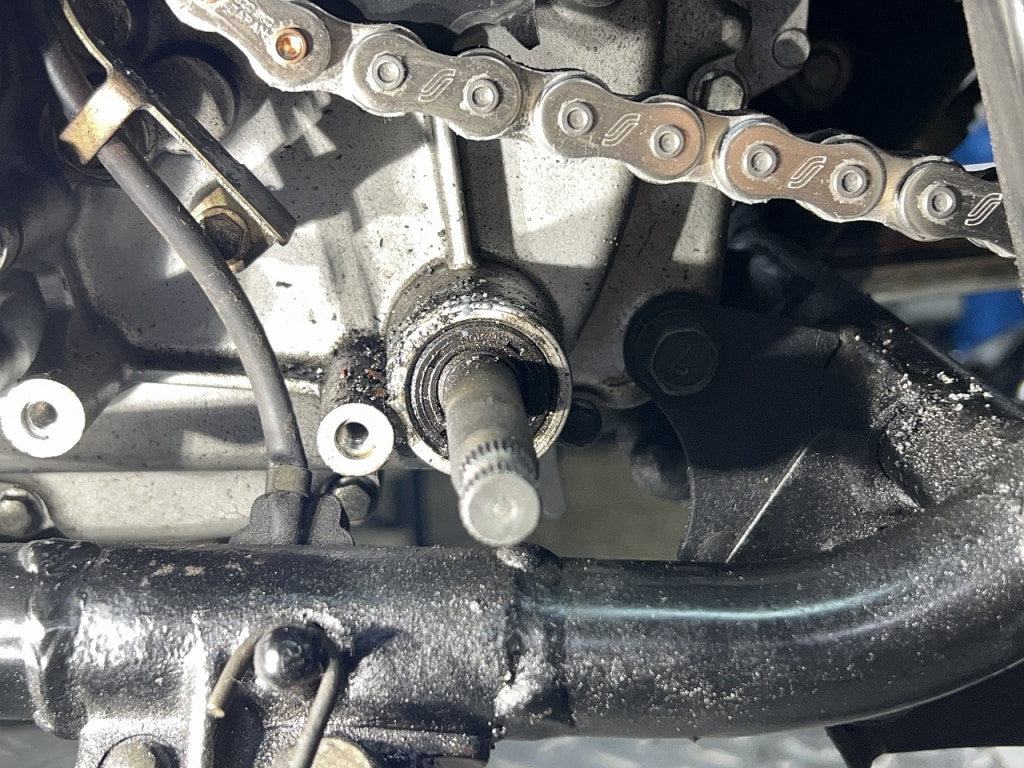
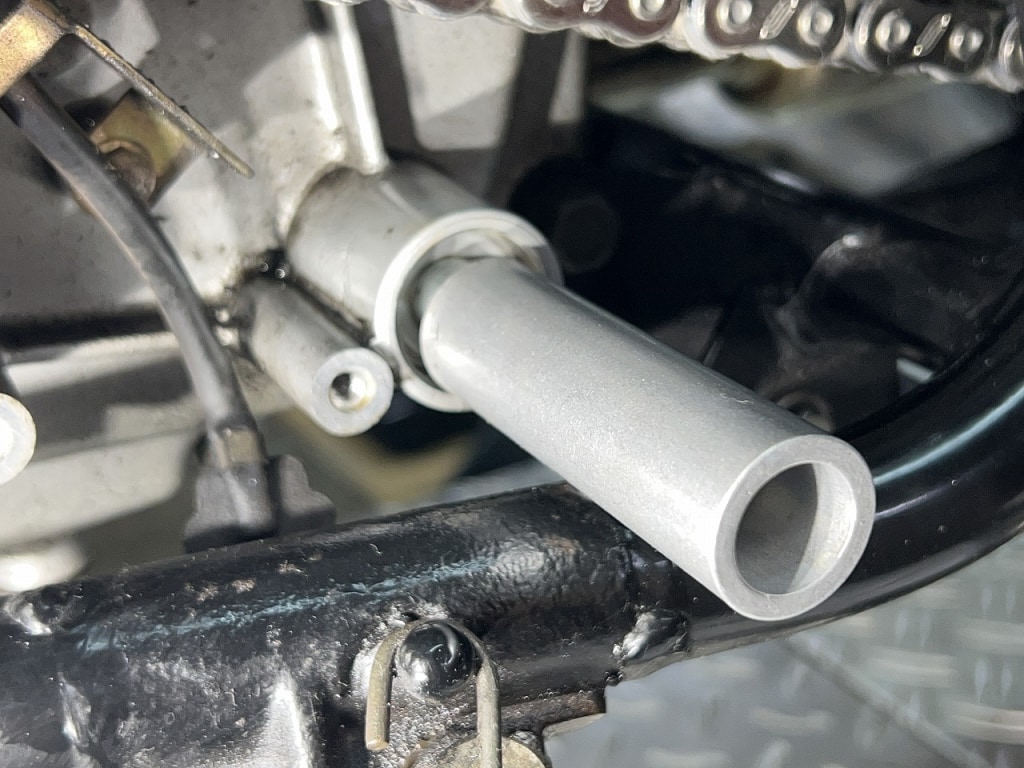
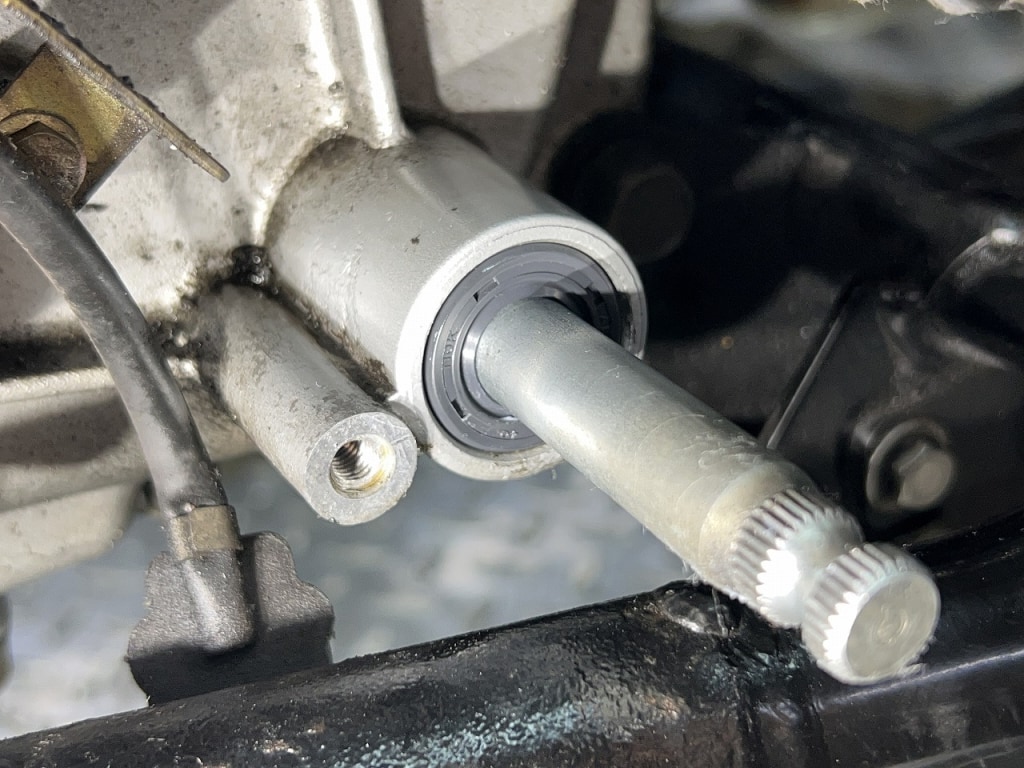
The shift oil seal is leaking slightly, so I’ll replace it.
It was somewhat moist and damp, with a slight seeping feeling. After all, oil seals are just rubber, so they can’t withstand aging.
Plus, shift oil seals get twisted somewhat, so they’re definitely prone to leaking.
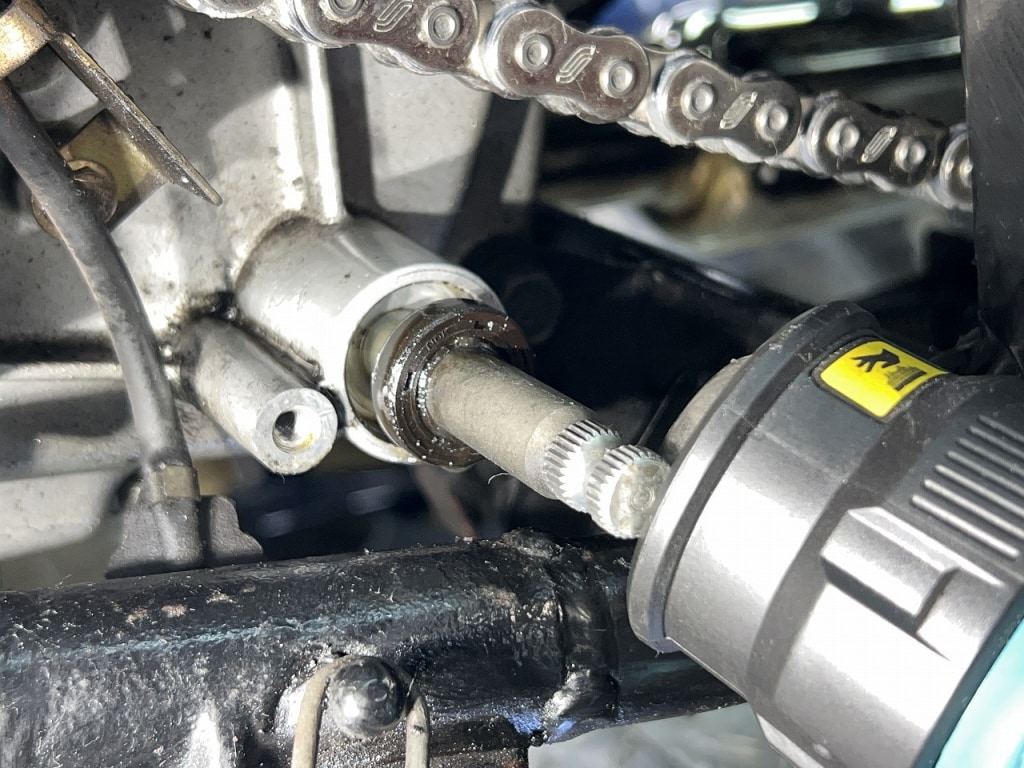
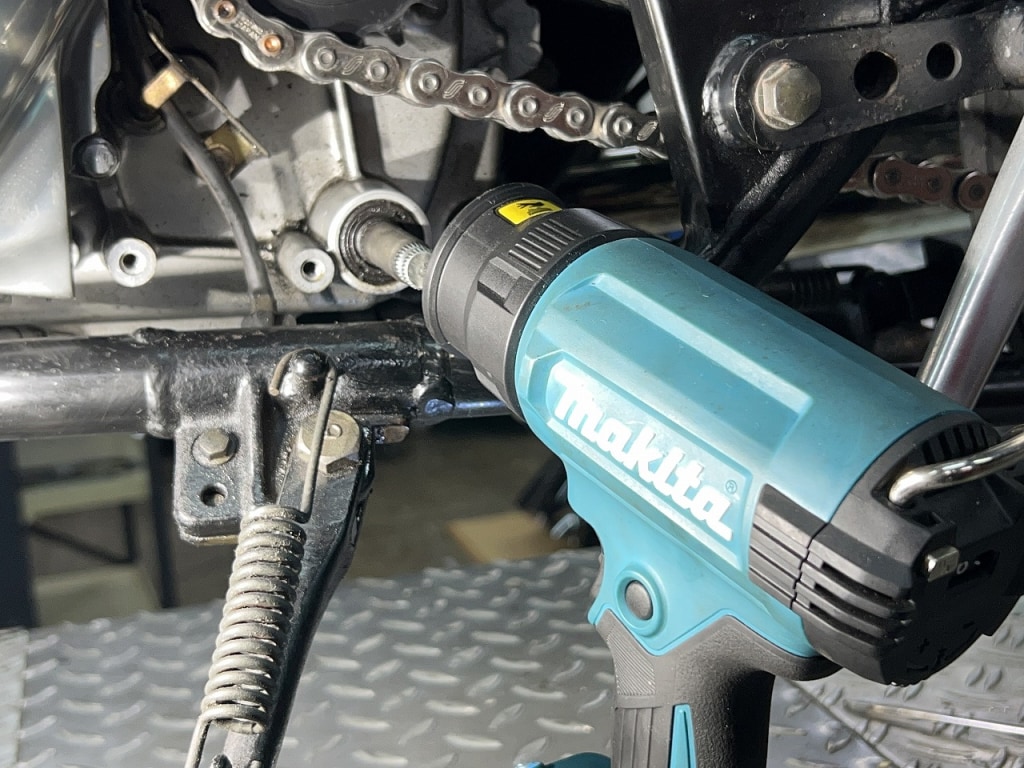
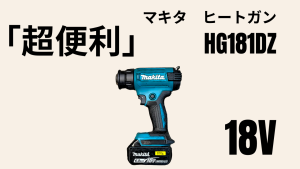
The Makita heat gun is really excellent. You can warm and remove at the same time, so it’s really comfortable. If you’re using a 100V heat gun, I really recommend trying one of these.
I just used a nicely proportioned cylindrical tool and pushed it in by hand to finish. Since oil seals are rubber, there’s no need to hammer them in. *Depends on the location. I think it’s best to insert it smoothly without putting too much stress on the rubber.
I’ve applied fluorine grease to the lip portion of the oil seal. It has good lubricity and prevents oil leaks, so I think it’s effective.
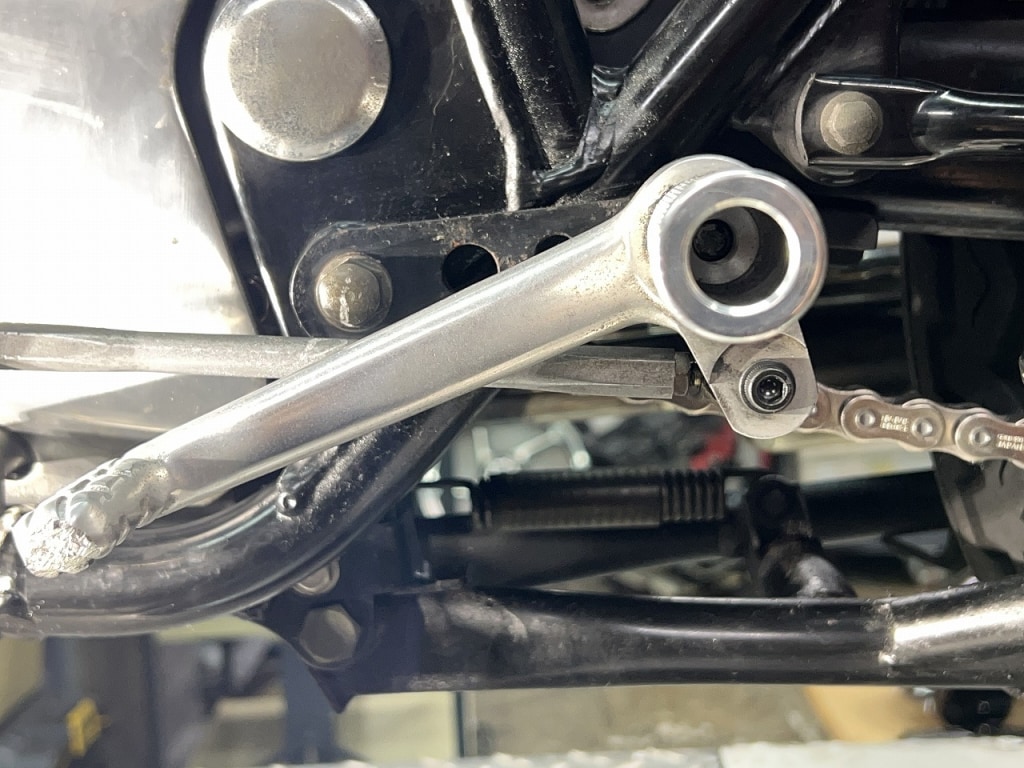
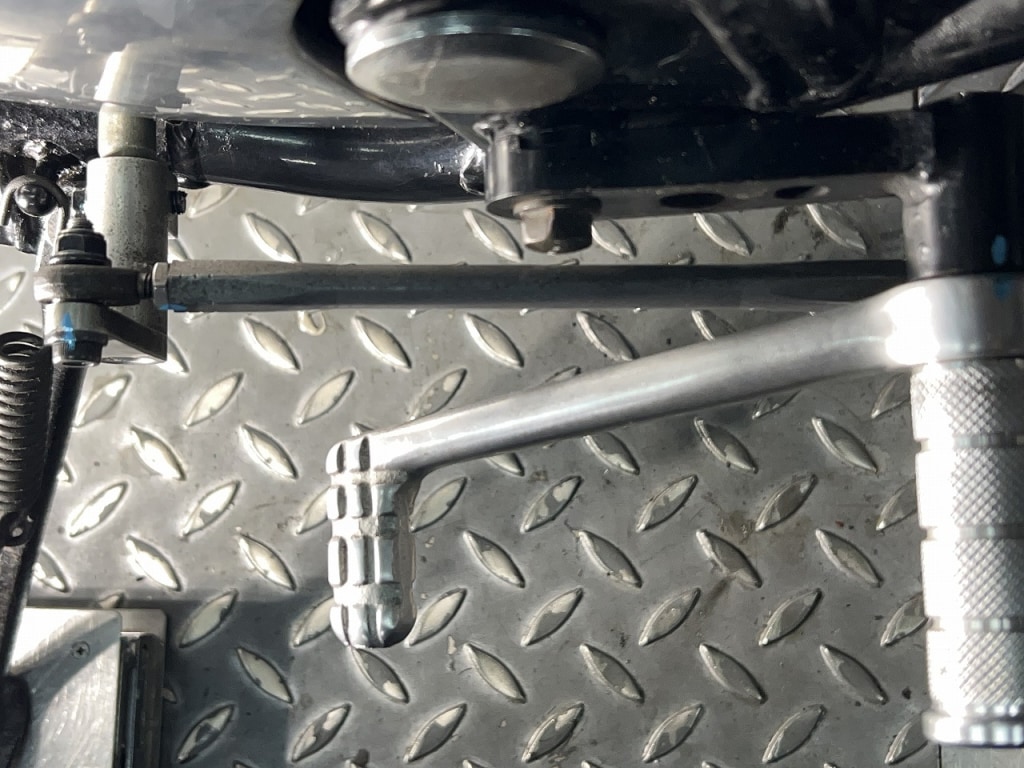
I’m going to address some oddly concerning shift linkage issues.
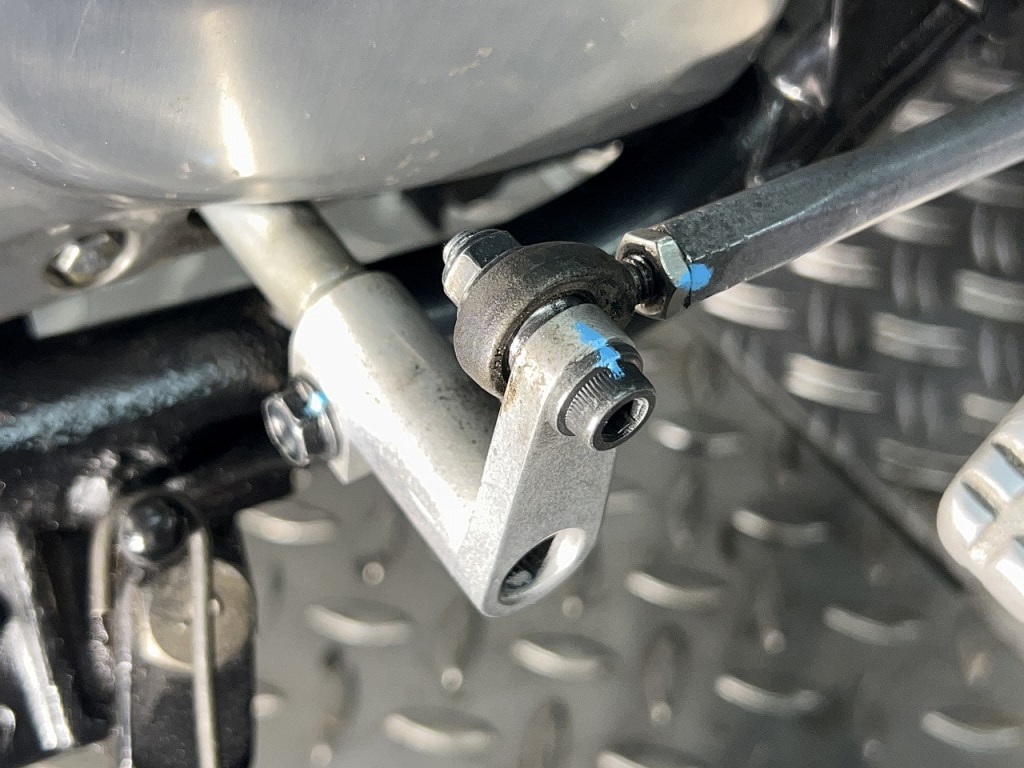
The angle seemed a bit off. I couldn’t do much about the pedal side, but I set the arm side to 90 degrees.
The rod wasn’t being pushed straight either, so I added a spacer on the pedal side to keep it as straight as possible. These little details add up to make shifting easier.
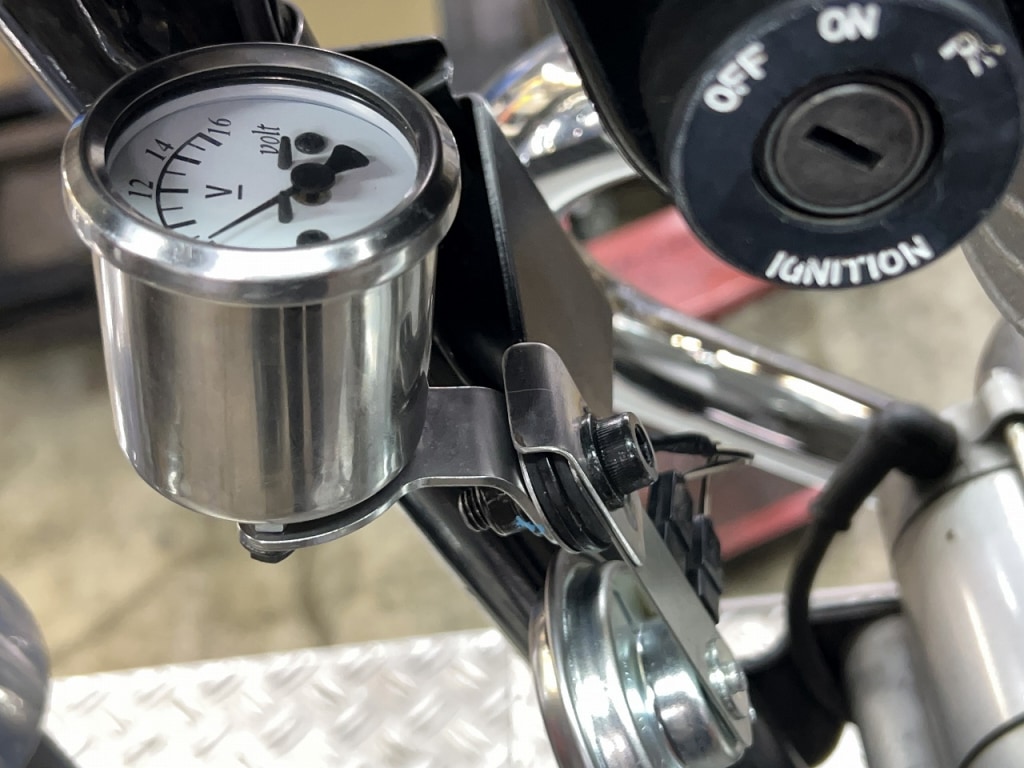
I’m going to relocate the voltage gauge.
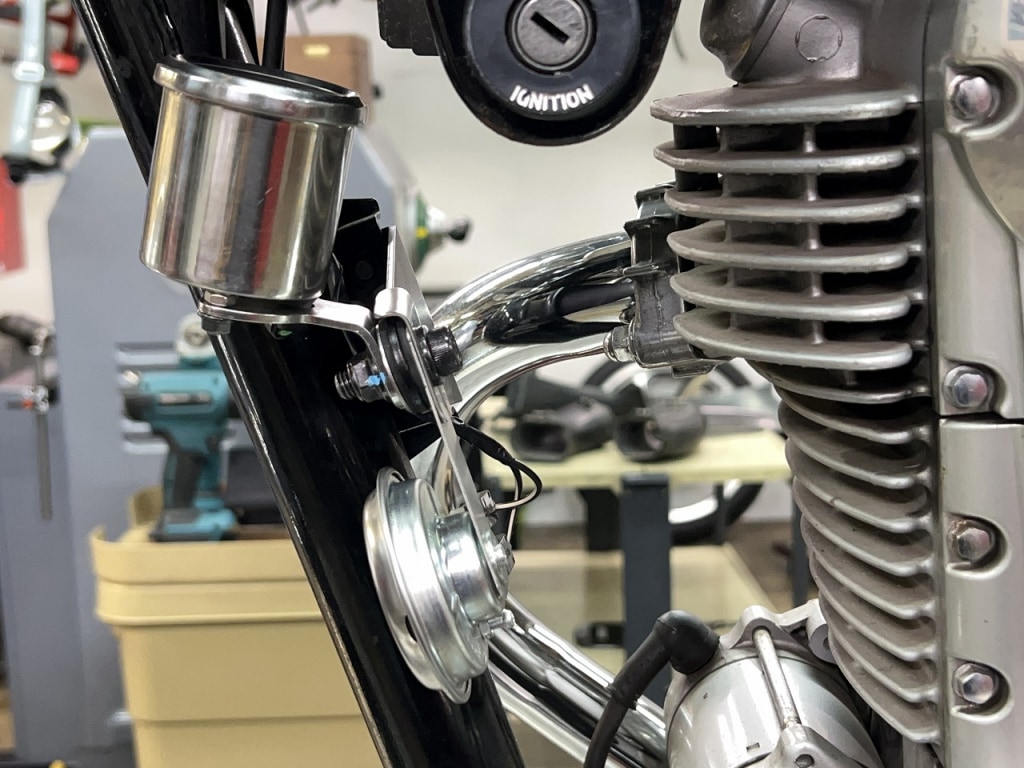
It’s hard to get things to work out the way you want. Since it won’t be visible while riding anyway, I’ll mount it together with the horn.
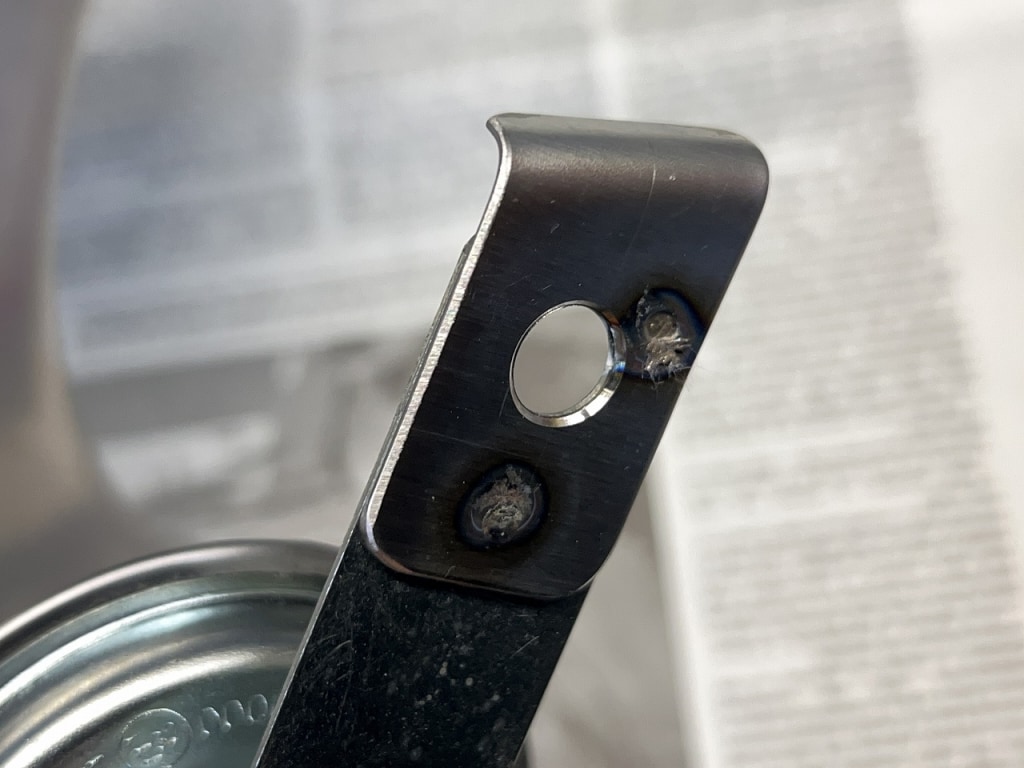
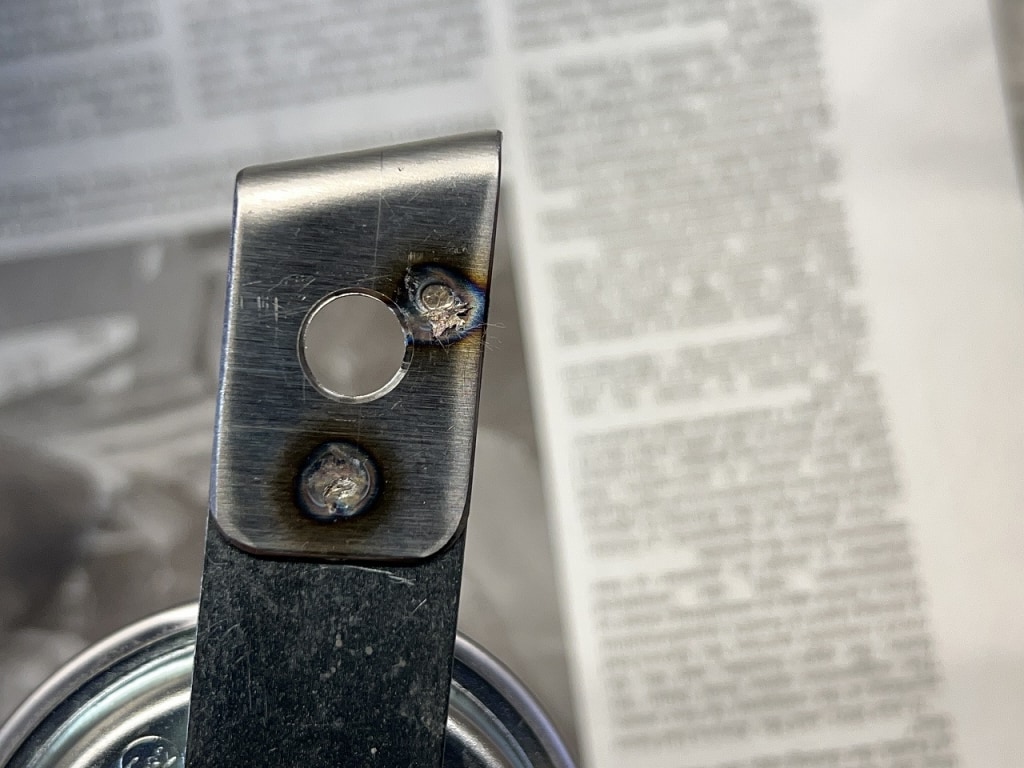
It was floating and moving around, so I spot-welded a stopper on it.
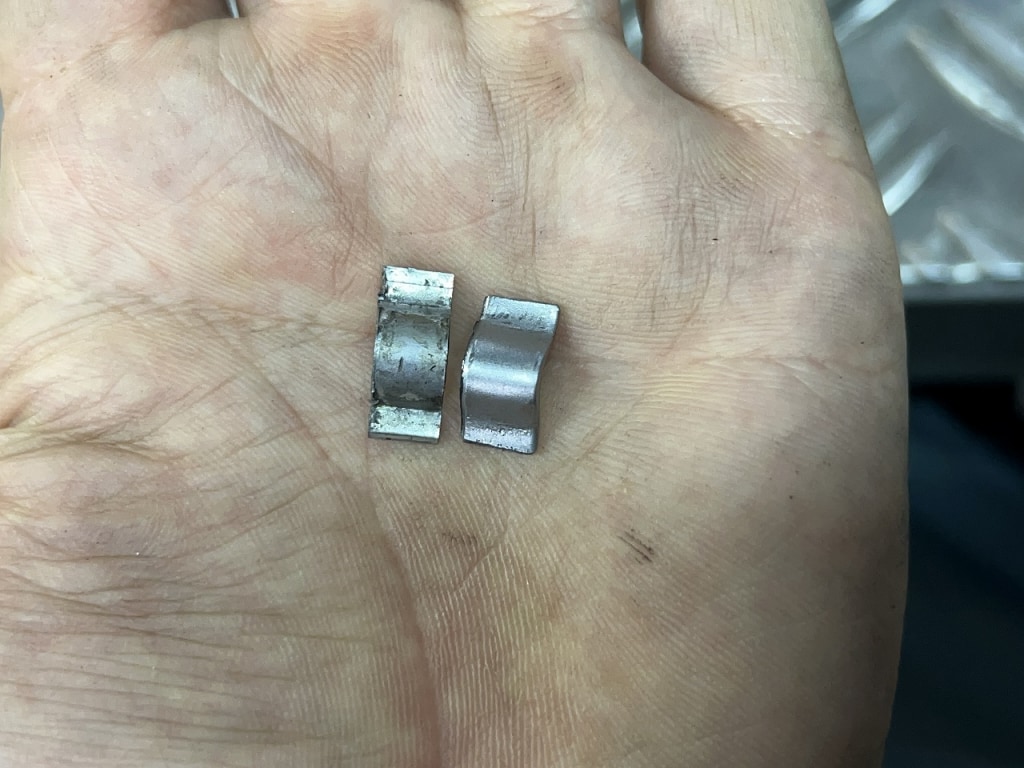
One of the horn split collars was missing, so I did my best to make a similar one.
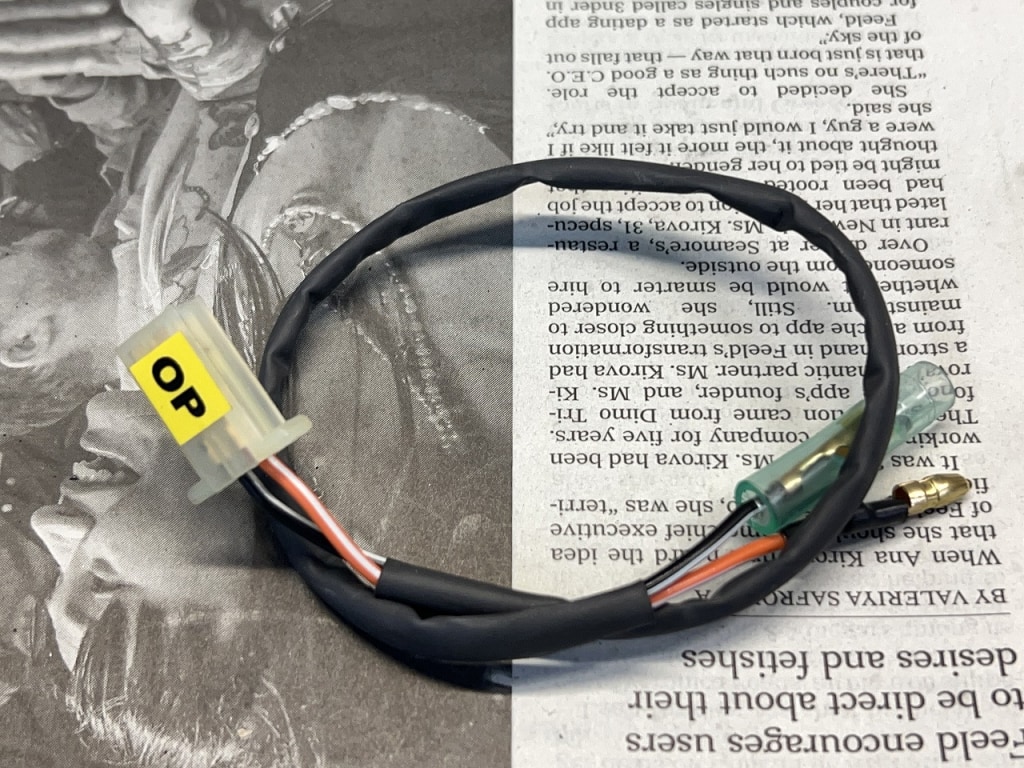
The wiring didn’t reach, so I extended it and made it easy to connect and disconnect.
I’ve installed it in roughly the desired position like this. During the work, I replaced any suspicious bolts without exception. Now it’s just a test ride and we’re done (*´ω`*)



 ポチップ
ポチップ