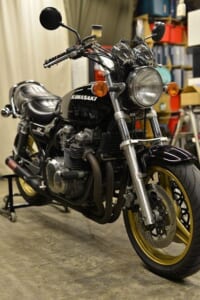
Today is the last day of October. We’re down to just 2 months left in the year. I’ve been losing my sense of seasons more and more each year, so when the temperature is “just right,” I’m thinking I’ll take the bike out for a ride.
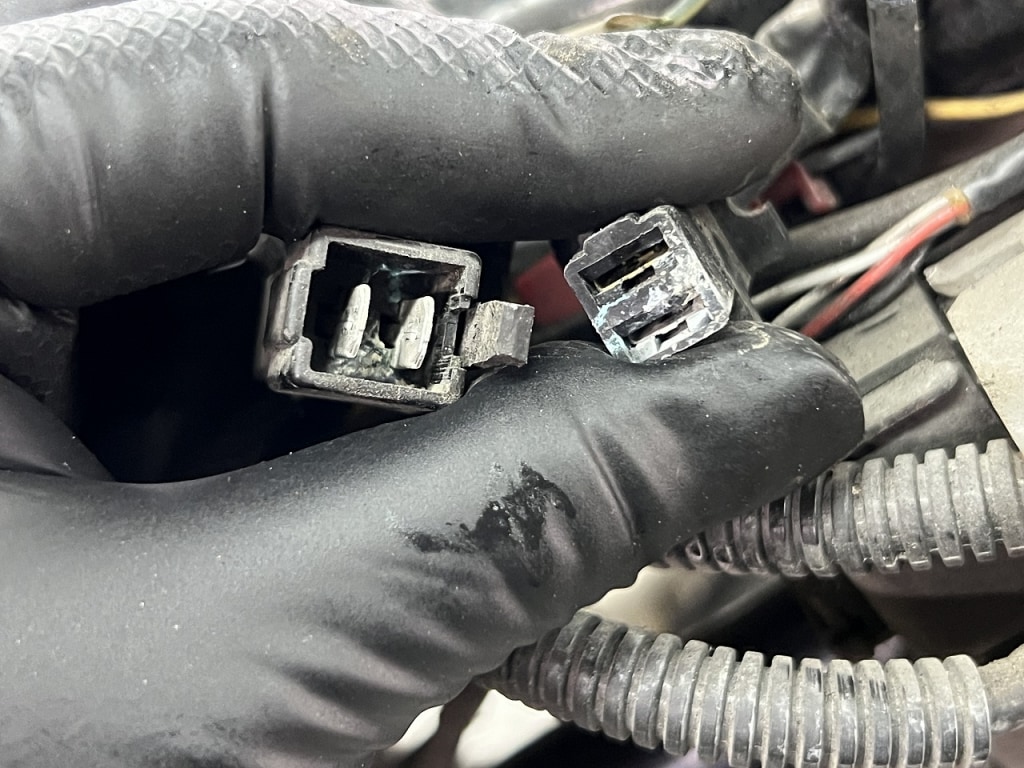
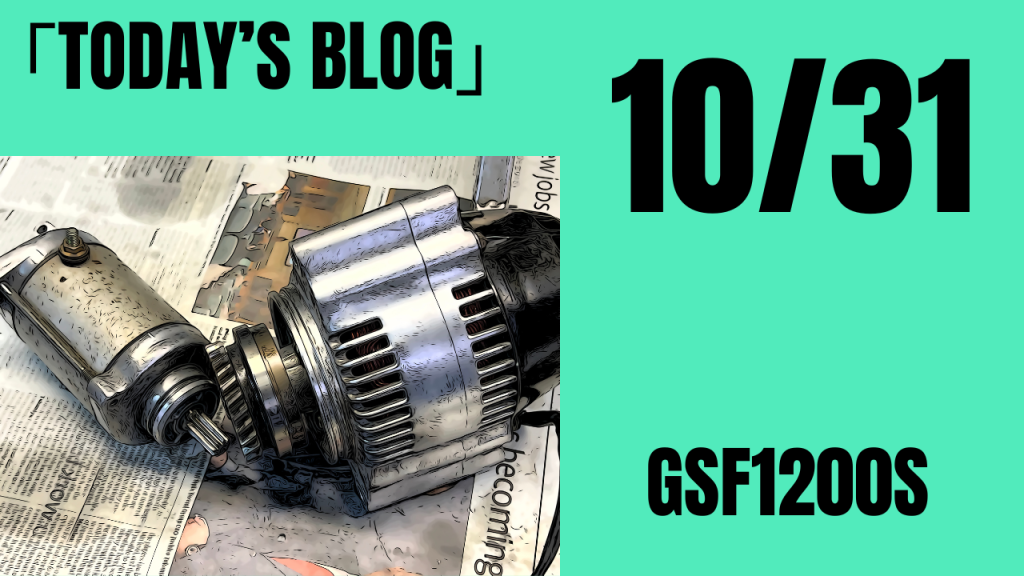
The generator connector is located on the tail cowl on the left side, so check it occasionally. It wasn’t melted, but water got in and it’s all crusty. I’ll clean it or replace it.
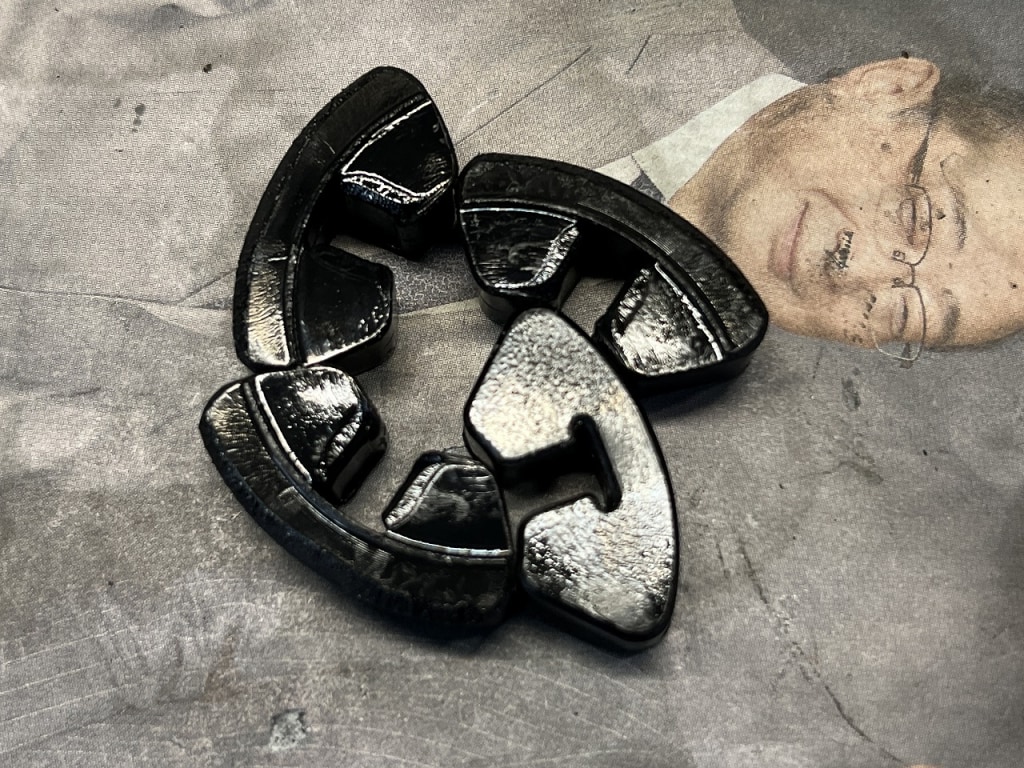
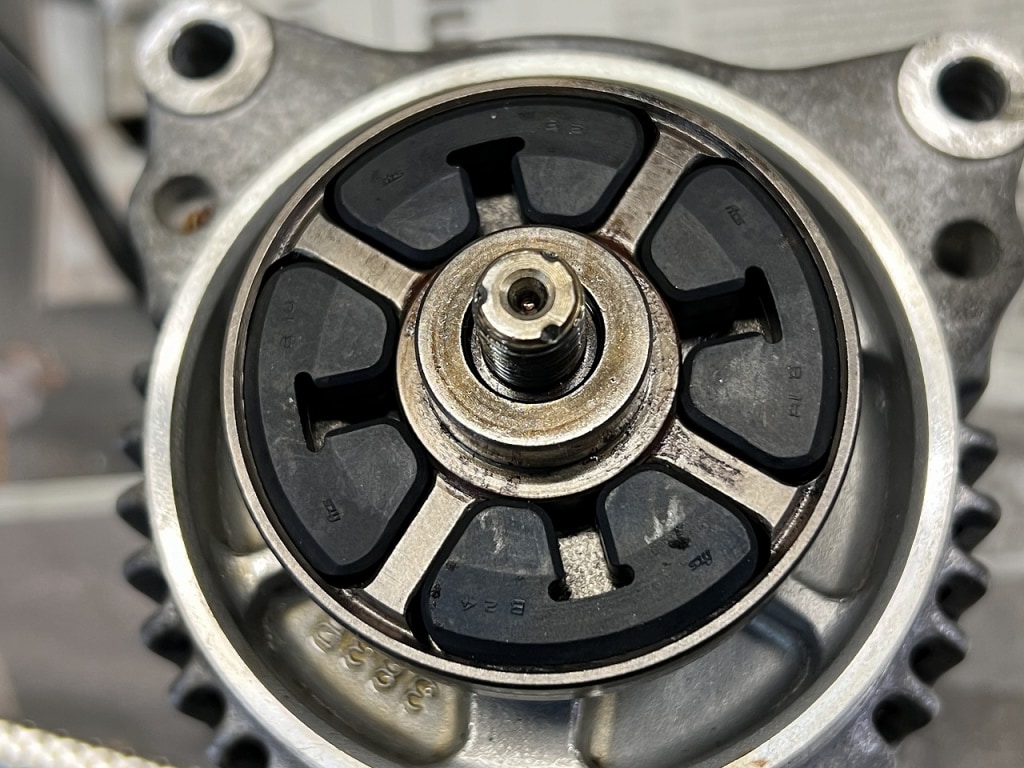
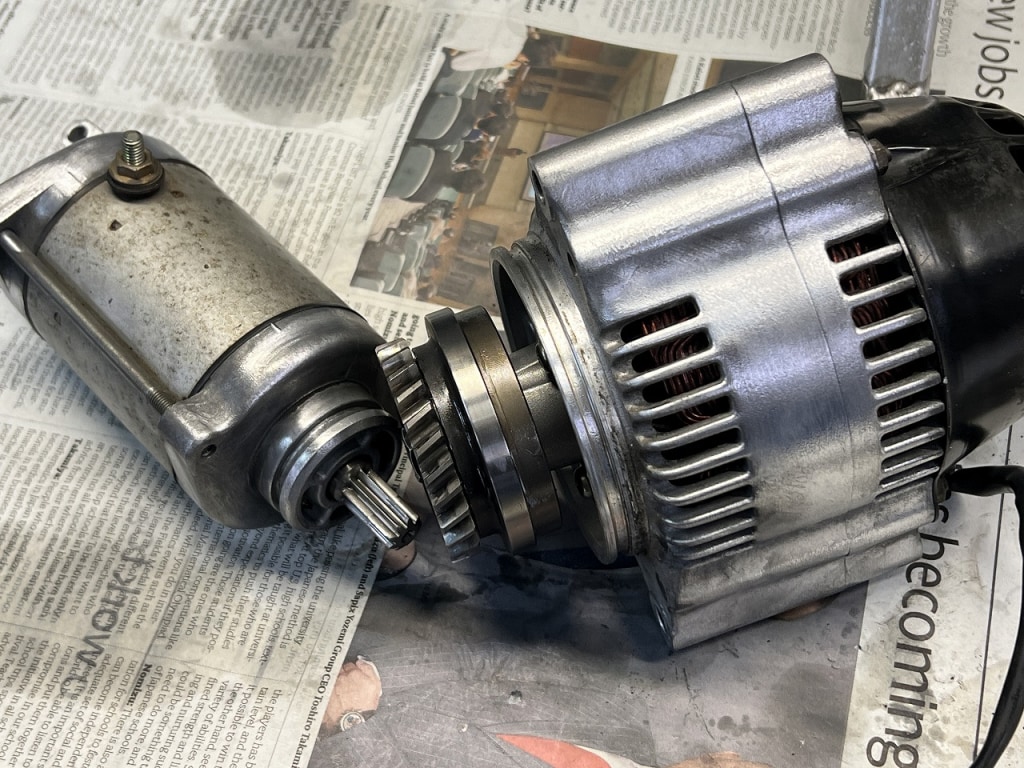
It was rattling quite a bit, which is pretty good. Since it’s stuck in the engine, the damper hardens from the heat.
If the generator area sounds a bit noisy, it’s worth checking it out.
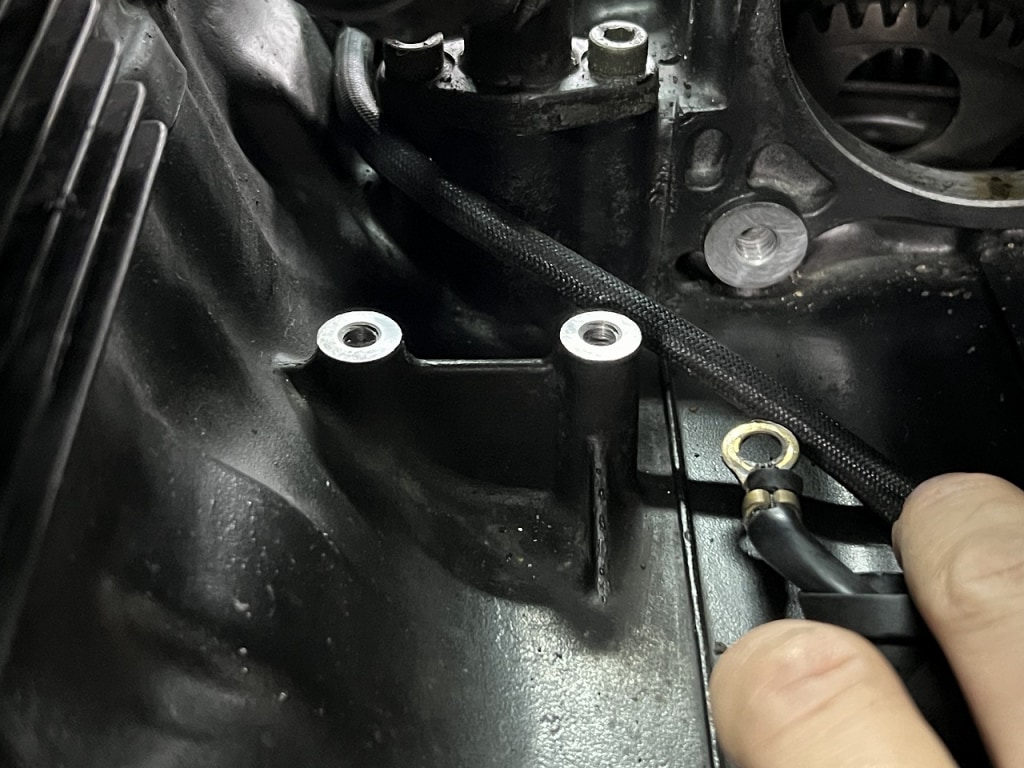
I’m polishing the corroded aluminum parts with a stainless steel wire brush attached to a drill. What I’m doing is pretty tedious work.
The mounting area on the crankcase side will lose ground, so make sure to run an oil stone over it.
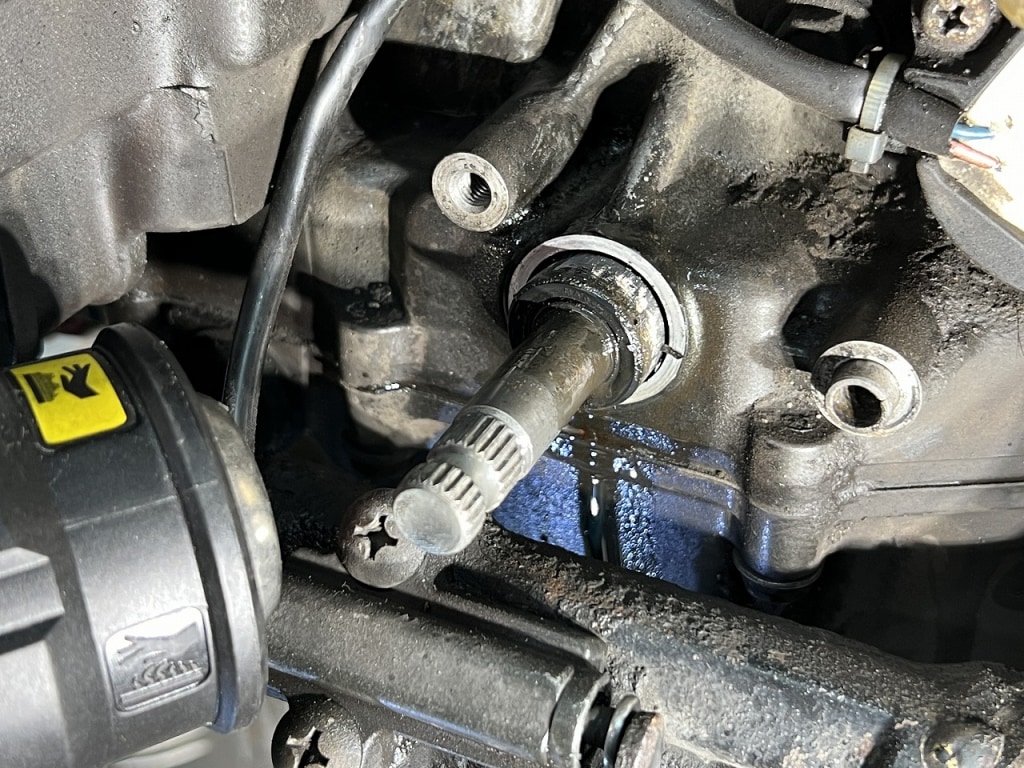
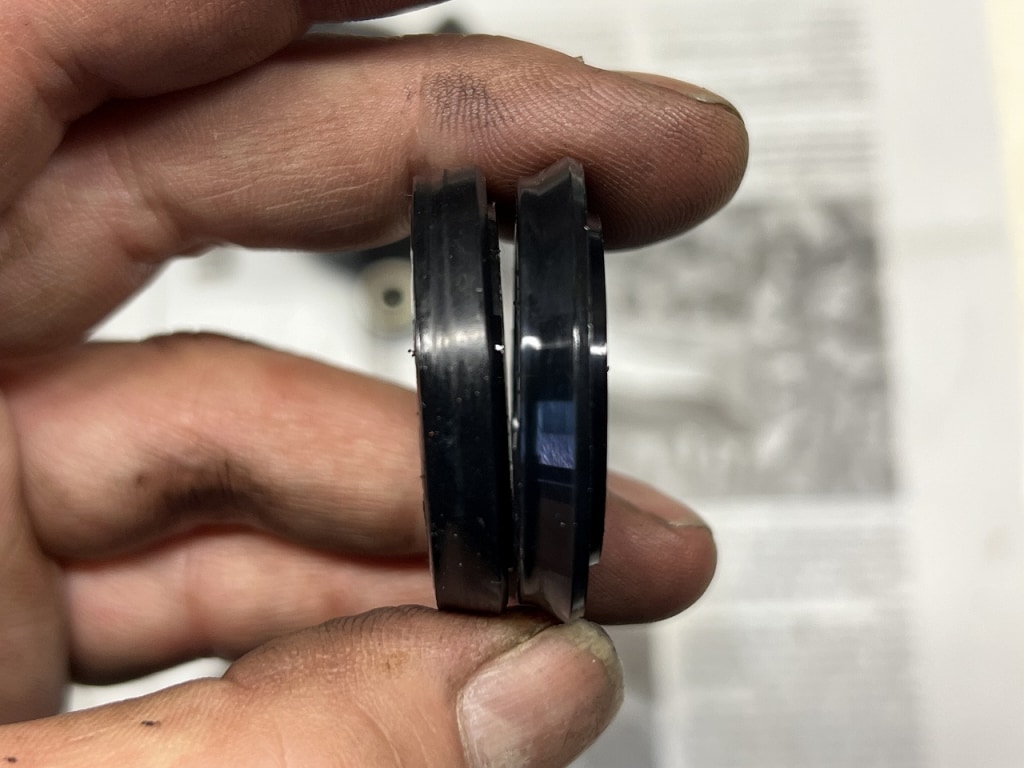
While replacing the shift shaft oil seal…
There was no oil leakage, but the inside of the sprocket cover was quite dirty. I’m constantly amazed at how much chain oil accumulates over the years.
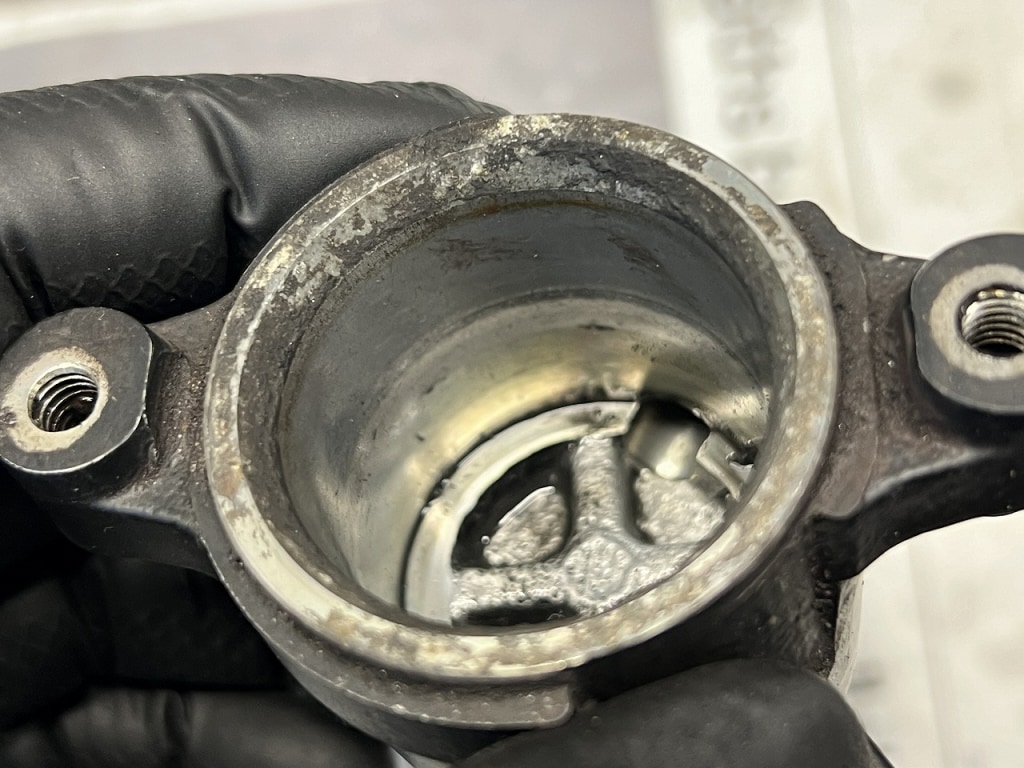
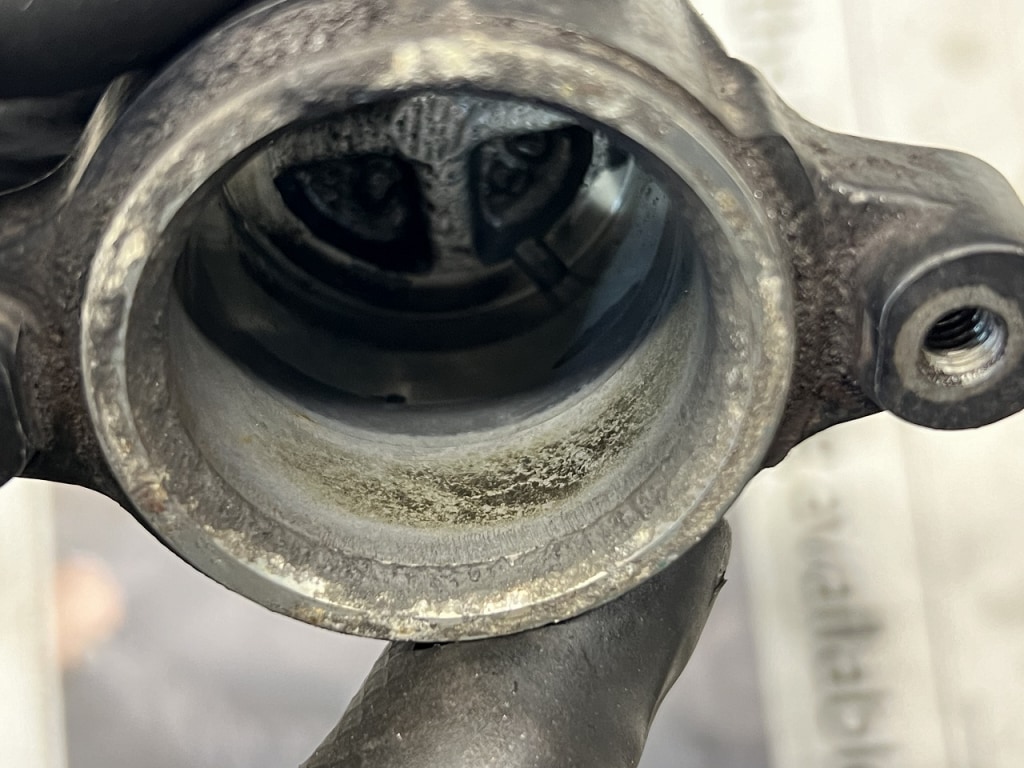
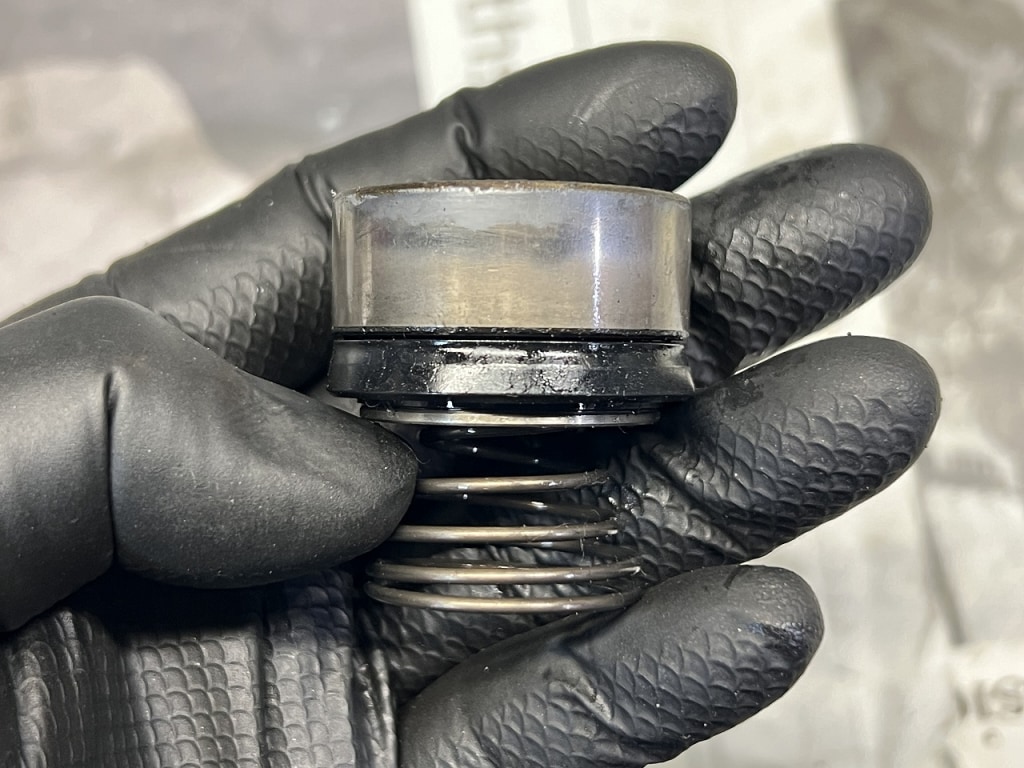
The clutch release had a slightly suspicious smell, so I overhauled it. Looking at the condition of the cup, it’s quite deteriorated.
The cleaning was so tedious that I forgot to take a picture of it when it was clean.
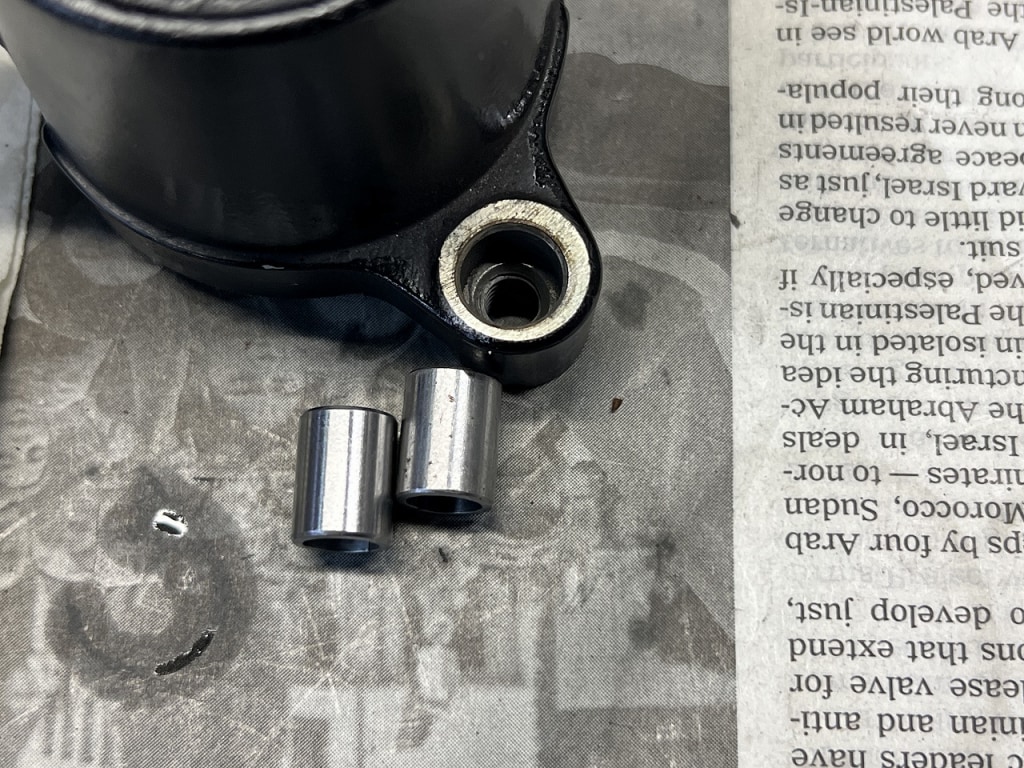
The knock pin was seized incredibly tight, so I replaced it. You always wonder whether to replace knock pins or not, right?
If it’s a through-pin type, you can just squeeze it with a flyer and tap it from the back to remove it easily.
Let’s replace the engine mount bolts & damper
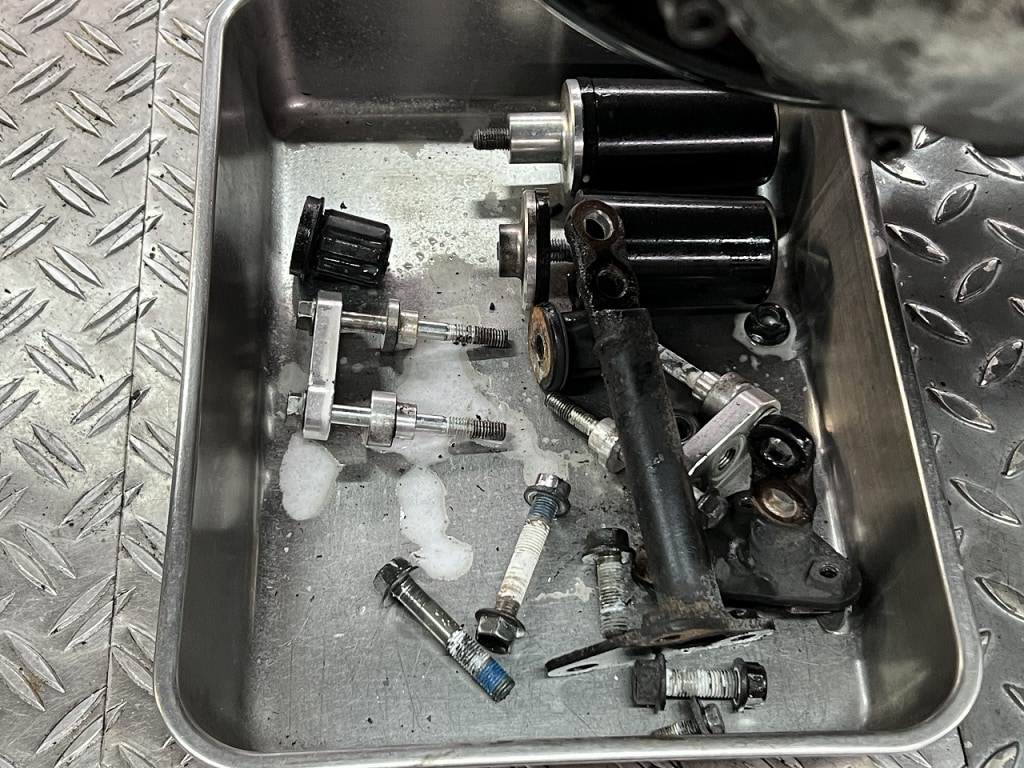
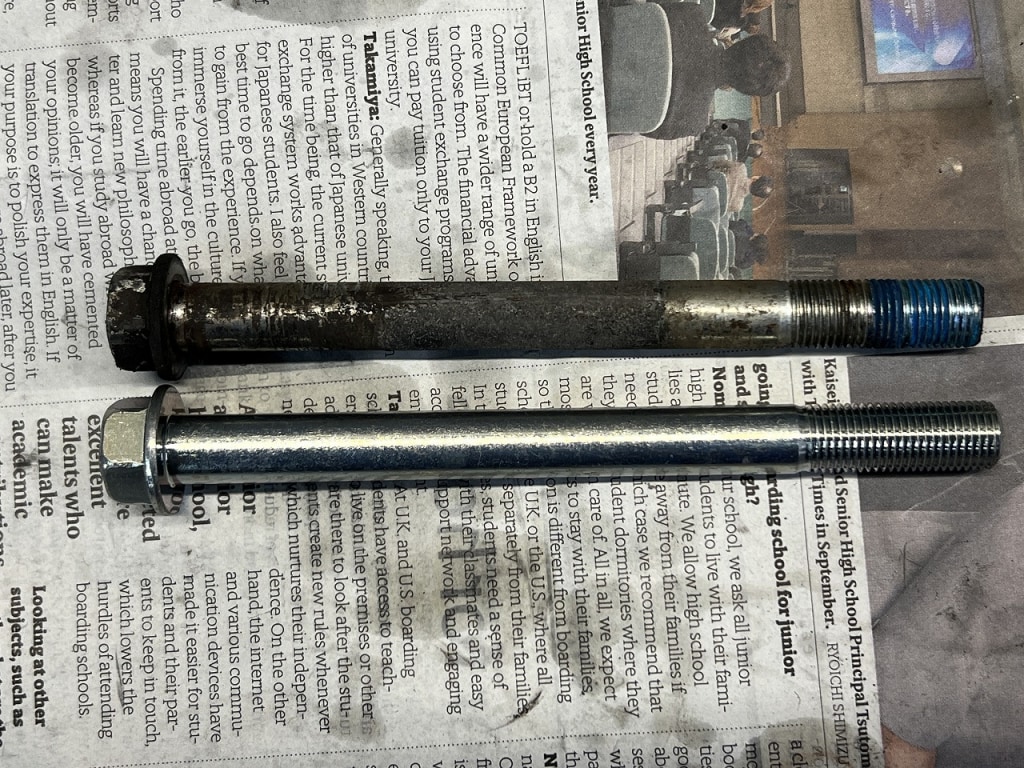
I’m having a hard time just removing the bolts and cleaning this time.
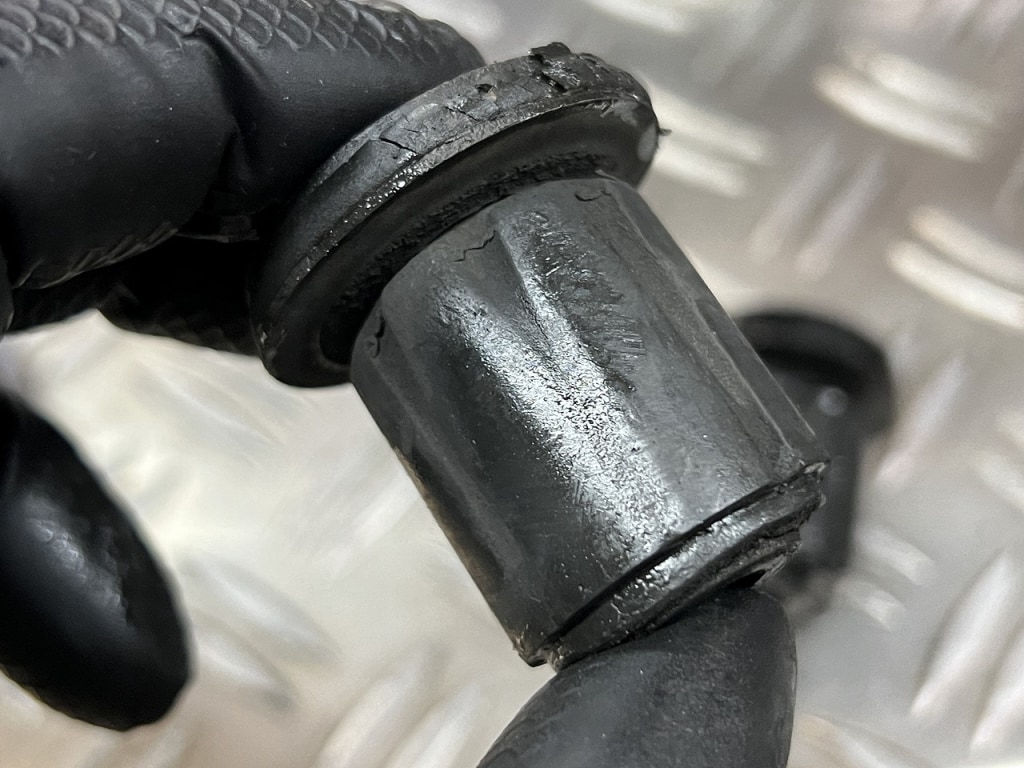
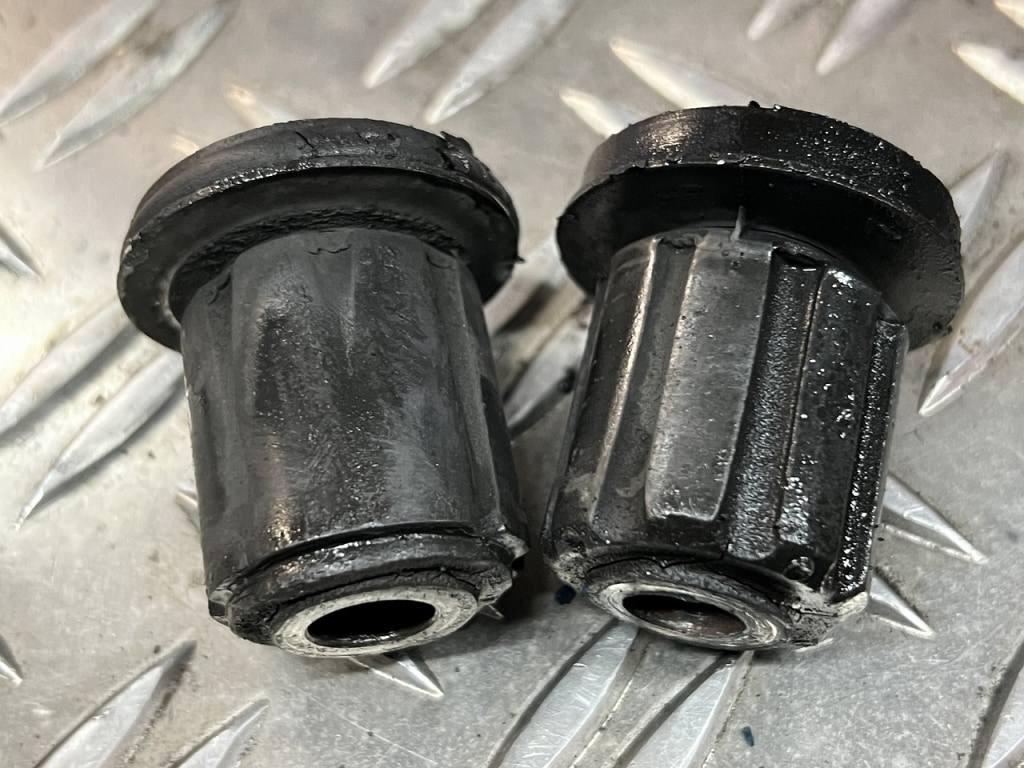
After nearly 30 years, it gets this tired. . . .
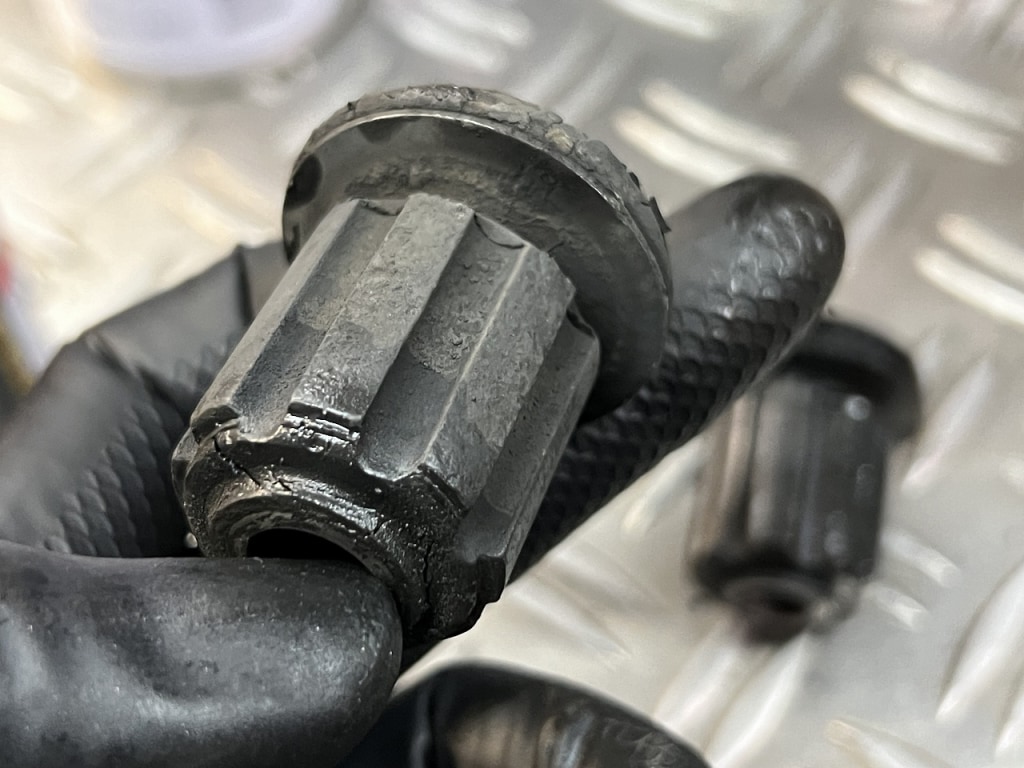
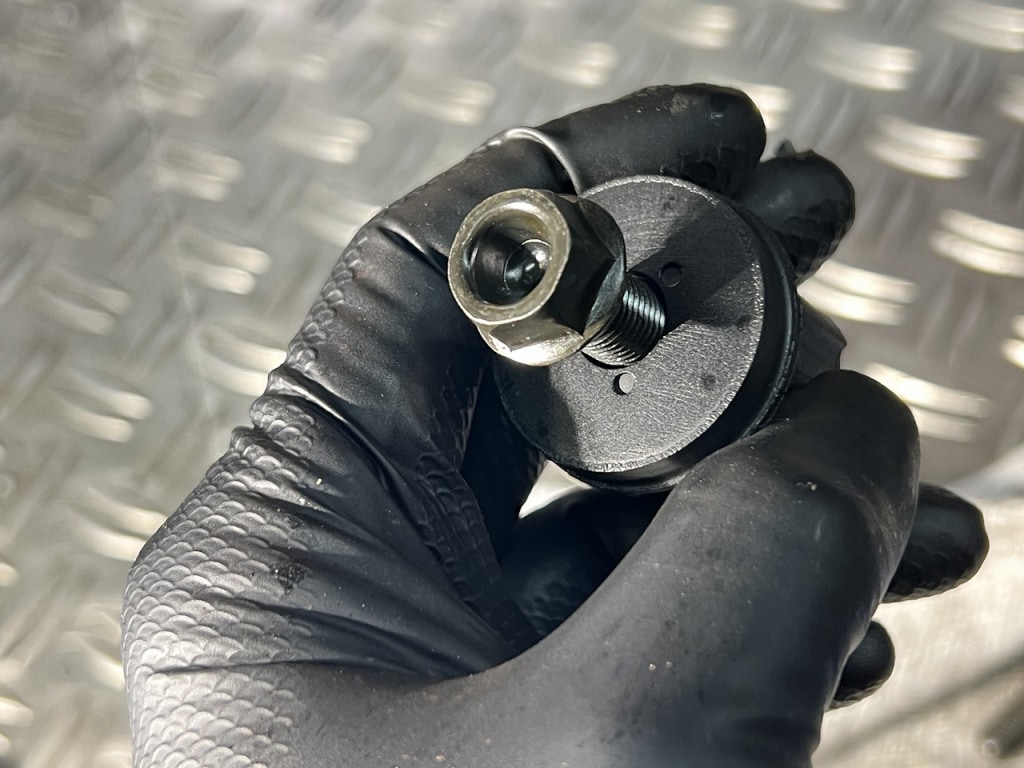
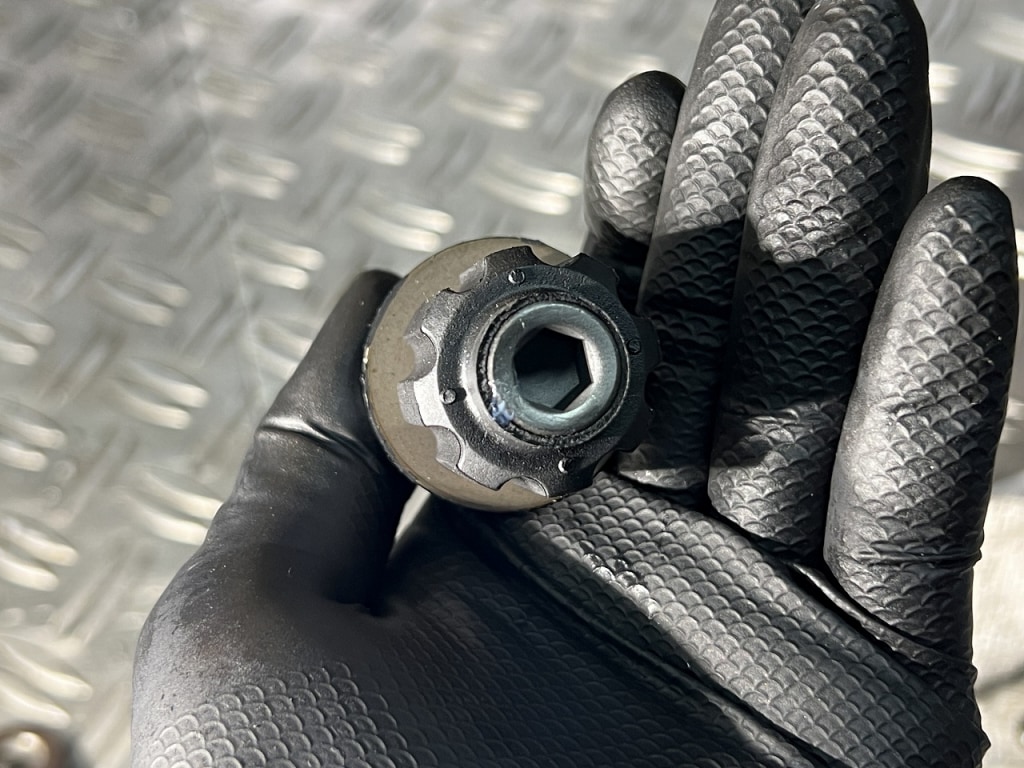
The engine damper was severely worn. I’d say this is probably the first replacement at 70,000 km. Unusually, it was quite difficult to remove.
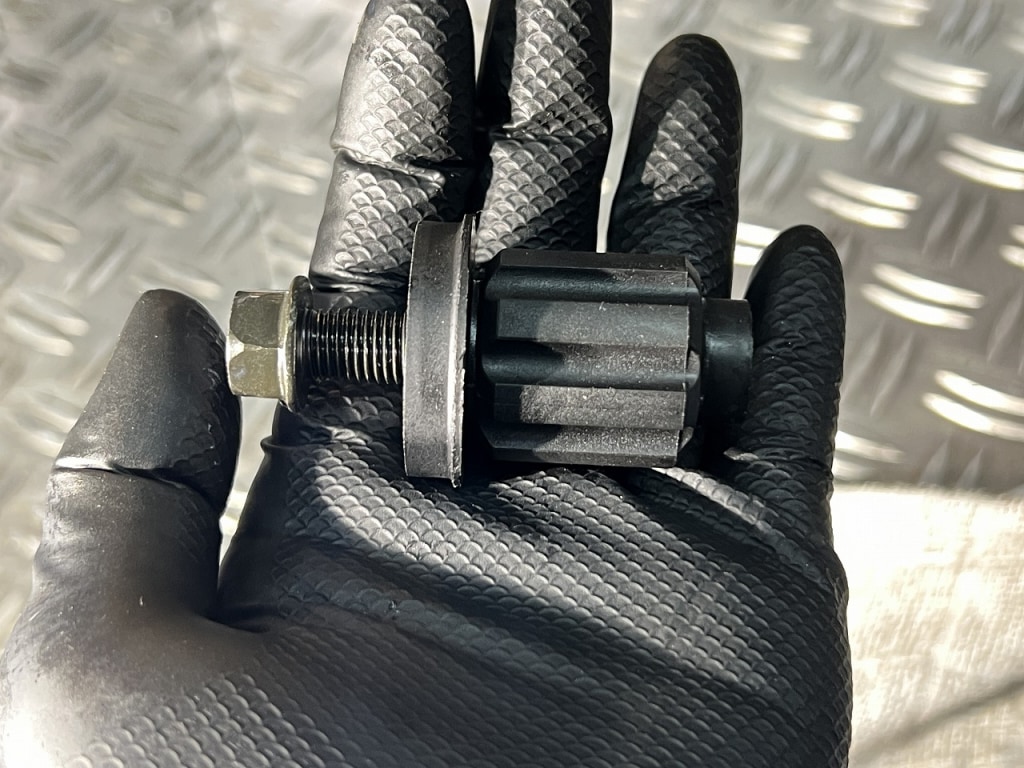
I’m replacing it with a late-model engine damper. Even though it’s called late-model, the only difference is whether the bolt goes through or not. The late-model version doesn’t need a lock nut and the bolts are shorter, so the work efficiency is significantly improved.
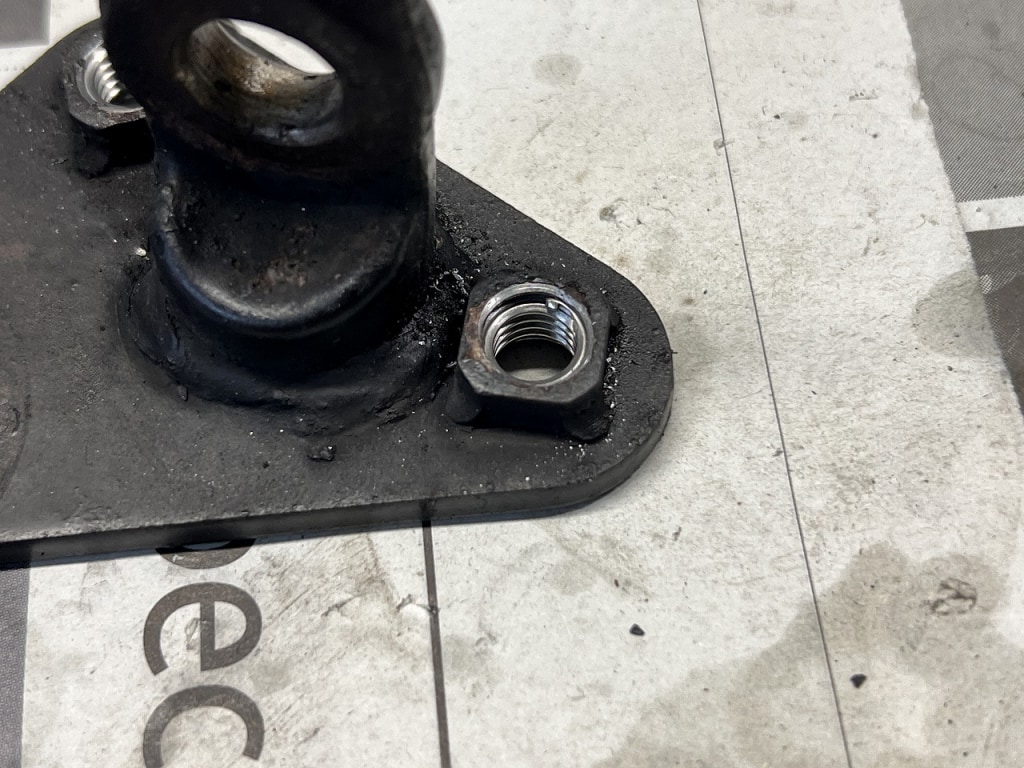
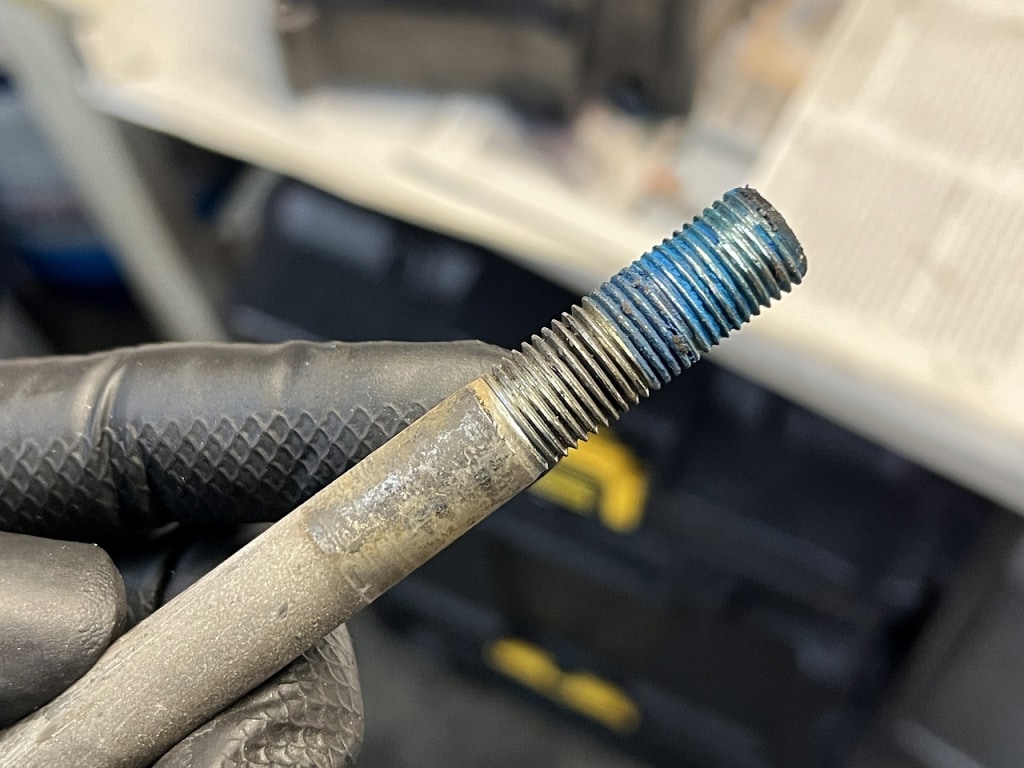
When removing the engine mount, clean the threads and check the torque
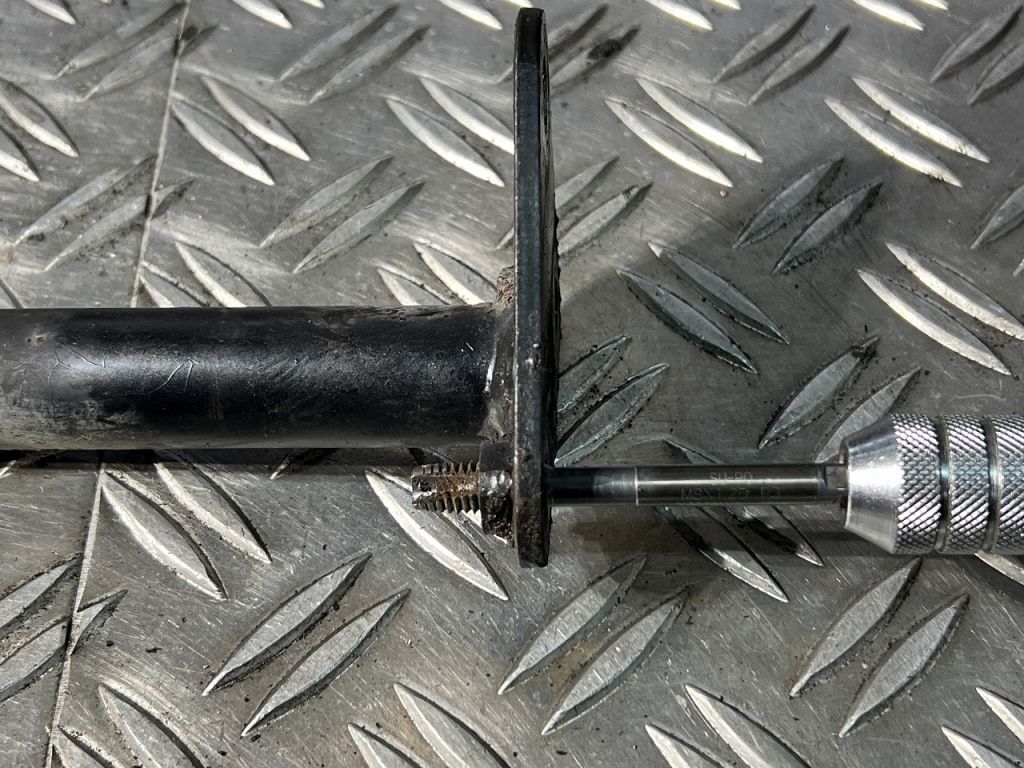
I clean the threads every time because I want it to go in smoothly. But after installing this time, the bolt kept stretching and stretching and stretching
so I decided to remove it again and install a helicoil. The oil-cooled 1200 gets a lot of power play, with engine sliders being installed and such, so many units are damaged. If you notice the bolt stretching, make sure to take proper measures.
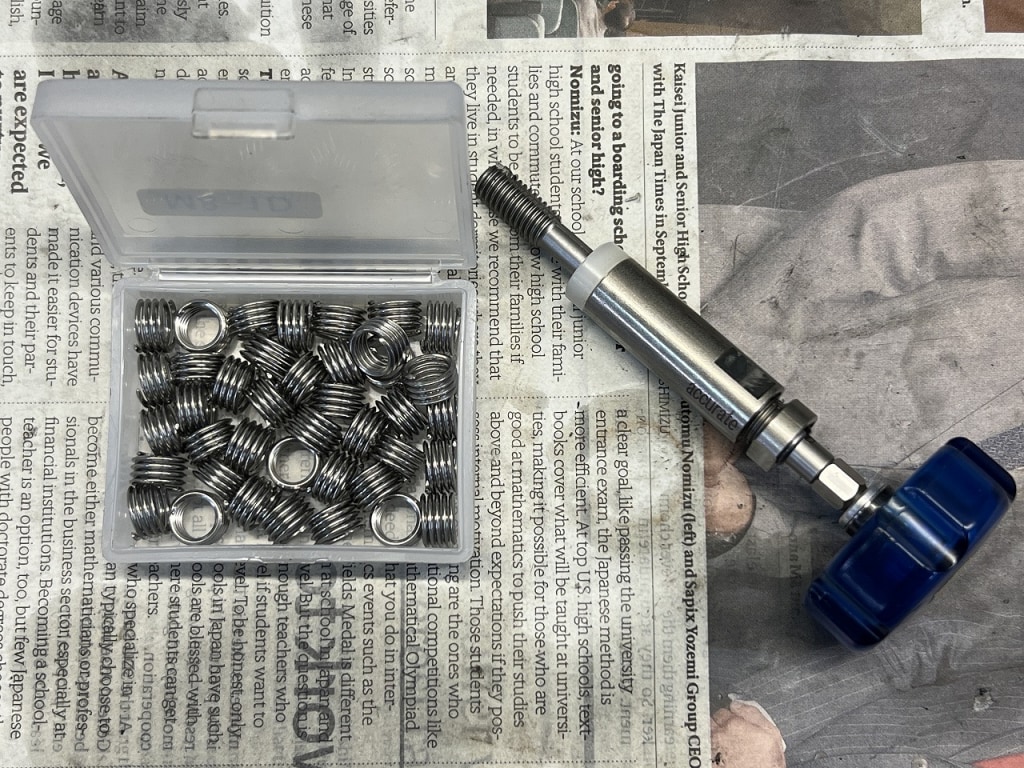
While I had it off, I replaced both top and bottom with helicoils. There’s this wonderful tool in the world called a tangless helicoil.
It’s a bit pricey, but once you use it, you’ll be amazed! You can never go back to the old tang-type helicoils. If you think installing helicoils is a pain, give it a try.
For better or worse, the thread lock adheres so firmly that you’ll have a hard time removing it. You’ll need at least a 1/2-inch wrench to stand a chance.
And don’t be lazy and suddenly use an impact gun, or you’ll likely strip it.
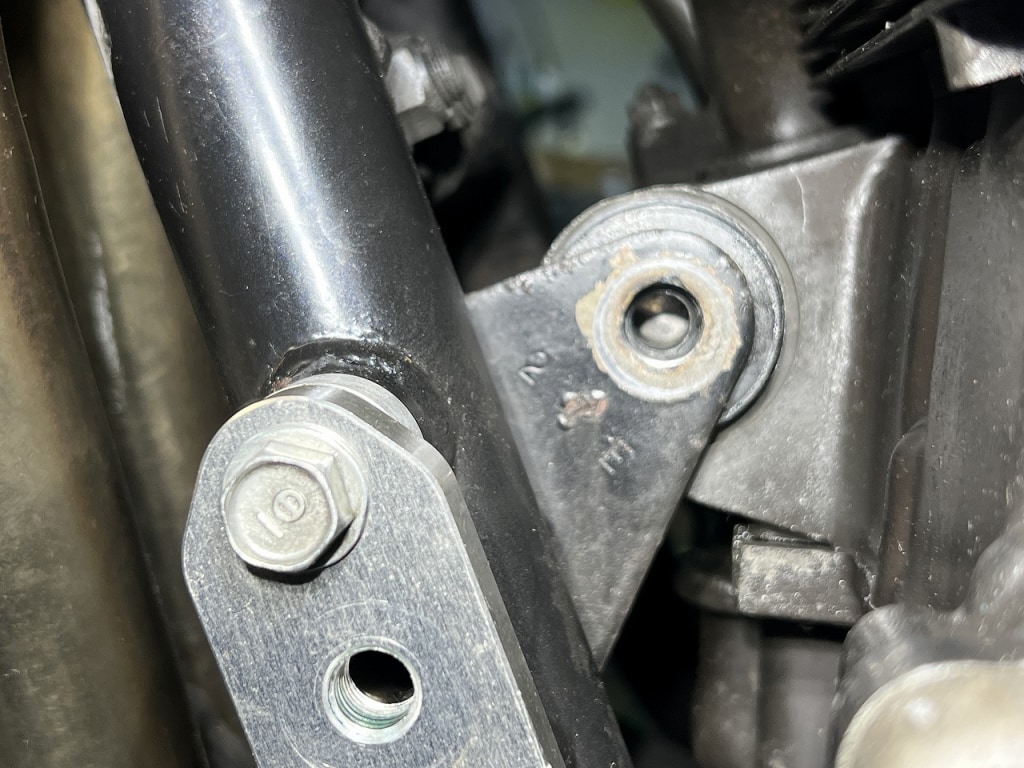
Surprisingly, it’s very difficult to align the hole positions exactly.
Since there are tolerances in the crankcase and frame holes, the engine moves more than you’d think. The frame, engine, and mounting bolts should be installed with as little stress as possible so that it feels more sound.
Of course, if you don’t jack it up, the engine will drop, so be careful. Anyway, the work isn’t progressing as much as I thought, and I’m tired, so I’m calling it a day. Maybe I’ll take a trip on the Metropolitan Expressway… wistfully




 ポチップ
ポチップ