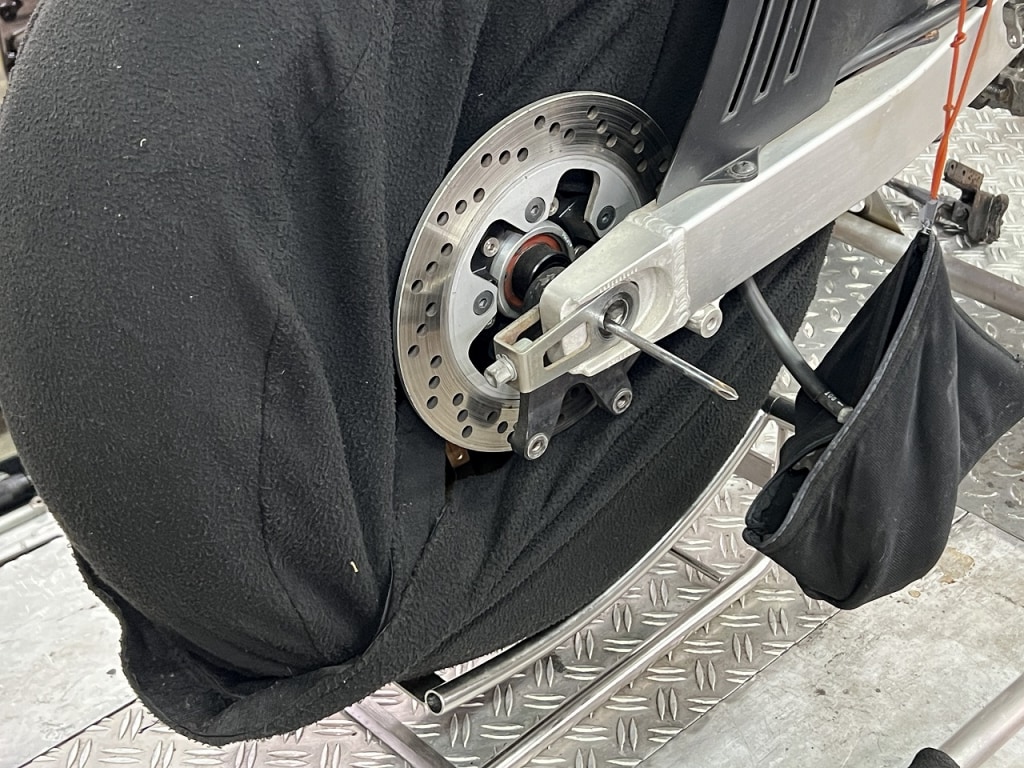
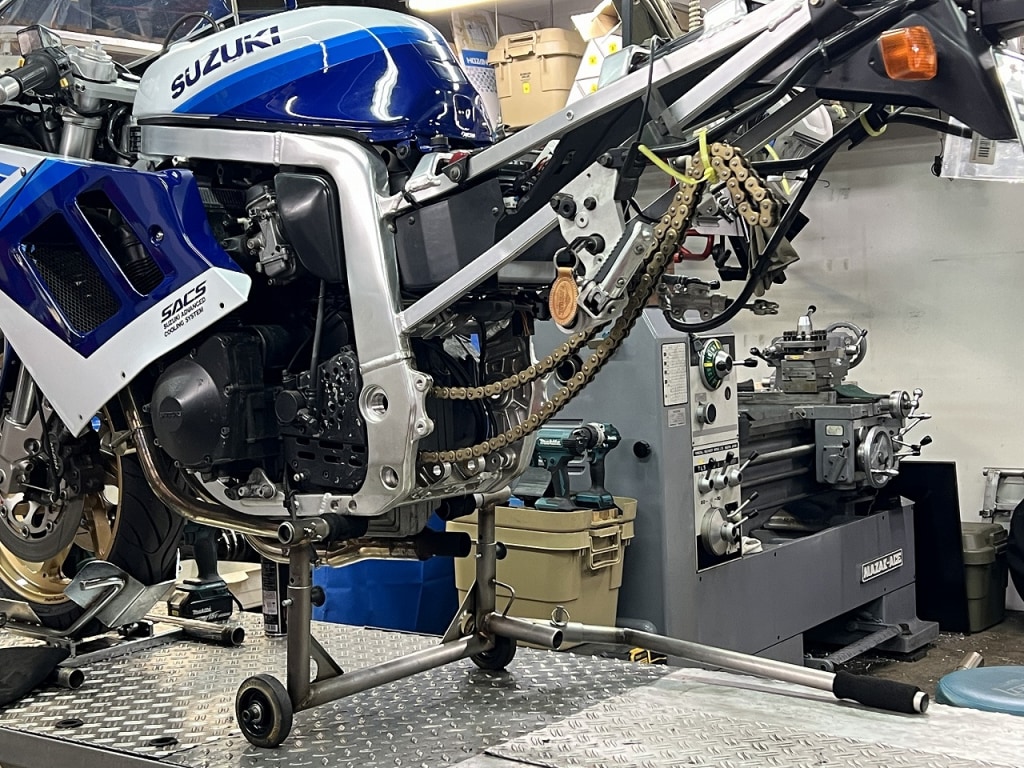
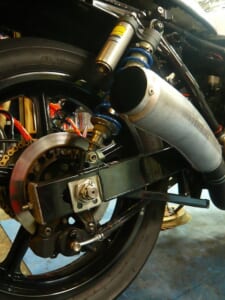
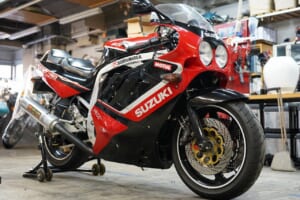
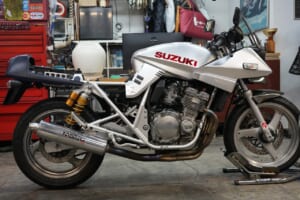
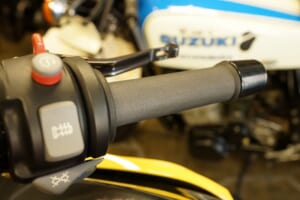
The wheels have been changed to Marchesini. If you wrap wheel covers around them when removing them, just to be safe, the chances of causing damage are greatly reduced.
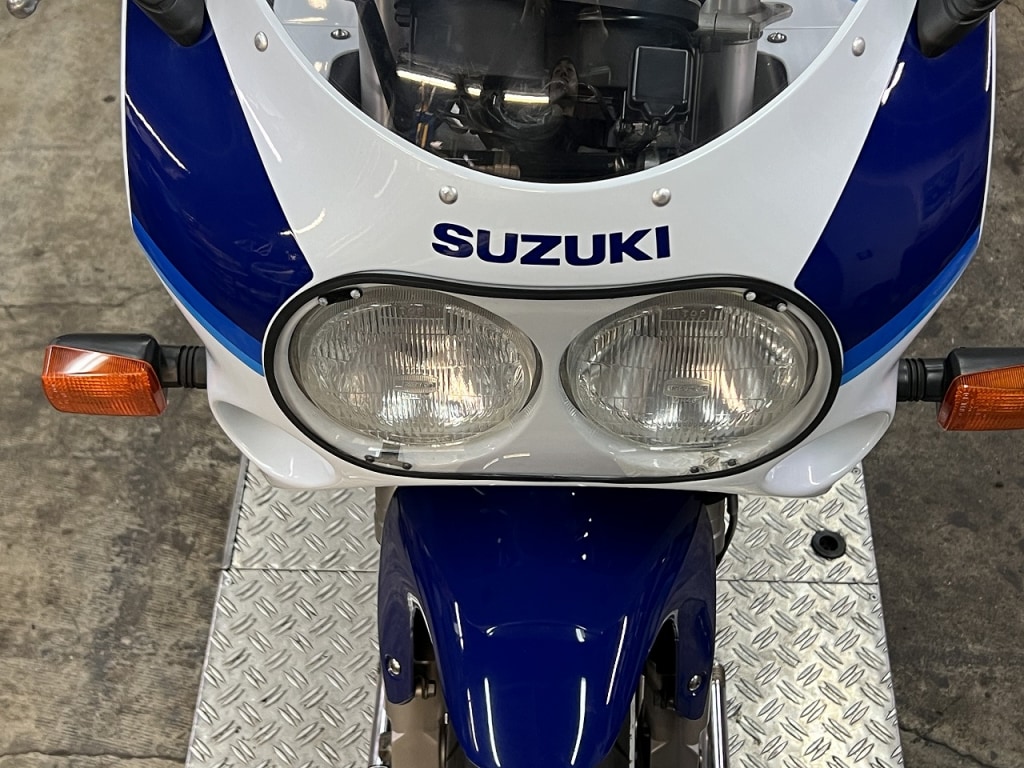
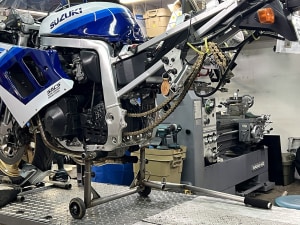
The bodywork is very clean, but the engine alone looks quite tired.
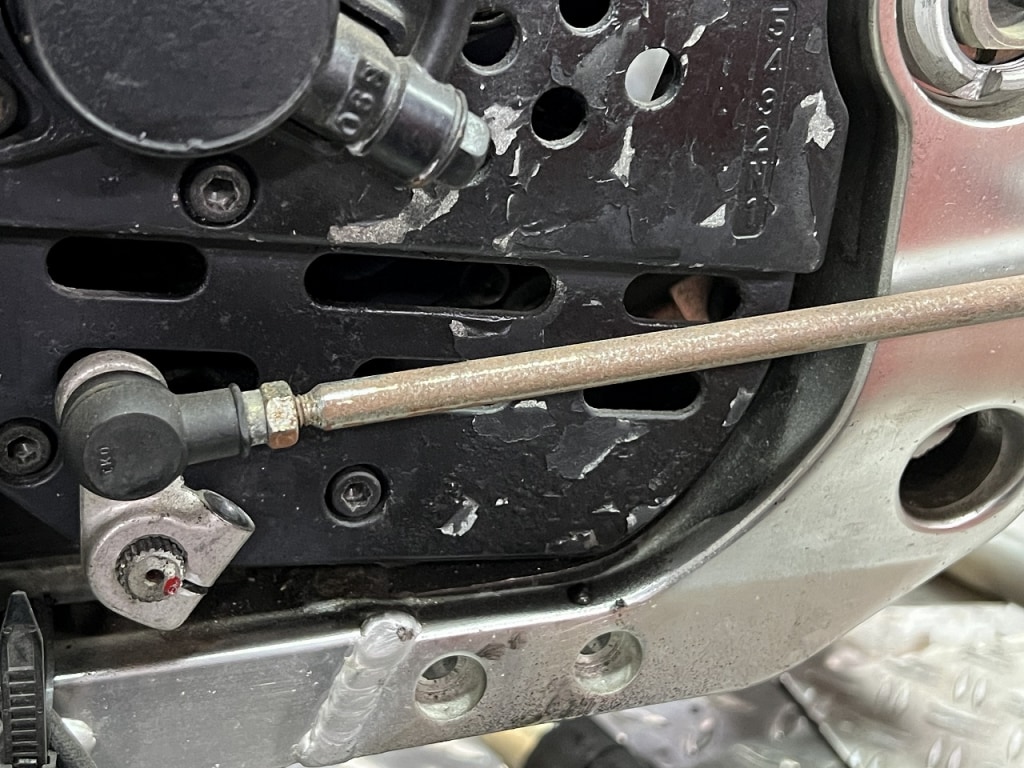
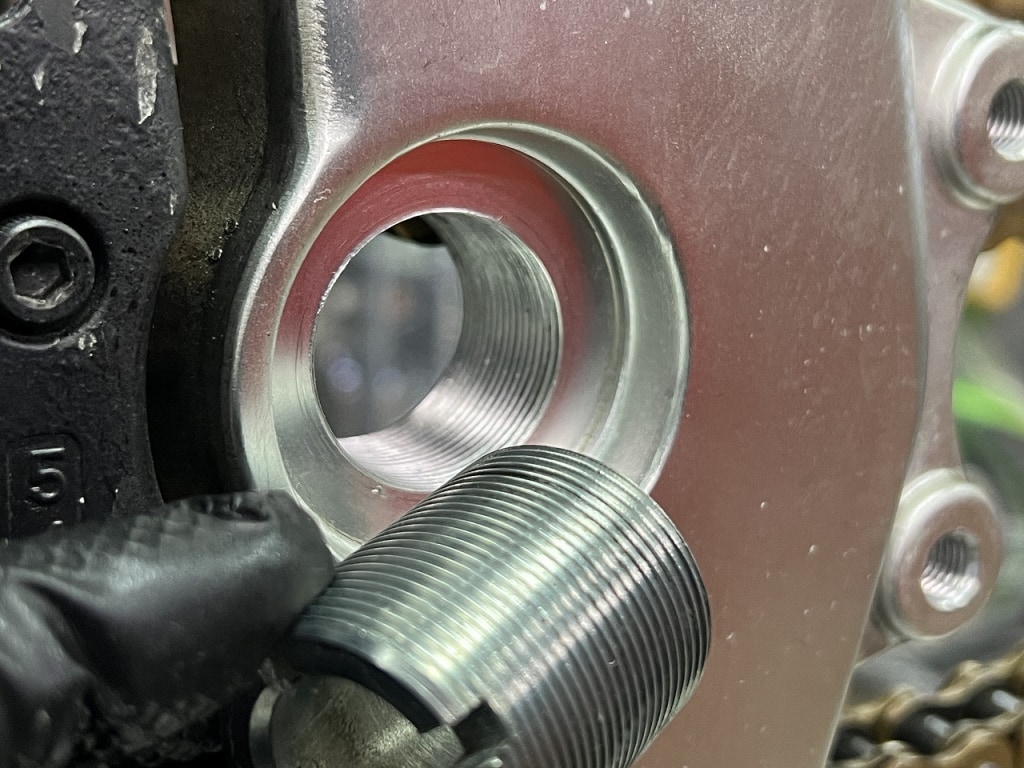
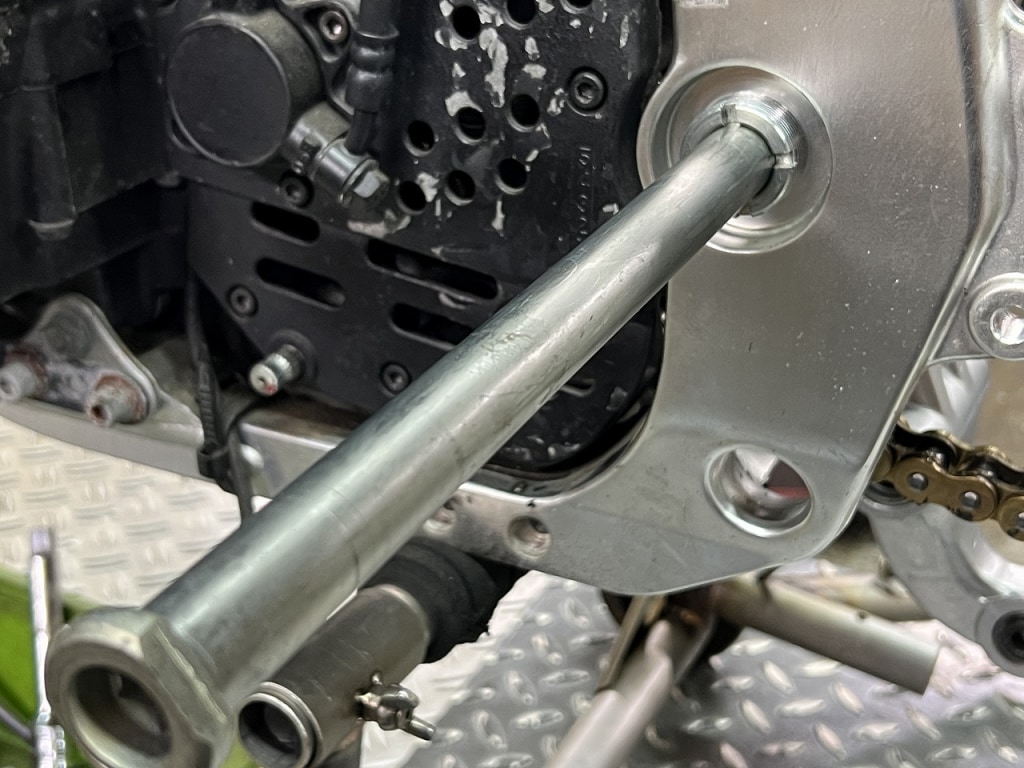
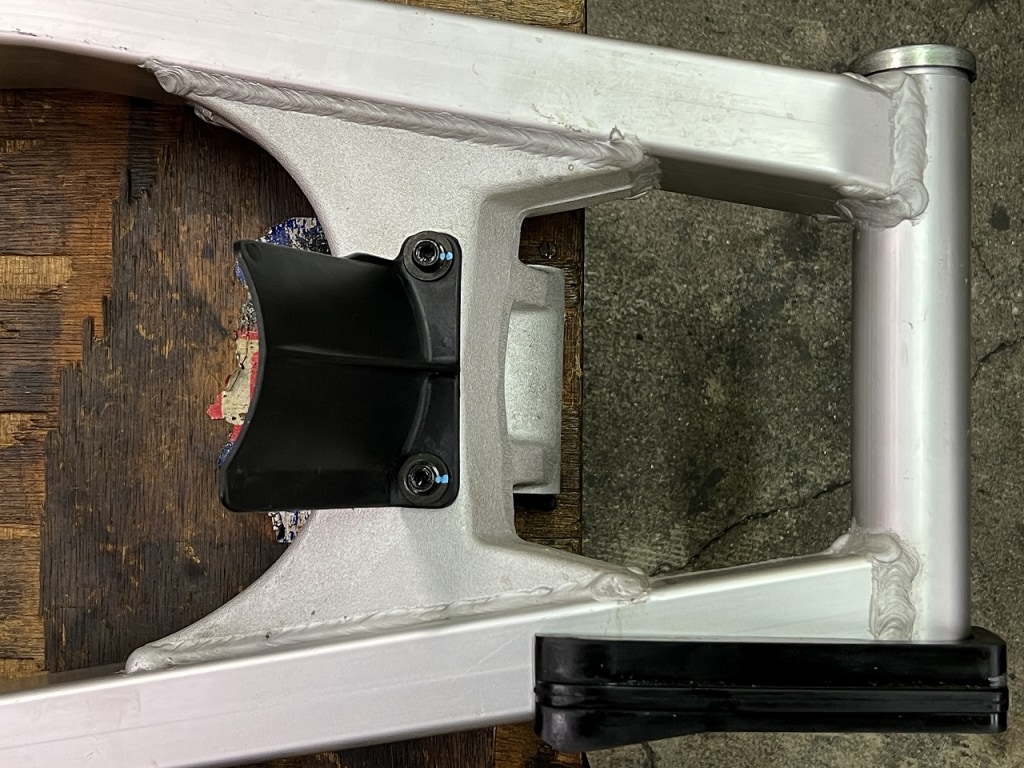
So I quickly removed the swingarm and linkage area.
Suzuki’s oil-cooled design has excellent serviceability, so the work progresses quickly. *Though experience plays a role too.
Bearing removal is more reliable when you don’t follow the manual exactly
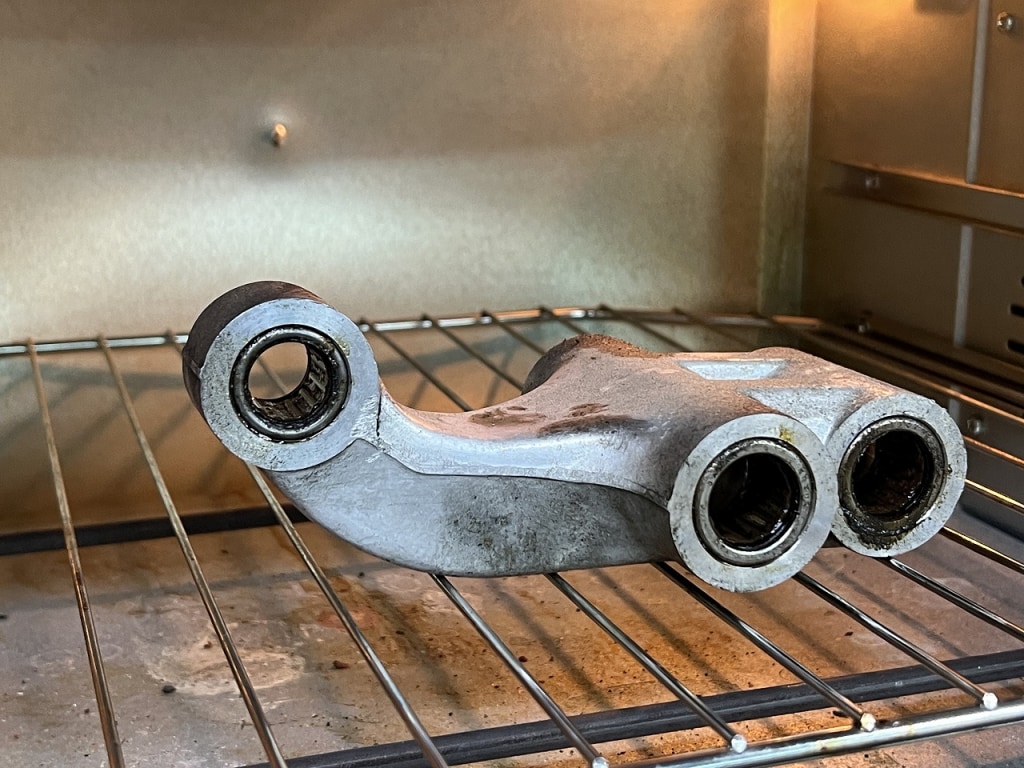
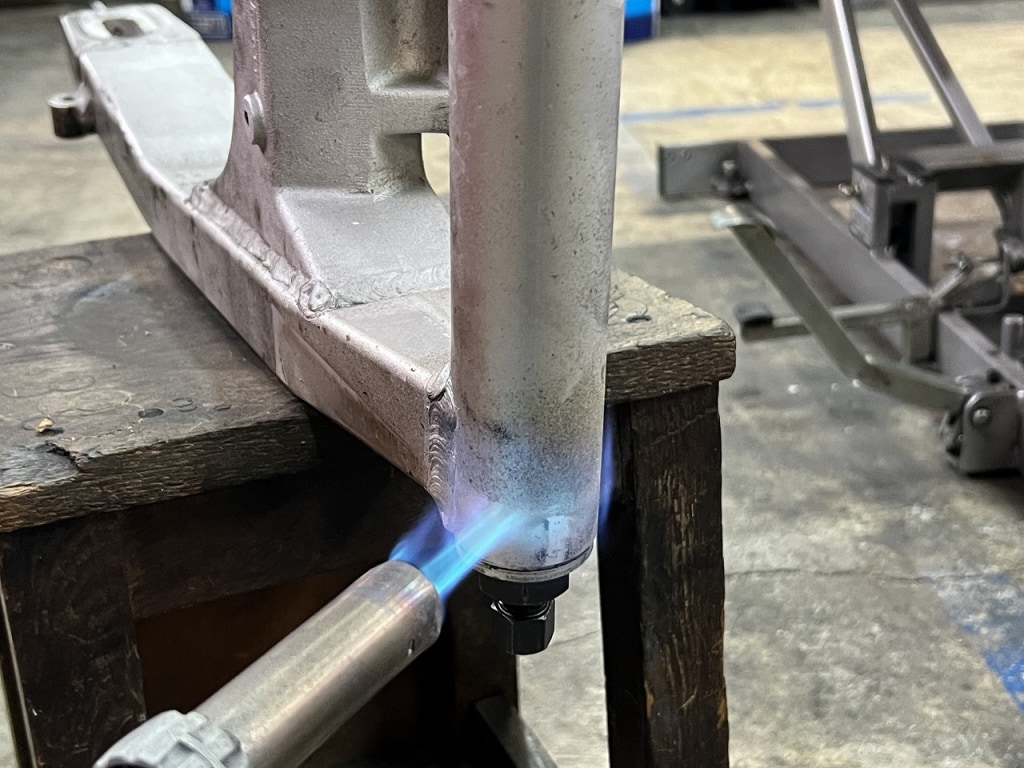
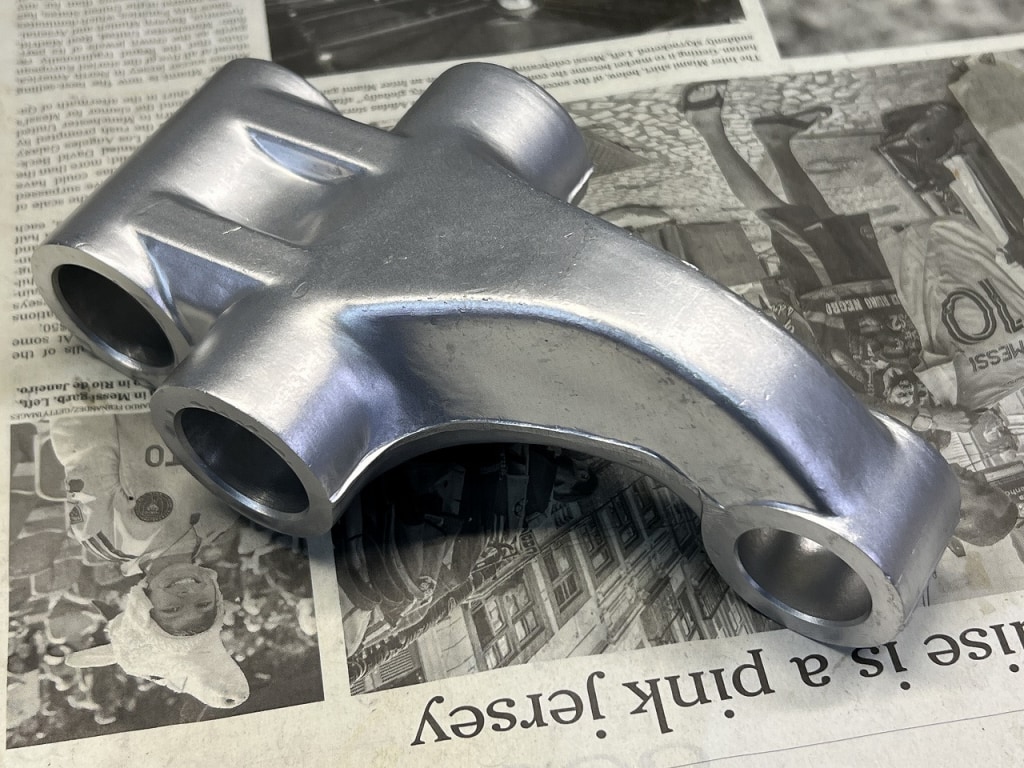
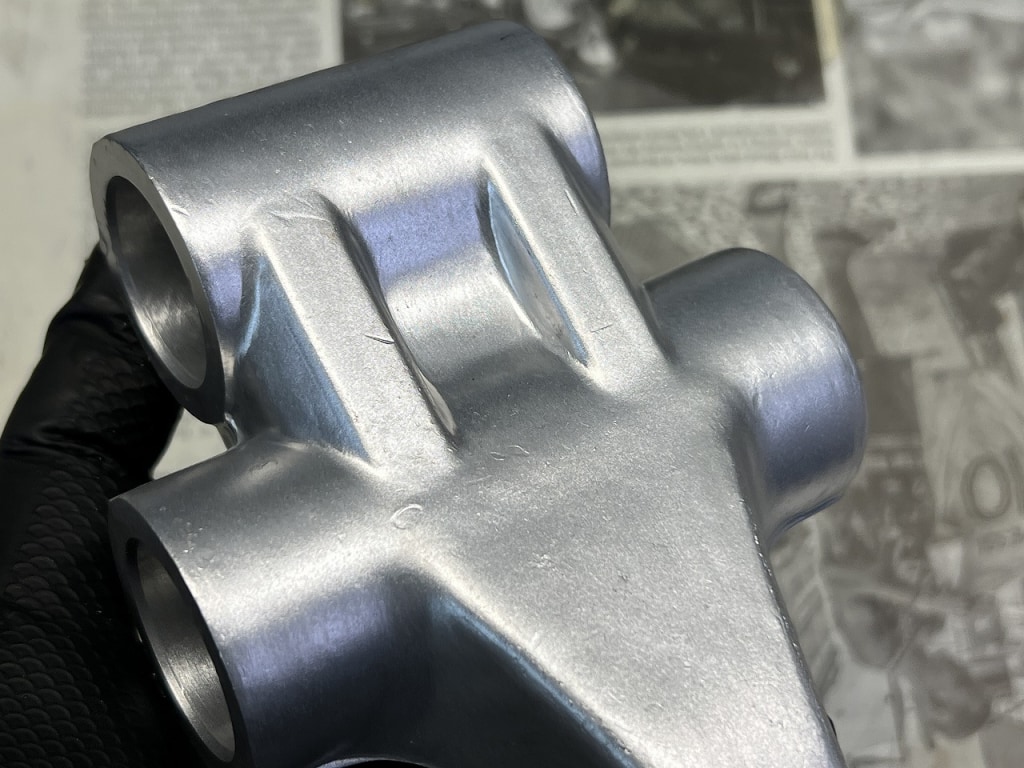
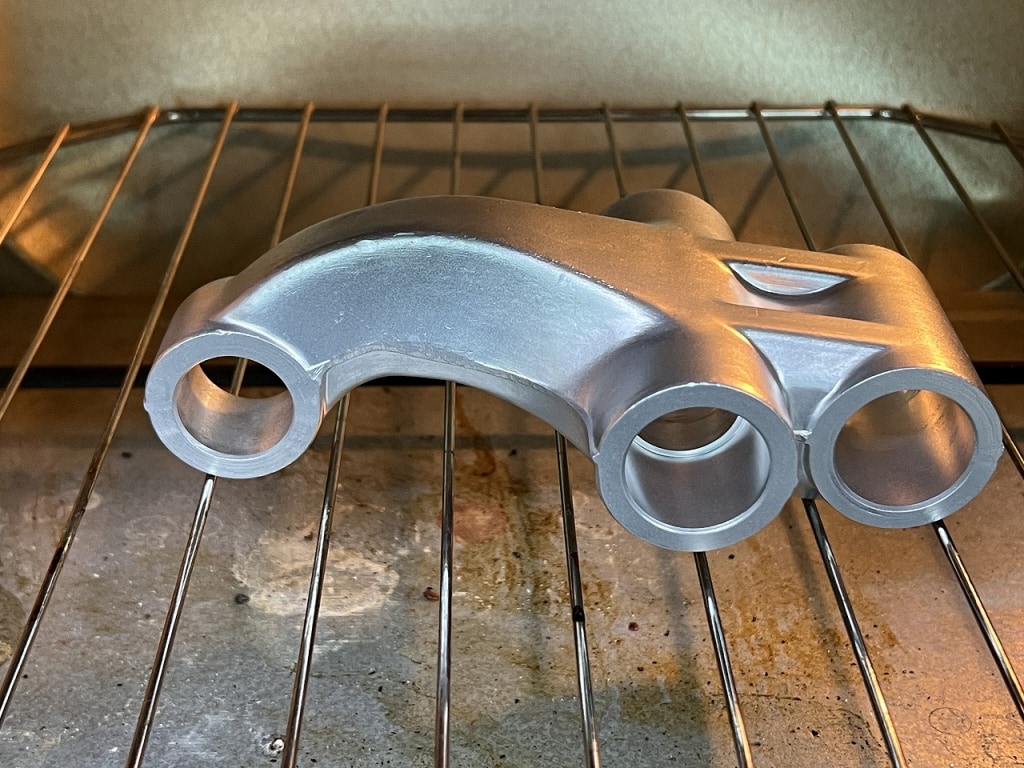
I put the link in the oven and heat it thoroughly. On the swingarm side, I warm it with a torch just enough to avoid discoloration.
By applying heat, removal becomes smooth and the parts don’t get damaged.
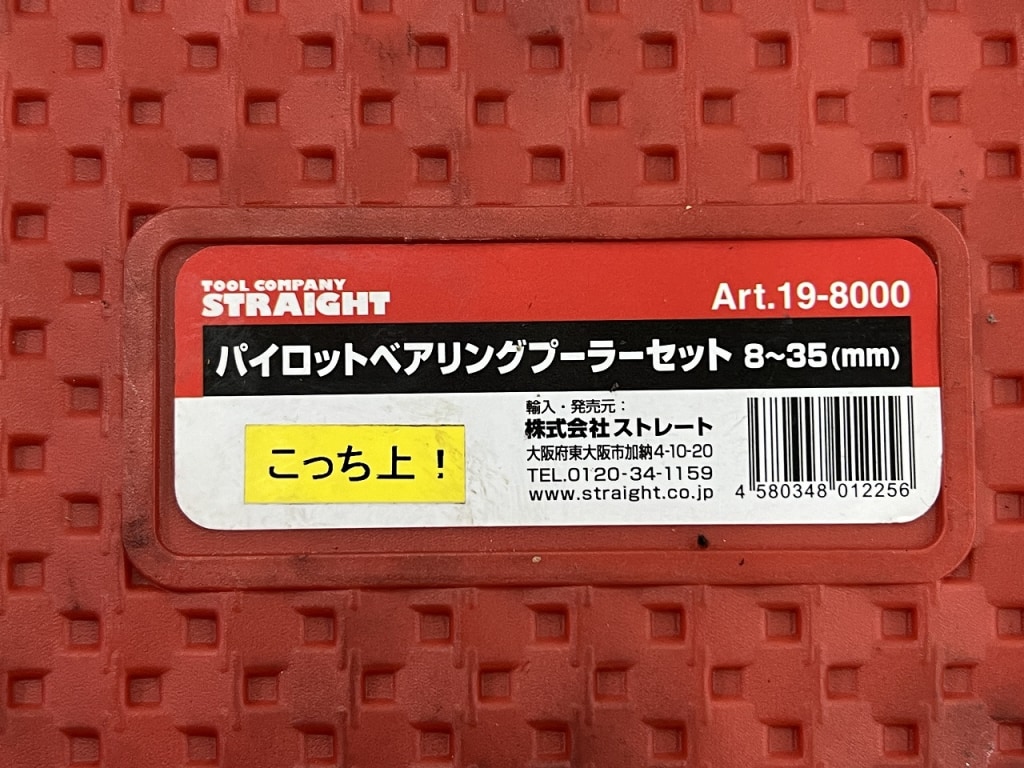
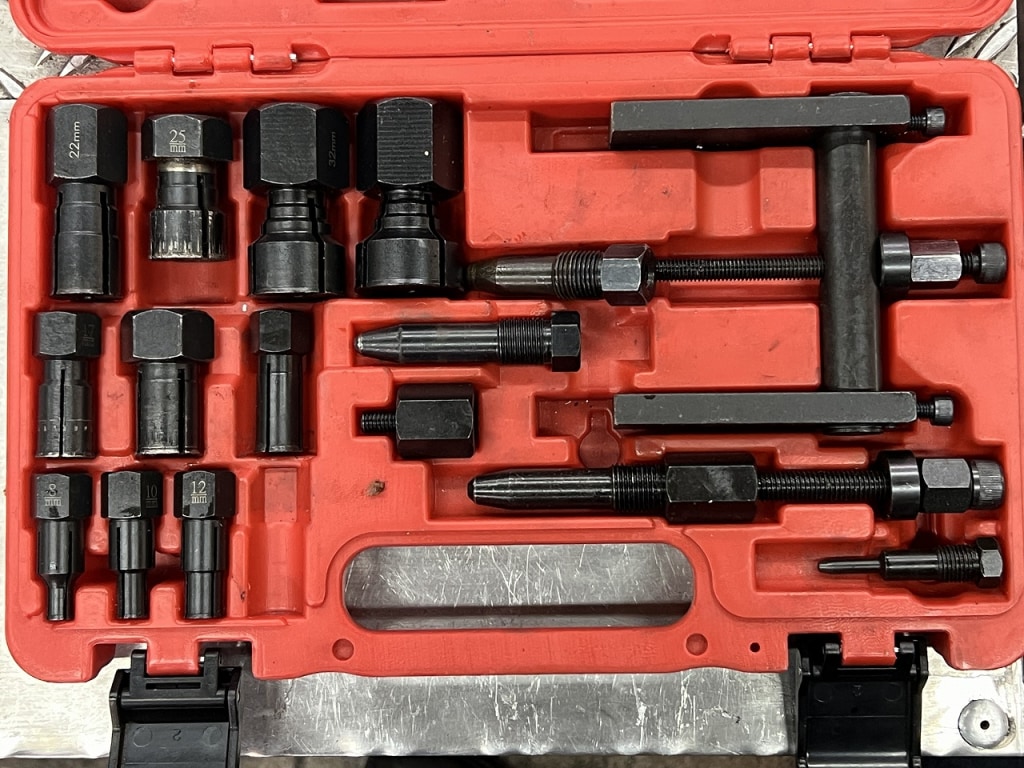
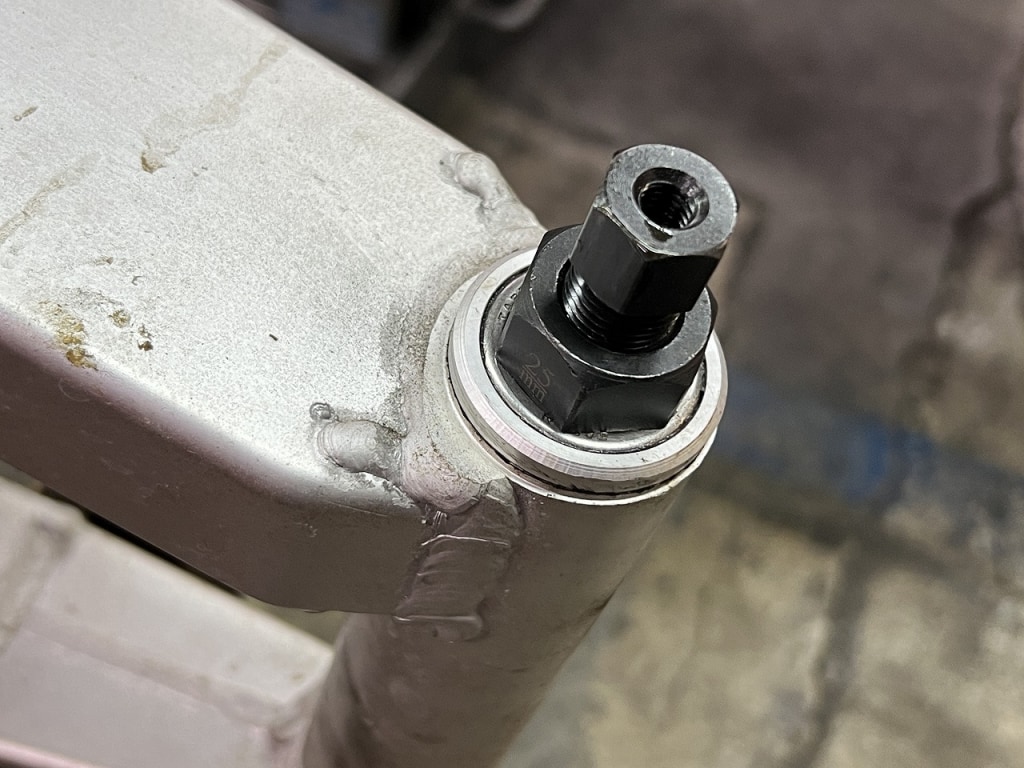
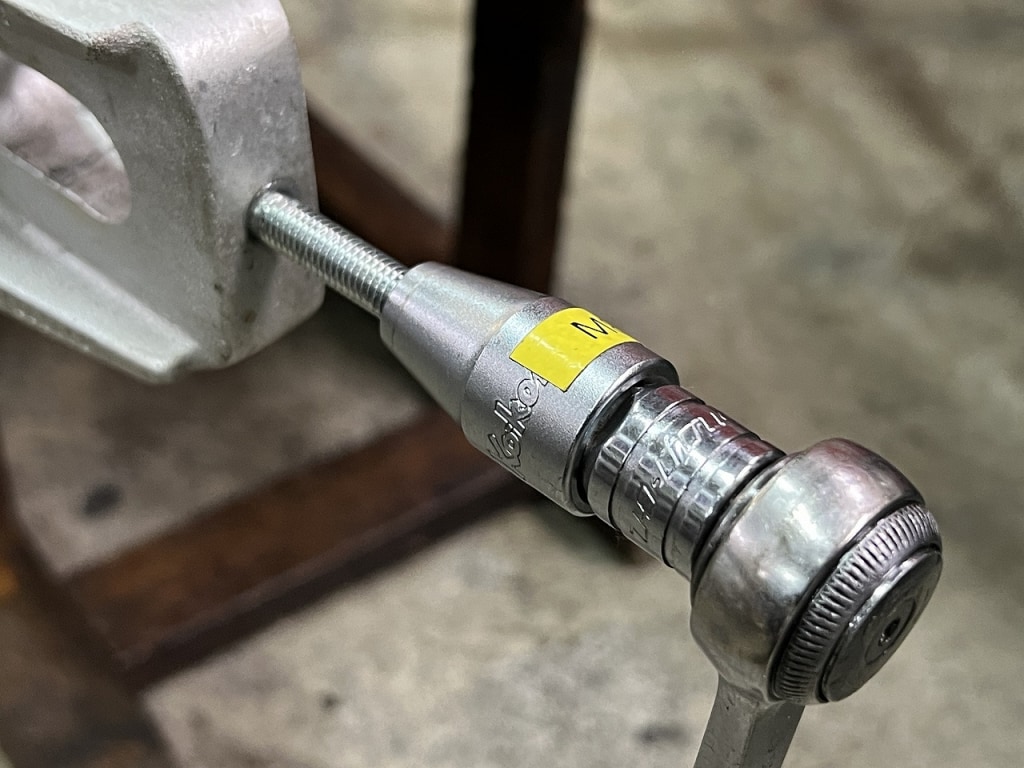
A bearing puller can also be used on needle roller bearings.
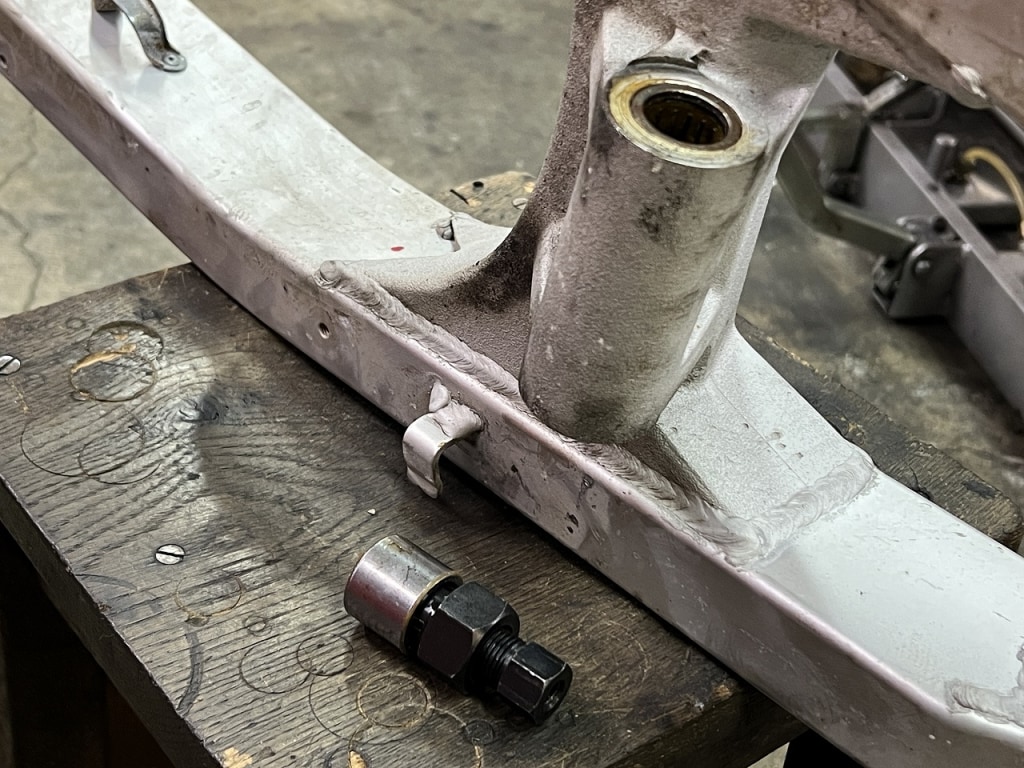
The 25mm pivot one doesn’t have enough depth, so you need to do additional machining on a lathe or similar. The manual recommends removal using a sliding hammer or a specialized puller.
I used to remove it with a specialized puller too, but honestly, it’s a real pain. I wanted to do it faster and more reliably, so I ended up going with a bearing puller. Since I started using this, the trouble of the outer shell remaining has been nonexistent.
I really recommend trying this tool at least once.
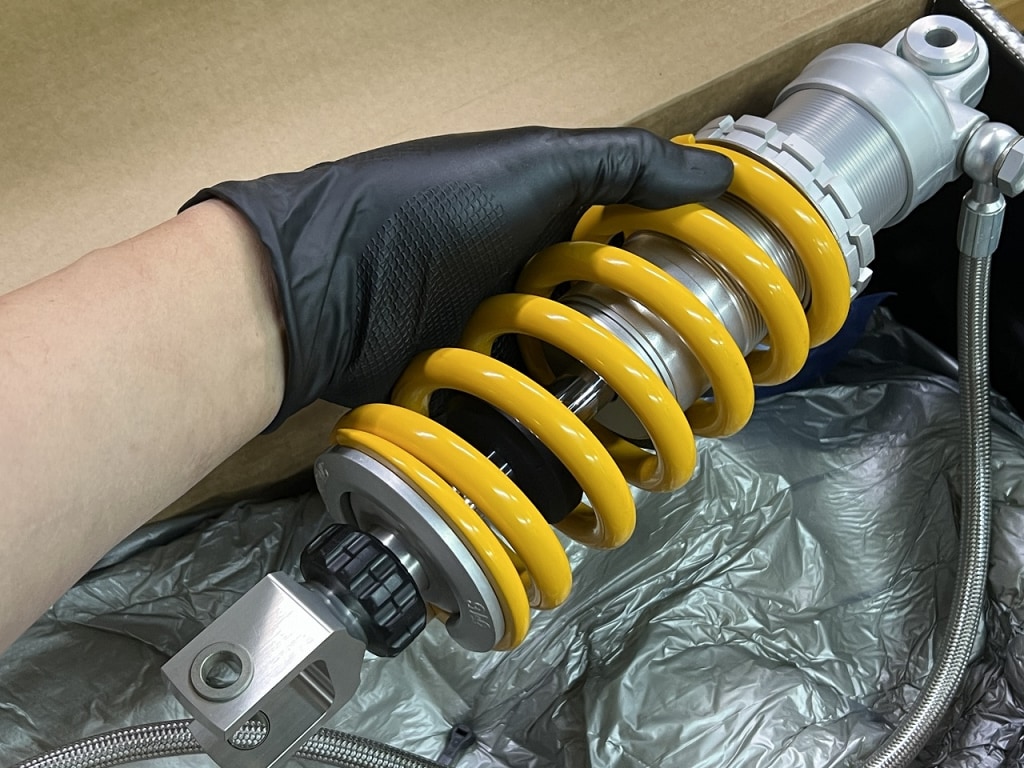
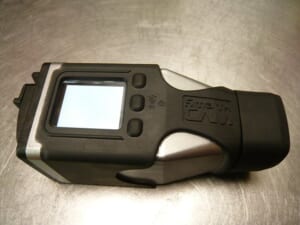
Wait a minute. Huh? Was it this light? Now that I think about it, the old one seemed to have iron parts on the body. They keep getting better.
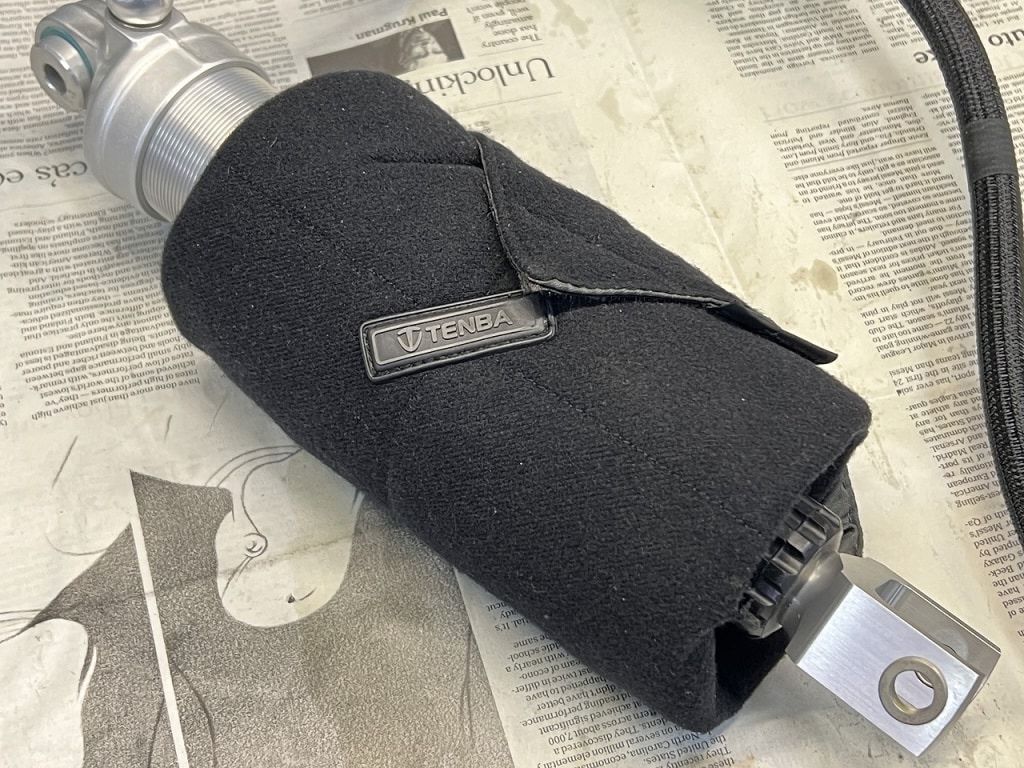
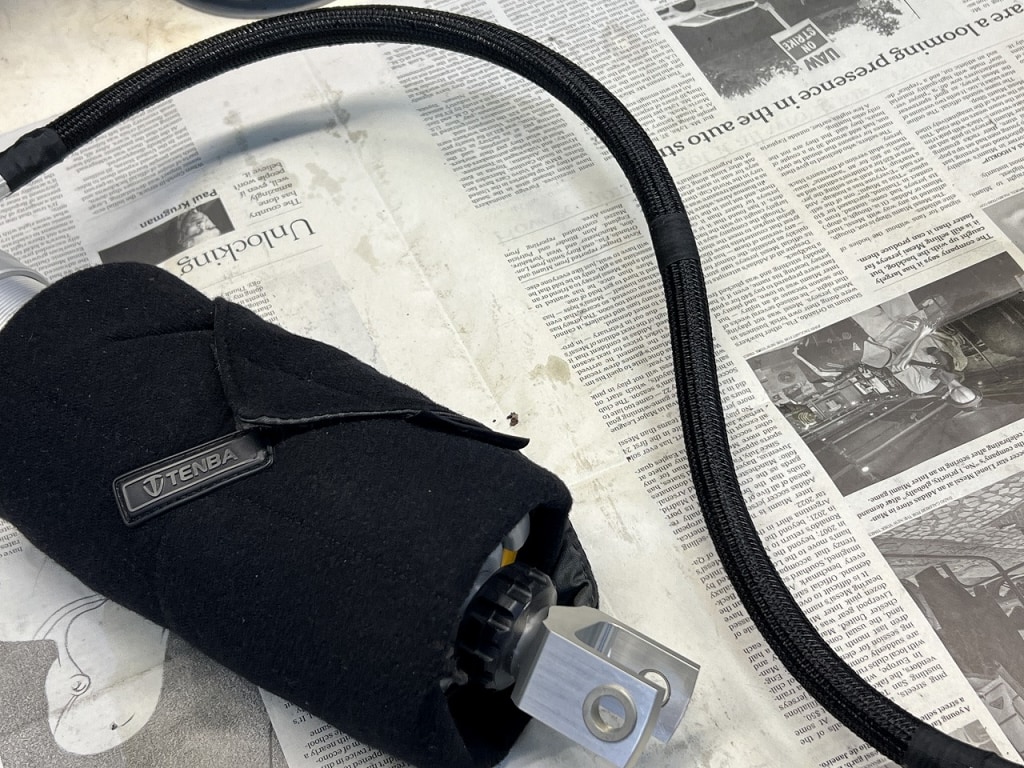
Removing the rear shock can cause scratches, so using camera wrap provides reliable protection.
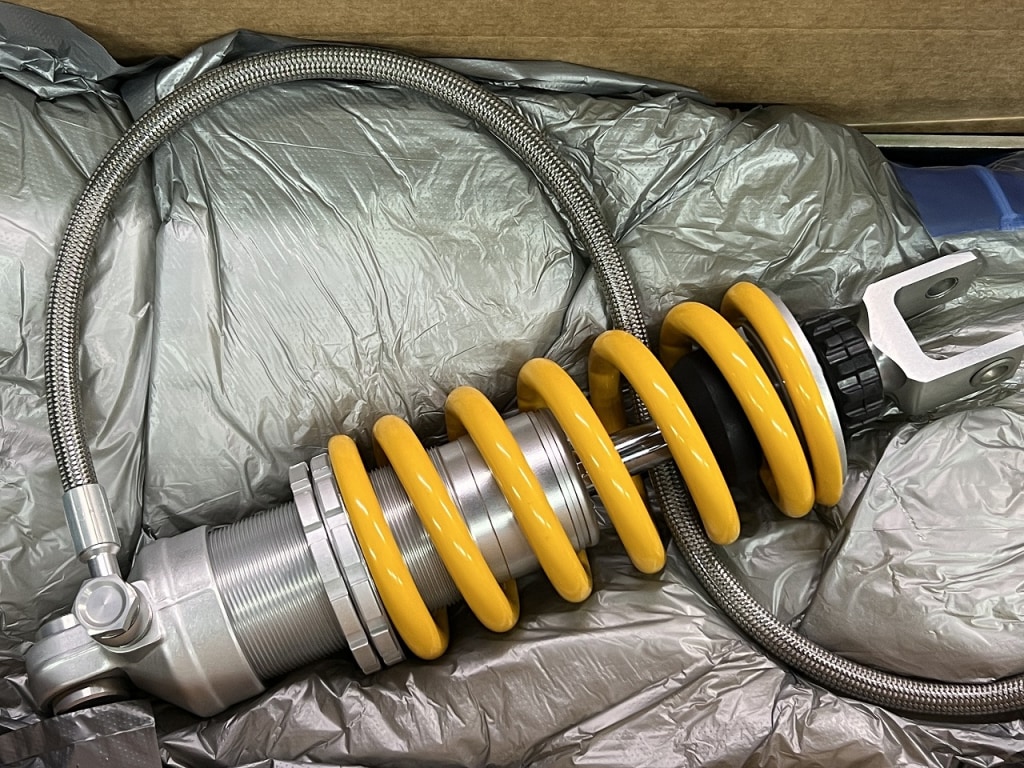
The reservoir hose gets dirty and tears over time, so I protect it with braided tubing from the start. The black color looks clean too.
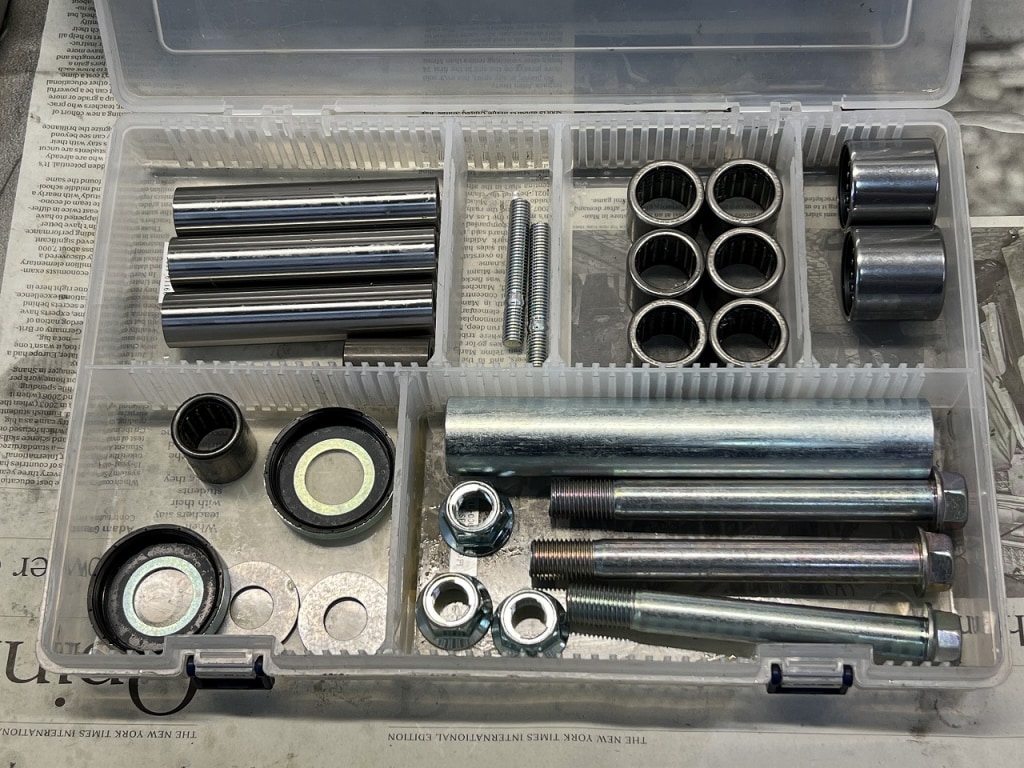
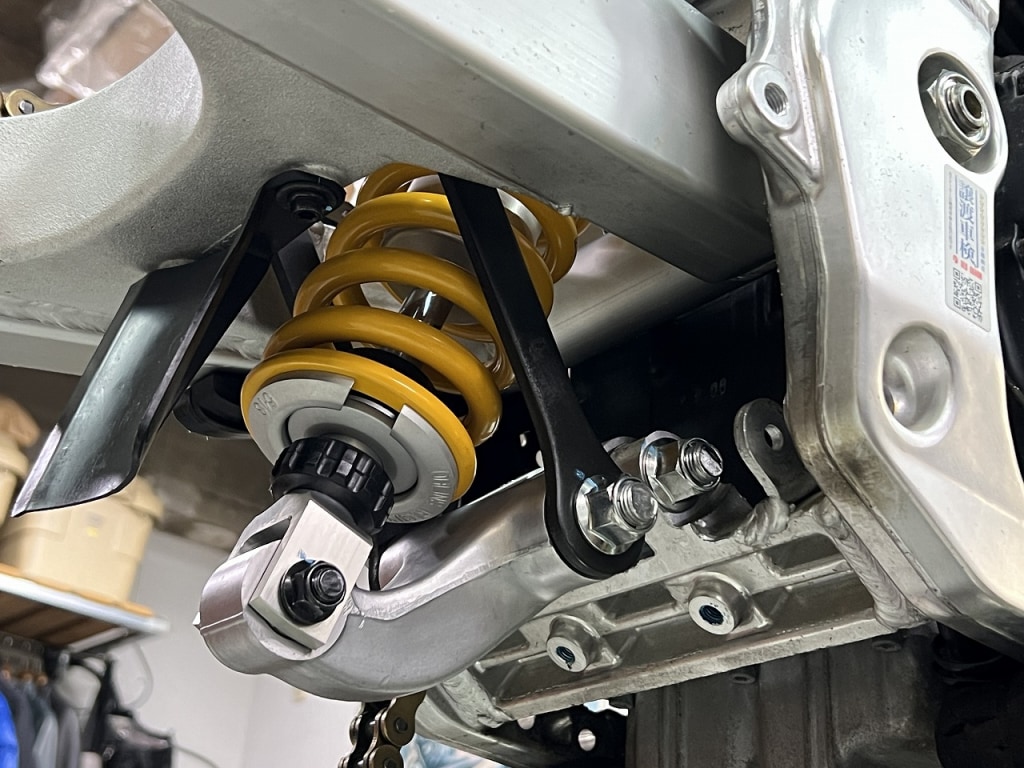
That’s how I completed all the rear work. All the bolts and nuts are new, so it feels really good.
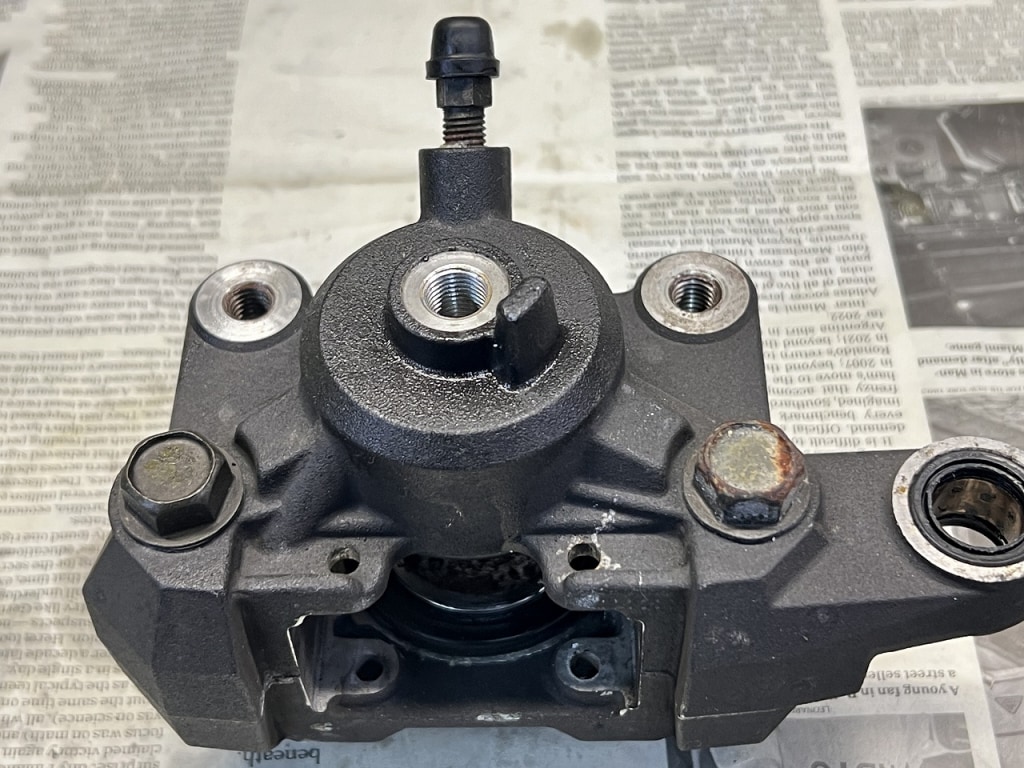
Since it’s just the rear caliper, I’ll disassemble it
I’ll have to clean the rear caliper later anyway, and since it’s not going to work well as-is, I’ll just disassemble it.
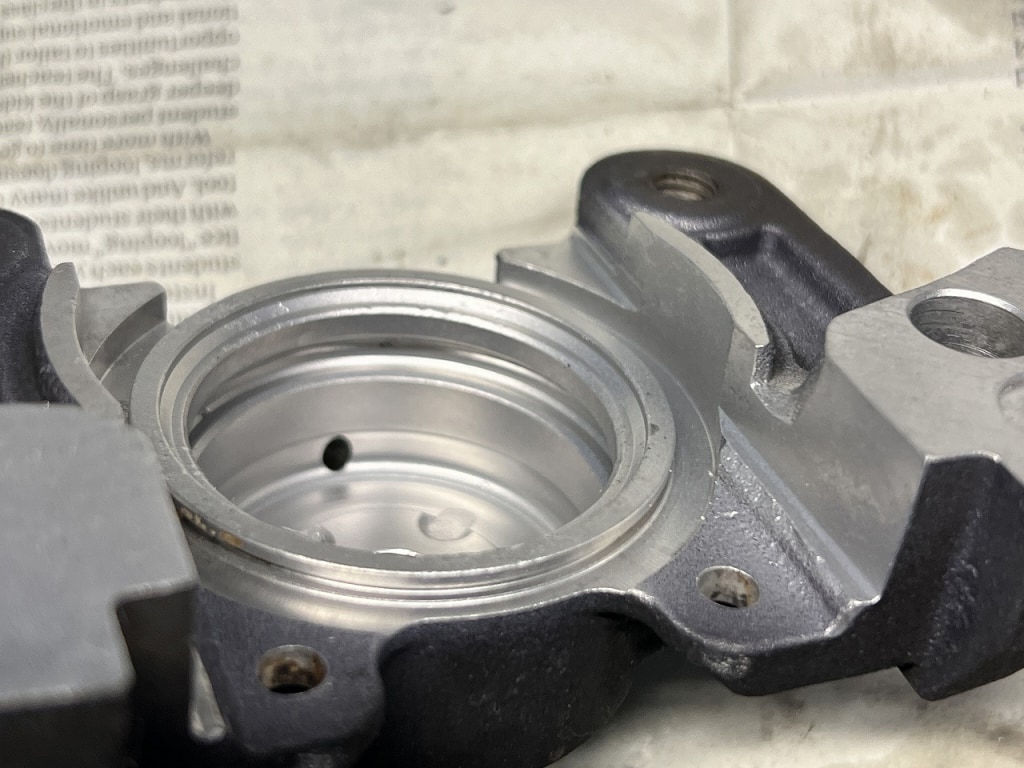
There’s some rust, but it looks like it’s been disassembled once. The seals are in good condition, so I’ll reuse them.
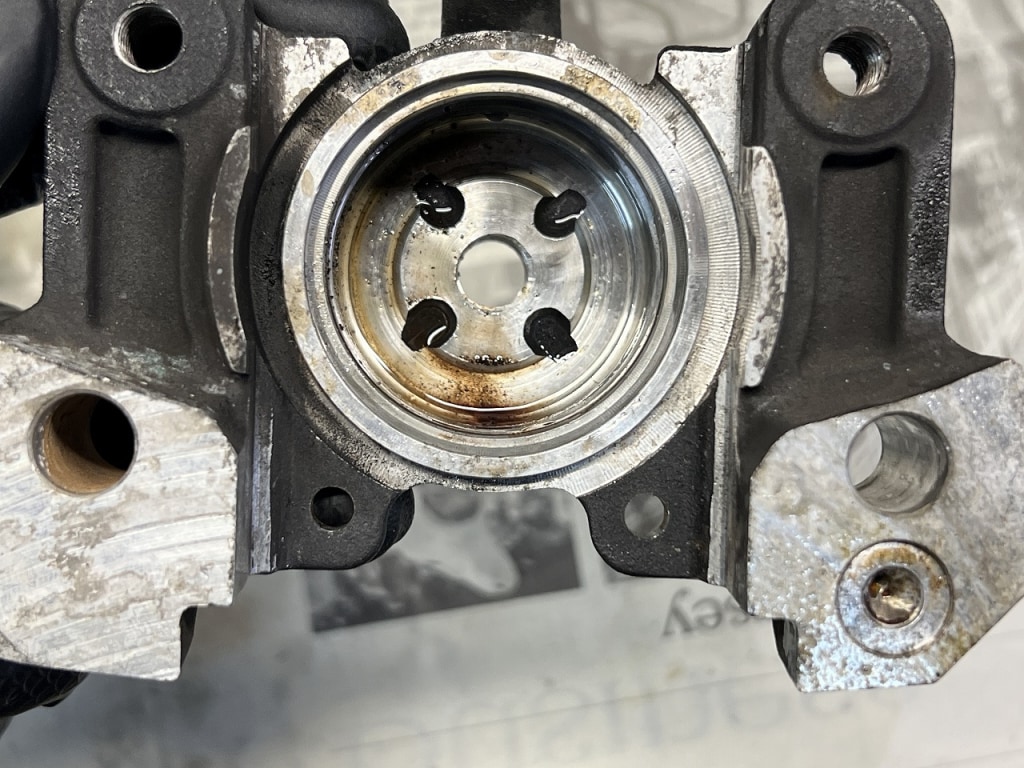
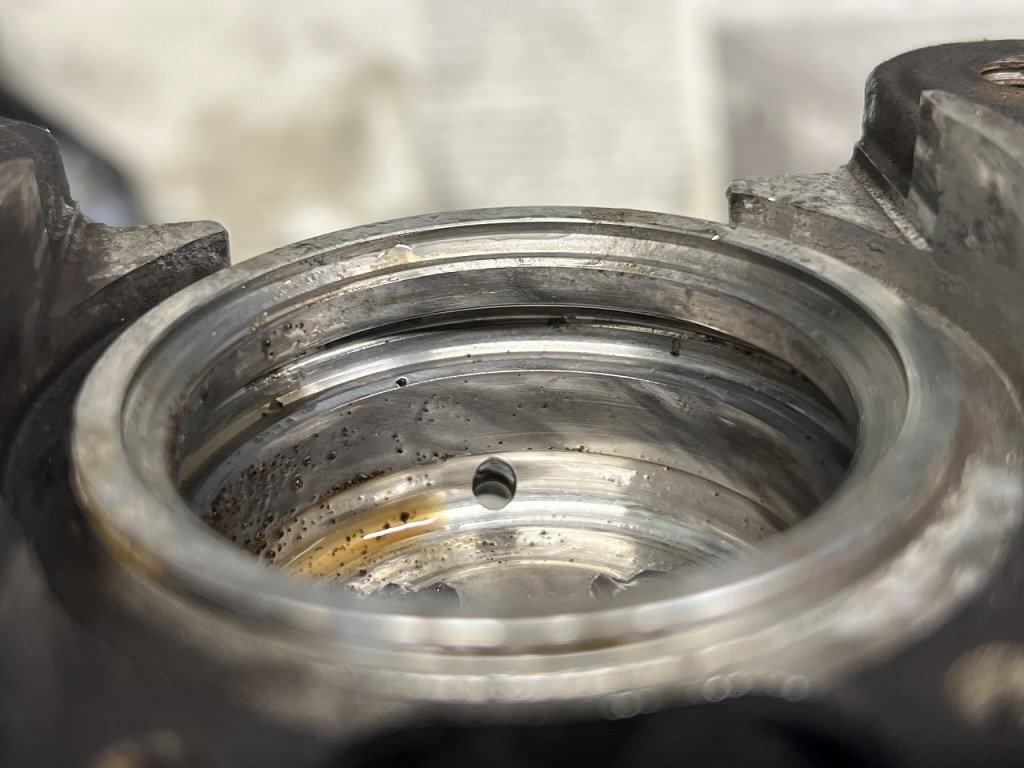
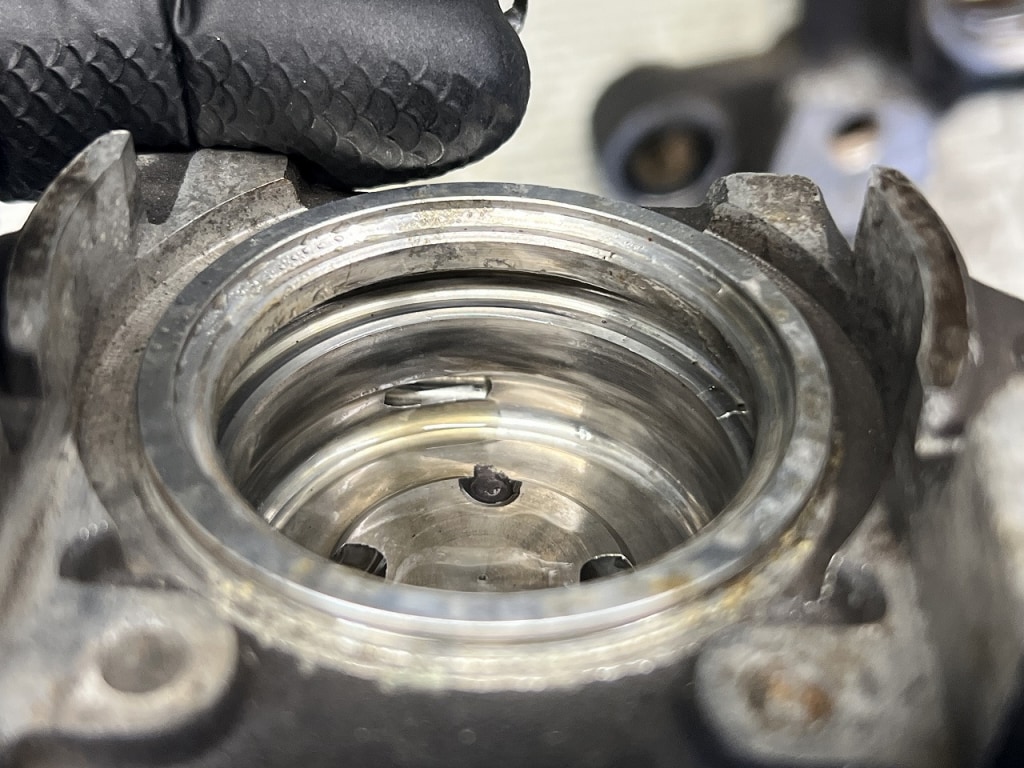
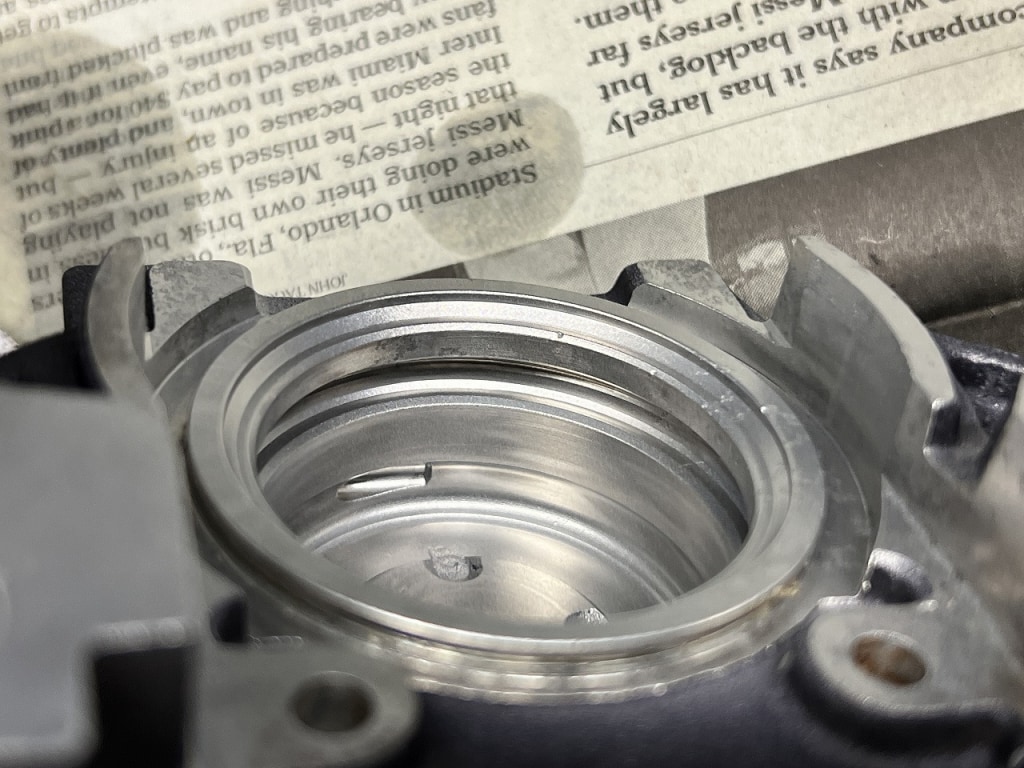
I also finished the inner walls with wet blasting.
Wet blasting seems to resist corrosion better. Polishing it to a shine actually seems to accelerate corrosion.
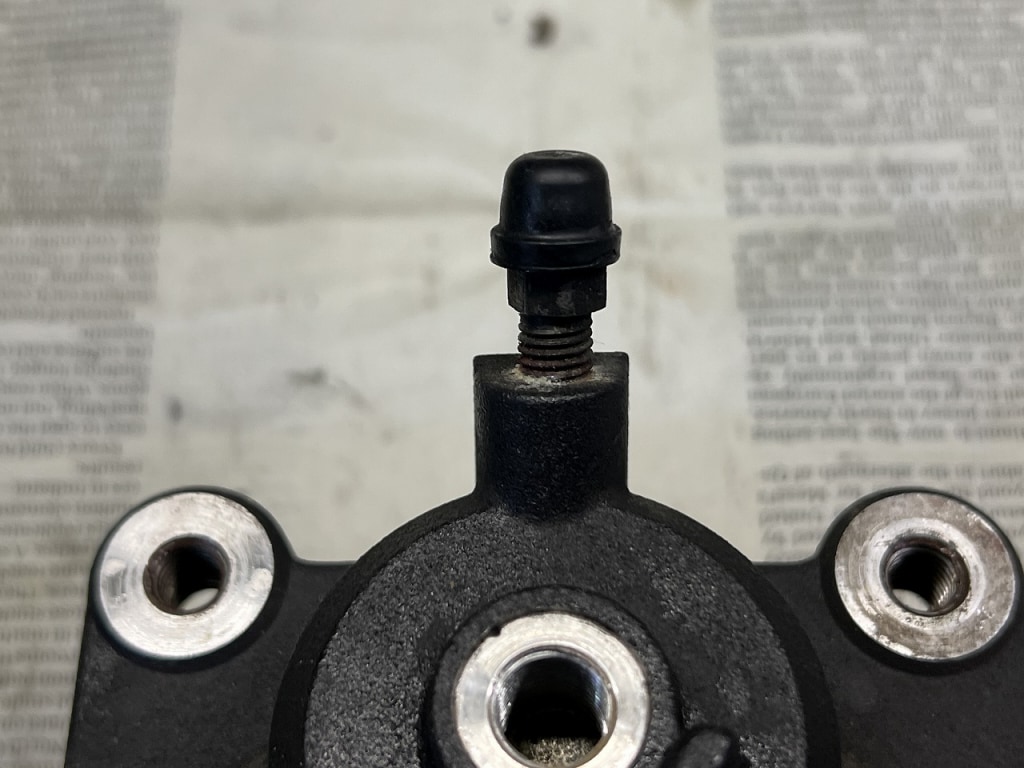
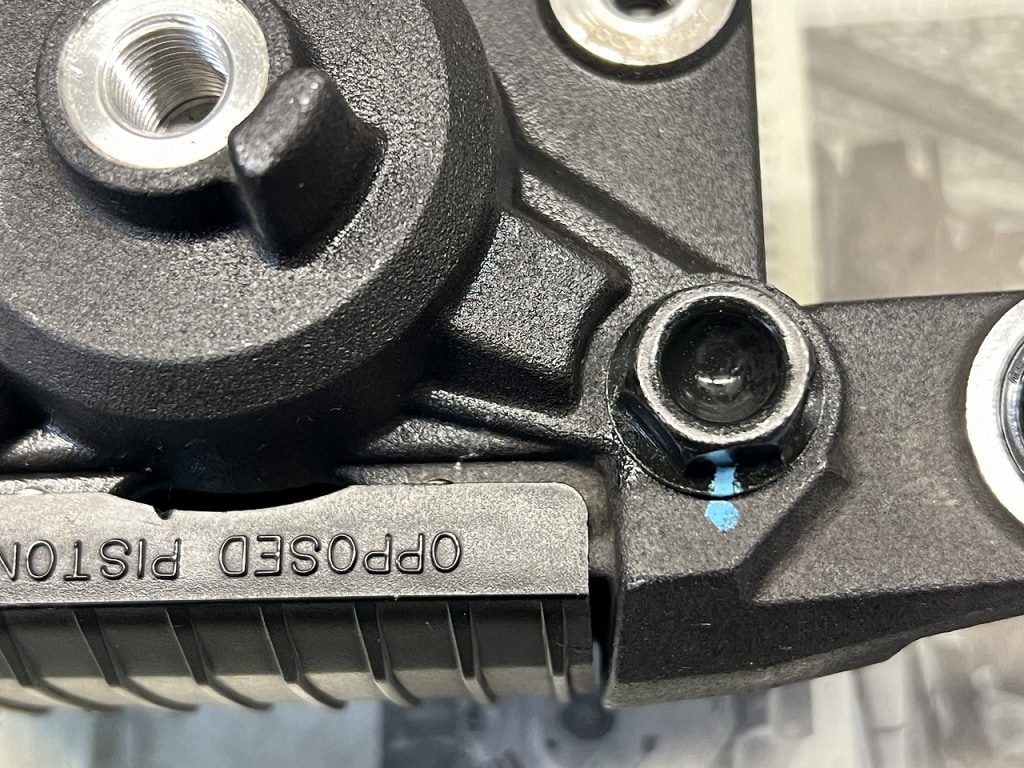
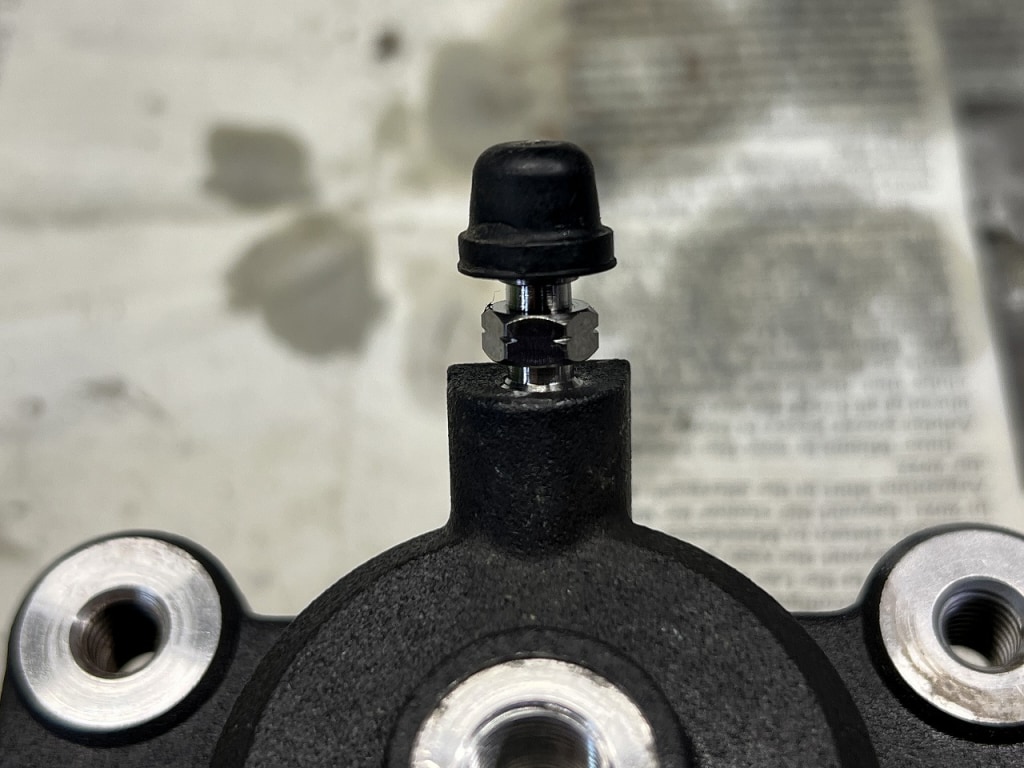
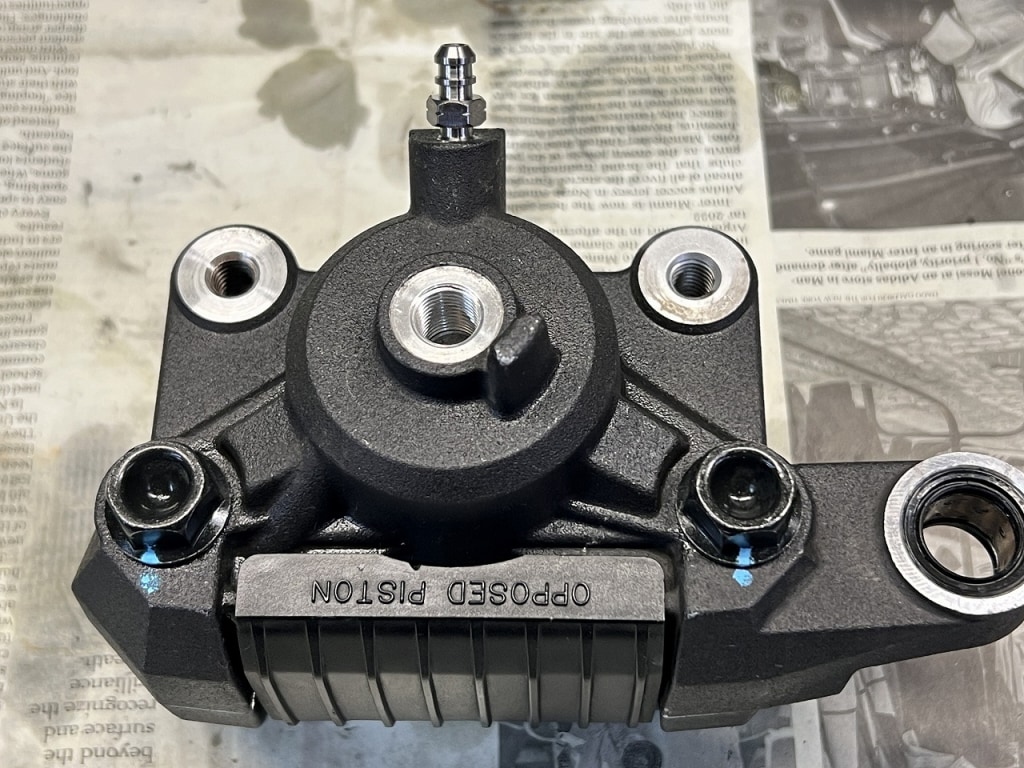
The split fixing bolts are the usual Honda OEM. The bleeder nipple is titanium. Little touches like this really bring things back to life.
Just wiping the body with silicone spray gives it quite a bit of shine. Not only wash the brake caliper, but also treat it with silicone spray and it’ll last longer.



 ポチップ
ポチップ