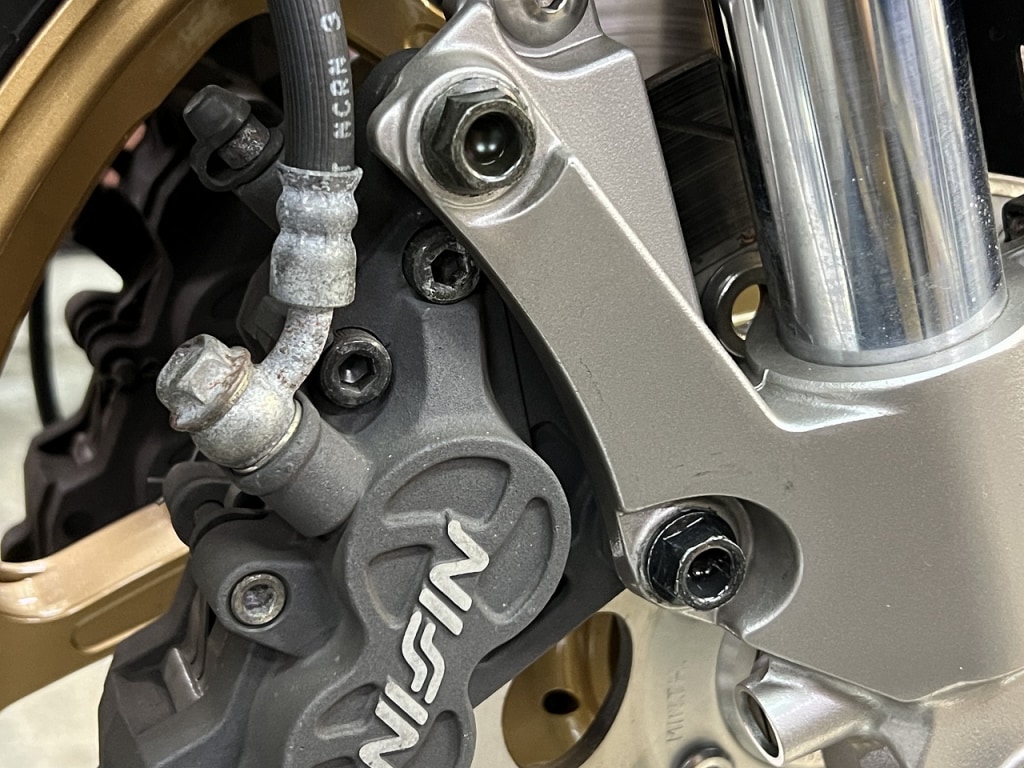
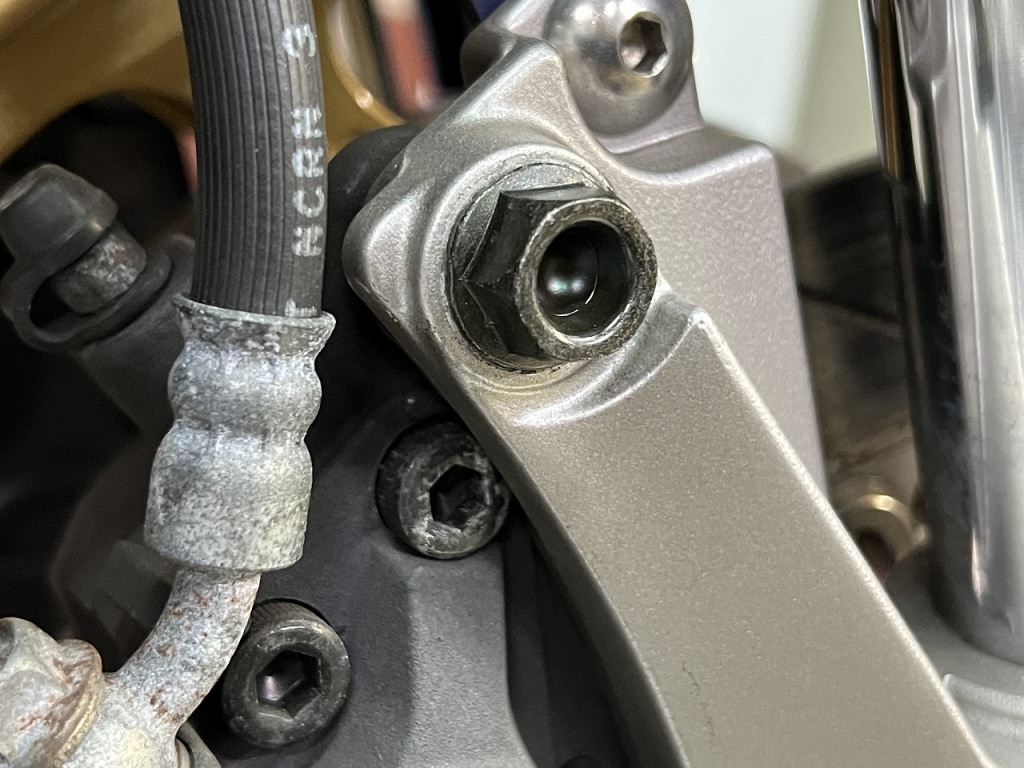
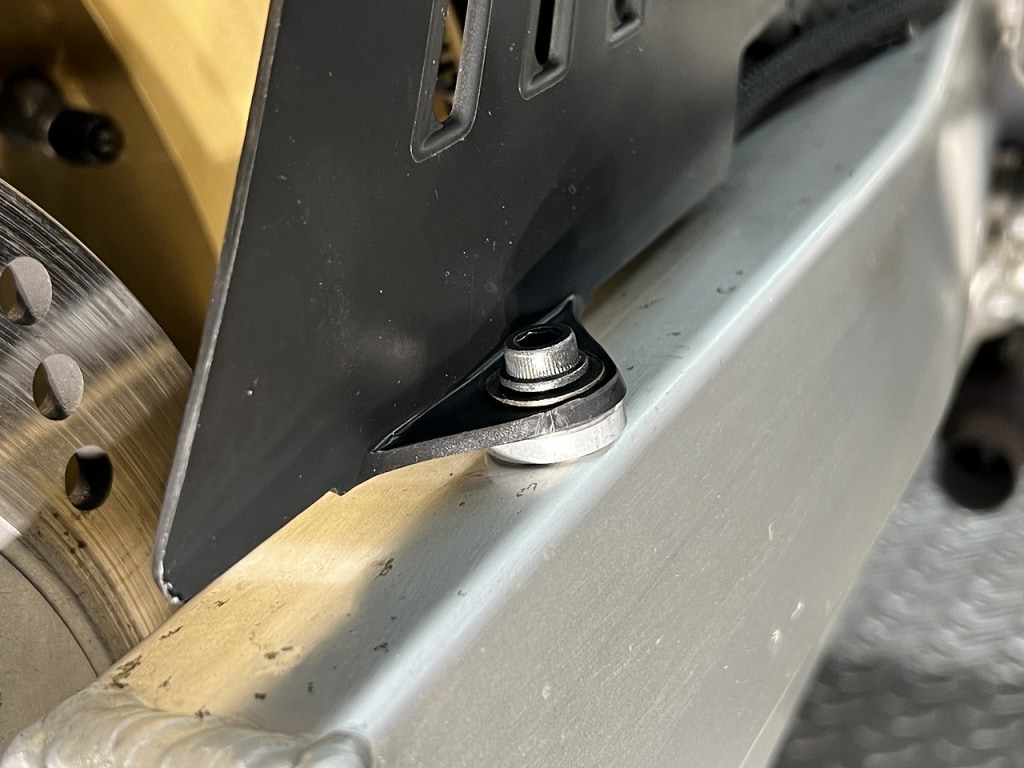
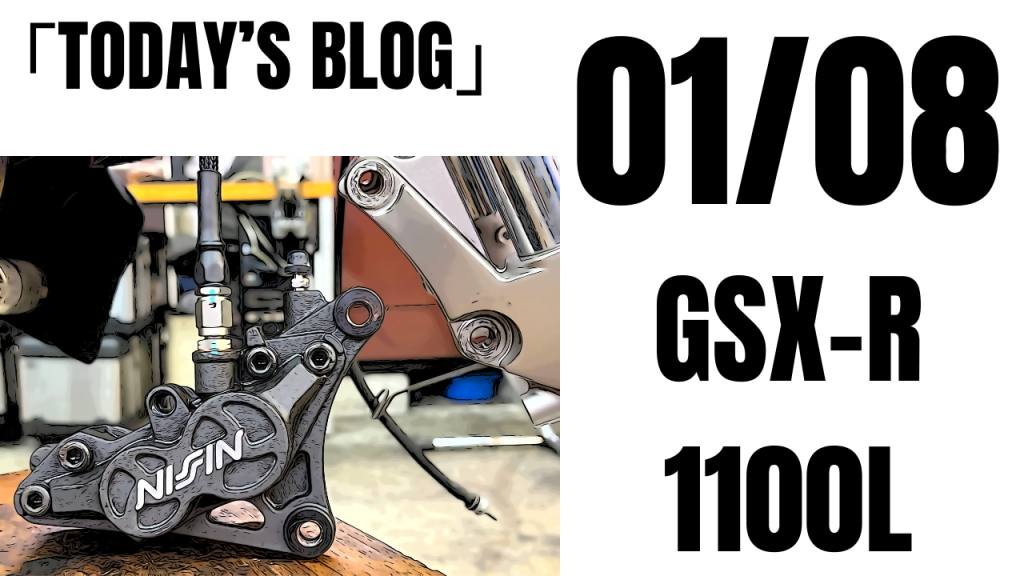
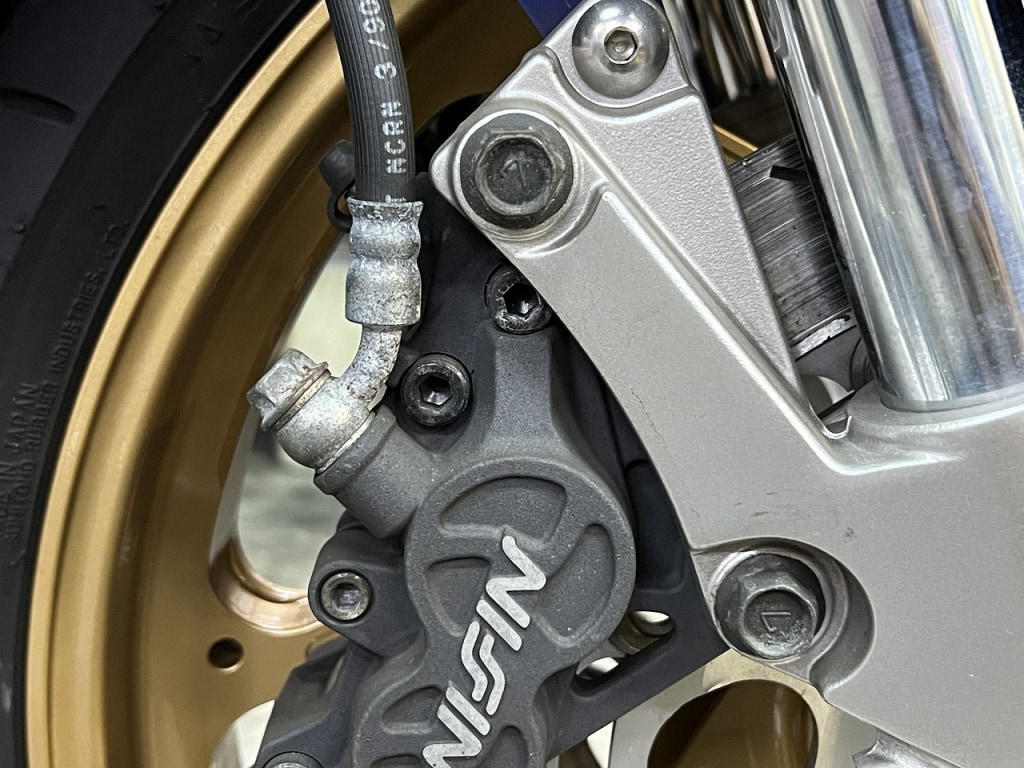
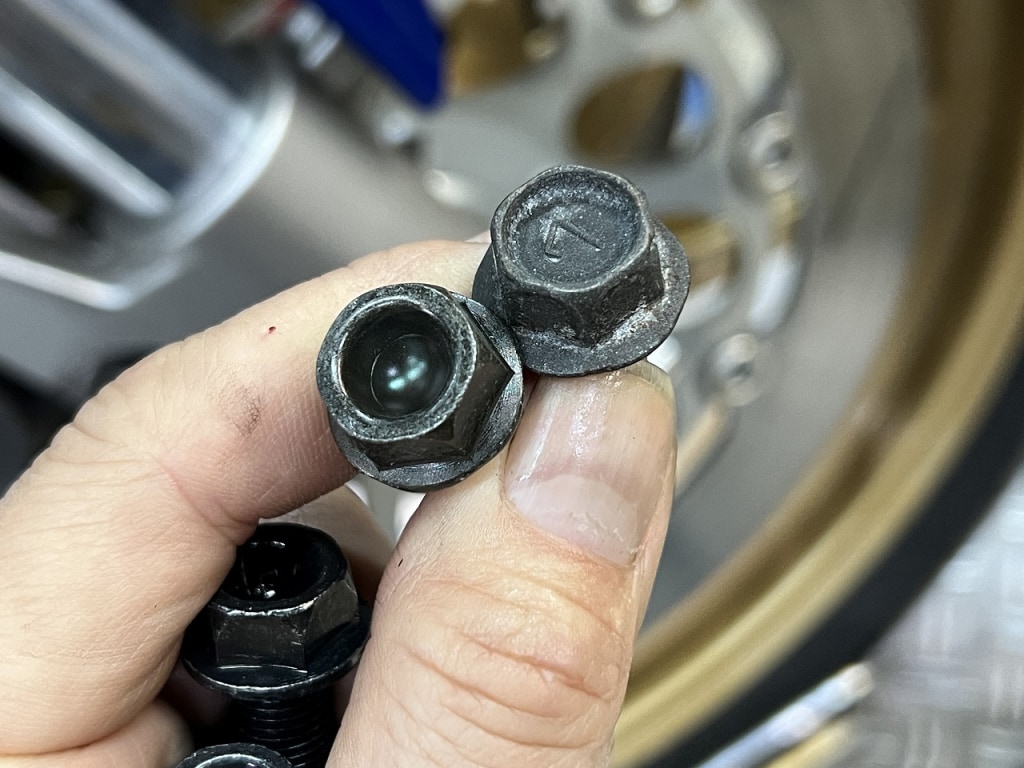
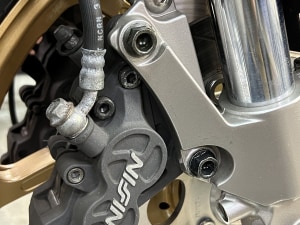
The caliper mounting bolts really catch the eye, don’t they? Until recently I was partial to Yamaha OEM bolts, but lately I’m into Honda OEM. Size M10×30MM Honda part number 96300-10030-07
Don’t freak out—66 yen! No strength issues whatsoever (*´ω`*) Whee!
Honda is the king of OEM parts. M10*30 P1.25 bolts at 66 yen—that’s awesome
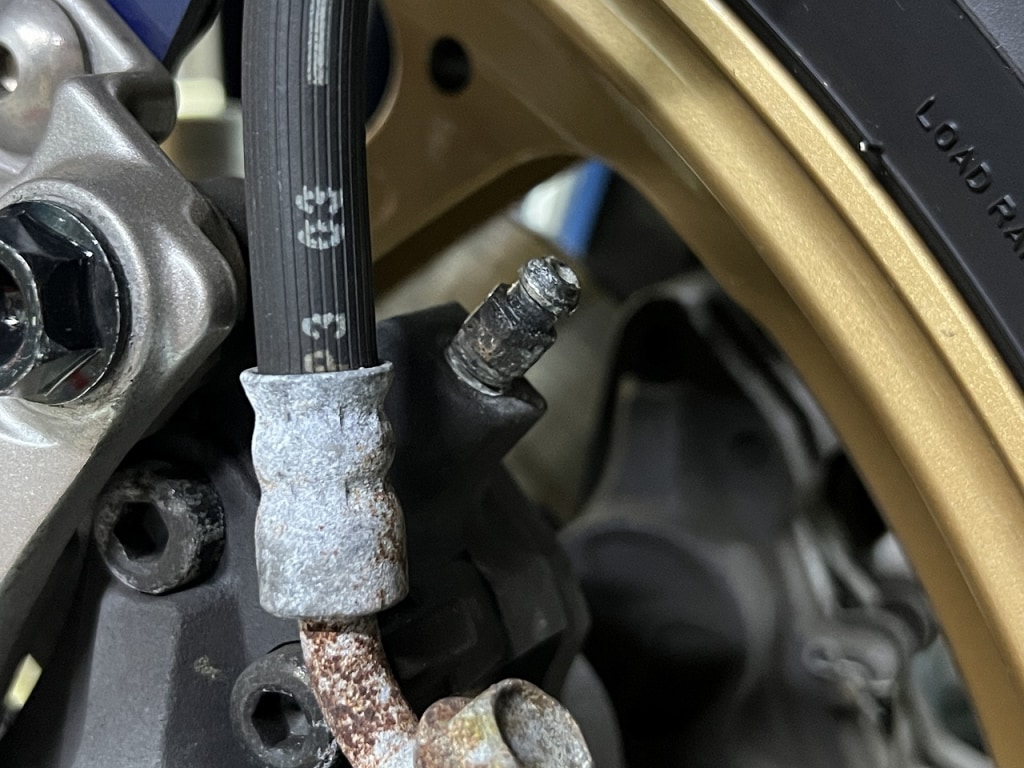
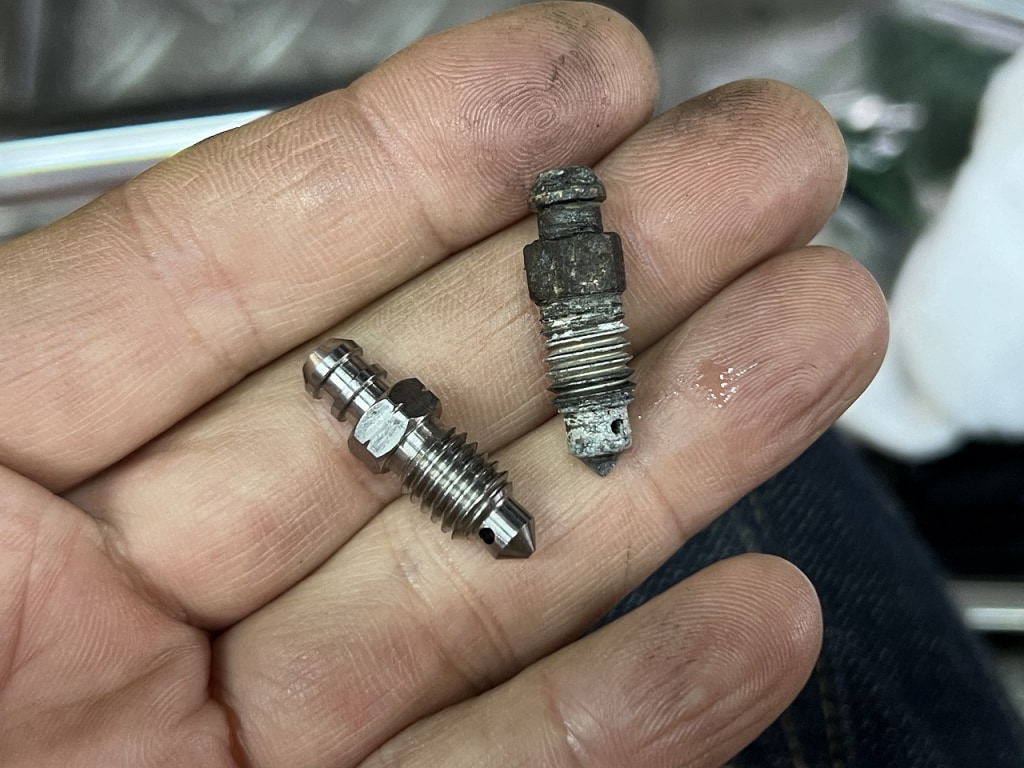
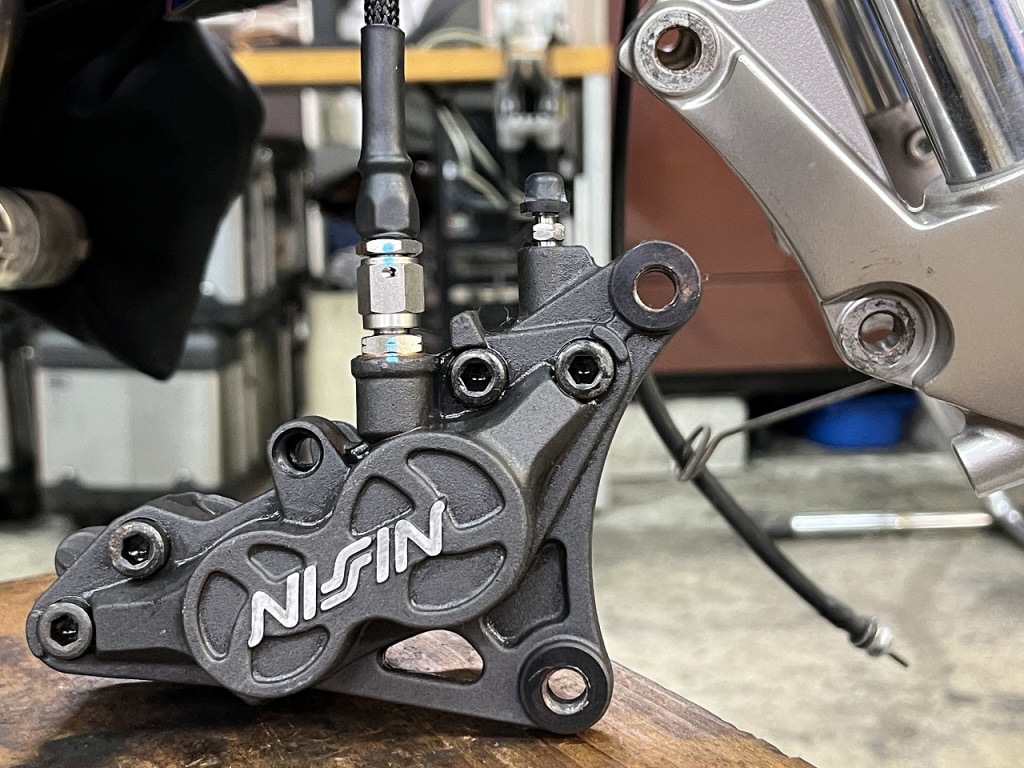
While the brake fluid is drained, I’ll swap out the bleeder nipple. Most of them are terribly rusted, so it’s better to replace them at the right time before you run into trouble.
Lately I basically only use titanium bleeder nipples. Even if they get dirty, a wet blast brings them back to life
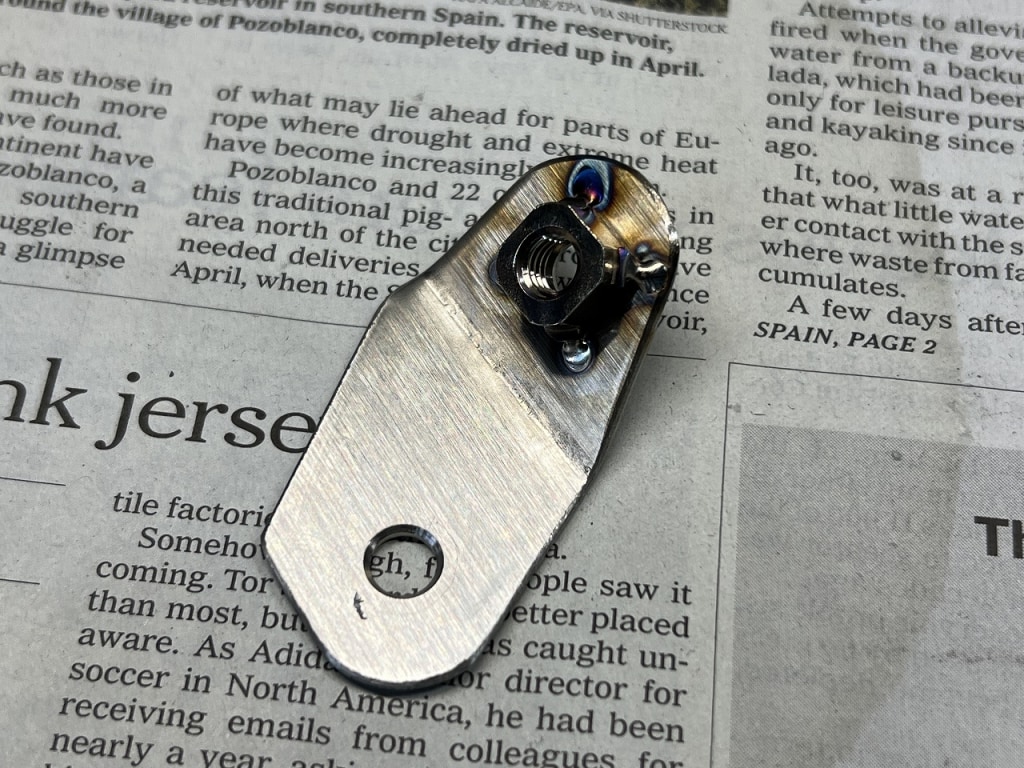
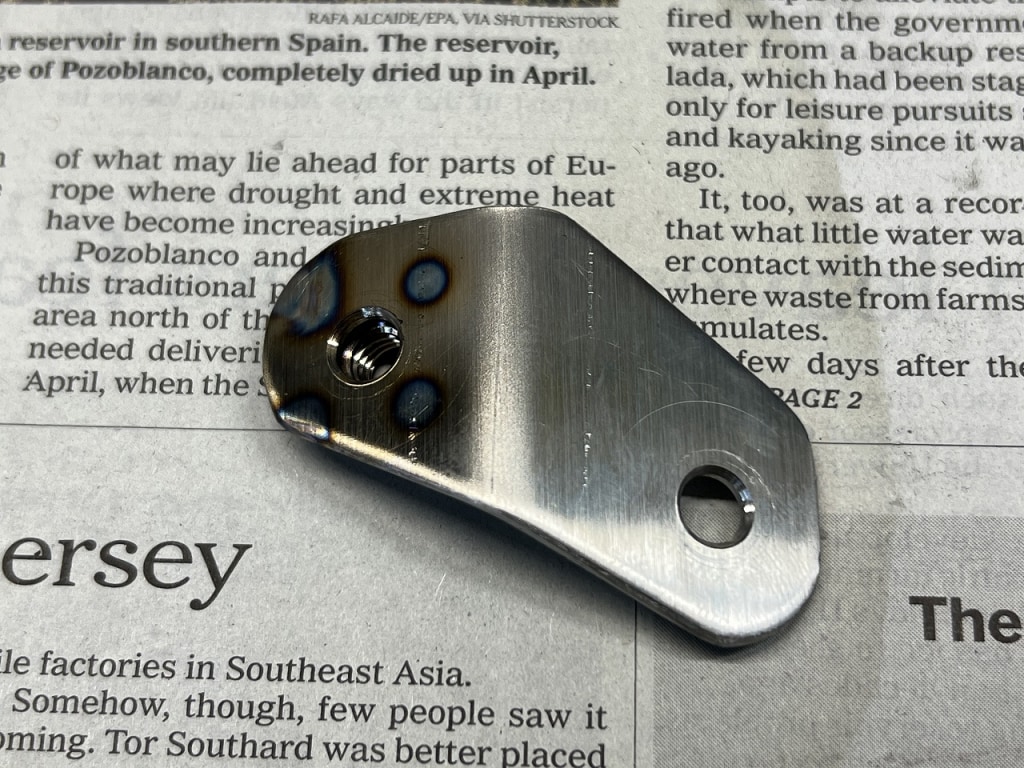
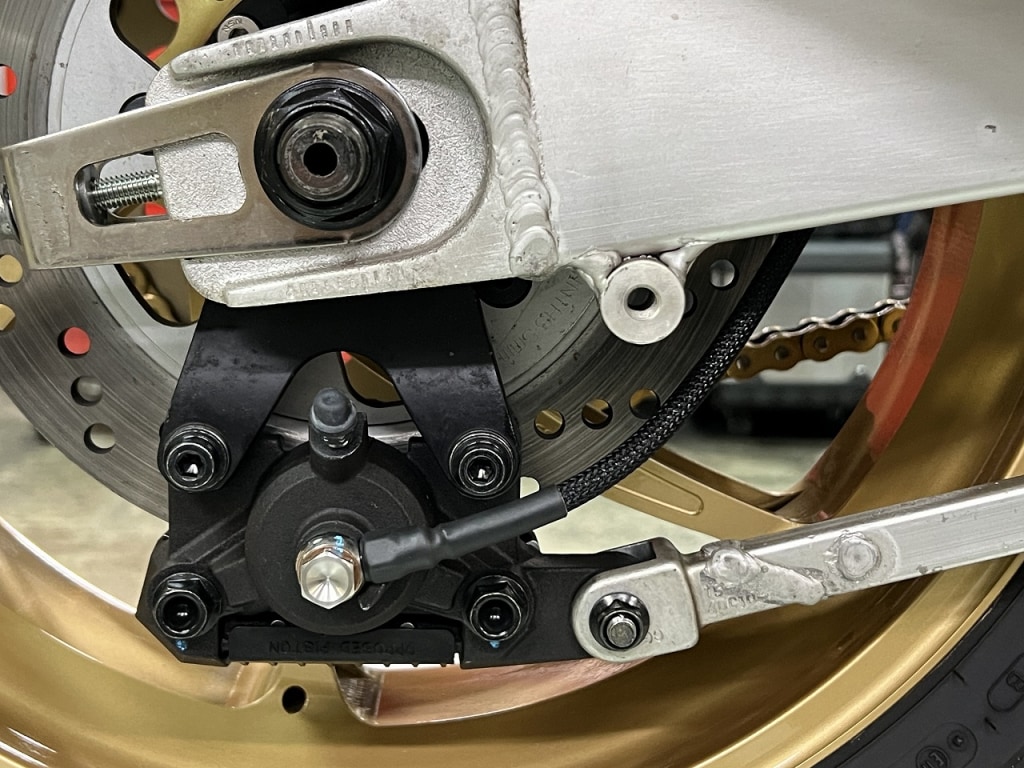
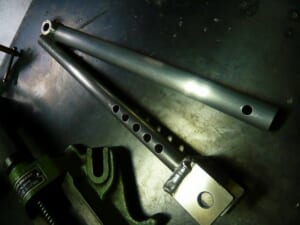
Making brake hoses now
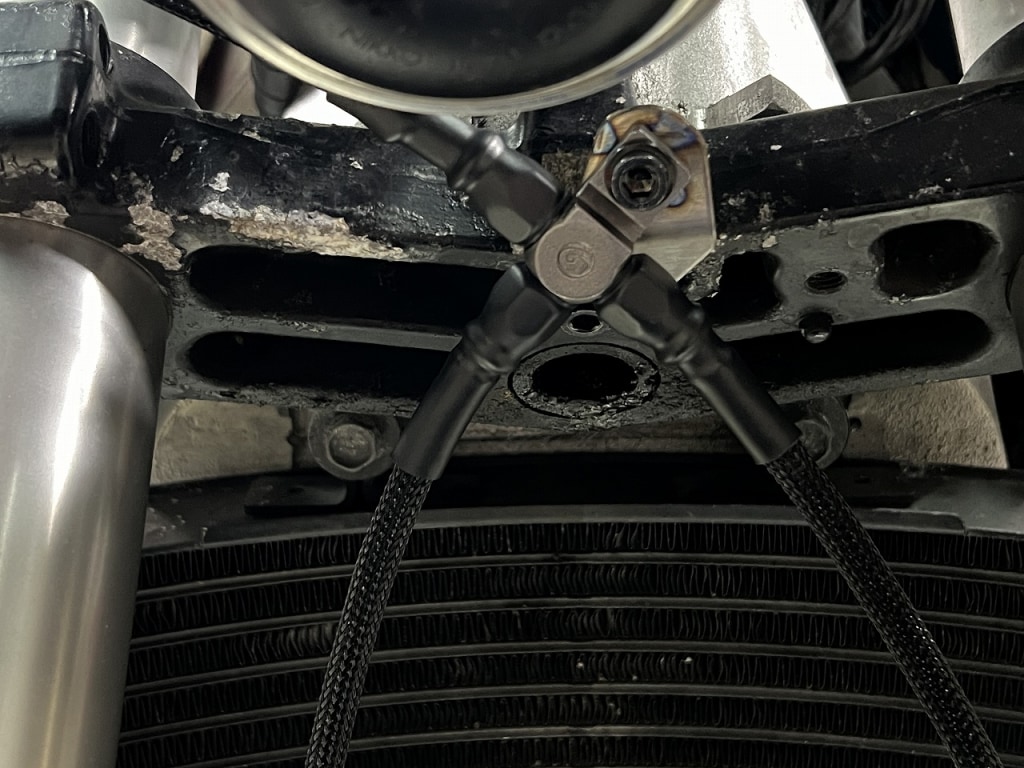
The TEE-FITTING bracket stay needs to be secured firmly.
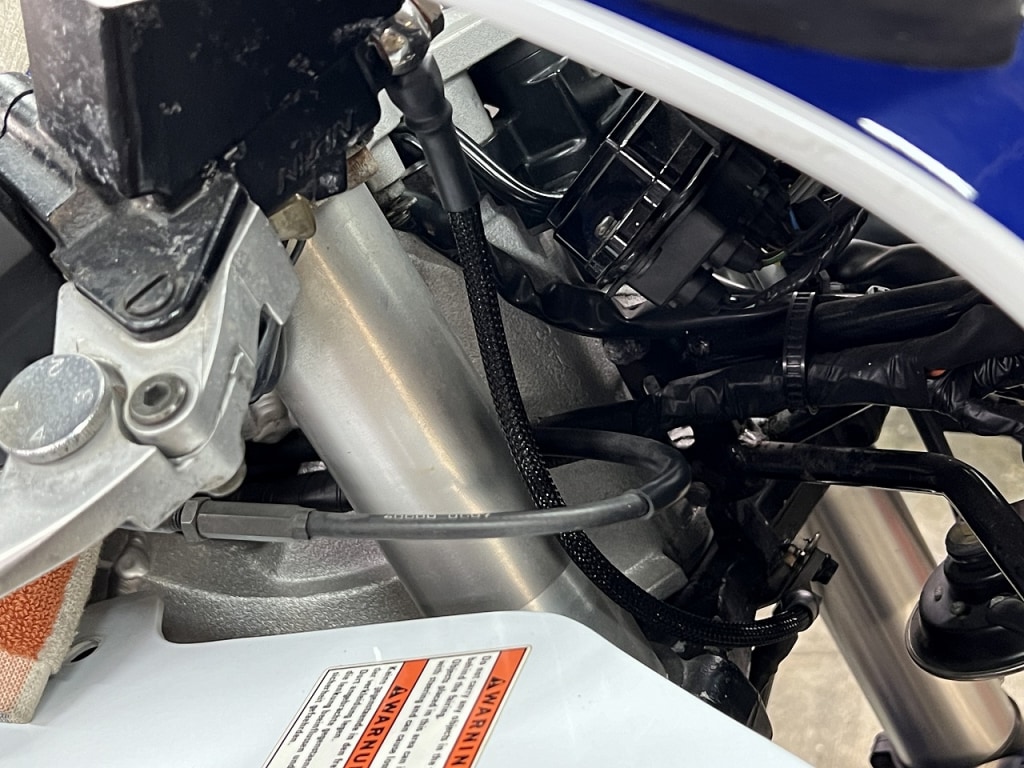
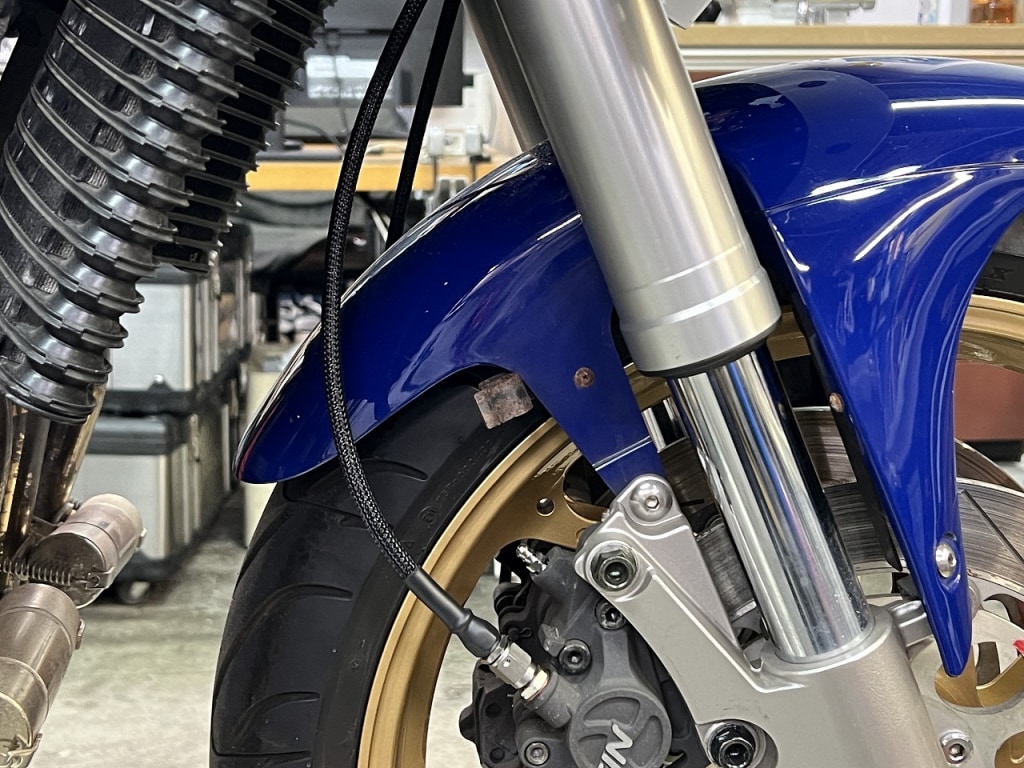
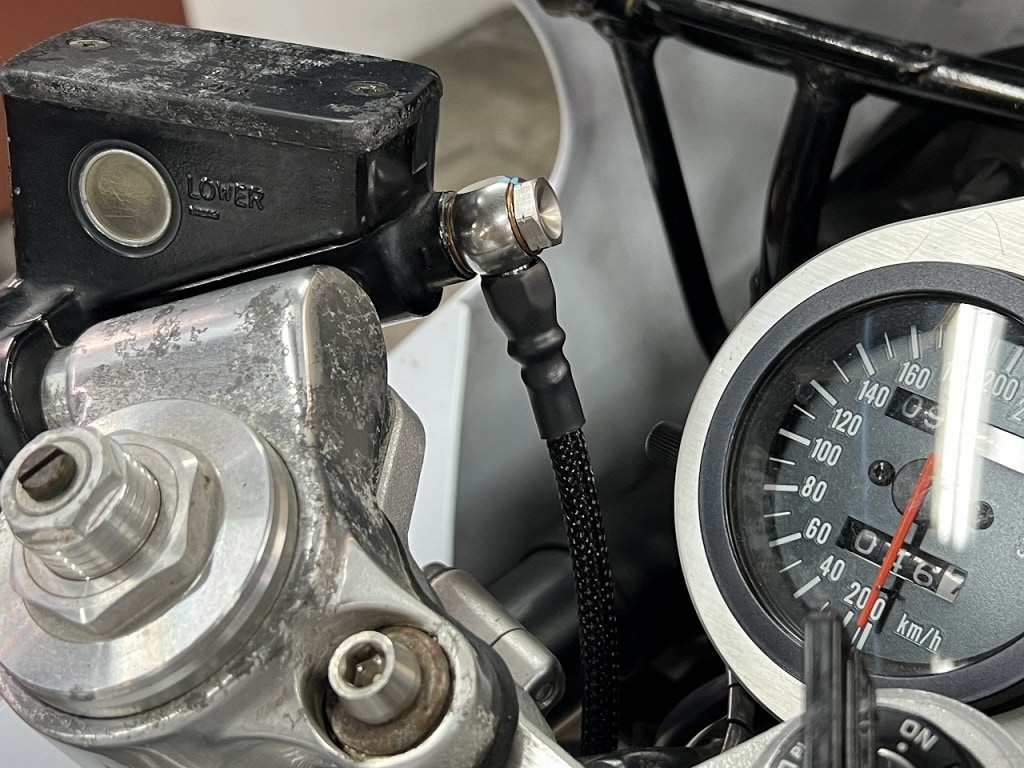
Time flies—it’s done. The hose is secured in a way that minimizes stress. Using a front stand is ideal if possible. With clip-on bars, when you turn the handlebar left,
there’s a risk of contact with the cowl stay, so I route it straight down along the front fork and aim for a smooth layout that curves gently toward center.
It came out with a nice smooth layout like this. Fitting the length and layout to the actual bike is definitely better than using off-the-shelf parts.
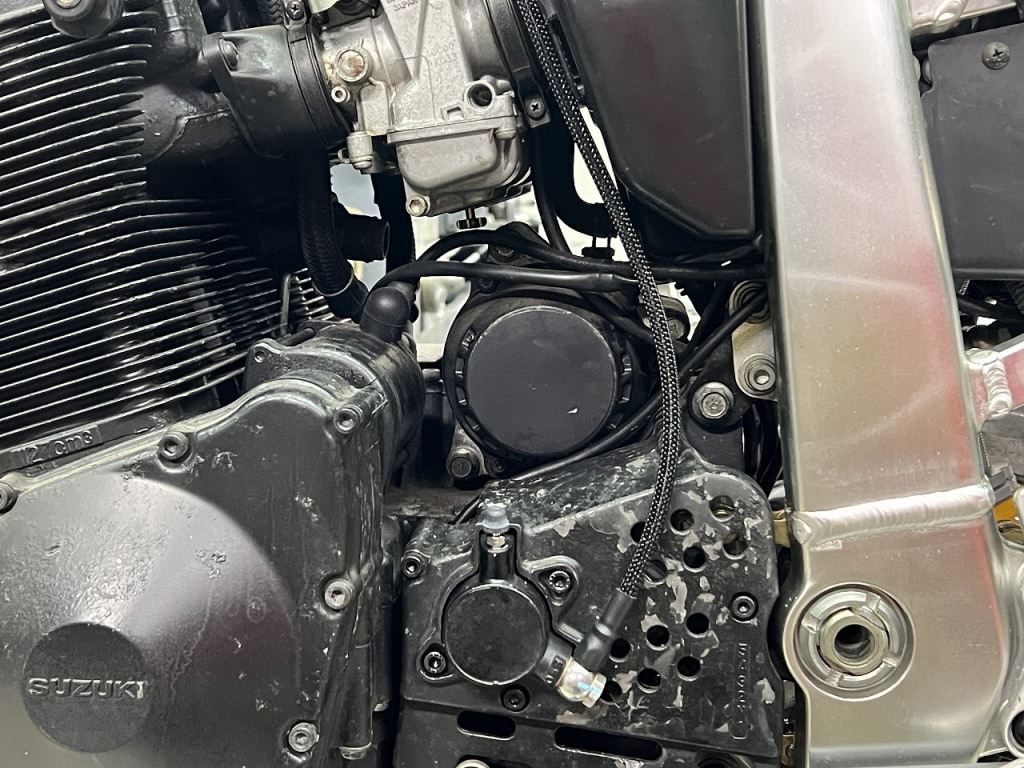
The clutch hose layout is simple like this. Routing it on the outside like the later M/N models improves workability.
Just swapping bolts and doing a little cleanup tightens things right up!
Continuing with maintenance
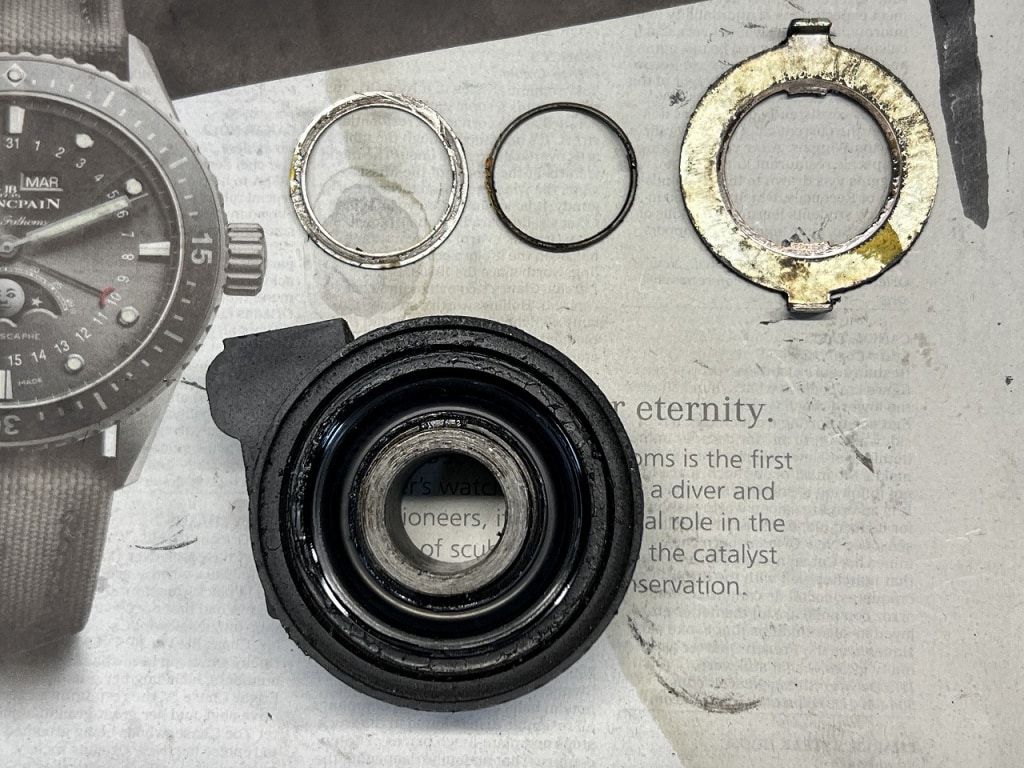
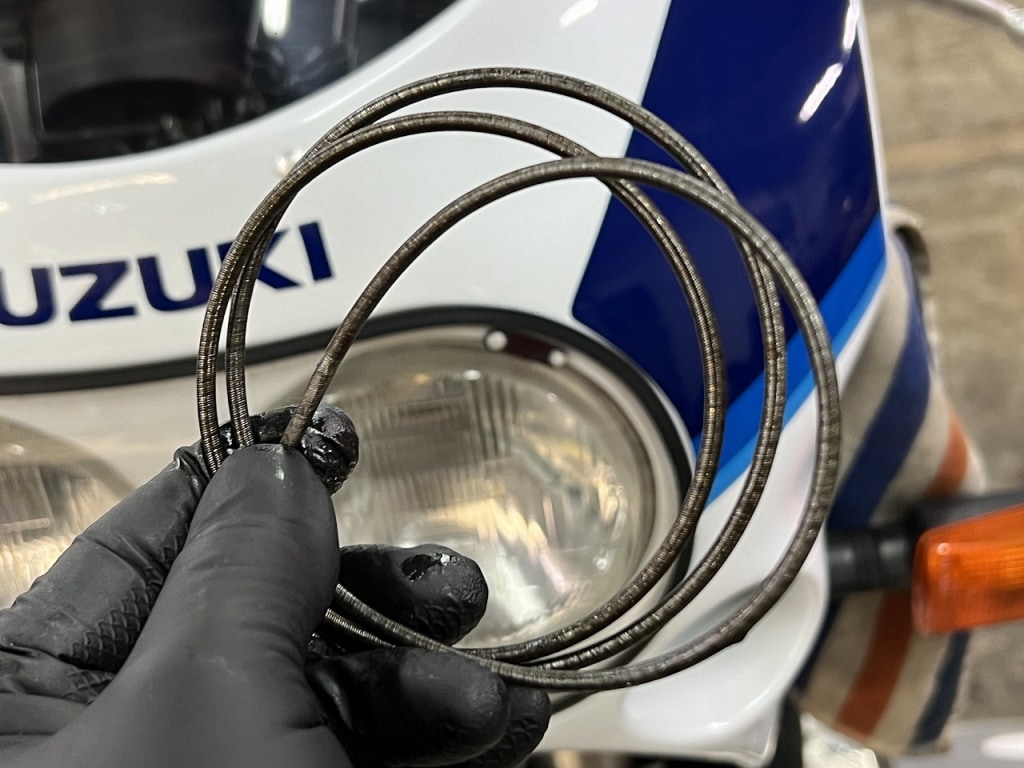
I cleaned and lubricated the speedometer gear and cable.
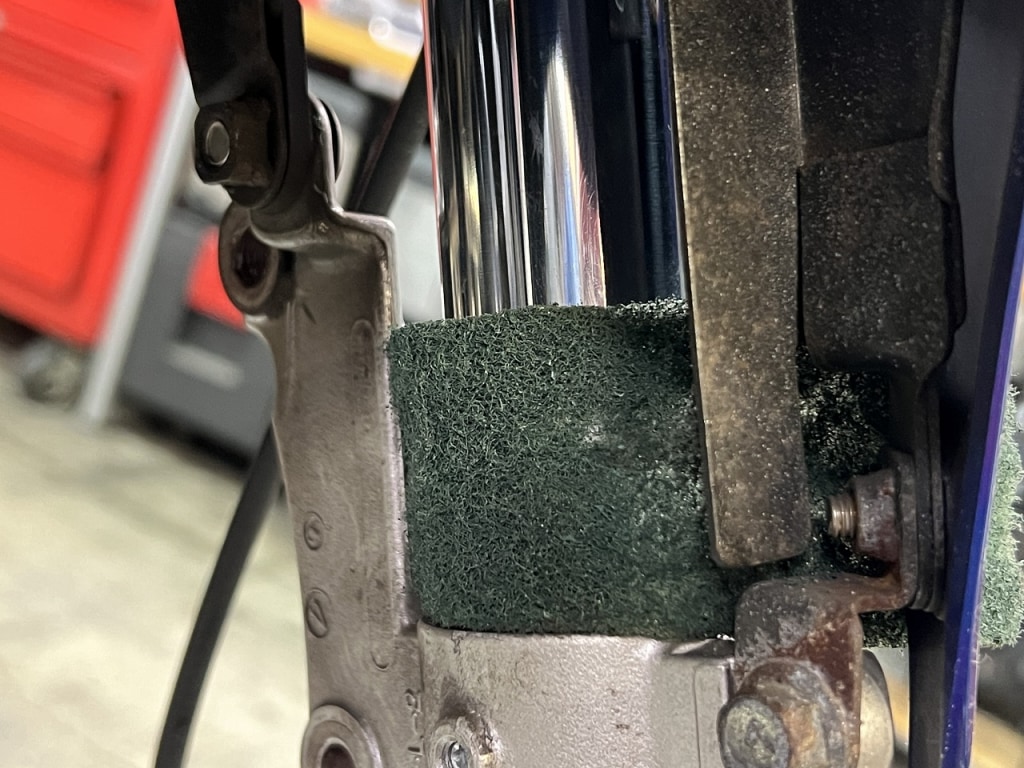
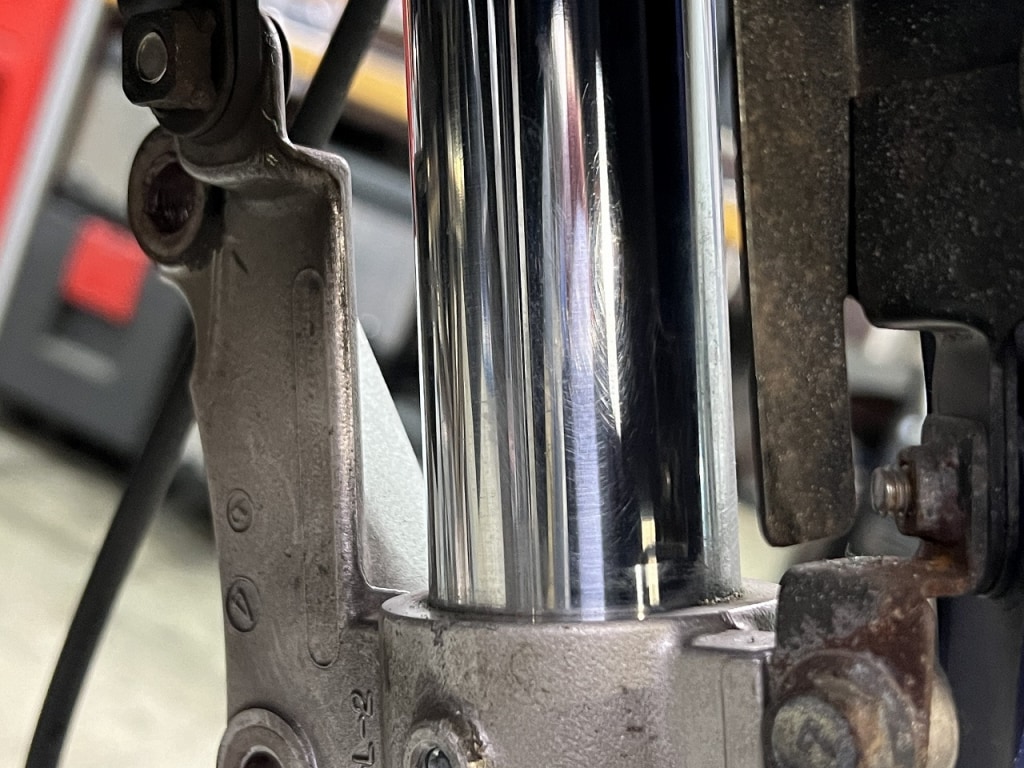
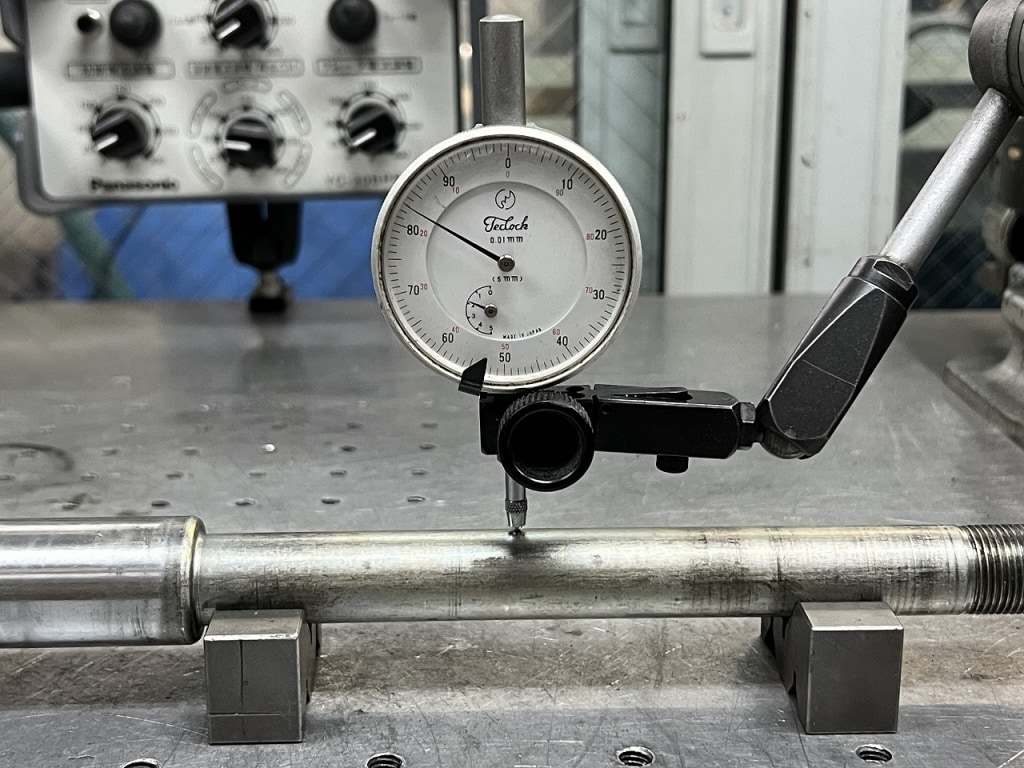
The inside of inverted forks inevitably rusts, so like in the photo, run some Scotch-Brite through there and polish it up now and then.
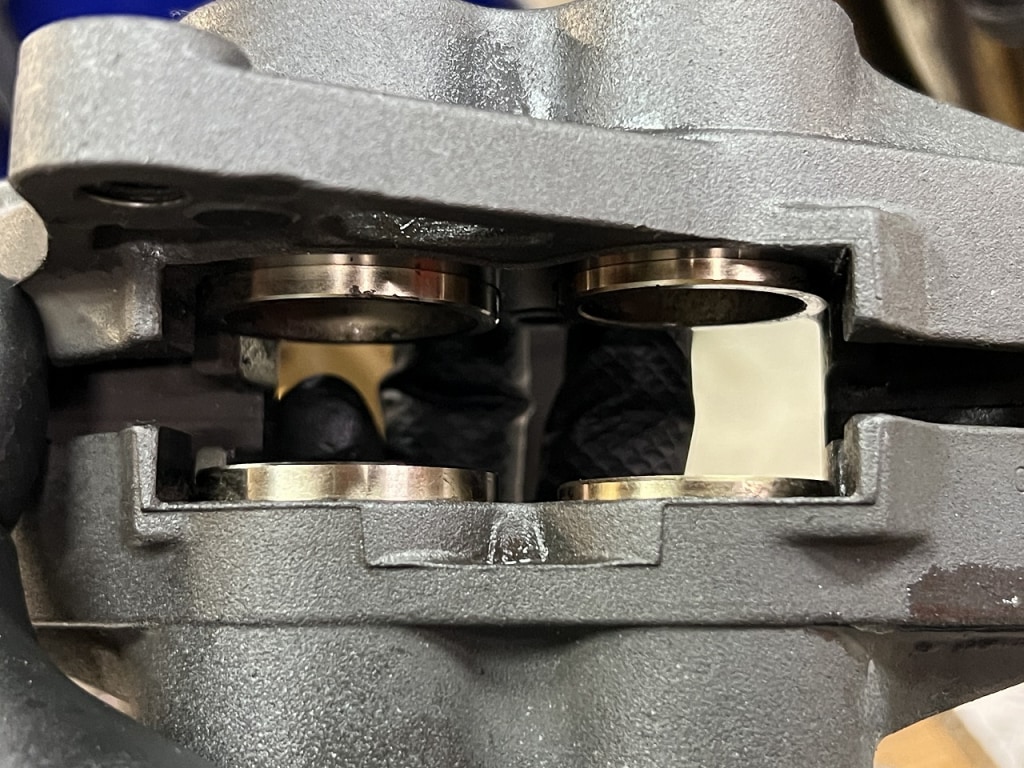
The brake caliper condition was better than expected. Based on the exterior appearance, I thought it would be in worse shape, but it turned out fine.
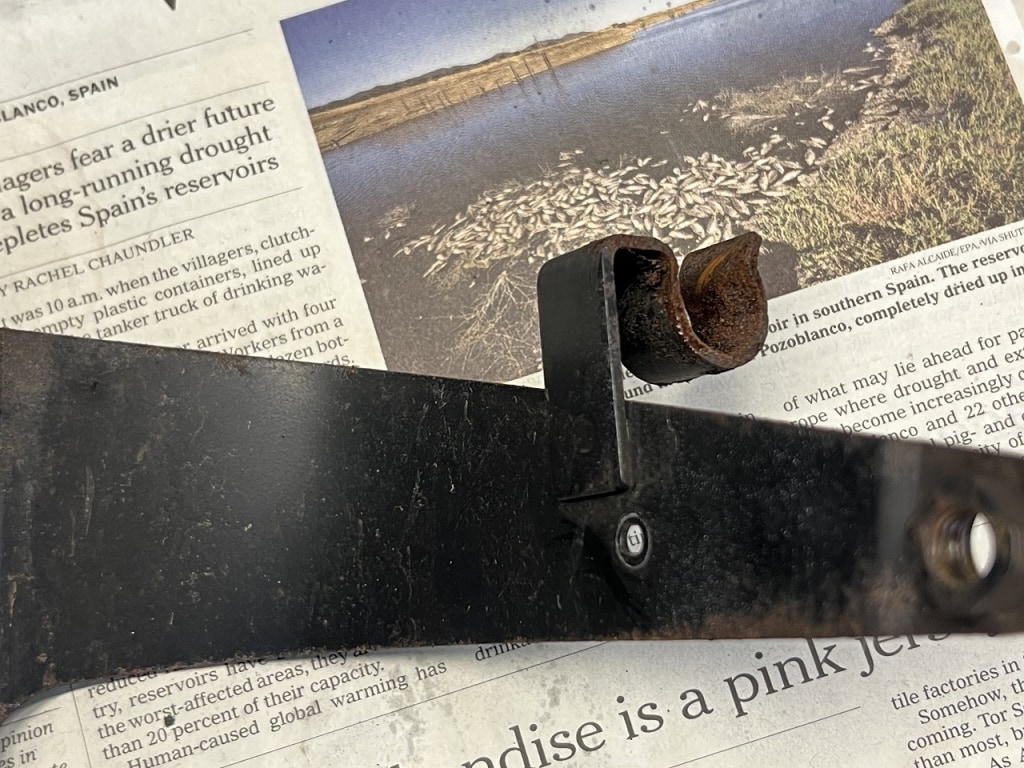
While I was at it, I cut off the stock brake hose clamp since we’re not using it.
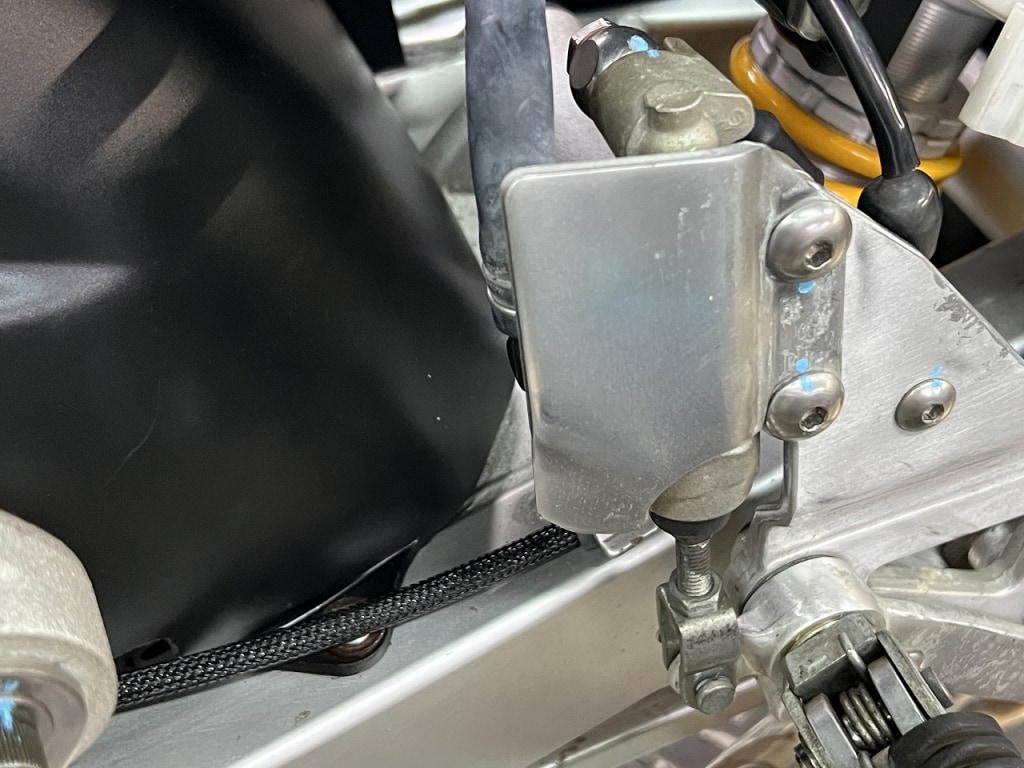
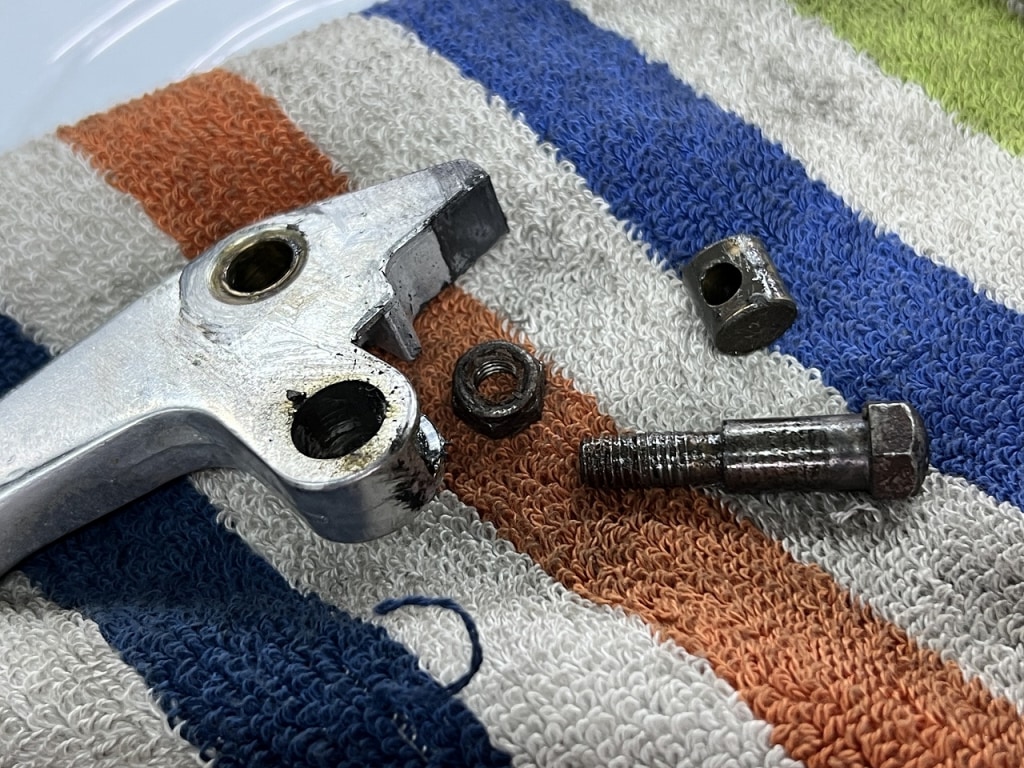
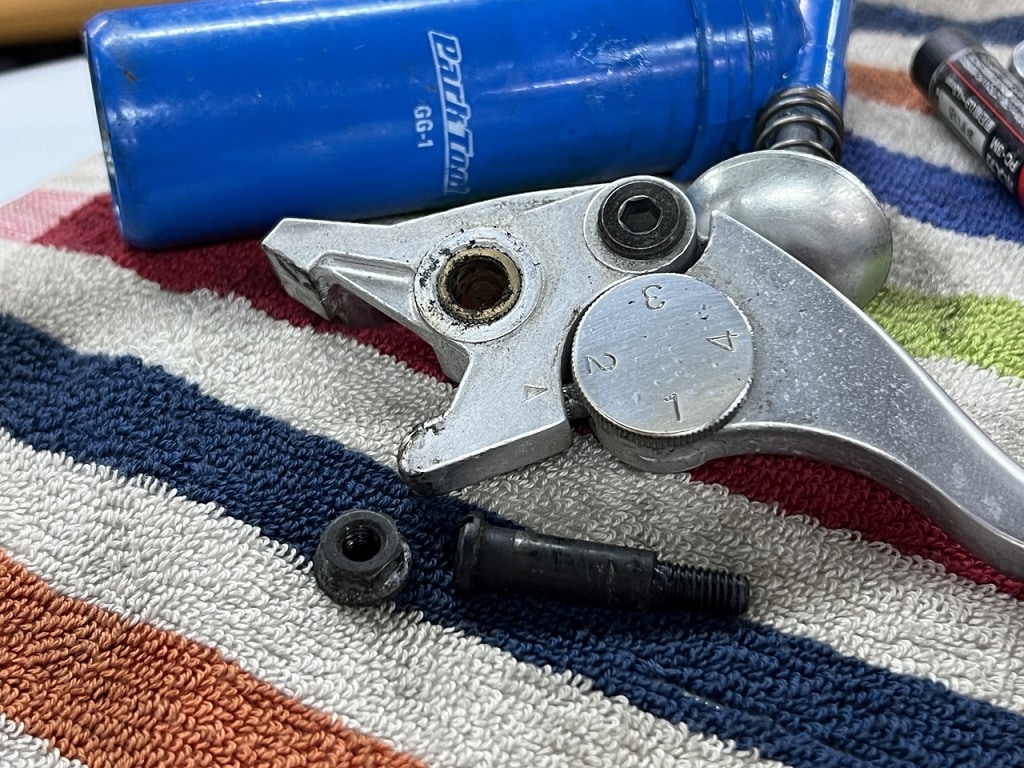
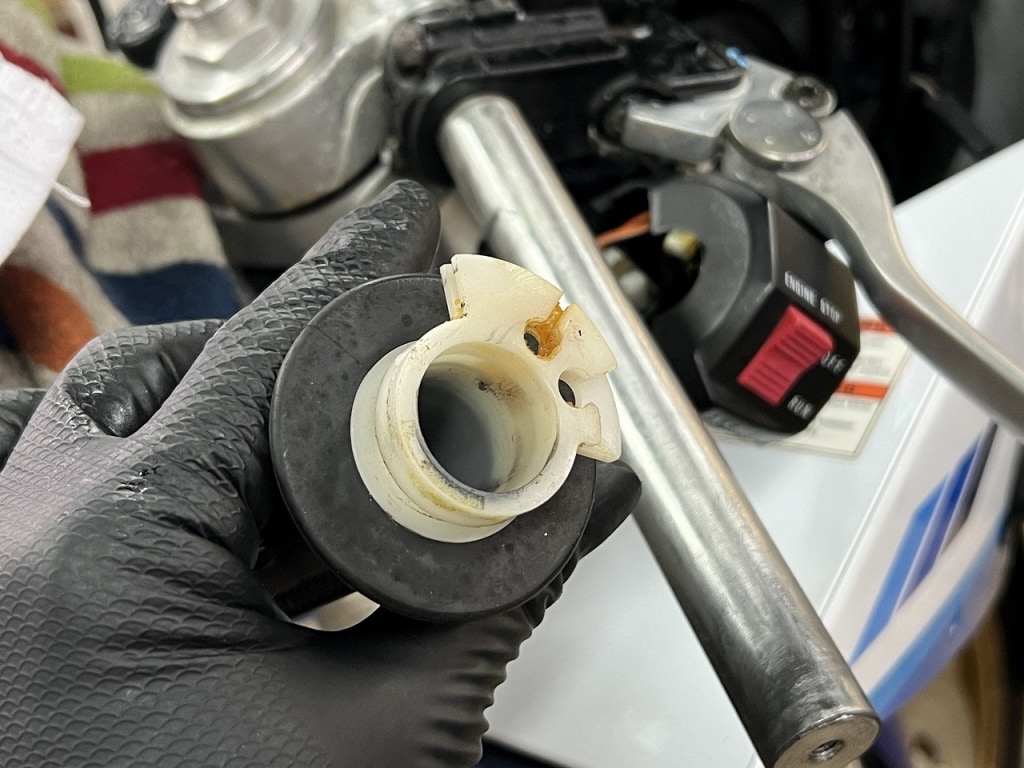
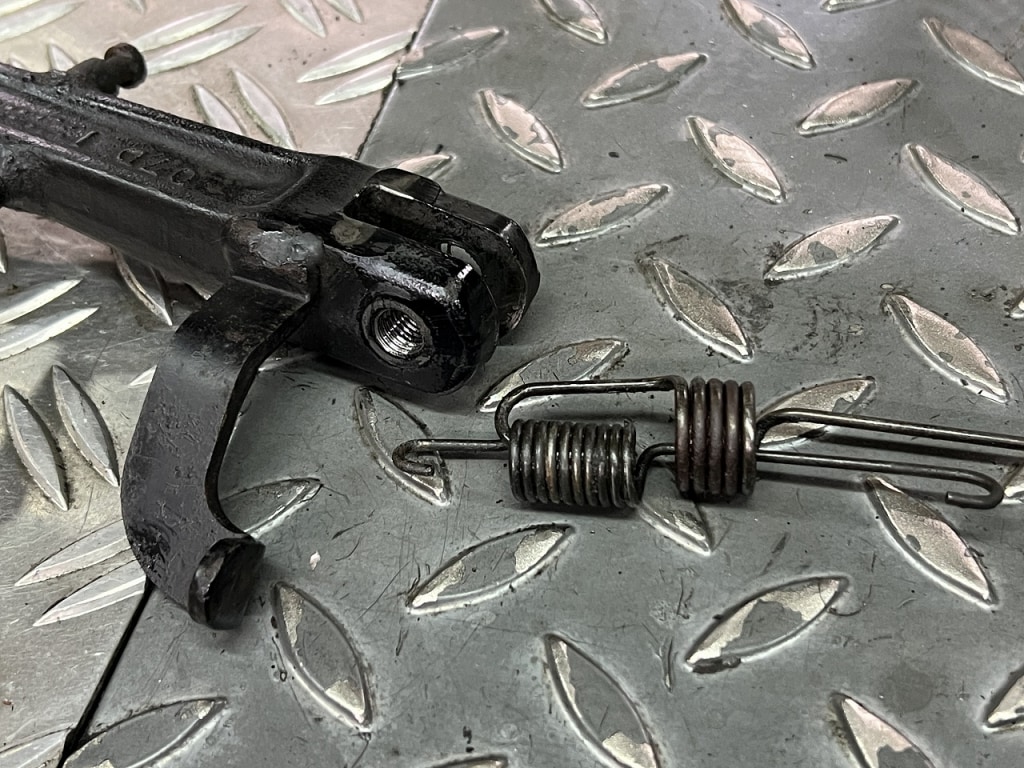
I disassembled and cleaned and lubricated the control systems. The pedal-related work was completed the other day.
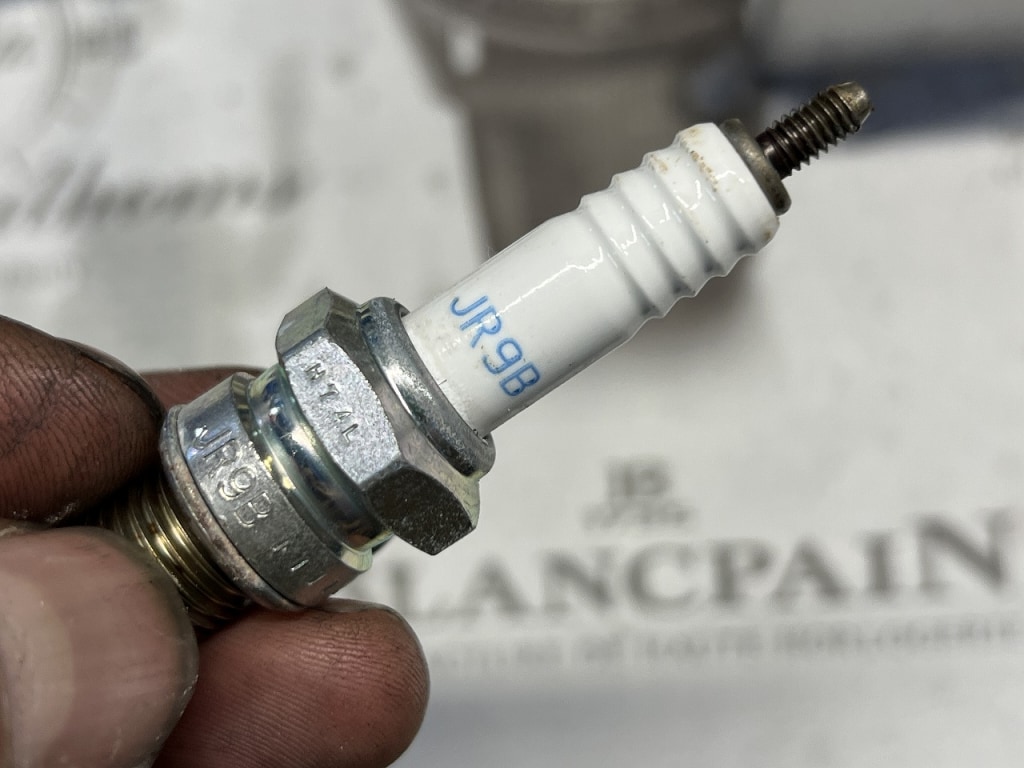
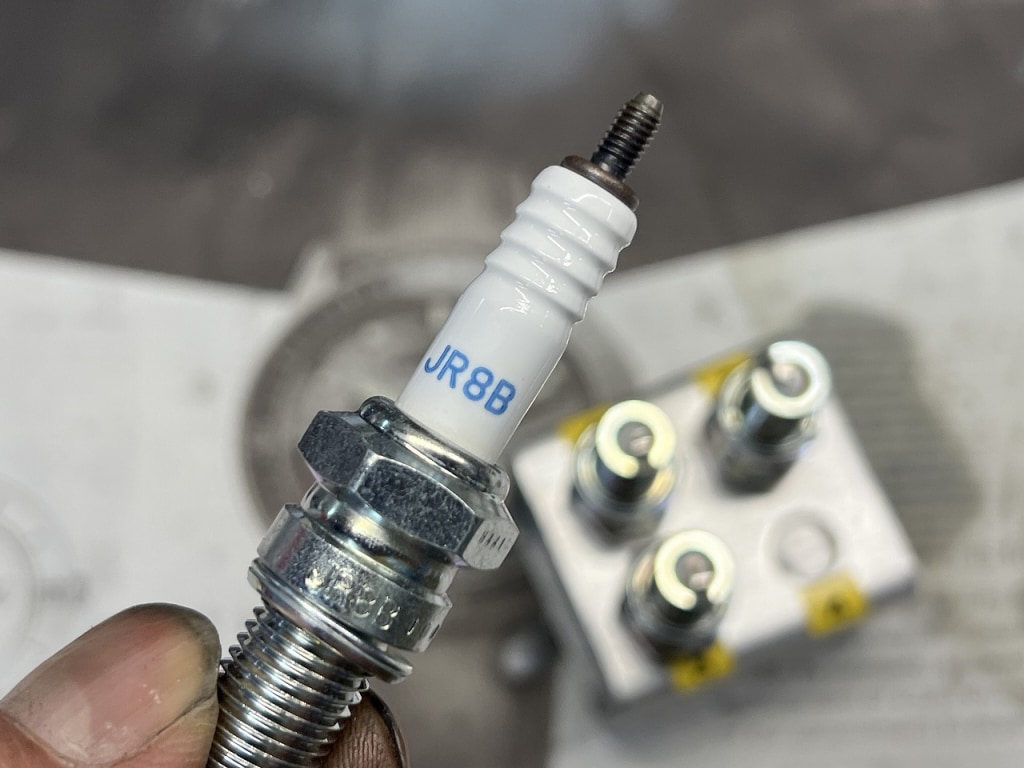
I’m dropping the heat range from JR9B to JR8B. For city riding, going down one heat range tends to run better.
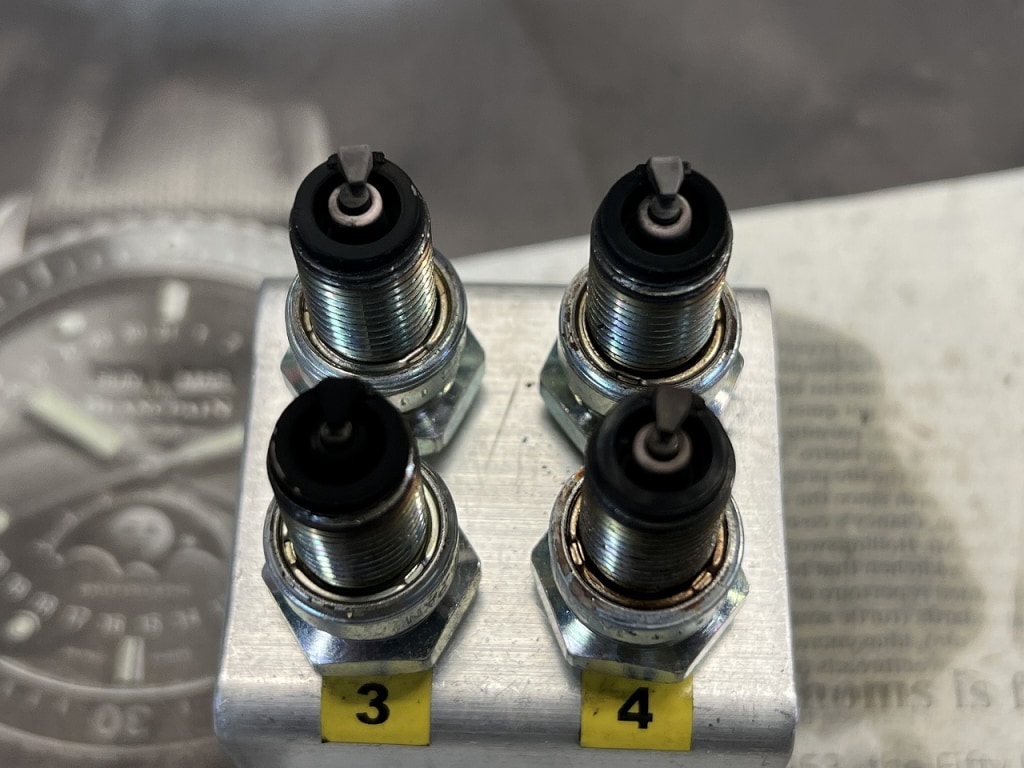
Cylinder 3 is fouling a bit, so we might have a carburettor issue down the road.



 ポチップ
ポチップ