We’ve been receiving work requests via land transport from Osaka twice a year. Thank you every time.
This time as well, we received various work requests in conjunction with the inspection. There’s a bit of a mysterious phenomenon occurring, so I’d like to check it out step by step.
We’re going to replace the pickup and stator coil (used).
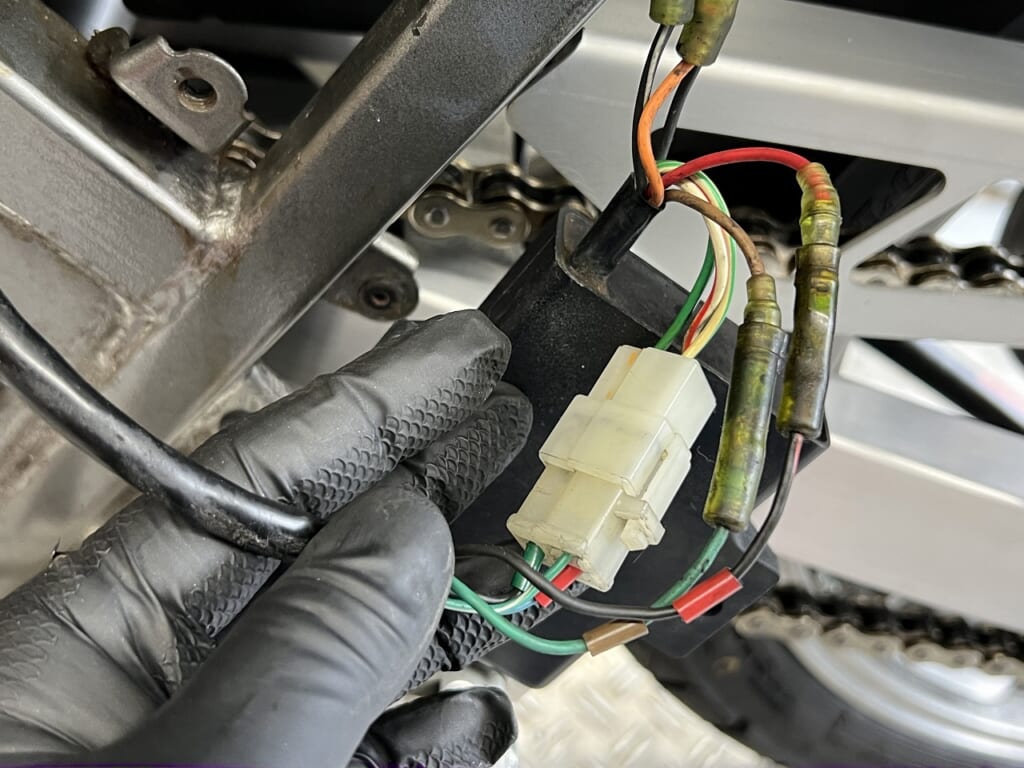
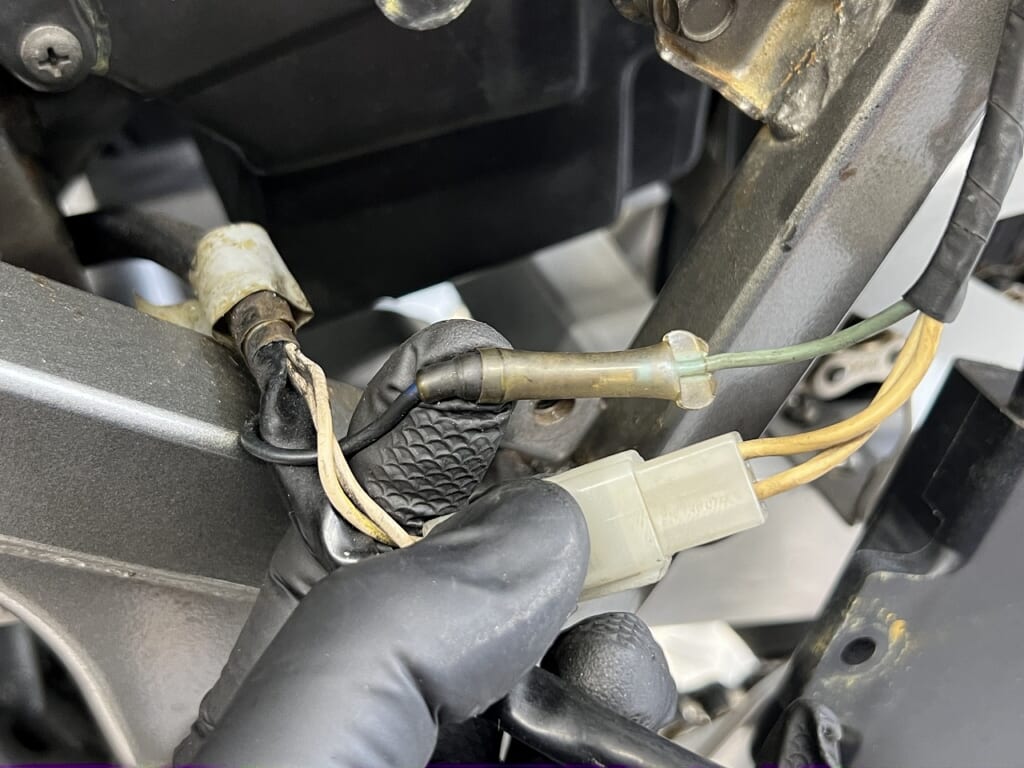
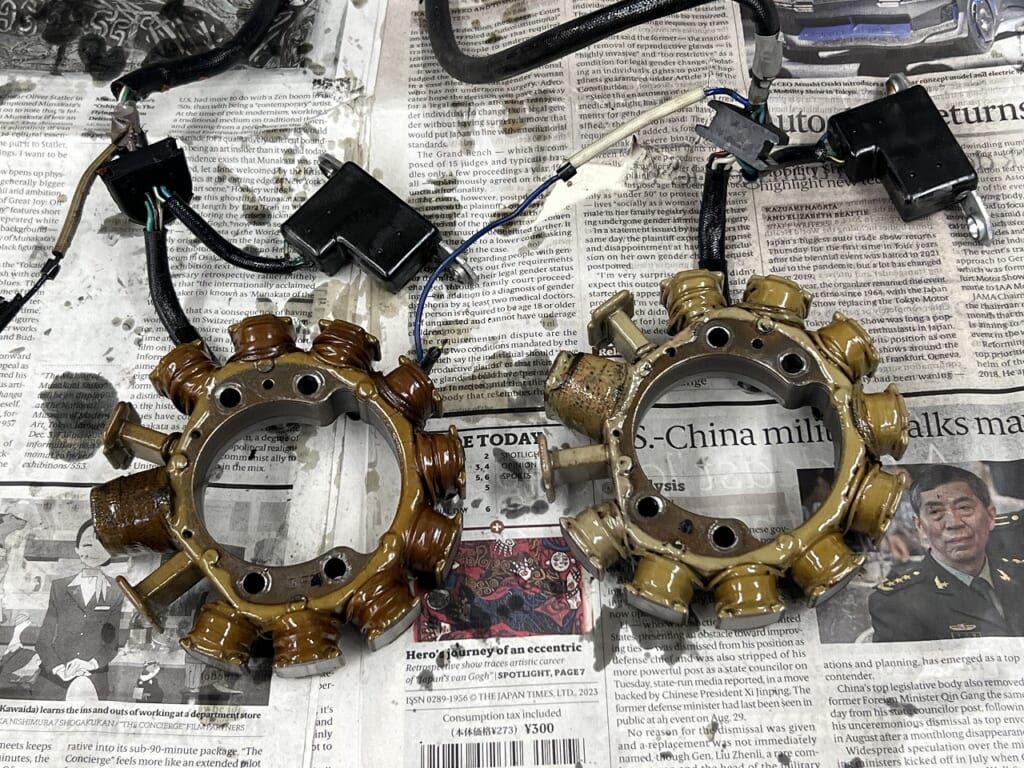
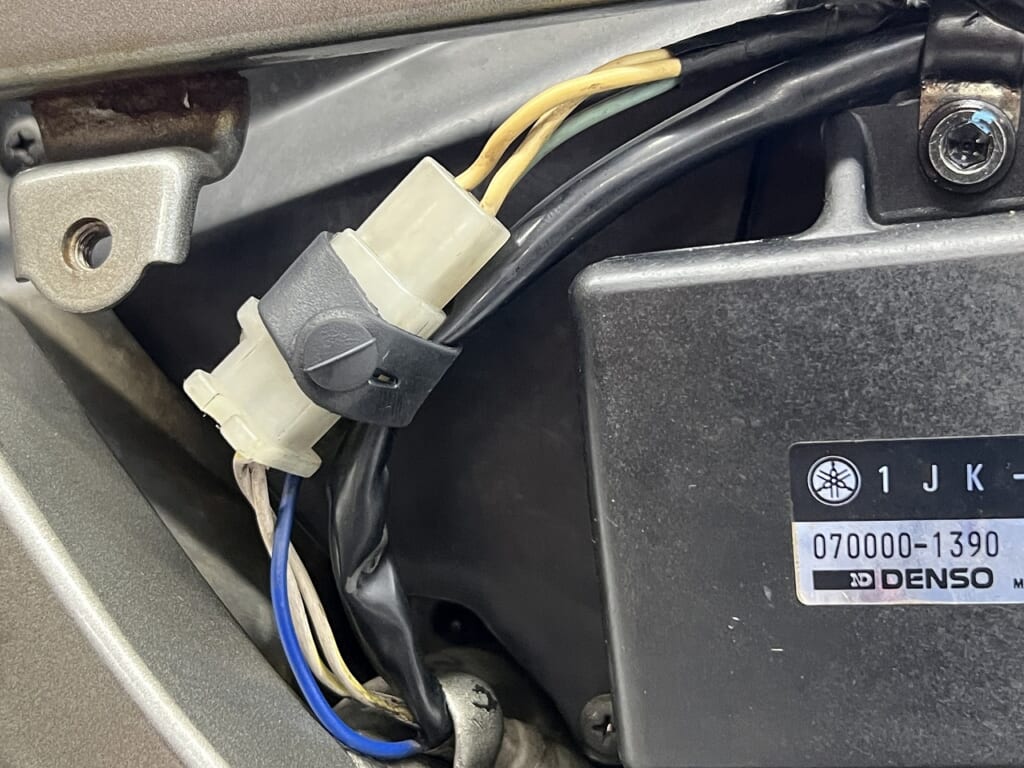
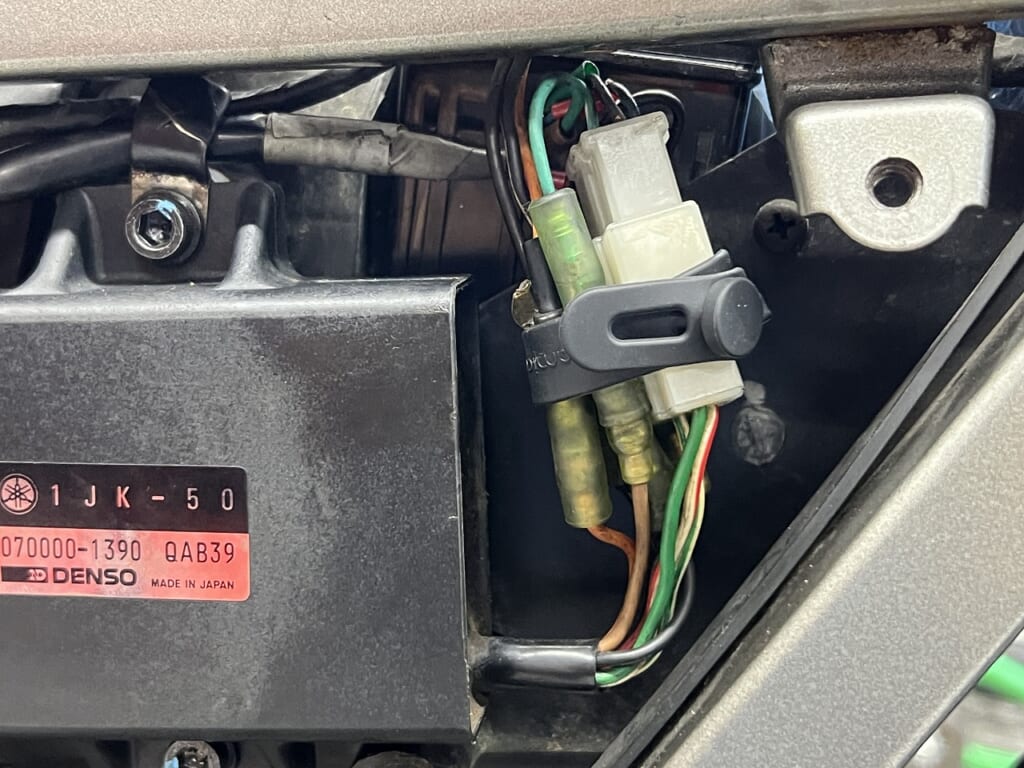
Before removing the wiring, it’s reassuring to check the wire colors on both sides. I thought it might be original, but the color difference is marked, which was a bit surprising.
At first I thought it might be modified, but that wasn’t the case. The SRX is two-phase, so you don’t really need much electricity with CDI anyway.
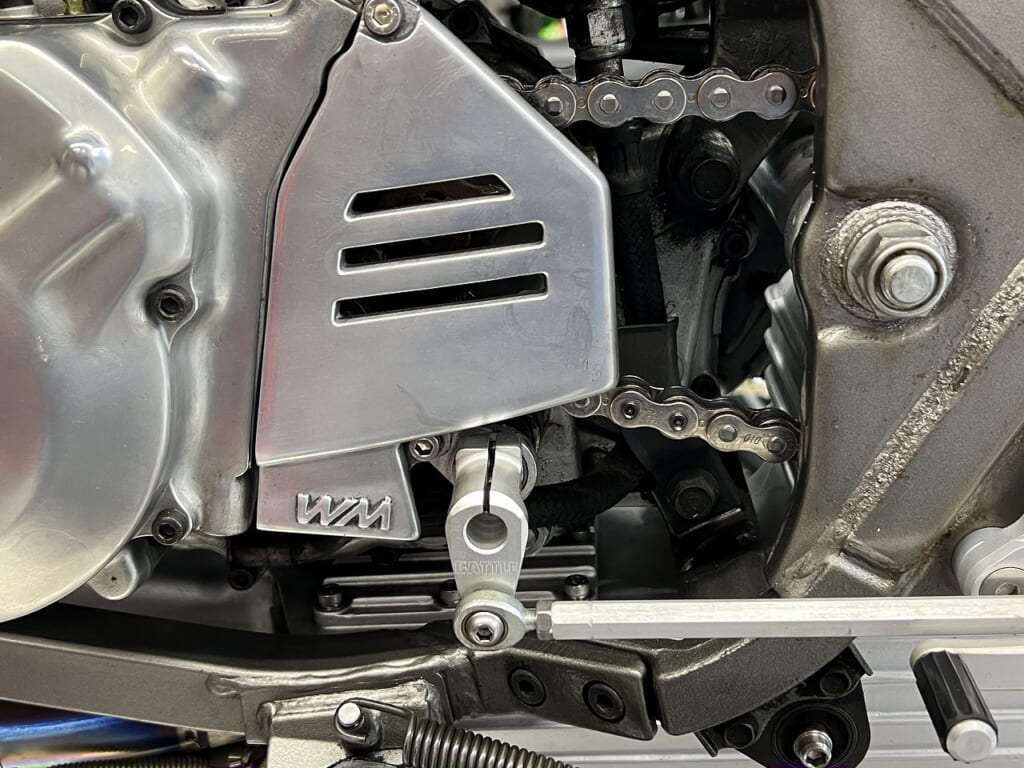
This happens more often than you’d think. When aftermarket parts are used, you can forget whether the arm goes up or down. I check the angle on the pedal side, but sometimes I still get confused, so I take photos to keep track.
We removed the cover and took out the pickup and stator.
The SRX has various discontinued parts coming up, so we need to keep used stock on hand. The color wasn’t too faded and it was in nice condition.
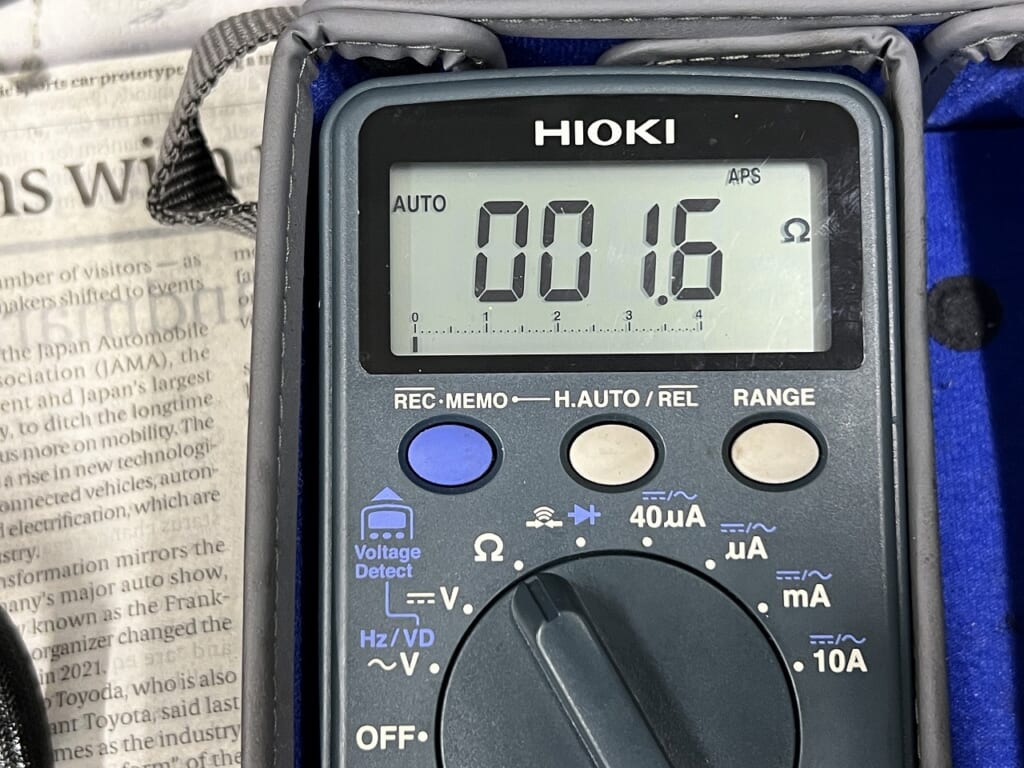
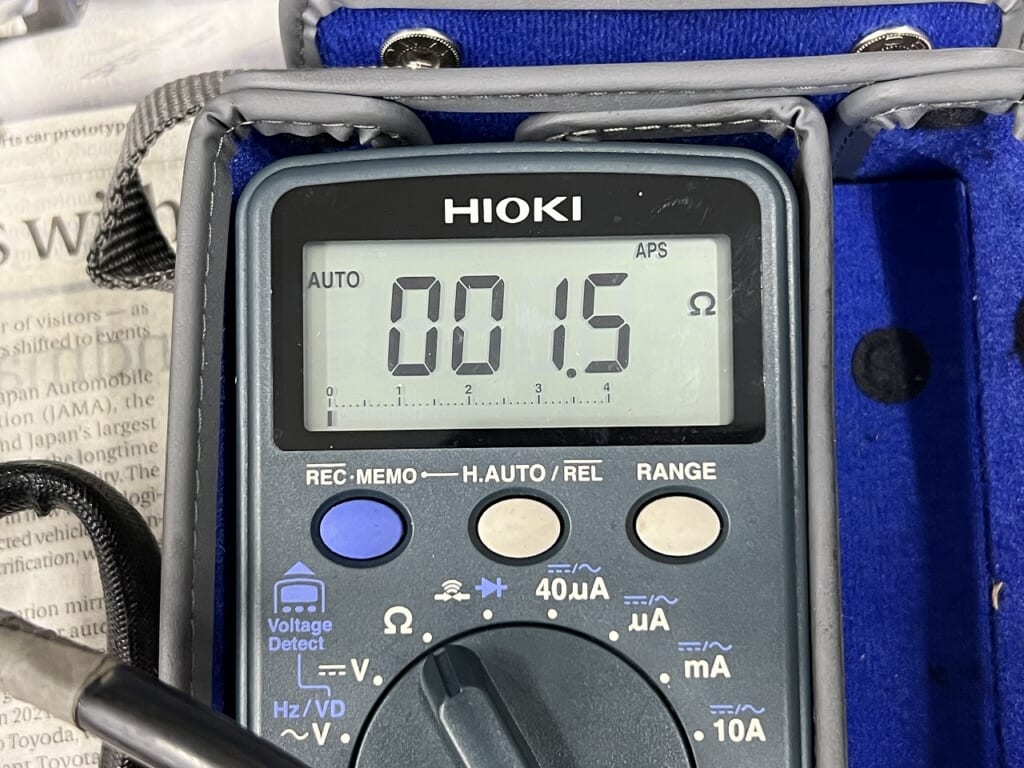
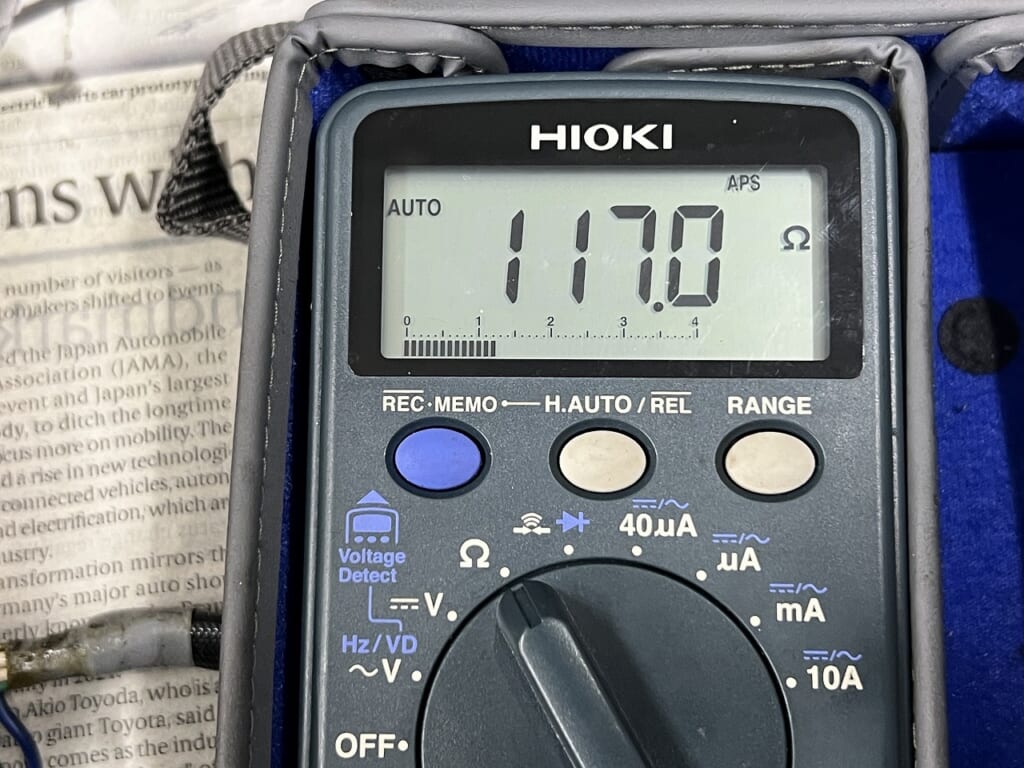
The numbers didn’t differ much between old and new, so I only photographed the new one. Rounding to 0.2 ohms puts it within acceptable range.
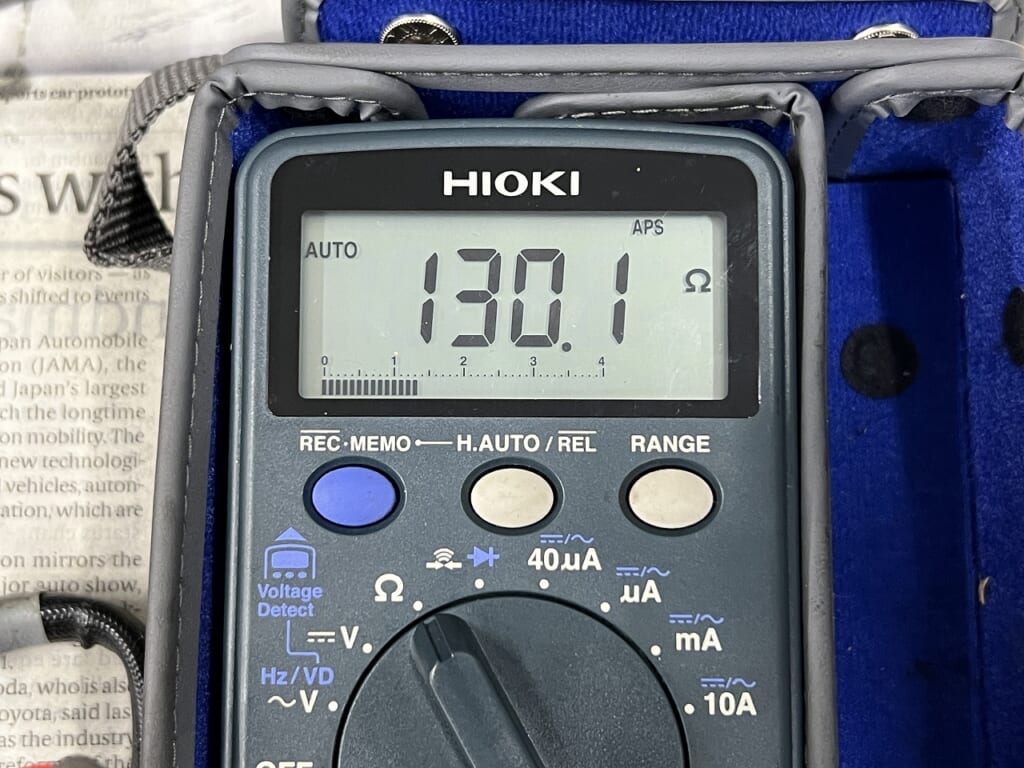
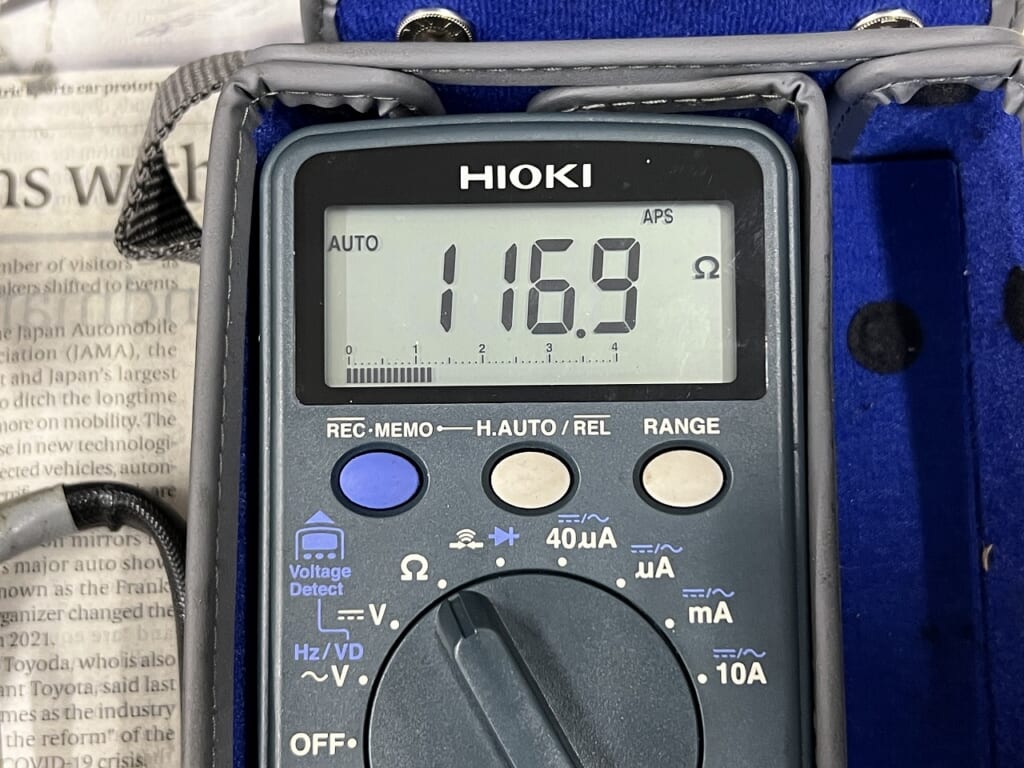
Next we’ll check the pickup.
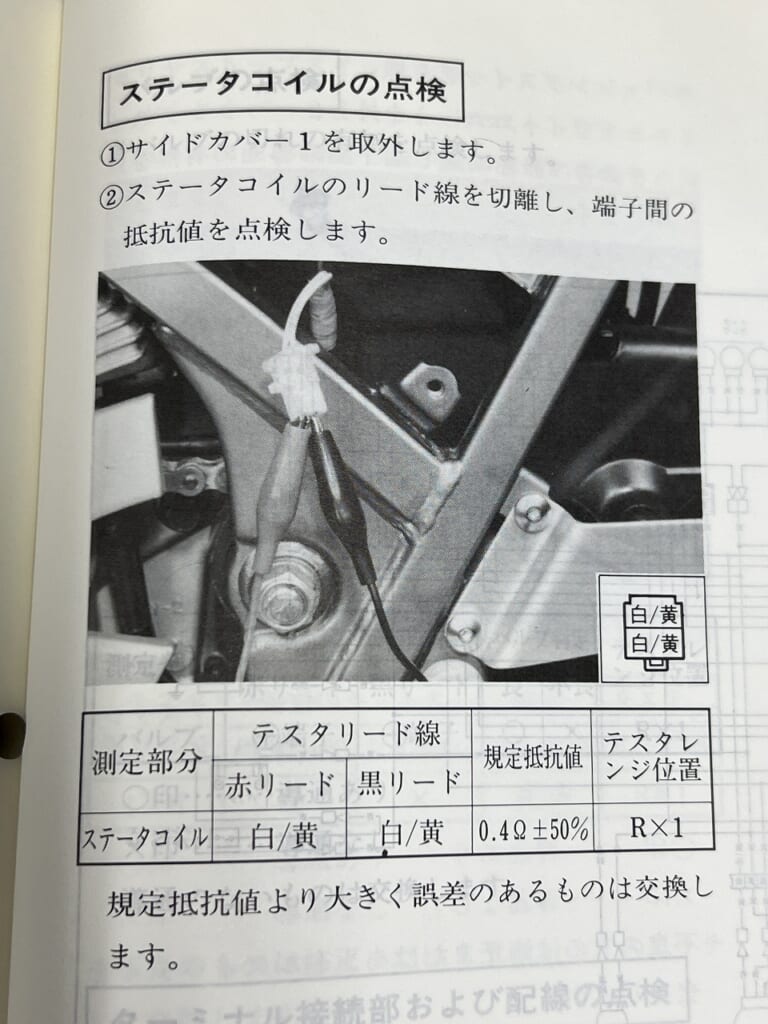
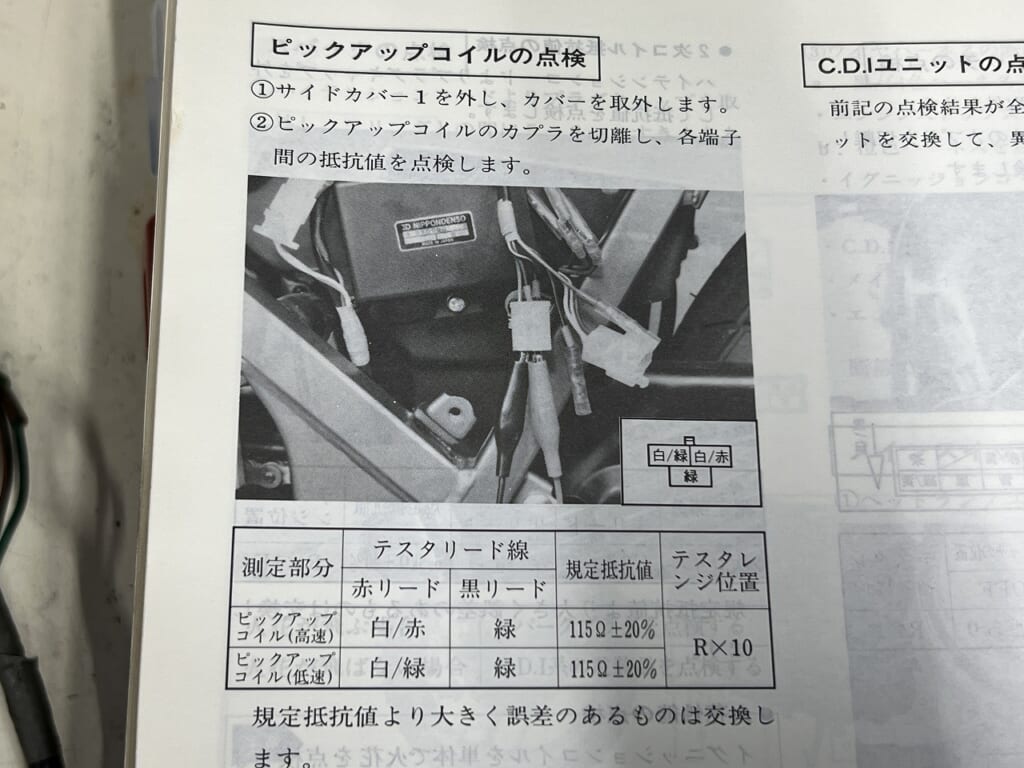
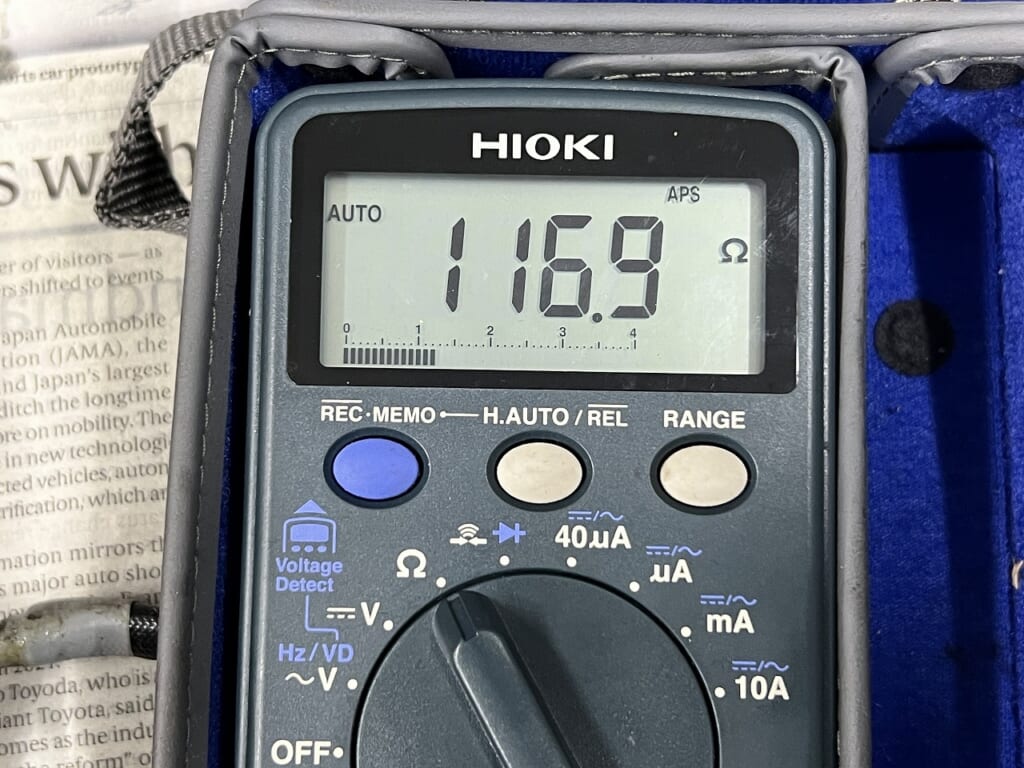
Let me check the manual: 115Ω±20% = 92~138Ω.
Both are technically within spec, but they’re a bit on the edge.
The other used part that was brought in had similar numbers for both. So we can install it with confidence.
The Amazon silicone bands from the other day are working great! I won’t use the original anymore.
Sorry, the image on the left is the original. I have extras, so I’ll use them liberally.
These are really convenient for organizing fine wiring like this.
Since they’re silicone, they don’t slip out! What I’m trying to say is that it’s hard to secure connectors and wiring with cable ties. Silicone and rubber conform to the shape and hold things in place. If you want to keep your wiring layout as clean as possible, definitely try this.
We replaced the pickup and stator, but the starting is still iffy…
Before installing the Watanabe, let me first check how it performs with the original. The CDI has one ground wire, so it needs to be properly grounded.
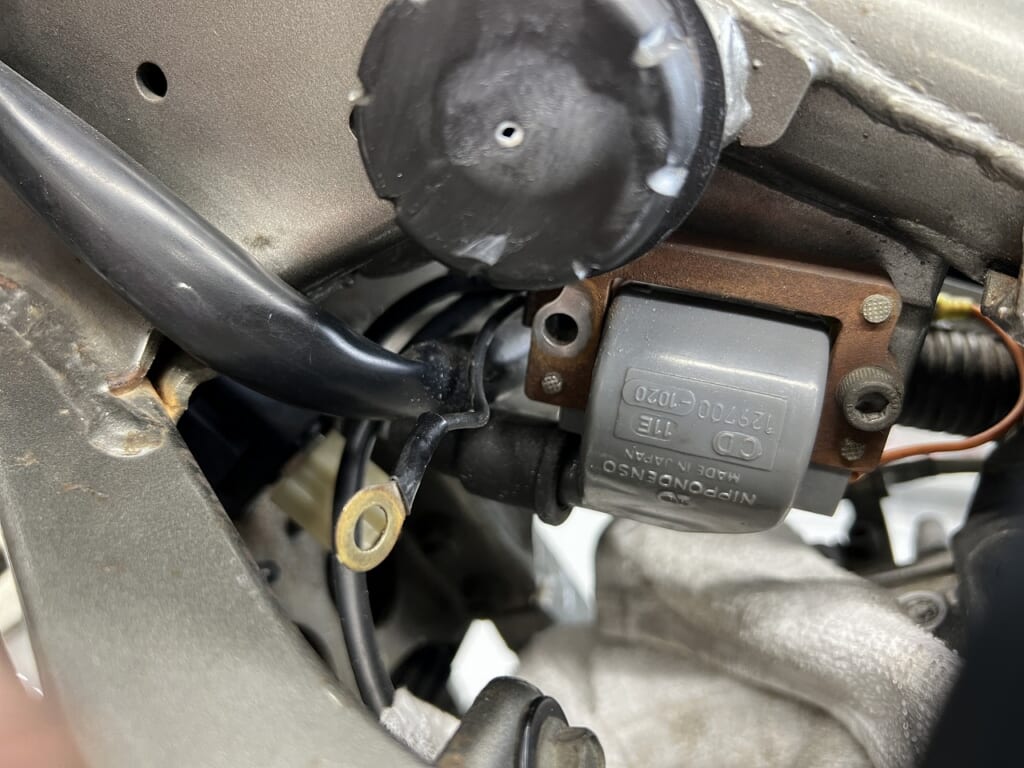
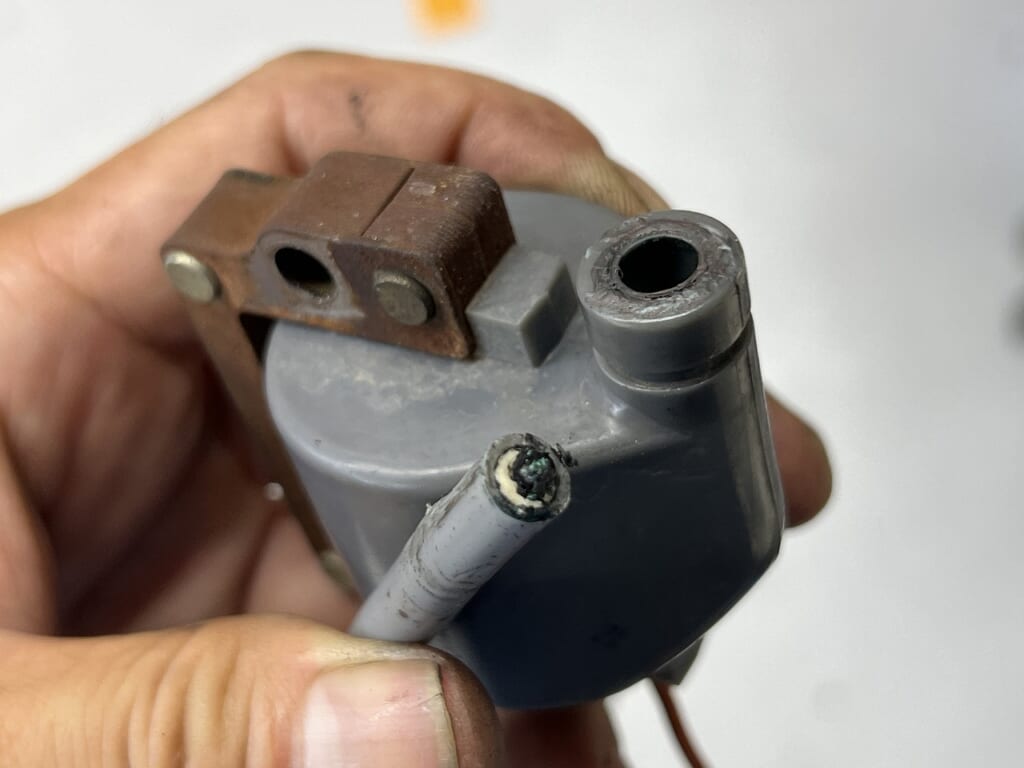
I removed the plug and checked for spark, but it’s barely producing “ant pee” level spark.
This seemed wrong, so I removed it to check.
This is… definitely hard to ignite in this condition. Seeing it already sooted up, “It really tried hard to produce a spark,” I felt a bit sympathetic.
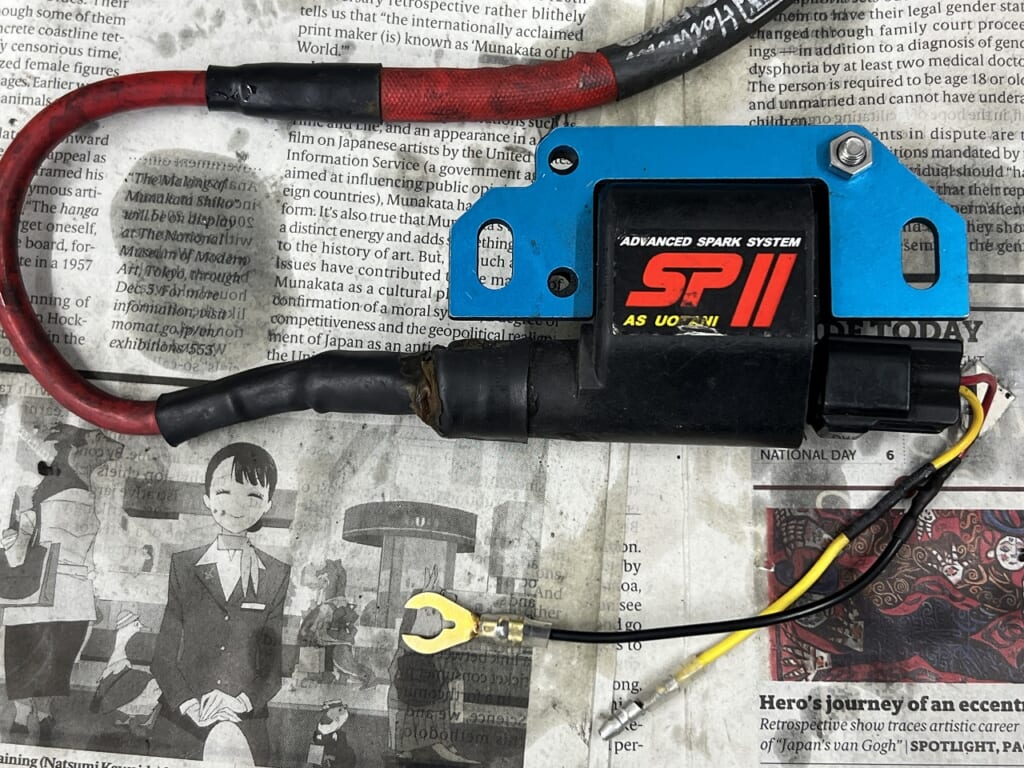
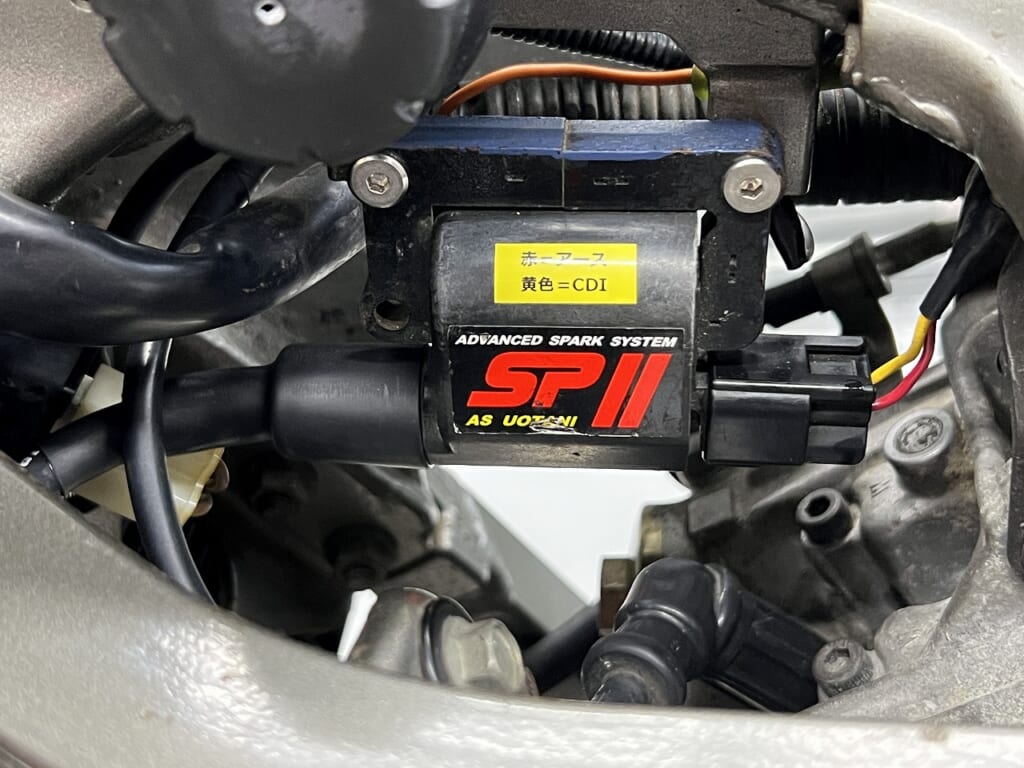
Let’s install the used Watanabe coil that was brought in.
It’s quite sharp looking. I had a bad experience with Nology hot wire in the past, so I absolutely won’t use it. If this product breaks and leaks, it’s really dangerous.
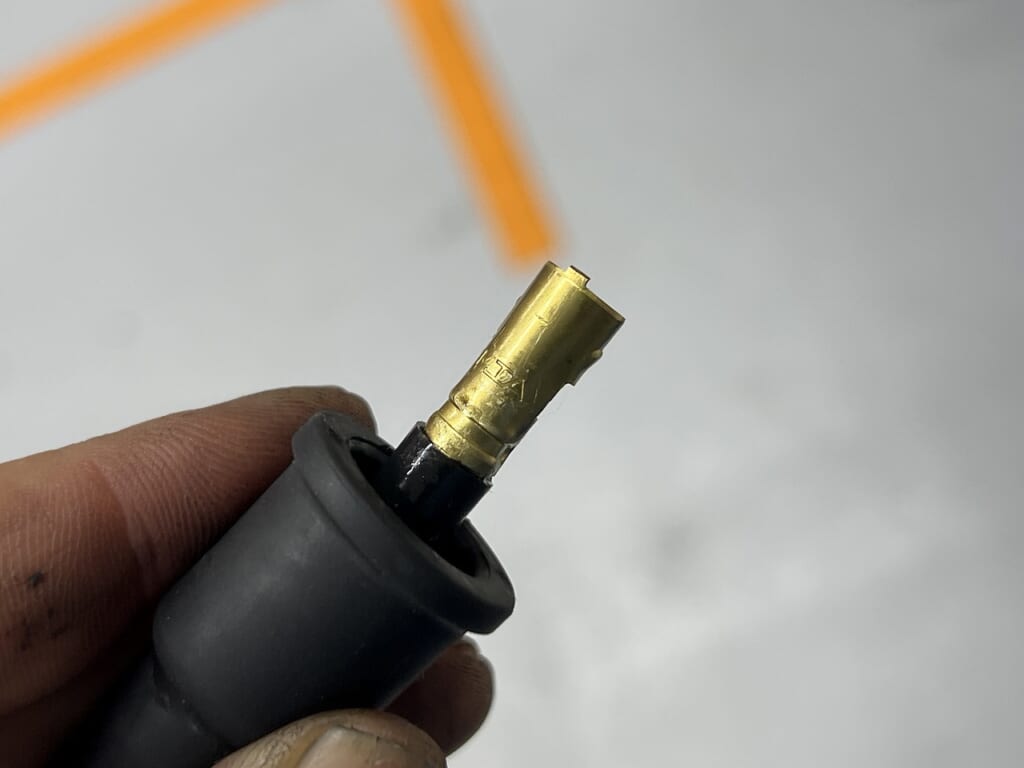
The terminals are from my four-wheel stock. You can use them as-is, but if you spread them slightly and insert with a firm “click” resistance, it’s more reliable. I think so.
These products that come loose easily are really frustrating. I make sure they won’t come out unless you cut them.
A crisp, clean start feels really good (*´ω`*)
When the engine fires up this smoothly, it’s really fun.
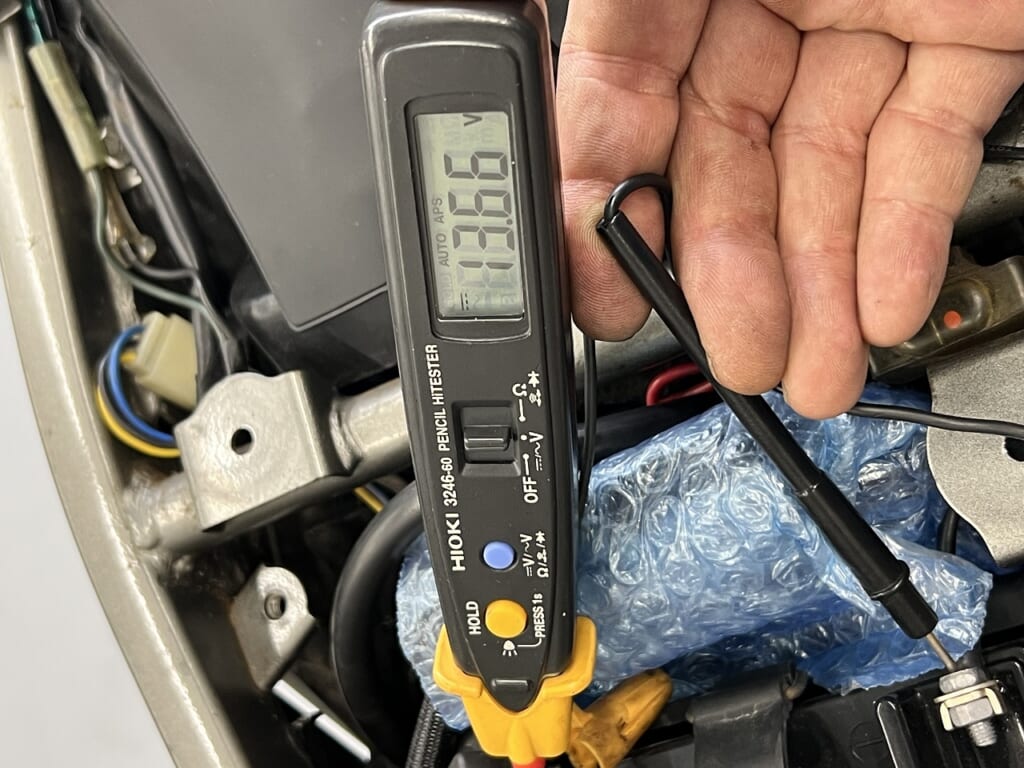
The generated voltage is about this with the light on. Even at higher RPMs, the regulator is working properly.
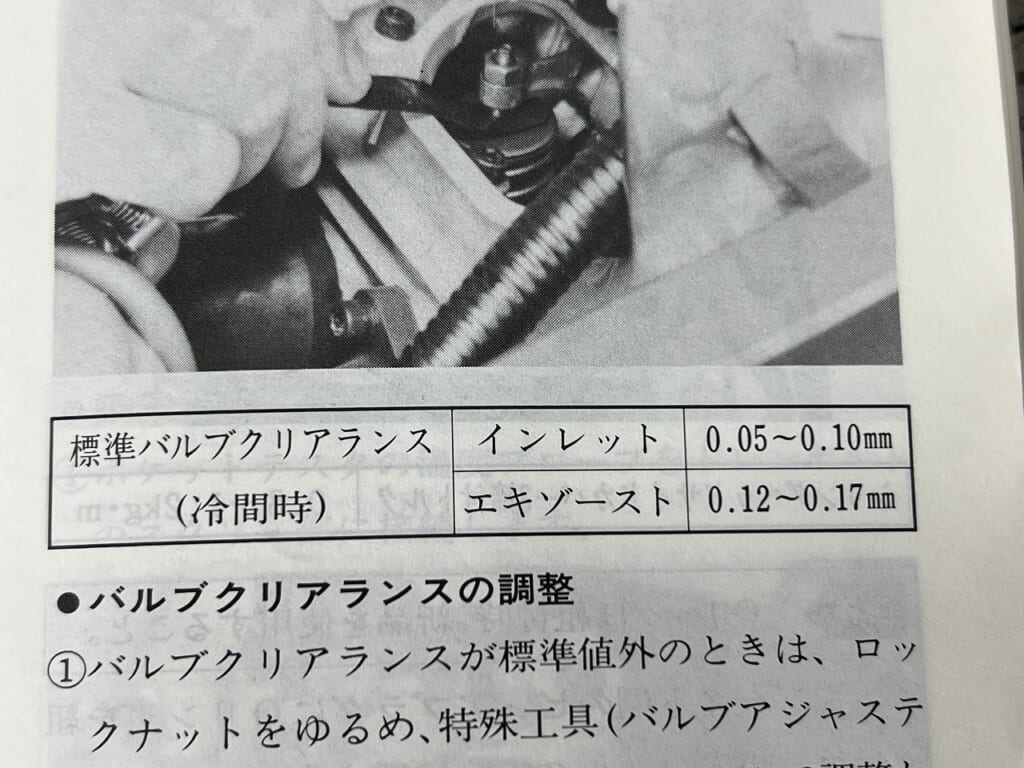
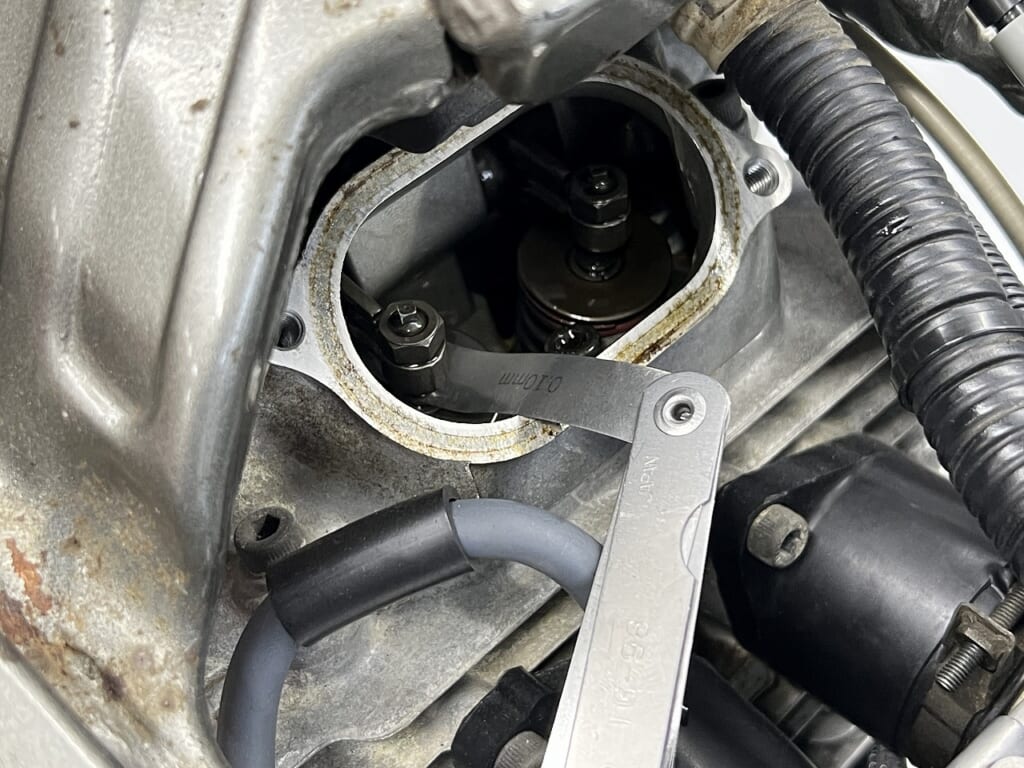
Just to confirm! Valve clearance issues on singles and twins can cause hard starting.
I’ll set it to the wider side as much as possible. Don’t worry, it won’t get much louder.
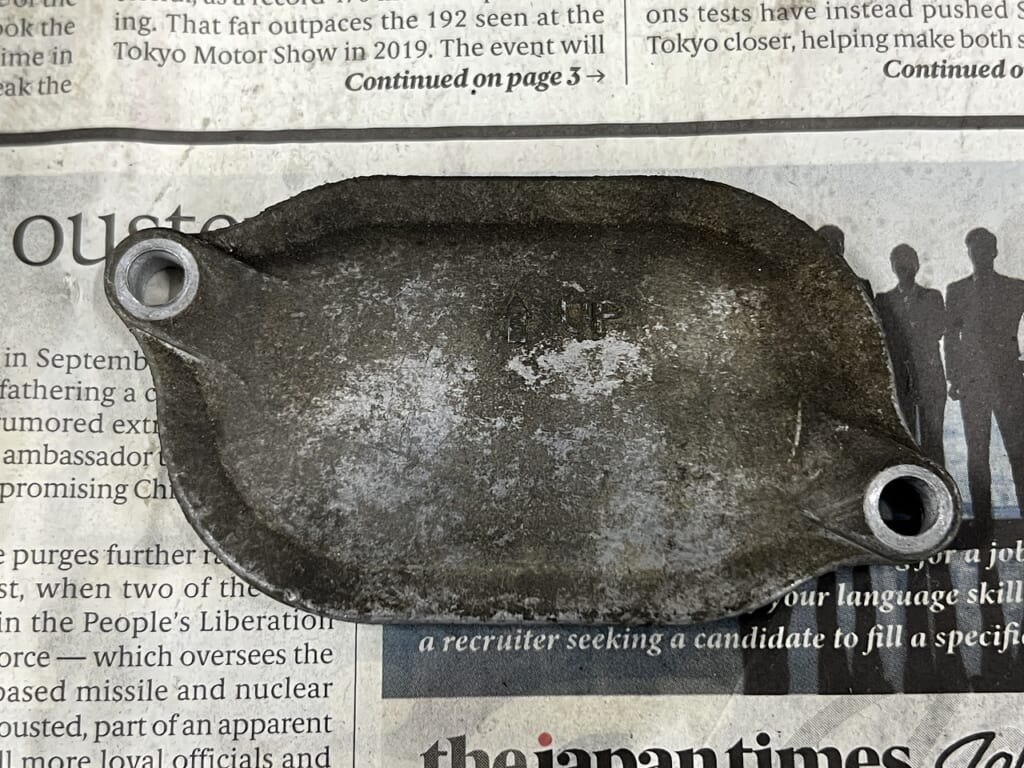
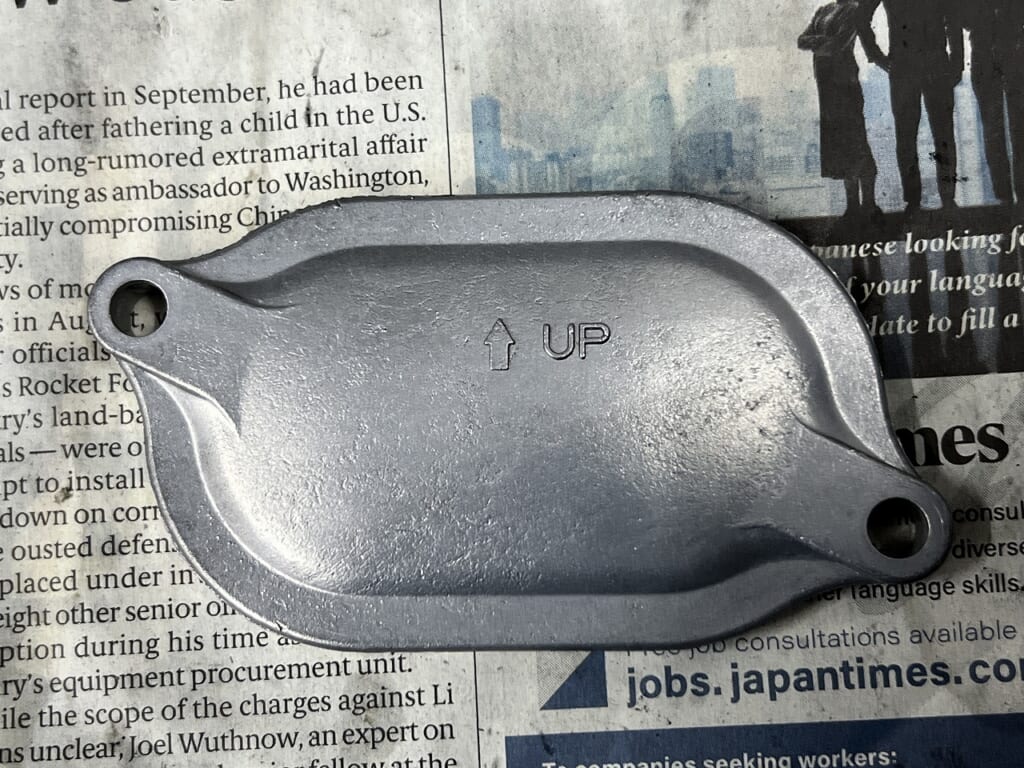
The exhaust side valve cover was dirty, so I wet blasted it. I haven’t ordered O-rings yet, so I’ll order them.
Something just clicked for me.
It’s unusual to remove and check parts that are already in use, but I wondered if the engine could really be starting this poorly.
Especially when warm, the owner said it runs really badly, so I thought maybe fuel isn’t flowing.
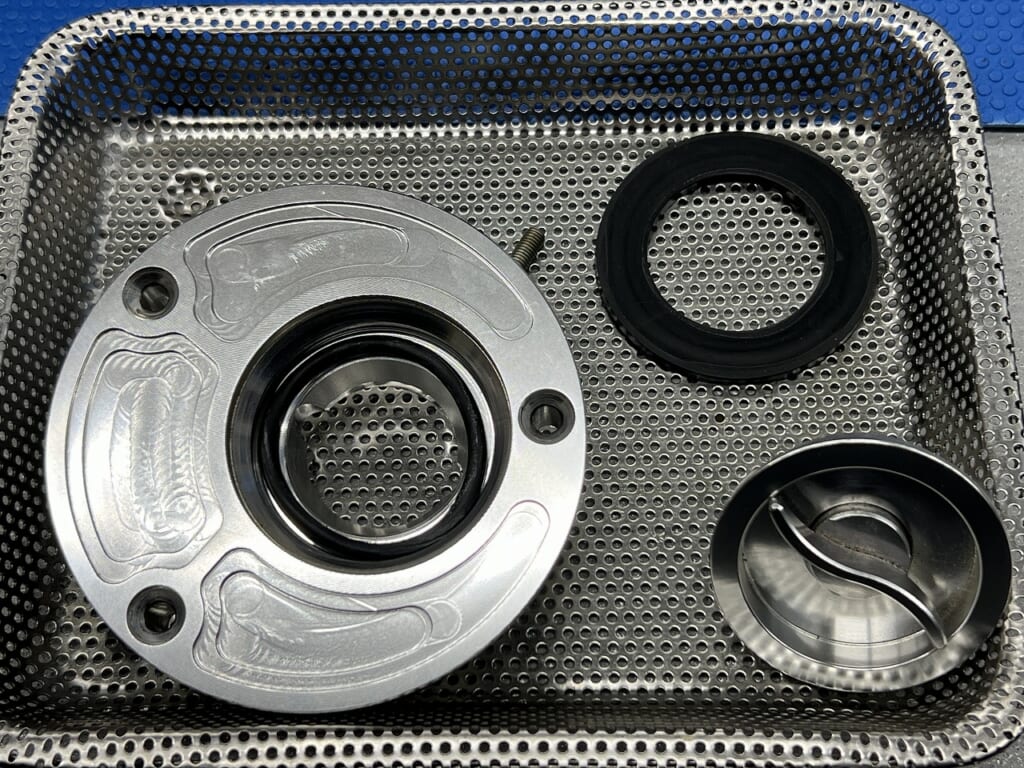
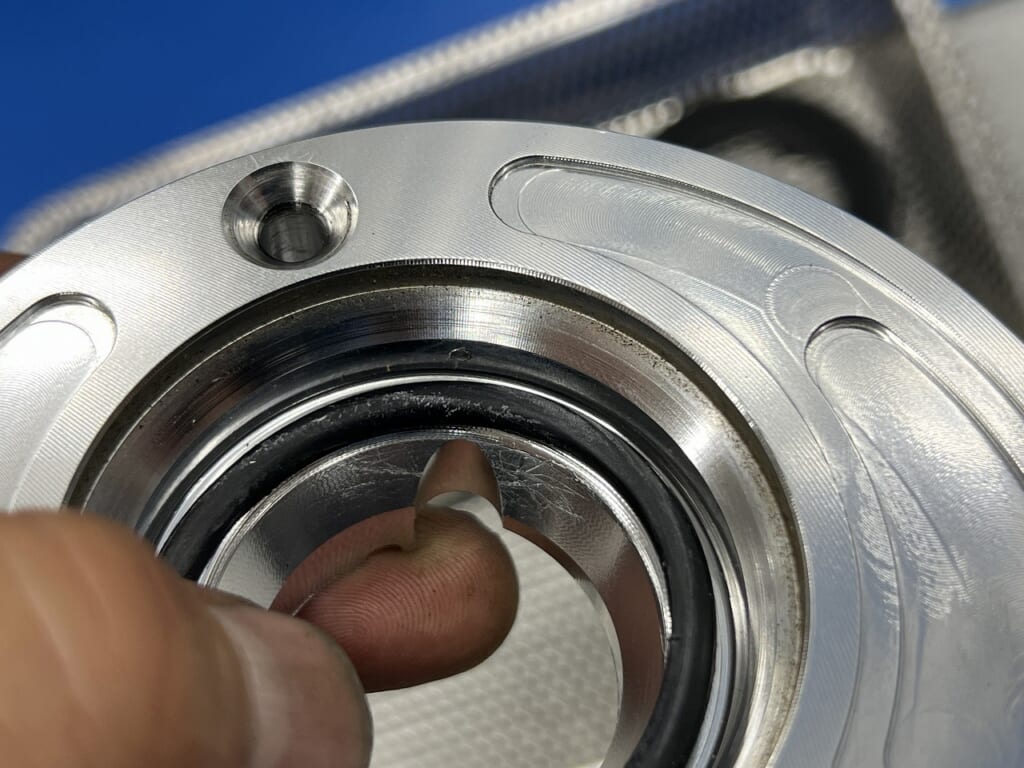
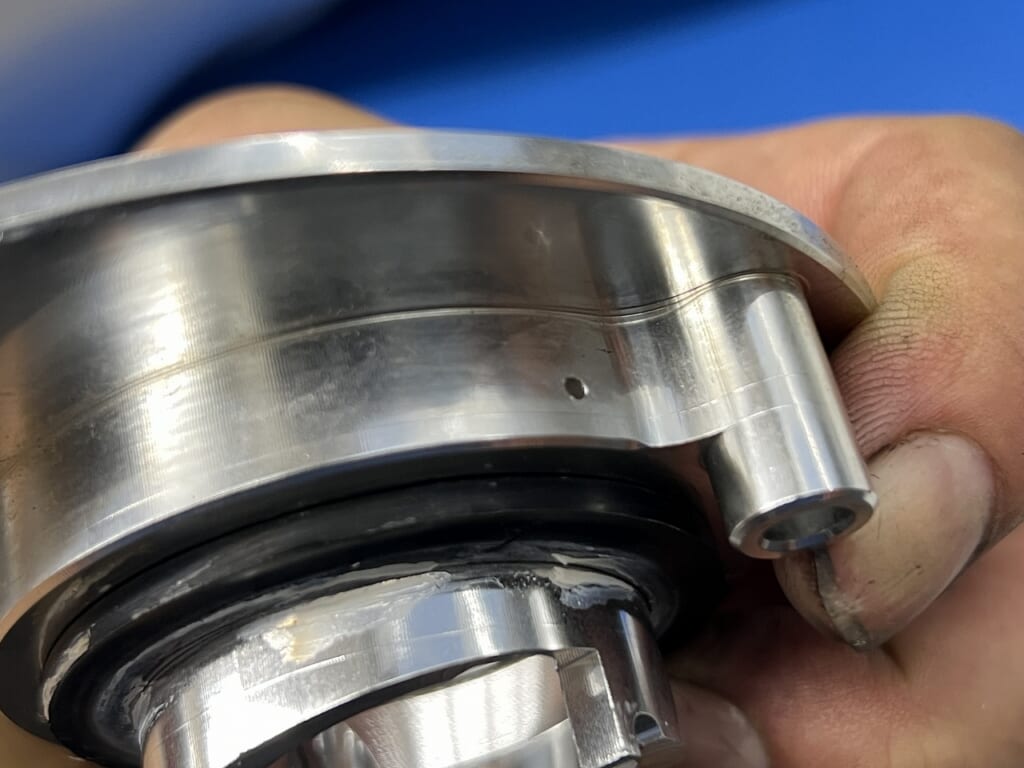
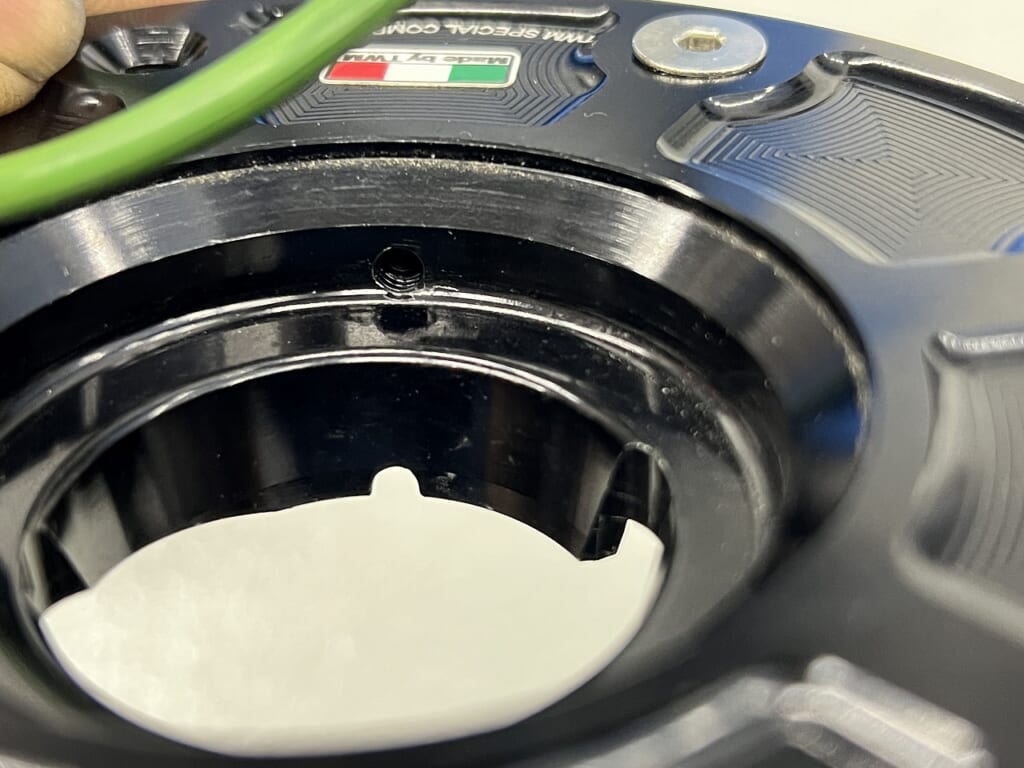
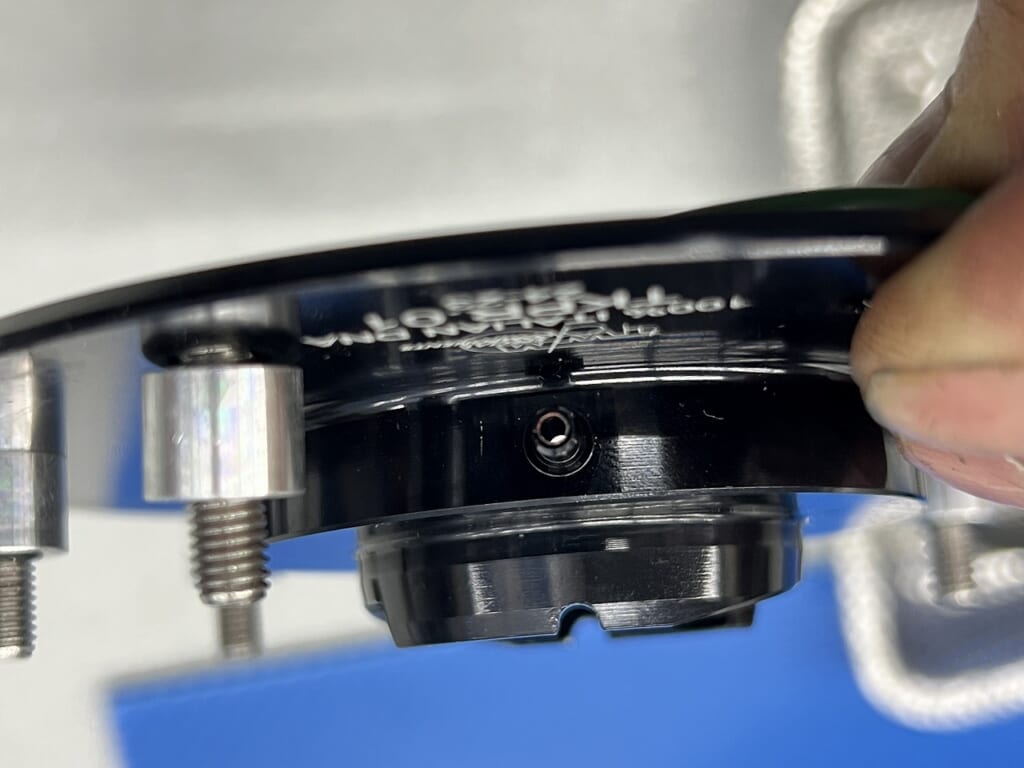
I see… it’s sealed but vented to the open outside. This could cause the tank to suffocate.
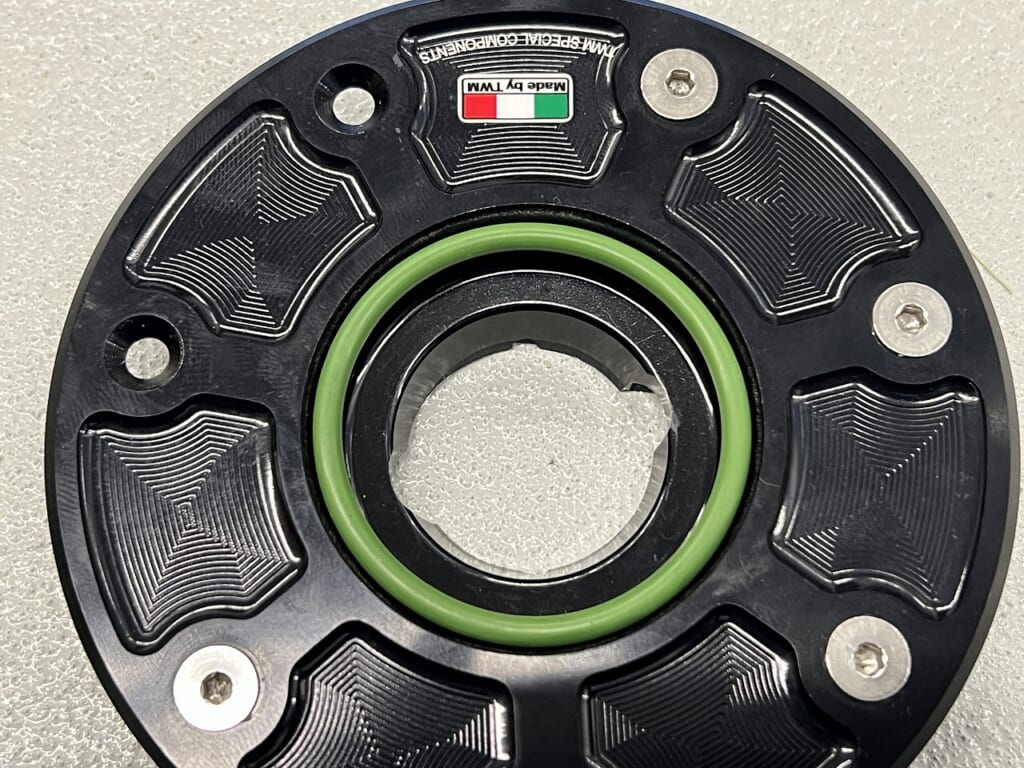
It vents between the green O-ring and the base gasket (not visible in the image).
When using an aftermarket fuel cap, choose one like this.
This is just a guess, but this time, possibly by changing the carburetor, the fuel tank became starved for air and caused insufficient fuel flow. It’s possible. The stock carb might have been managing somehow. To be safe, either return the fuel cap to stock or choose something like TWM.
That covers most of the potentially problematic areas!
We’ve checked ignition, valve clearance, and fuel, so unless the CDI unit breaks, we should be fine.
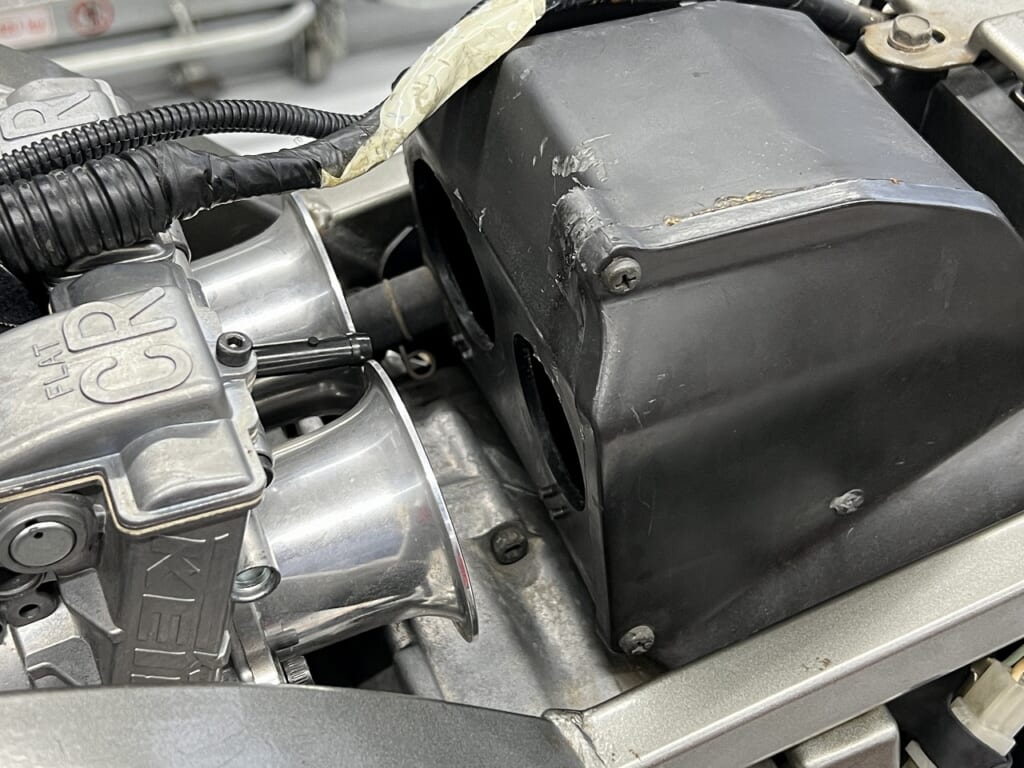
I won’t do it, but just cutting this box in the back would probably improve intake flow quite a bit. Customizing motorcycles and putting it all together is really tough.







 ポチップ
ポチップ