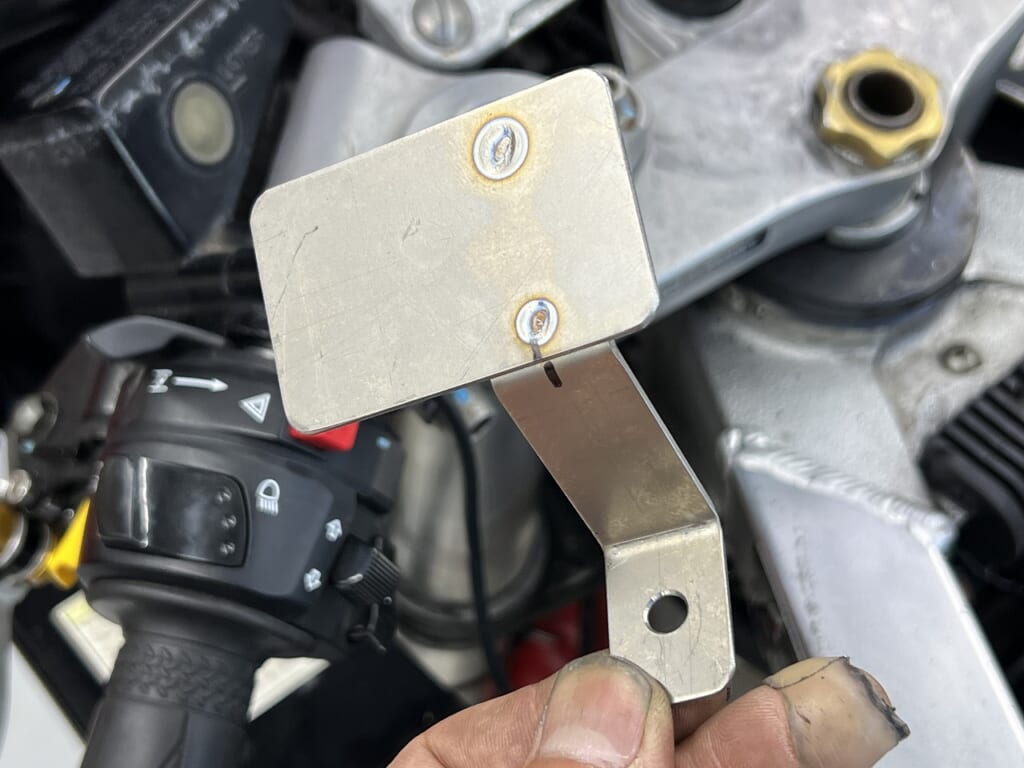
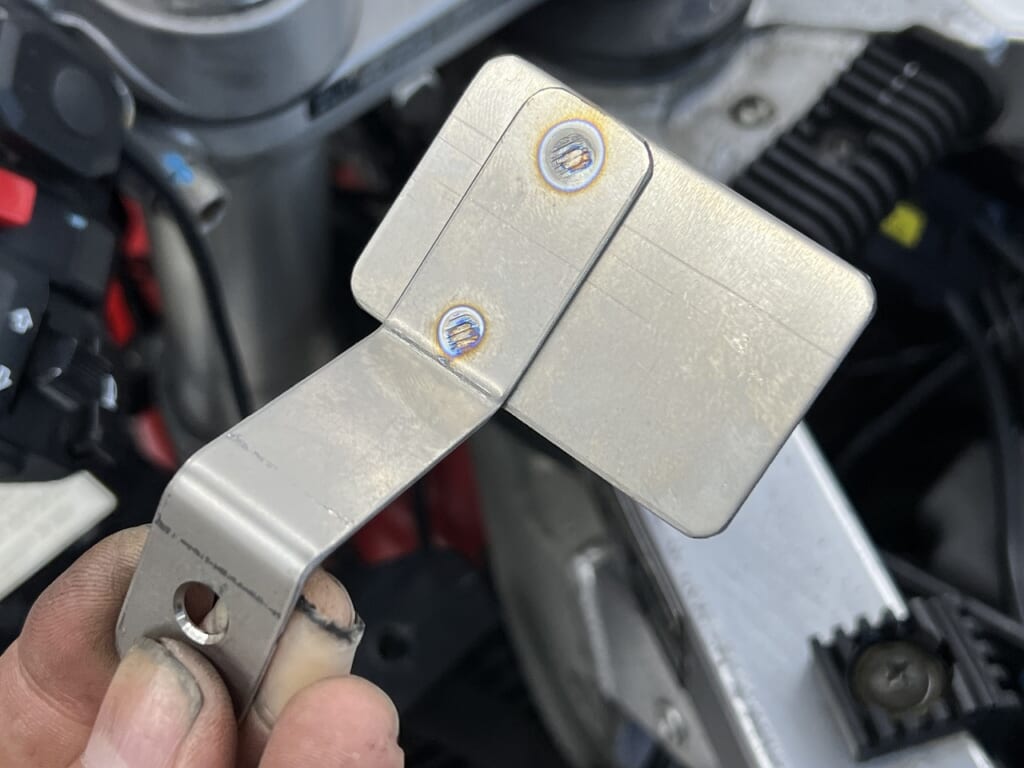
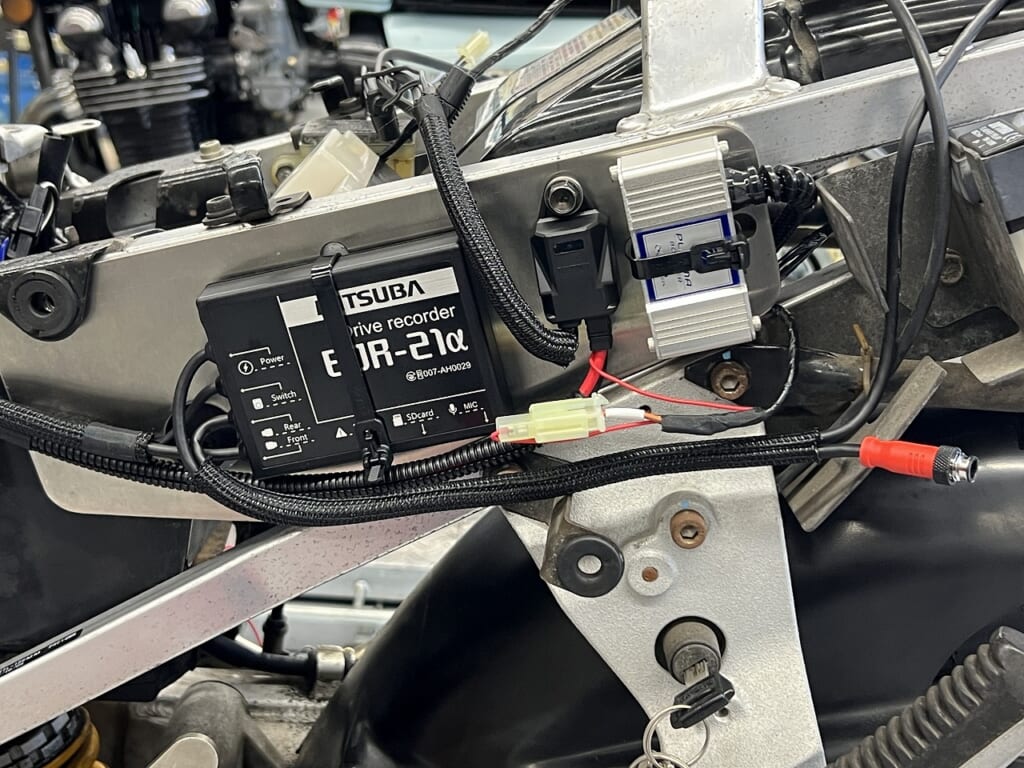
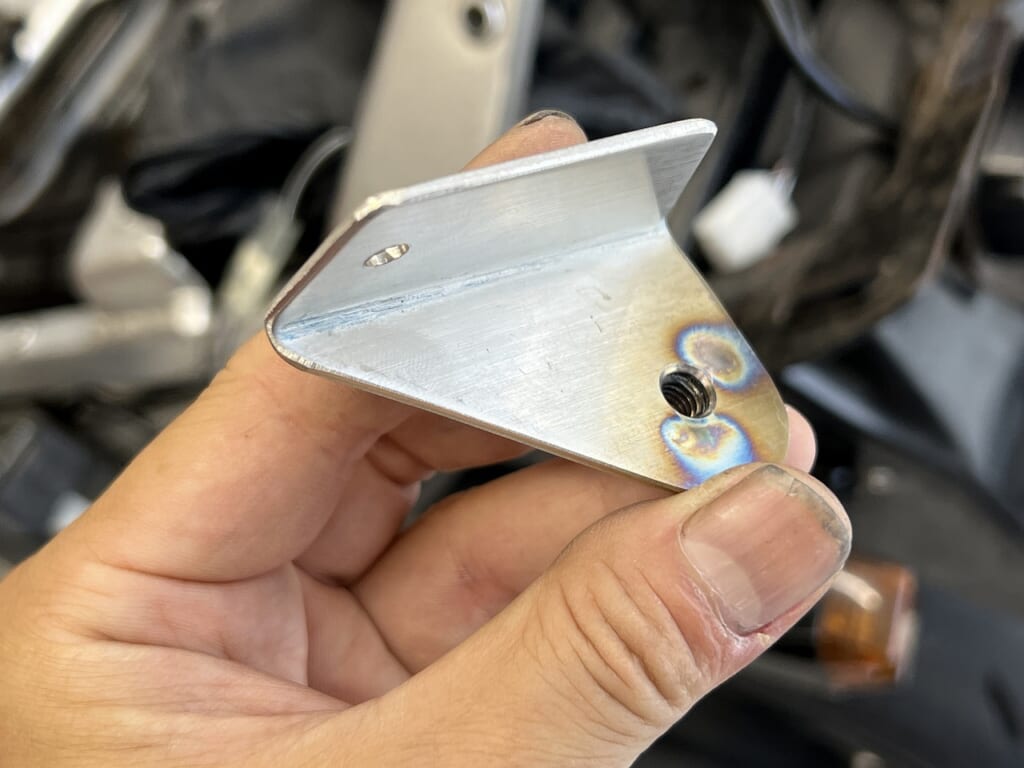
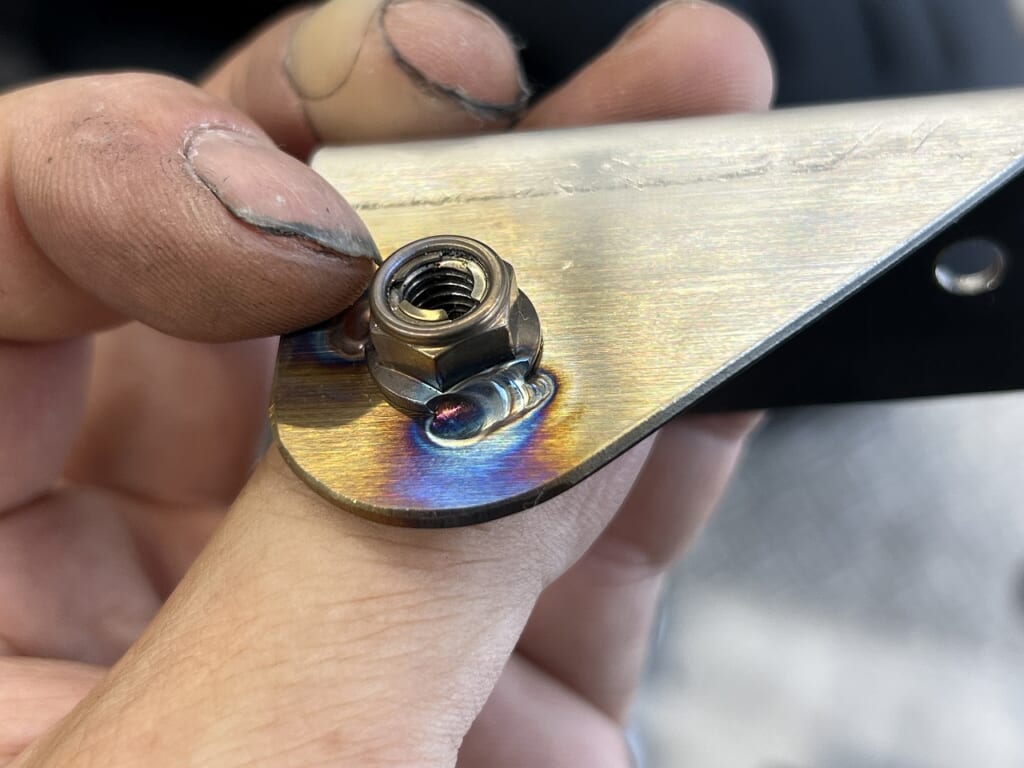
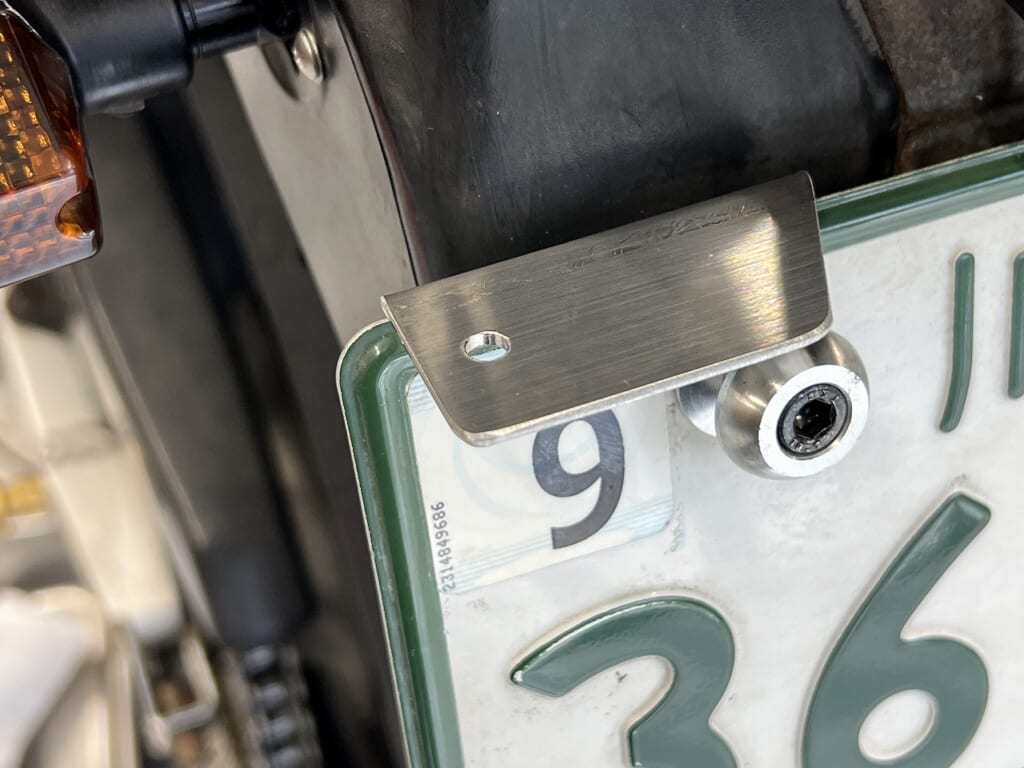
I bent a stainless steel plate as needed and spot-welded the lock nuts in place. Just doing this alone makes work efficiency skyrocket.
This completes the rear camera mounting bracket. Next we’ll move to the front.
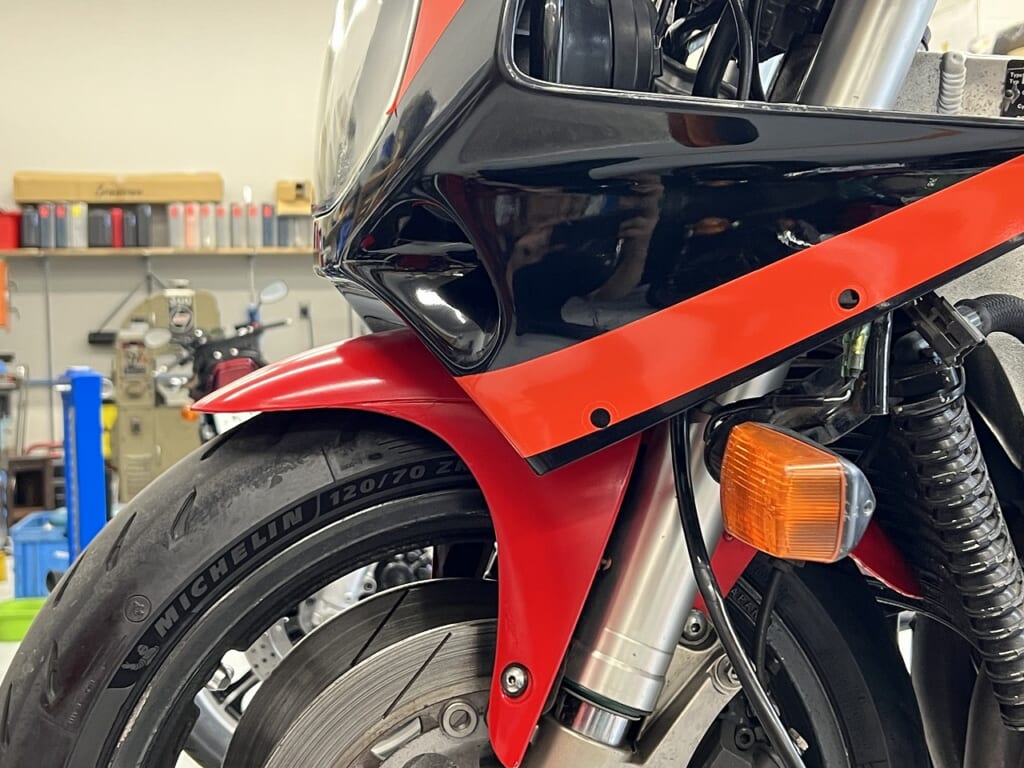
For tight layouts, check the front at full stroke
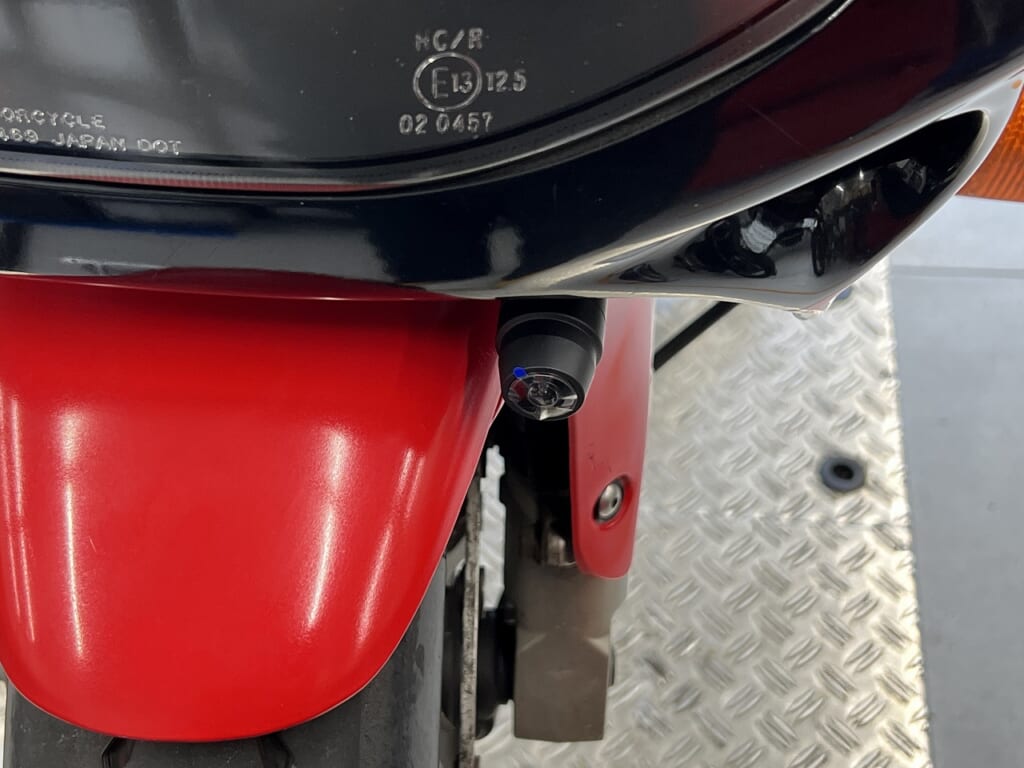
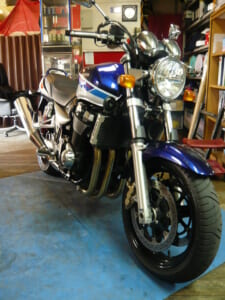
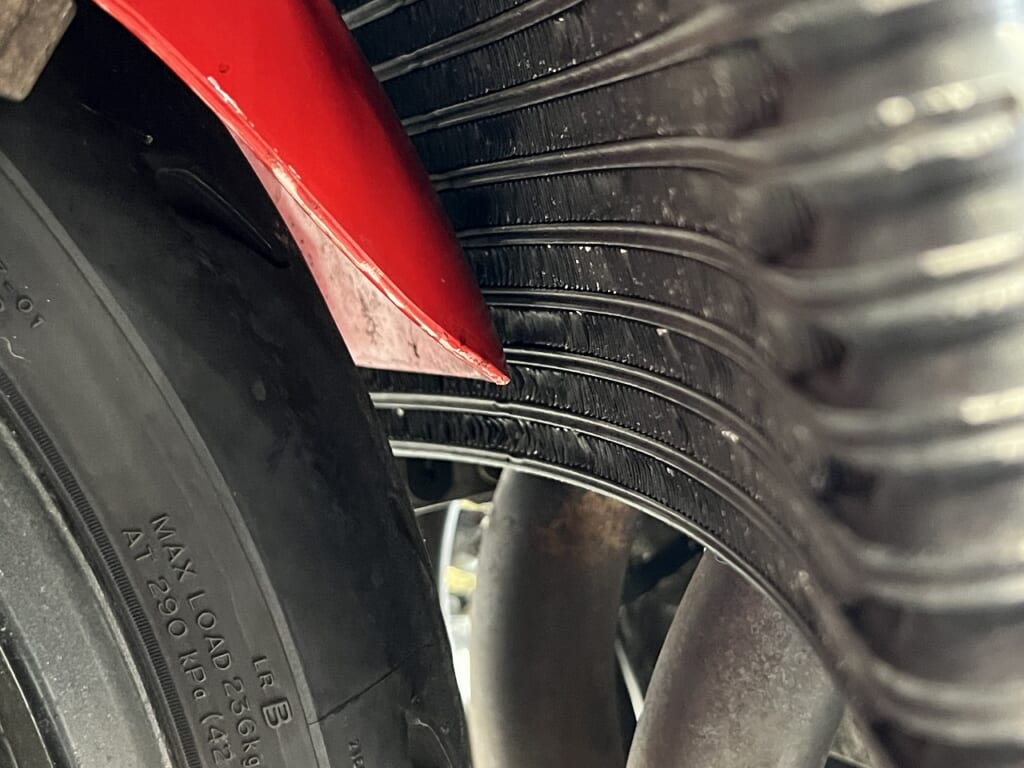
I don’t think anyone would brake this hard but in sudden emergency braking situations, the brake can engage this much instantaneously.
When mounting things under the upper cowl, you must always check or it’s dangerous.
You can really understand why a round oil cooler was adopted. When you change or adapt oil coolers, always do a full stroke check.
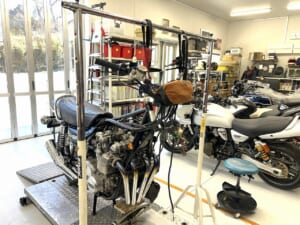
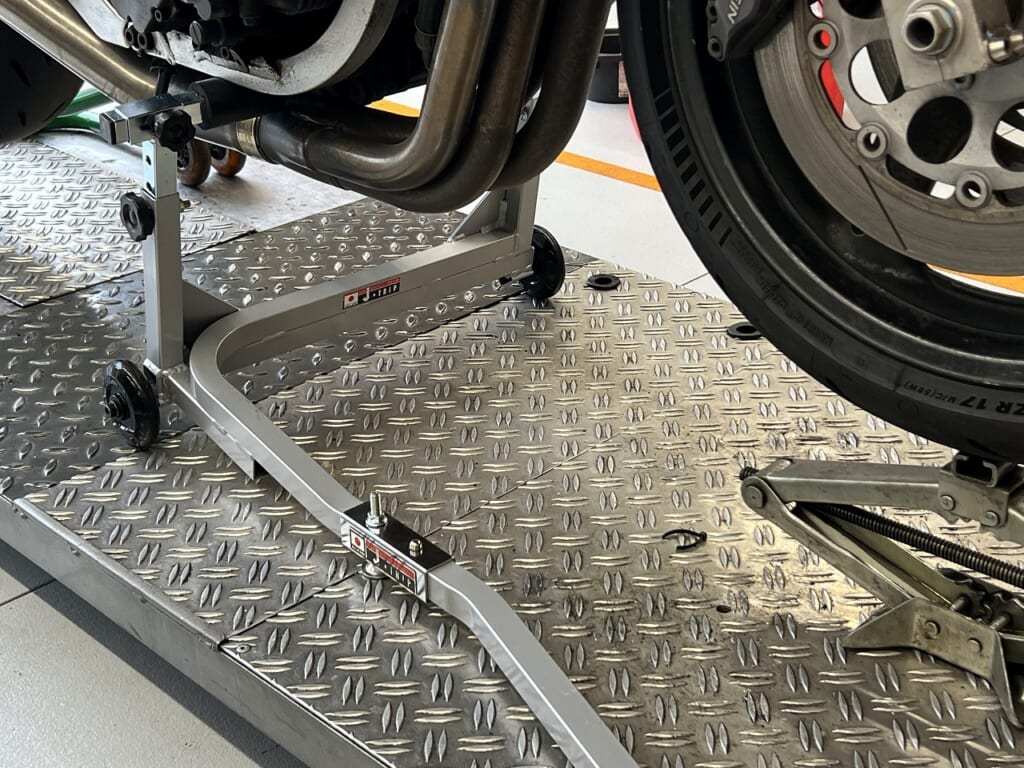
After all, the frame stand is J-TRIP! It’s the best.
When checking full stroke like this “Front stand”the arm gets in the way and you can’t check it.
A maintenance jack or something similar would work too but the up and down hassle is annoying, isn’t it? Just having one frame standmakes a huge difference in work efficiency.
By the way, Ialmost never use a front stand. You can take up more space when removing the front wheel, which is very convenient.
The camera position ended up around here. If I don’t stick it out a bit, it’s so wide-angle that the cowl gets reflected in it.
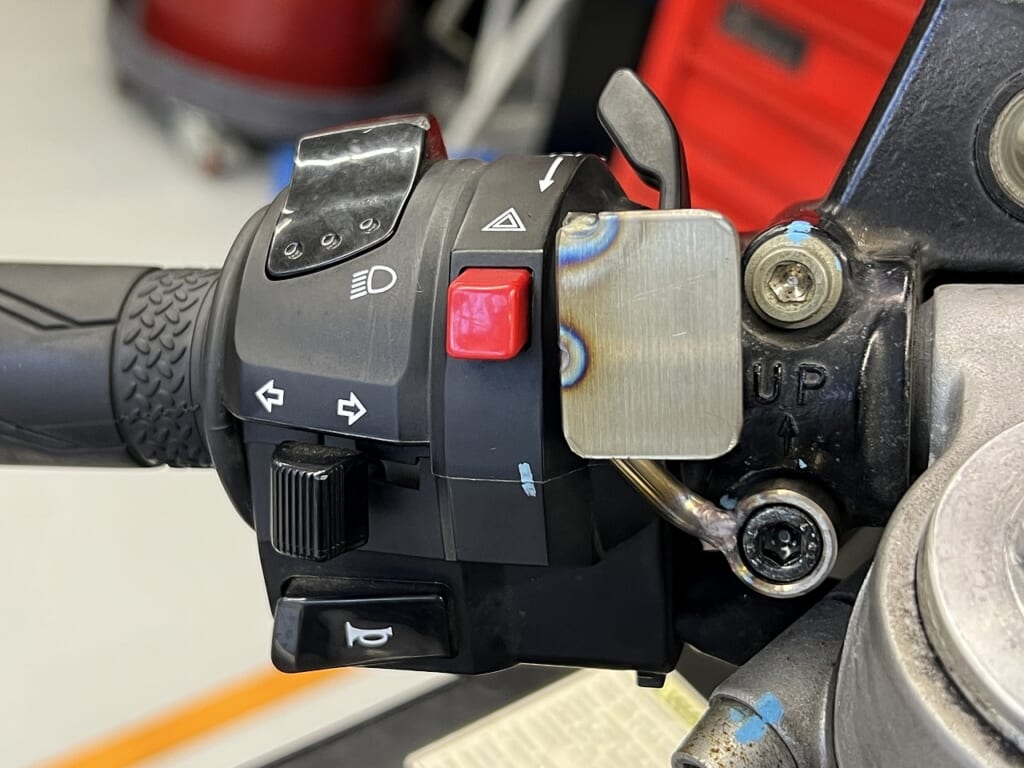
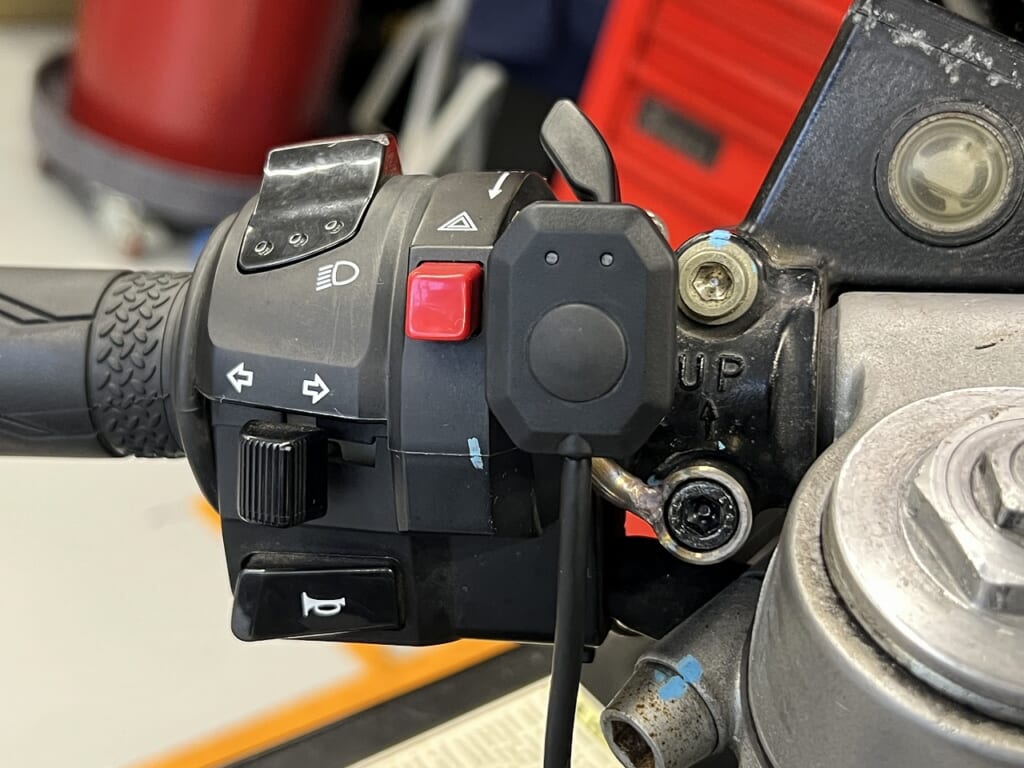
I’m going to install a dash cam hand control switch
I feel like most people don’t touch it even if it’s installed here・・・・ Well, it won’t get in the way of future work, so I think it’s better than just sticking it somewhere random.
It’s better to finish it clean and simple like this.
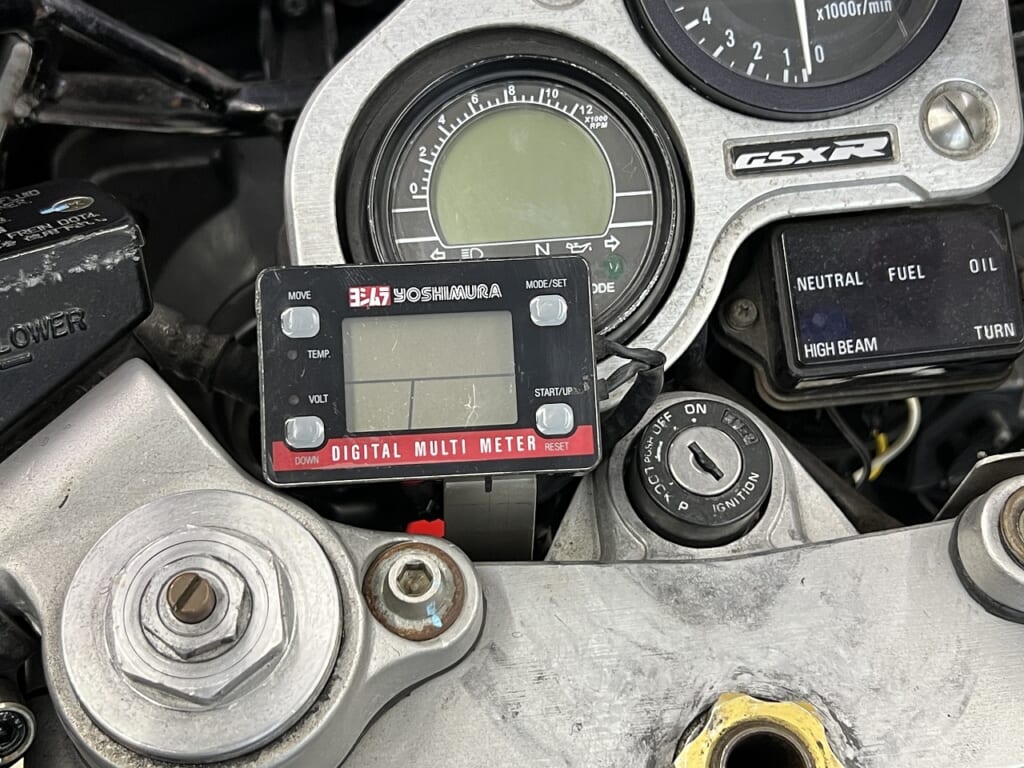
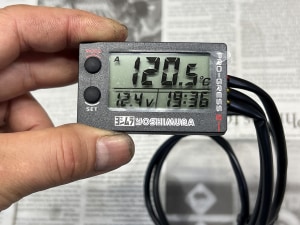
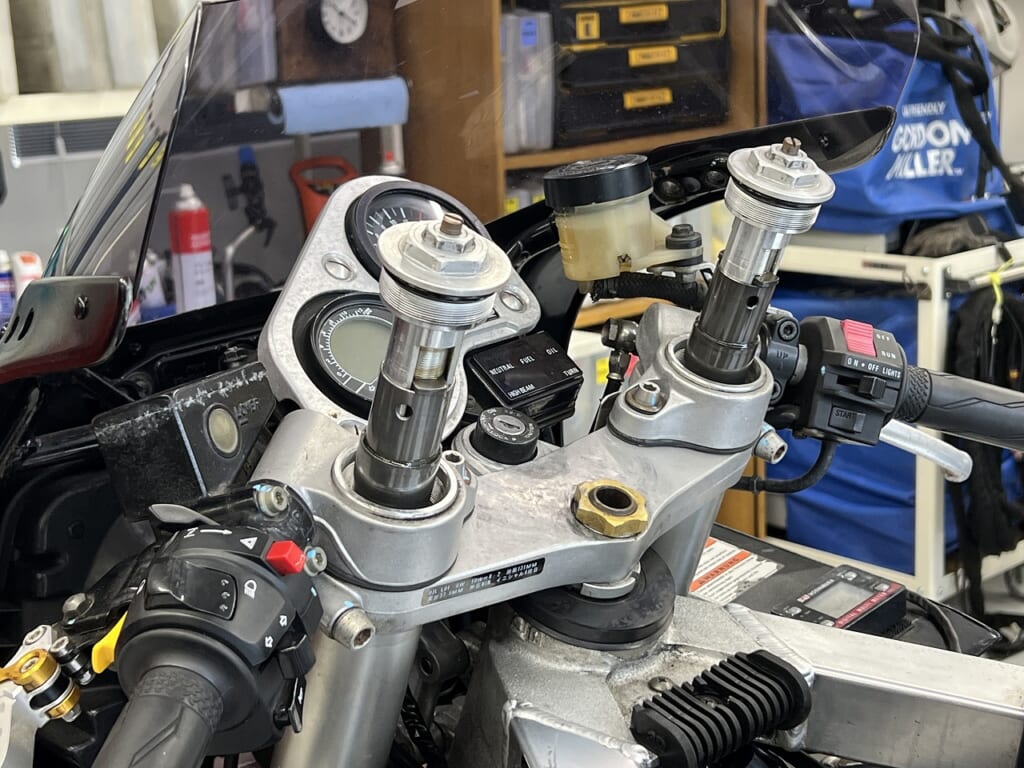
I’ve been curious about it for a long time… I’m going to move the digital gauge from its weird position
I combined titanium plates of different thicknesses a + b. Spot welding is really convenient for making simple shapes like this.
It turned out clean and simple like this.
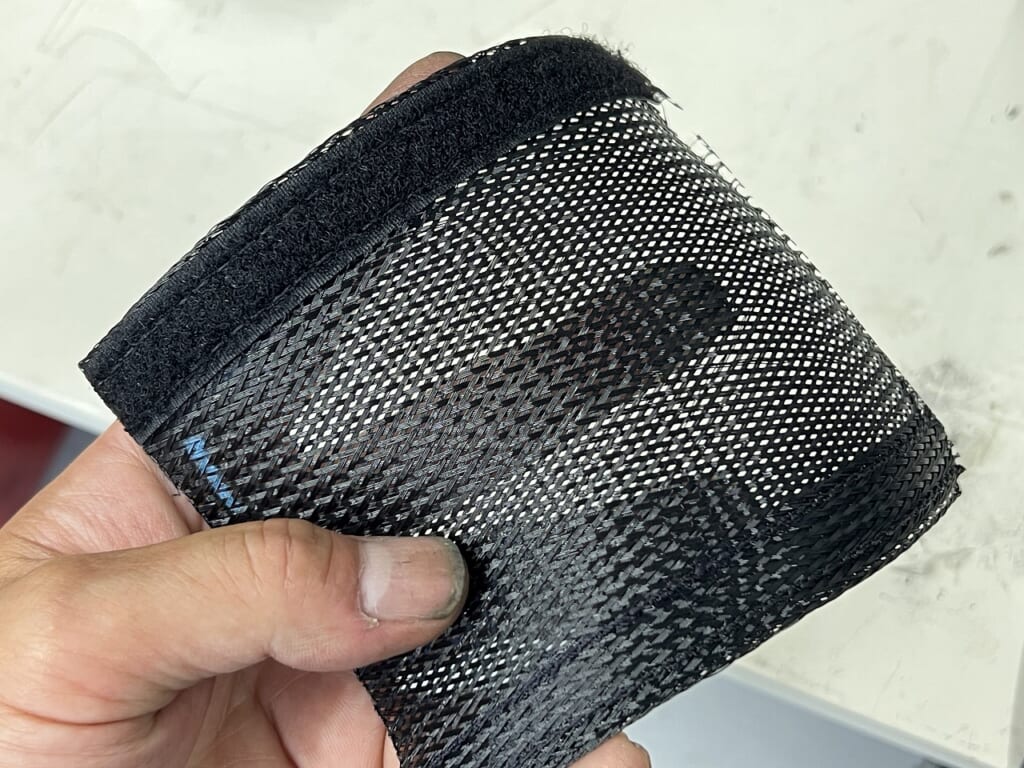
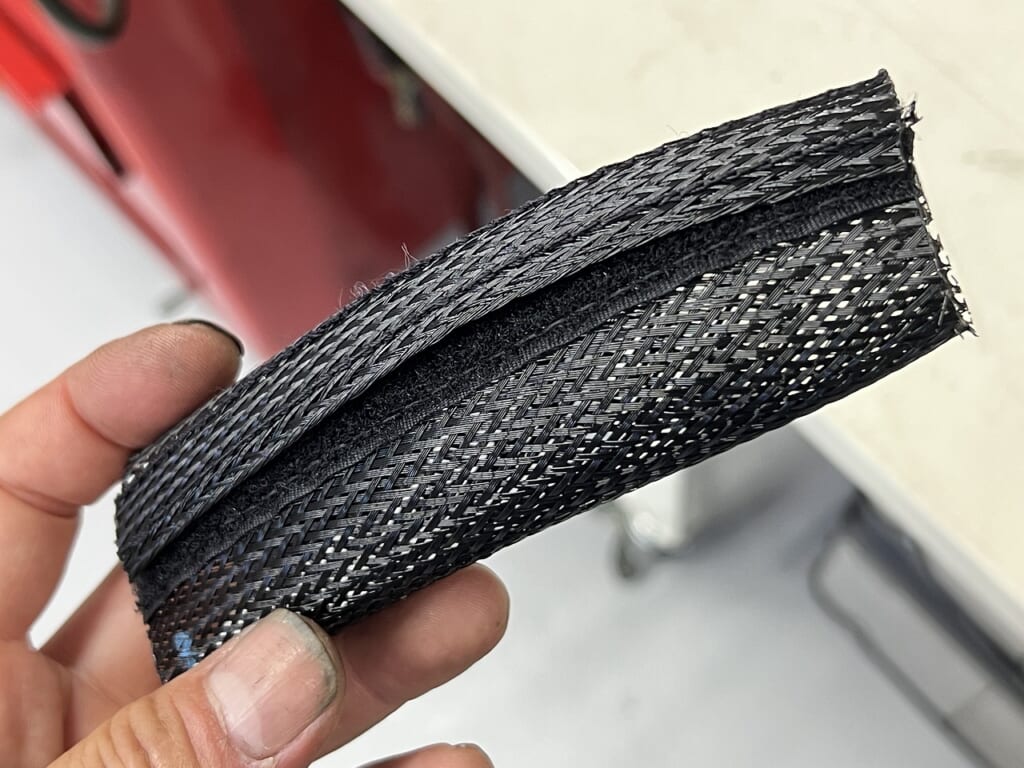
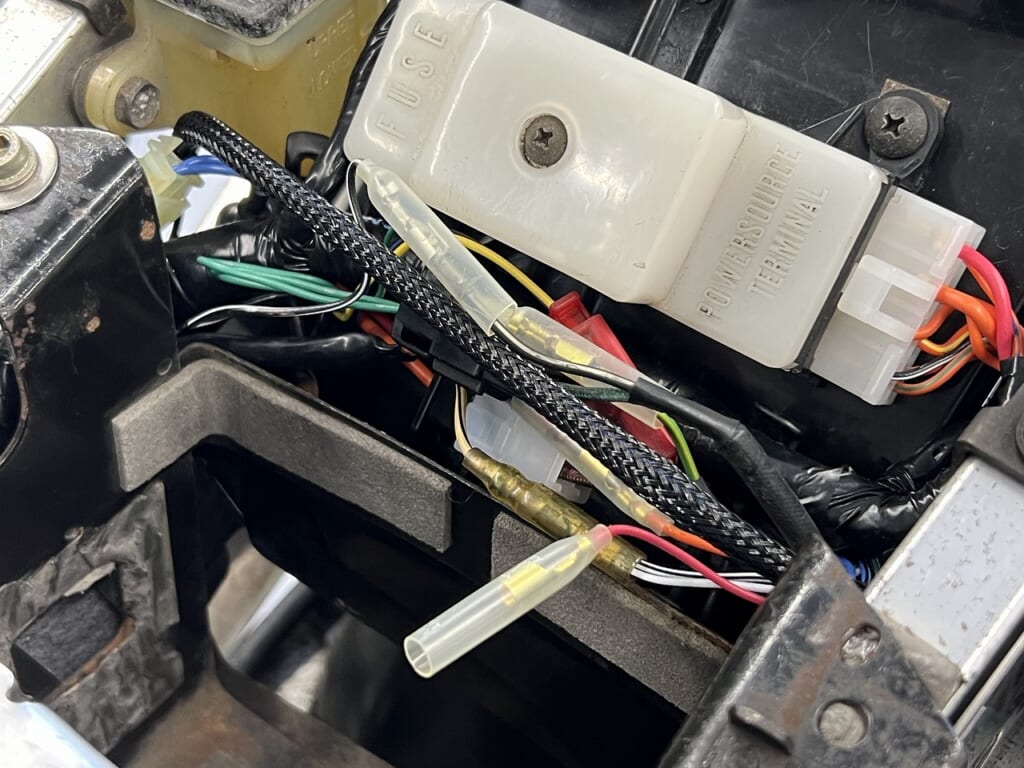
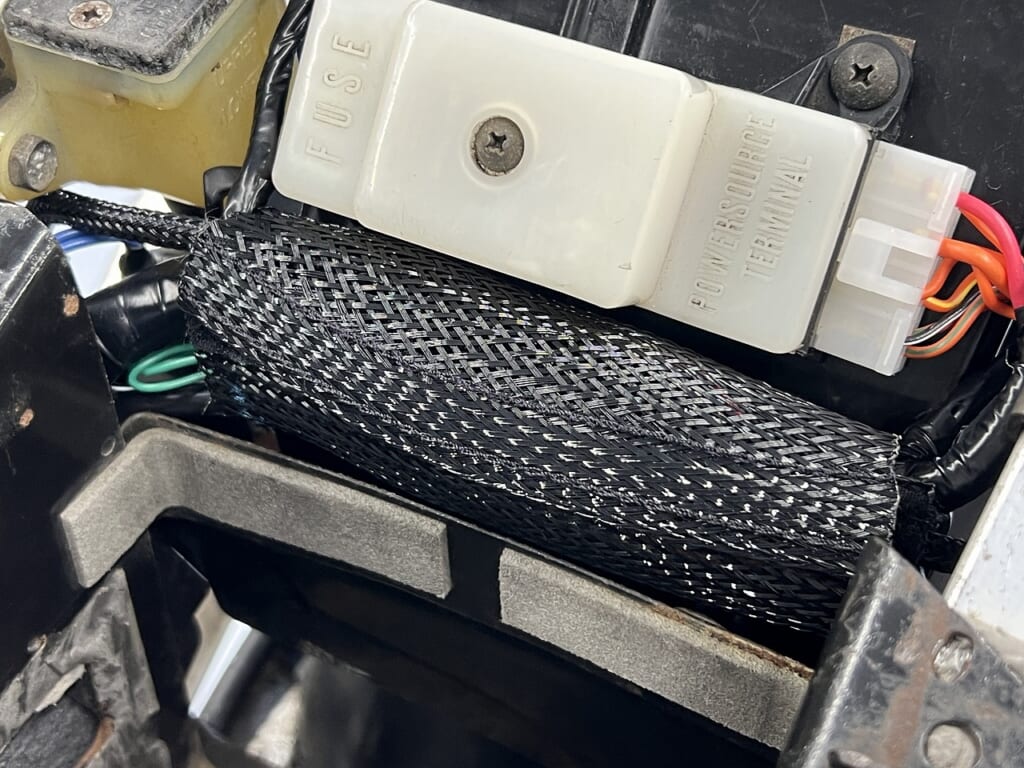
Velcro-attached braided sleeve is perfect for hiding messy wiring
Such wonderful items are currently being sold. It’s like a dream item, isn’t it?
It has velcro attached and since it’s braided, it expands a bit so it’s flexible and fits what you put inside.
Wiring should be as hidden as possible, I think. However, if it’s not easily accessible, that’s a bit of a problem.
Using materials that are as clean and easy to access as possible makes for a simpler and better bike, I think. Denka Electron FLR Tube What I always keep in stock is FLR-40, which accommodates up to a maximum diameter of 60φ.
When cutting, you need to heat-cut it or it will fall apart there’s a soldering iron tip that looks like a knife. Using that cuts it cleanly.
I’m a bit short on materials to bundle the electrical components, so once those arrive, I’ll lay everything out and we’ll be done. After that, it’s just sprocket (final ratio change), oil change, and vehicle inspection, so it should be complete by next week.





 ポチップ
ポチップ